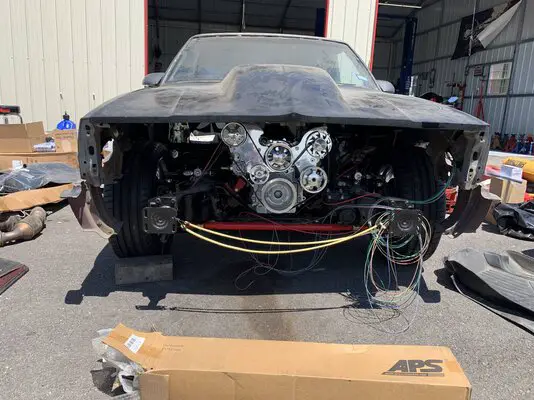
The El Camino is progressing nicely, if slowly. Once the drive train was settled in it's permanent location, I put together a "punch list". That made it obvious just how much work is left to do.
The first major system to be addressed was the fuel system. But, before that could go in, we needed to finish up the rust repairs under the car. So, out came the grinders and welders again. There was one rust hole near the rear tip of the passenger side frame rail, where a makeshift trailer hitch had been welded in. We cut out the rust, back to good metal, welded in a section of new metal, brushed liberally with rust converter and top coated with rust encapsulator paint. Next, we cleaned up the underside of the welds from the floor pan patches, seam sealed everything under the car, brushed with rust converter and top coated with rust encapsulator paint. with all of the "finishes" done, we could actually get started on the fuel system.
Several months ago, we dropped the factory fuel tank and installed an Aeromotive Phantom in-tank fuel pump. Now that the chassis was ready, we reinstalled the fuel tank. When we ordered the fuel pump kit from Muscle Rods, we also ordered a fuel line and regulator kit. This gave us all the materials we needed to install a filter/regulator along the passenger side frame rail and build all of the PTFE fuel lines with AN fittings. This was my first experience with PTFE lines and AN fittings. The learning curve was pretty steep, but after some practice, I can assemble a fitting in just a few minutes. We won't know if I'm any good at assembling these lines until we pressurize the system and check for leaks. Fingers crossed...
The next system to be addressed was power steering. The El Camino was originally a diesel, so it has a hydroboost braking system. Luckily, the engine donor vehicle also had hydroboost. So, the pressure line from the LS power steering pump screwed directly into the hydroboost brake booster with no modification. From there, it was bit more complicated, but nothing too onerous. We had to make up new return lines from the brake booster back to the pump and from the steering box, through a new power steering cooler, back to the pump. More PTFE lines and AN fittings.
Next was the cooling system. We're using an aluminum 4-core radiator from DeWitts. It's probably overkill, but we needed a new radiator anyway, so we went with something spiffy. We made up more PTFE lines with AN fittings for the transmission cooling lines. At this point, we took a slight detour to install a Lokar transmission dipstick, while we were working in the transmission neighborhood. Then, we mixed an matched radiator hoses from the parts store, and used off-the-shelf rubber hoses to connect the steam lines and the overflow tank. Now, we just need new rubber radiator mounting pads to arrive so we can button up the installation. Then, we can install a pair of electric fans and a shroud from Speedway Motors.
The next major system to tackle will be wiring. If you haven't noticed, I've been putting this off as long as humanly possible. The donor engine came with a reworked LS harness and factory ECM. That will help simplify things a bit. But, because the car was originally a diesel, the factory harness will need some major surgery to mesh it with the LS harness. I'm definitely not looking forward to this part...


 9E44A8B0-9118-43FE-92D3-EEB38829946D.jpeg1.5 MB · Views: 157
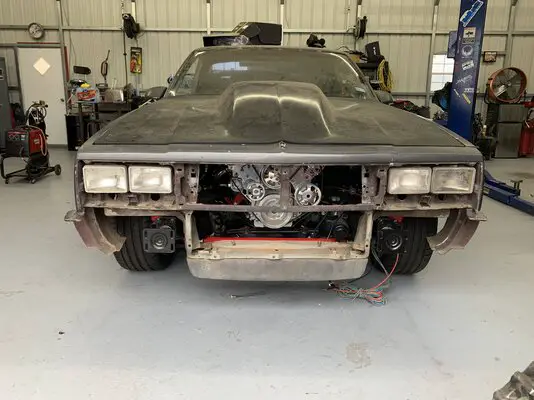 4F471DB0-4DBD-4670-98BE-659EA78C30D4.jpeg1 MB · Views: 153
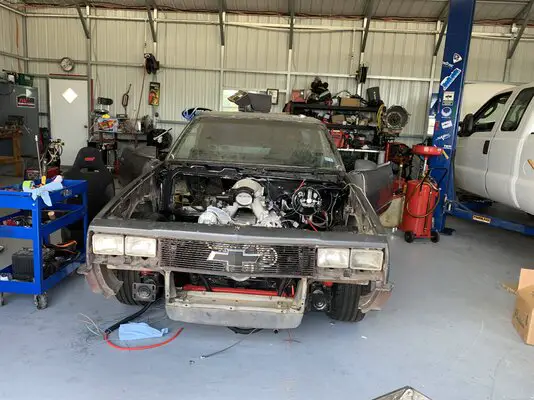 D52BB83B-3809-46EA-845D-2352B327A7B9.jpeg1 MB · Views: 145
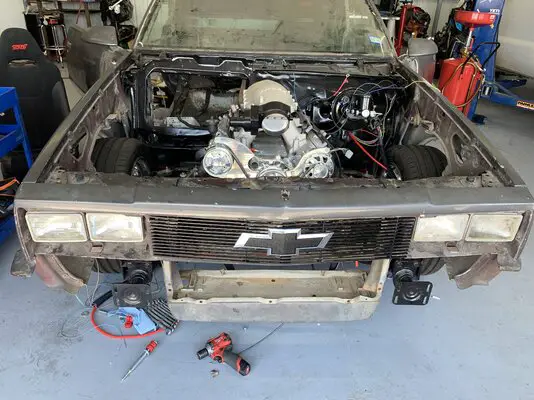 95054F36-906D-4120-A4AC-3DB346AD9666.jpeg1.2 MB · Views: 140
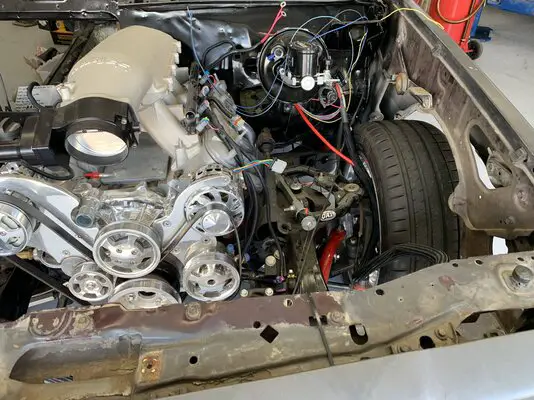 01A5B964-4FCD-4A75-9ECF-AD6A32FDB1B4.jpeg1.1 MB · Views: 157