BUILD THREAD '78 Cutlass Supreme Lichen Edition

Been a while, but I think GM only made 2. One was 39 inches the other about 43 inches long. I'll have to look into this...

But as John said... TH200, TH2004R and TH700R4 were TV cables. Not kick down cables. Run with TV cable unhooked and you burn out the clutches very quick...
 
  • Like
Reactions: 1 users
Been a while, but I think GM only made 2. One was 39 inches the other about 43 inches long. I'll have to look into this...

But as John said... TH200, TH2004R and TH700R4 were TV cables. Not kick down cables. Run with TV cable unhooked and you burn out the clutches very quick...
I may have had my terminology mixed. I understood only that the TV cable is a thing with the pre-computer 4-speed autos, and if I'm going to swap the 200 metric for a 2004R from a 442, then I'm going to need some bracketry to get the TV cable working with the dualjet. After some looking on other forums, I'll likely be able to find something in the aftermarket. I'm still in the decision-making phase.
 
  • Like
Reactions: 1 user
TH200/200C also had TV Cables. If you are using the dual jet for proper year, it should have the correct connector on it or the hole drilled. I'll try to get you a photo.
 
  • Like
Reactions: 1 users
It's not something I was really itching to do but the opportunity presented itself, so I found the time and money. These 8.5" gbody rear ends are like hens teeth.

Woke up at 3:30 a.m., left the house at 4:00 drove 220 miles in POURING RAIN to Middletown Connecticut, found a 1985 Grand National that should have been scrapped 20 years ago. No floors, absolutely rotten t-top.... the frame was concave where the jack stands went in front of the rear wheels. The rain was still pouring, storm water flowing across the driveway, car parked on an uneven surface. So it took me about 90 minutes to get the car jacked up and stable with some backup cement blocks, wheel chocks, etc... after that I used the Walmart 20volt half inch impact to zip off the four control arm bolts and the shocks. Snipped the e-brake cable with bolt cutters. I took the driveshaft. I left him with a spare 7.5" I had laying around so that he could keep the car a roller. I did not put 7.5 in for him because the rain was too much and because I was way behind schedule. I left the car on my own jack stands with the front wheels chocked... donated equipment instead of risking life and limb. Some people have no sense parking a car on an uneven ground and letting the tires go flat. I was back in South Jersey by 14:00, and spent the day with the kids in the pool (weather improved). Pictures of the car were received by text from the owner days before.

I had to hammer the aluminum drums off with dead blow, then pressure washed it. I'll give it some de-greaser and acid later. It's a 3.42 open differential and there is black RTV indicating someone had opened it in the past. I hope to find the original iron shims in there (i.e. virgin) and reuse it as is for now.

The Grand National had 52,000 on the odometer. This rear should be good for another 50,000 miles.

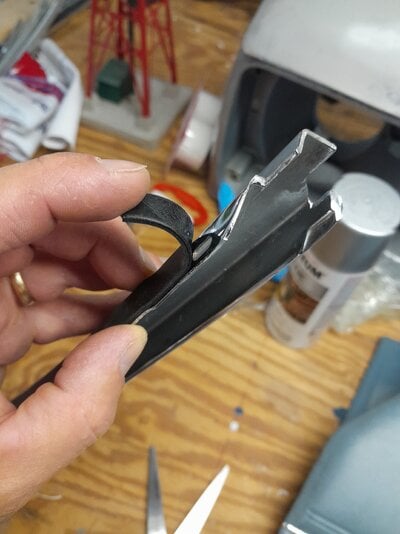
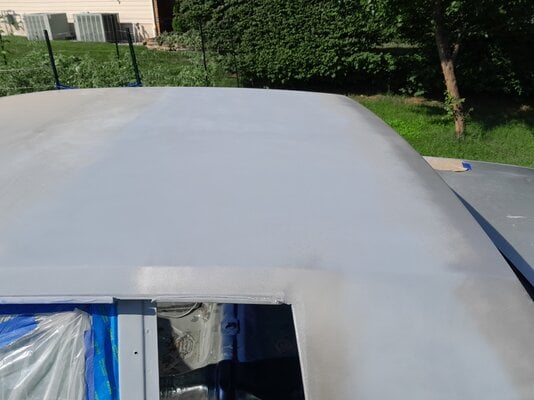
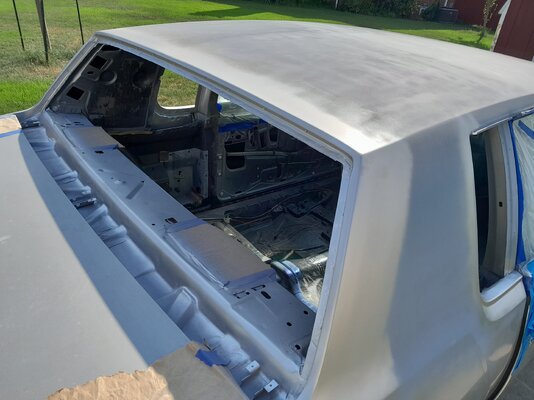
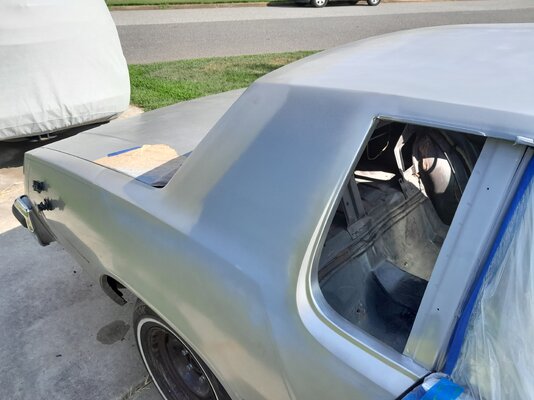
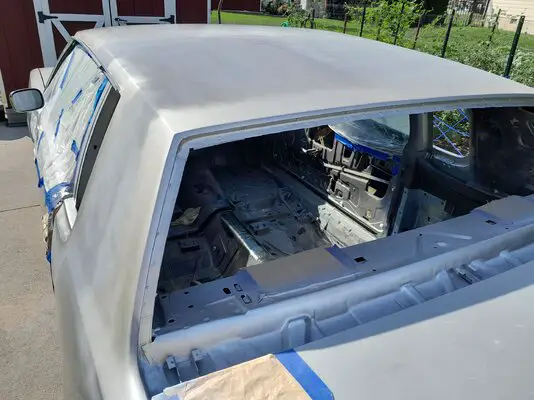
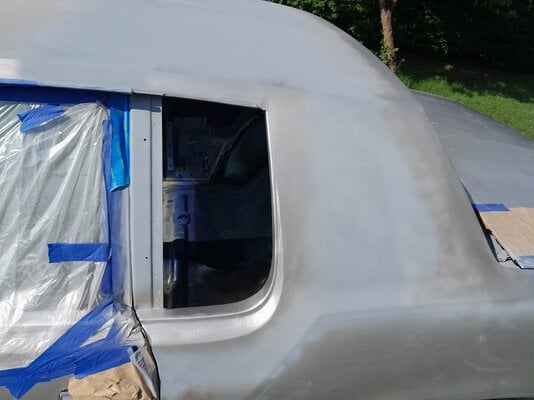
I didn't know what I was going to do with the Cutlass but now it seems it's going to be a serious car. It's going to need a matching engine for this rear end. That'll be the last thing I do. I still got to get these damn quarter windows installed..

Trading him the 7.5, leaving tools and $900 behind, I walked away with the desirable rear end and drive shaft I should be able to use as is with the 200 metric to keep the car drivable for now. The lower gear means I'm going to eventually need a 2004r if car stays SBO-powered.

Tolls and gas I'm probably in it $1150 and a sore back but at least I didn't drop a random rust bucket on me and die in a driveway up in Connecticut.


20240714_150557.jpg
IMG_20240714_151320.jpg
IMG_20240714_151312.jpg
 
Last edited:
  • Like
  • Wow
Reactions: 6 users
I'm super happy with the Landau delete and my first bodywork. There are some imperfections to smooth over, but I can see the finishline.

I've got the quarter window sills and the rear windshield sill primed/painted and will let them sun cure for the remainder of the week. Perhaps Saturday I'll install the rear windshield.

The weather stripping for the '78-80 Cutlass quarter window is just not going to happen, and I was unable to form the Steele rubber products 70-3807-61 "beltline weather stripping" through the 95-degree bend. In its place, I need to cushion the glass against the potmetal trim piece with something like a gasket and not something that will squeeze out like butyl rubber, so I've obtained this 0.0625" x 0.5" thick rubber strip with adhesive backing and I believe it will work well to cushion the glass against the potmetal trim piece. I do have butyl rubber rope/strip for the glass-to-body interface, but will have rubber stripping between the glass and trim. Then, I will skillfully lay a bead of black RTV in the exterior gap to make it weather tight.

When I get this car weather tight I can move on to the more easy mechanical stuff I like to do.
Capture.PNG
20240722_203613.jpg
20240722_203545.jpg
20240722_203522.jpg
20240722_203458.jpg
 

Attachments

  • 20240722_203516.jpg
    20240722_203516.jpg
    1.3 MB · Views: 12
  • Screenshot_20240722_185451_Facebook.jpg
    Screenshot_20240722_185451_Facebook.jpg
    405.3 KB · Views: 13
Last edited:
  • Like
Reactions: 2 users
As promised. Only panted the sills. Rest is overspray on primer.
 

Attachments

  • 20240723_164526.jpg
    20240723_164526.jpg
    3.1 MB · Views: 15
  • 20240723_164501.jpg
    20240723_164501.jpg
    2.7 MB · Views: 14
  • 20240723_164457.jpg
    20240723_164457.jpg
    2.5 MB · Views: 16
  • 20240723_164447.jpg
    20240723_164447.jpg
    3 MB · Views: 13
  • 20240723_164440.jpg
    20240723_164440.jpg
    3 MB · Views: 15
  • Like
Reactions: 6 users
Progress on the 20-foot paint job prior to application of 2x gloss. Used a specialty nozzle for graffiti artists to convert the standard Rustoleum can to more of a "turbo-can". Gives me a four or five inch ribbon. The caps were meant for female cans, so I had to buy an adapter, yada yada... as long as you're not the first there usually is a success path. Keep in mind here the low reaching goal is weatherproof car and not worse than when I acquired it. There has been a lot of wet-sanding between applications. Decided to fully paint the area before putting in the glass (actually I'm chicken about the glass).

20240806_061611.jpg
20240806_061625.jpg
20240806_062857.jpg
 
Last edited:
  • Like
Reactions: 7 users
Looks good man. I think it'll turn out real nice when you're done. I've been checking out all of the available caps and adapters myself since I lack an air compressor, and there's quite a few options out there thanks to the graffiti artist movement. It's good to know that they work well for spraying a car. I personally like the fan spray tips and have been sourcing them from depleted cans of urethane because they offer better coverage and far less overspray than the tips that come on paint nowadays.

Years ago, my father and I painted a '79 El Camino with rattle can black metallic and learned a couple things the hard way. It turned out alright but I wish I would've known beforehand that:

• Unless you paint everything on the same day there's a good chance it won't match perfectly.
• The shade of paint can slightly vary batch to batch so it's a good idea to purchase entire flats/boxes of cans with matching numbers.
• Buy more than you think is necessary, and it's going to take more cans than you originally think it will.
• Don't use halogen lights to see what you're doing, as they put off too much heat and affect how the paint lays down. With metallic this causes shadows because the flakes settle at different angles.
• Use a $5 gun attachment for spray cans to avoid extreme hand fatigue or even cramps.
• Employ a friend or child to constantly pre-shake your next can before you need it.
• Lightly wetting the floor prevents dust from being stirred up but too much leads to water splashing onto the car as you work.
• Spray paint takes forever to harden, it honestly takes about a month to fully cure. Wet sand only, and add soap to the water or the paper clogs immediately. Buffing/rubbing compound can be applied by hand but a machine is too aggressive since the paint is so thin.

I know you said you weren't trying for perfection and you definitely didn't ask for my input but I felt compelled to share my mistakes in the hope that it helps someone.
 
  • Like
Reactions: 5 users
One well known in Tucson area, uses wet carpet. He paints outside a lot due to many times working at customer site. He rolls car on scrap carpet and soaks it down.

Your stripes you can see are basically speed. Going left to right, try to keep at same speed. It's very hard to do, but as speed gets more consistent, the stripe pattern effect will reduce.

Looks good though.

Rattle can on trunk, hood and roof are the hardest to get consistent lay down.

Yours looks good
 
  • Like
Reactions: 2 users
Looking great. Good score on the 8.5" and the 442 2004R. I used the factory Qjet TV cable and bracket on the 260 with a Dualjet and 2004R. The factory Dualjet bracket was not right.
 
  • Like
Reactions: 1 users

GBodyForum is a participant in the Amazon Services LLC Associates Program, an affiliate advertising program designed to provide a means for sites to earn advertising fees by advertising and linking to amazon.com. Amazon, the Amazon logo, AmazonSupply, and the AmazonSupply logo are trademarks of Amazon.com, Inc. or its affiliates.

Please support GBodyForum Sponsors

Classic Truck Consoles Dixie Restoration Depot UMI Performance

Contact [email protected] for info on becoming a sponsor