Since I expect this to be an ongoing ordeal, this is kind of a sub-thread from the "Projects From The Compound" for the sake of continuity.
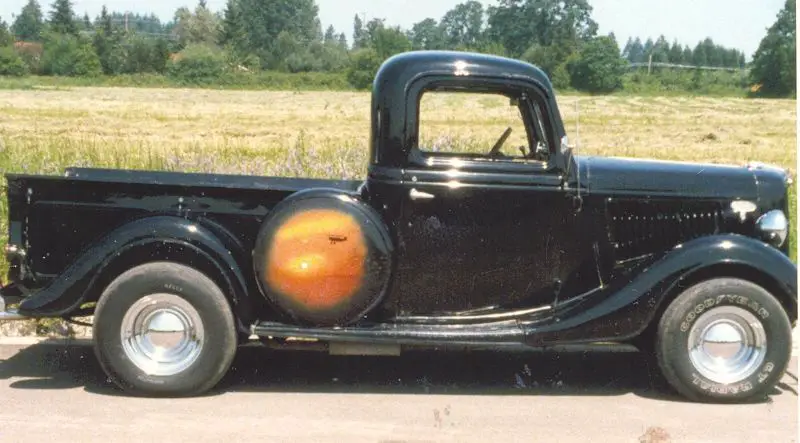
Preface, First some history; In 1956 my grandfather bought a mildly customized 1935 Ford pickup. Hot flathead, juice brakes, chopped top, bobbed '40 rear fenders (that I still have ), heavily louvered custom hood, Olds flipper hubcaps, dual chrome exhaust stacks, etc. It was his driver until my dad and uncle graduated high school. My uncle got the '35 (still has it), my dad got a '62 Impala. A few years later in the early '70s, after getting married, buying a house and settling into a good job, my dad went on the hunt for a '35/'36 pickup of his own. My grandpa was actually the one who located it as a relative stocker with a bad flathead. Once he got it home, my dad replaced it with a 283 and ran it for a few years until an axle failure prompted him to do an upgrade. At that point it received a 350hp 327, TH350, 9" rearend and front disc brakes. This was taken in 1985:
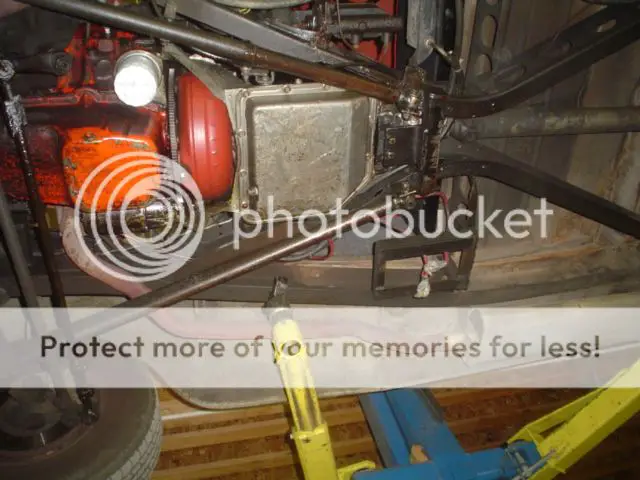
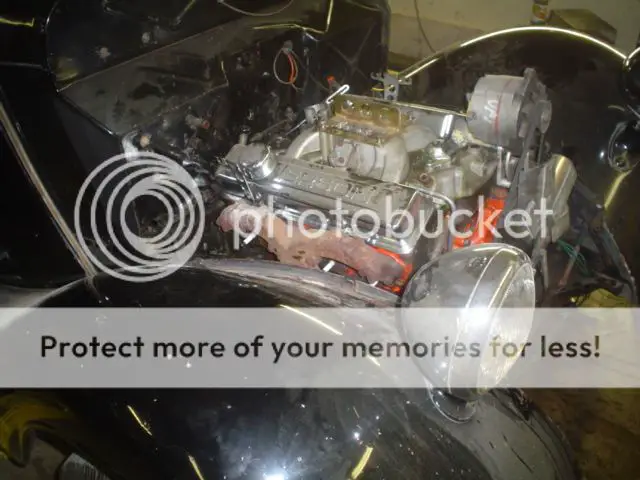
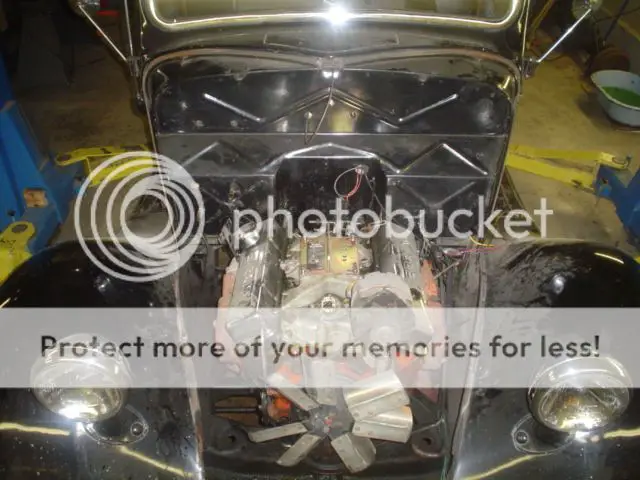
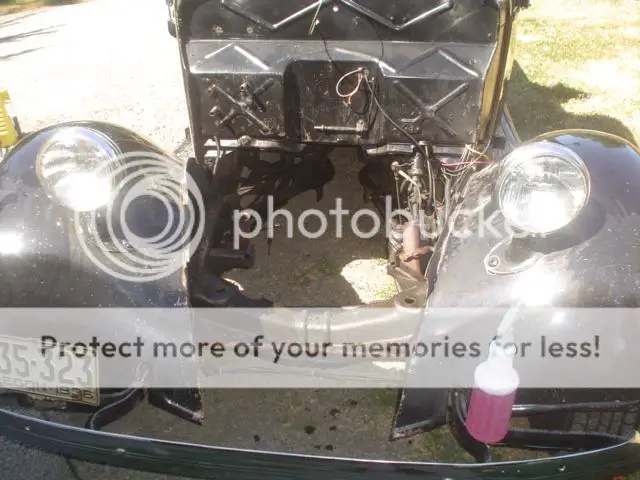
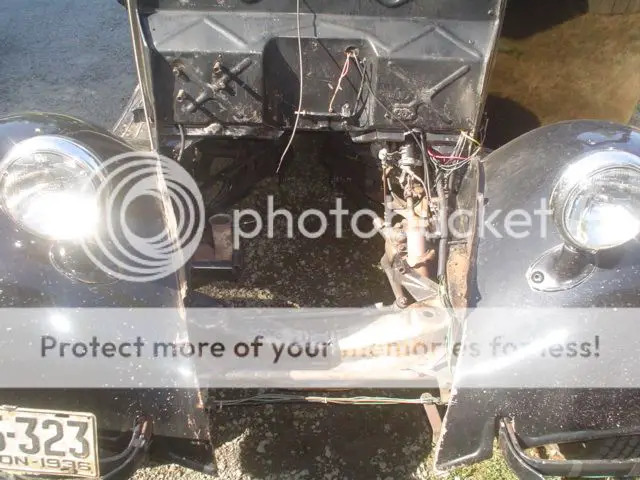
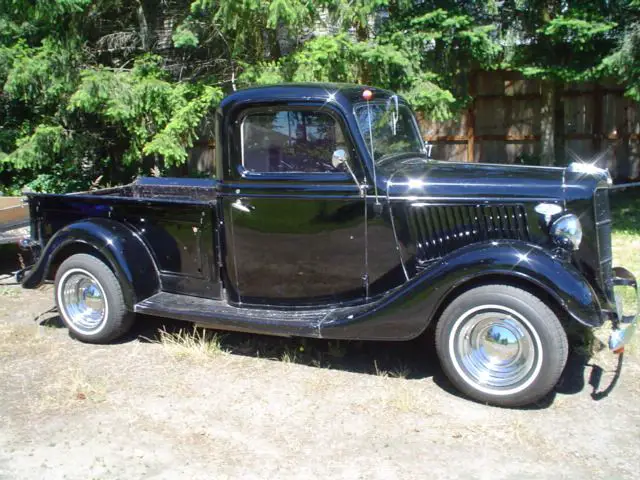
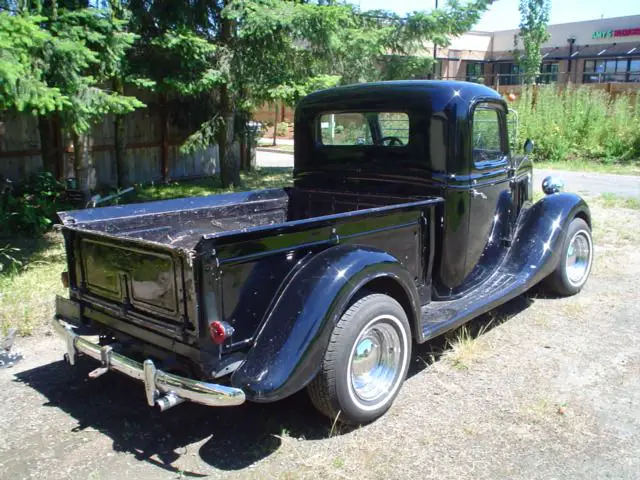
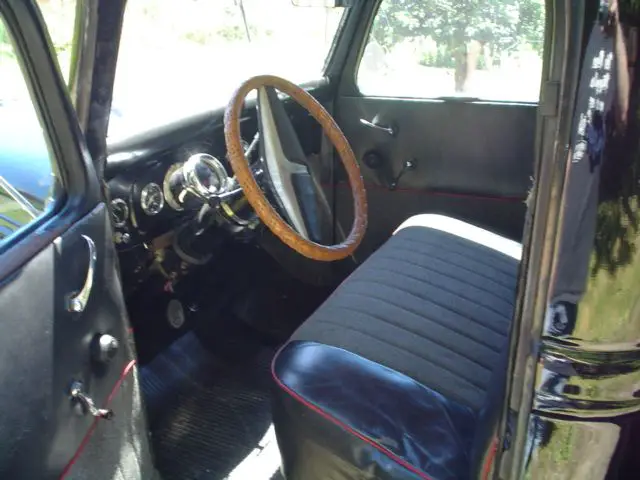
It remained much the same for almost 20 years and was rotated in and out of daily driver status. In 1996 my brother received it as a graduation present. It's been driven occasionally during summer months but over the last 3 decades has just plain mechanically worn out and has become a bit untrustworthy. Through a semi-complicated three-way labor/cash/parts trade involving my brother, our dad and myself, I'll be performing a mechanical refresh. My brother will be doing the body and paint work on my '35 pickup. These were taken in 2005 but it looks exactly the same today -- just has a thick layer of dust from sitting in the garage.
Chapter 1, Teardown:
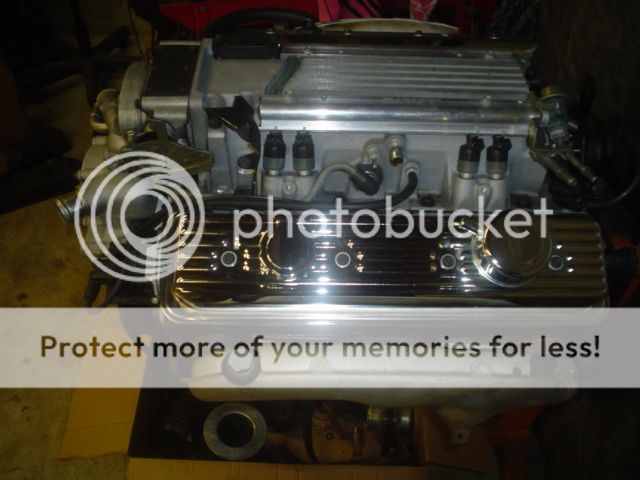
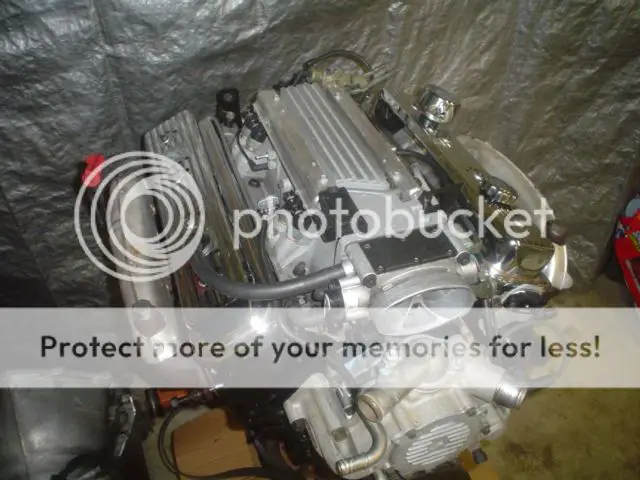
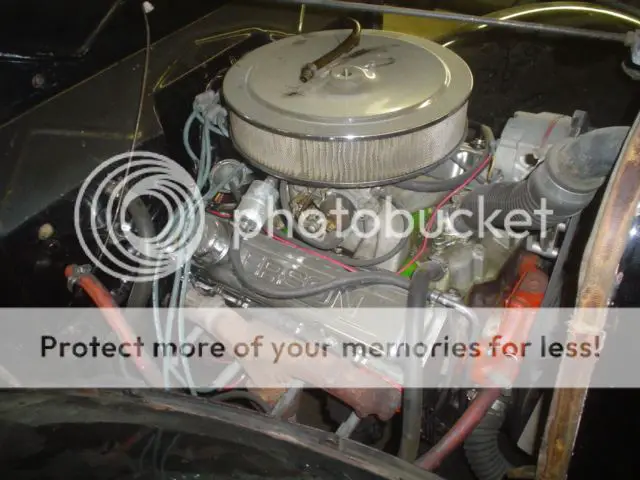
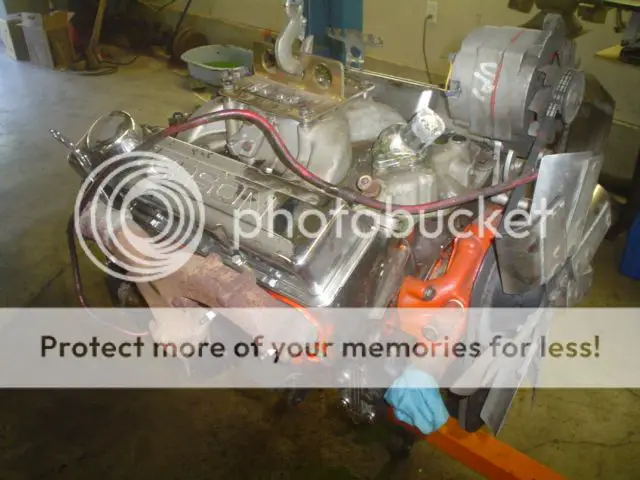
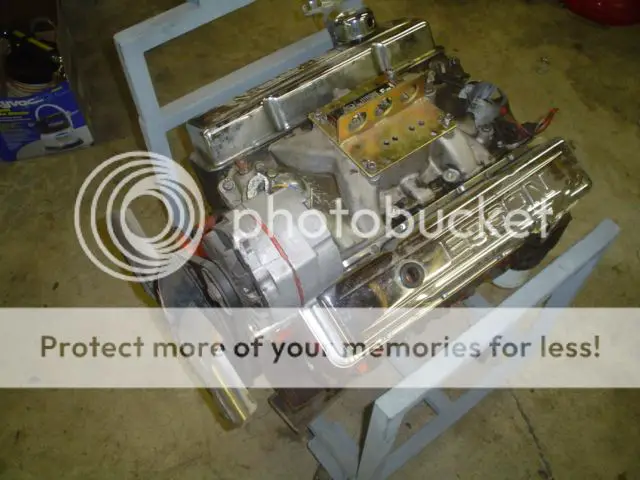
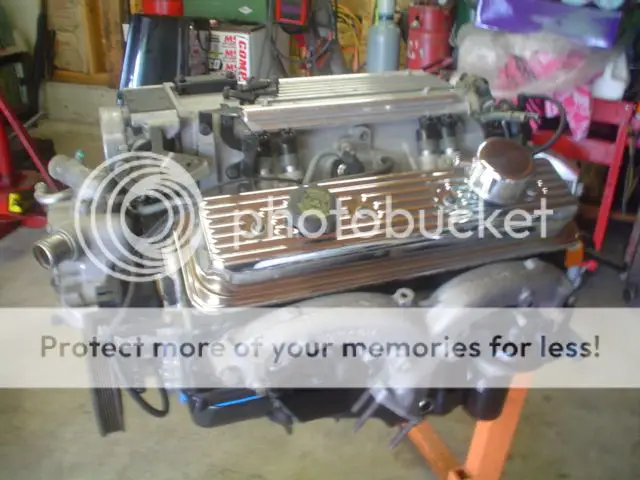
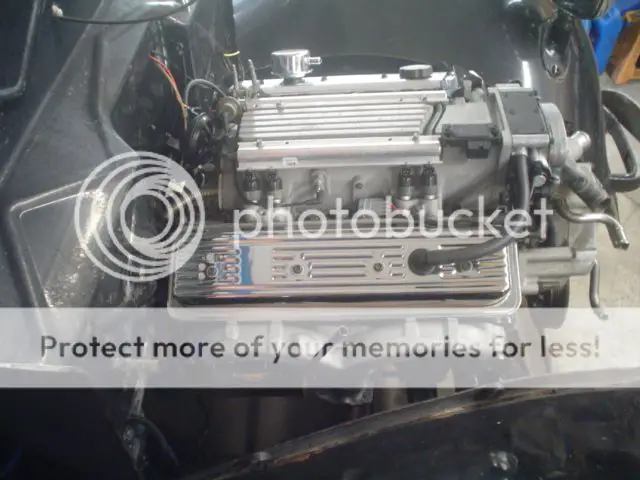
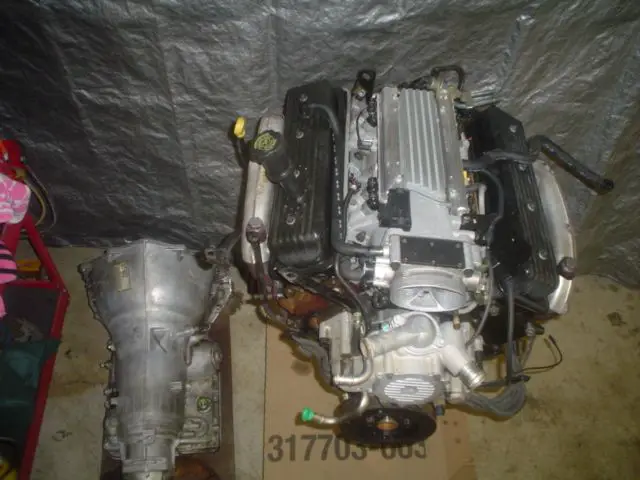
The engine is a '96 LT1 pulled from a Fleetwood that was wrecked in 1997 with 5000miles on the clock. I originally swapped the engine/trans into my dad's '64 El Camino in '98. A couple years later he added a Paxton supercharger. He quickly found out that boost+cheap gas+high compression+a shitty Street & Performance tune = piston failure. I swapped in dished pistons as insurance and got a better tune. Found out that S&P adds tons of timing but reverts to speed density. With no MAF, the pistons never stood a chance. He ran it for several more years and had no additional problems and racked up close to 50k miles. He got a deal on another low miler and decided to do a build in another direction so this engine was pulled. I tore it down yesterday with the intention of getting some stock flat tops put back in and maybe having the rotating assembly balanced. Found a few surprises along the way.
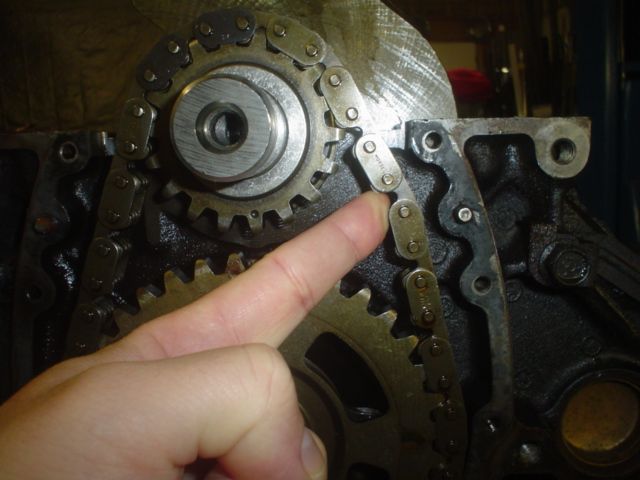
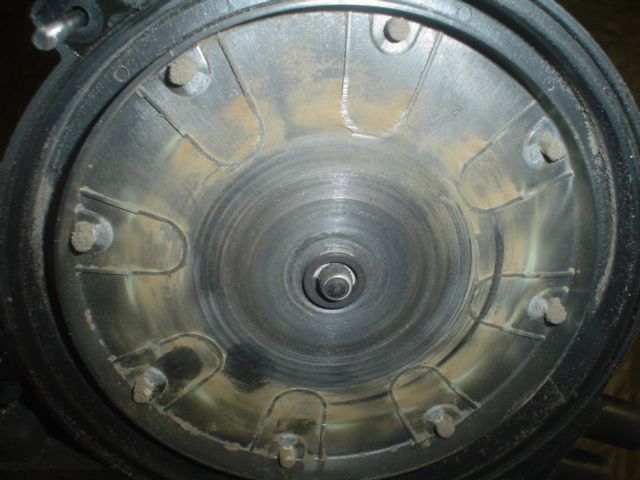
More chain stretch than I expected:
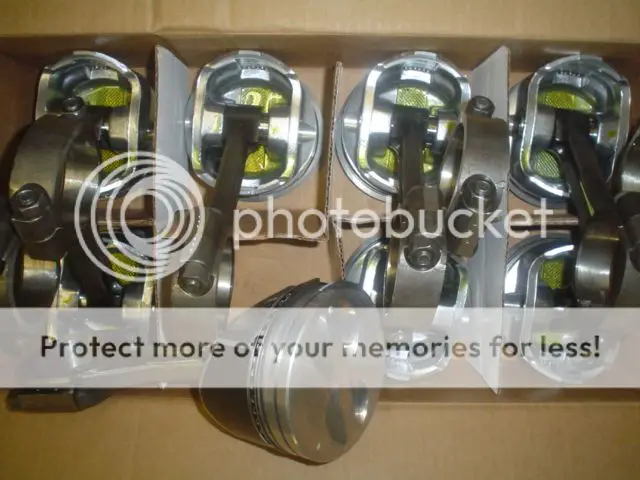
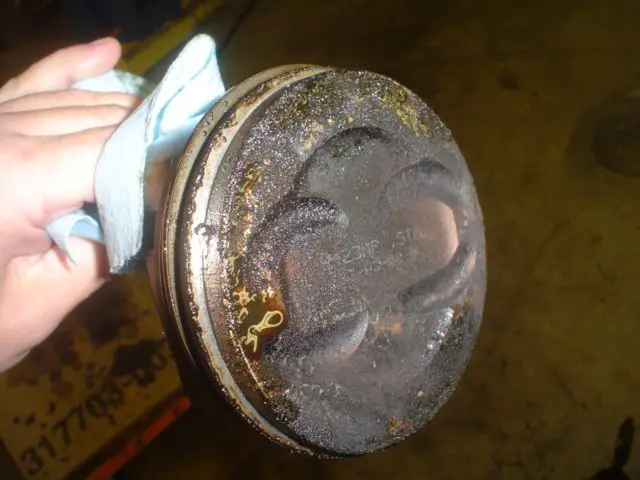
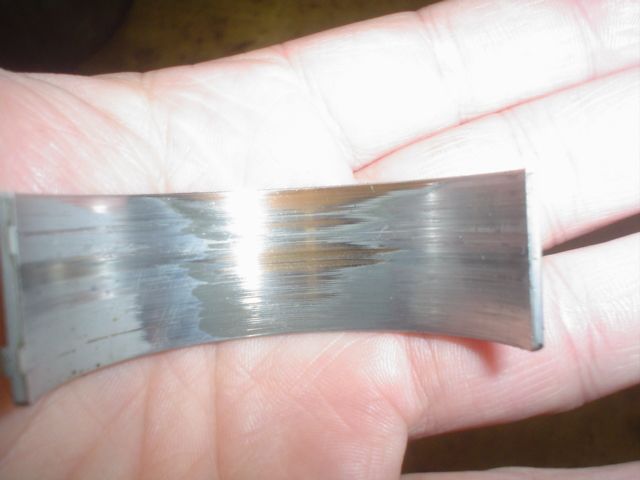
Dished pistons to be replaced:
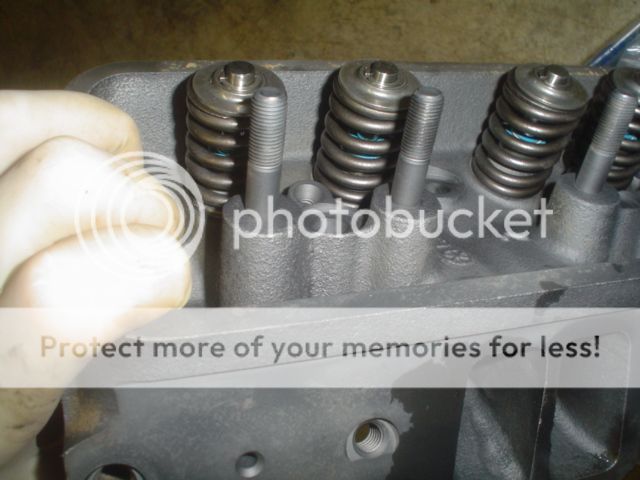
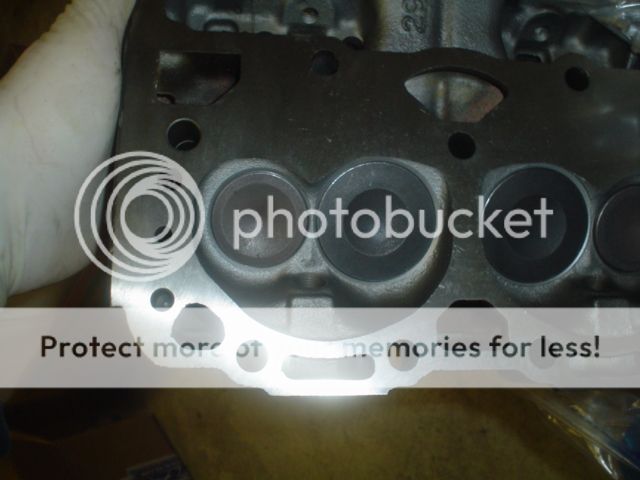
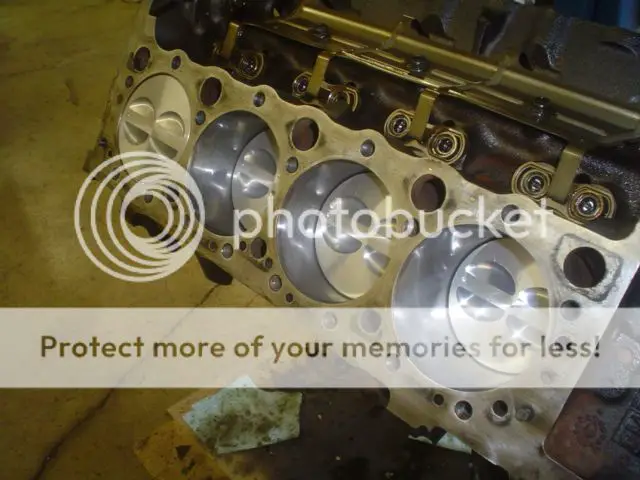
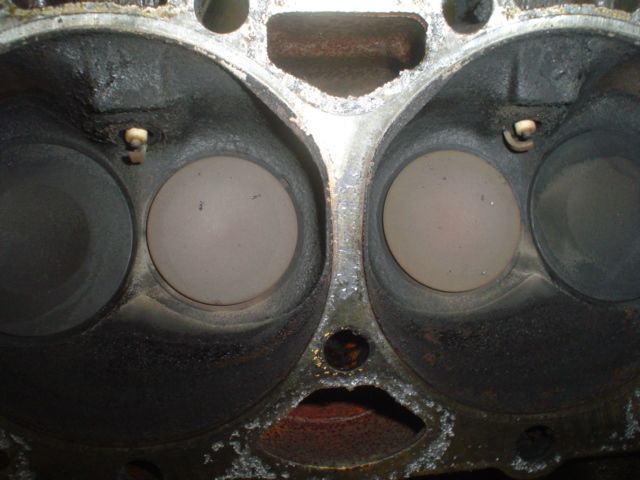
Some suspicious discolorations around several exhaust valves. Looks like it'll probably need a touch-up grind:
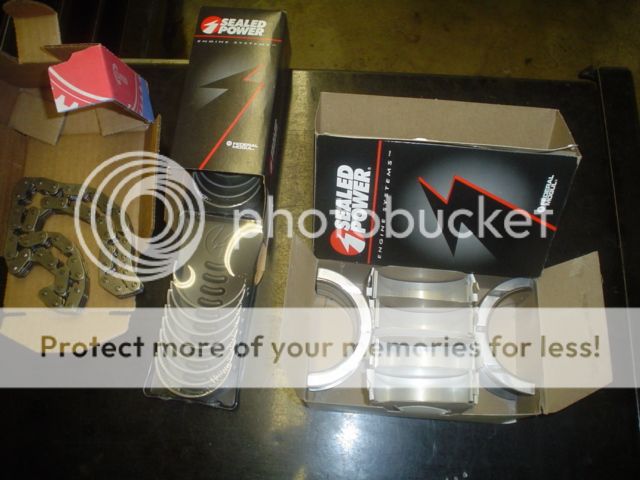
Some ugliness in the bearings:
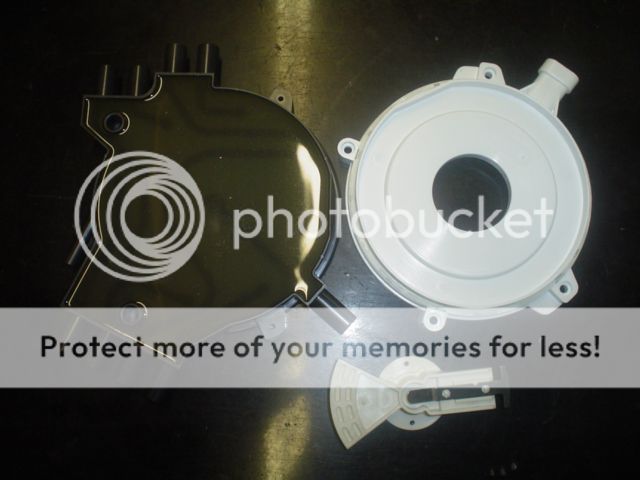
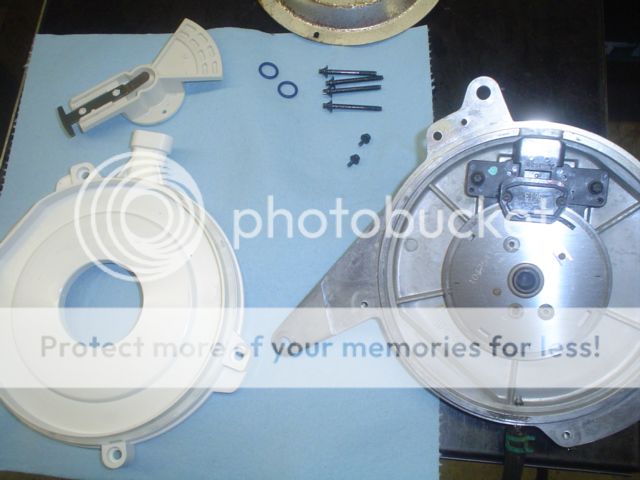
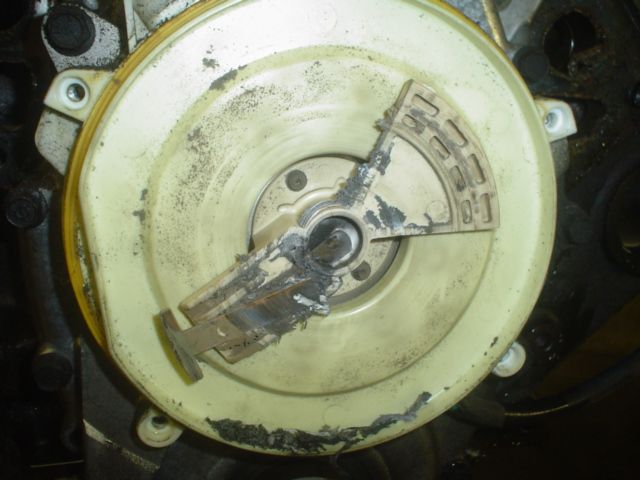
Here's the craziest thing. The cap had become deformed and pushed against the rotor so hard that they were rubbing. Usually an LT1 cap is pretty flat in the epoxied area. This thing was seriously dished. Surprisingly enough it made no noise and ran well. I wonder how much the timing was effected by that twisted rotor?
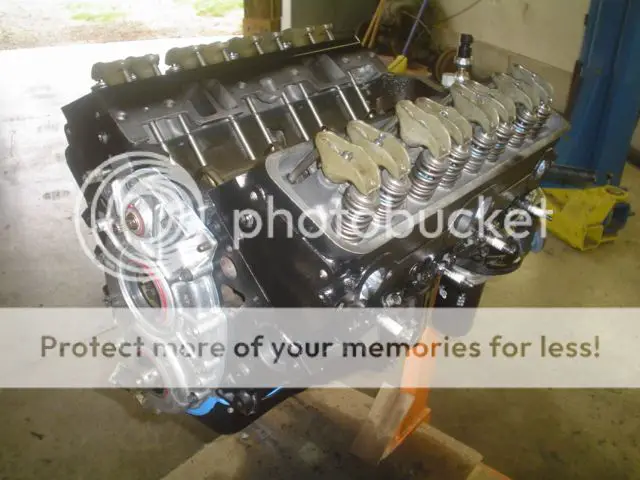
We're in decision mode right now. I'm leaning toward slapping new bearings in it, pistons and rings, new chain, cap and rotor, quick valve grind and run it. Since I'm just doing the labor they may decide to go deeper. More to come...
Preface, First some history; In 1956 my grandfather bought a mildly customized 1935 Ford pickup. Hot flathead, juice brakes, chopped top, bobbed '40 rear fenders (that I still have
), heavily louvered custom hood, Olds flipper hubcaps, dual chrome exhaust stacks, etc. It was his driver until my dad and uncle graduated high school. My uncle got the '35 (still has it), my dad got a '62 Impala. A few years later in the early '70s, after getting married, buying a house and settling into a good job, my dad went on the hunt for a '35/'36 pickup of his own. My grandpa was actually the one who located it as a relative stocker with a bad flathead. Once he got it home, my dad replaced it with a 283 and ran it for a few years until an axle failure prompted him to do an upgrade. At that point it received a 350hp 327, TH350, 9" rearend and front disc brakes. This was taken in 1985:
It remained much the same for almost 20 years and was rotated in and out of daily driver status. In 1996 my brother received it as a graduation present. It's been driven occasionally during summer months but over the last 3 decades has just plain mechanically worn out and has become a bit untrustworthy. Through a semi-complicated three-way labor/cash/parts trade involving my brother, our dad and myself, I'll be performing a mechanical refresh. My brother will be doing the body and paint work on my '35 pickup. These were taken in 2005 but it looks exactly the same today -- just has a thick layer of dust from sitting in the garage.
Chapter 1, Teardown:
The engine is a '96 LT1 pulled from a Fleetwood that was wrecked in 1997 with 5000miles on the clock. I originally swapped the engine/trans into my dad's '64 El Camino in '98. A couple years later he added a Paxton supercharger. He quickly found out that boost+cheap gas+high compression+a shitty Street & Performance tune = piston failure. I swapped in dished pistons as insurance and got a better tune. Found out that S&P adds tons of timing but reverts to speed density. With no MAF, the pistons never stood a chance. He ran it for several more years and had no additional problems and racked up close to 50k miles. He got a deal on another low miler and decided to do a build in another direction so this engine was pulled. I tore it down yesterday with the intention of getting some stock flat tops put back in and maybe having the rotating assembly balanced. Found a few surprises along the way.
More chain stretch than I expected:
Dished pistons to be replaced:
Some suspicious discolorations around several exhaust valves. Looks like it'll probably need a touch-up grind:
Some ugliness in the bearings:
Here's the craziest thing. The cap had become deformed and pushed against the rotor so hard that they were rubbing. Usually an LT1 cap is pretty flat in the epoxied area. This thing was seriously dished. Surprisingly enough it made no noise and ran well. I wonder how much the timing was effected by that twisted rotor?
We're in decision mode right now. I'm leaning toward slapping new bearings in it, pistons and rings, new chain, cap and rotor, quick valve grind and run it. Since I'm just doing the labor they may decide to go deeper. More to come...