1988 Monte Carlo LS ProCharger Build (10/12/21 - Back to Painting, Switching directions for power added)

sls1025

Not-quite-so-new-guy
Apr 24, 2017
33
61
18
VA
The Hellwig kit is way more than just closing up the C channel. It wraps entirely around the frame. It's much more rigid by far. As weak as these frames are from the factory i deemed it necessary for my build anyway.

I'm following your build with great interest but just a note, the Hellwig kit only closes in the C-channel of the frame. I have one now that I'm working on as well.


I personally am going to do the Hellwig kit and and cross bracing as shown in post 27 by Burning. Keep up the good work.
 
  • Like
Reactions: 1 user

Tony1968

Royal Smart Person
Supporting Member
Jul 1, 2018
2,324
5,132
113
NW Indiana
I'm following your build with great interest but just a note, the Hellwig kit only closes in the C-channel of the frame. I have one now that I'm working on as well.


I personally am going to do the Hellwig kit and and cross bracing as shown in post 27 by Burning. Keep up the good work.
Mine wrapped around the frame completely
 
  • Like
Reactions: 1 user

sls1025

Not-quite-so-new-guy
Apr 24, 2017
33
61
18
VA
Mine wrapped around the frame completely

Well there is nothing wrong with that! It's a bonus. The only kit I noticed that did a complete 'wrap' of the frame was from a site that catered to folks building low riders.

Thank you
 

Tony1968

Royal Smart Person
Supporting Member
Jul 1, 2018
2,324
5,132
113
NW Indiana
Well there is nothing wrong with that! It's a bonus. The only kit I noticed that did a complete 'wrap' of the frame was from a site that catered to folks building low riders.

Thank you
I don't know if you are using the same setup because if you look at the pdf you posted you can see how it wraps the frame
 
  • Like
Reactions: 1 users

Burning

Greasemonkey
Jul 9, 2020
182
647
93
Bardstown, KY
No real update at all, been helping my buddy out getting his car all finished up painting some of the fillers for his regal.

Ended up throwing my junk 5.3 on with some junk heads so i can keep the oil pan off and mock everything up on the car. Ill just order the Holley pan when i get to that point on my good 5.3 rebuild. Holley has been holding my hooker turbo manifolds hostage for over a month and still shows mid October to ship, however everyday that number changes by another day added. Honestly thinking about canceling my order through the dealer im using and ordering through summit to just get them here at this point.

zeW0QlNl.jpg


Think im going to run my turbo similar to this one but more up front a bit to clear room for my AC compressor. I found a bracket that holds it closer to the block than any i have seen yet, so hopefully it all works out.
c2ao8nHl.jpg

ontt7ltl.jpg


a couple pics of the bracket for AC.
10291_dimensions-260x298.jpg


Hopefully after i get back from vistiting family in a couple of week i can get back to my car working on the body. My buddy and I (he used to work in a paint shop) are thinking of a middle January timeline to get the car jamb'd out in color and rest of the car in full primer ready to shoot, then ill separate the body and the frame and send the frame out to be worked.

Also through looking at my options on the fuel situation..... after battling the cost to make the conveniences worth it for in-tank system capable of the power im wanting ~850-900 RWHP on e85 i am going to just sump my stock tank and run a MagnaFlow 4303, they have been proven to get into the 1000 rwhp on e85 range. And if i ever have to upgrade to a bigger pump all i have to do is disconnect and swap a new one in.
 
  • Like
Reactions: 6 users

Burning

Greasemonkey
Jul 9, 2020
182
647
93
Bardstown, KY
Finally moving forward again!

Got the last section of the roof panel welded up, did a much better job this go around, only have one low spot and its right where there is access hole so thats a win.

Went to the local paint store and got some supplies - PPG Shopline Epoxy Primer, EverCoat Rage Filler, EverCoat Glaze, and a giant stack of sanding disks and rolls lol.

The lady at the store did tell me that i would need to recoat the entire car if it sat more than 3 days before getting 2k primer or basecoat.

Question for my painters, can i go ahead and use the filler on the metal directly then epoxy the whole car? Or do i need to epoxy first then do the filler?
 
  • Like
Reactions: 5 users

Burning

Greasemonkey
Jul 9, 2020
182
647
93
Bardstown, KY
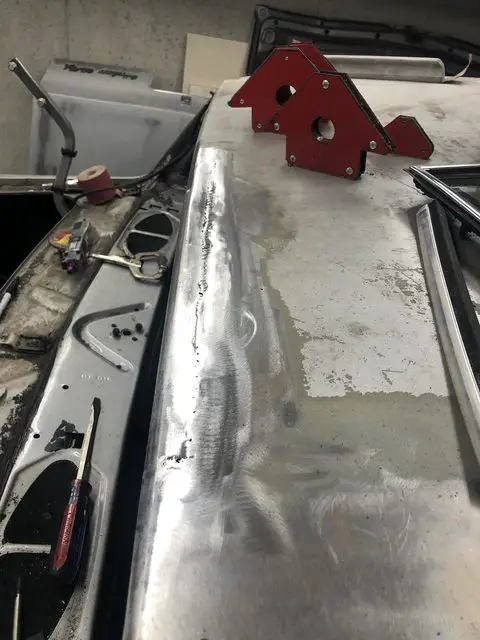
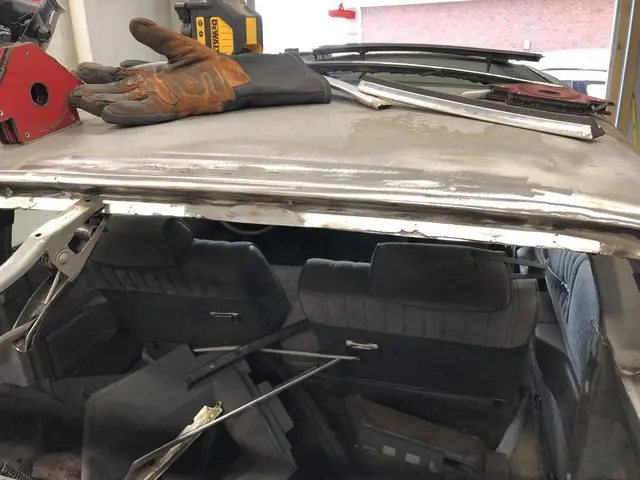
Been slowly chipping away at the metal work. I give anyone who does this on a regular basis props. I have had so many times ive been grinding and get it so thin that i had to goober it back up to shape it, those edges on the roof are no joke.

Second patch is in, and still have some more to do where the little pin holes are.
drHXaEIl.jpg


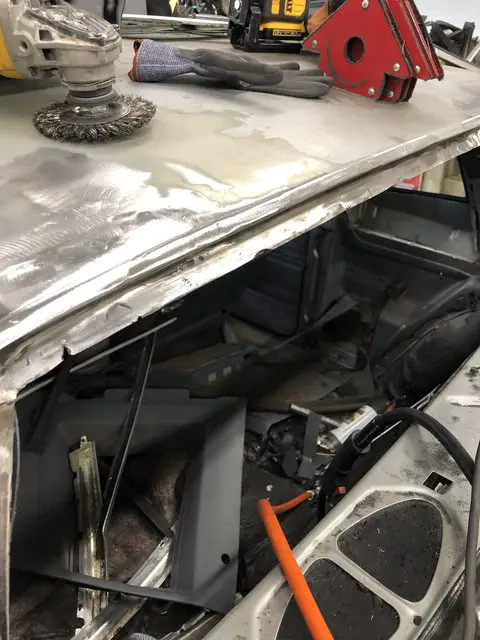
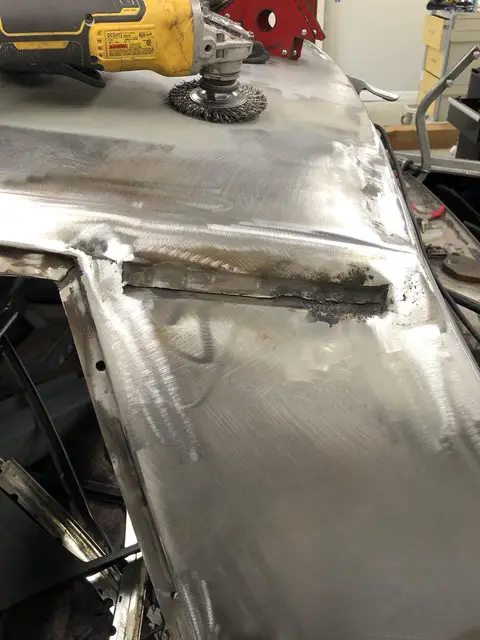
Roof seam is welded back in
5BaLY3Ml.jpg

2VI0lGul.jpg


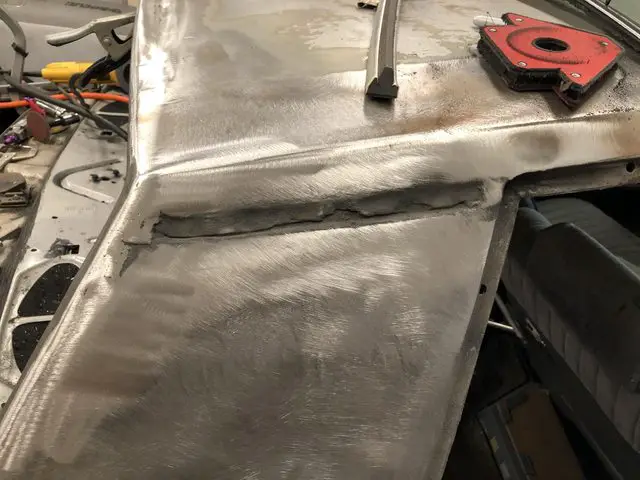
Working on the Pass side roof to sail panel seam. Still have to add a little bit of material.
vEtbd23l.jpg


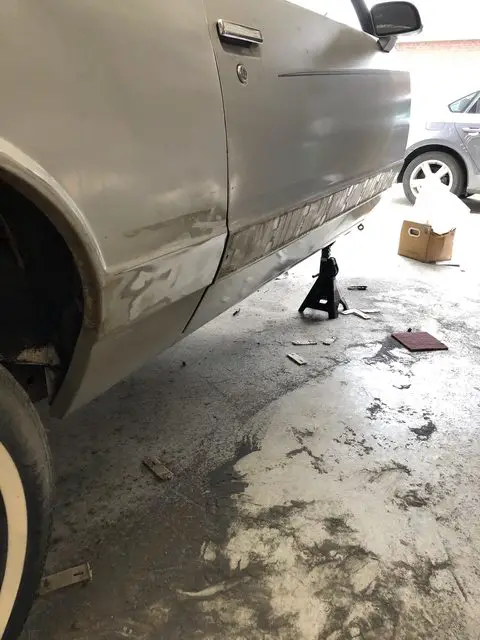
Building up the edge so that the window doesnt have a gap and the trim has something to sit on.
K8yPfXjl.jpg


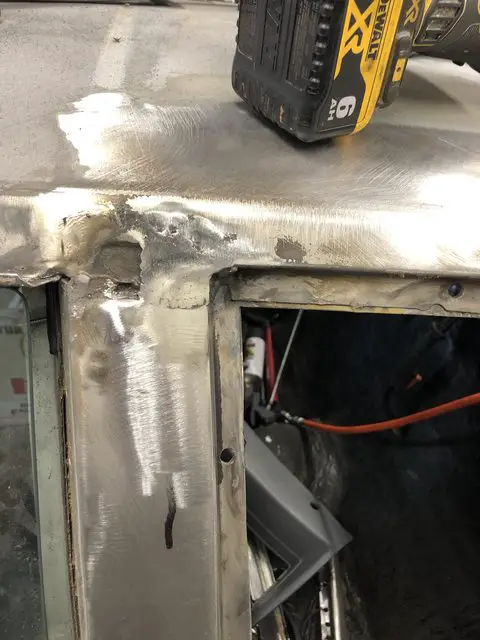
Driver side quarter window trim edge being built up.
iB6lruWl.jpg


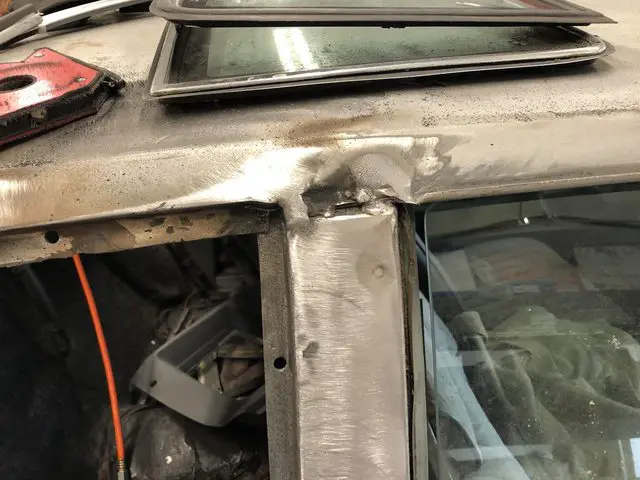
Driver side roof to sail panel seam, think this one is pretty close still have some fine tuning to do.
eisL1Jhl.jpg


Now to the point of no (Just really hard) return. I have decided to ditch the chrome side trim, which means all the nubs had to be ground off.
zzqhAhnl.jpg


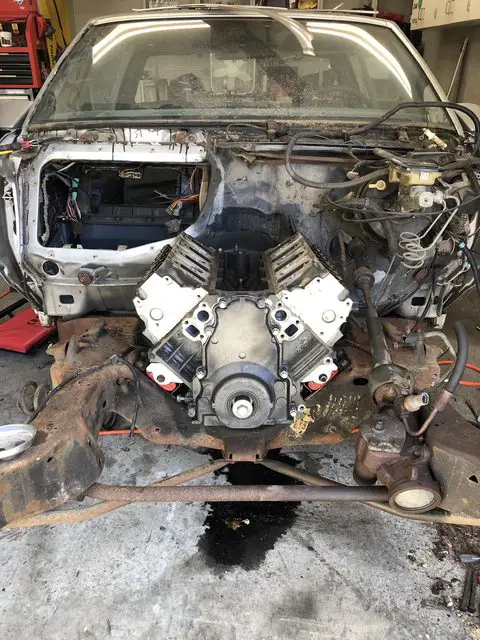
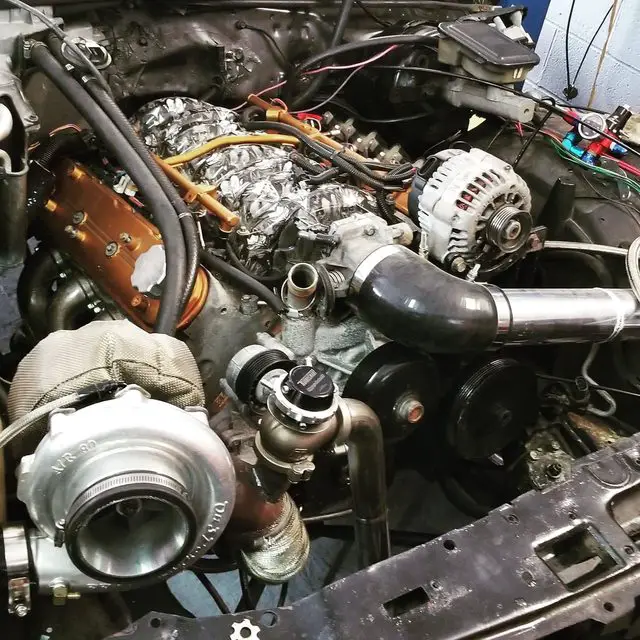
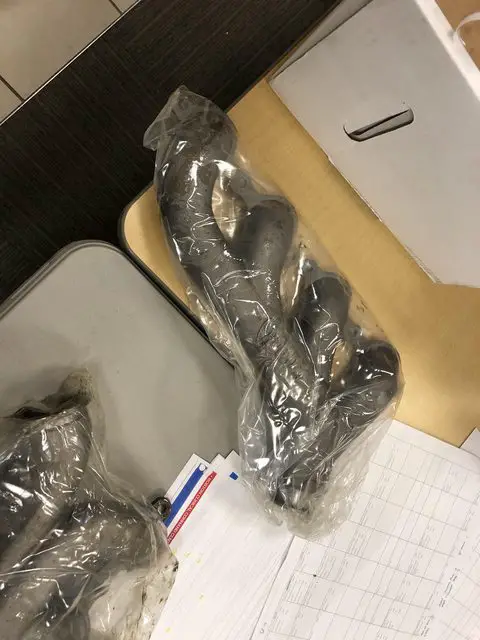
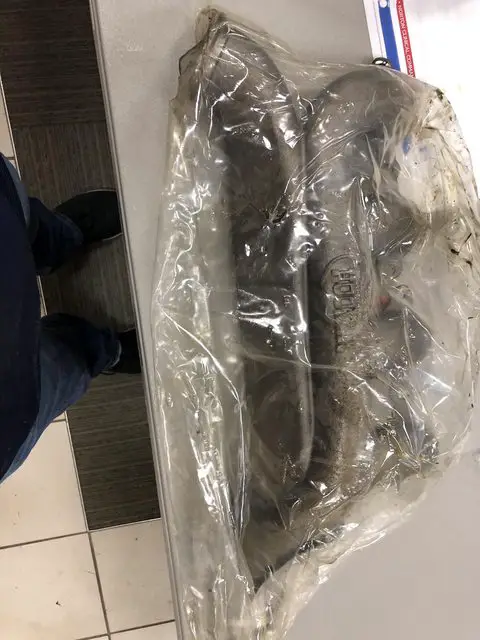
Also my Holley Manifolds finally showed up!!
Vl5ik3Bl.jpg

IiOs2iAl.jpg


And last, this is the inspiration and basically what i have in my head this whole time for a look i am going for.
MDhq8wvl.jpg


Now a question for you guys, oviously my car doesnt have the little trim nibs on the inside of the window edge for the rear. I dont have access to a stud gun to weld the nib on. Has anyone had any luck with these little screw on ones? I am worried about using them because obviously puts you at risk for water and bare metal again...

My buddy and i are going to keep pecking away at the metal work and then finally dissasembling the car and stripping to bare metal. We will wet coat the entire car in the epoxy and start the body work with filler and glaze! Chipping away one day at a time, we are hoping to get her in paint by the end of the year so i can focus on the frame and engine in the spring.
 
  • Like
Reactions: 14 users

UC645

Royal Smart Person
Apr 20, 2020
1,083
3,072
113
Kittanning, Pa
I think there was a company that offered a pop rivet style of trim stud. You could use those but since those need predrilled holes put the car in epoxy primer first, then use some epoxy seam sealer on the rivets to seal them against water intrusion.

Found the site:
 
  • Like
Reactions: 7 users

Burning

Greasemonkey
Jul 9, 2020
182
647
93
Bardstown, KY
I think there was a company that offered a pop rivet style of trim stud. You could use those but since those need predrilled holes put the car in epoxy primer first, then use some epoxy seam sealer on the rivets to seal them against water intrusion.

Found the site:
Those are pretty snazzy! I have saved the links when i get to that point. I did find out one of my friends has a stud gun, although it is not a uni spotter are all of the tips interchangeable?
 
  • Like
Reactions: 3 users

GBodyForum is a participant in the Amazon Services LLC Associates Program, an affiliate advertising program designed to provide a means for sites to earn advertising fees by advertising and linking to amazon.com. Amazon, the Amazon logo, AmazonSupply, and the AmazonSupply logo are trademarks of Amazon.com, Inc. or its affiliates.

Please support GBodyForum Sponsors

Classic Truck Consoles Dixie Restoration Depot UMI Performance

Contact [email protected] for info on becoming a sponsor