BUILD THREAD '88 Monte Carlo SS w/ LY6 6.0 swap

Status
Not open for further replies.

SStavin

Apprentice
Apr 3, 2015
87
189
33
Chicagoland
Iv'e been visiting over here at GBodyforum more and more often. I really love how helpful, knowledgeable, and diverse the community is over here. I wanted to move more of my build activity to this forum. the beginning of the thread can be found here...

http://www.montecarloss.com/community/ubbthreads.php?ubb=showflat&Number=895848#Post895848

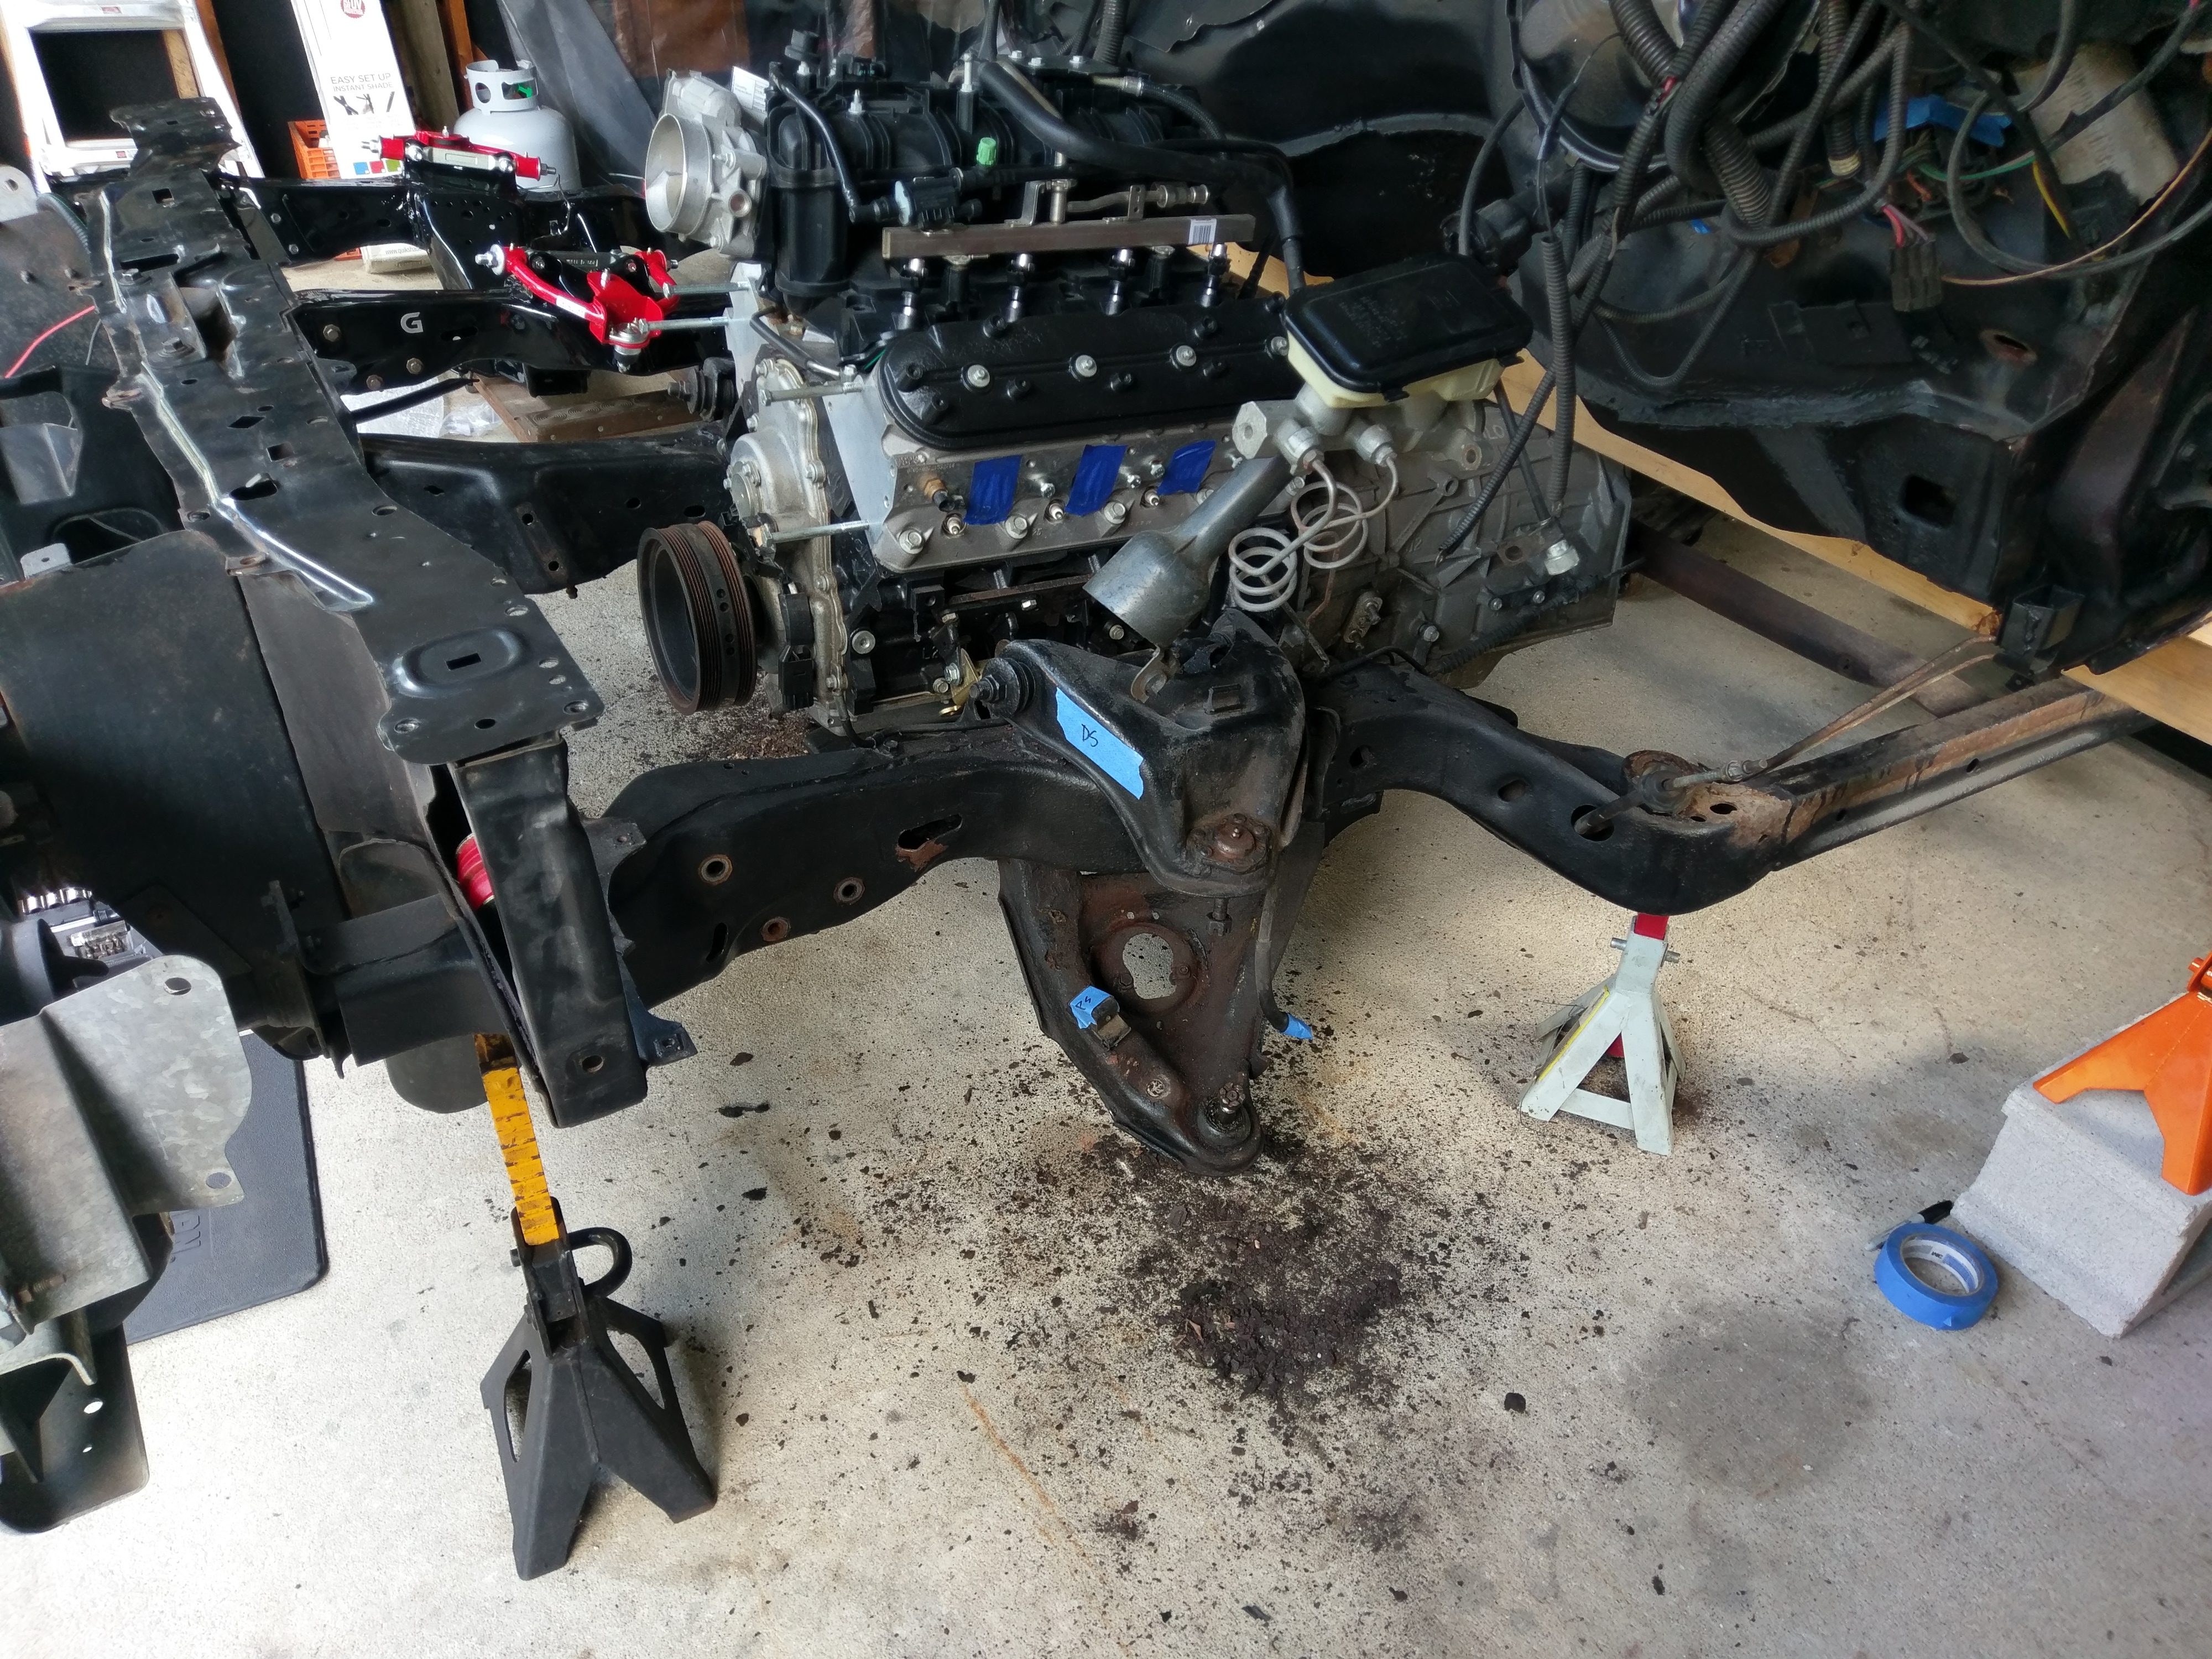
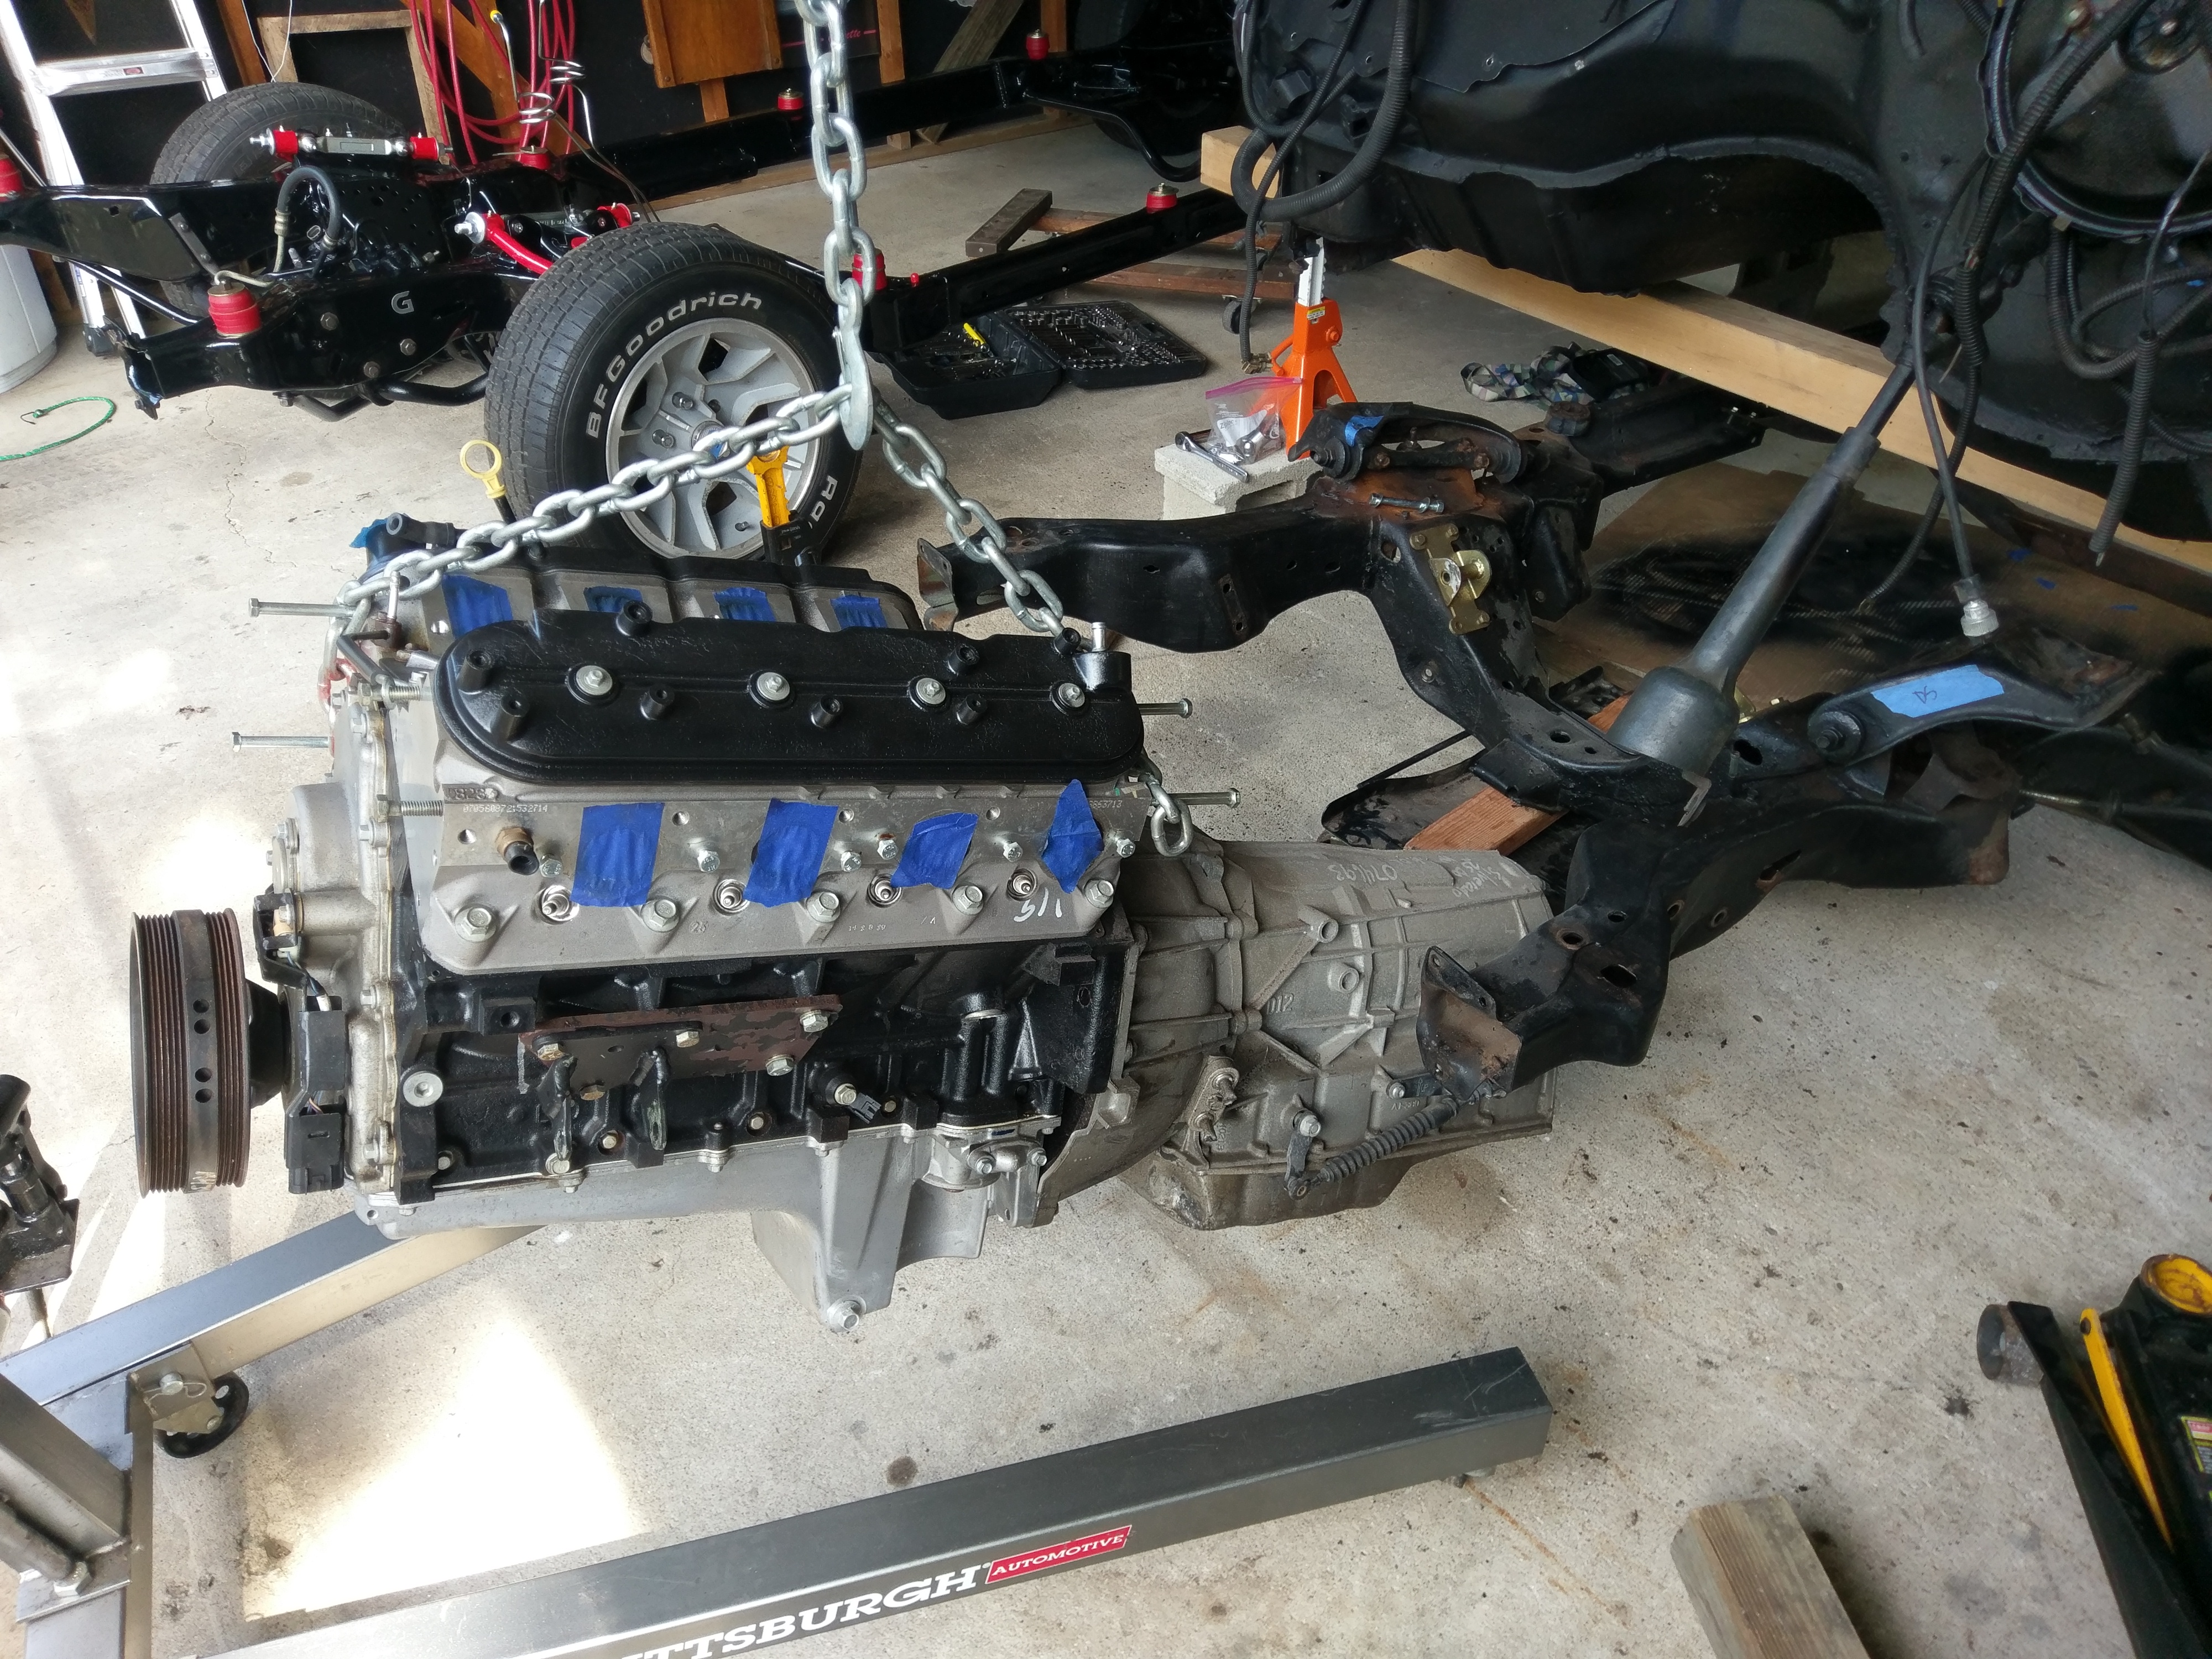
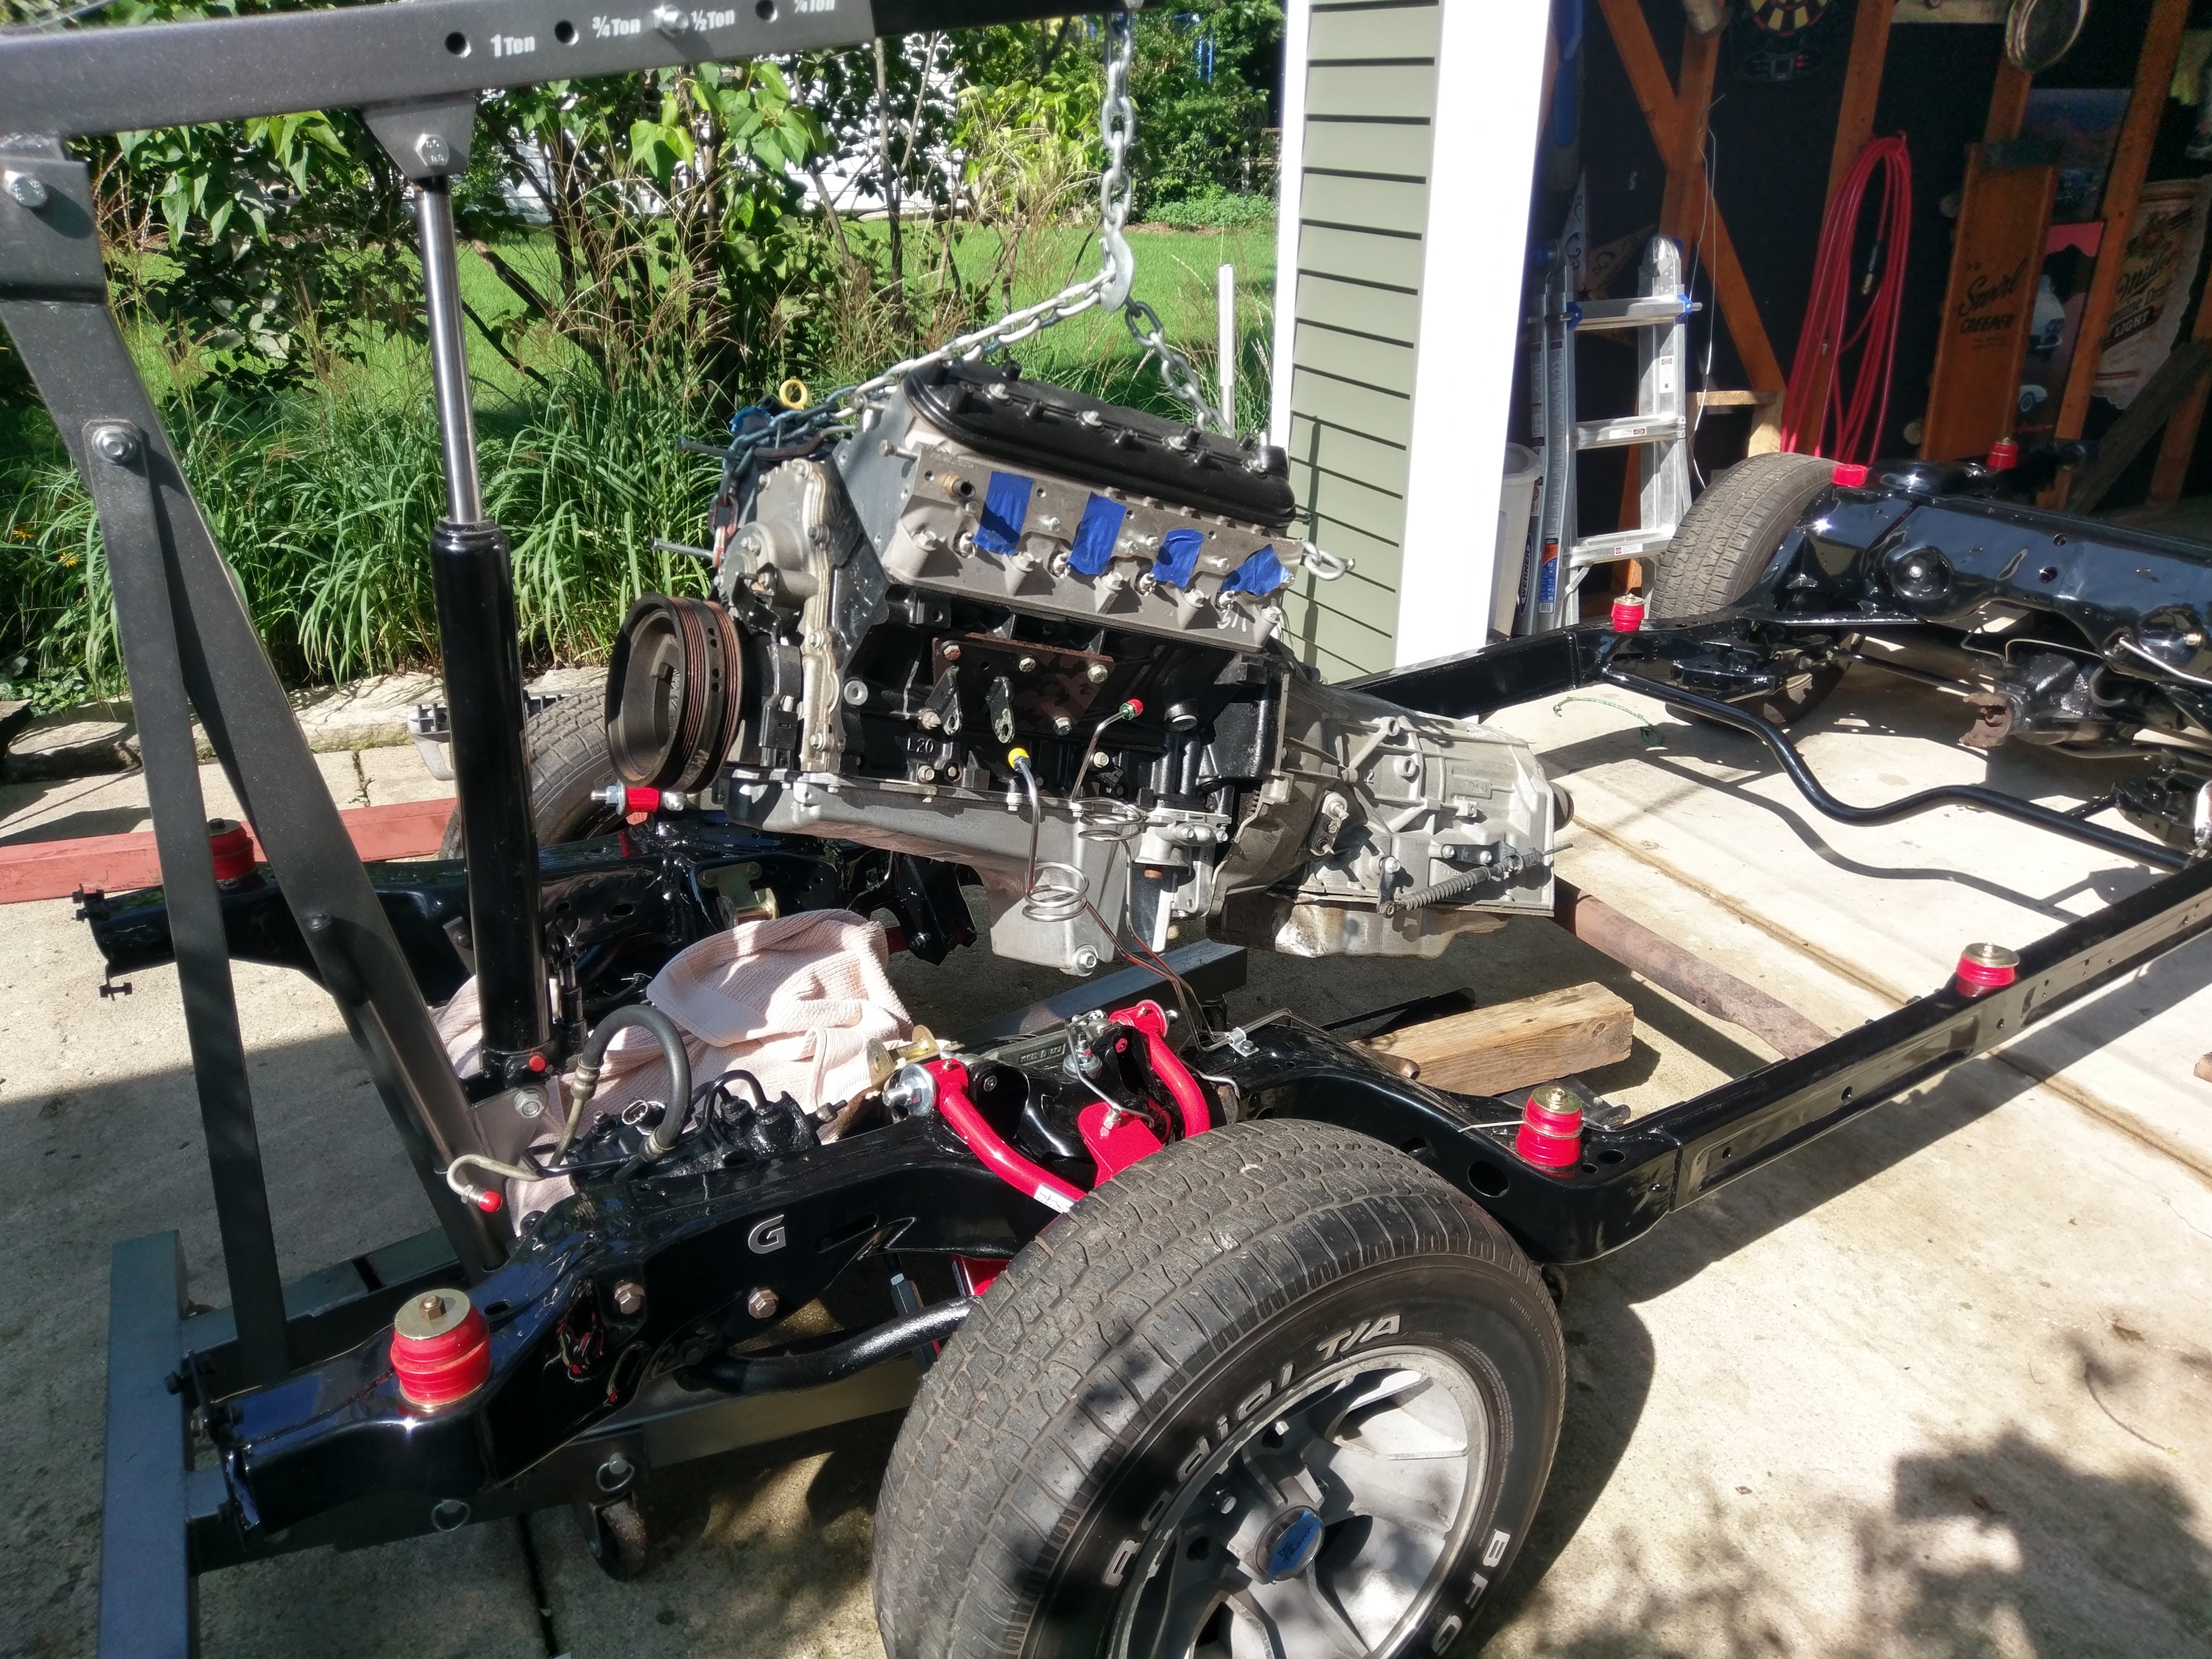
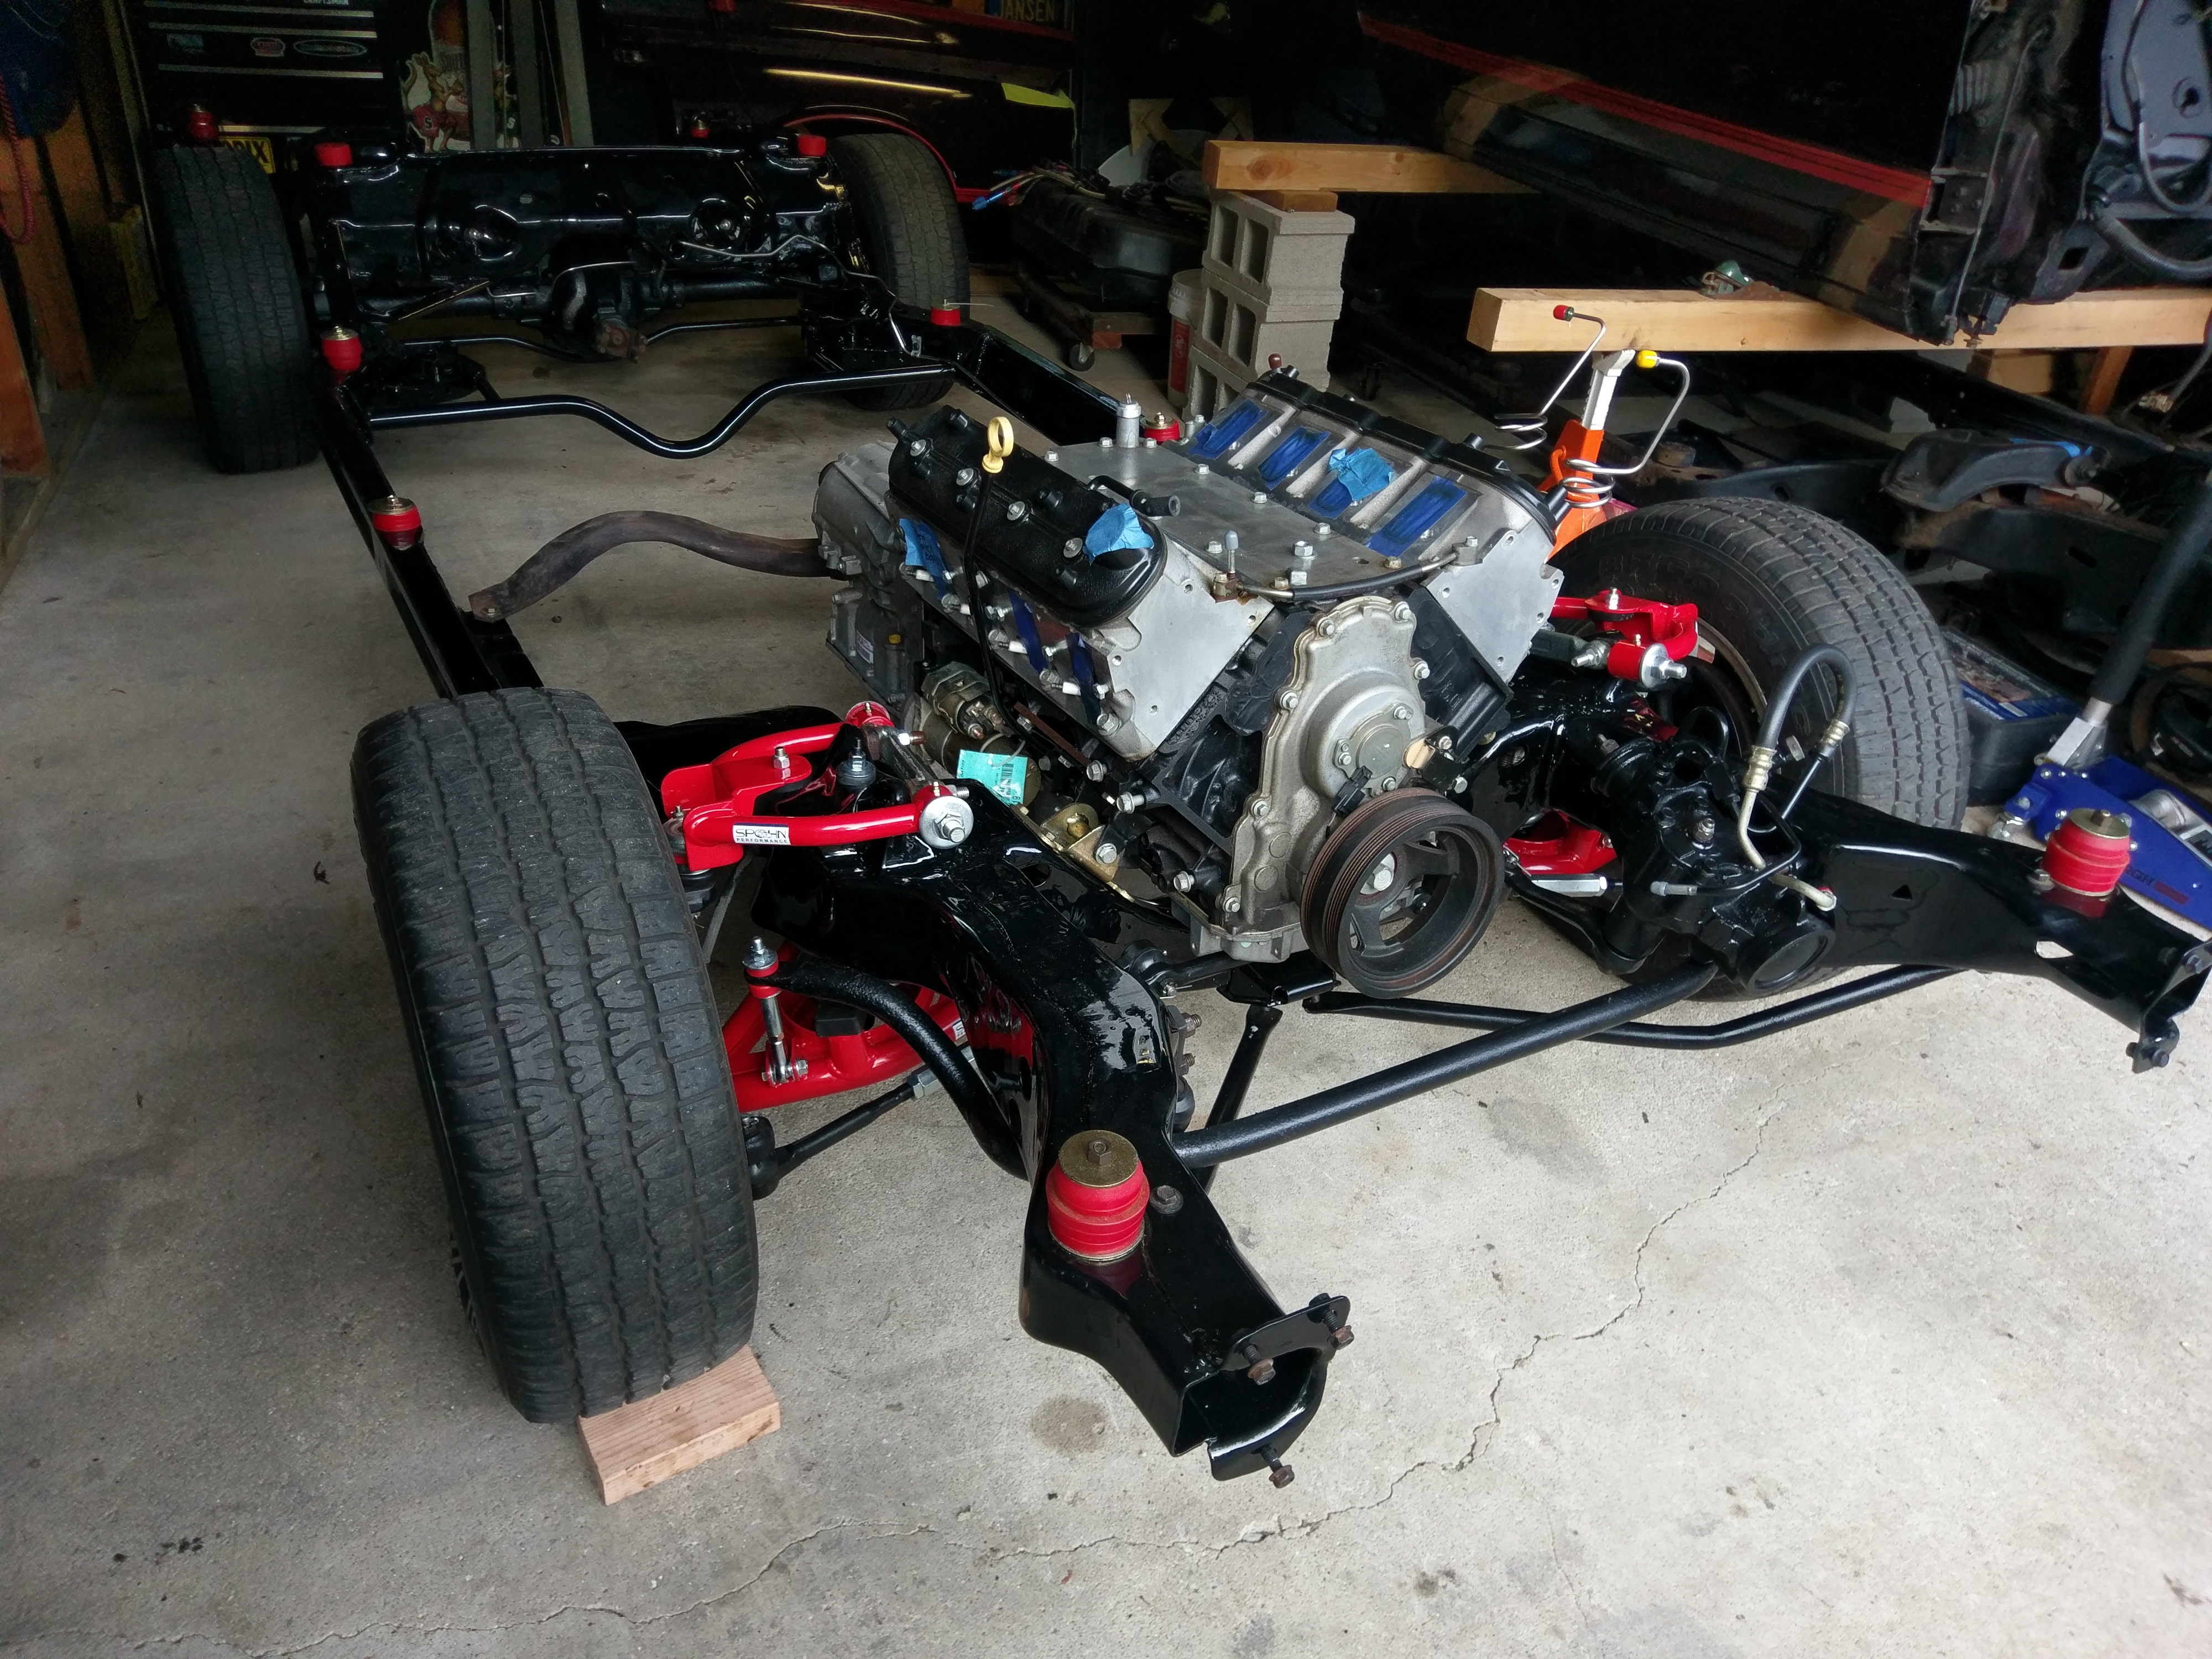
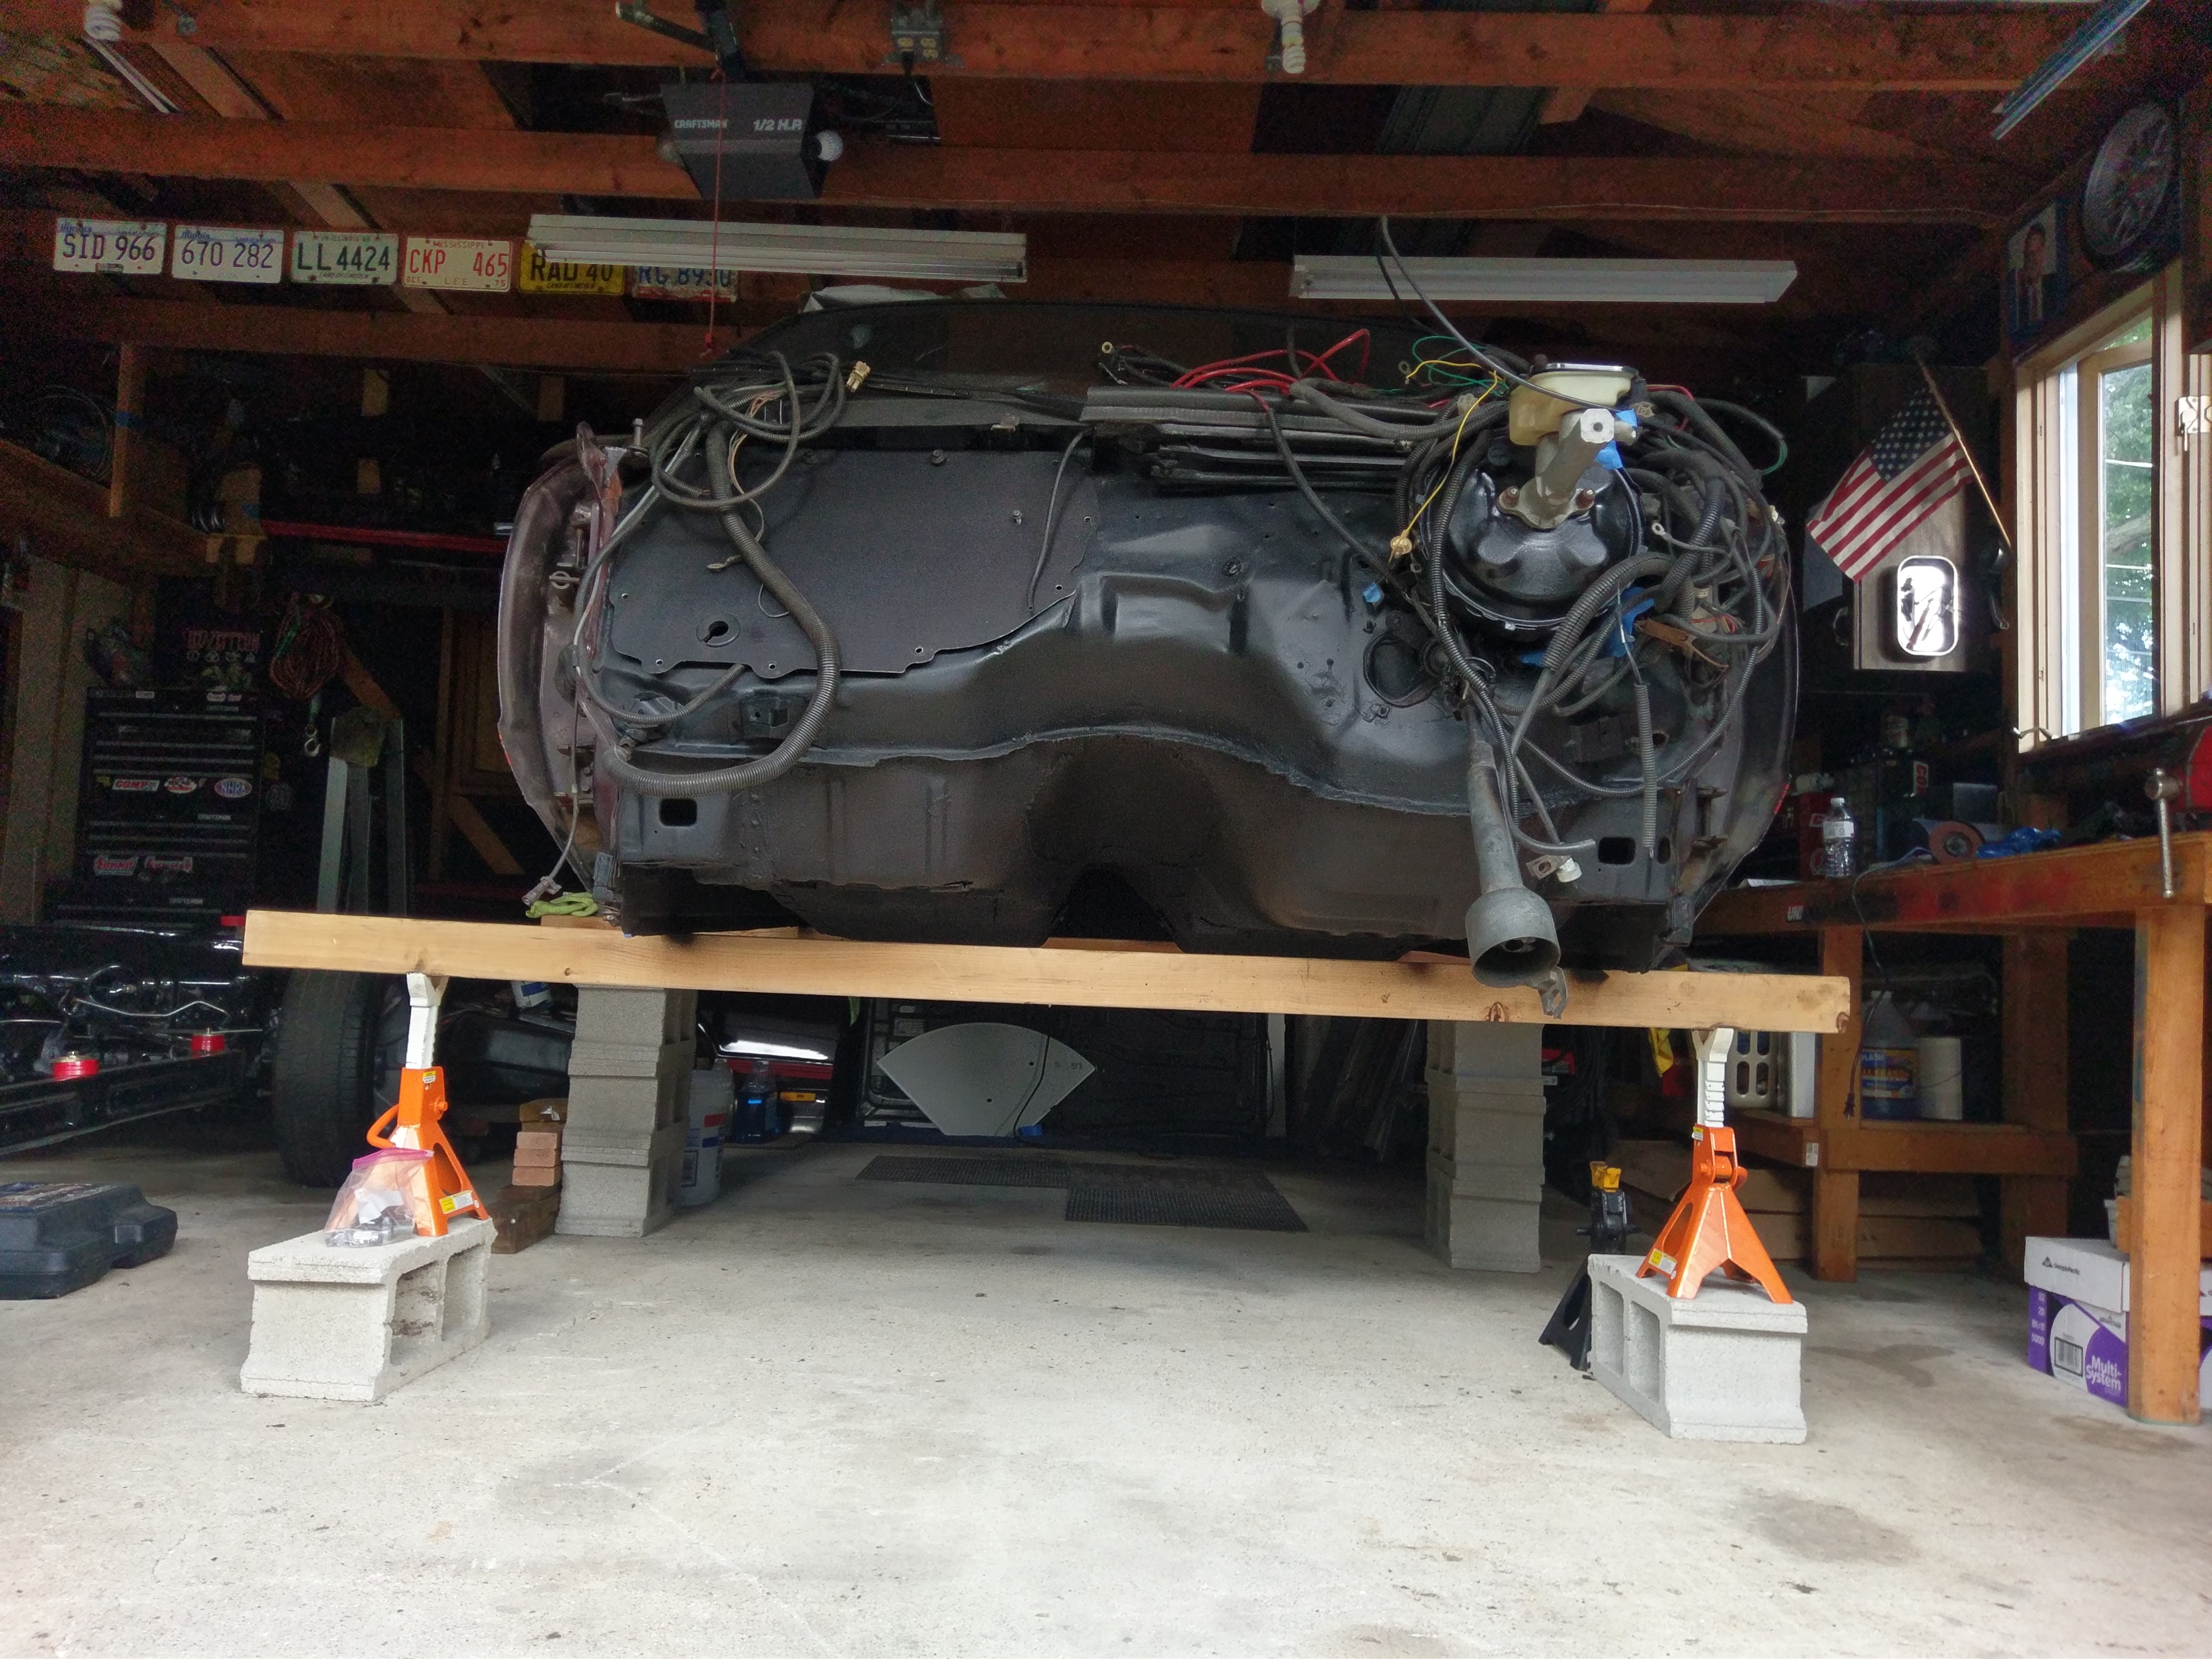
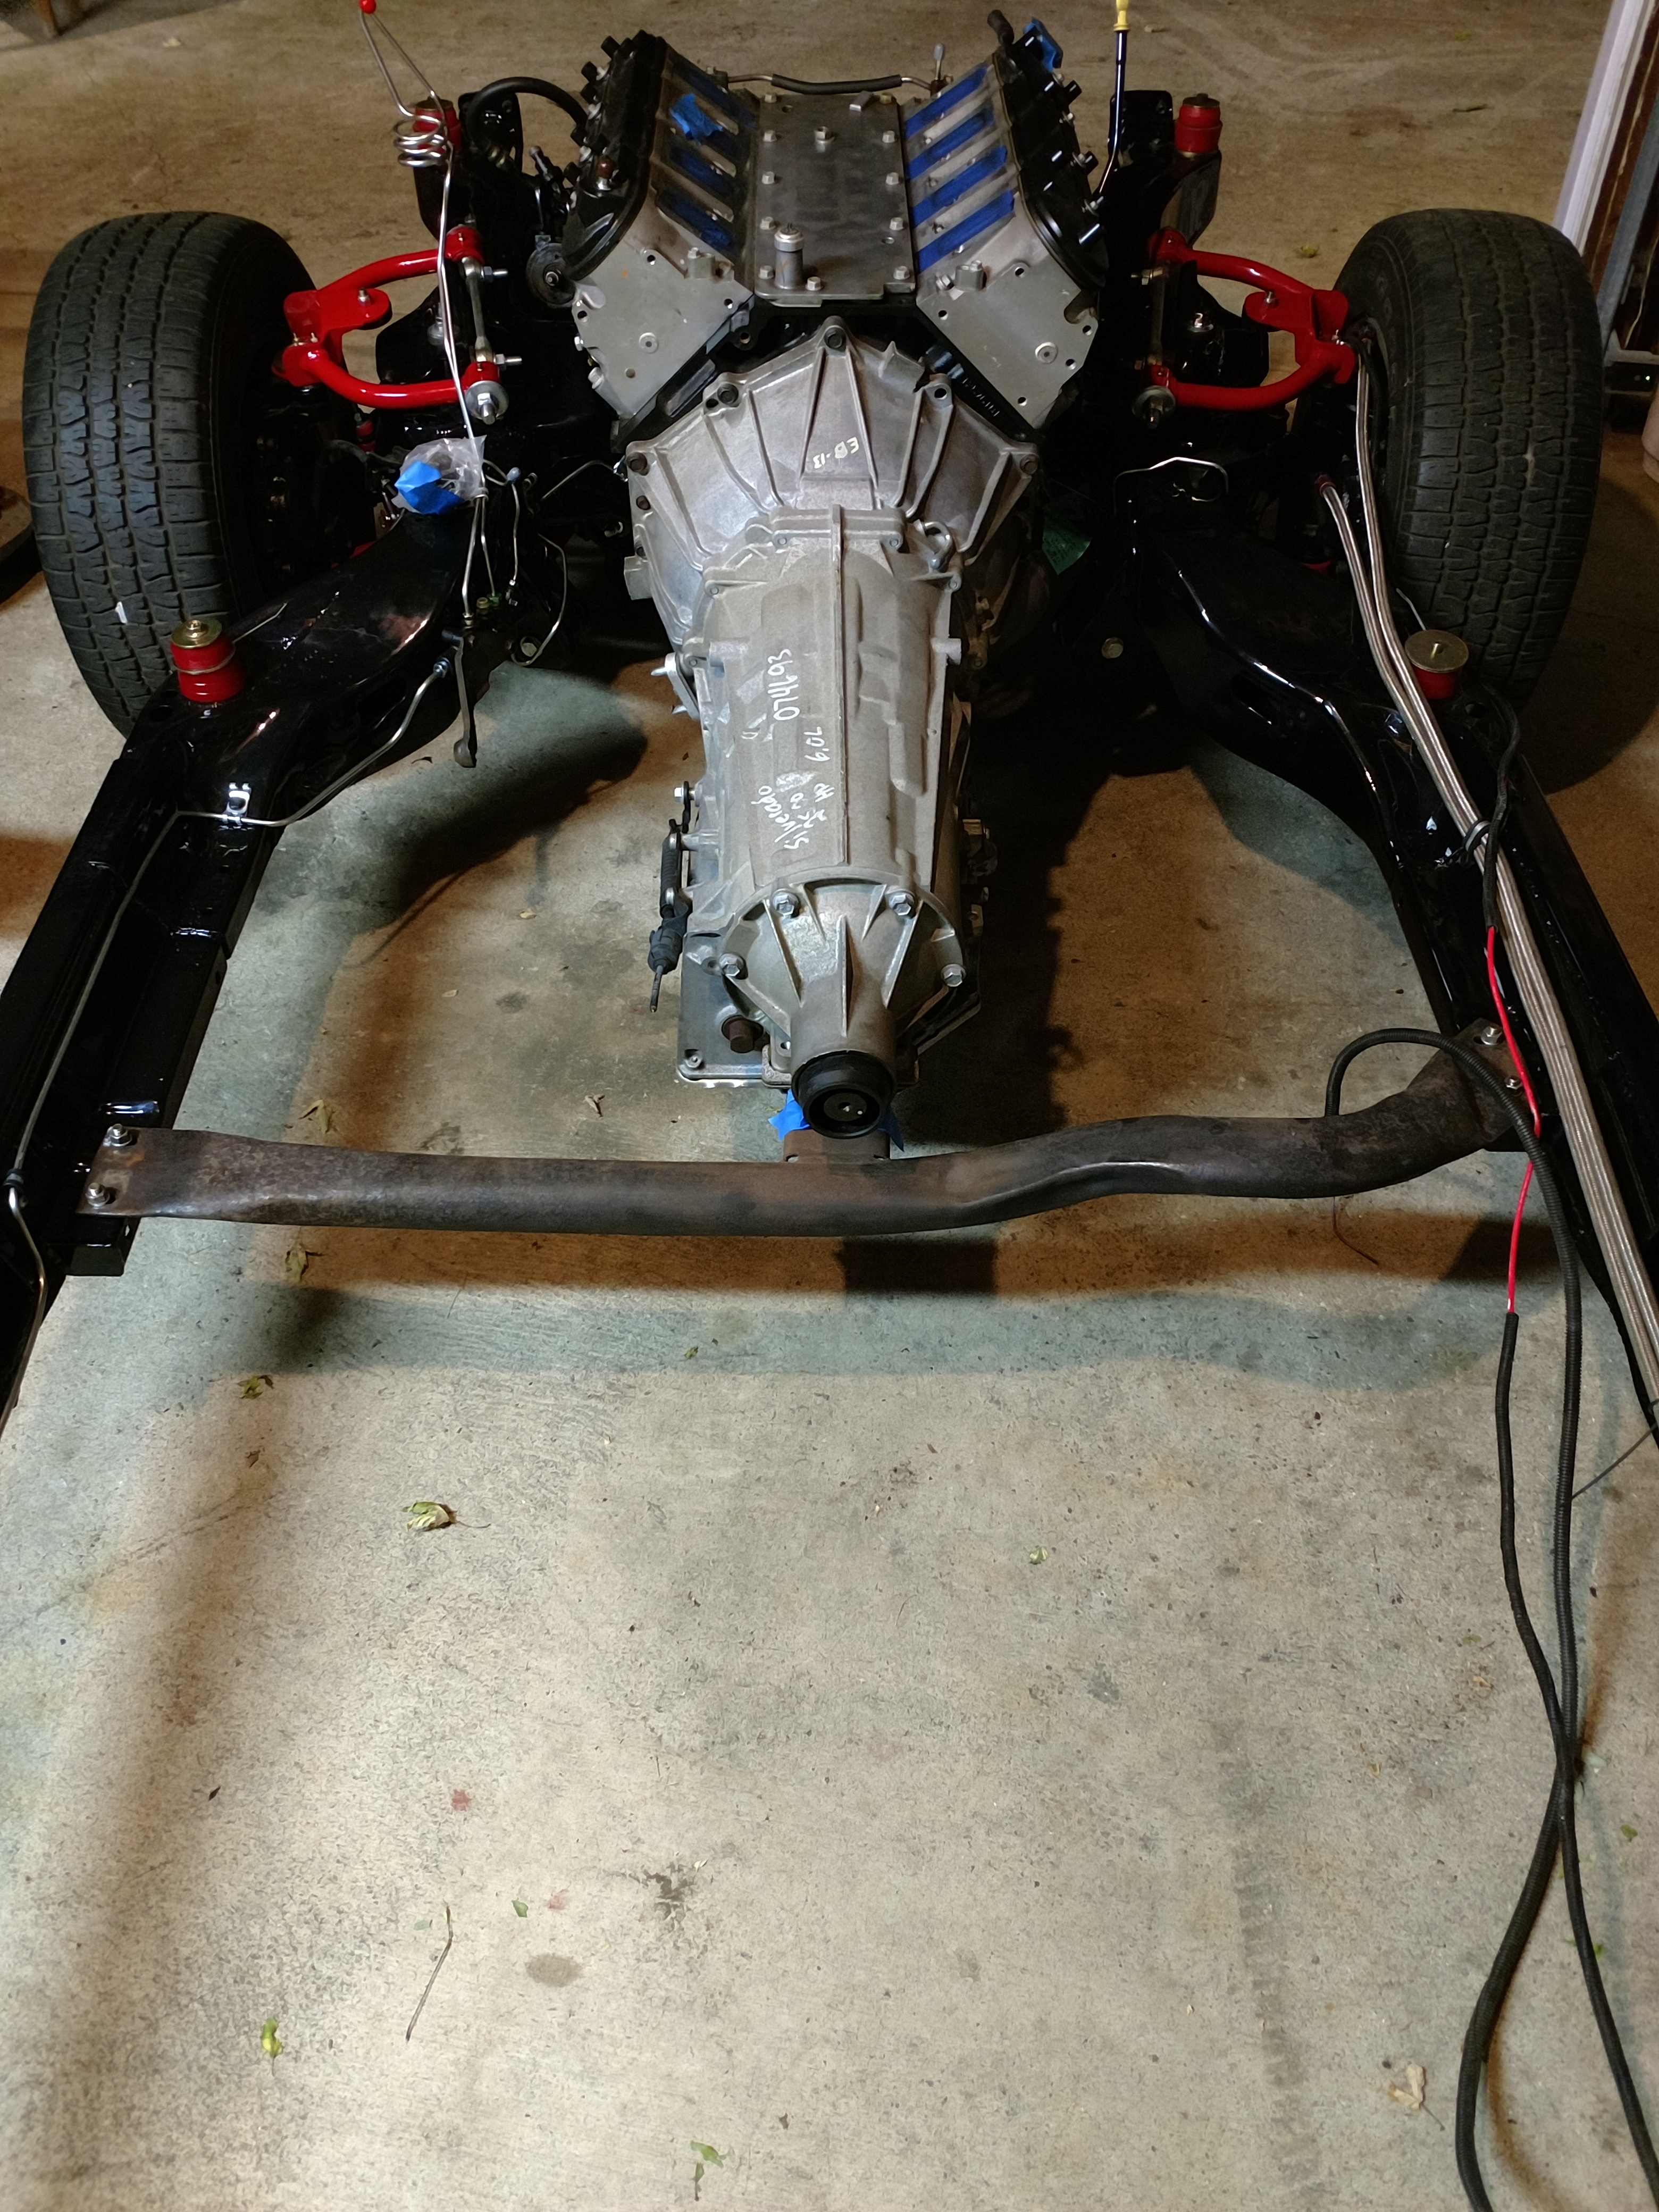
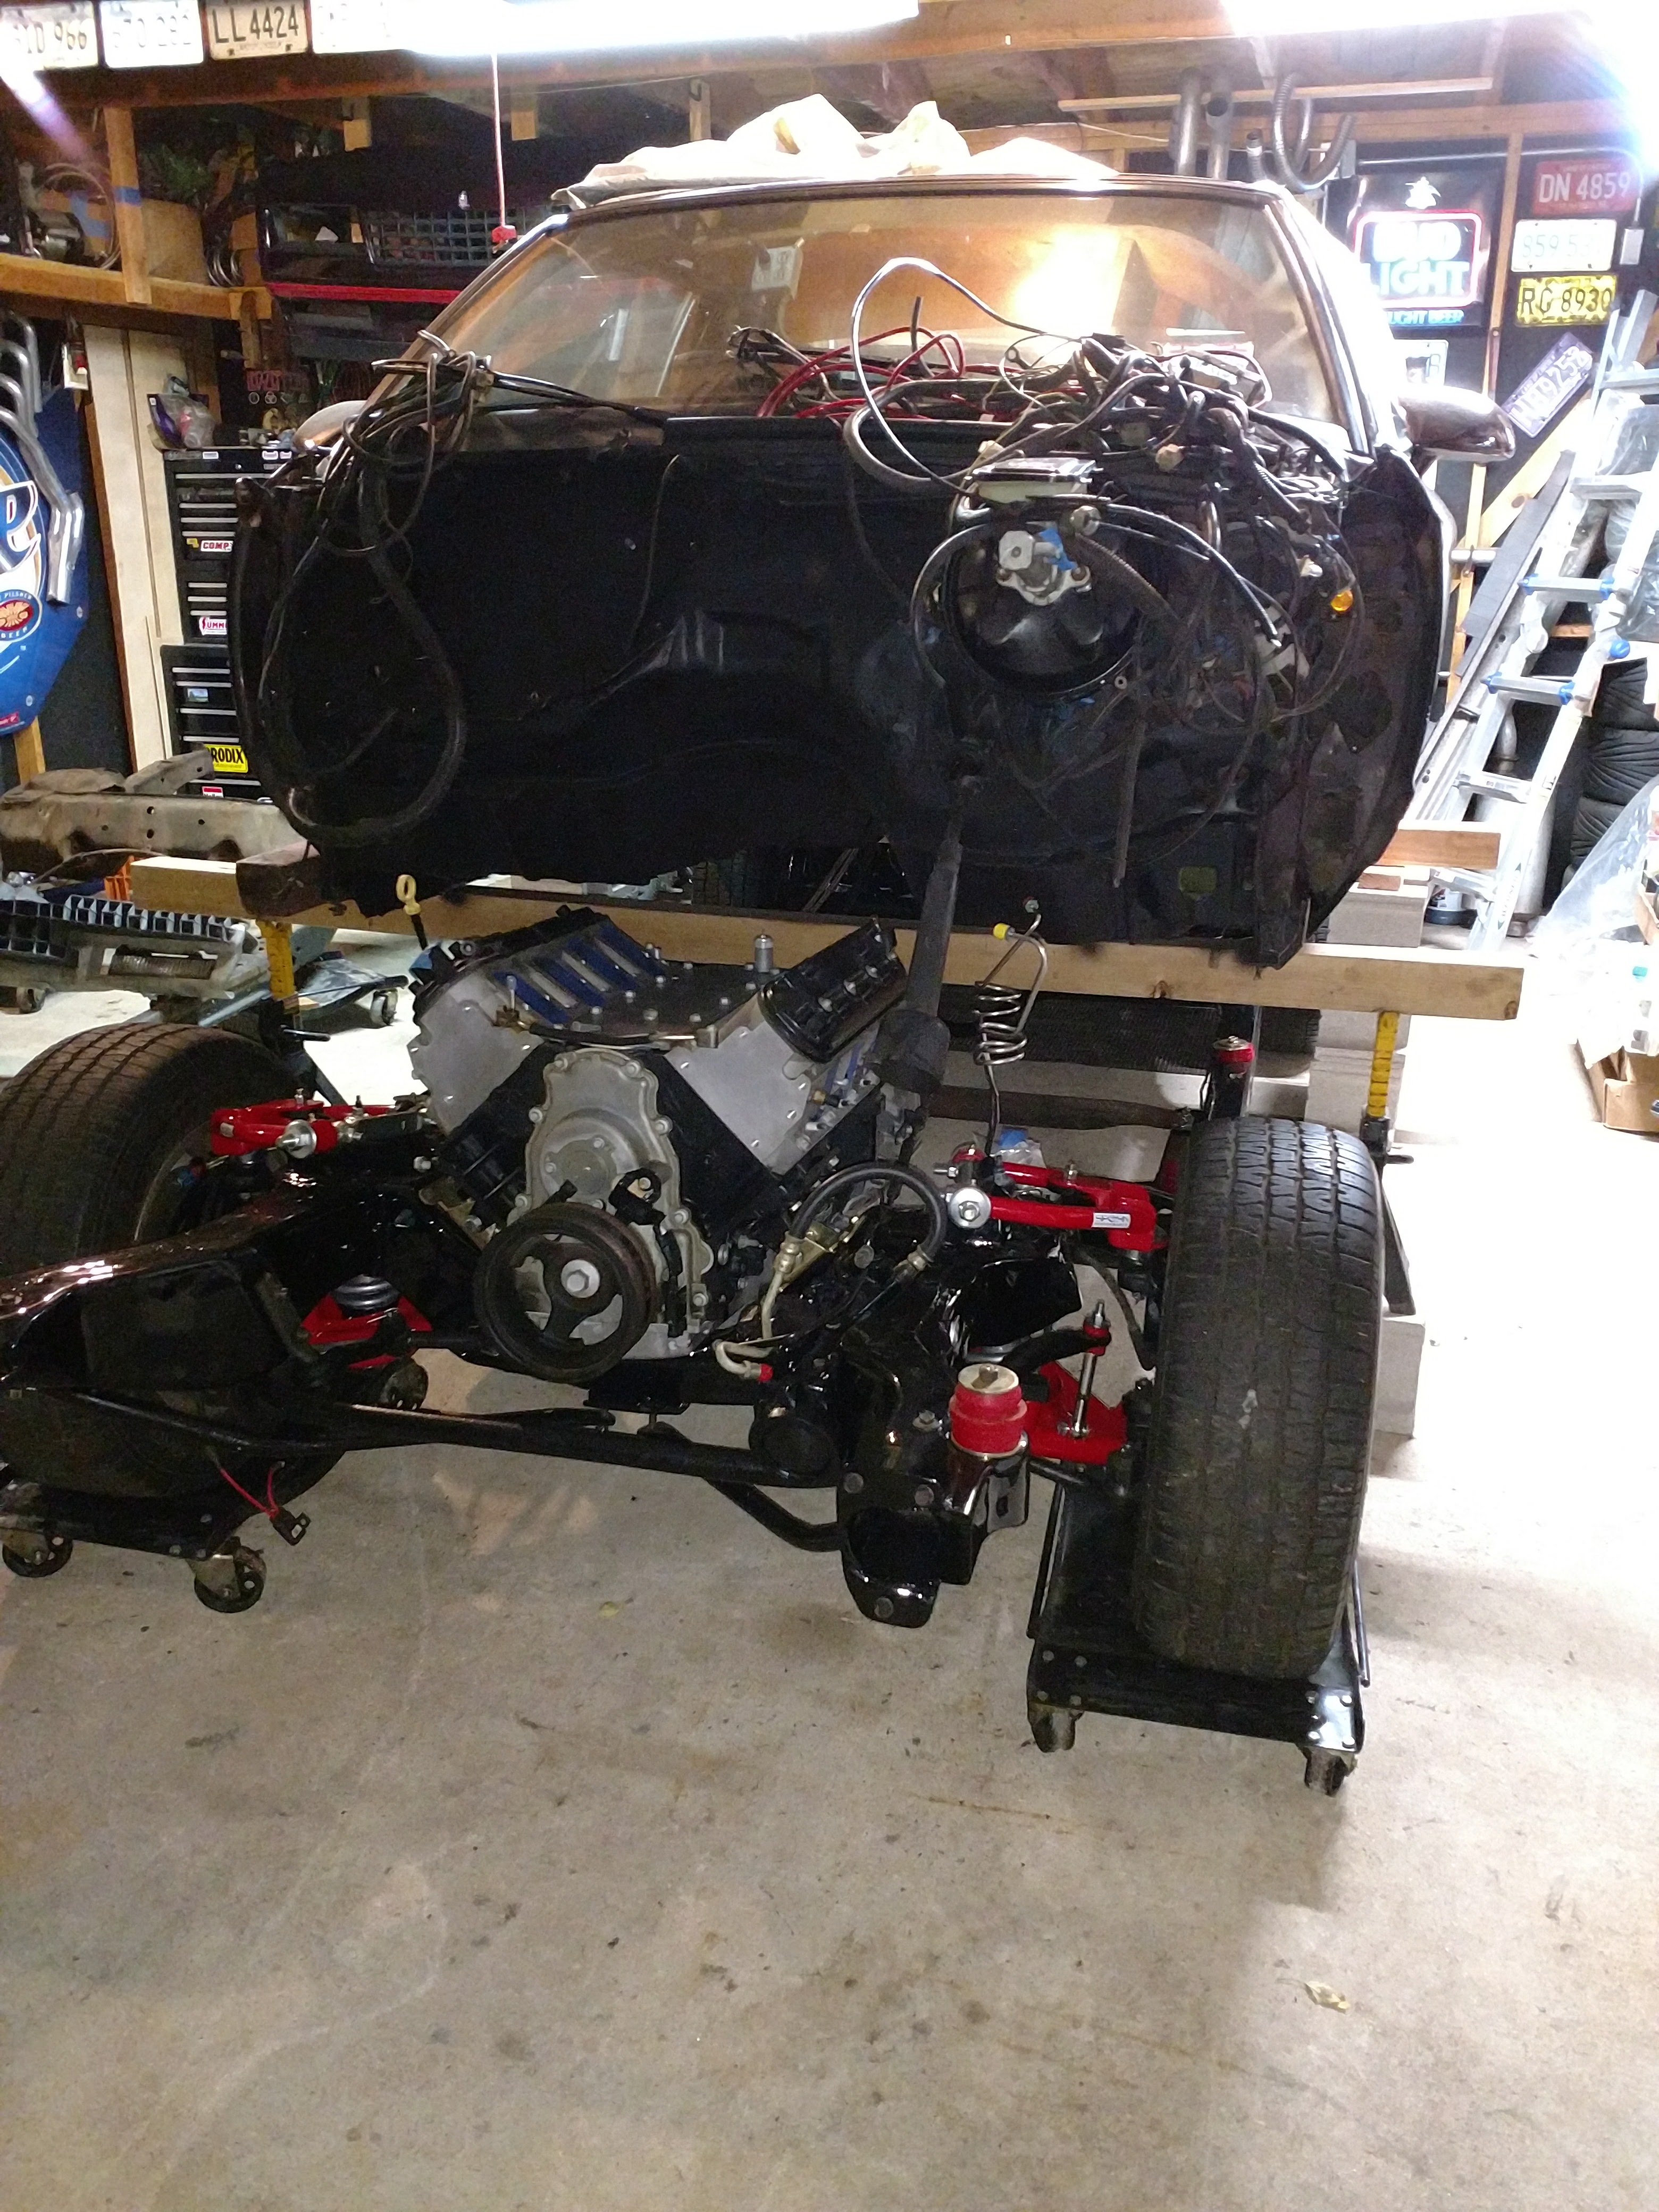
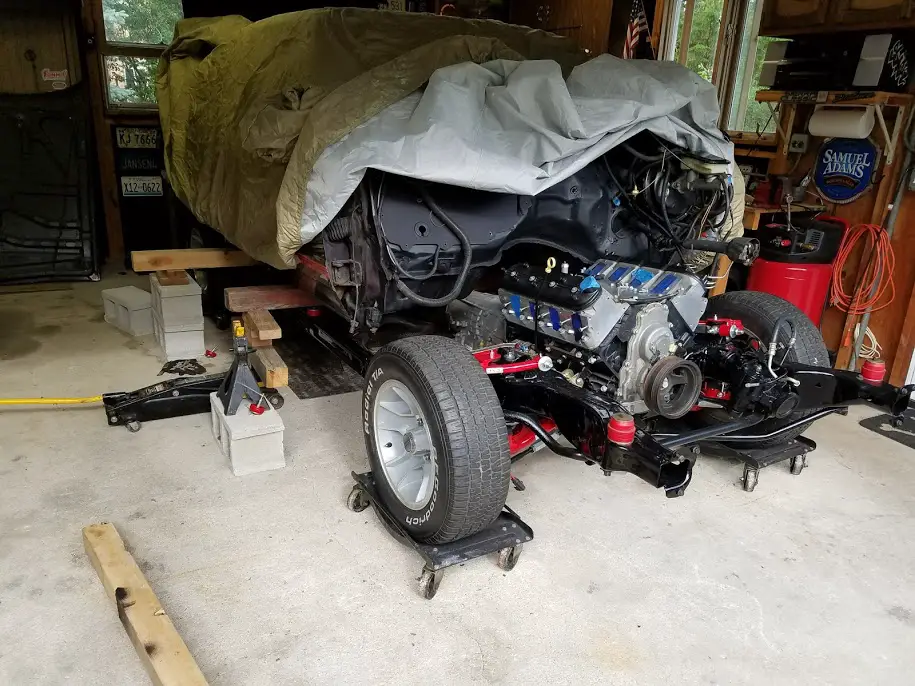
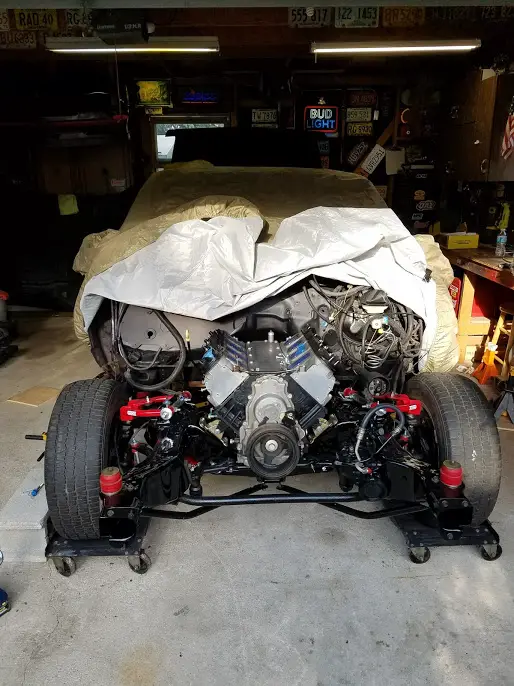
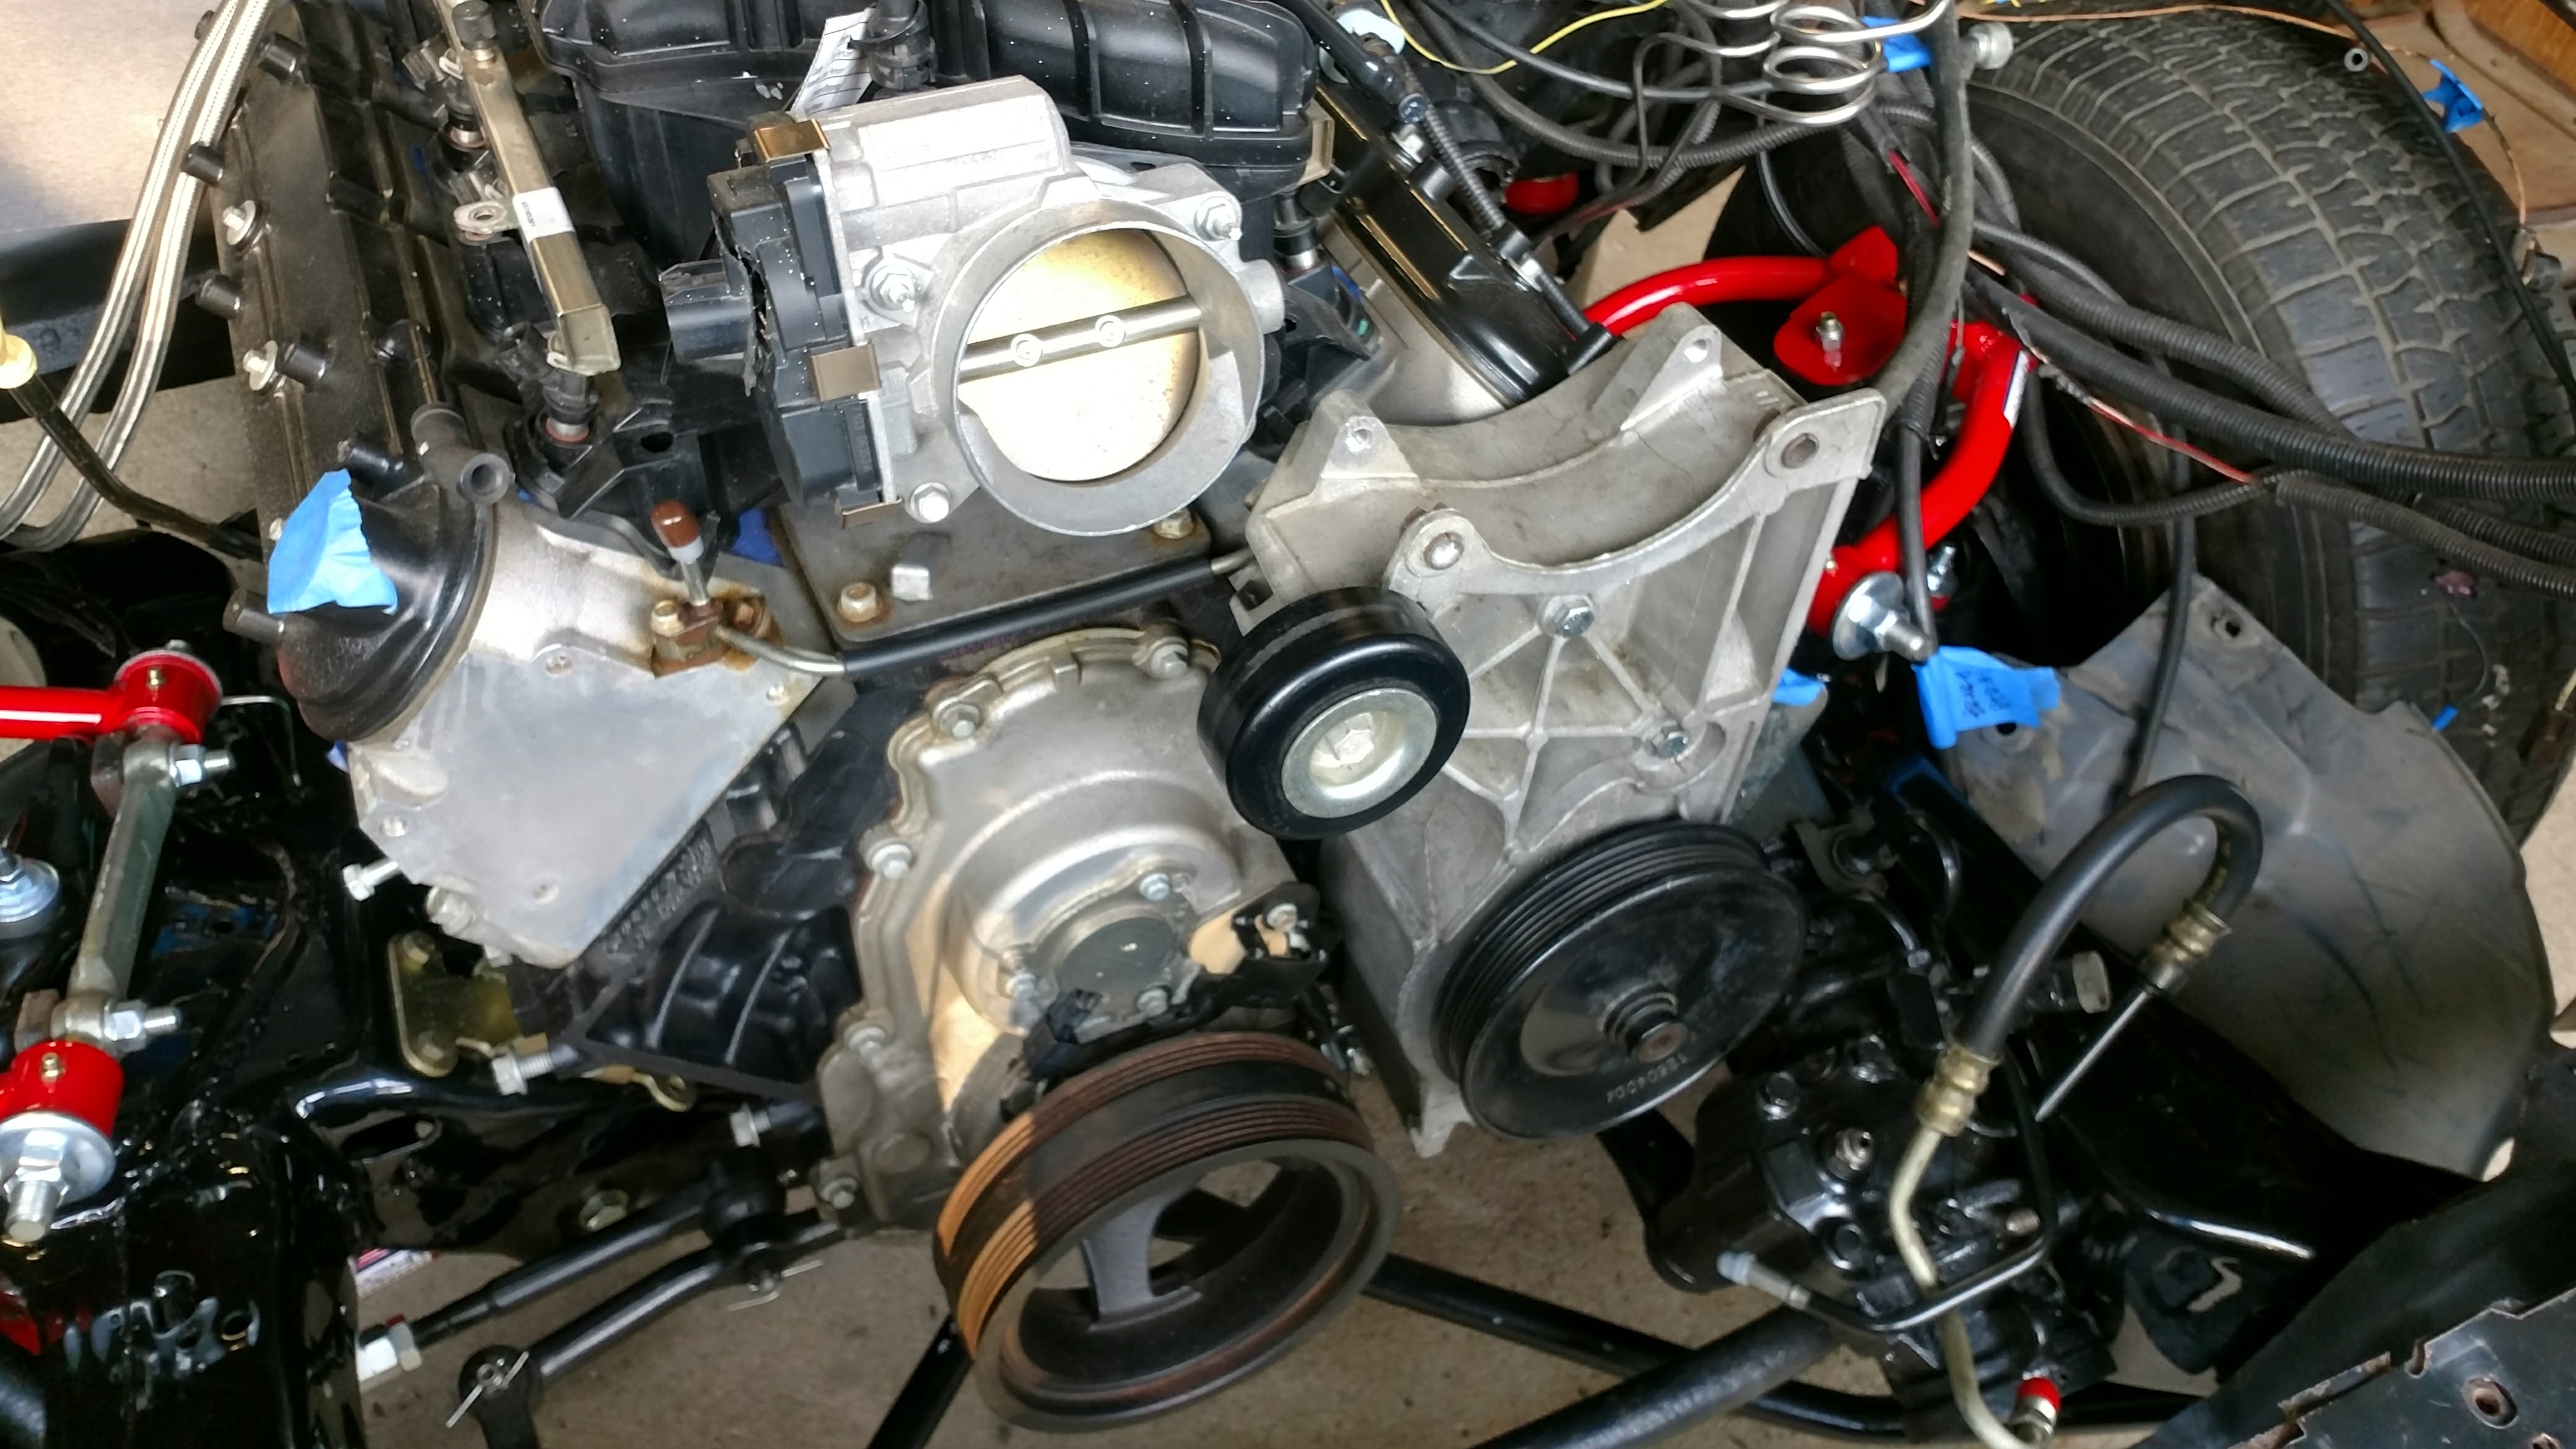
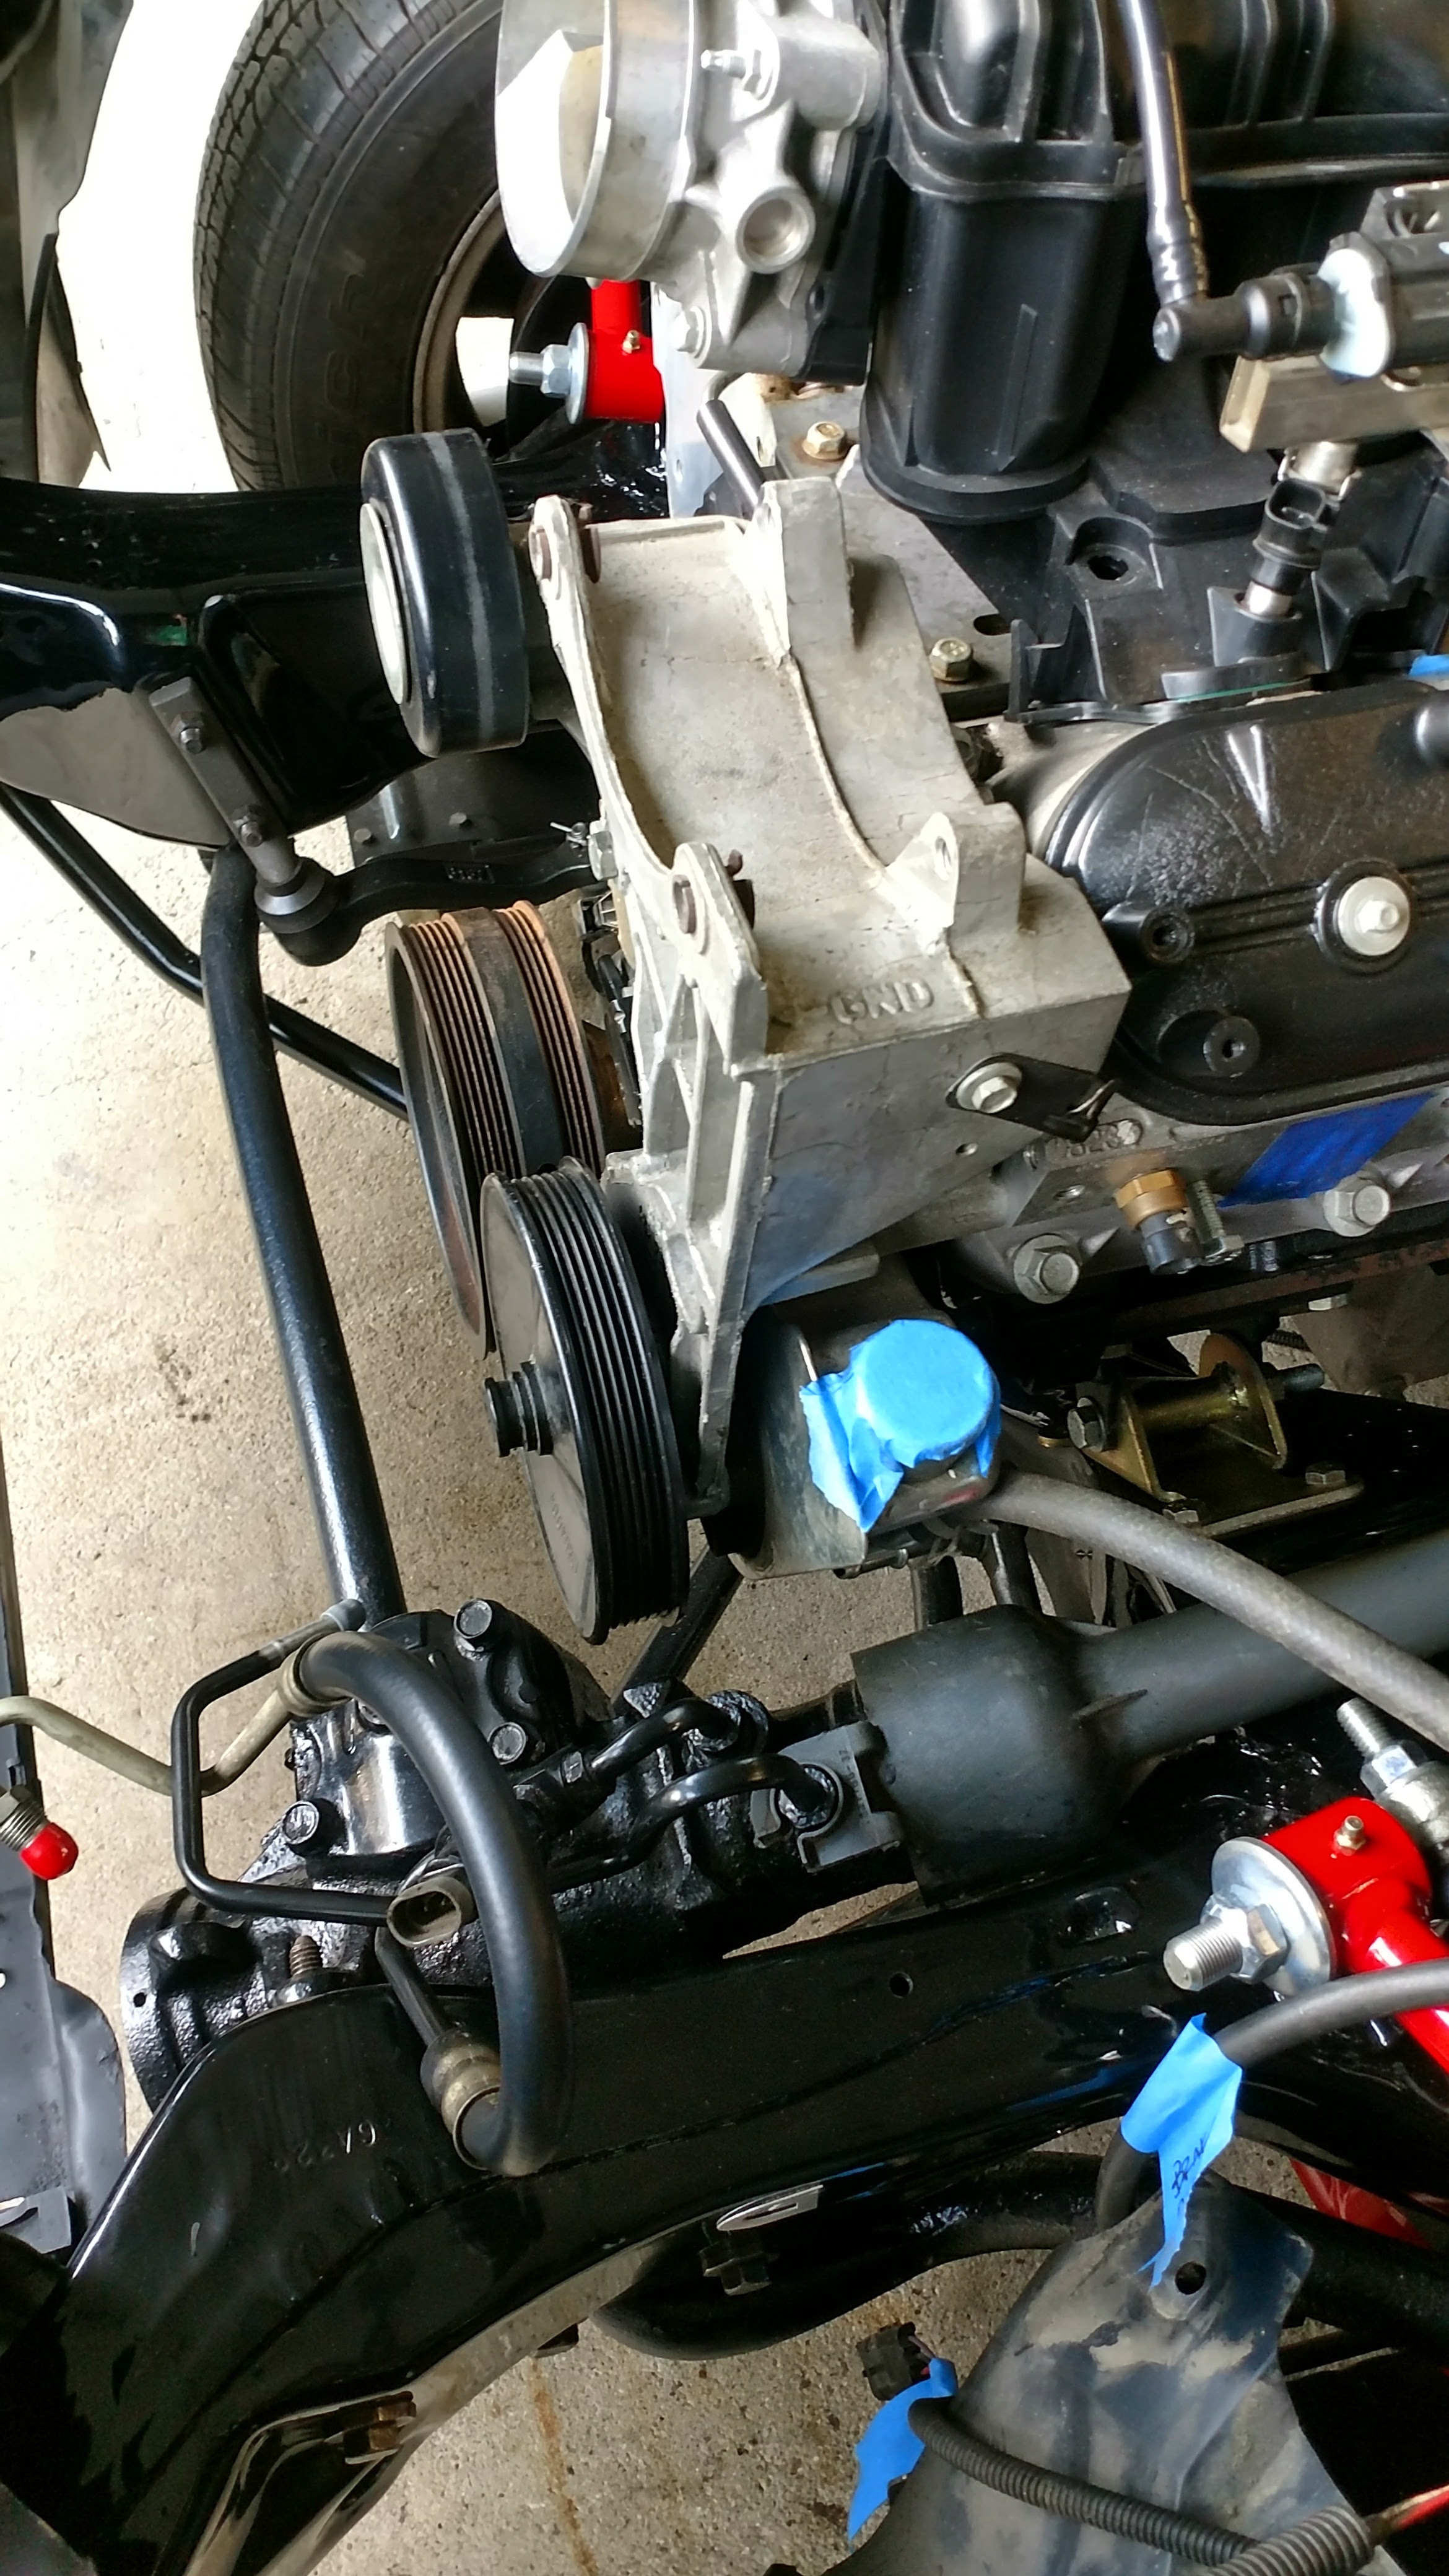
'88 Monte Carlo SS I picked up in 1999. This was my first car. Bought it bone-stock with the L69 305 H.O., then I traded-up to a 406 SBC w/ some Brodix heads, cam, Holley Stealth Ram fuel injection, stage 2 200R4 trans, etc. Never could get it running well and it sat on and off for years. Led to the current swap; LY6/6L90 w/ 25k miles out of a 2007 Silverado HD.

Motor: 2007 6.0L LY6
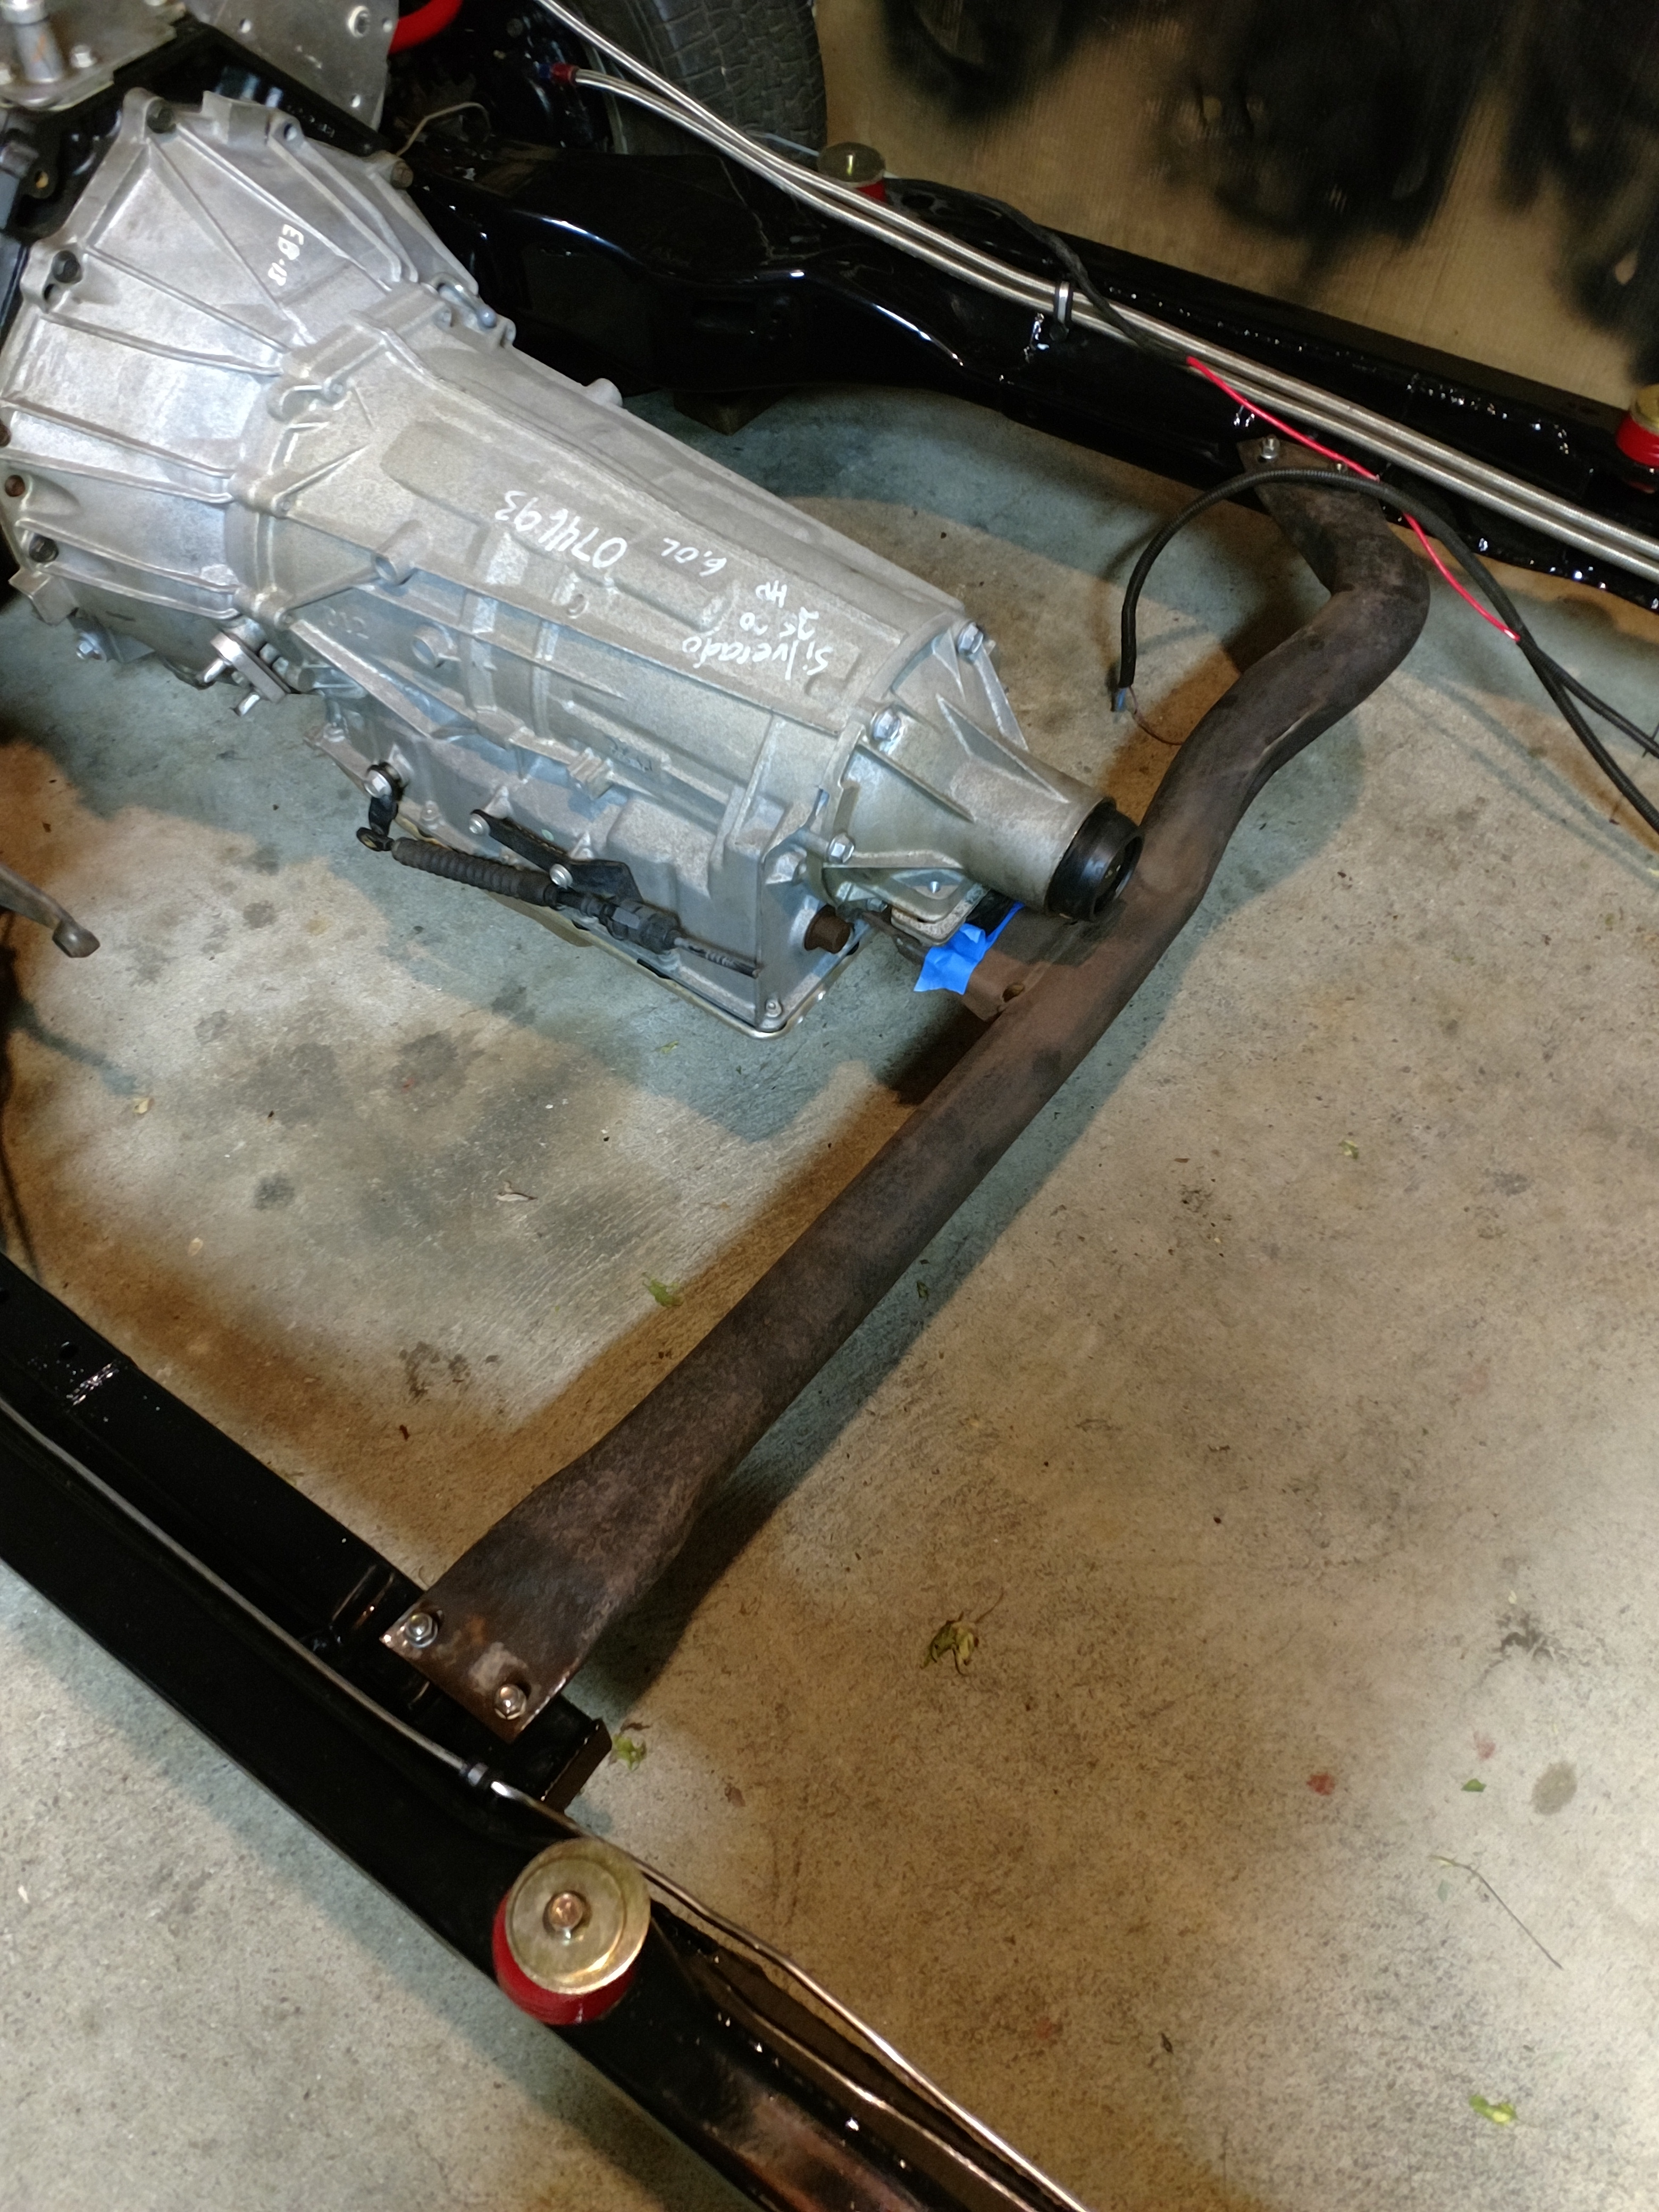
Trans: 2008 6L90e
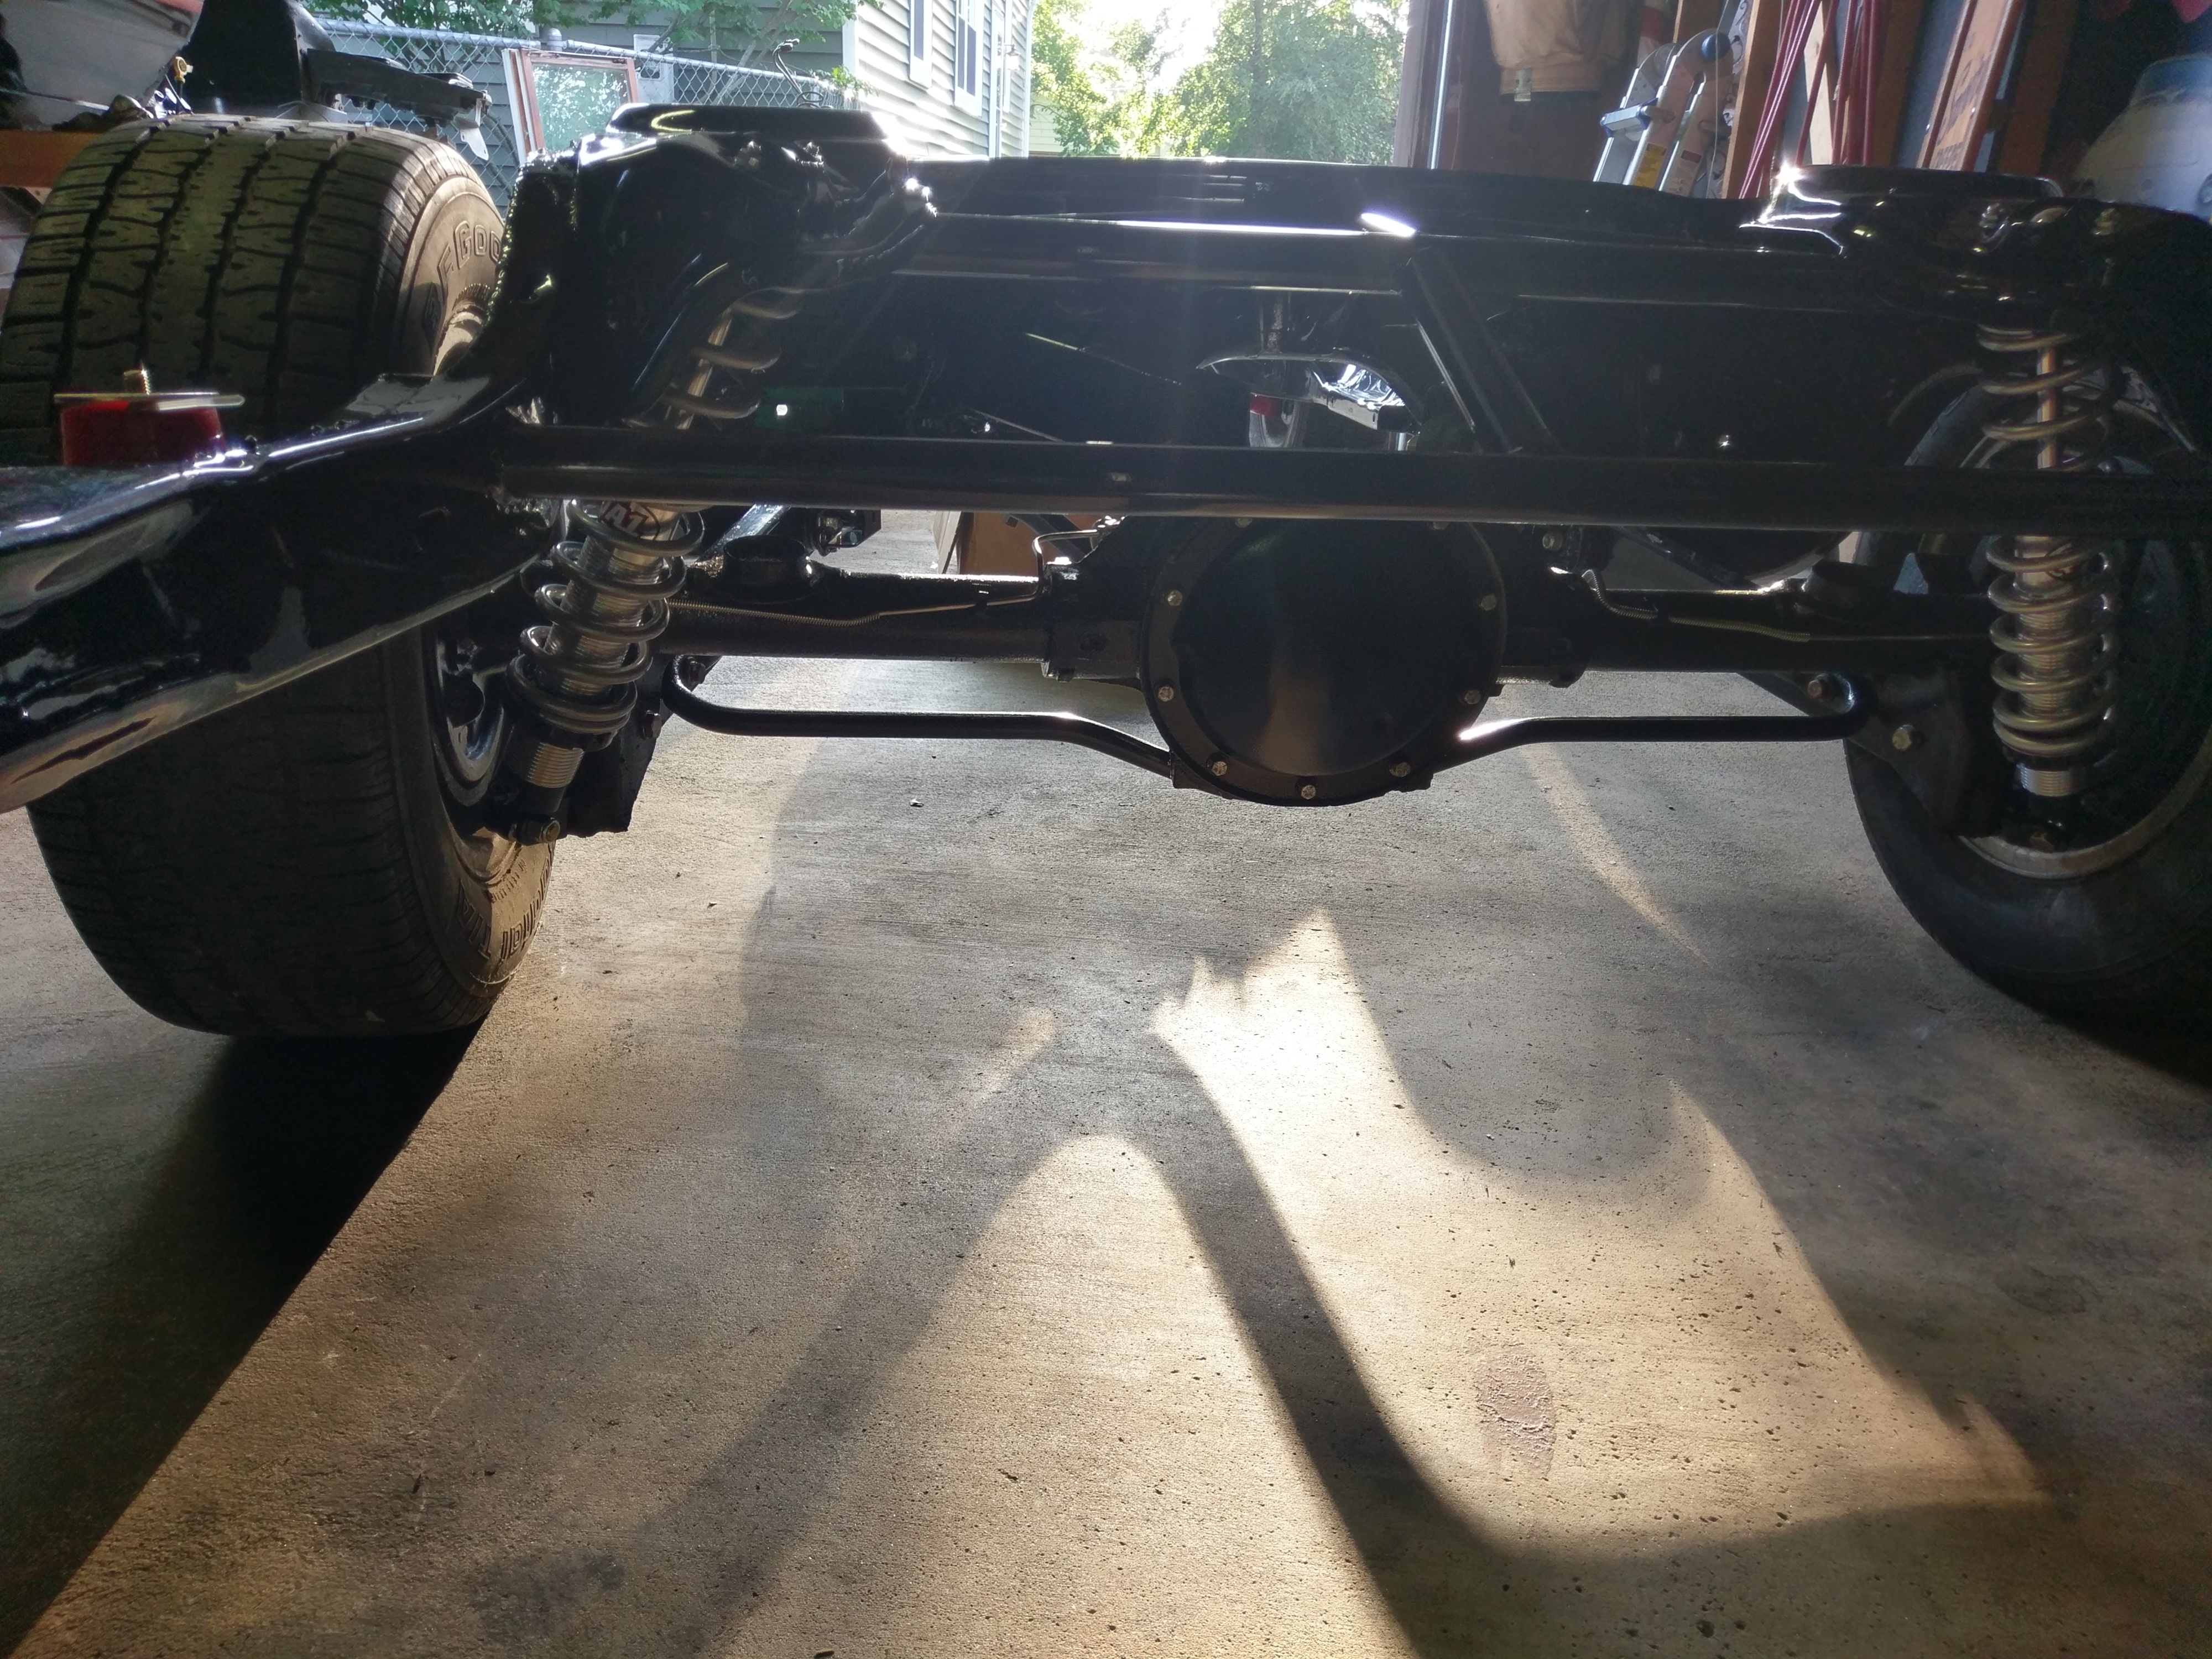
Rear End: Grand National 8.5 w/ 3.73 w/ Auburn posi
Oil pan: P/N: 19212593 – "muscle car conversion kit"
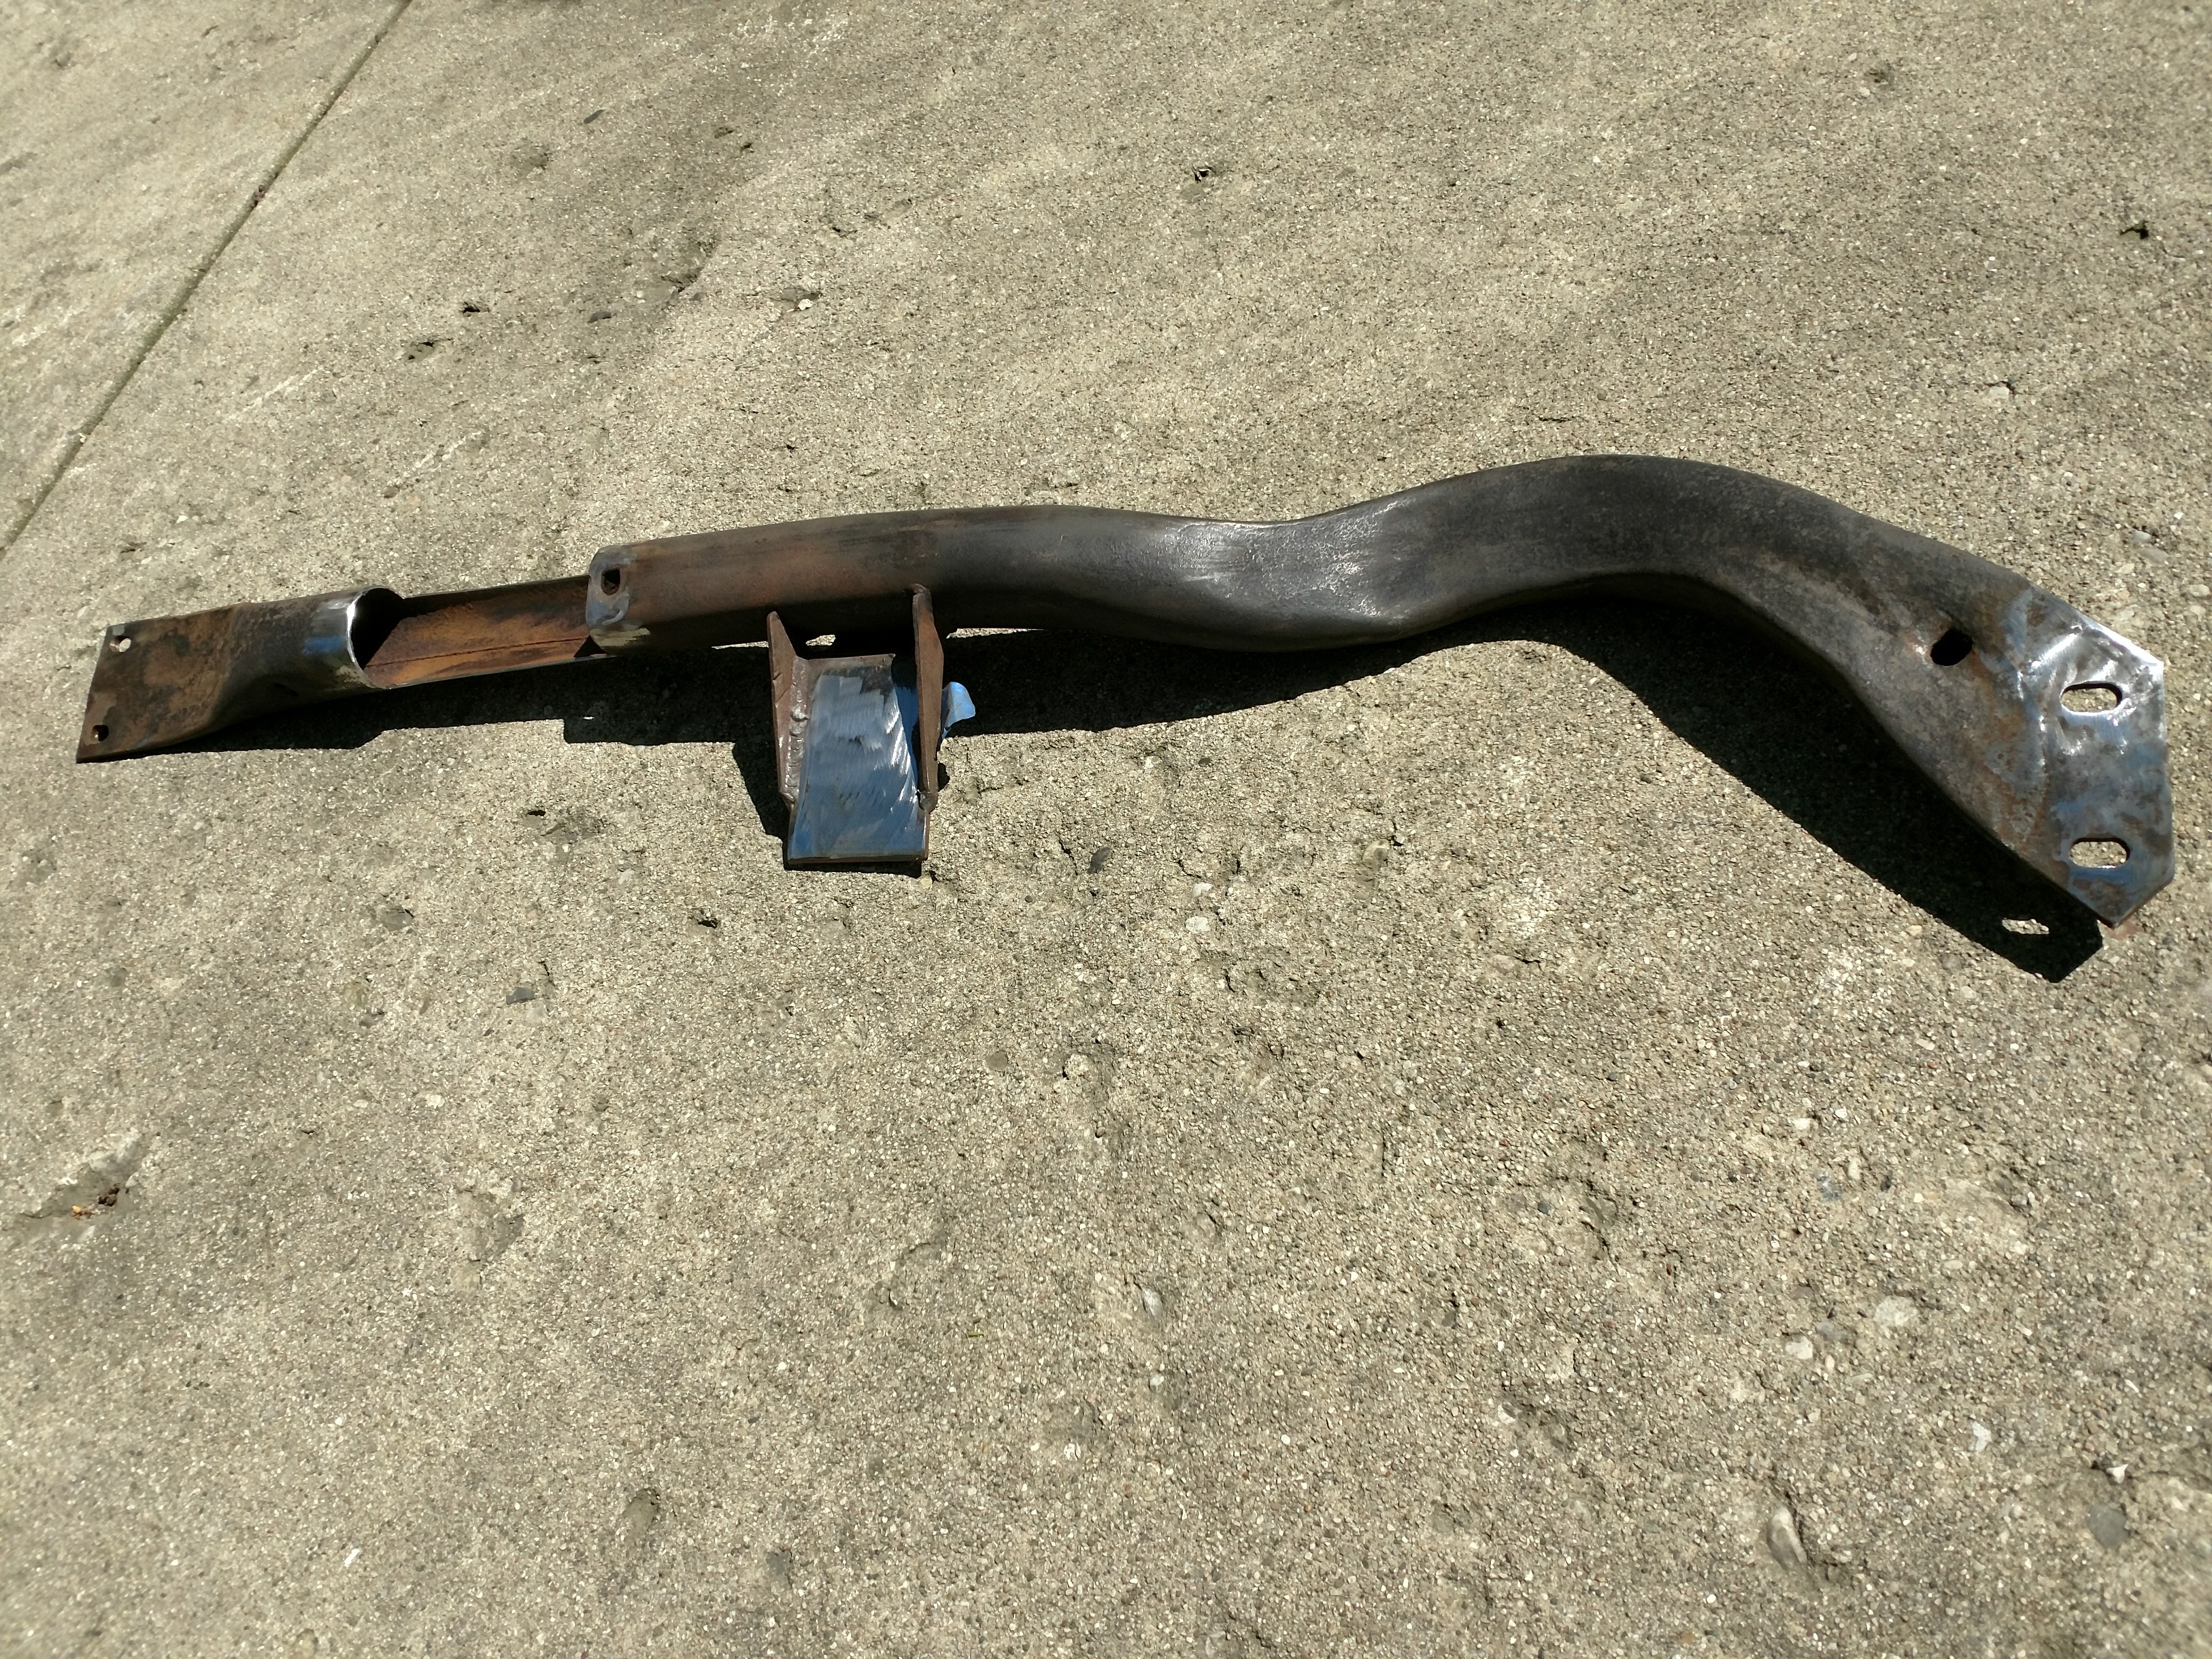
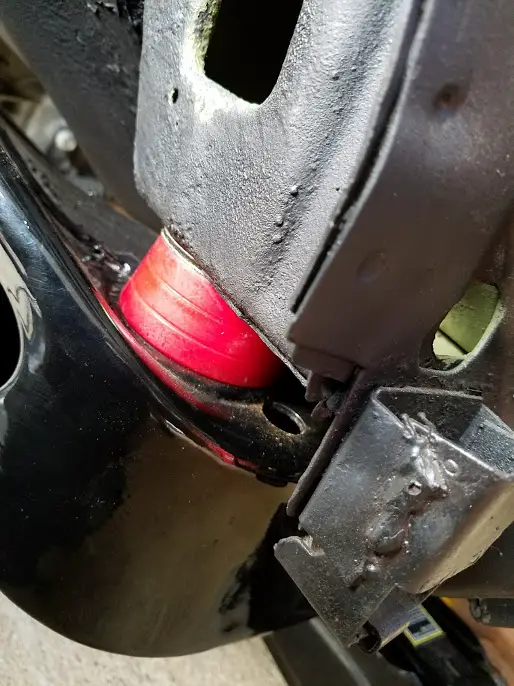
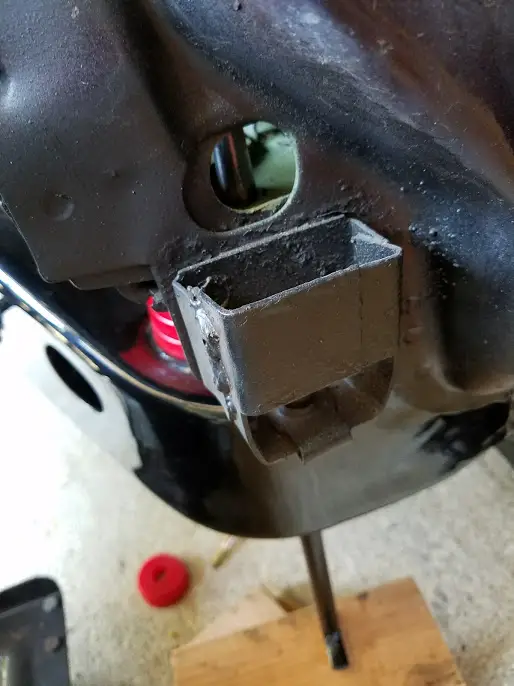
Mounts: Trans Dapt 4595, Moroso Solid Steel Motor Mounts 62630 (had to be modified to fit)
Headers: Hooker BlackHeart LT headers
Accessories: Stock LY6 truck
Radiator: Aluminum (PN: 951)
Fans: Dual electric fans (PN: 674003 Ramchargers)
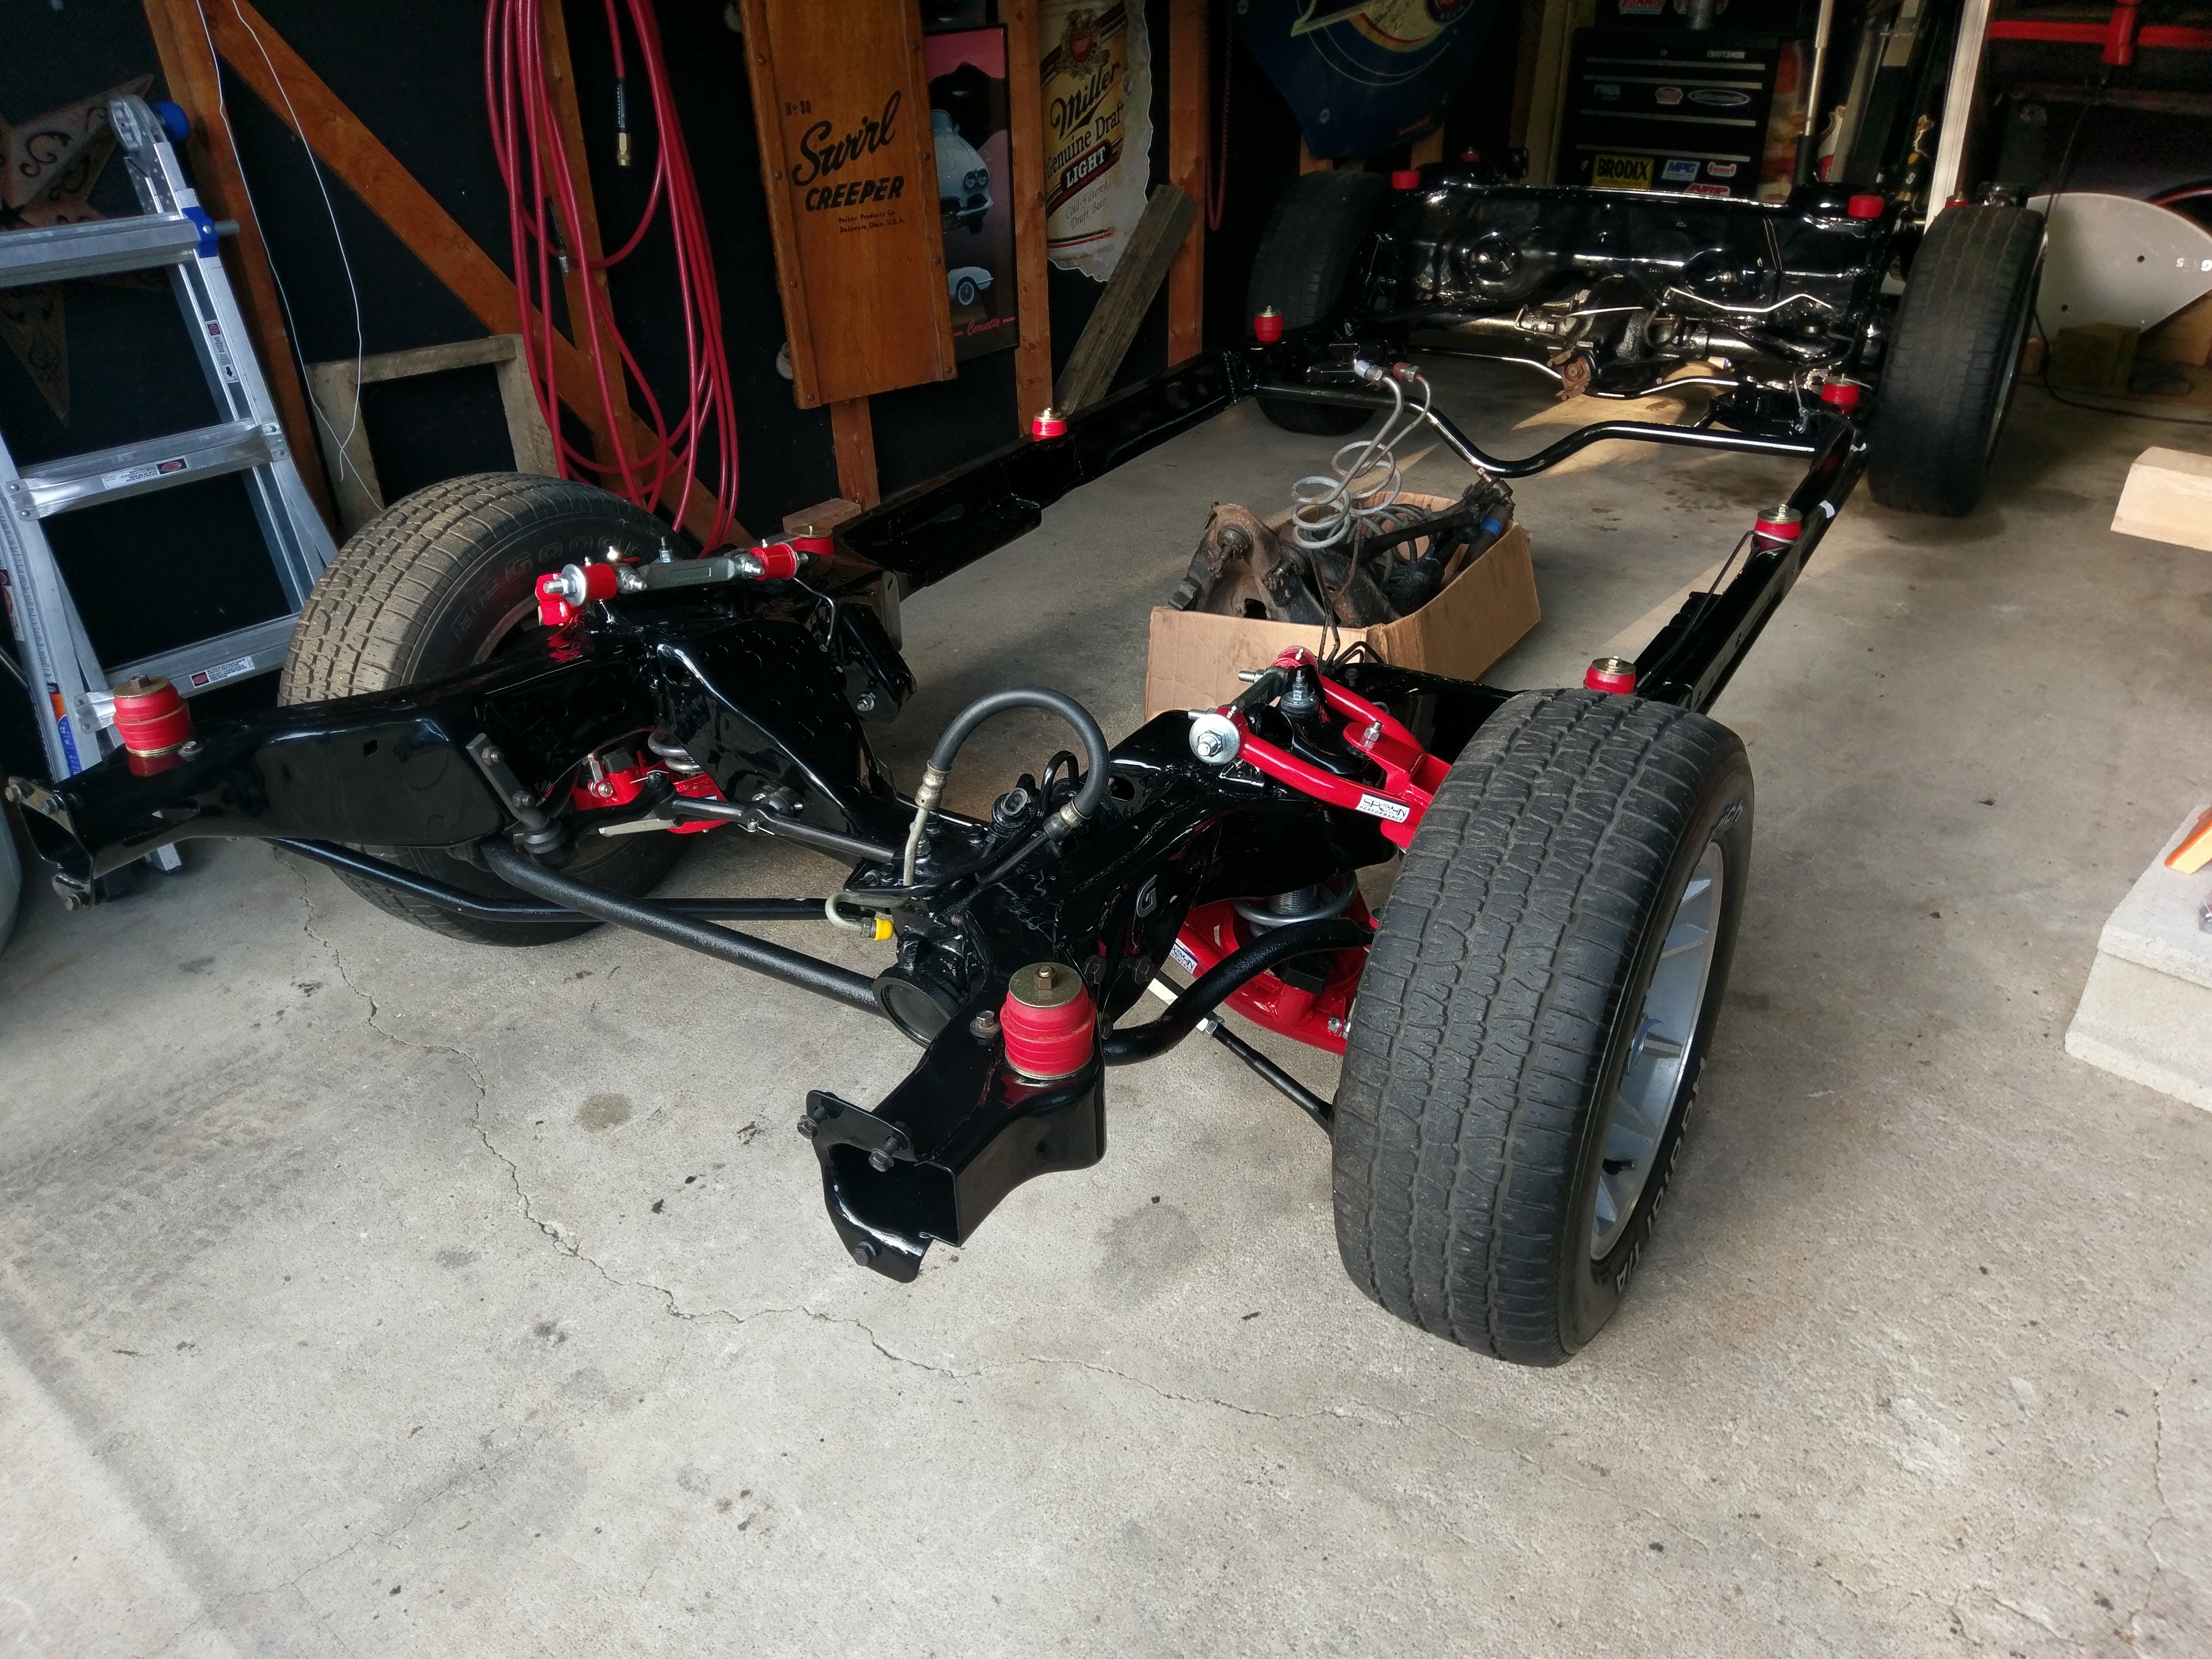
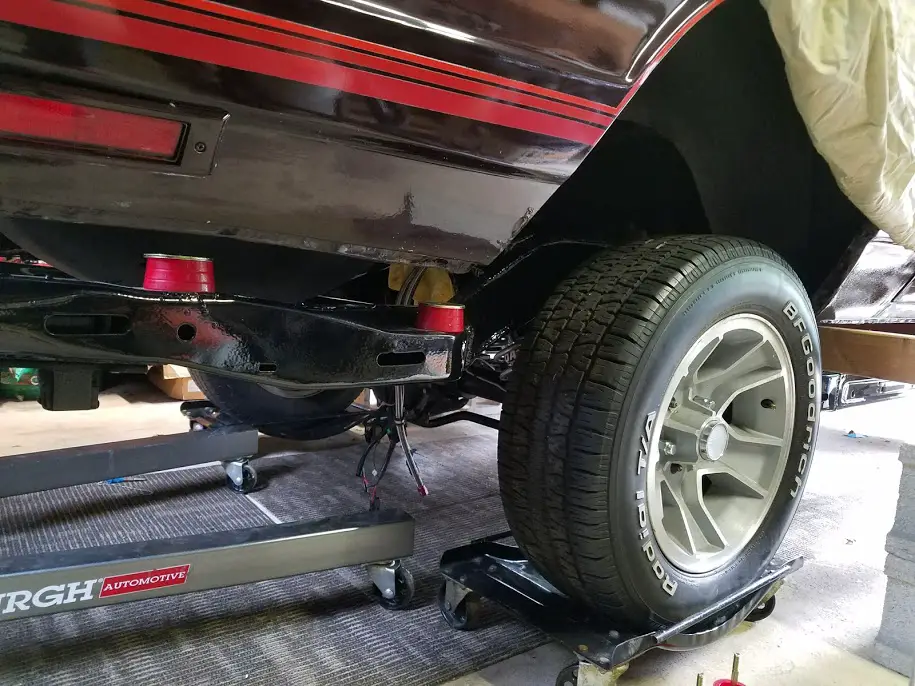
Suspension:
Rear Suspension: Hotchkis upper/lower trailing arms (PN: HSS-1802)
Rear Coil Over Kit - QA1 18 Way Single Adjustable Shocks
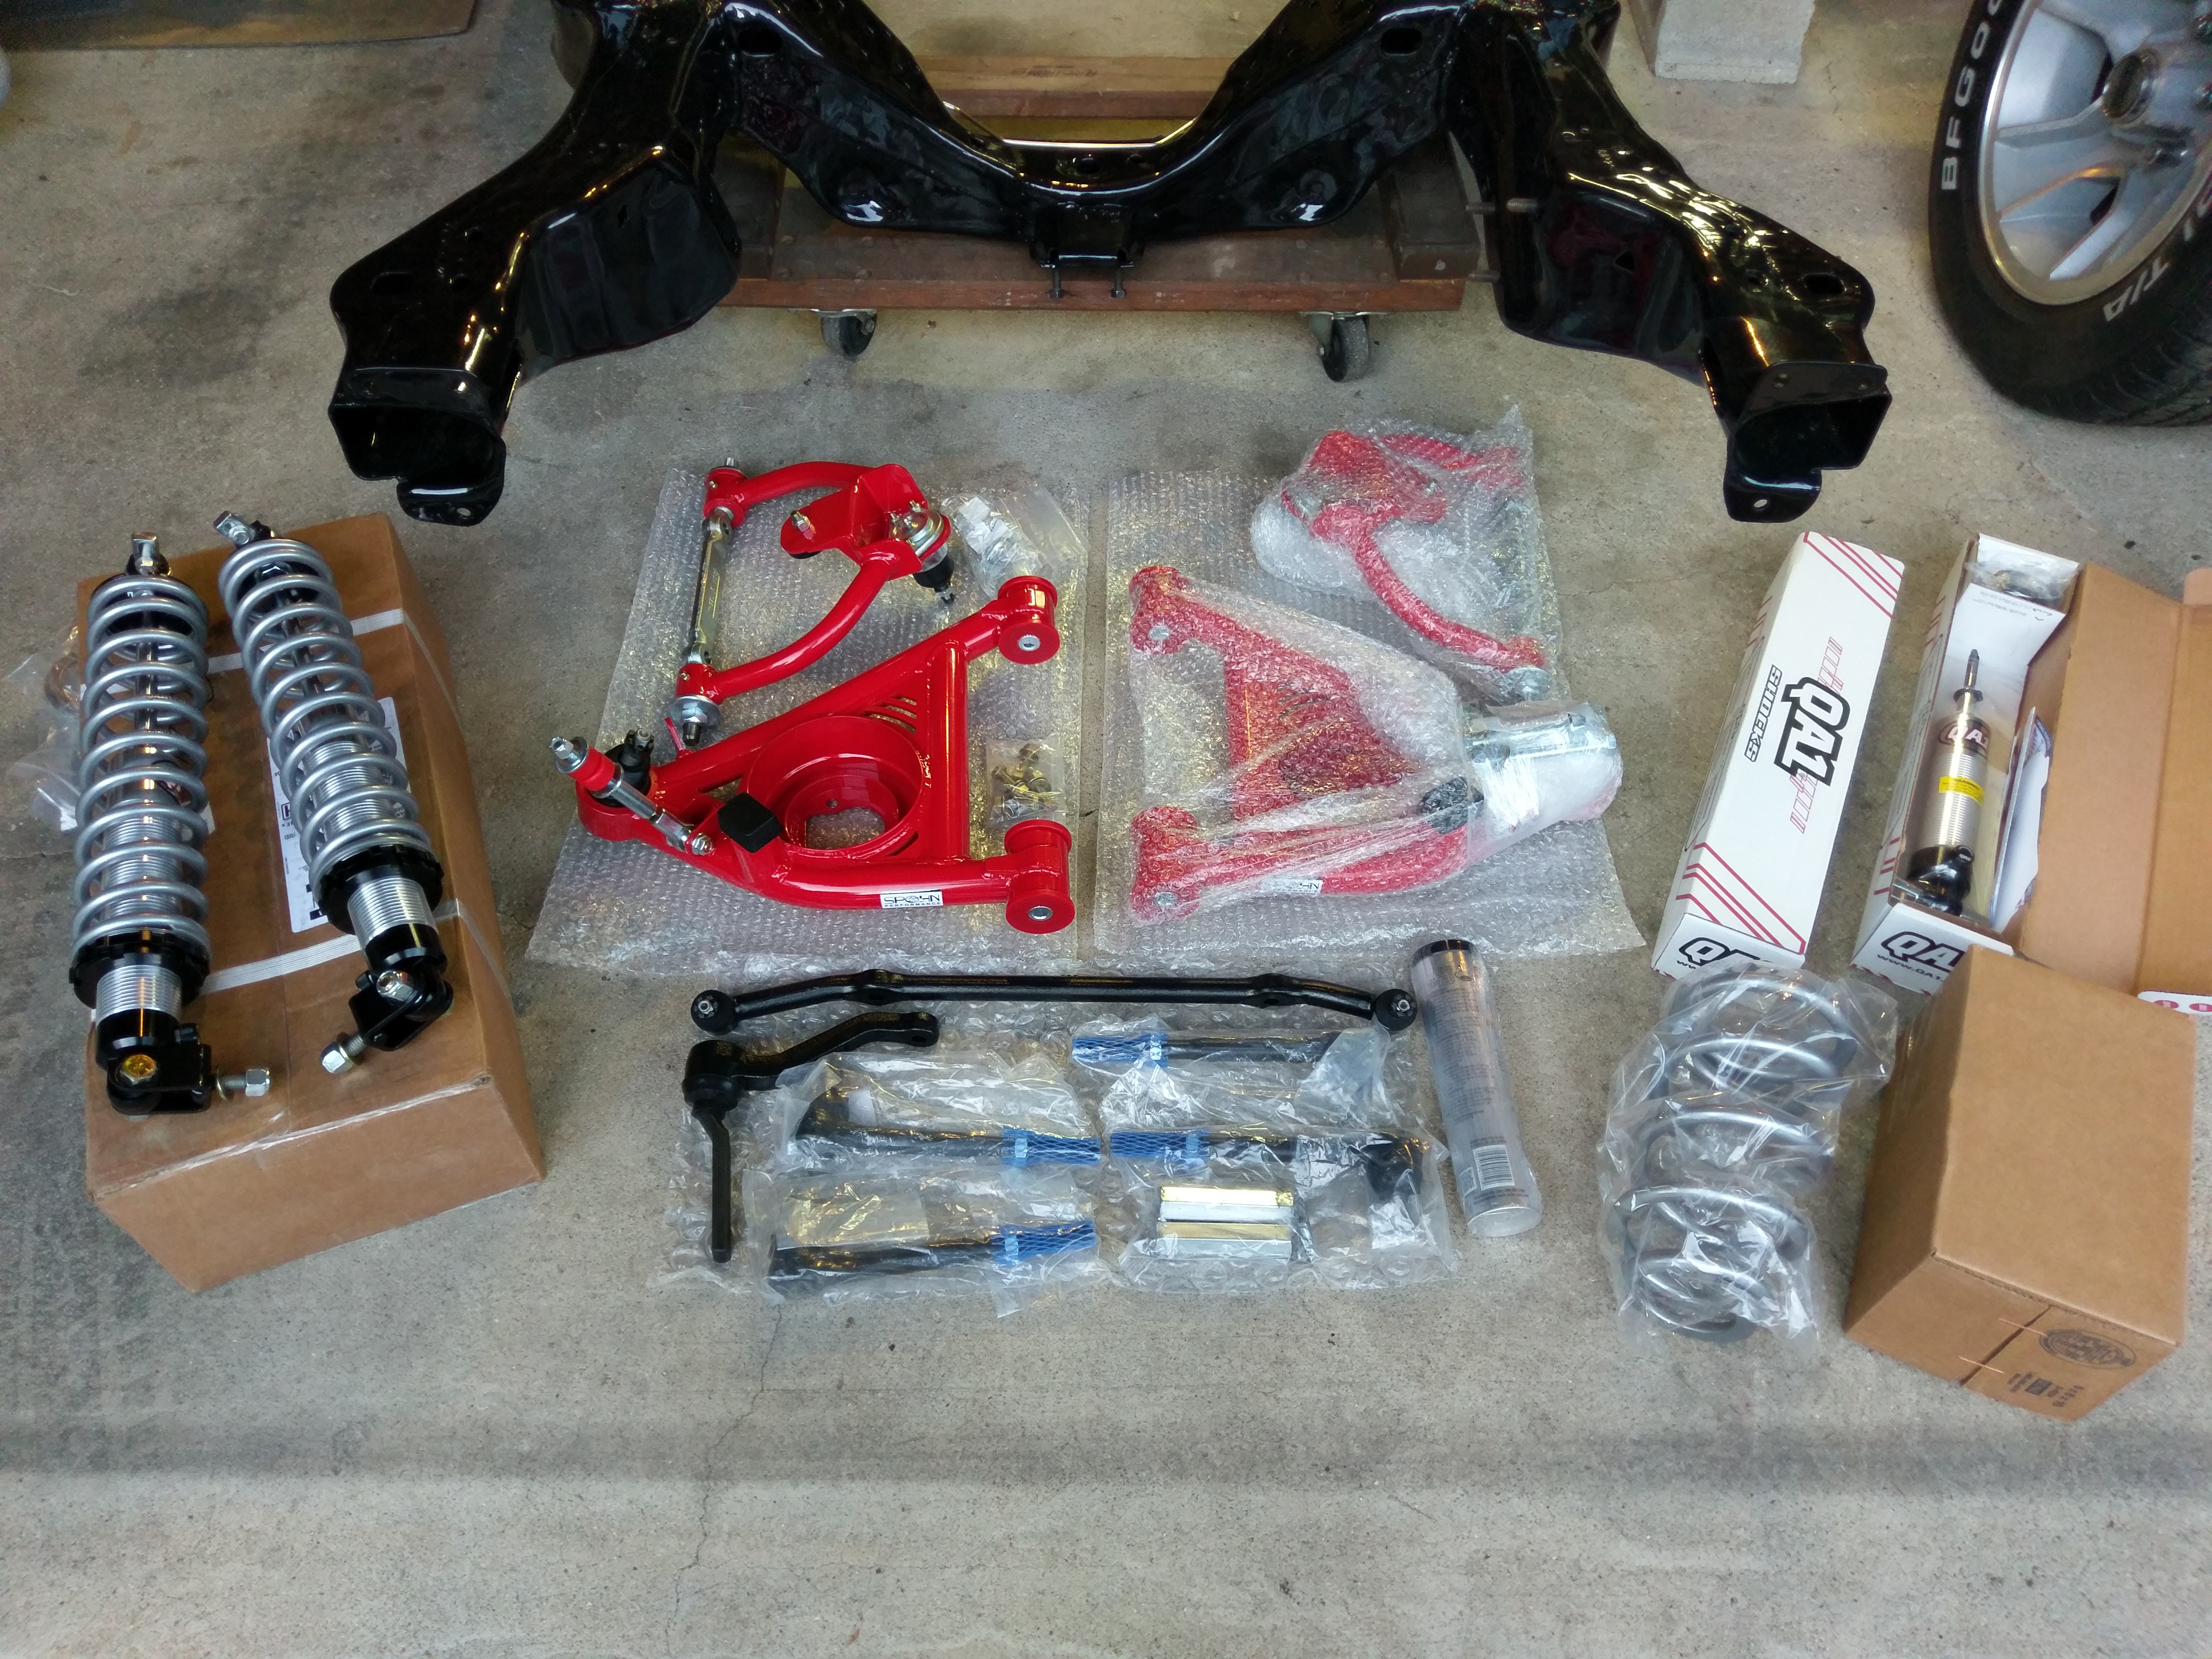
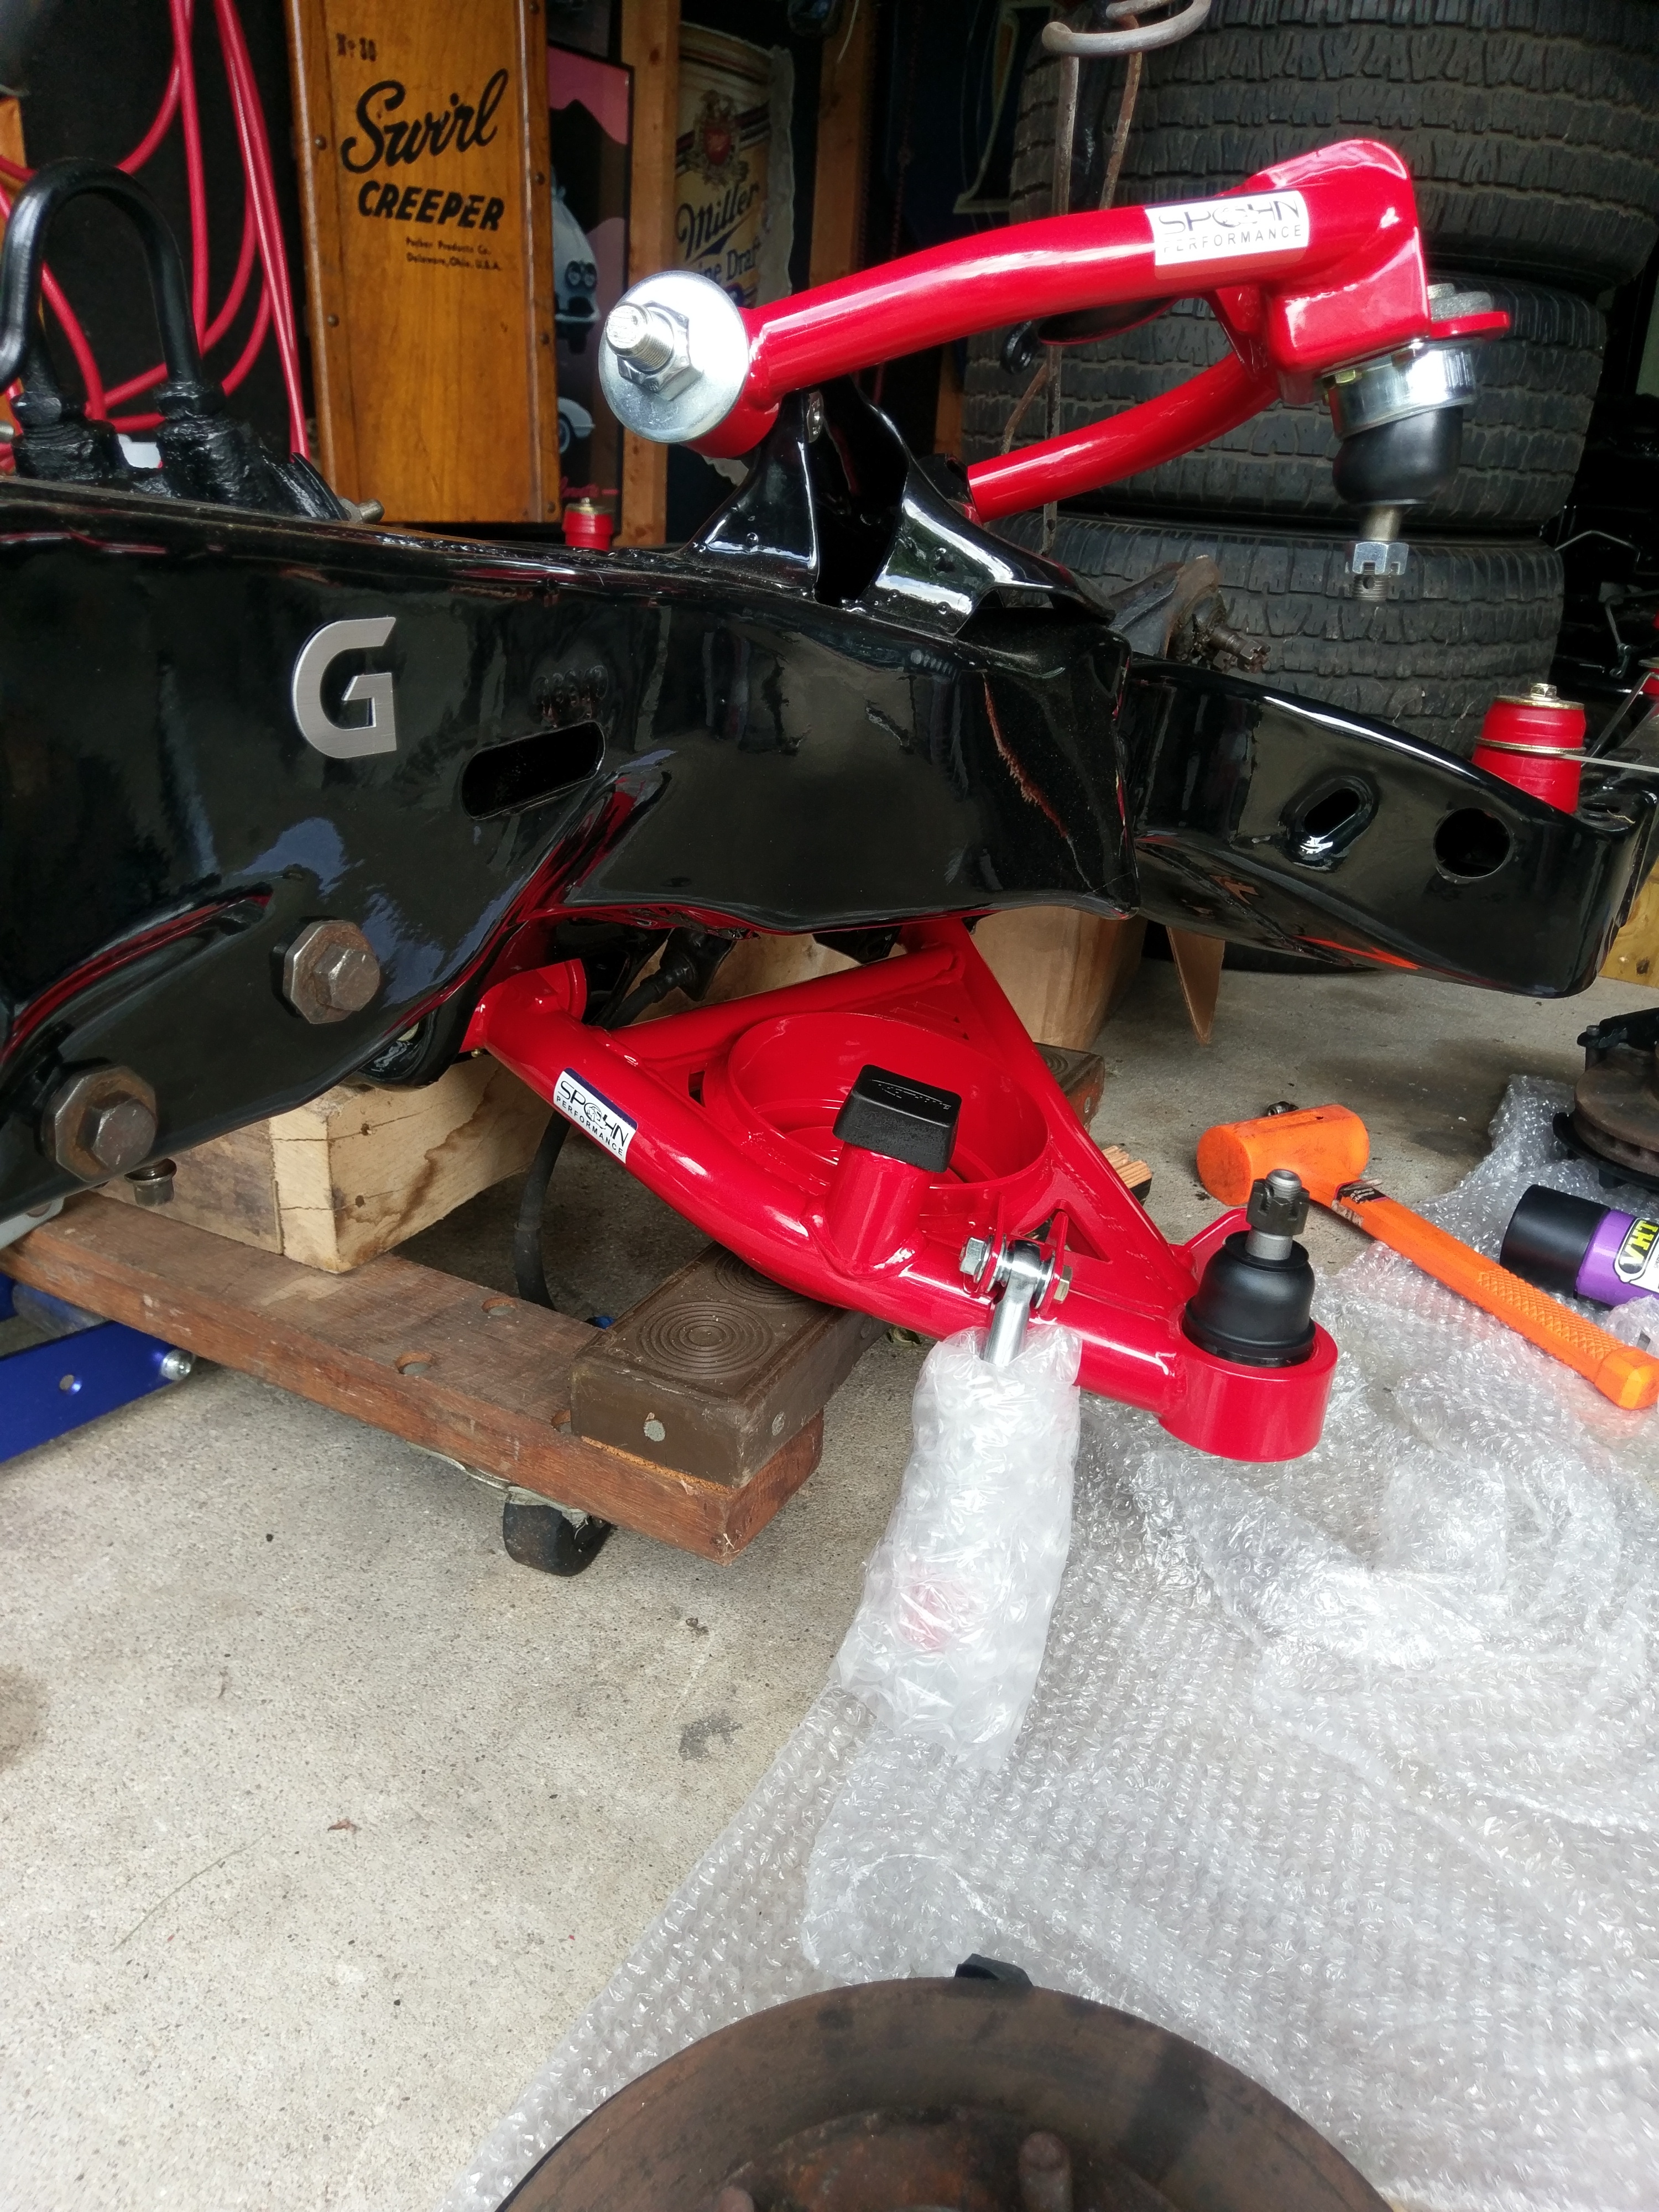
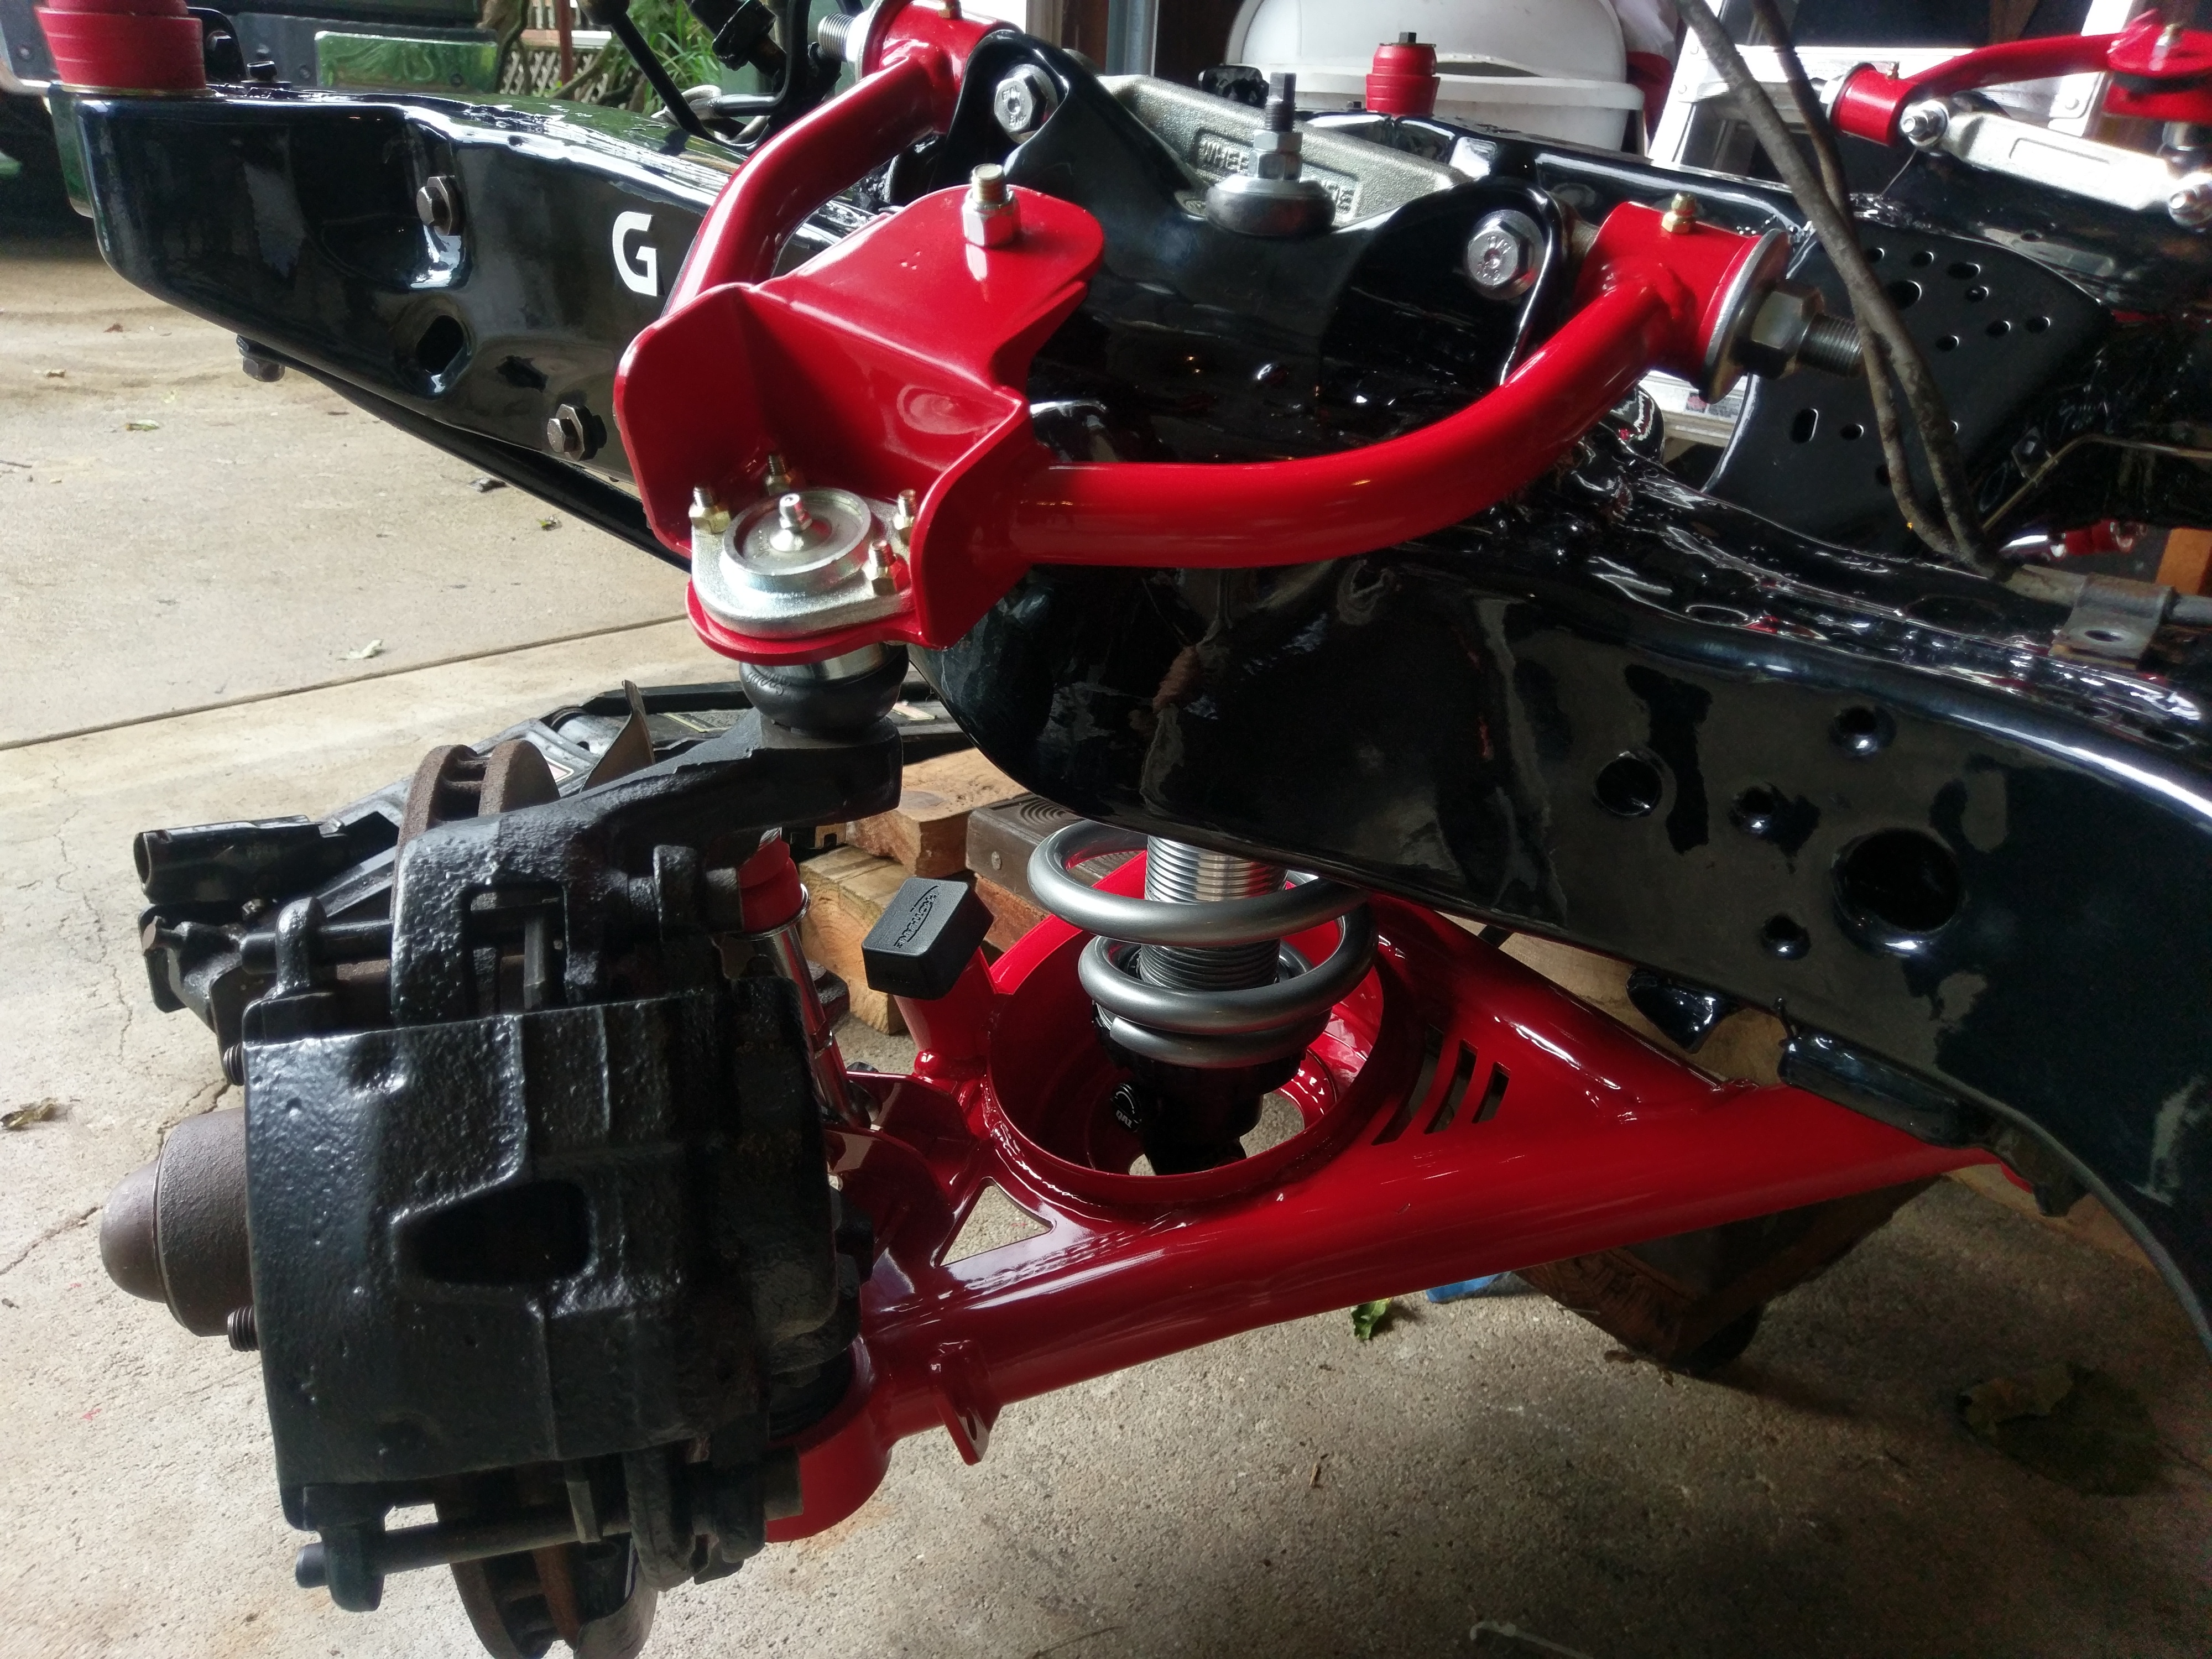
Front Suspension: Spohn Tubular Upper & Lower A-Arms
QA1 Pro-Coil System - 18 Way Single Adjustable

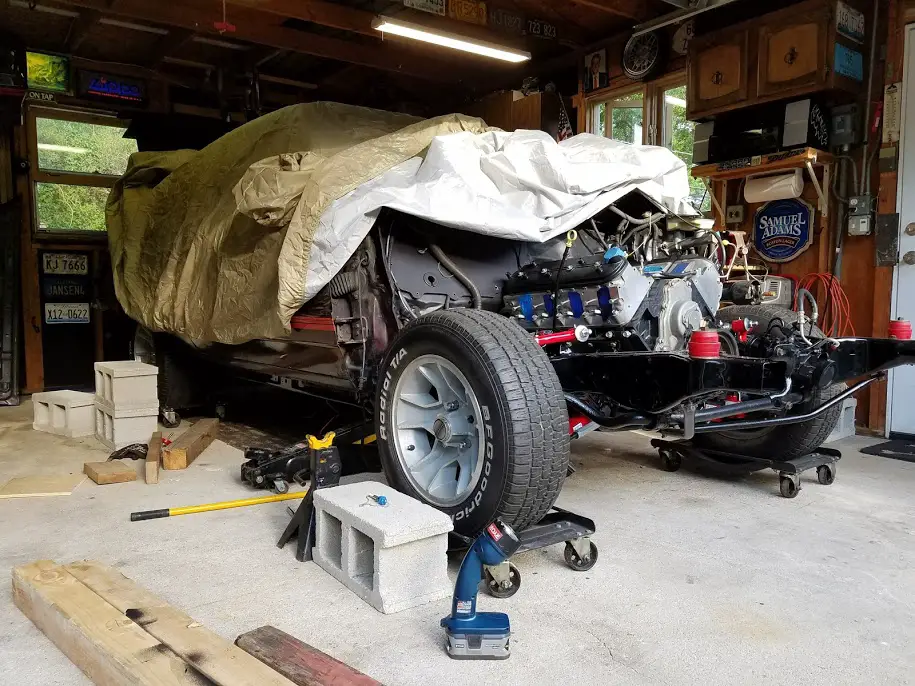
I'll kick things off from around June 2016 below
 
Last edited:
  • Like
  • Agree
Reactions: 5 users

SStavin

Apprentice
Apr 3, 2015
87
189
33
Chicagoland
June 2016:

Applied some Eastwood rust converter which will be followed by seam sealing and undercoating. Also painted some of the smaller parts like the bumper shocks and the gas tank straps while I have them out.

W0MXsOb.jpg


7zZtpI2.jpg


Installed the brake lines I picked up from Inline Tube. I purchased the new lines before I had decided to pick up the new boxed frame so I have a bit of a fitment issue along the rail in this pic. Not sure how I will address this yet? Lines fit well otherwise.

faUGm3M.jpg


aCBIraL.jpg


jBh38yg.jpg


Came across a pretty decent 4th of July sale (2016) over at Spohn. Upper/Lower a-arms, front-end rebuild kit, and single adjustable coil-overs for front/rear. So Christmas in July

p80zEnL.jpg


Removed front sway bar, rear lower trailing arms, and rear sway bar to clean them up and paint. Doing the same for most parts before I swap to the new frame.

ssa9lQr.jpg


July-August 2016 update...

Removed most parts from the original frame including the front suspension, brakes, rear end/suspension, etc. Spent a good deal time refreshing parts that will be put back to use.

u1R3NZ0.jpg


XPxj4ki.jpg


6TH6gCI.jpg


6s7YUJY.jpg


FHl7aV0.jpg


EDarrYE.jpg


Mostly used VHT Epoxy paint here. So far it's been real easy to work with. Originally I was using Eastwood Chassis Black but, it was a little finicky and didn't turn out well on a few parts (most likely user error.)

aaEgrib.jpg


VfLvEZ6.jpg


U6lpMem.jpg


Felt pretty good to start installing parts onto the new frame! Started with the rear end. I re-used the Hotchkis upper and lower trailing-arms, Installed new SS brake lines, and new QA1 rear coil-overs.

kkrhhD0.jpg


dOepWFV.jpg


Up front I got the upper and lower a-arms installed along with the QA1 front coil-overs.

OcfBEaE.jpg
 
  • Like
Reactions: 2 users

SStavin

Apprentice
Apr 3, 2015
87
189
33
Chicagoland
Front suspension is complete after I finished installing the a-arms, front-end rebuild kit, sway bars front/rear, and most of the brake lines. I feel like it's starting to resemble a car again!

1CEaCTq.jpg


EsqErDE.jpg


9HW18Xl.jpg


Keeping momentum and got the motor/trans swapped over to the new frame!

XBtC19L.jpg


yMFREFW.jpg


mXf9N4T.jpg


Rolled the factory frame out for the first time since 1987. Sprayed the underbody with about 4 cans of 3M undercoat. #3 and #4 mounts were a bit crunchy on the body side but, there seems to be enough metal left to re-install without modification.

Also, got some other odds n' ends done; stubborn driver-side motor mount bolt finally installed, started fitting the factory cross-member, and started to run the fuel lines.

GXzFzbl.jpg


j4jSZxU.jpg


f8w43IS.jpg


GMfJRhj.jpg


Hpx6tbY.jpg


YshweGP.jpg


bvYsL6M.jpg


A little closer to mating the body back to the frame. Rolled the chassis under the body to get everything aligned for the drop. Found the gas tank and the the custom frame bracing may interfere with each other so I dropped the tank. Also, took the crossmember out and notched to accommodate the dual exhaust. Going to try my hand at welding in some reinforcement with my little HF welder.

A2OlMiN.jpg


3cDUspK.jpg


g2WXNEx.jpg
 
  • Like
Reactions: 2 users

SStavin

Apprentice
Apr 3, 2015
87
189
33
Chicagoland
Jun 2017 update:

I was over-thinking what would be more easily done with the body in the air so I decided to go ahead and drop the body back to the frame.

Lowered it down slow and steady
28Q9099.jpg

ZVEcsG8.jpg

4cCeOTB.jpg

4SvtHUZ.jpg

Jtz2rsS.jpg

BSgj697.jpg

JCs6WMu.jpg


I got an awesome tip from you lovely Gbodyforum guys and lined everything up pretty easily utilizing the alignment holes near the driver-front #2 mount position and the passenger-rear #7 mount position as seen below

driver-front #2 mount position
1HTe7Ih.jpg

XucaBqg.jpg


passenger-rear #7 mount position
tY9I6cC.jpg


Measured in several places, mostly along the rockers and it came out pretty straight without much fuss.
03zg8l5.jpg

VdBi4Kc.jpg


Also made some time for the more tedious stuff and cleaned up/painted the core support. Even got into the headlight hardware and brackets.
VGJvu5E.jpg

07rhXV0.jpg


Took advantage of another day of nice weather and got some more done. Replaced the brake hose at both front wheels as the old ones stripped out, in addition to being old and tired.
FouAZ32.jpg


Also started moving around the car trying to remember what needs to be reconnected now that the body and frame are back together. Tightened down the brake booster and reconnected to brake pedal (which was the worst part of the day.) Re-connected the steering shaft, re-hung the fenders, and started running the existing wiring around the engine bay. Thing's starting to look like a car again!
HnLucQa.jpg

h63t8Lx.jpg

L63wVRp.jpg


Also started locating and fitting swap parts. I'll likely stick with the LY6 truck accessories as they fit pretty well.
l52PLHC.jpg

aKm0CqJ.jpg
 
  • Like
  • Winner
Reactions: 4 users

Injectedcutty

G body LS mafia
Nov 24, 2014
6,060
22,820
113
Louisville, KY
Glad to see you wisened up and are now updating the build here ;)!

That's a good looking Monte man, we are all here to help along the way! This forum has taught me tons of new tips/tricks, etc!
 
  • Like
Reactions: 1 user

Texas82GP

Just-a-worm
Apr 3, 2015
7,979
18,672
113
Spring, Texas
Happy to see you posting your build over here. You have done a lot of really nice work on the car. I'll enjoy watching you put it back together and get it going. One question for you: Are you going to stick with the 3.73 rear gear with the 6L90E? With its 4.03 first gear and 0.67 sixth, maybe a 3.42 would be a nice compromise? The HD trucks come with 3.73 stock and it jumps out of first very quickly.
 
  • Agree
Reactions: 1 user

SStavin

Apprentice
Apr 3, 2015
87
189
33
Chicagoland
Happy to see you posting your build over here. You have done a lot of really nice work on the car. I'll enjoy watching you put it back together and get it going. One question for you: Are you going to stick with the 3.73 rear gear with the 6L90E? With its 4.03 first gear and 0.67 sixth, maybe a 3.42 would be a nice compromise? The HD trucks come with 3.73 stock and it jumps out of first very quickly.

See this is why I came here. The gearing situation hadn't crossed my mind yet. I guess I'll get the thing moving and see how it drives but I like where your head's at.
 
  • Like
Reactions: 2 users

TireGuy95

n00b
Jun 27, 2017
2
1
3
looks really good man. glad to see everything going so well. just out of curiosity, how difficult was it to do the frame off? thiking about doing the same thing to mine.
 
  • Like
Reactions: 1 user

SStavin

Apprentice
Apr 3, 2015
87
189
33
Chicagoland
looks really good man. glad to see everything going so well. just out of curiosity, how difficult was it to do the frame off? thiking about doing the same thing to mine.

Thanks! Mine was pretty slow going as it seems everything snowballs the deeper you go. I originally just wanted to do a LSX swap and discovered my floor-pans were gone, which led to a full frame-off. It was a big project but, it's a lot of fun knowing every nut and bolt of your car.
 
  • Agree
  • Like
Reactions: 1 users
Status
Not open for further replies.

GBodyForum is a participant in the Amazon Services LLC Associates Program, an affiliate advertising program designed to provide a means for sites to earn advertising fees by advertising and linking to amazon.com. Amazon, the Amazon logo, AmazonSupply, and the AmazonSupply logo are trademarks of Amazon.com, Inc. or its affiliates.

Please support GBodyForum Sponsors

Classic Truck Consoles Dixie Restoration Depot UMI Performance

Contact [email protected] for info on becoming a sponsor