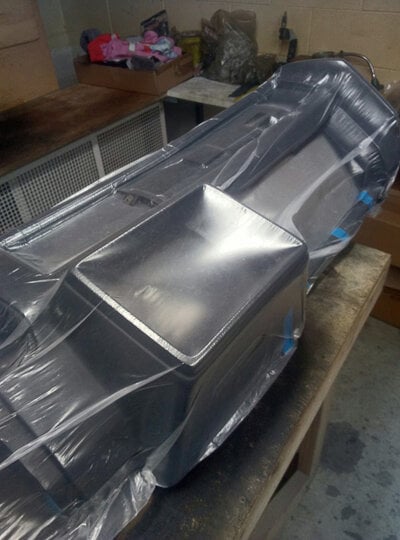
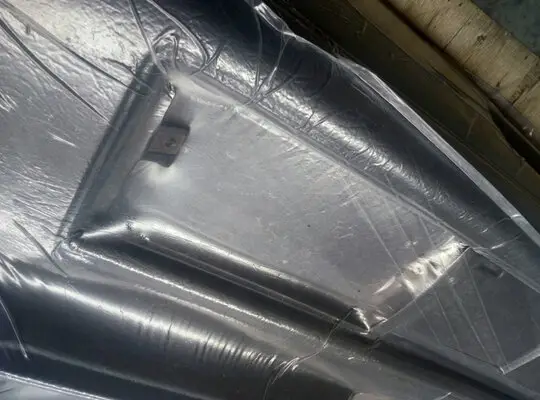
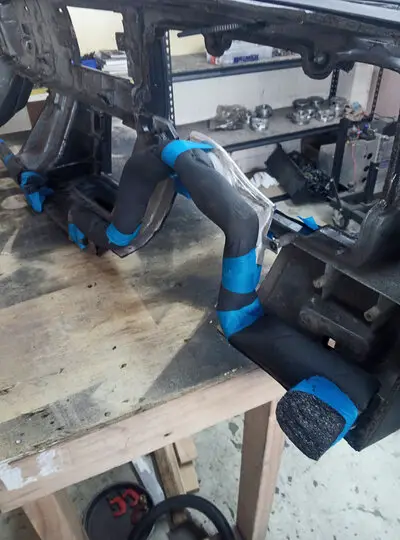
Here's some pics of my dash cap installation over the weekend.
Lessons learned are: While you think it is a bad fit upon initial install, it isn't. I slipped the cover over my cracked dash in the Malibu and thought "man, this is going to look like crap".
I tried a dry install and used a whole bunch of clamps, clips, zip ties etc and came to the conclusion it would end up all wavy with lumps and bumps once the sealer had set.
A friend suggested trying the vacuum bag method like they use for carbon fiber. I went down to the local furniture store and begged for a plastic shipping bag they use for mattresses.
Initially I thought I'd be able to put a tap on the hose and once the air was sucked out it would hold vacuum. It didn't (mainly because of a bunch of pin holes) so I just ran the vacuum for the whole 4 hours which is what Dashtop recommend for drying time.
I did a trial vacuum pack without the silicone first and was amazed how tight the dashcap fitted. I realized that if I didn't pad all sharp edges before doing final install, I'd be chasing rips on the bag for the whole time. I put foam on anything that looked like it could pierce the bag while doing the seal.
A couple of observations were: Dashtop supply a toothpaste tube of silicone sealer and say less is more when applying.....as far as I am concerned, they do not give you enough. I bought a caulk tube of windscreen urethane and used about half of it going round the various edges and holes/slots. None of it squeezed out. The other thing is Dash Top reckon their dash cap is black. I'd call it more like a dark charcoal. I'm going to SEM spray the dash so everything matches inside the car.
After the four hours drying time was over I unbagged the dash and was very impressed. As a precaution I got some clips out and clamped a few areas where I suspected the silicone had not gone off then sat the thing outside for the rest of the day....
And yes, the vacuum cleaner did not overheat - even though I was sure the thing would burst into flames while running at full suction for such a long time....First pic is the finished dashcap install.


