I adjusted my hydraulic lifters on the engine stand before I put the motor in using this method.
Easiest way and runs perfect.
No Mess no fuss. None of the find tdc adjust this cylinder then this cylinder, turn crank 45 deg then bla bla bla....
Adjusting Hydraulic Lifters On Small Block Chevrolet
This method is with the engine OFF and spark plugs removed for easier rotation.
Install all the hydraulic lifters and pushrods.
NOTE: New lifters do not have to be pre-lubed. Assembly lube should be put on the cam and the mating face of the lifters.
Install all the rockers and the adjusting nuts leaving them loose. Do not tighten the adjusting nuts before adjusting the valves. Make sure the pushrod is in the lifter and the rocker arm seat when making the adjustments.
Adjust one valve at a time.
Rotate the engine in the normal direction of rotation (clockwise looking from the front of the engine) until the exhaust lifter on the cylinder that you are adjusting just begins to move up. At this point adjust the intake valve on that cylinder to ‘0’ lash with no pre-load. Then tighten the adjusting nut ¼ to ½ additional turns.
Rotate the engine over again until the intake lifter has come to the full lift and then is almost all the way back down. At this point adjust the exhaust valve to ‘0’ lash and then tighten an additional ¼ to ½ turns.
Continue the above for each cylinder until all the valves have been adjusted.
NOTE: Rather than spinning the pushrod and attempting to get the correct ‘feel’, I suggest holding the pushrod between two fingers and lifting the pushrod up and down while slowly tightening the adjusting nut. When you reach the point where there is no up and down movement you will be at ‘0’ lash.
The problem with spinning the pushrod and attempting to get the correct ‘feel’ is that you can and will still be able to spin the pushrod even if you bottom out the lifter. This can cause you to over tighten the adjustment and can lead to bent and / or broken pushrods and valves.
Priming the oil system before starting the engine will fill the hydraulic lifters.
Its pretty simple.
I remember first wrenching on motors they told me to do it while it running and listen for the clicking..
What a f&*king mess that was...

Good luck..


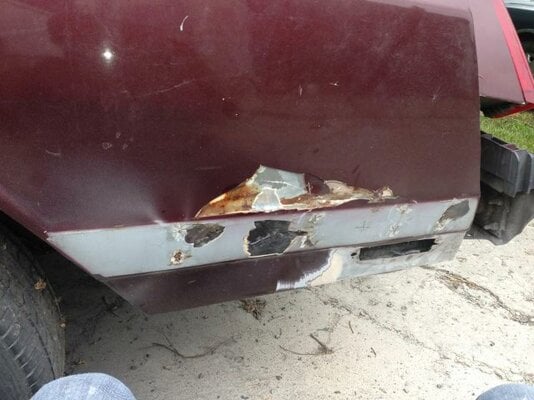
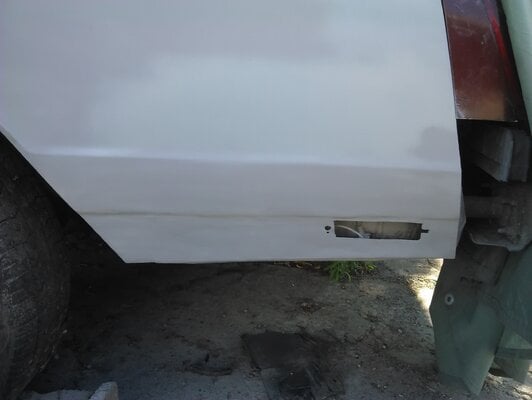
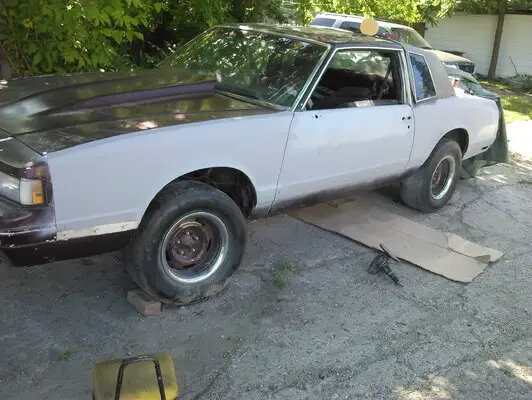
 I was waiting to get close to done and then post them. Since I am lost on the motor thing, I started with the body work. Man did that door have a ton of filler on it. I should have took some pics of the work before I started but you can see the crack where I started at. Just wait till you see how this rear quarter is beat up.