SCROLL TO FIRST RED LINE FOR SHORT RACING CLIPS
SCROLL TO SECOND RED LINE FOR ZQ8 WHEEL AND 200-4R TRANSGO KIT OWNERS
Overview:
So about August last year my lug nuts came loose while driving, I lost a wheel, and folded up a fender (among other things). I started making a mad dash this year to get ready for SBR/SCCA's first autocross of the season and had all of my parts lined up, except for extended lower ball joints from a supplier who will go unnamed. (Long story. No harm, no foul, but only just barely. Rhymes with XZ&Z. Will PM if interested.) I missed that event and ~2 weeks and many phone calls later I had new lower ball joints on rush delivery from Speedway. They got to me with 5 days to spare from the event I wanted to attend most this year: A combined autocross and track night at Gingerman Raceway. What follows are the fender swap, Blazer spindle swap, extended LBJ installation, Eibach spring installation, float bowl change, rough alignment, race day video, and post-race day technical information, all documented as well as time would allow.
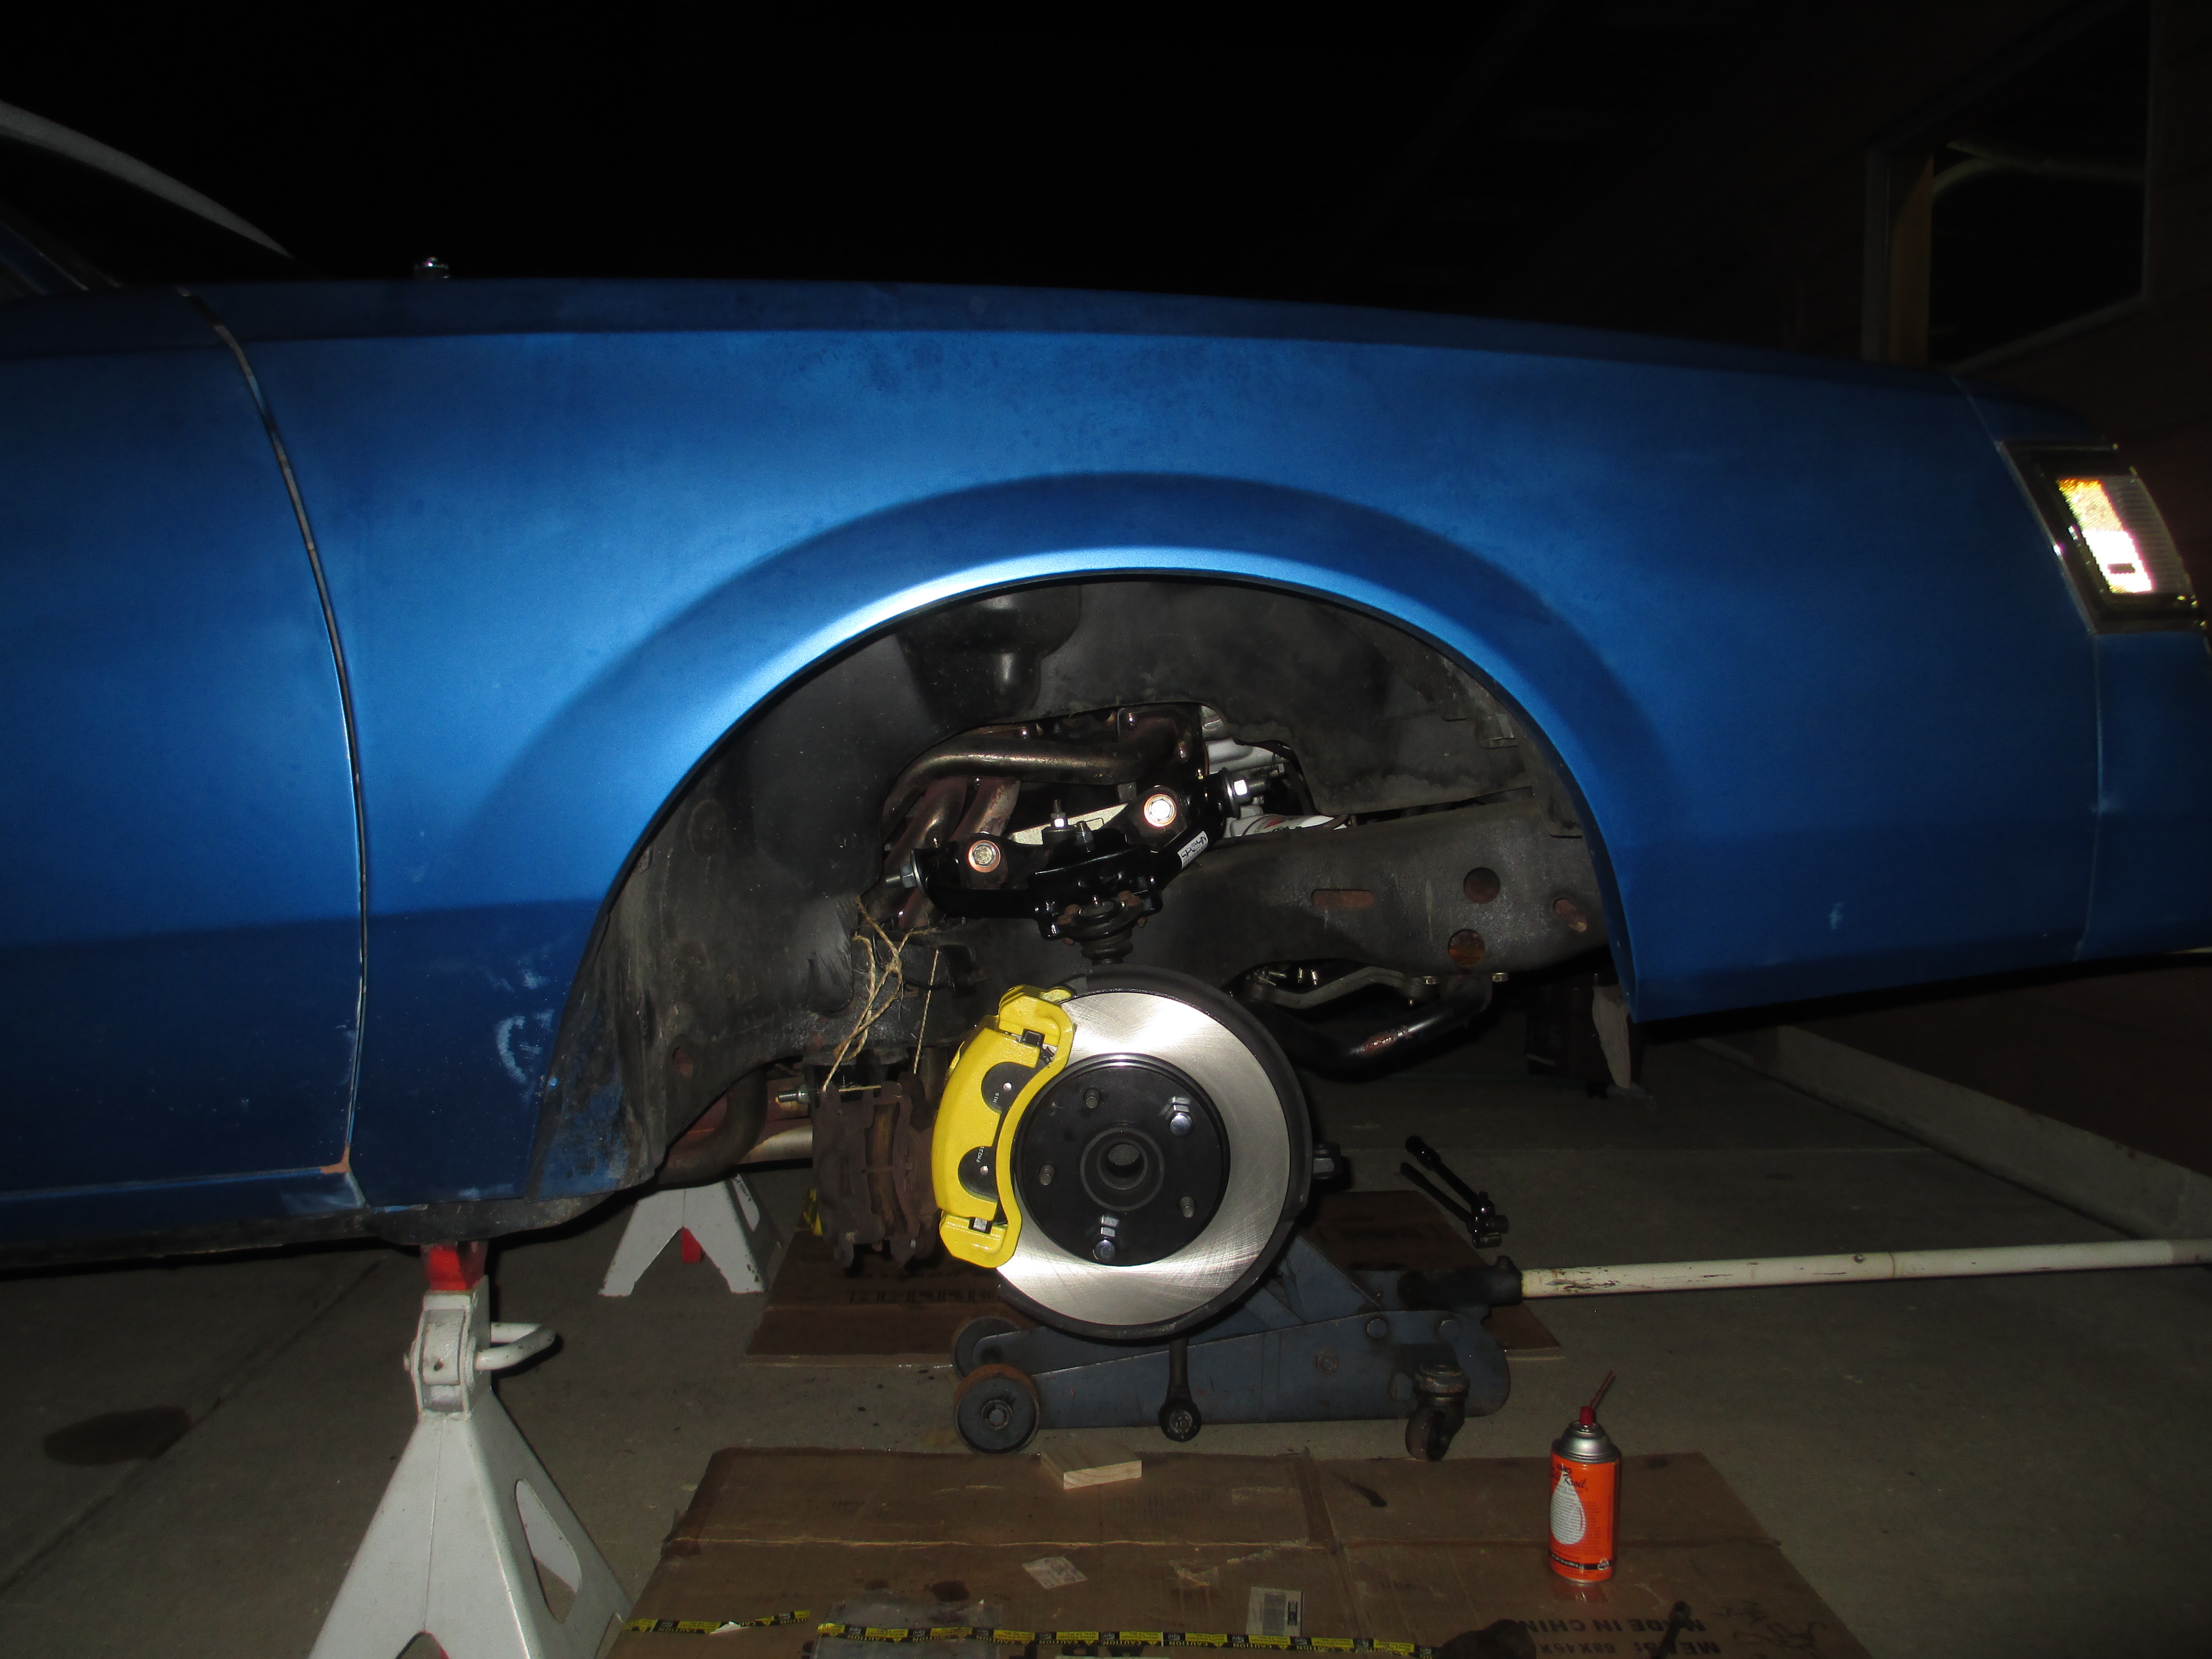
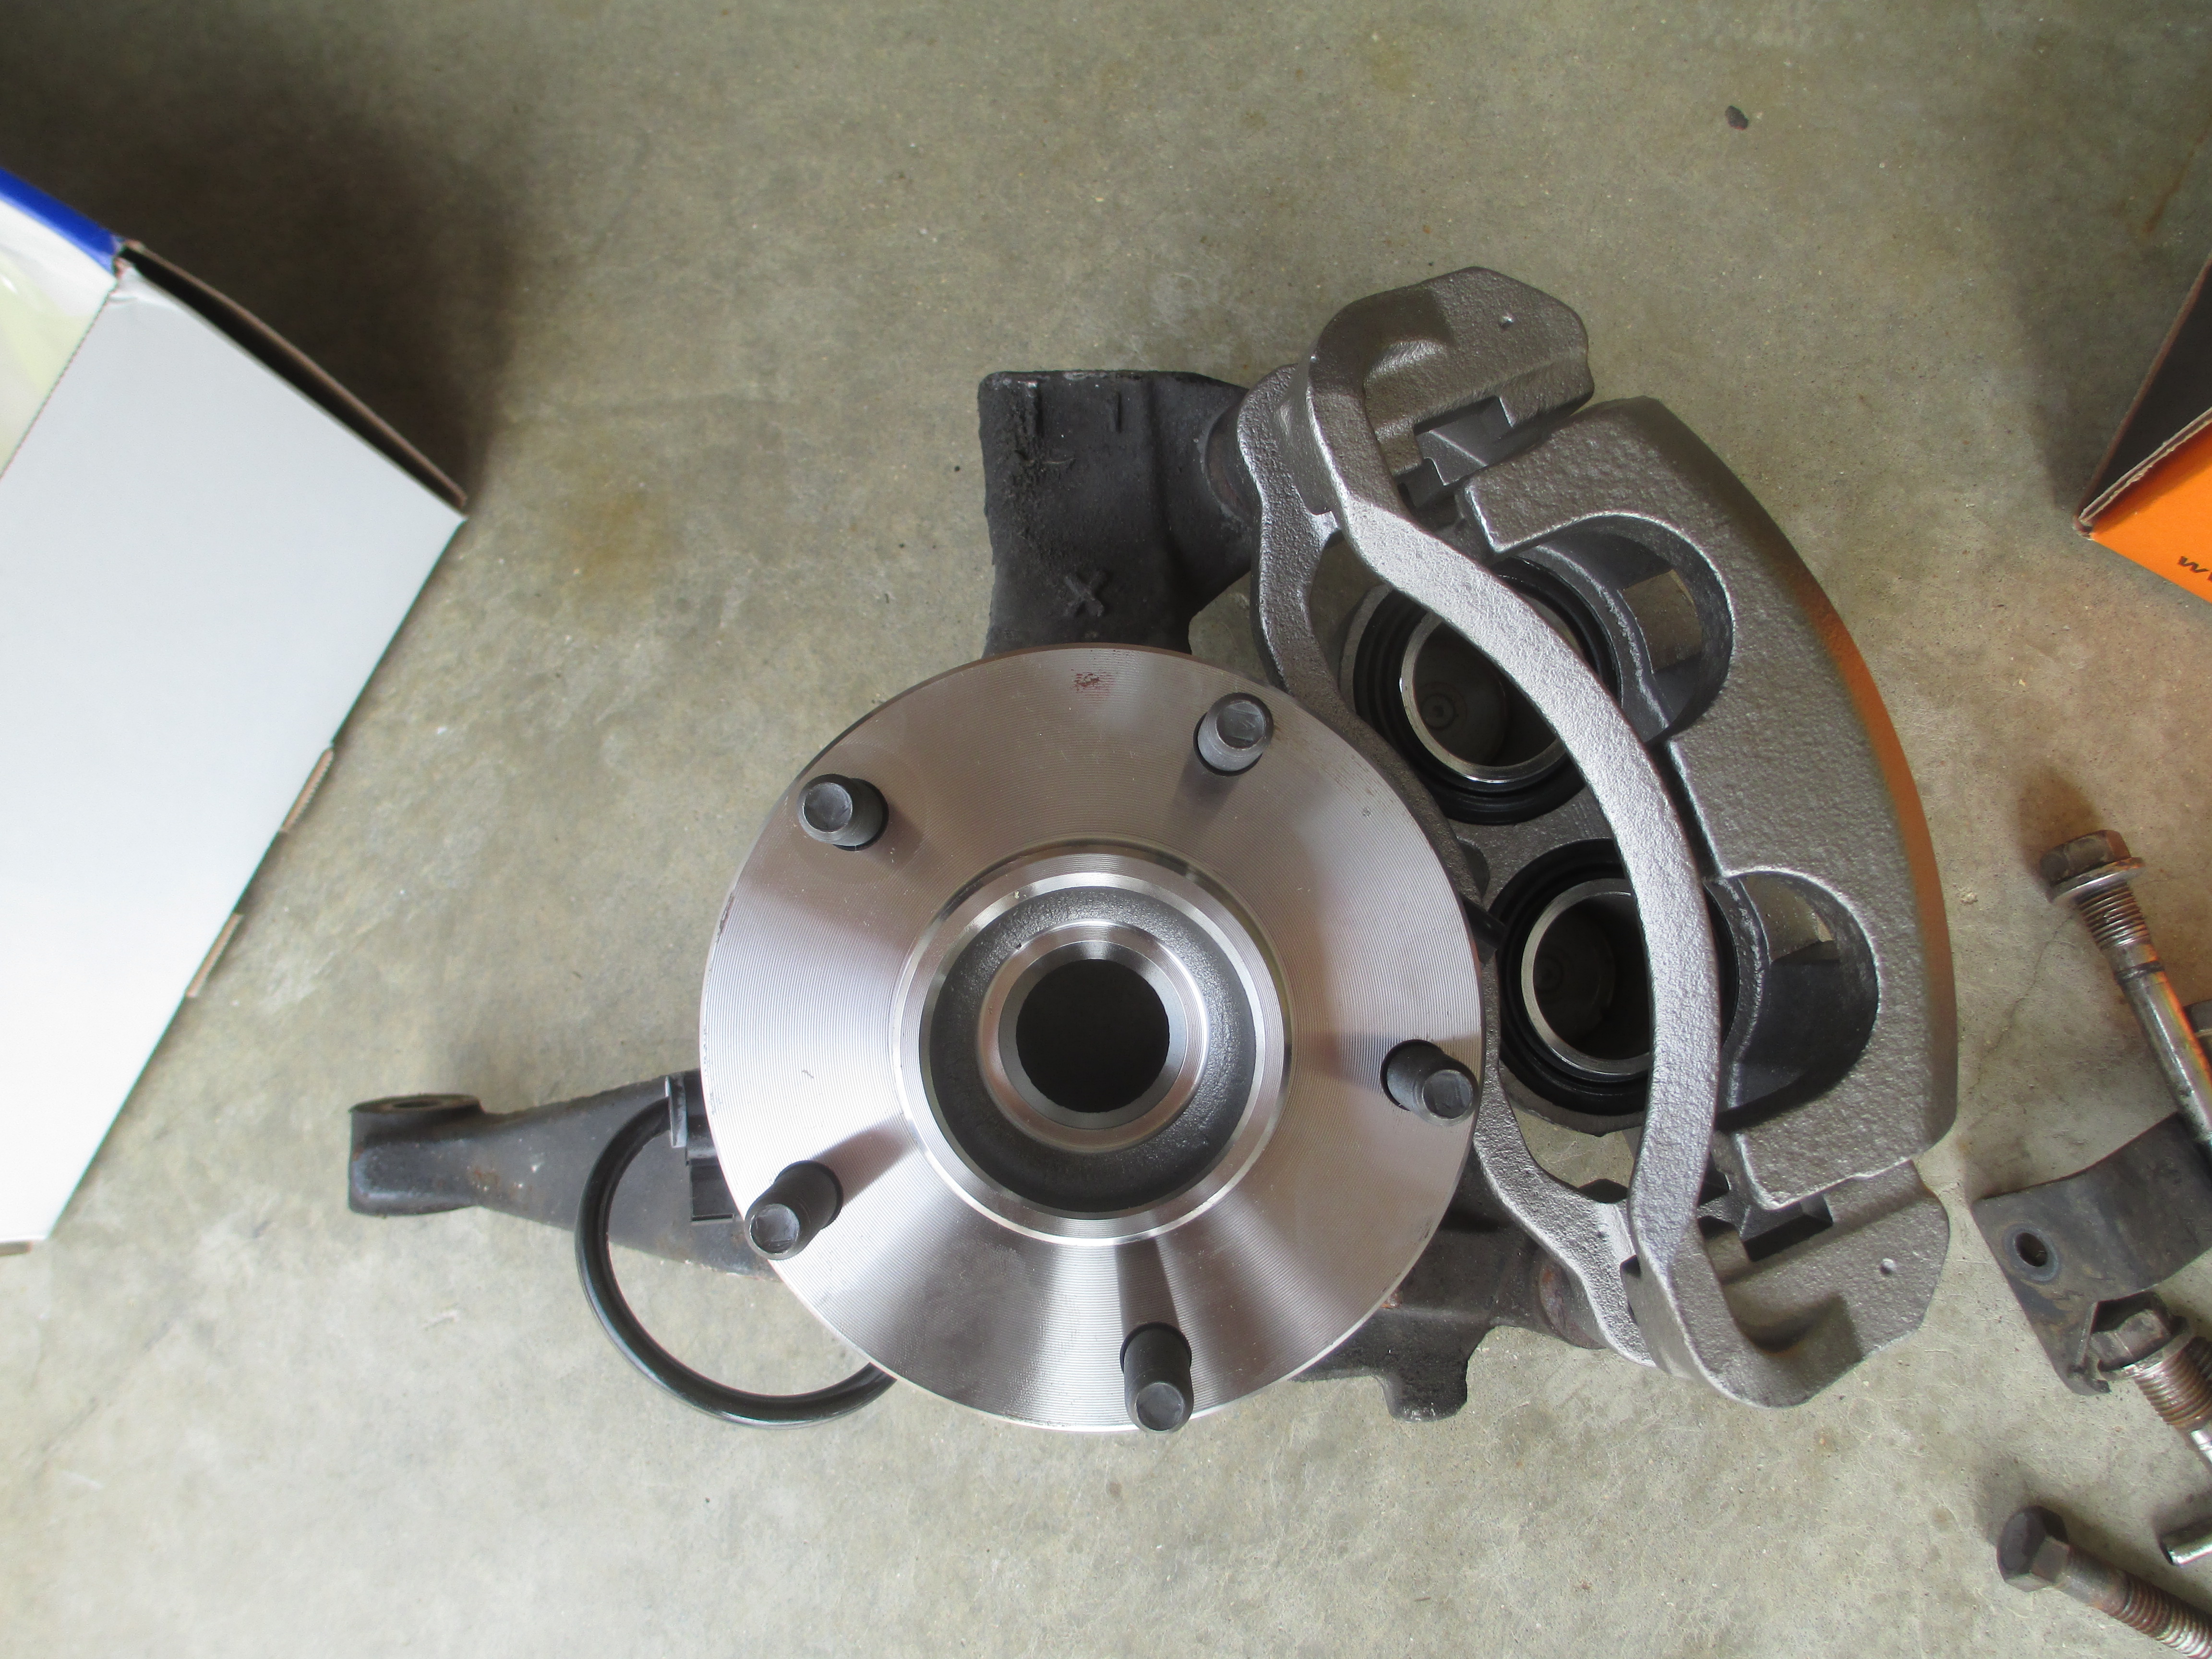
I'll start with what I got done before the first event (the one I missed) before it became apparent that I wouldn't be seeing my lower ball joints for a while. Here's a mock-up of the 2WD Blazer Spindles from Timo22 (thanks again!) with my Timken hubs and AC Delco re-man'd calipers from RockAuto:
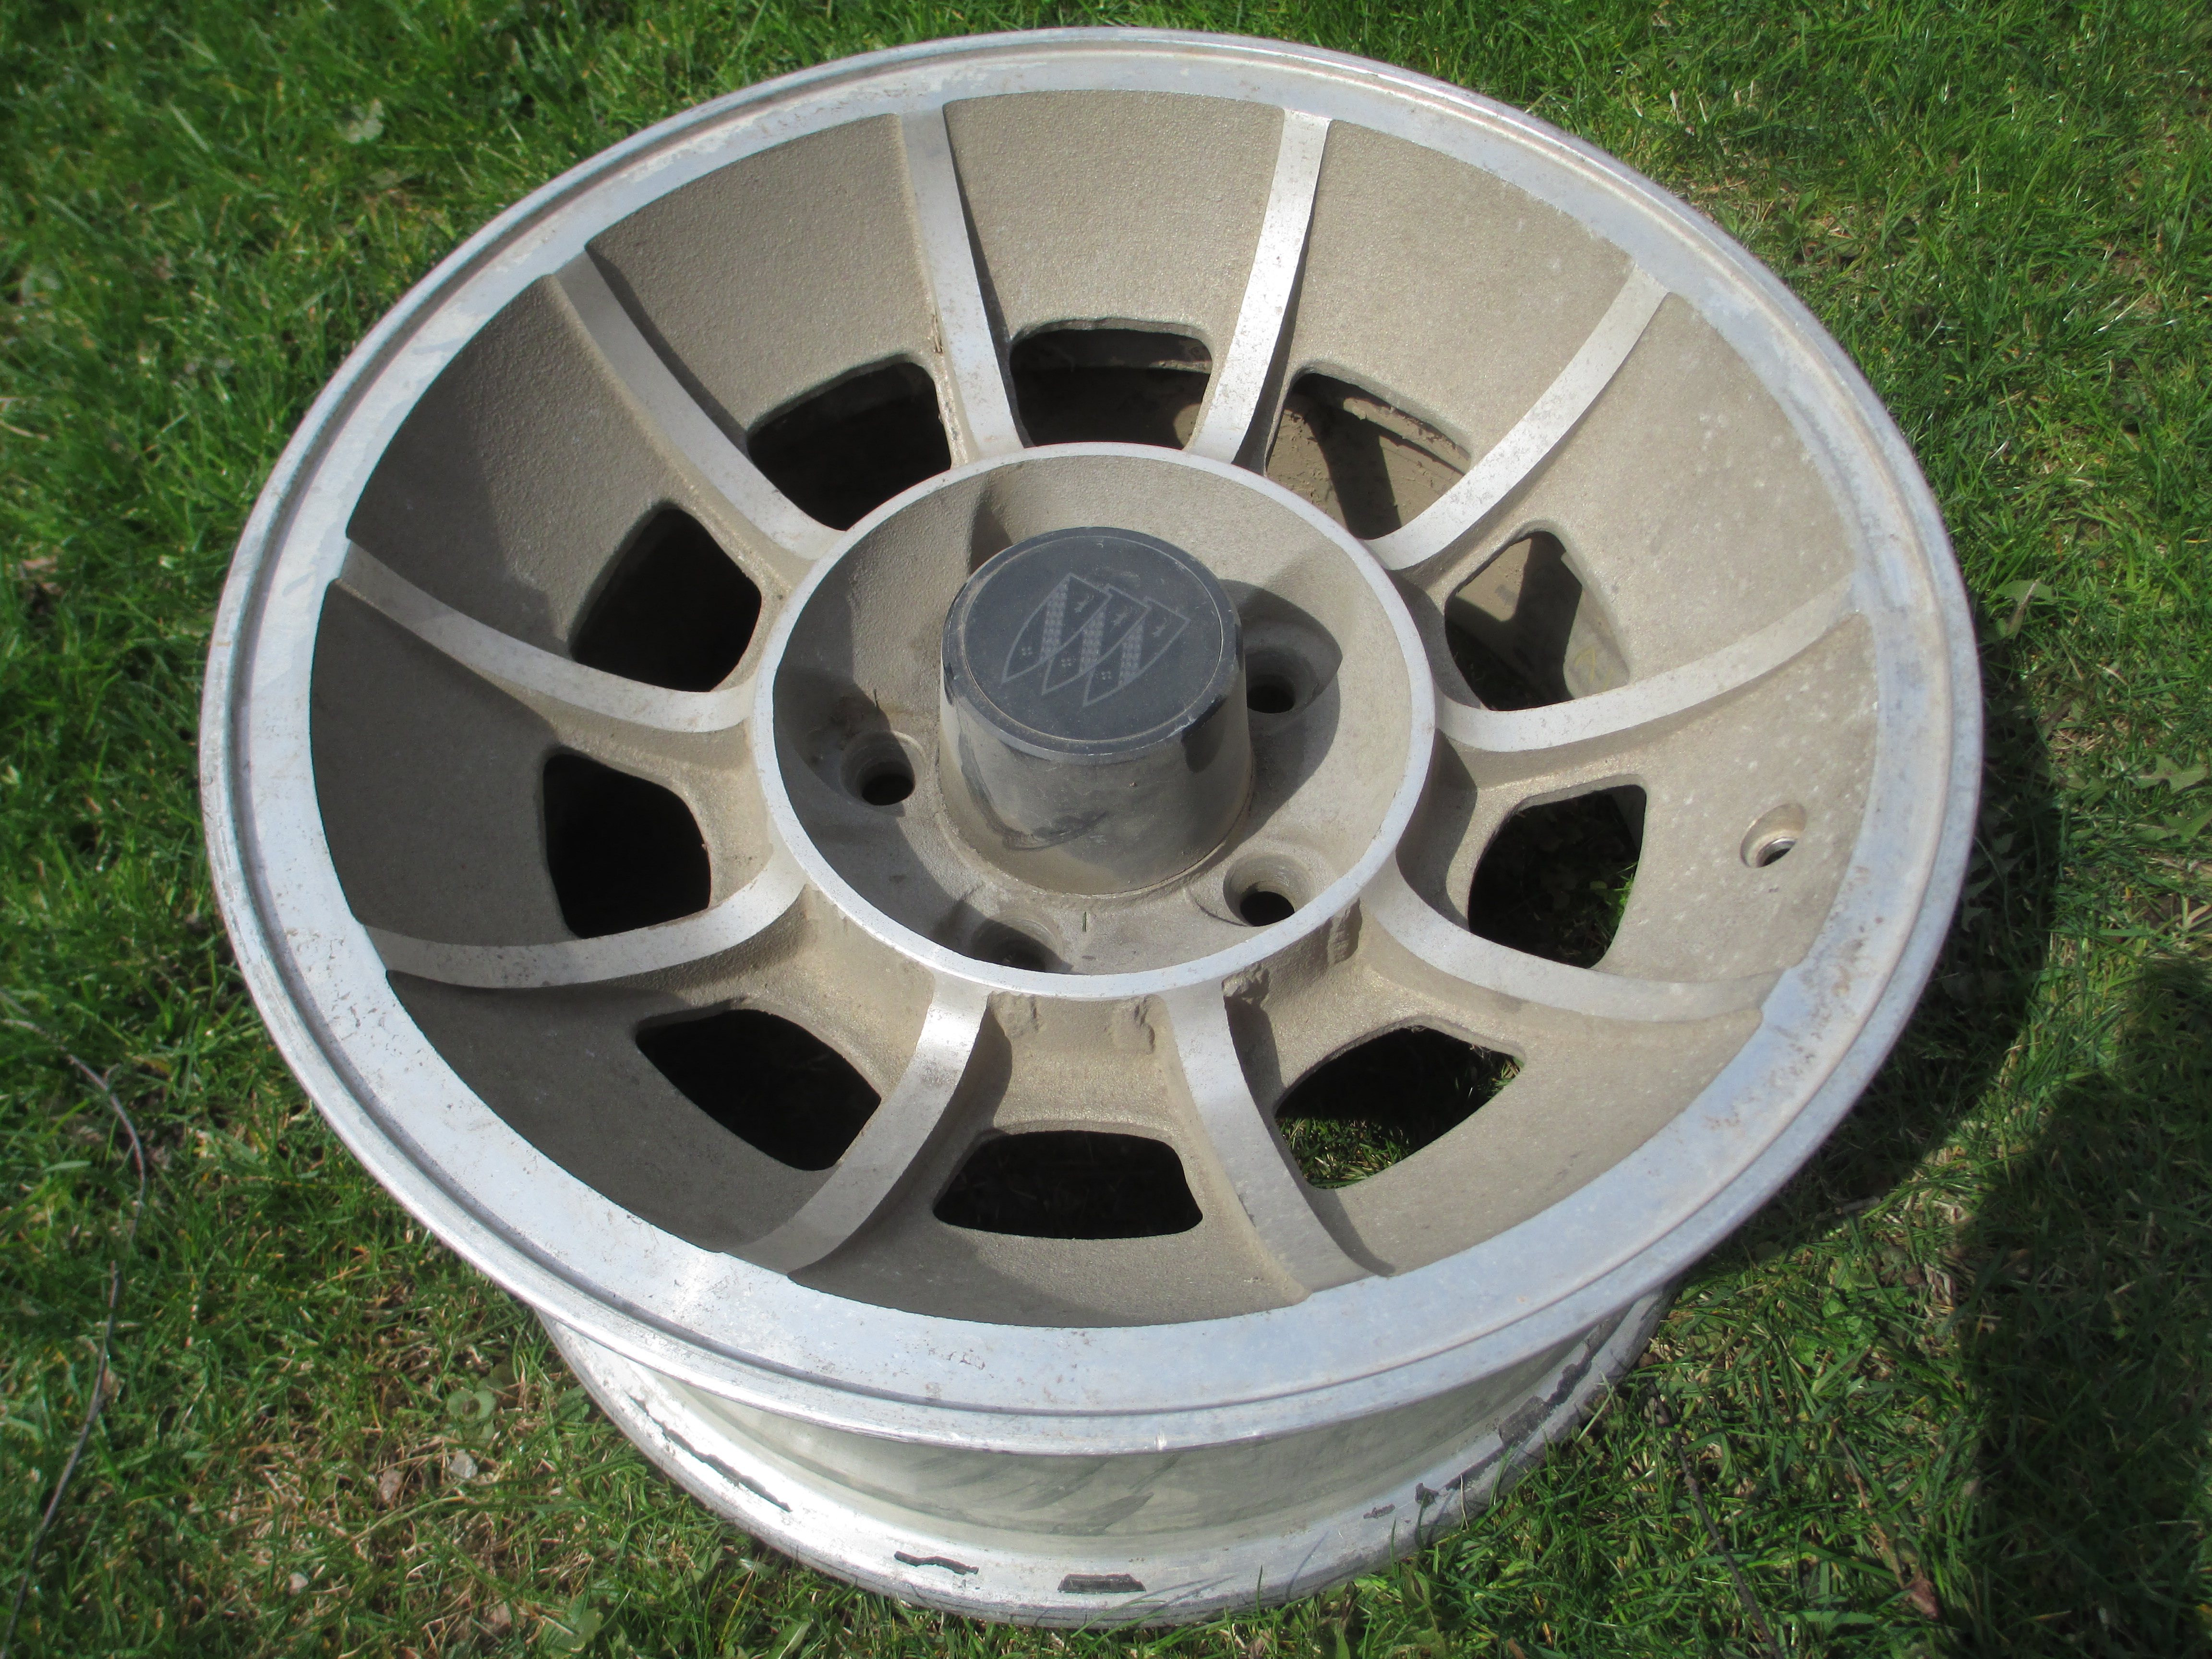
In lieu of buying a brand new set of rolling stock, I was able to find a replacement T-Type wheel on ebay from a salvage yard in Texas for about 100 bucks. It has some lumps of extra alumnium, but it is indeed a GM wheel. Shame I ruined the old one.
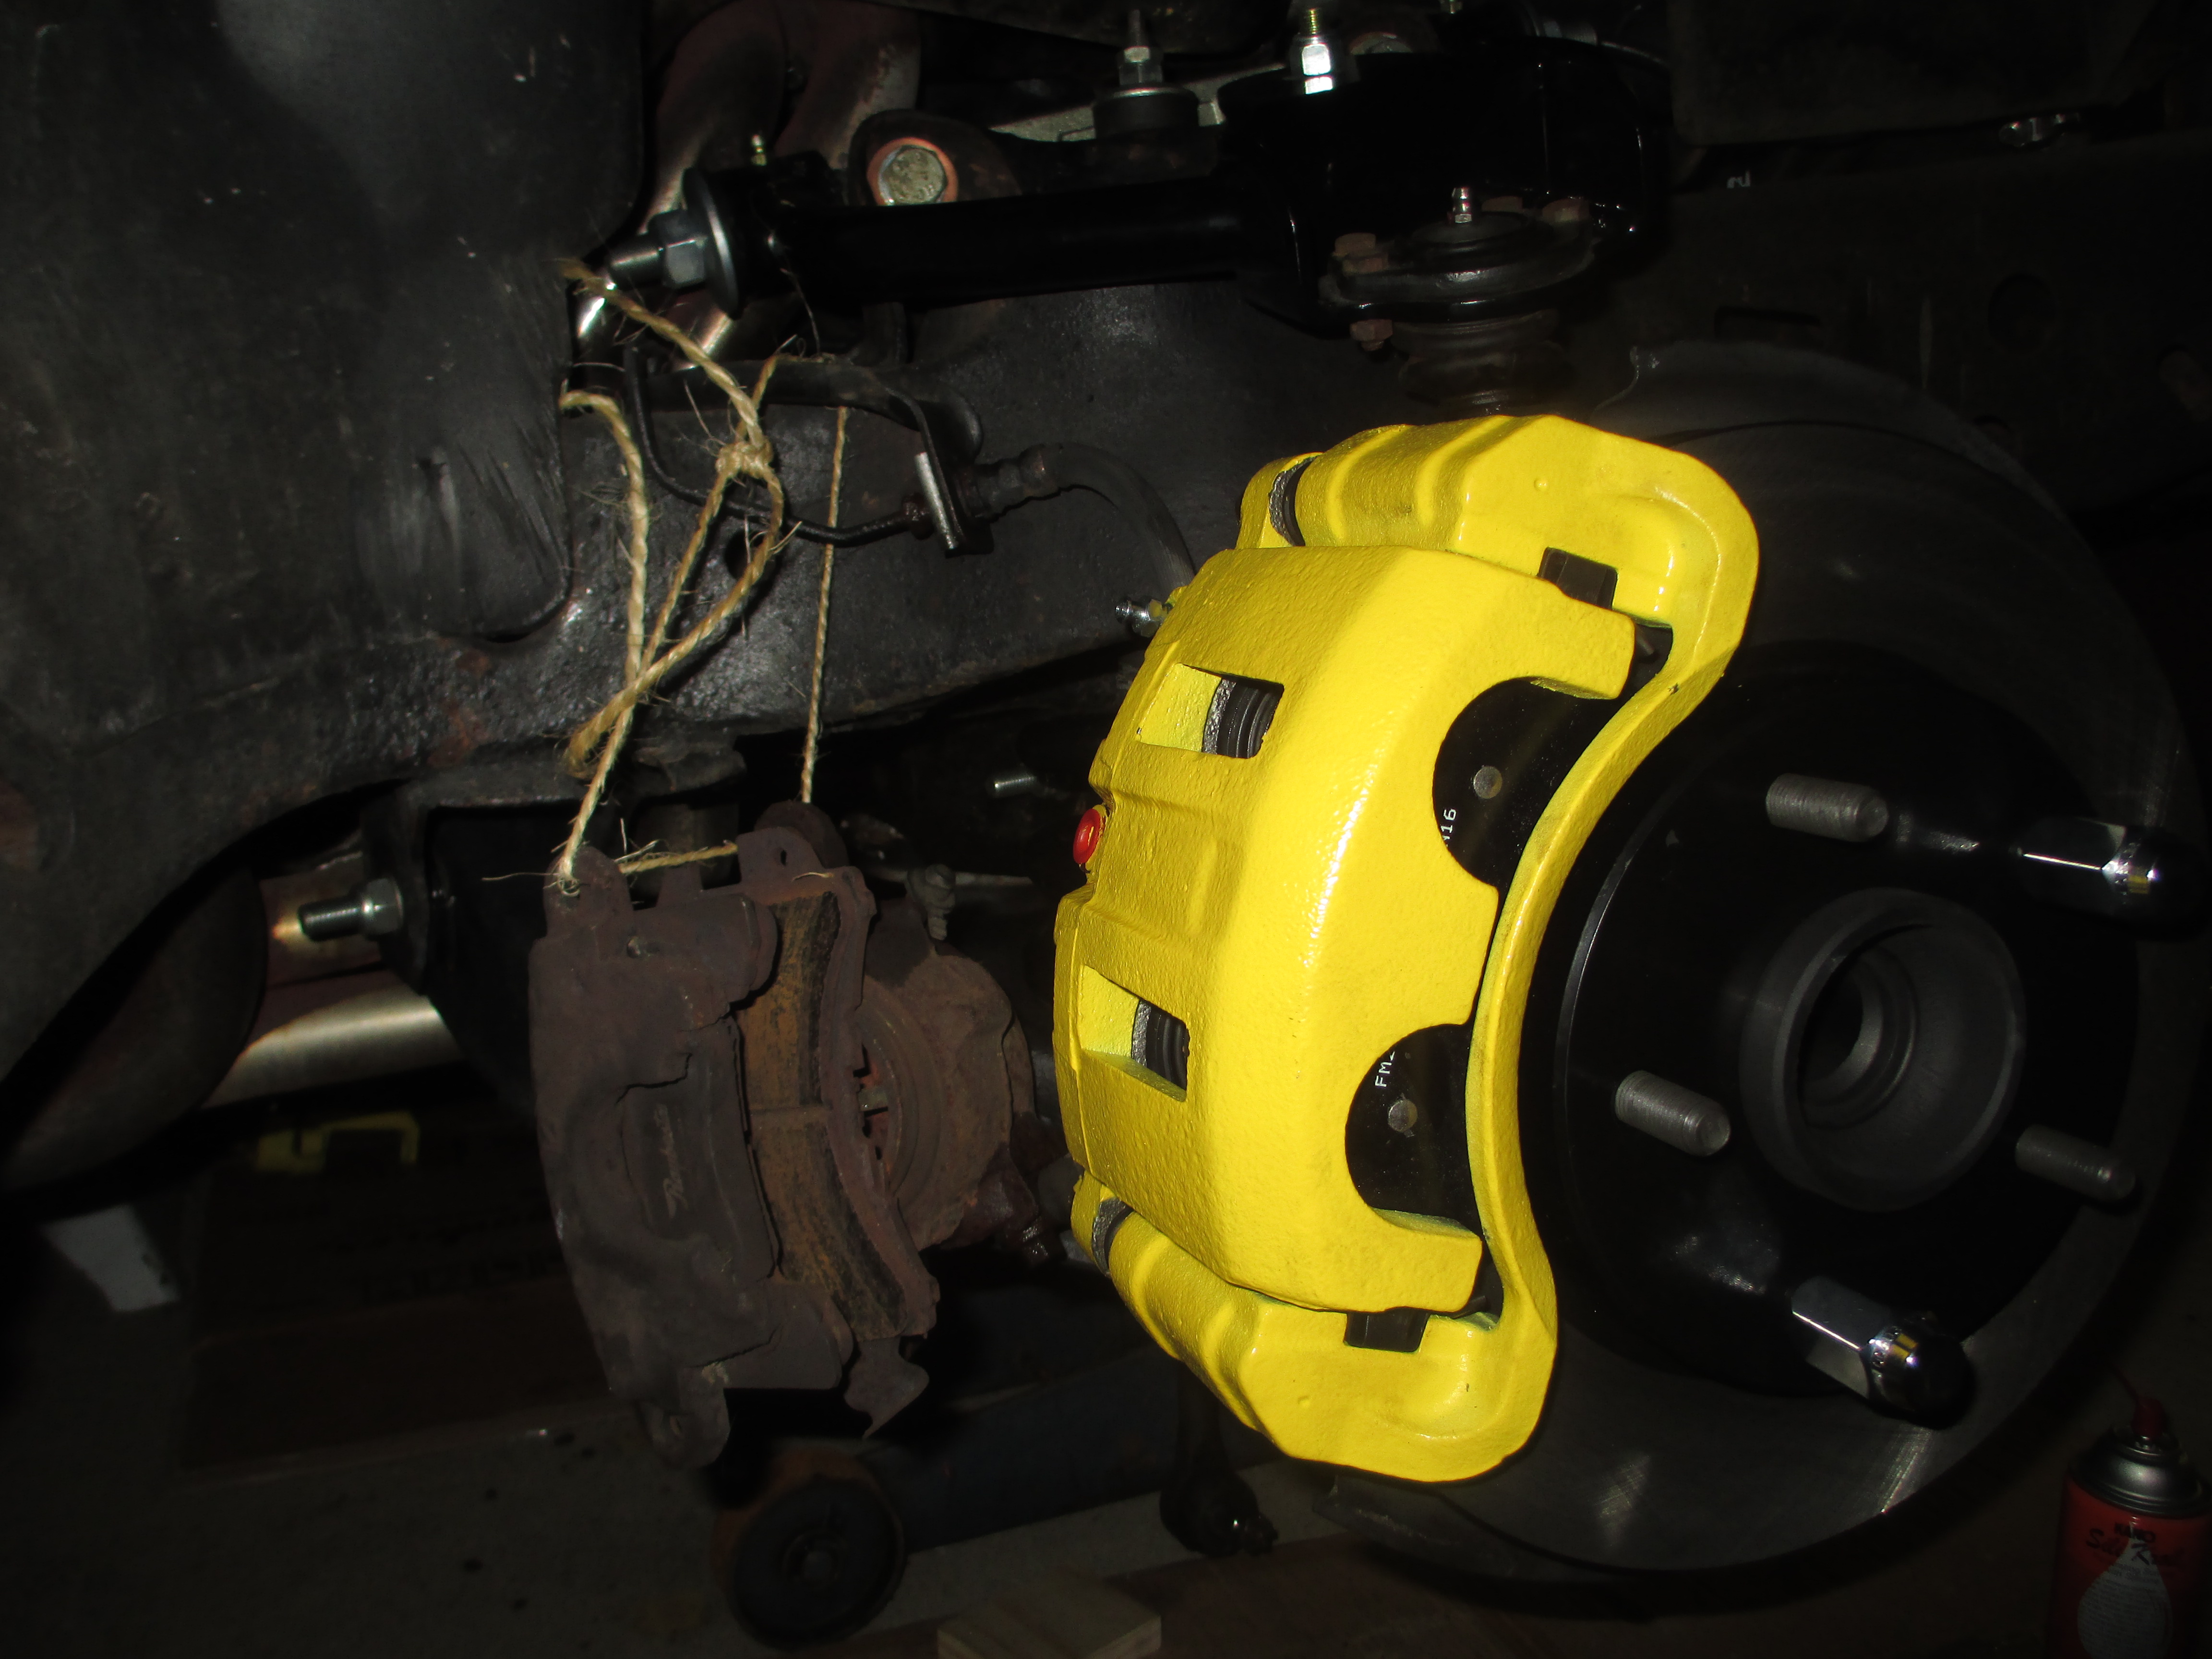
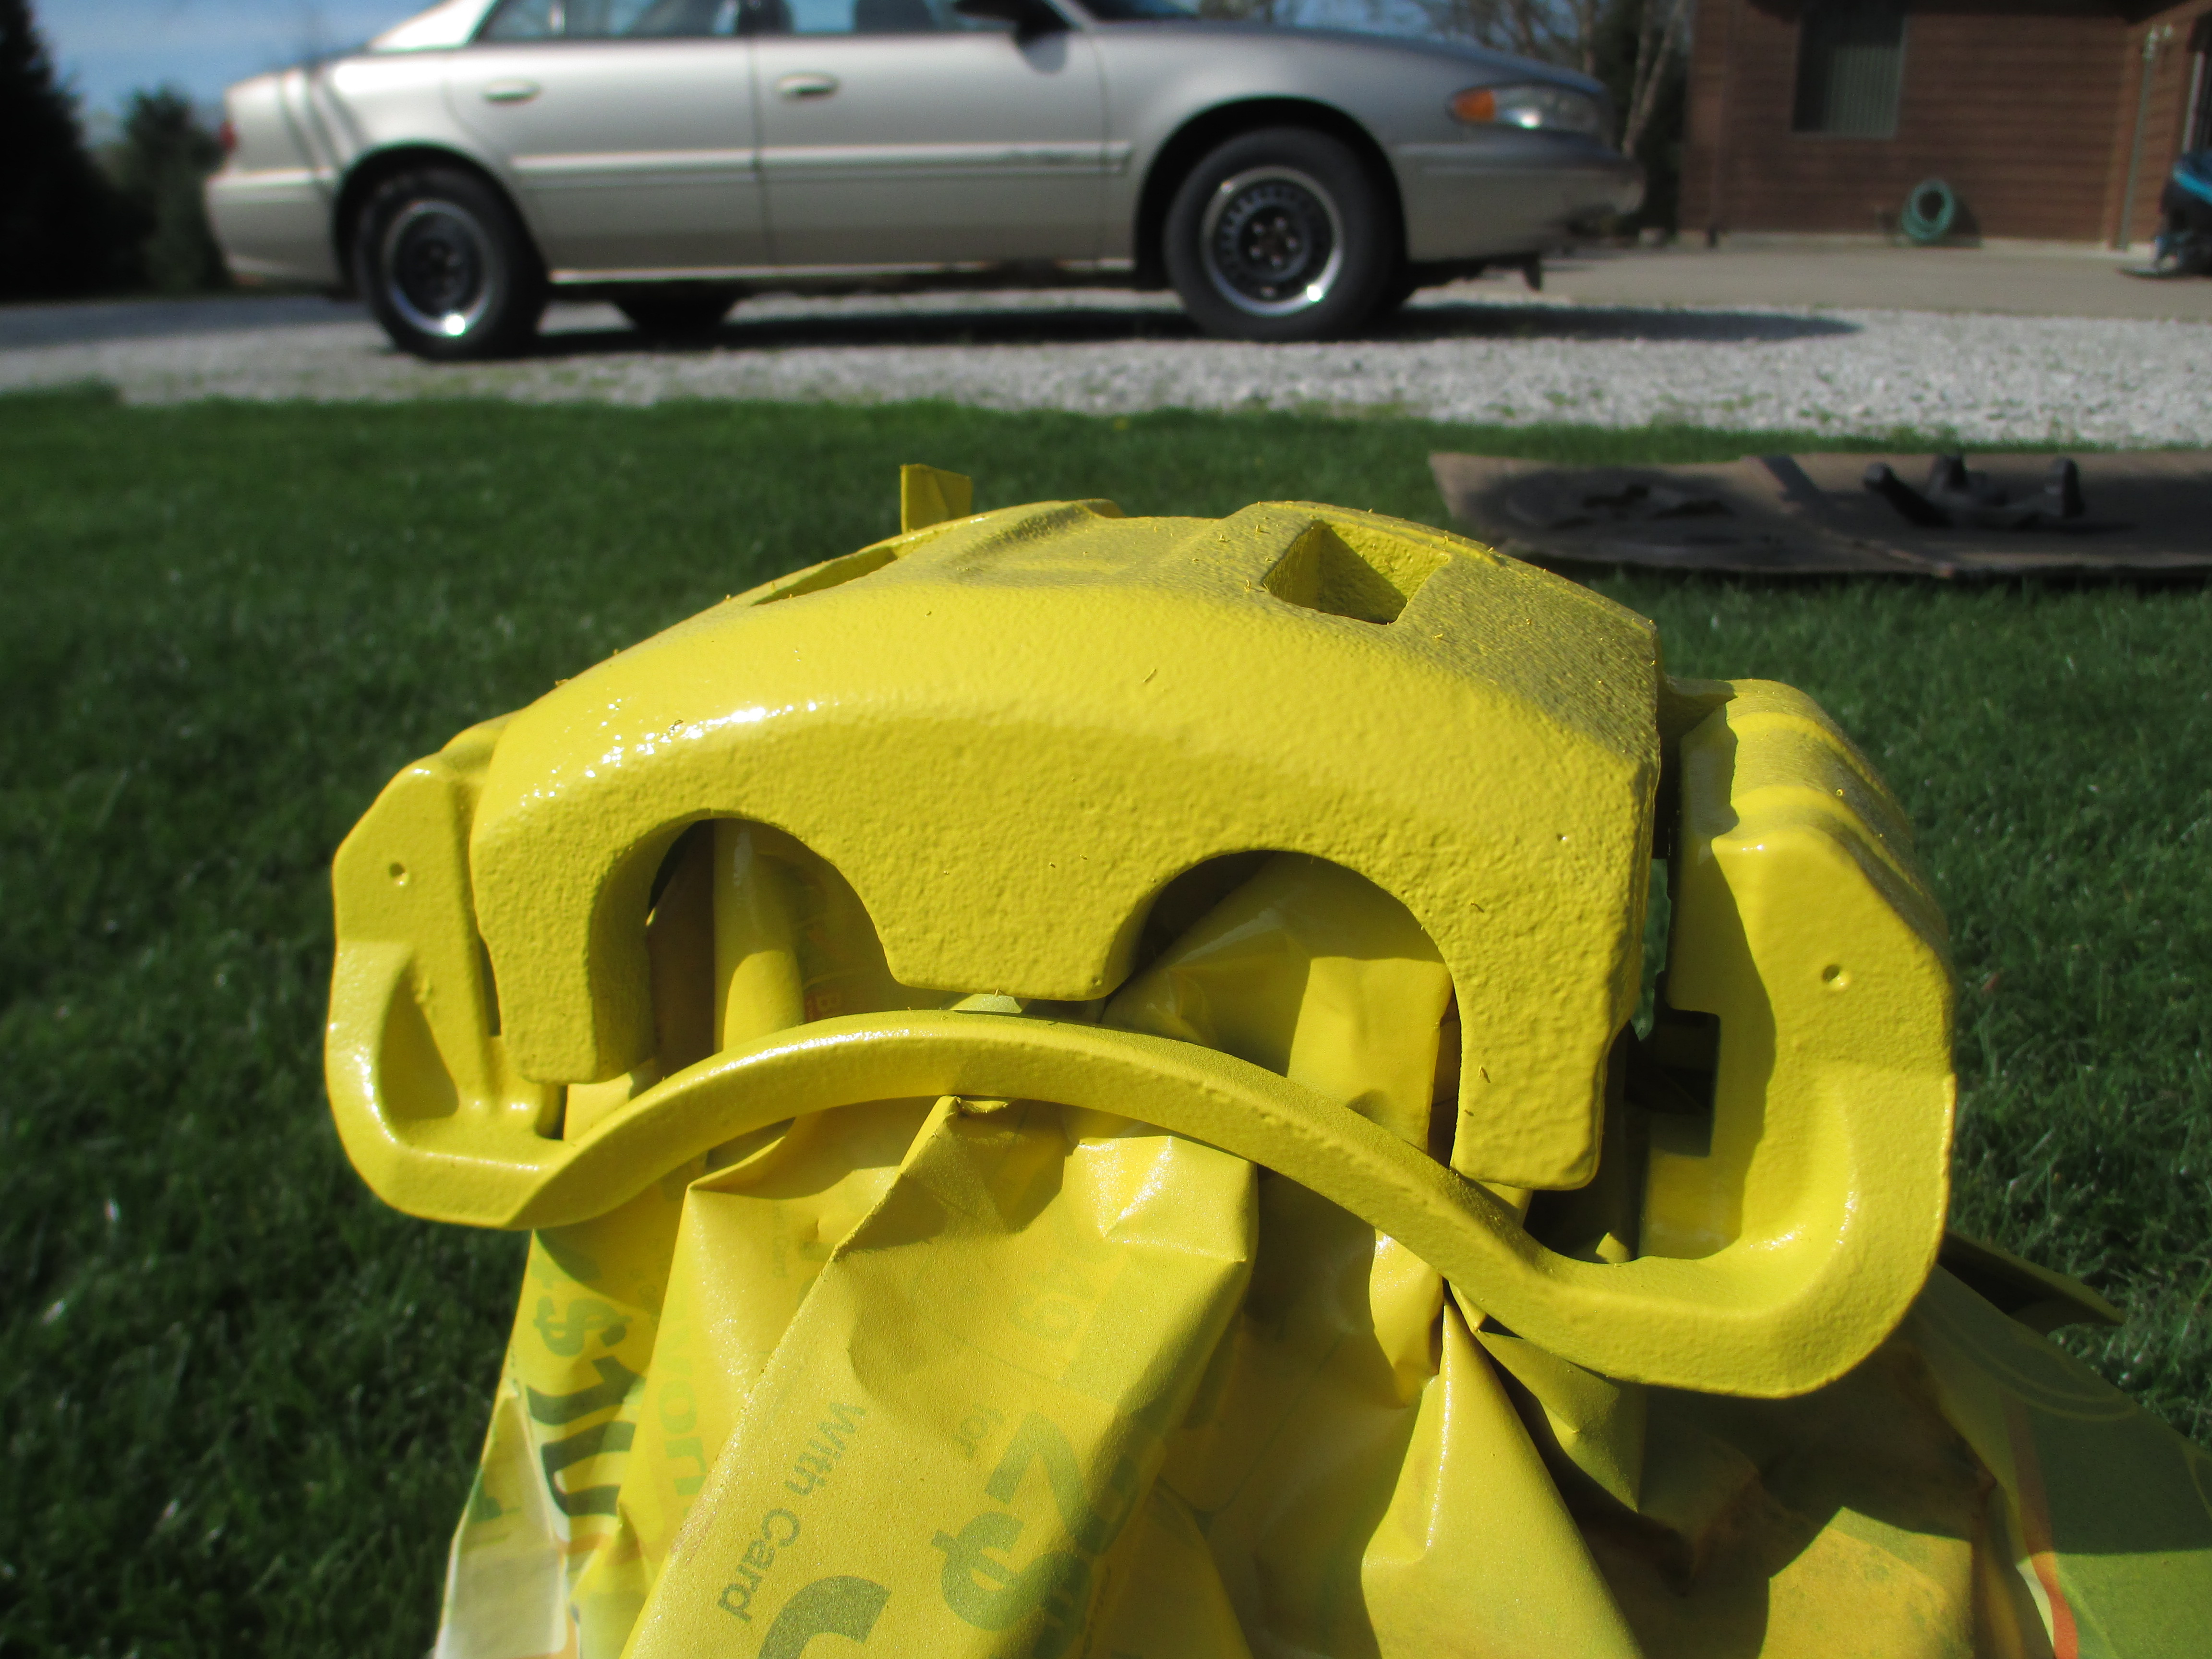
I used VHT caliper paint from a spray can to add a little personality to my brakes. If I remember correctly I did about 5 light coats in between yard work.
I did the color coat with them sitting on paper-covered jack stands. This didn't allow me to hit them from beneath, but in hindsight I decided it wouldn't matter since I still had to spray clear and you'd never see the bottom anyway. Had I sprayed the bottom, the can would have run dry. (This is a one-can-minimum. You won't be able to do it with less.)
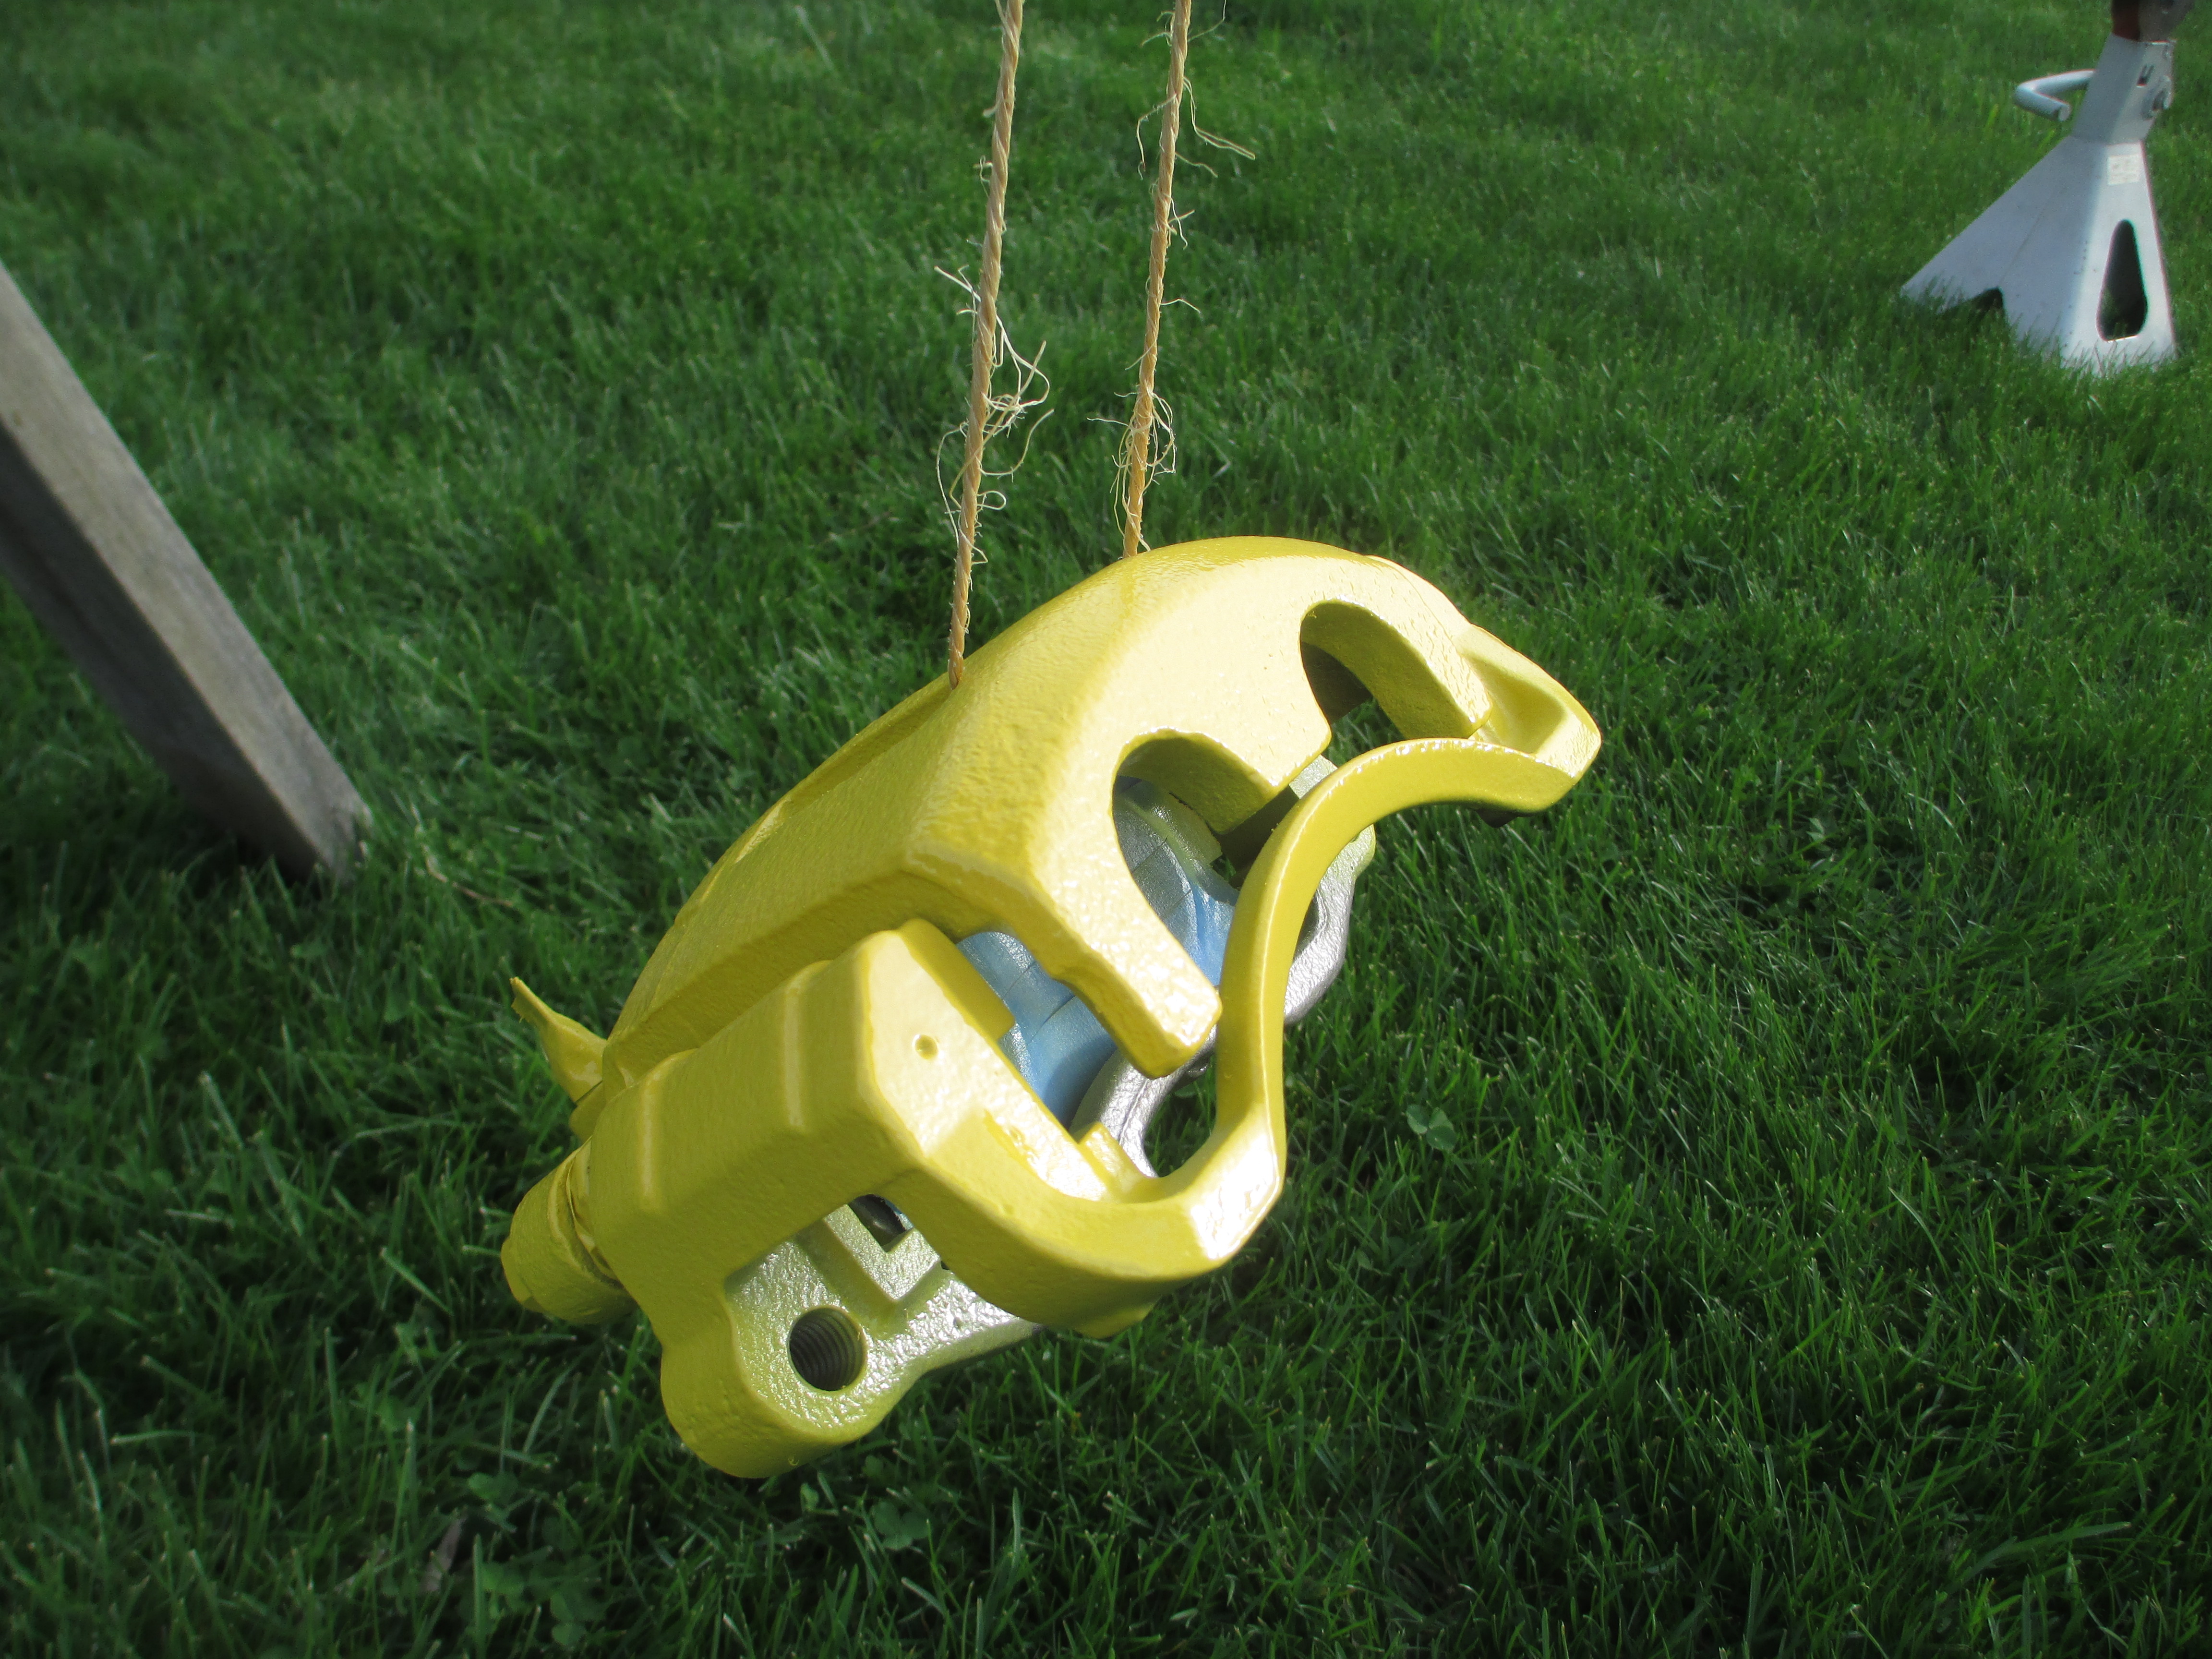
For clear coat, I hung the calipers from saw horses. Again, it was about 4-5 coats before the can ran dry. I was able to cure the paint later in a small toaster oven at 200 degrees F for 1 hour. The paint seems to indeed be brake fluid resistant as advertised, but I recommend you do good prep work. All I did was degrease the calipers and I did not use VHT caliper primer. My finish is prone to chipping. You may have better results if you sand yours and use primer. Regardless, I am pleased with the results:
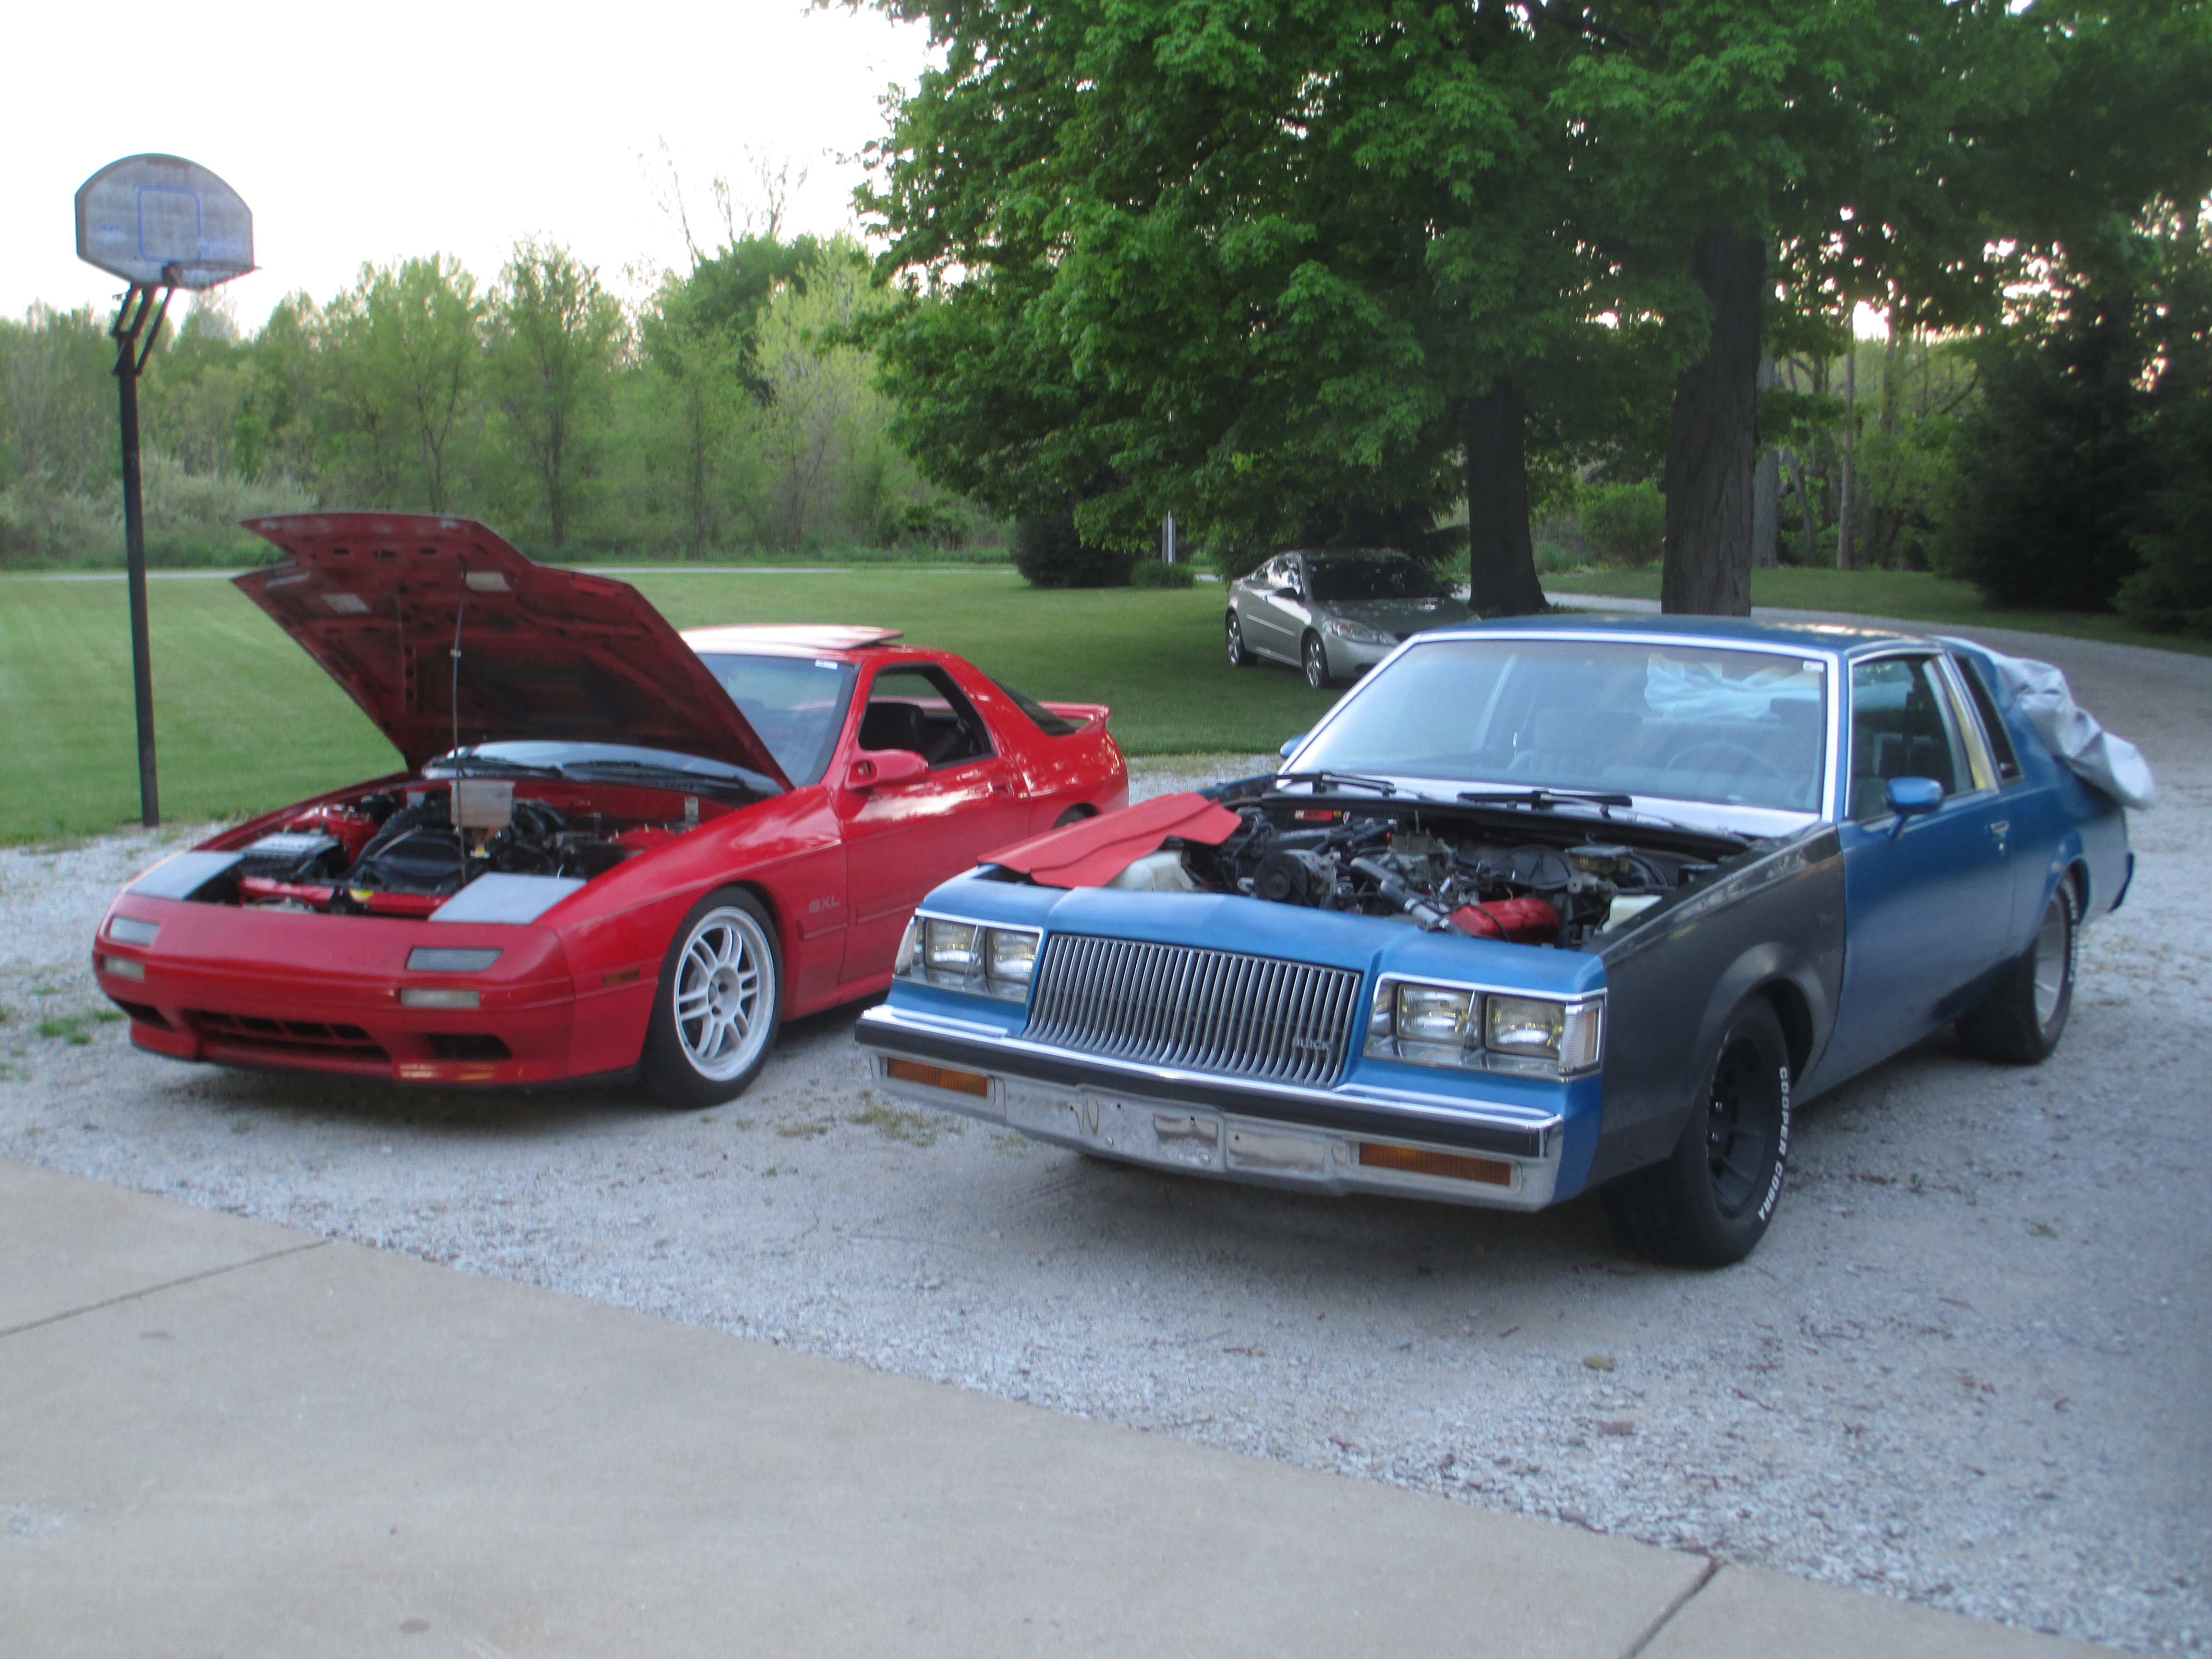
I also experimented with "rolling the fenders" but that's a thread for a different time.
Next up is everything done the week prior to the race.
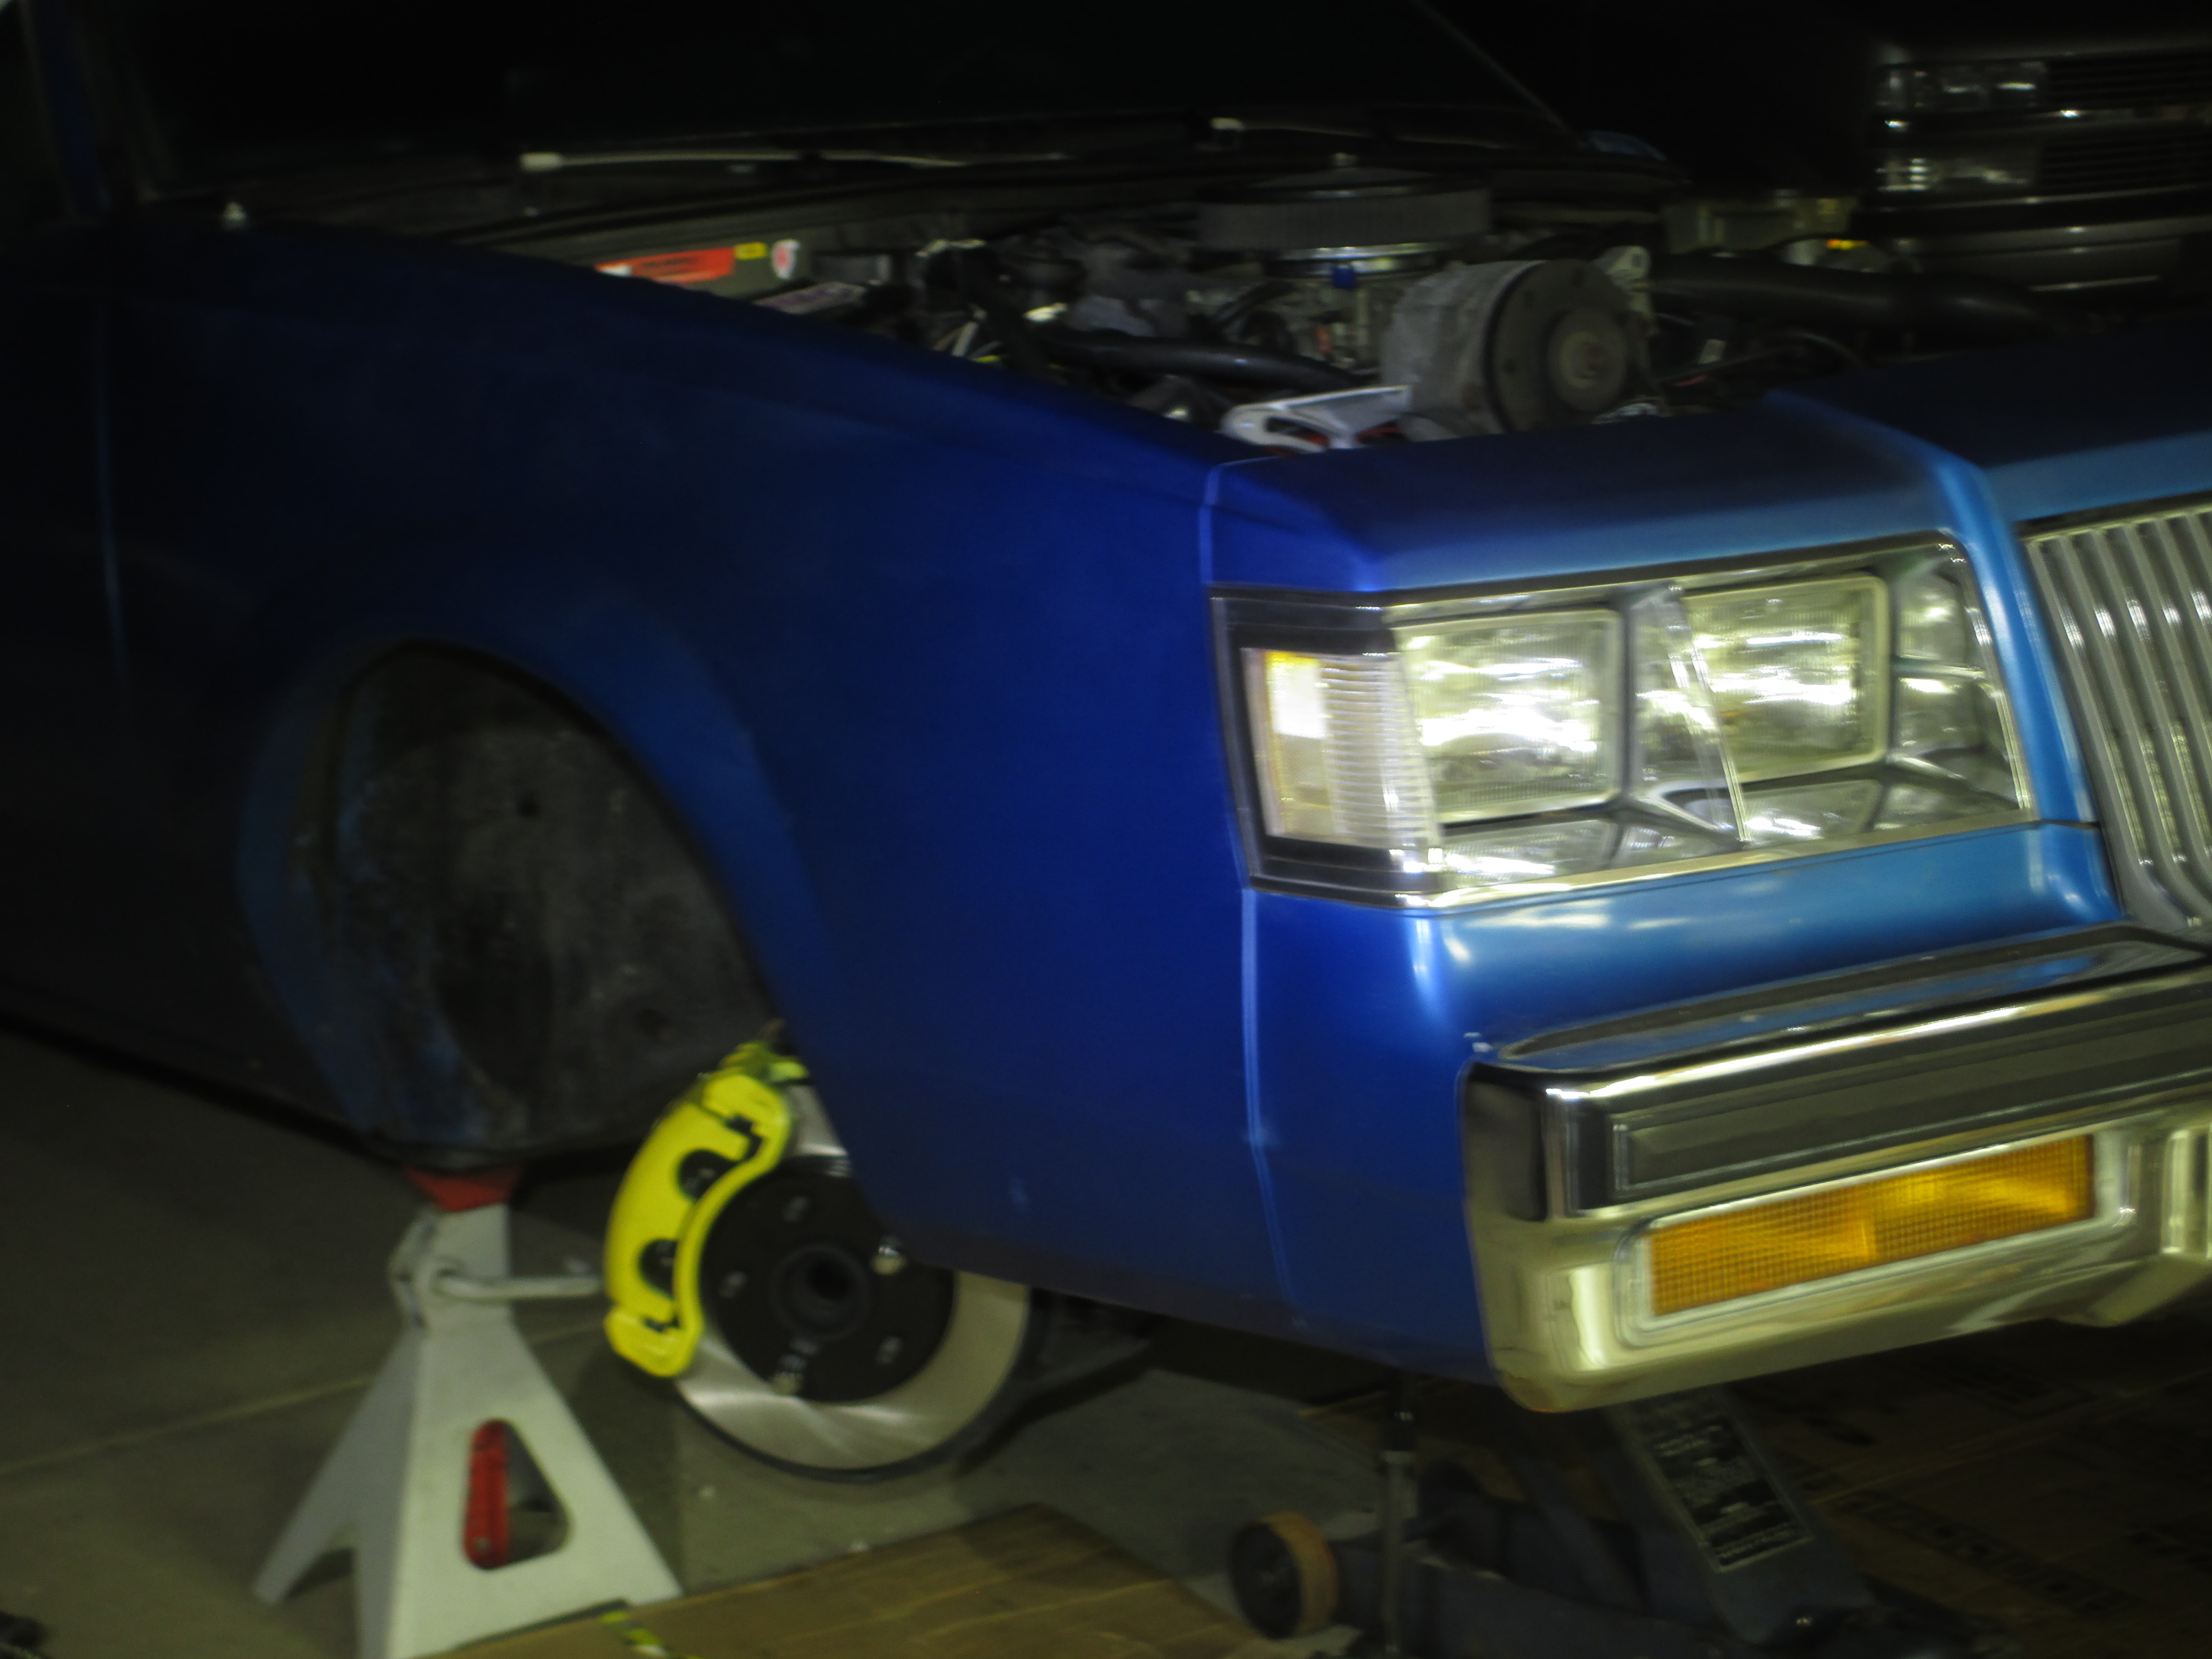
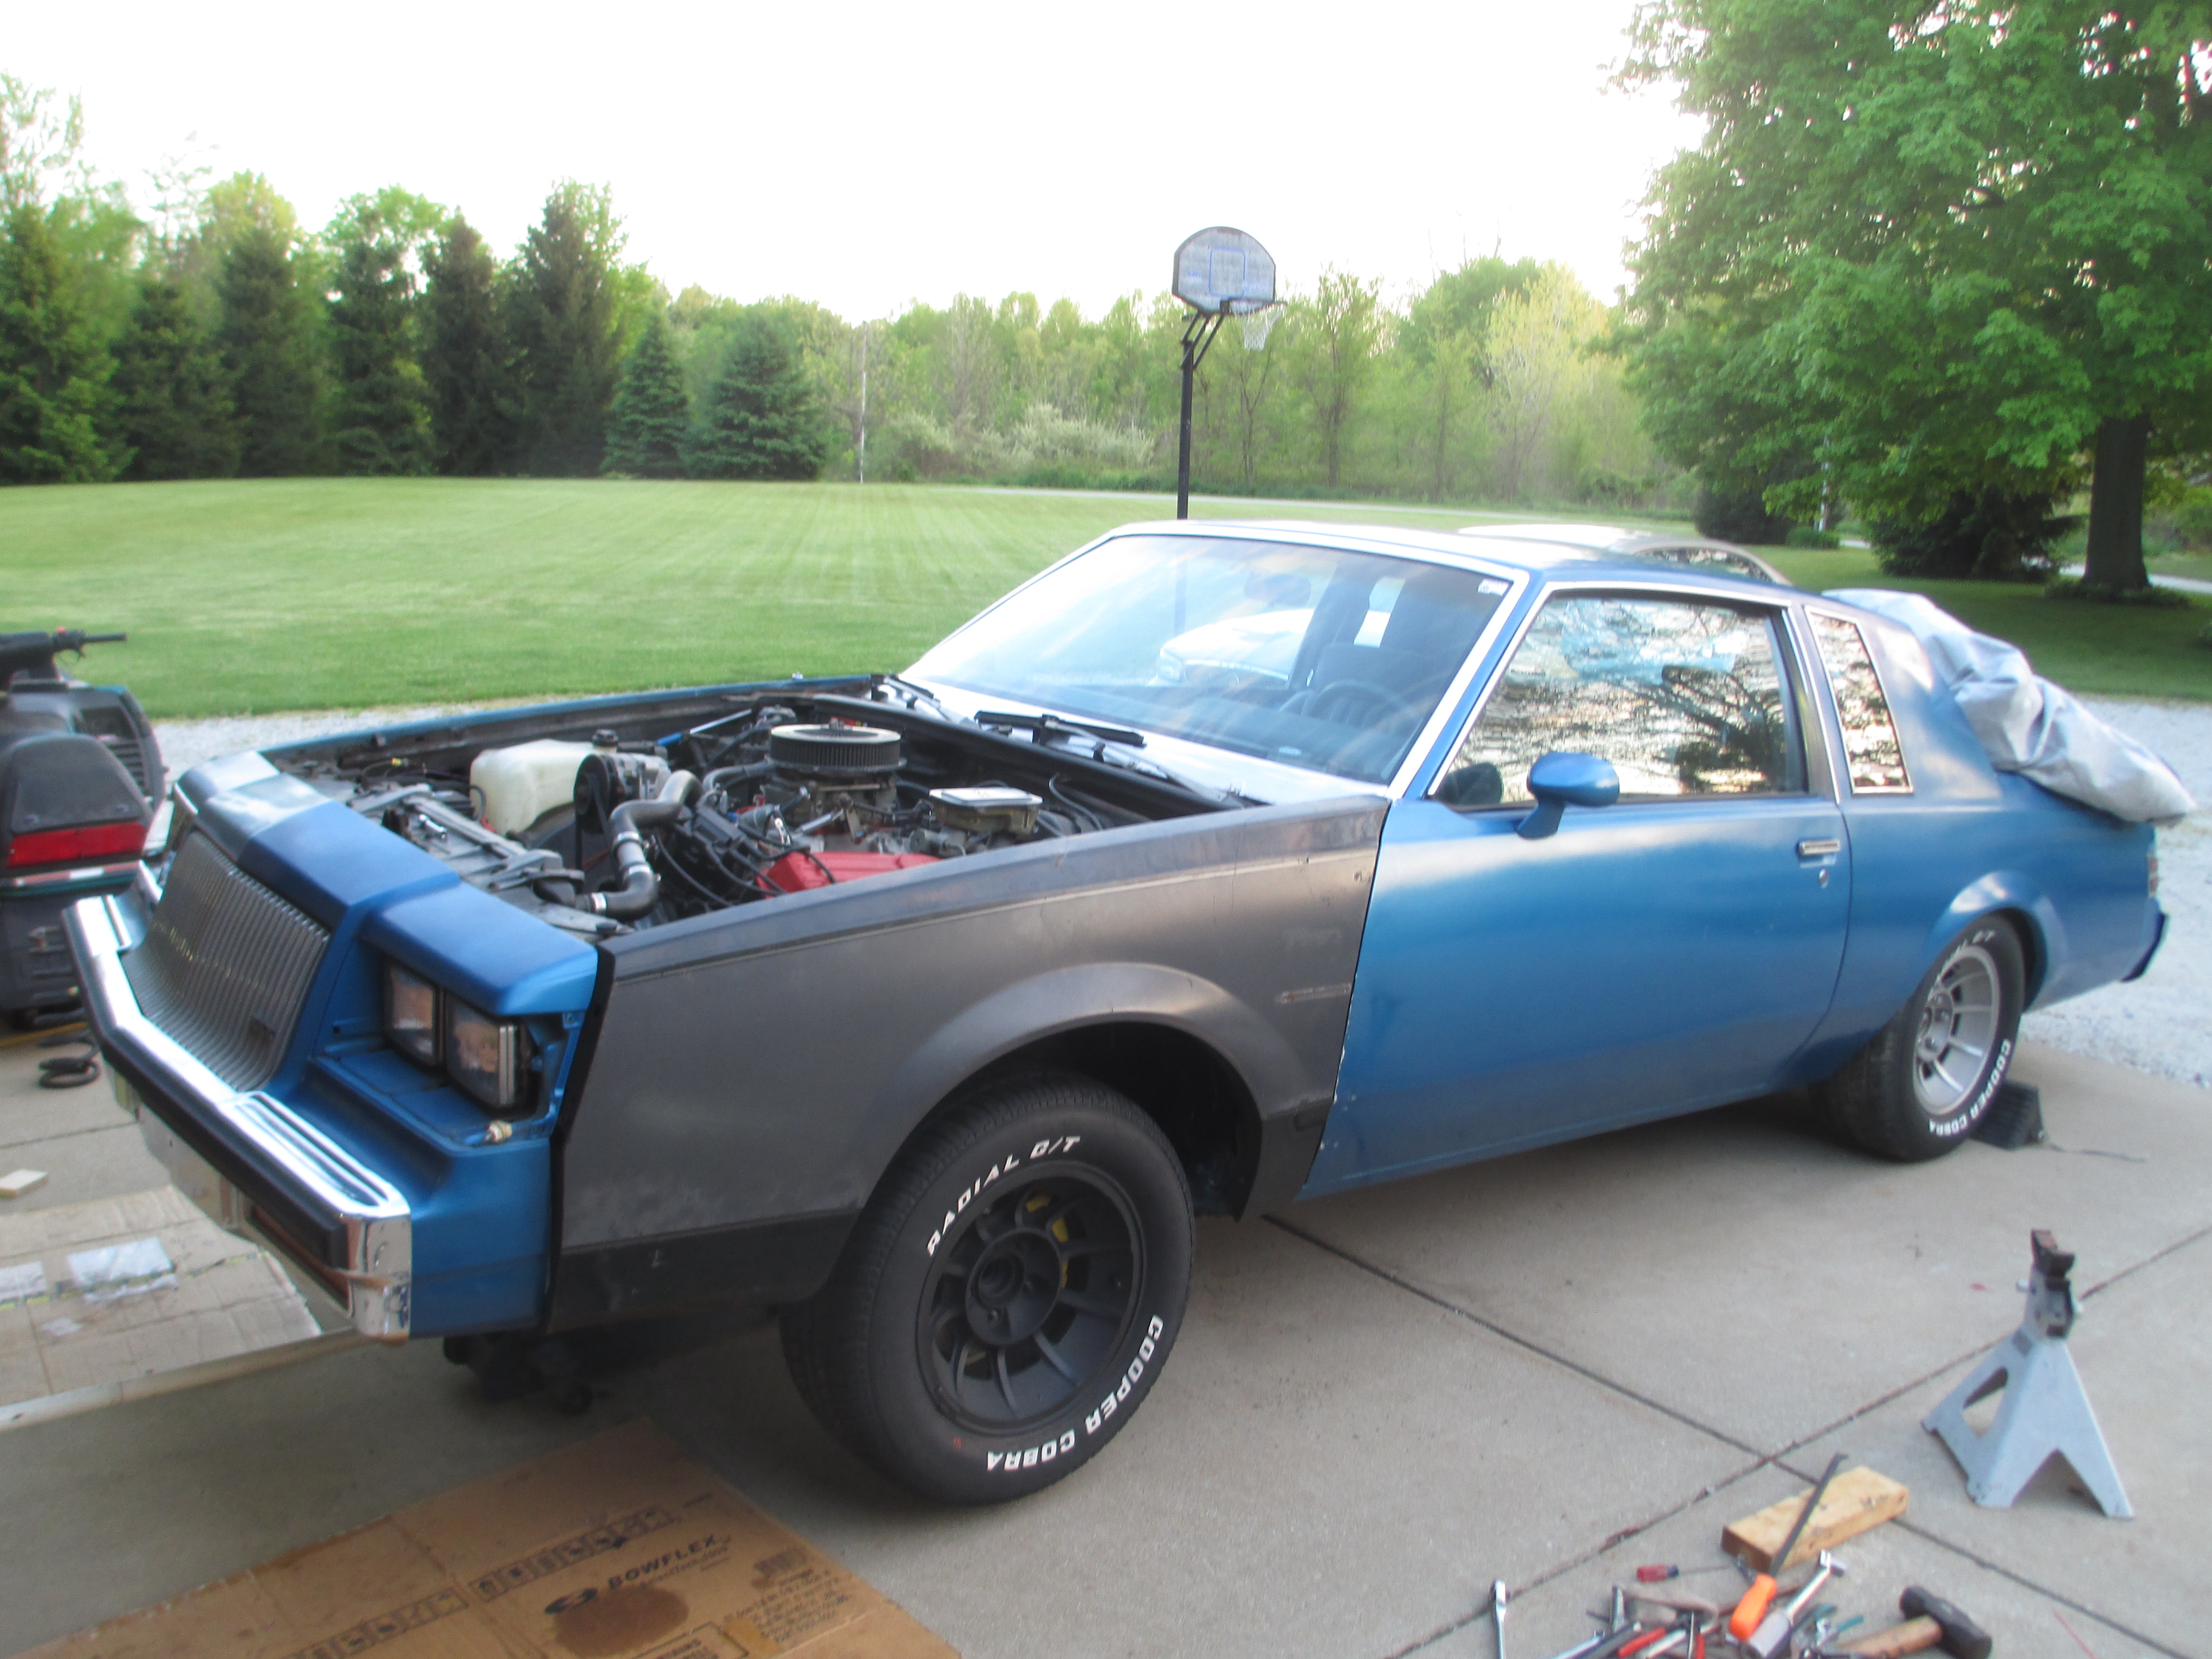
Just for the sake of showing it, here we are at the beginning with the hood and fender removed:
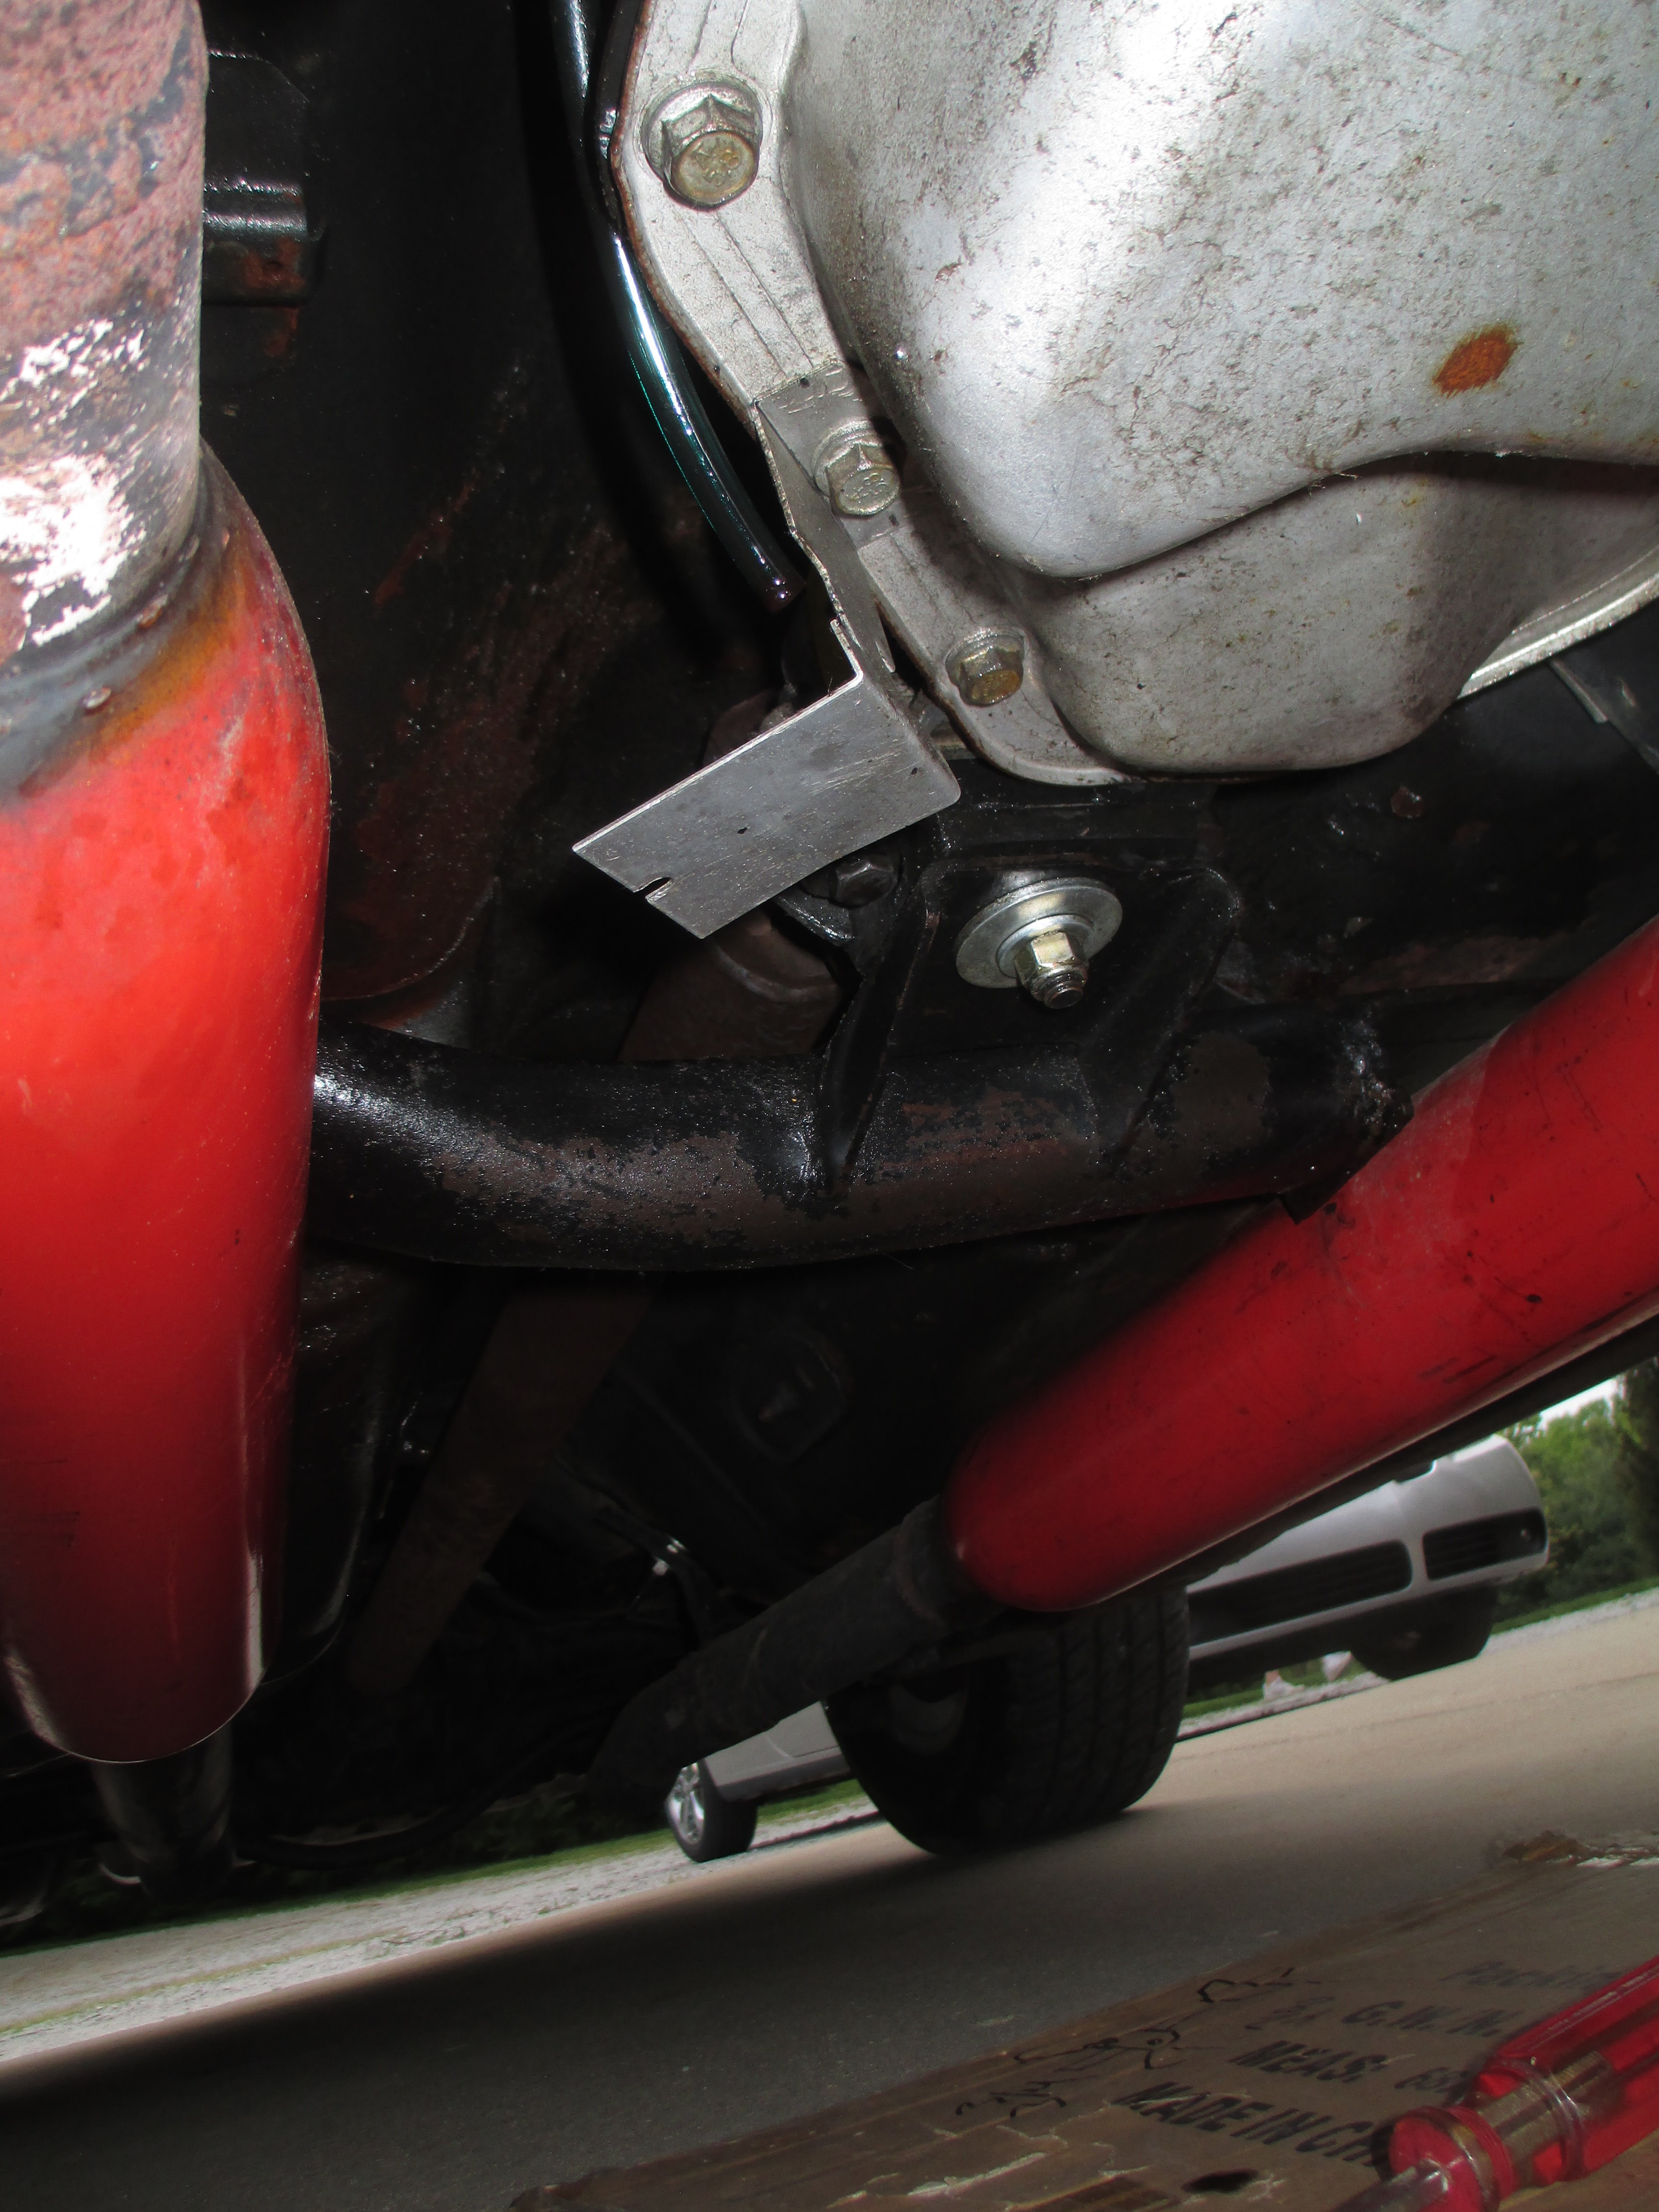
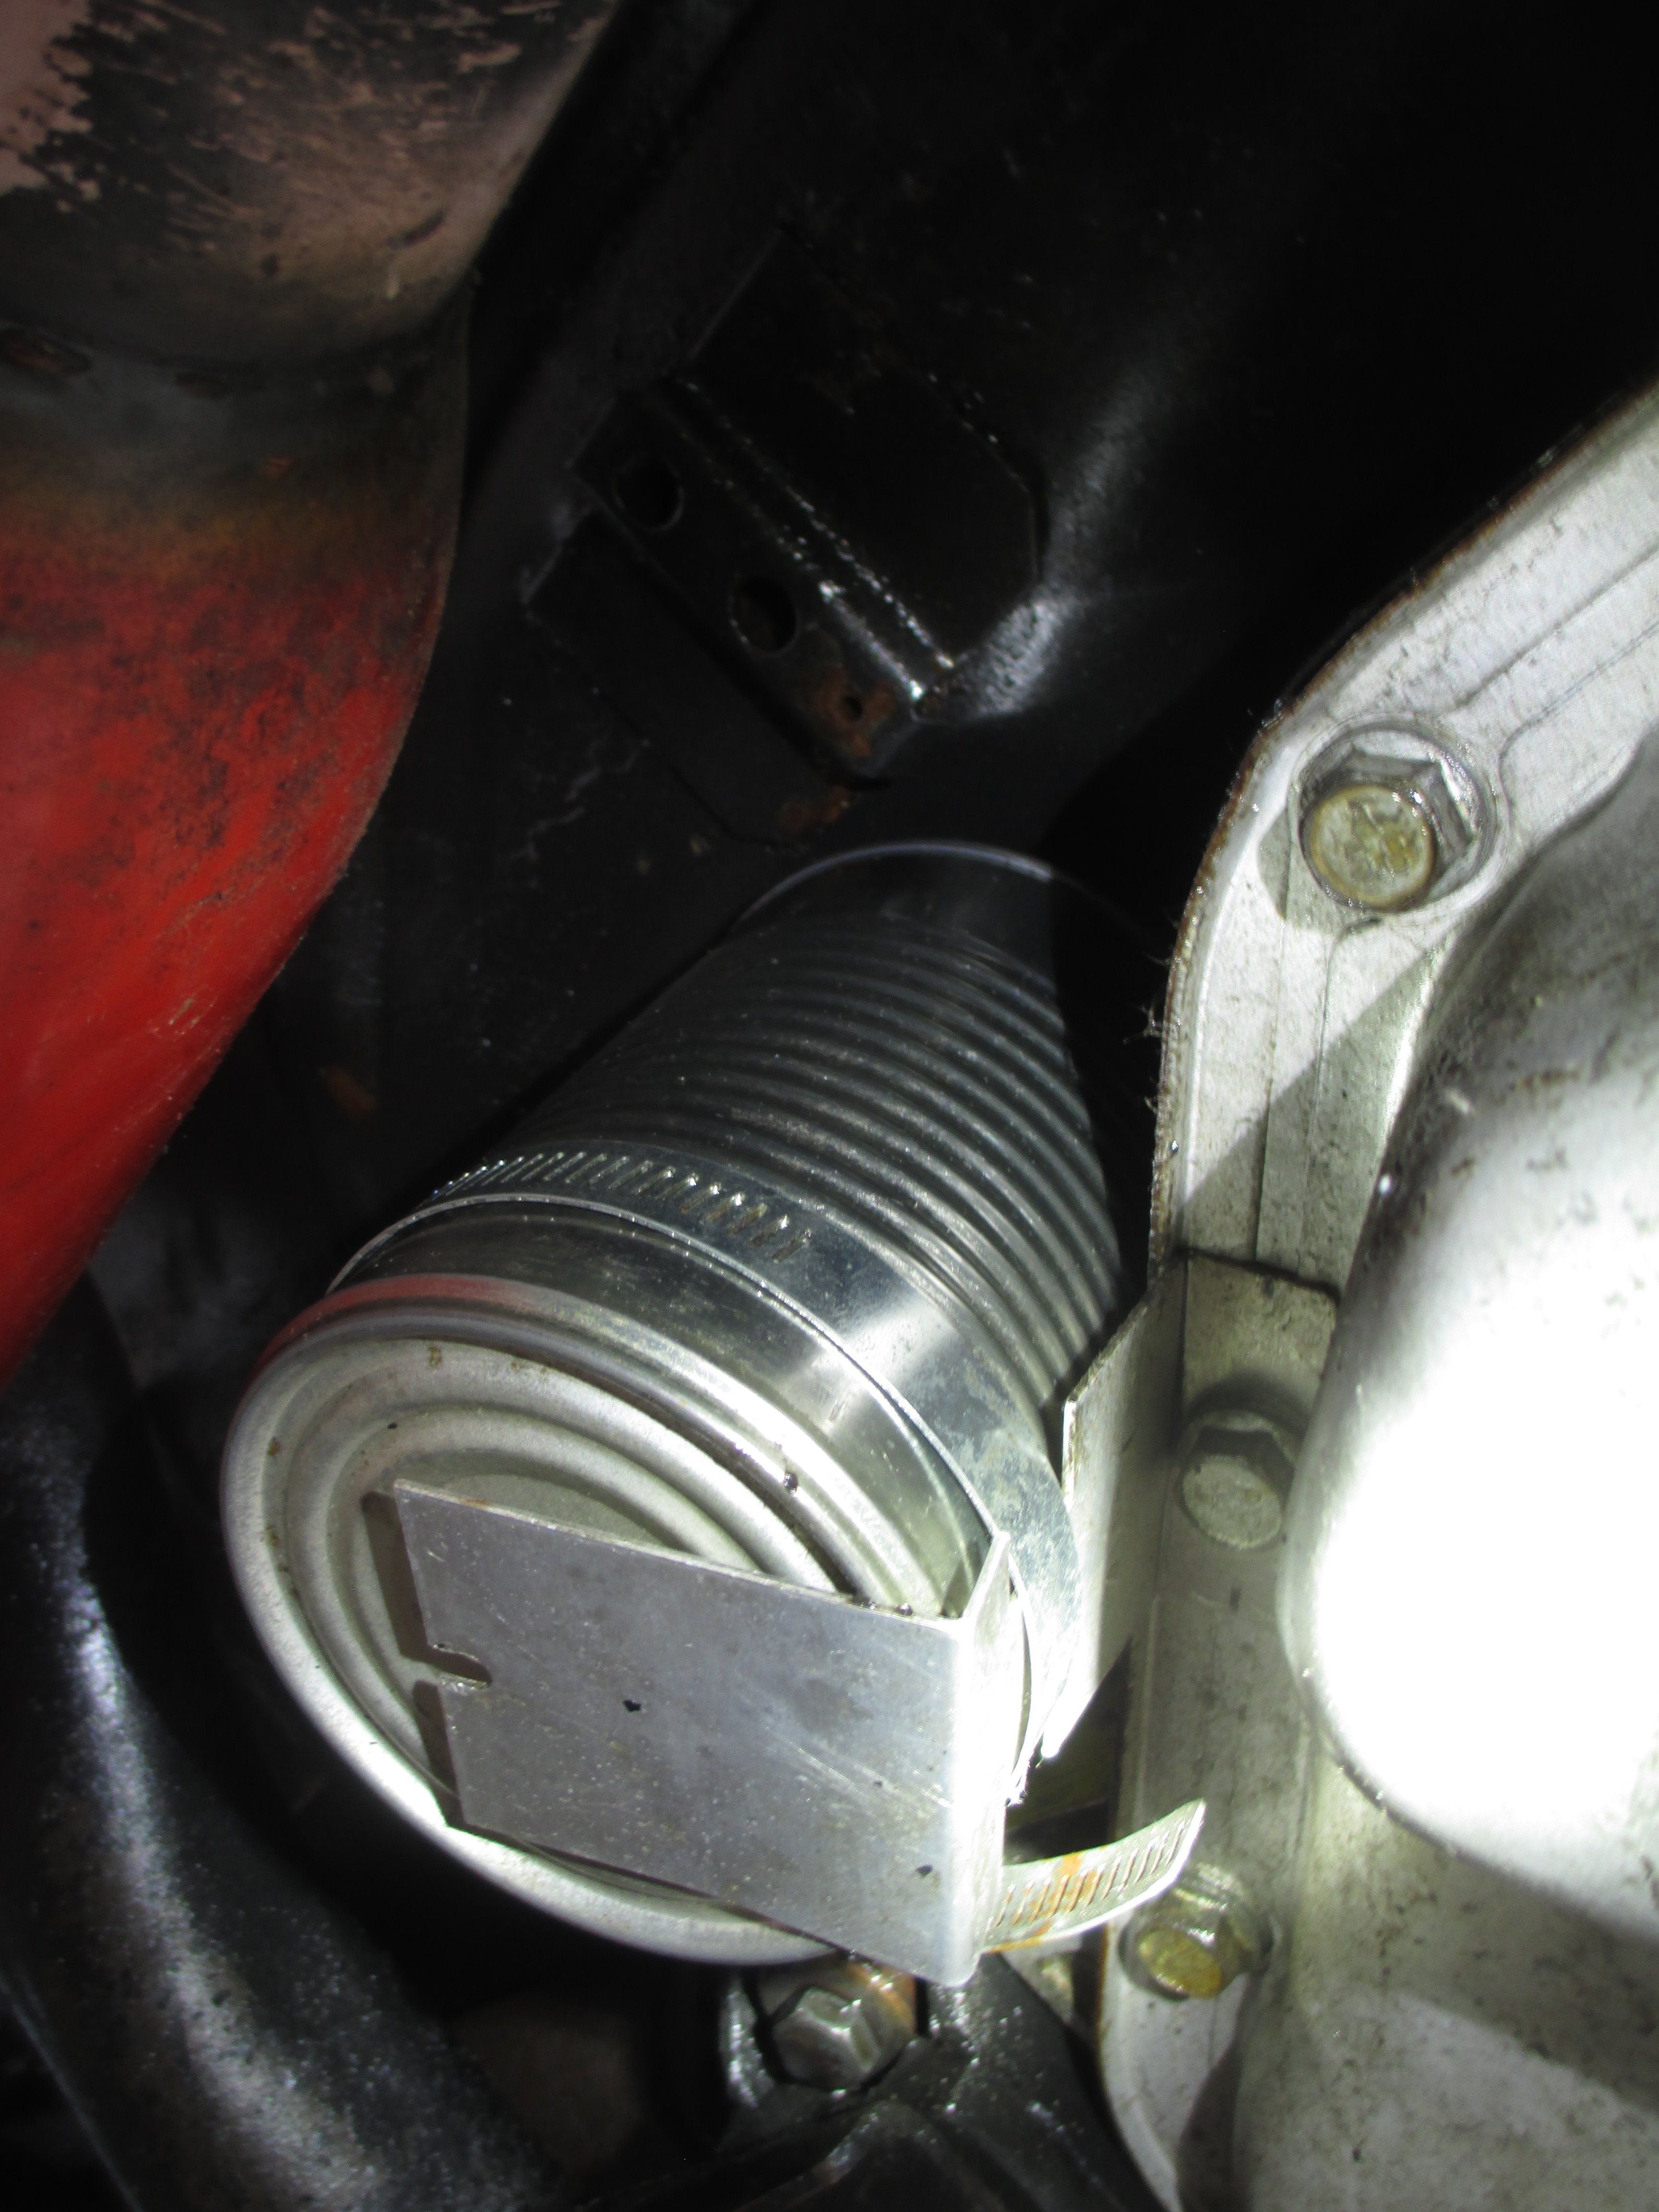
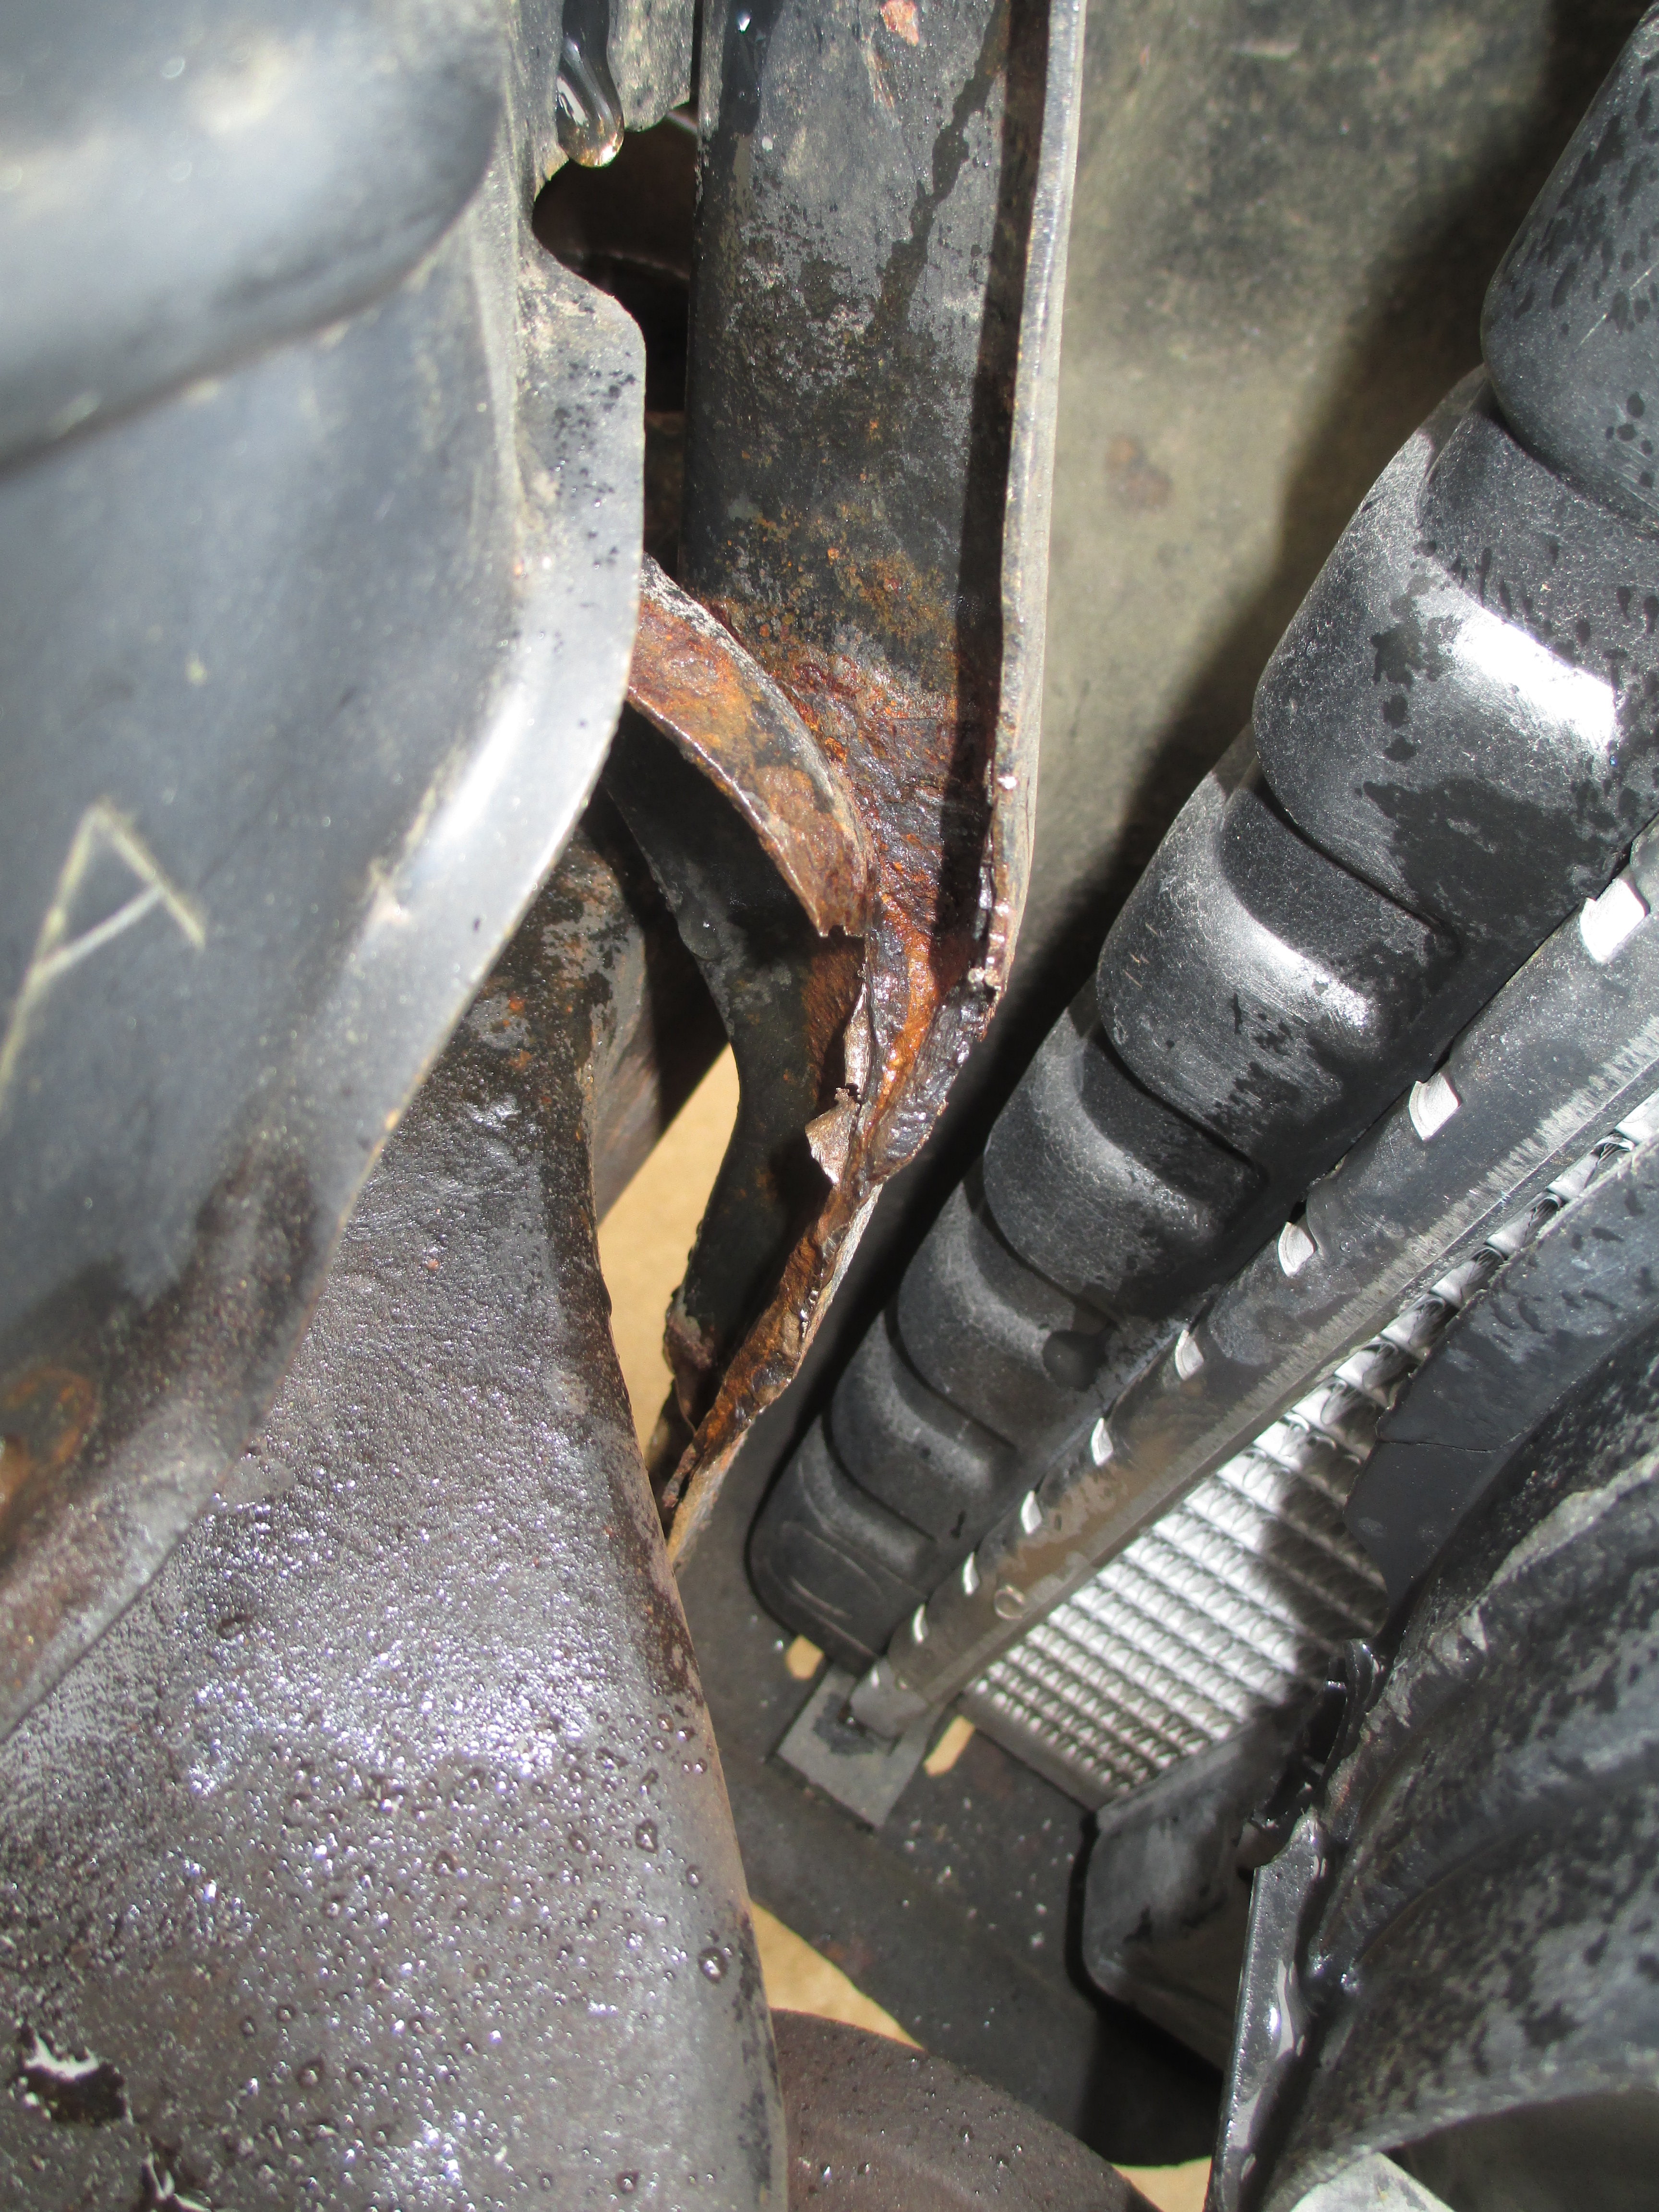
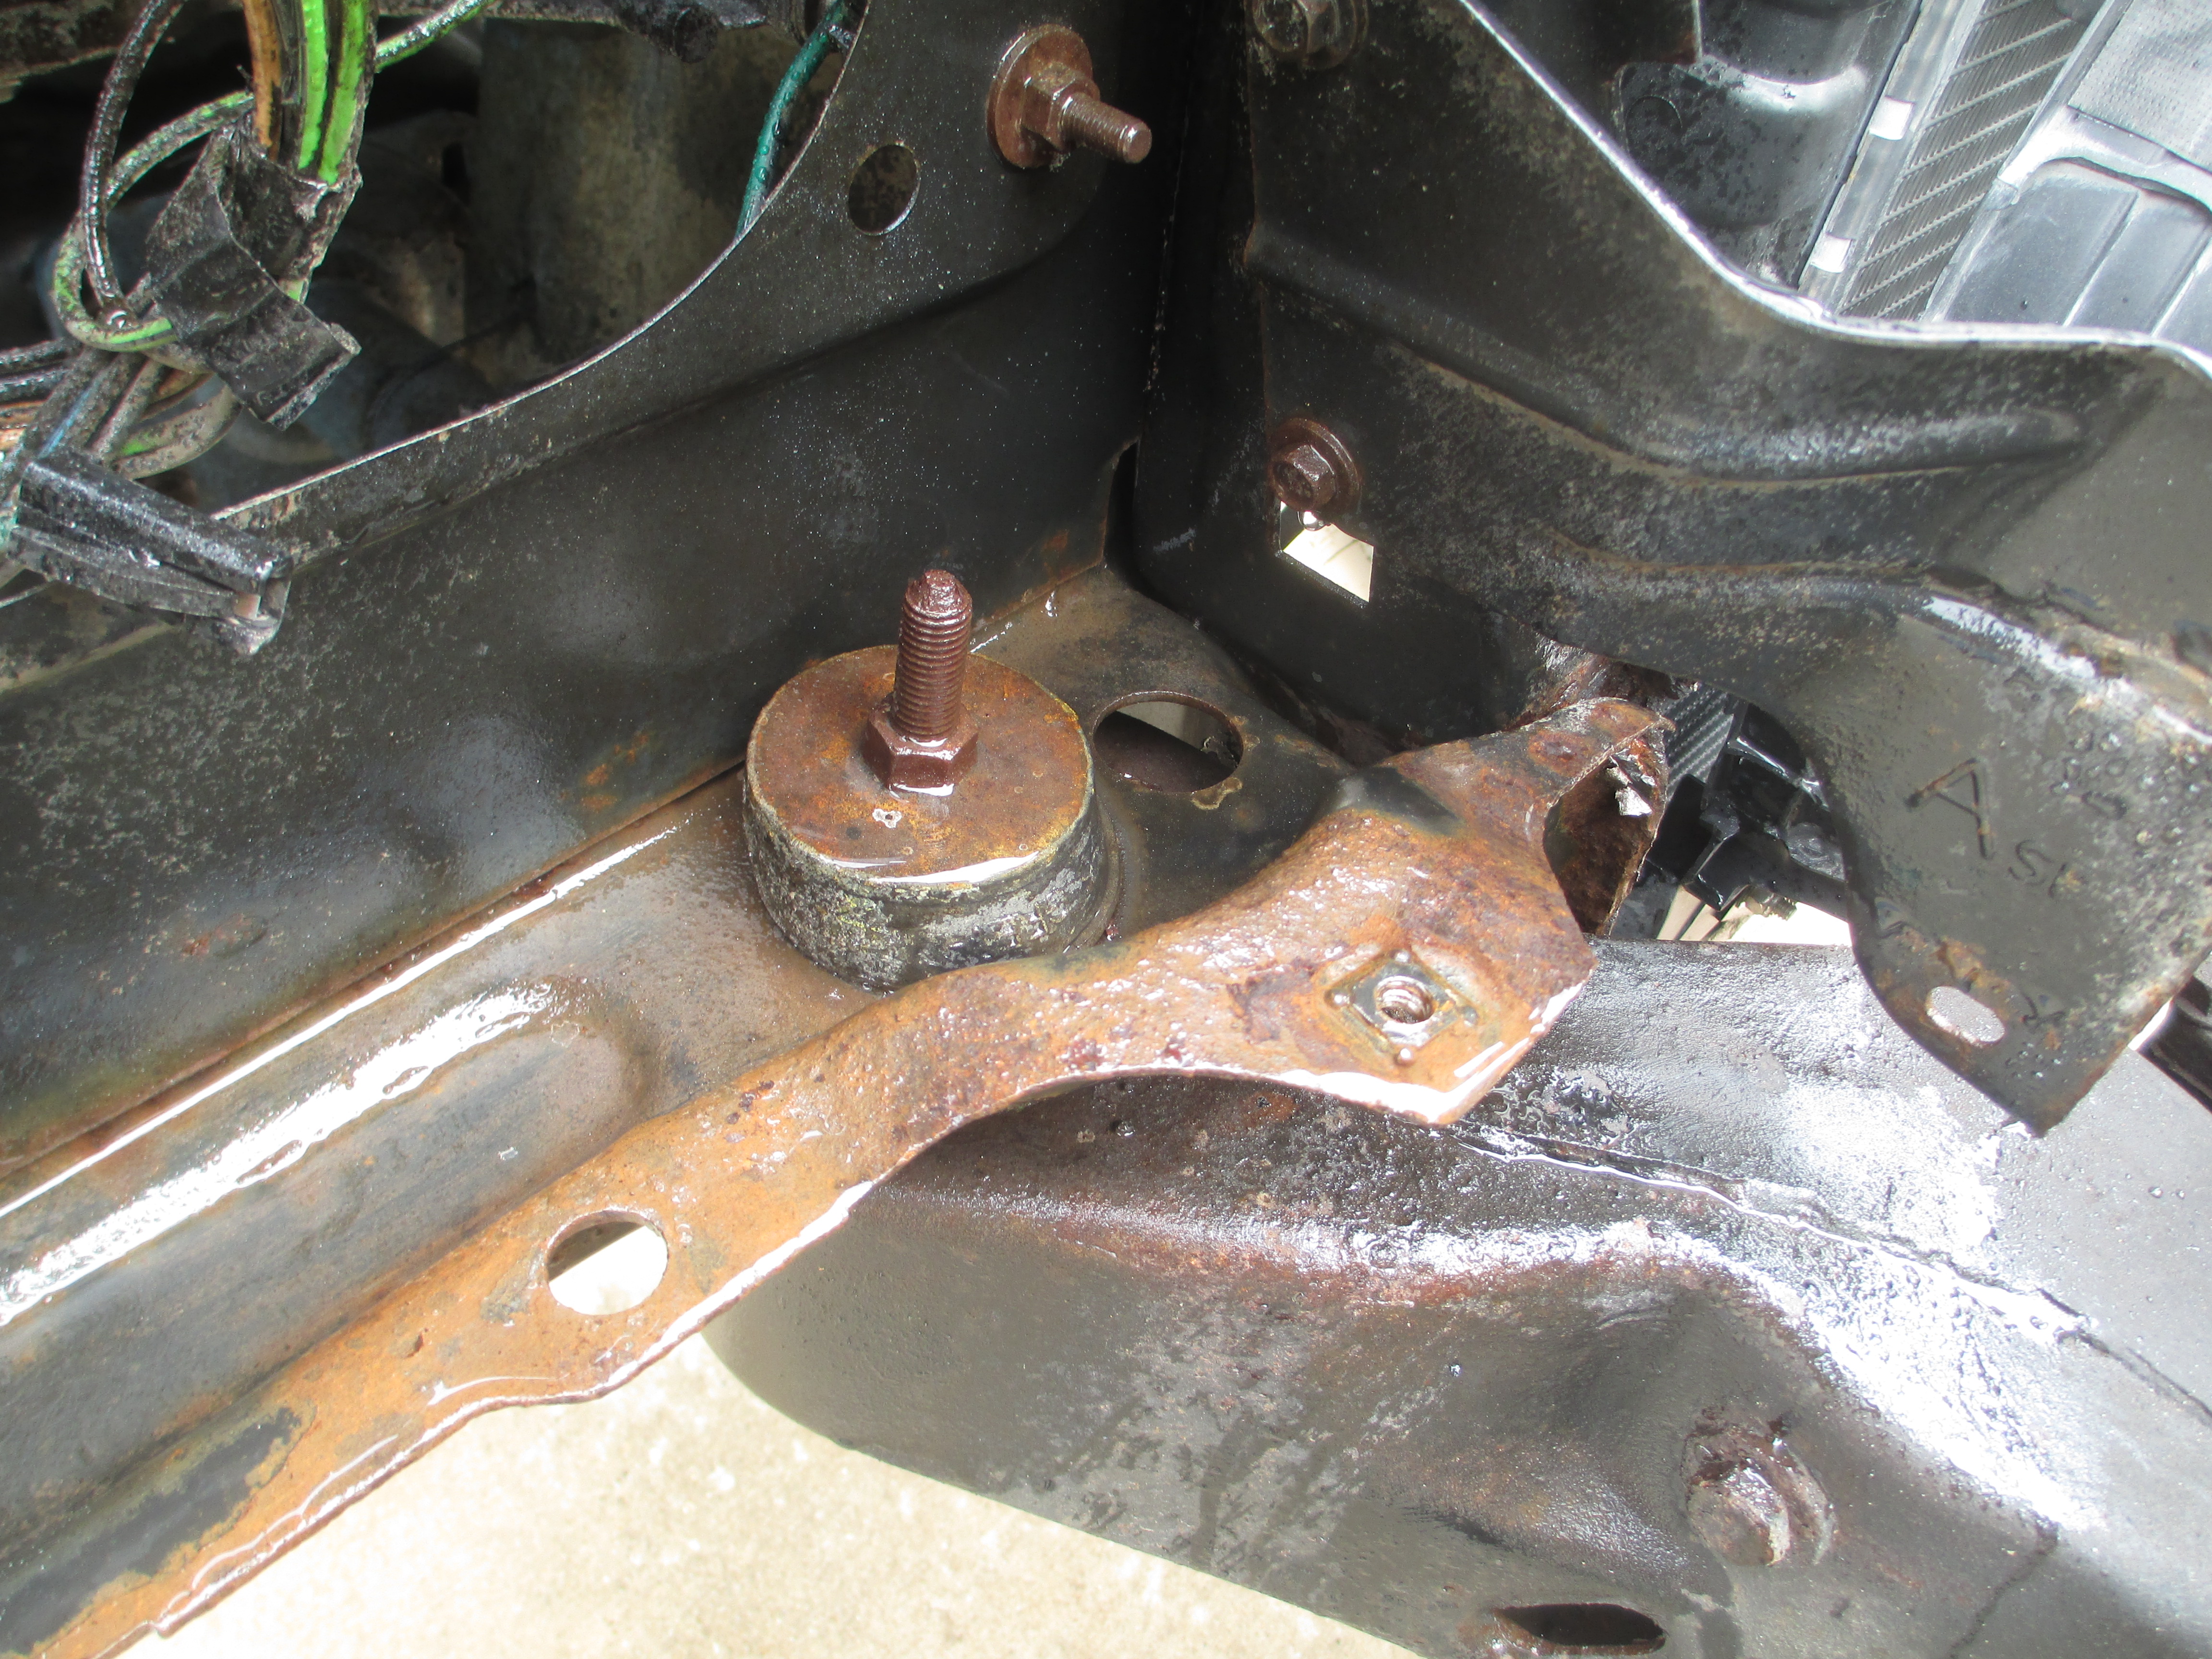
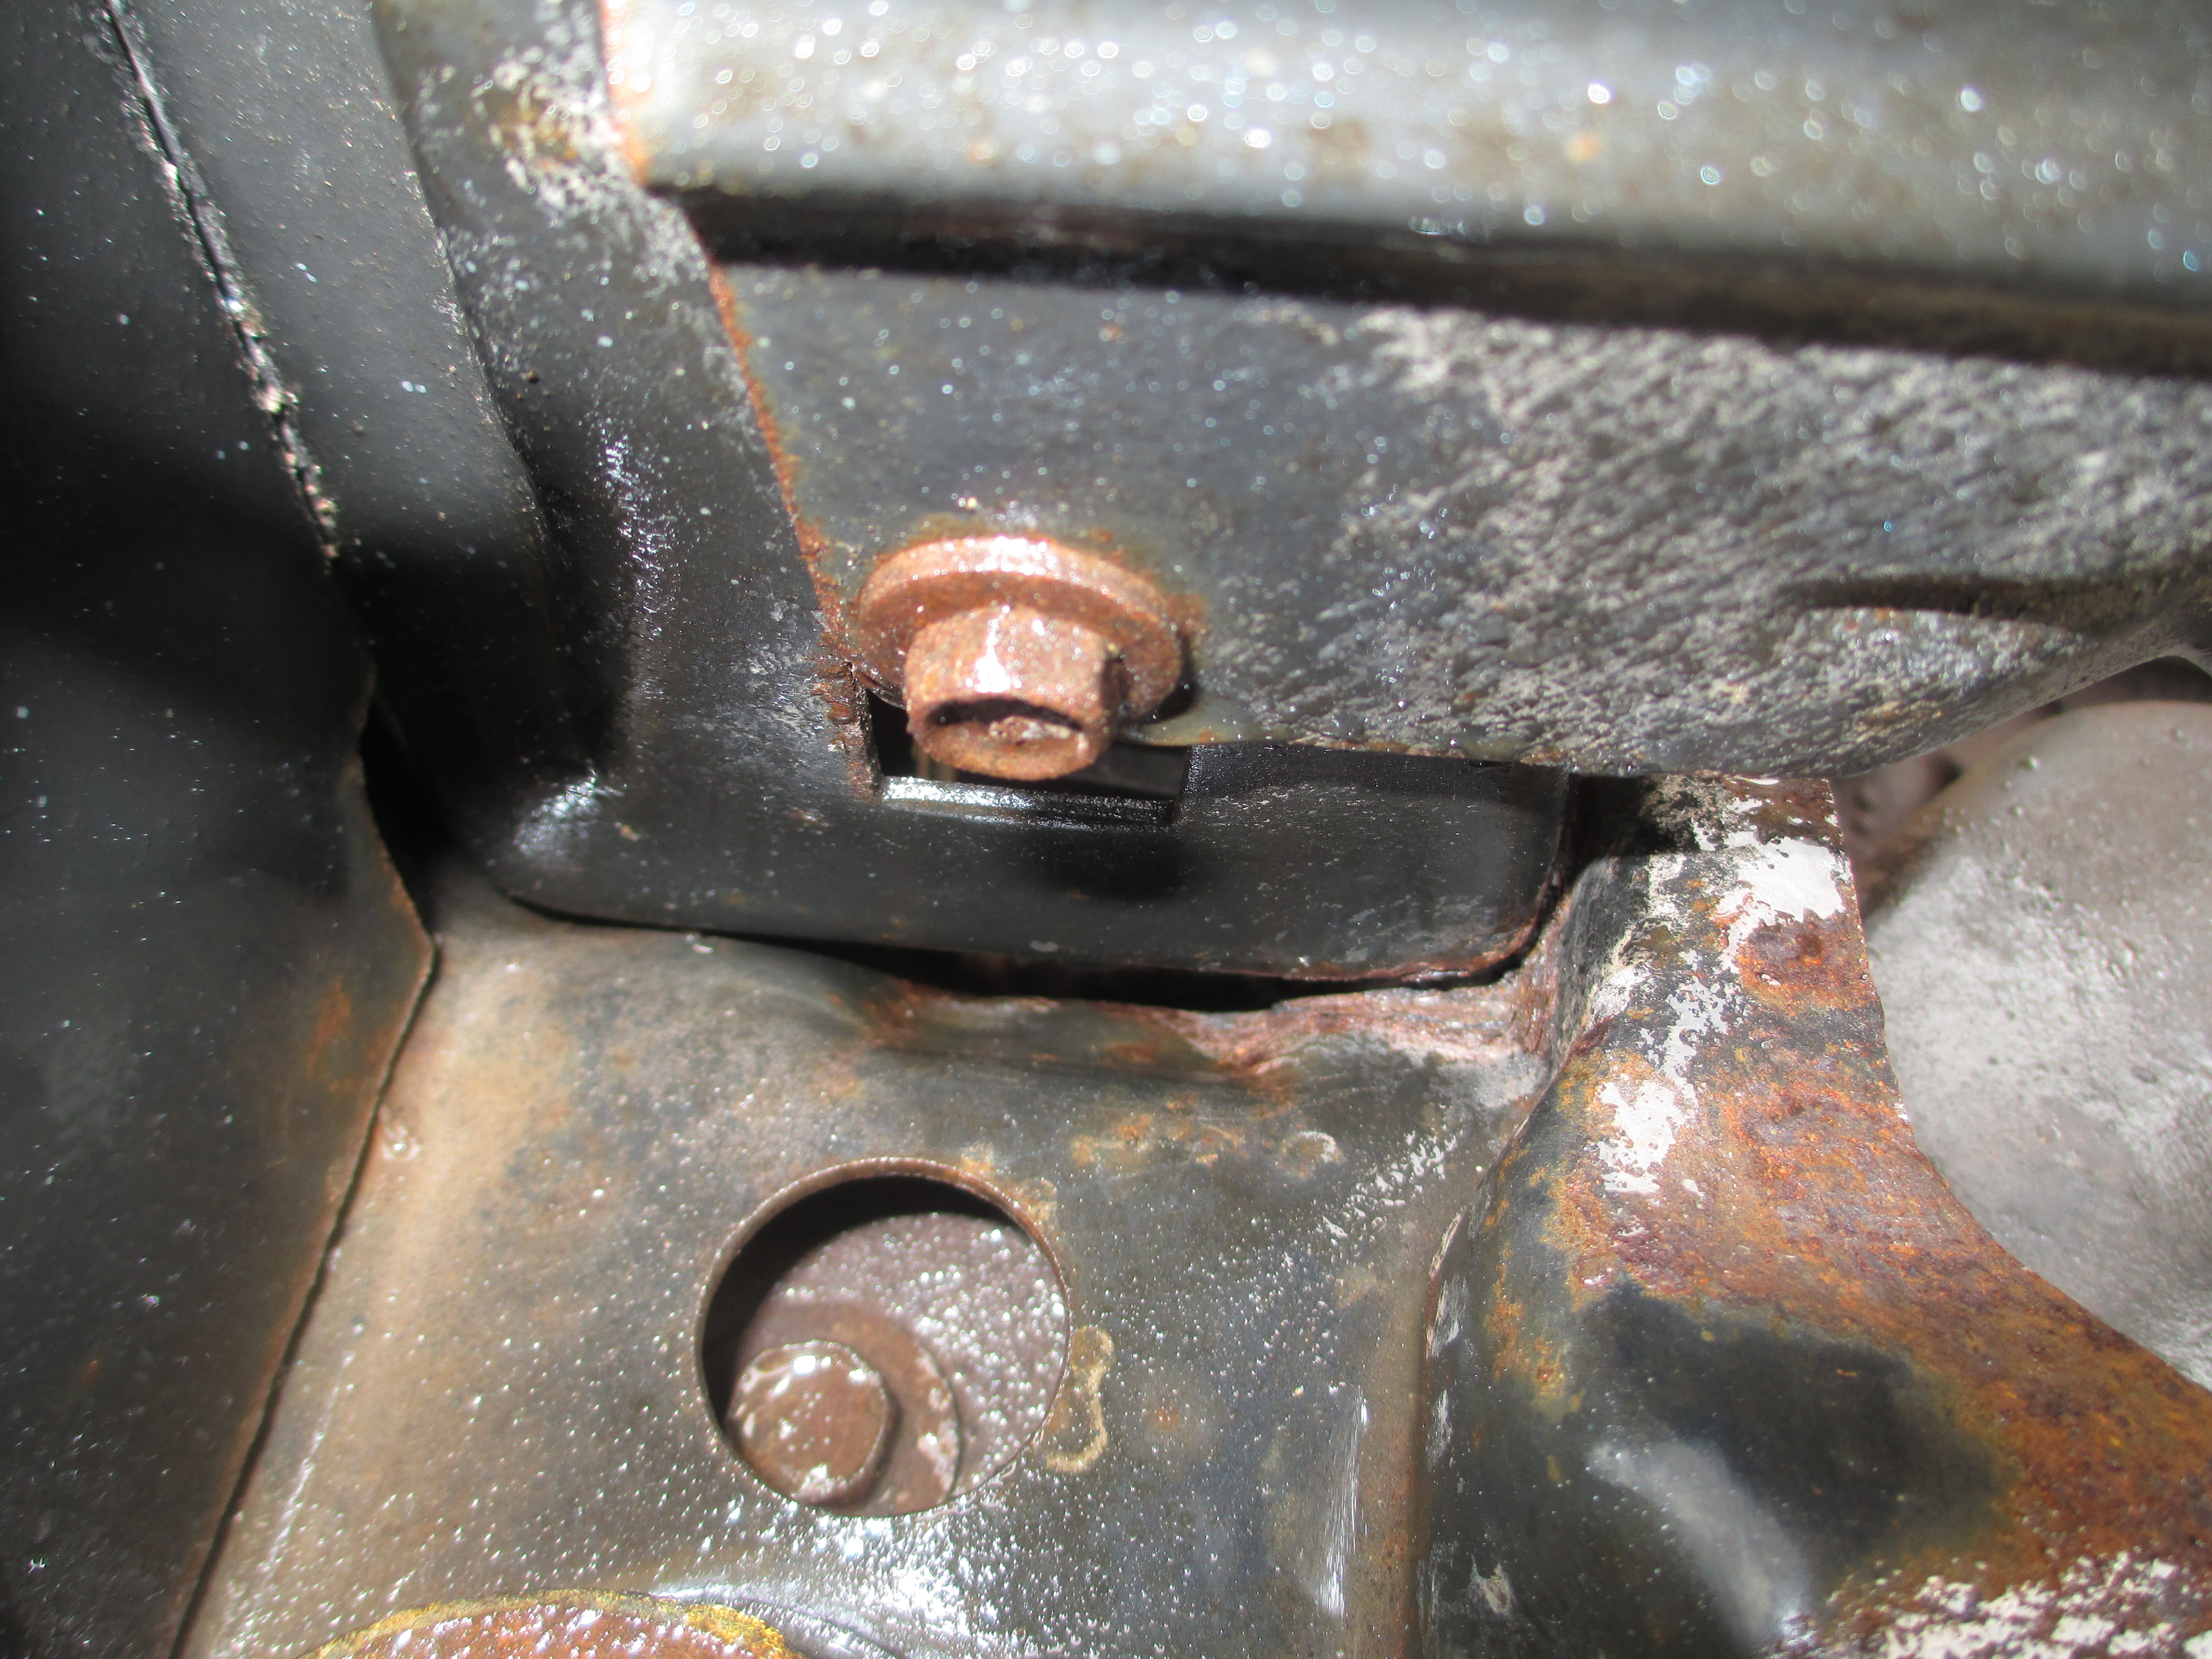
While I had good access, I removed a lot of nasty rust from my radiator core support and added a healthy coat of paint. Be sure to check this area of your car for rust and remove any nasty chunks with a hammer & chisel, and blow it out with some compressed air.
Blow this area out when finished, and protect your face while doing so. Lots of rusty pieces went flying.
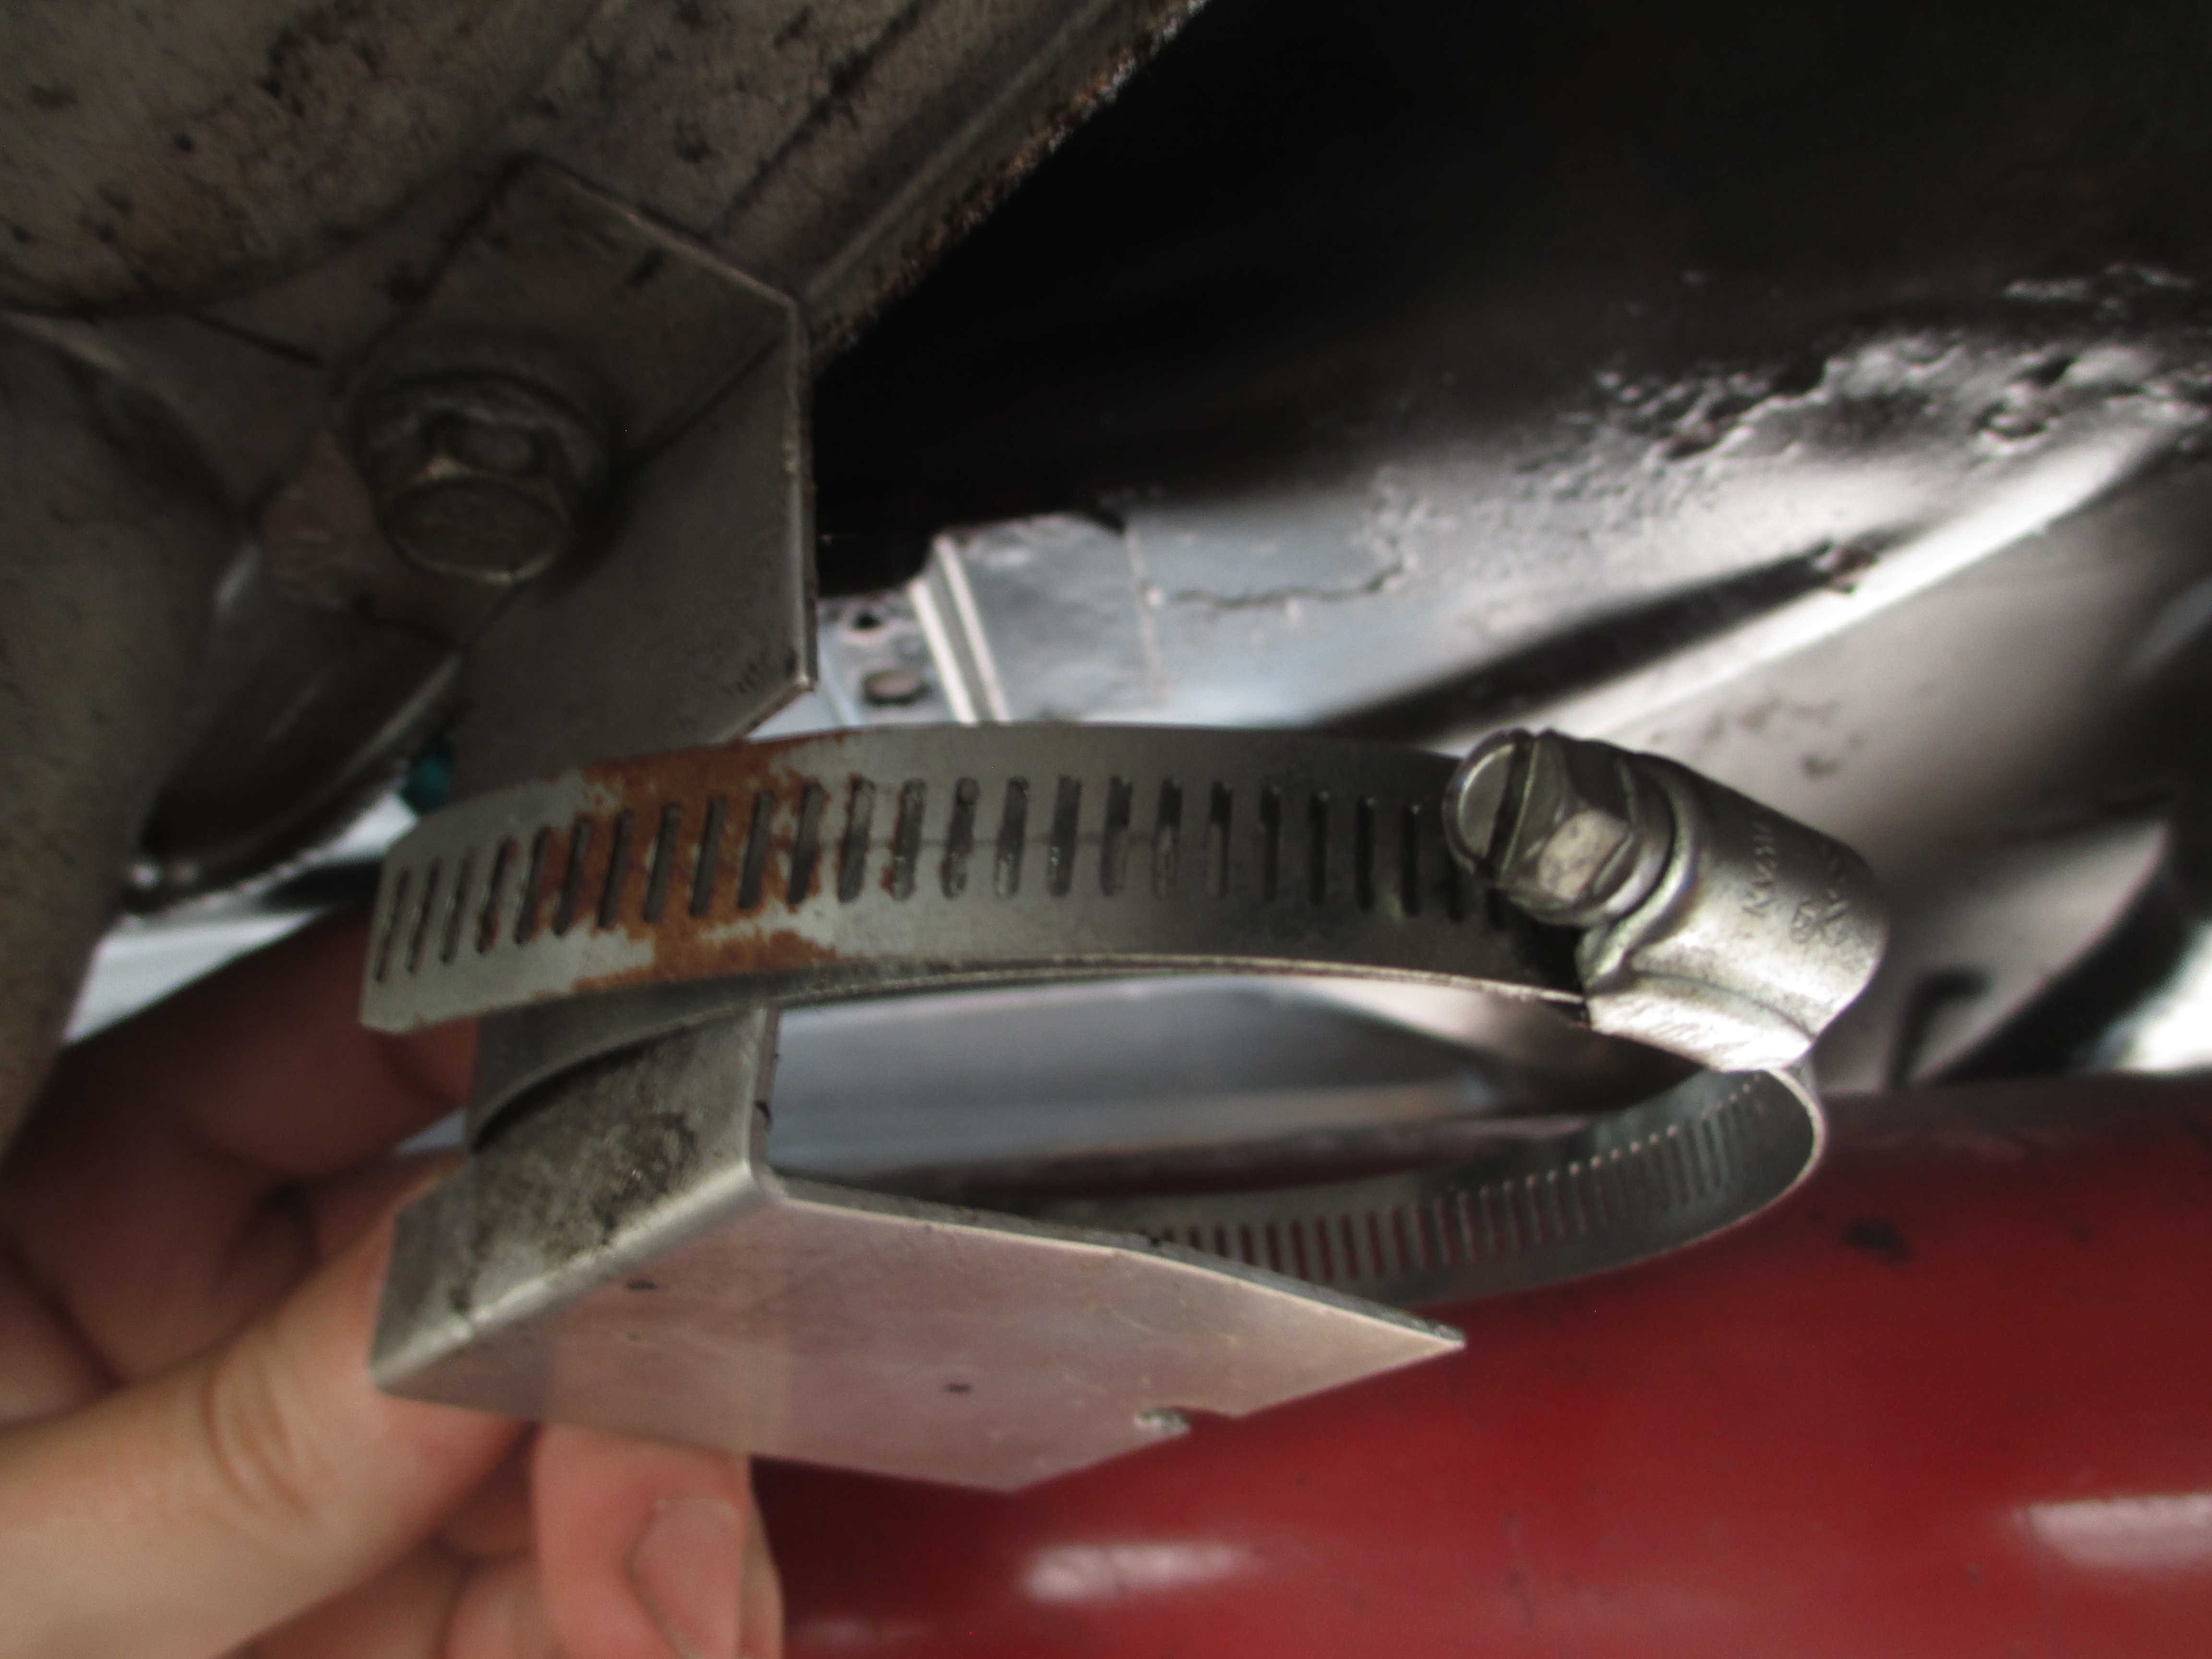
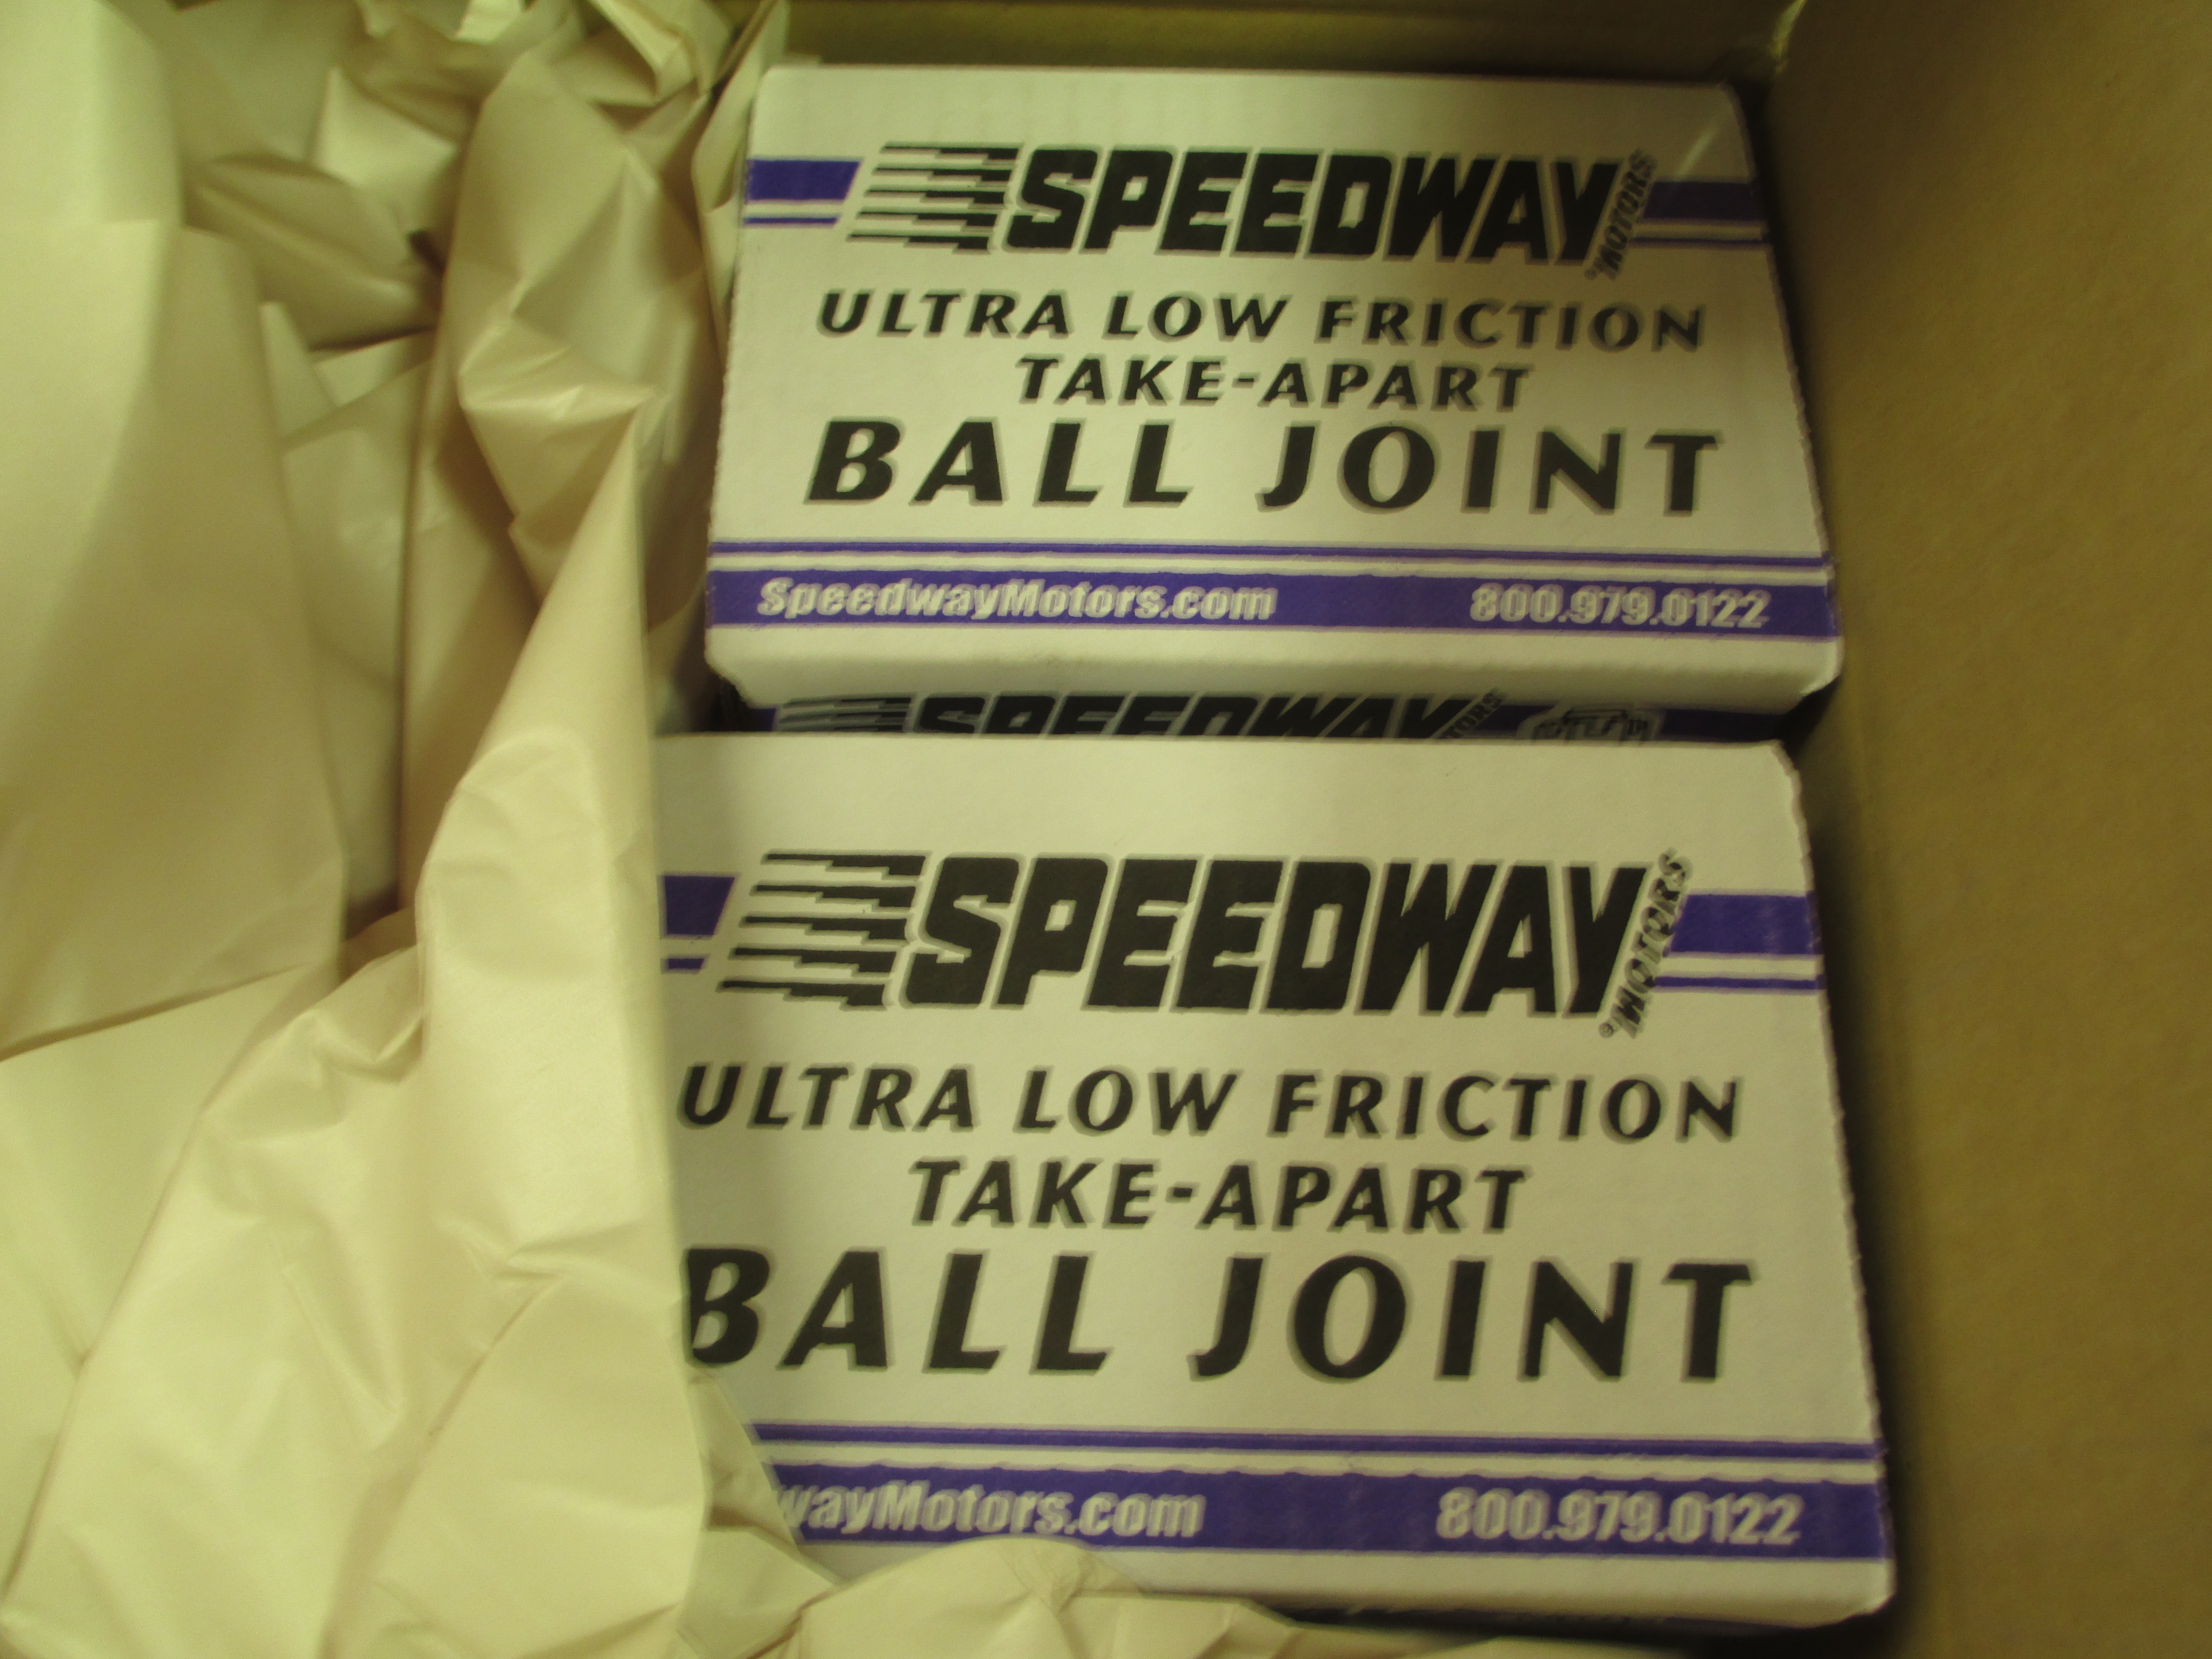
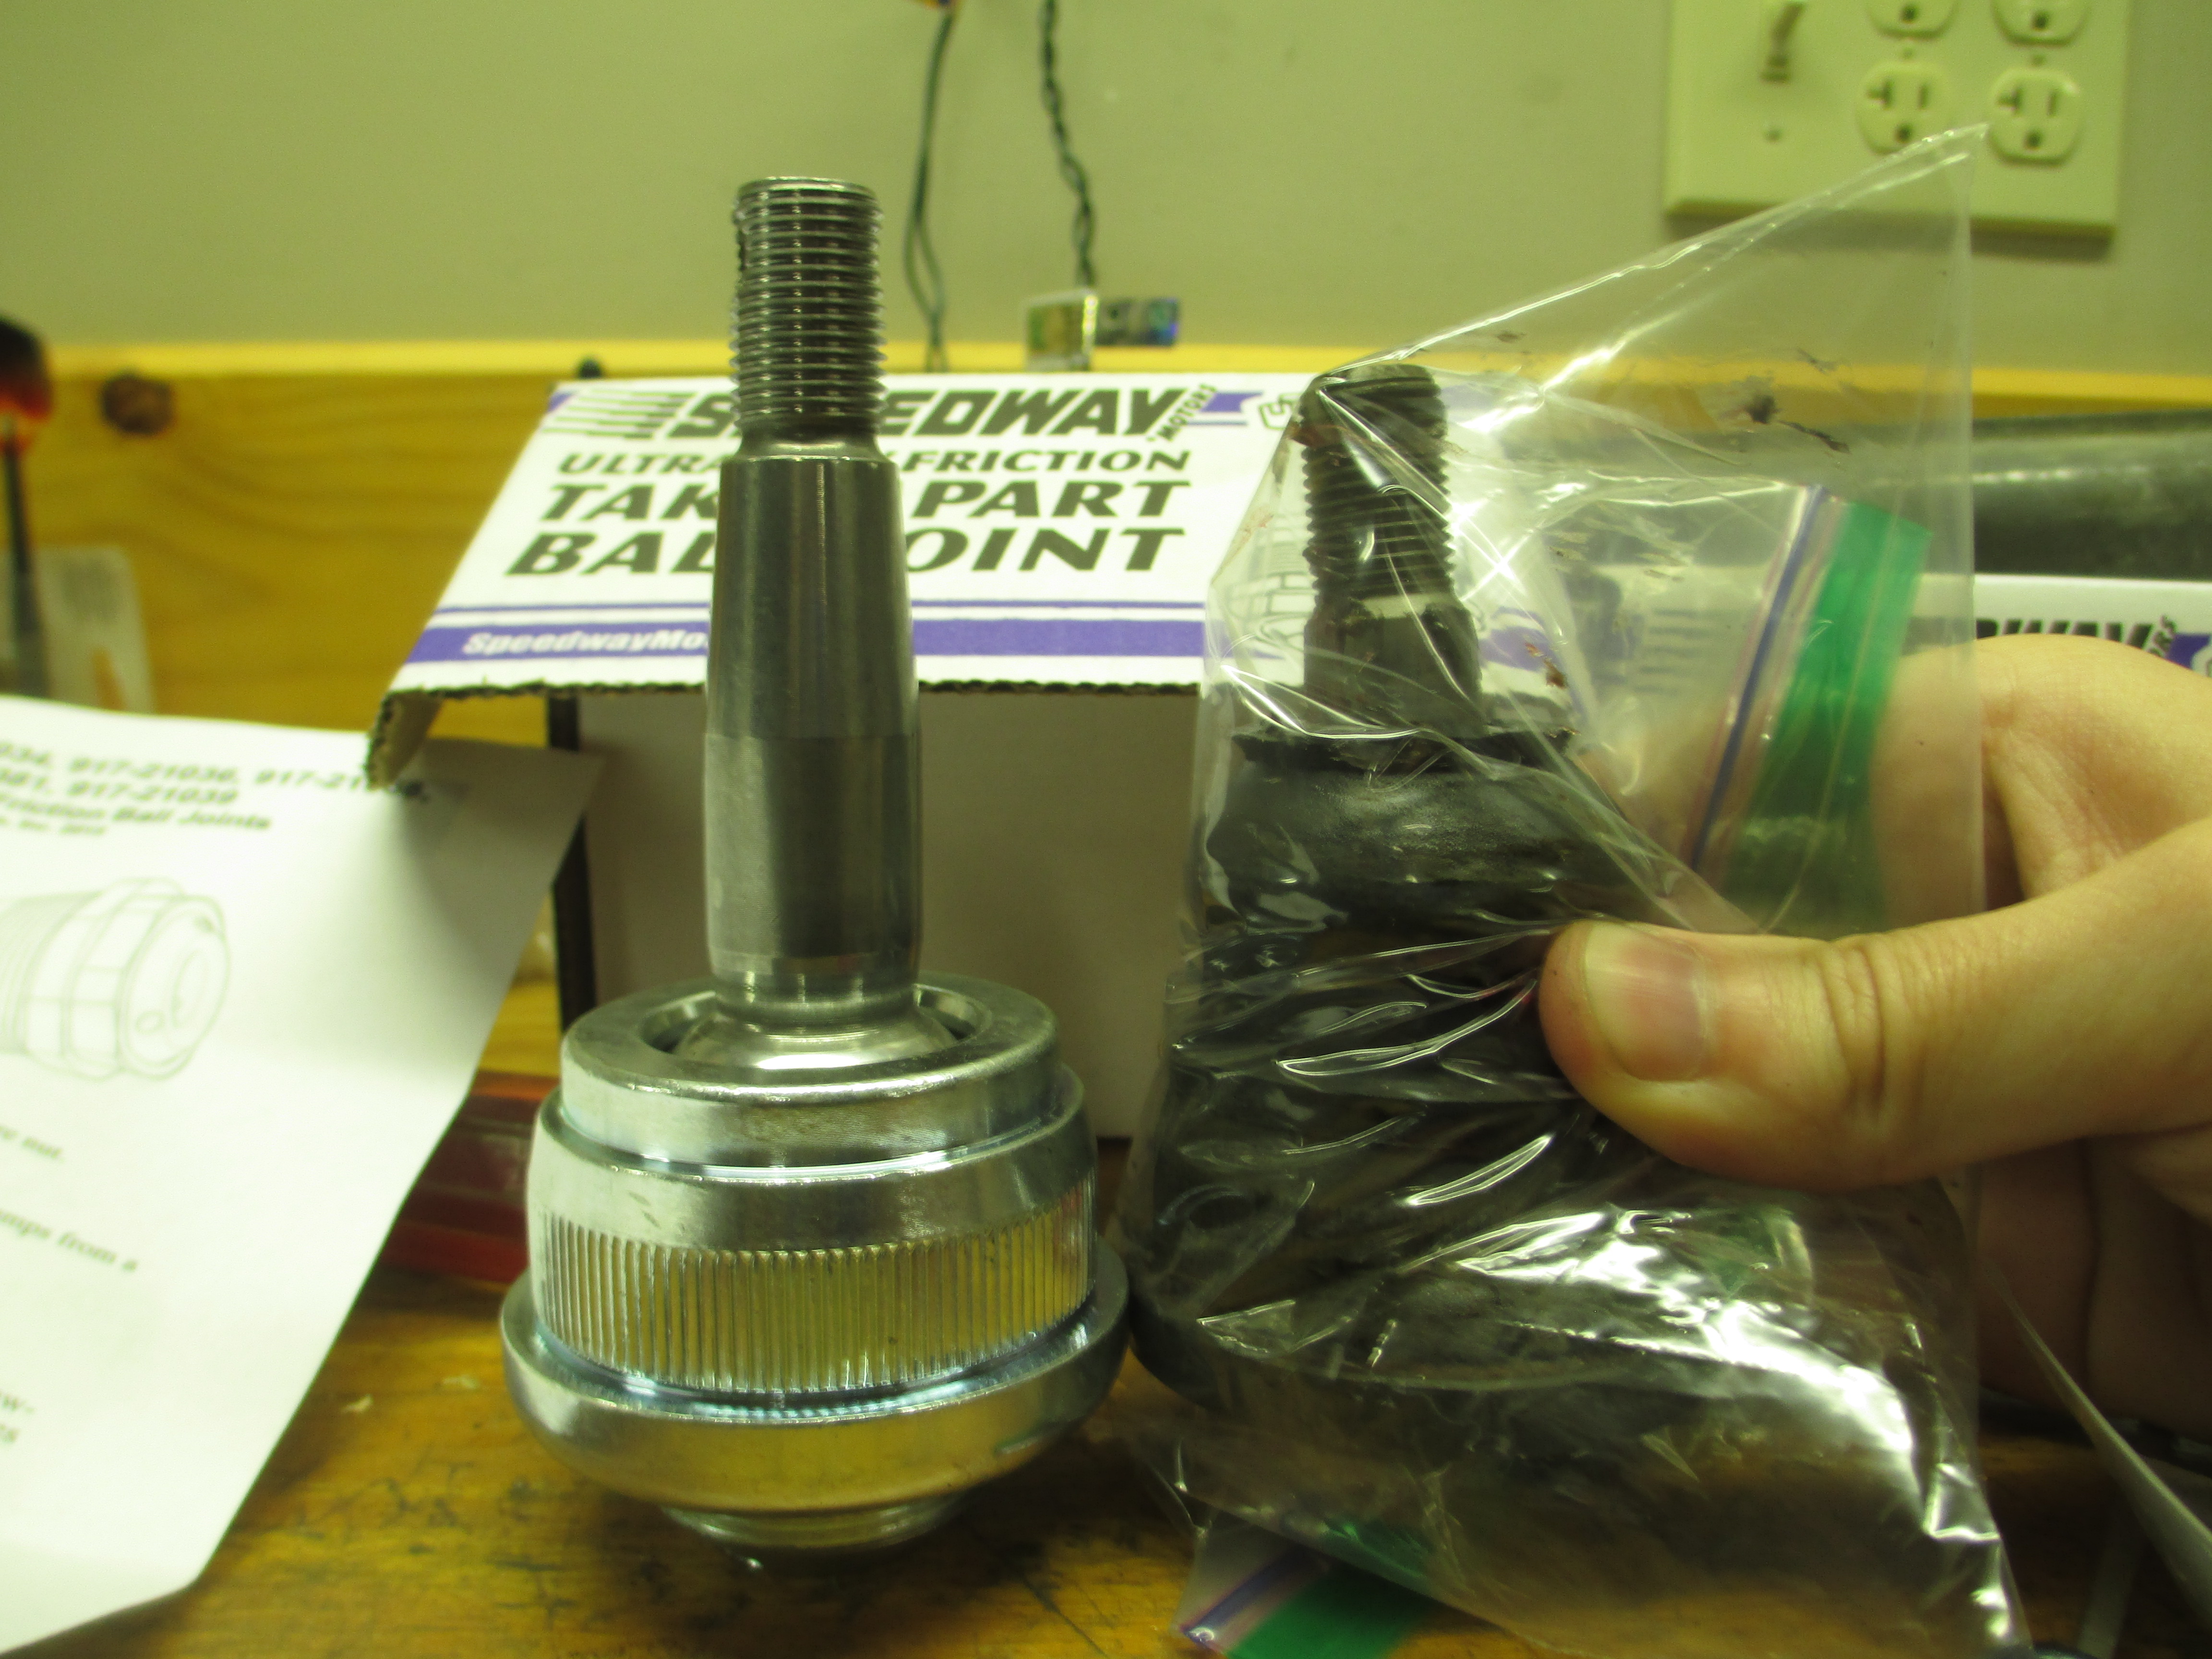
Moving past front end disassembly (which I have no pics of) let's move onto the lower ball joints. I ordered them out of the Speedway catalog. They have a section of extended joints with corresponding "MOOG" part numbers. They come in an advertised .500" and 1.000" of extra pin length and Speedway also stocks a universal dust boot that you can use. (Keep in mind that these extended LBJs will lower your ride height and alter your steering tie-rod angle)
These lower ball joints are "rebuildable" and tolerances need to be set. If possible, do this with the LBJ installed in the lower A-arm. The process is simple and the instructions are easy enough. Just make sure that you have a wrench that's big enough. Better yet, they sell a cheap tool to do this. It's right next to the joints in the catalog.
I don't have installation pictures, but when installing front springs make sure that the bottom of the spring is resting correctly in the recessed area of the lower A-arm. Not doing this can result in an incorrect ride height and a difference from one side of the car to the other.
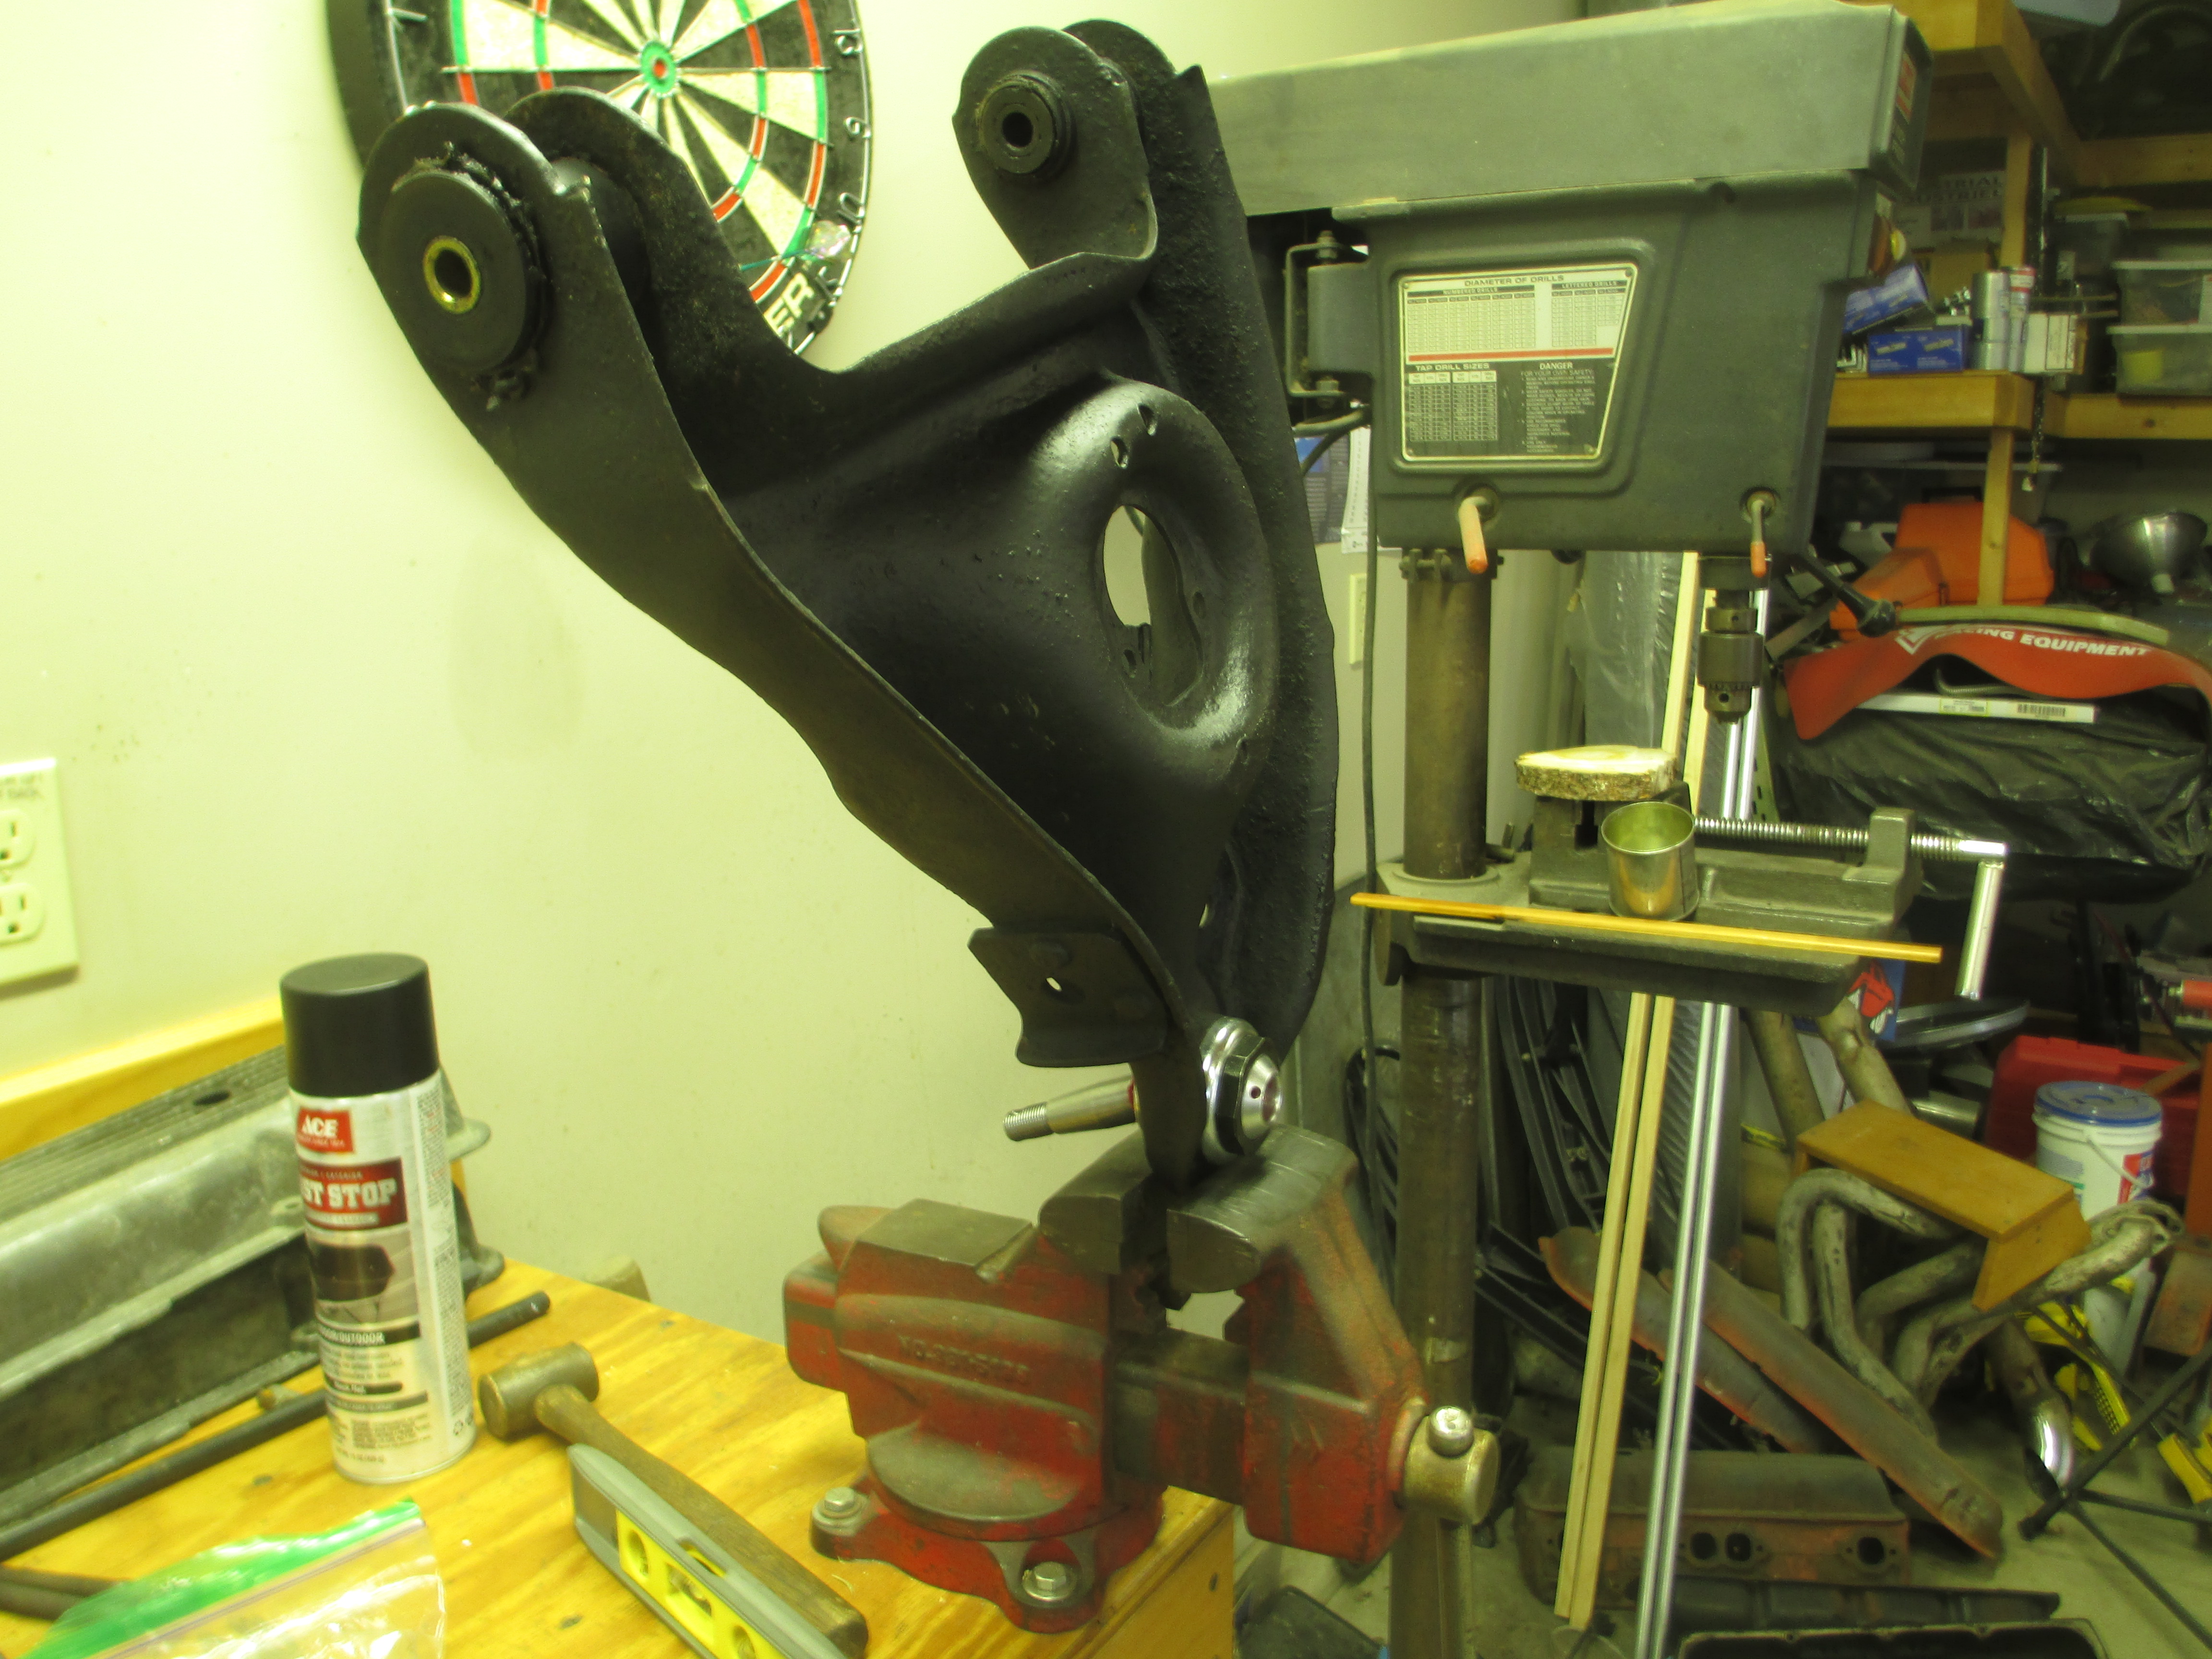
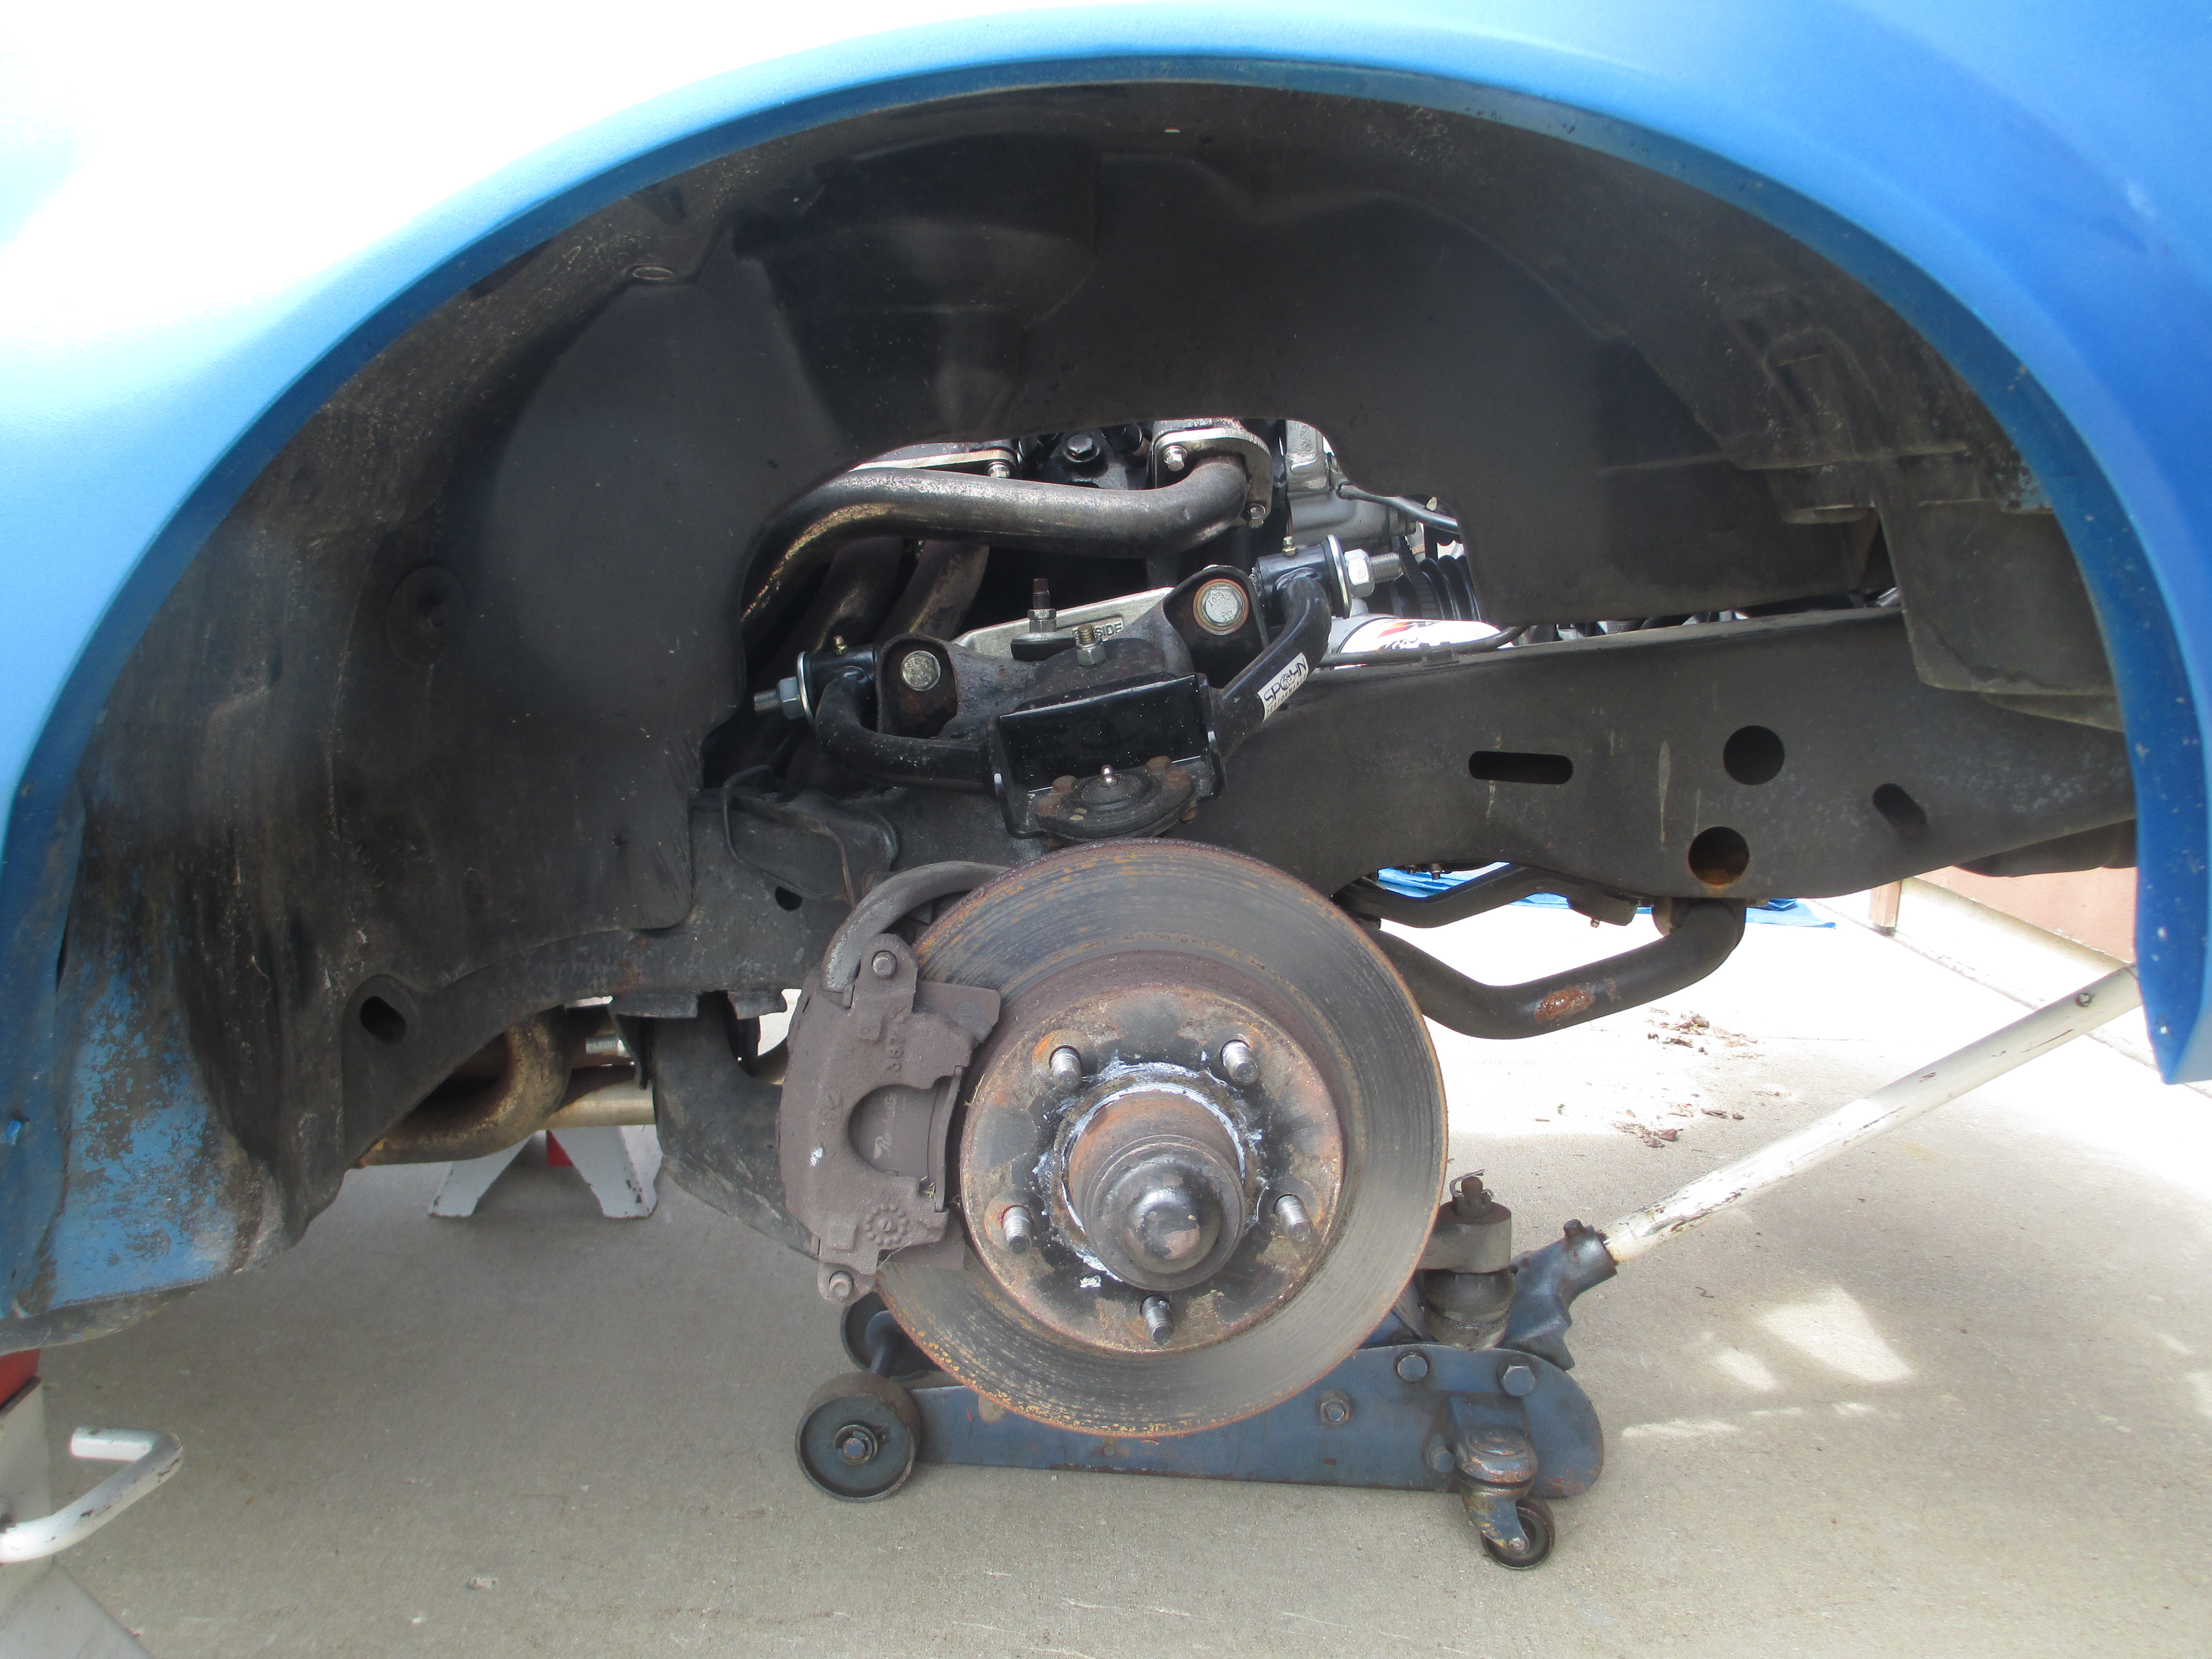
I also altered my alignment shim count and flipped my cross-shafts on my upper A-arms to try and alter my camber and caster. I did an okay job, but the process was too involved to stop and document and not professional enough to share here. I have no idea what my current caster is (should be more than it was) but I think I set my camber somewhere between -1.7 and -2.2 degrees. (My dad's angle finder has some variation from side to side, and I was holding it against a ruler which was held against the face of my rims.)
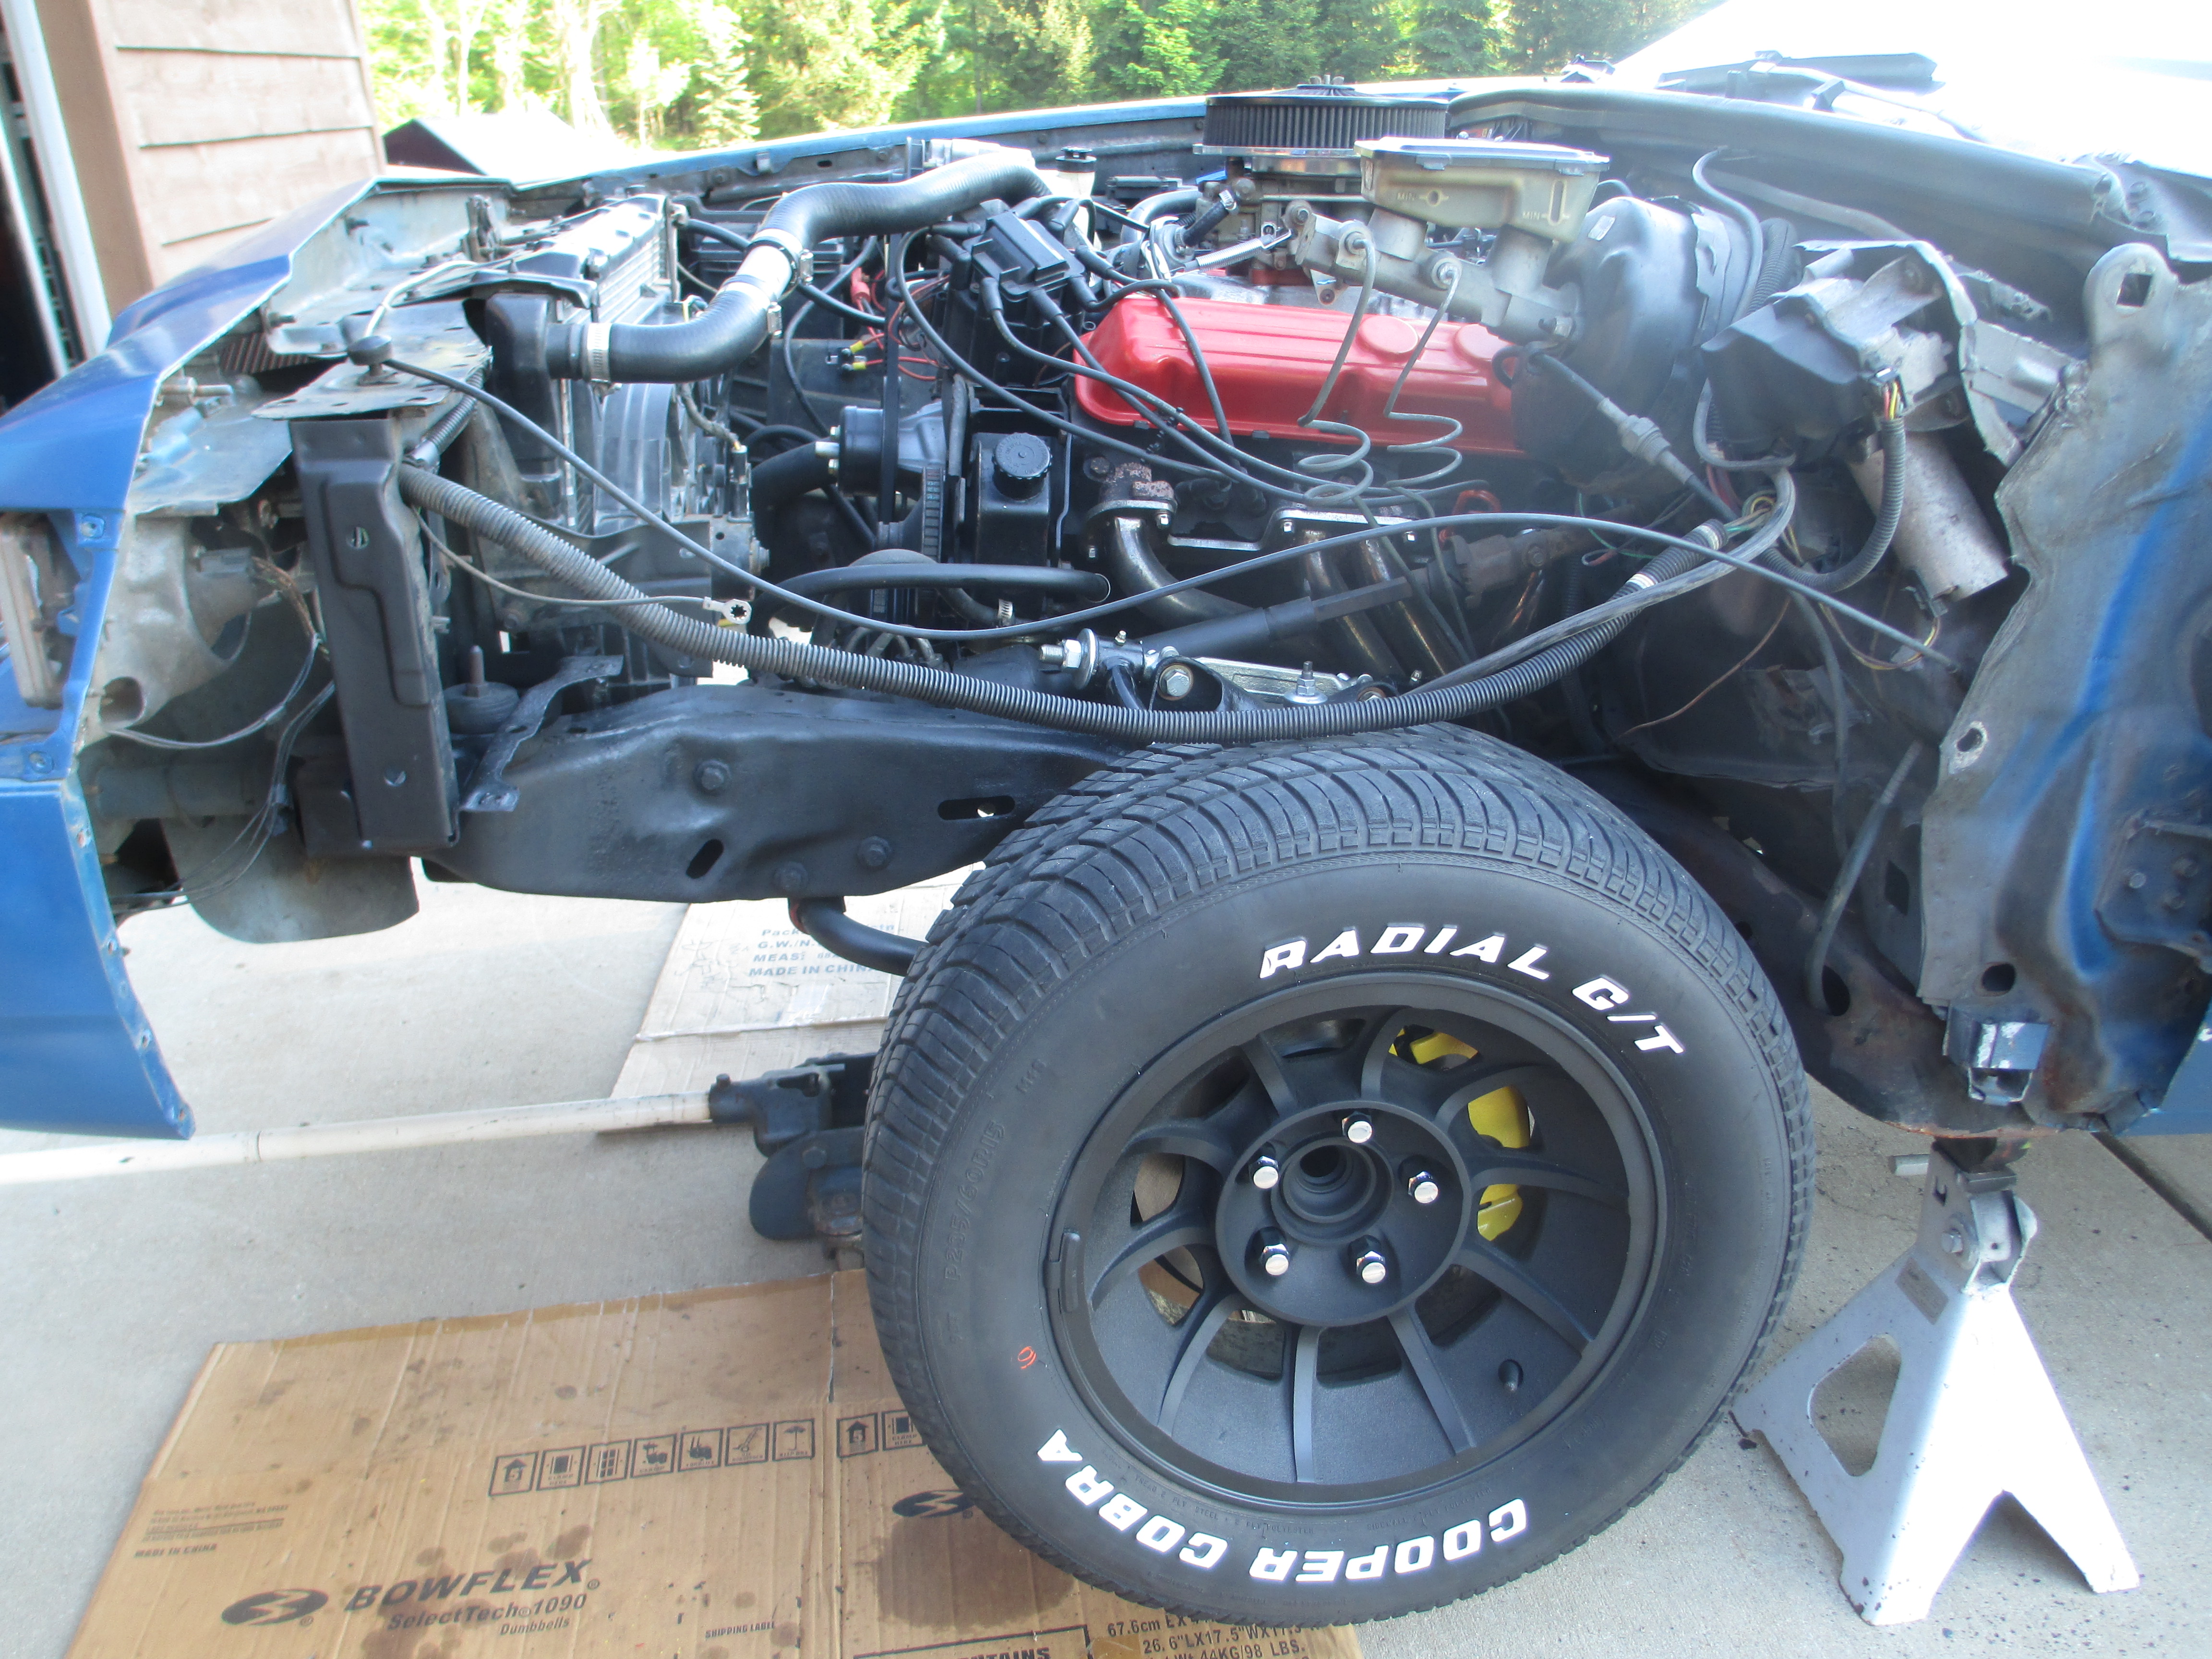
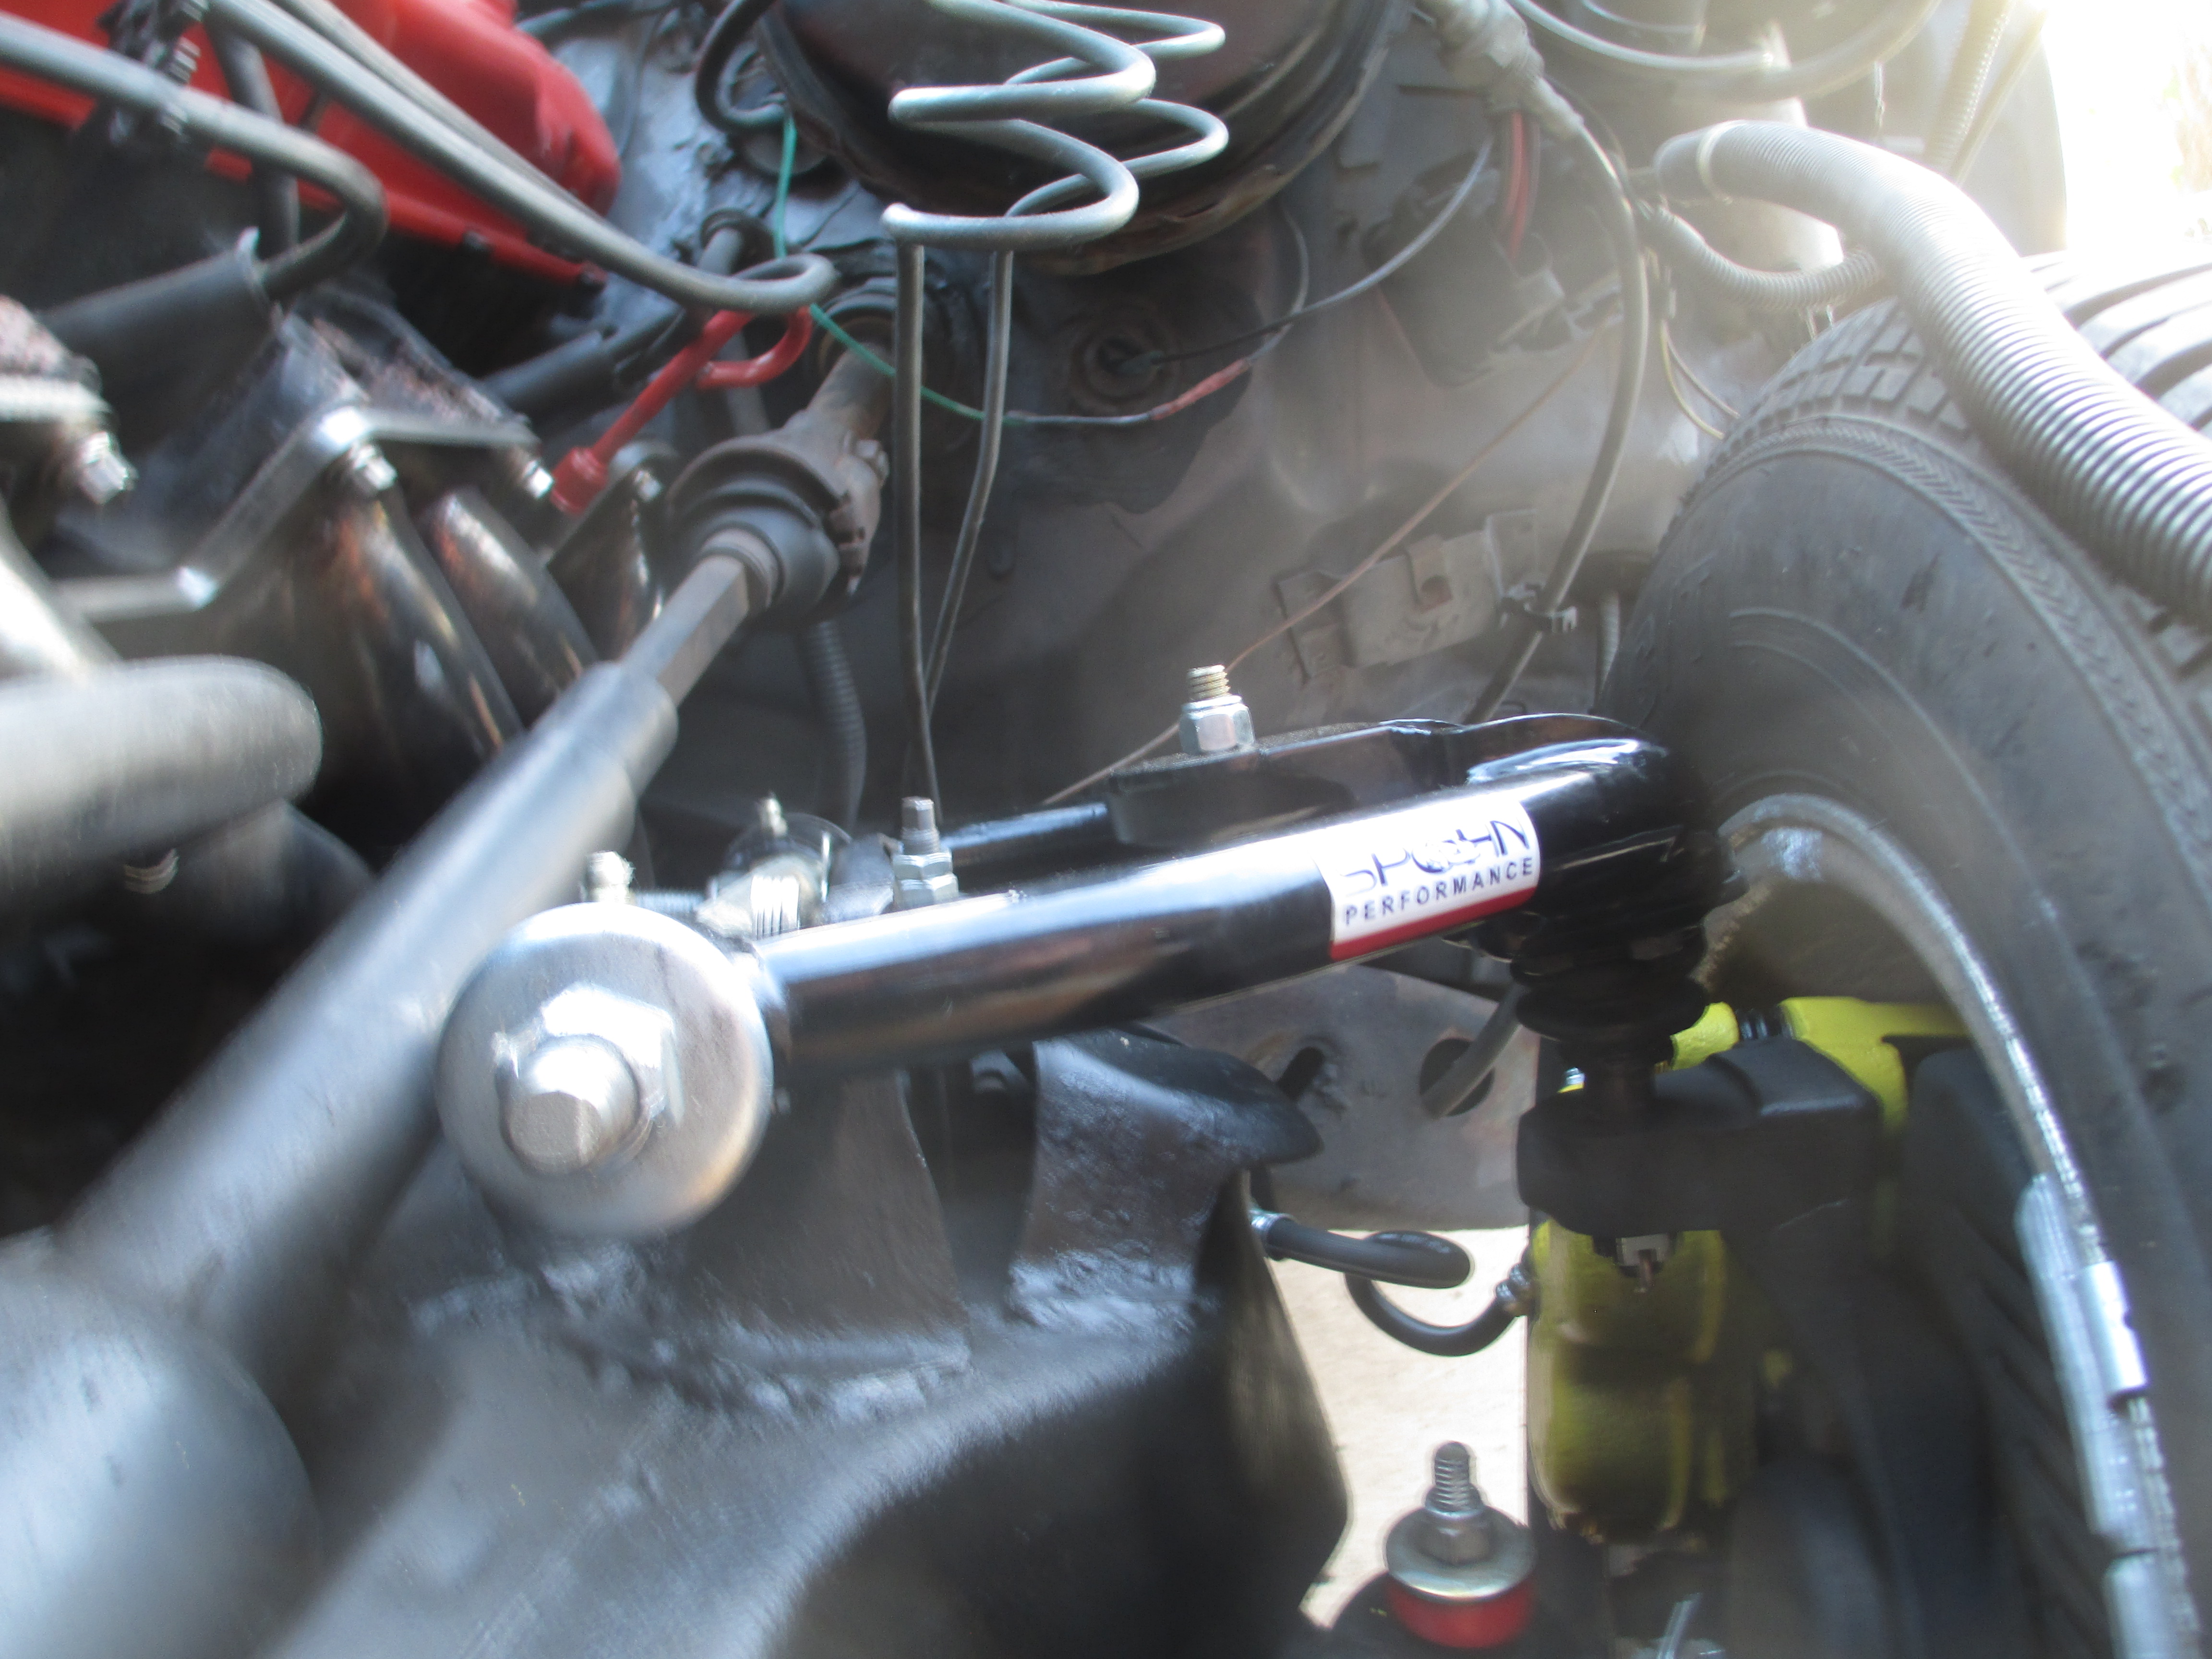
Here's how my current upper A-arm angle looks with 1/2 inch taller UBJs, 1/2 inch taller LBJs, and Eibach Pro-Kit springs:
With them pointing upward like that, anymore suspension compression should only result in a further increase of negative camber.
(The uppers I use are Spohn Tall Spindle uppers. They have a shorter distance between the cross shaft and the ball joint. FWIW, they also still have bump-stops.)
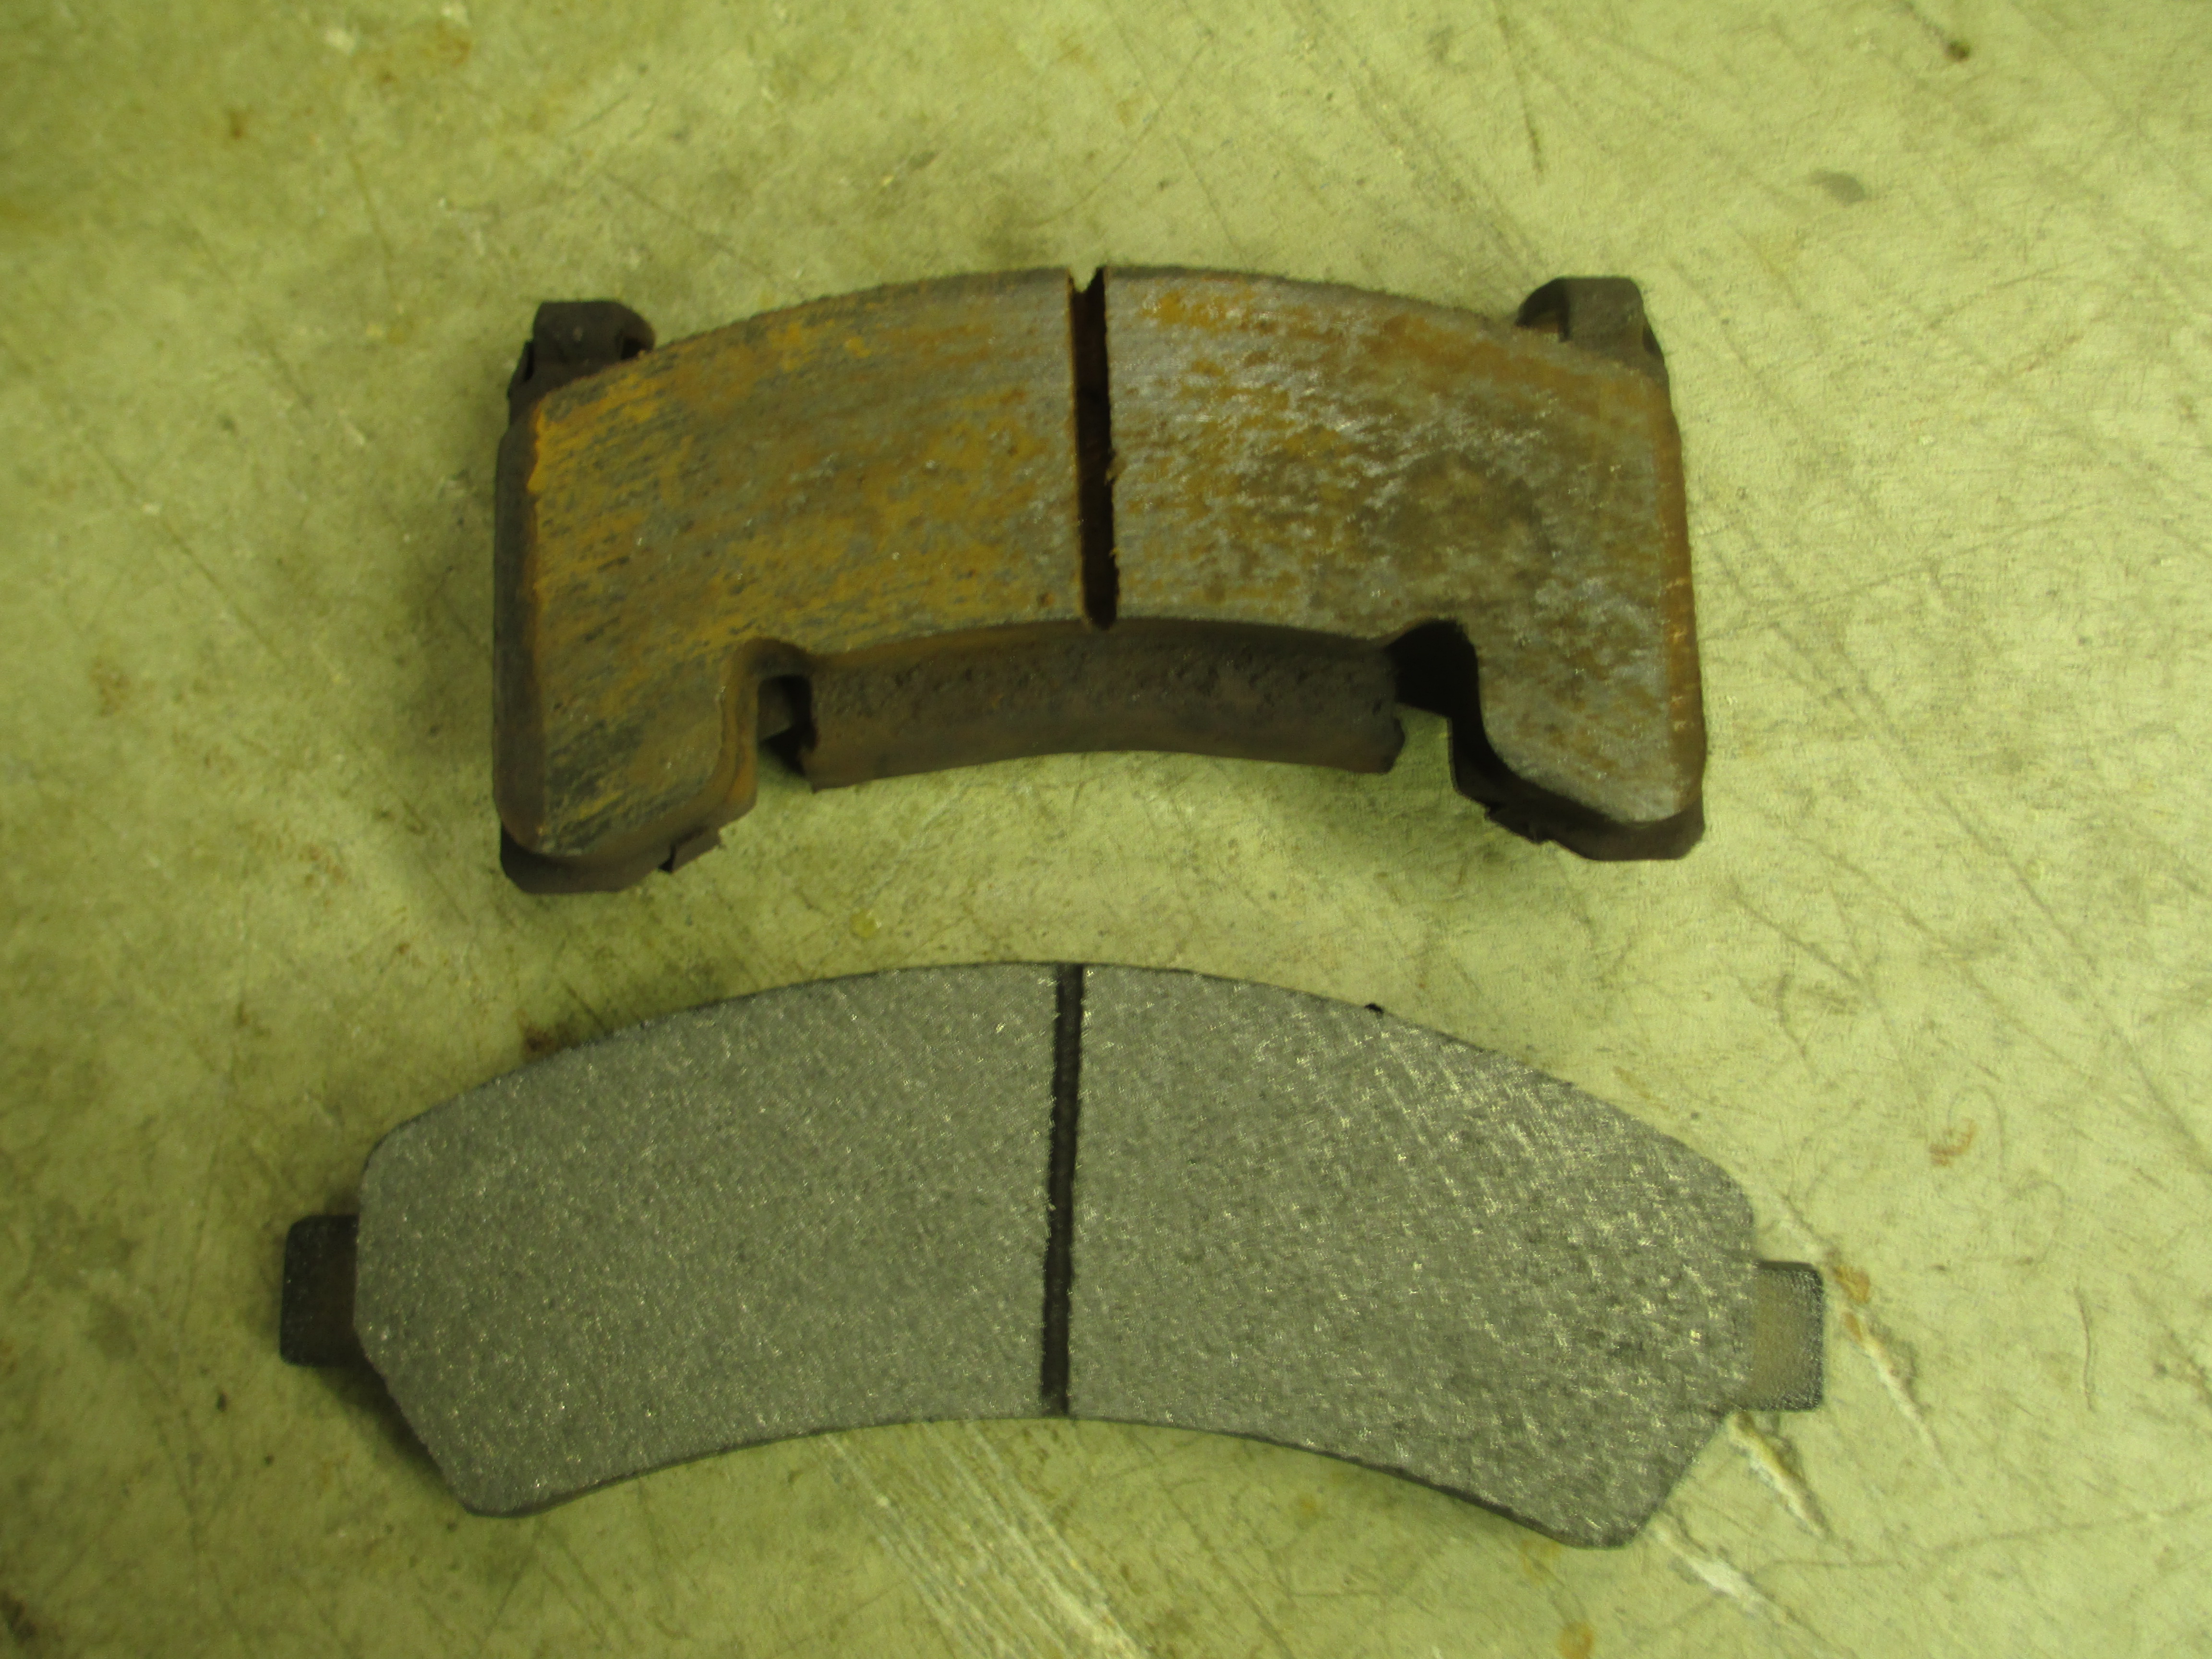
And now the brakes! Here's a stock G-body pad vs a 2WD Blazer pad:
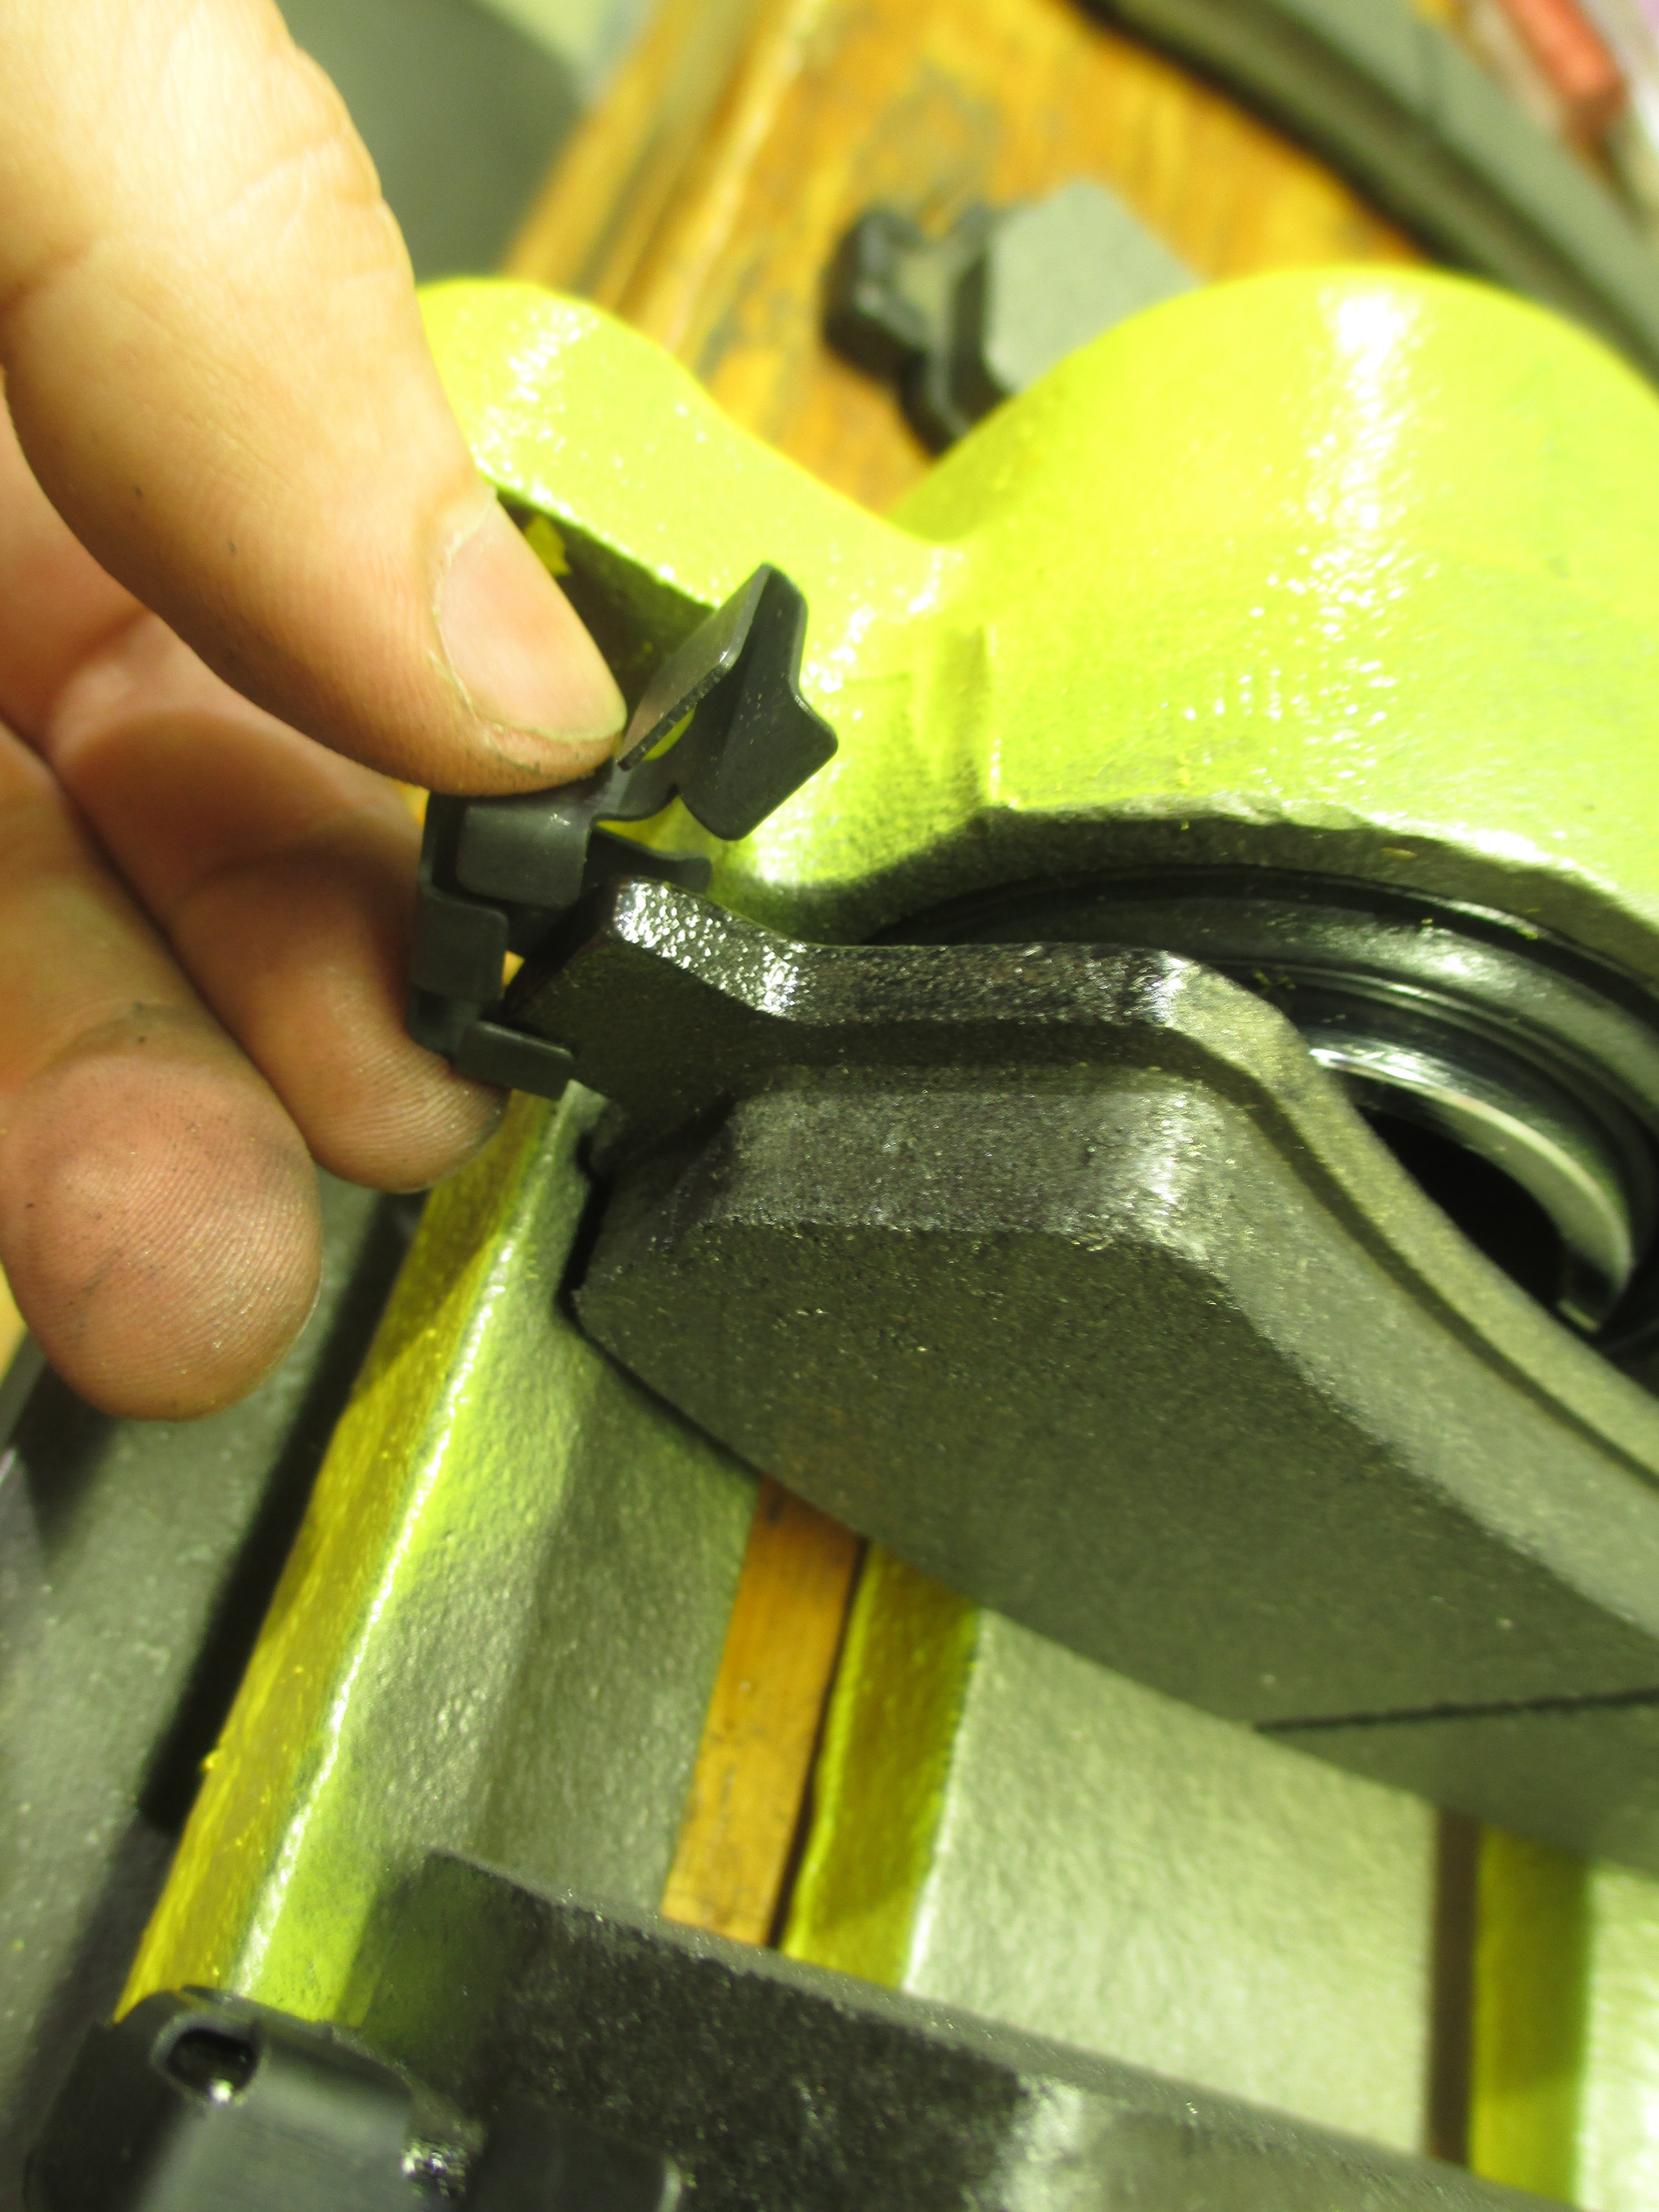
The pads I'm using here are Wanger Severe Duty Commercial pads. They come with these little anti-rattle clips you have to put on. The ones stamped "L" all fit loosely enough to just fall off, but a quick pinch in a vice solves that.
G-Body:
2-piston 2WD Blazer:
I'm switching from Belltech 2-inch-drop spindles to Blazer standard height spindles here. Or basically I should say I'm going back to a standard height spindle in general. Look closely and you can see the difference in distance between the top of the rotor and the upper A-arm in each photo.
SCROLL TO SECOND RED LINE FOR ZQ8 WHEEL AND 200-4R TRANSGO KIT OWNERS
Overview:
So about August last year my lug nuts came loose while driving, I lost a wheel, and folded up a fender (among other things). I started making a mad dash this year to get ready for SBR/SCCA's first autocross of the season and had all of my parts lined up, except for extended lower ball joints from a supplier who will go unnamed. (Long story. No harm, no foul, but only just barely. Rhymes with XZ&Z. Will PM if interested.) I missed that event and ~2 weeks and many phone calls later I had new lower ball joints on rush delivery from Speedway. They got to me with 5 days to spare from the event I wanted to attend most this year: A combined autocross and track night at Gingerman Raceway. What follows are the fender swap, Blazer spindle swap, extended LBJ installation, Eibach spring installation, float bowl change, rough alignment, race day video, and post-race day technical information, all documented as well as time would allow.
I'll start with what I got done before the first event (the one I missed) before it became apparent that I wouldn't be seeing my lower ball joints for a while. Here's a mock-up of the 2WD Blazer Spindles from Timo22 (thanks again!) with my Timken hubs and AC Delco re-man'd calipers from RockAuto:
In lieu of buying a brand new set of rolling stock, I was able to find a replacement T-Type wheel on ebay from a salvage yard in Texas for about 100 bucks. It has some lumps of extra alumnium, but it is indeed a GM wheel. Shame I ruined the old one.
I used VHT caliper paint from a spray can to add a little personality to my brakes. If I remember correctly I did about 5 light coats in between yard work.
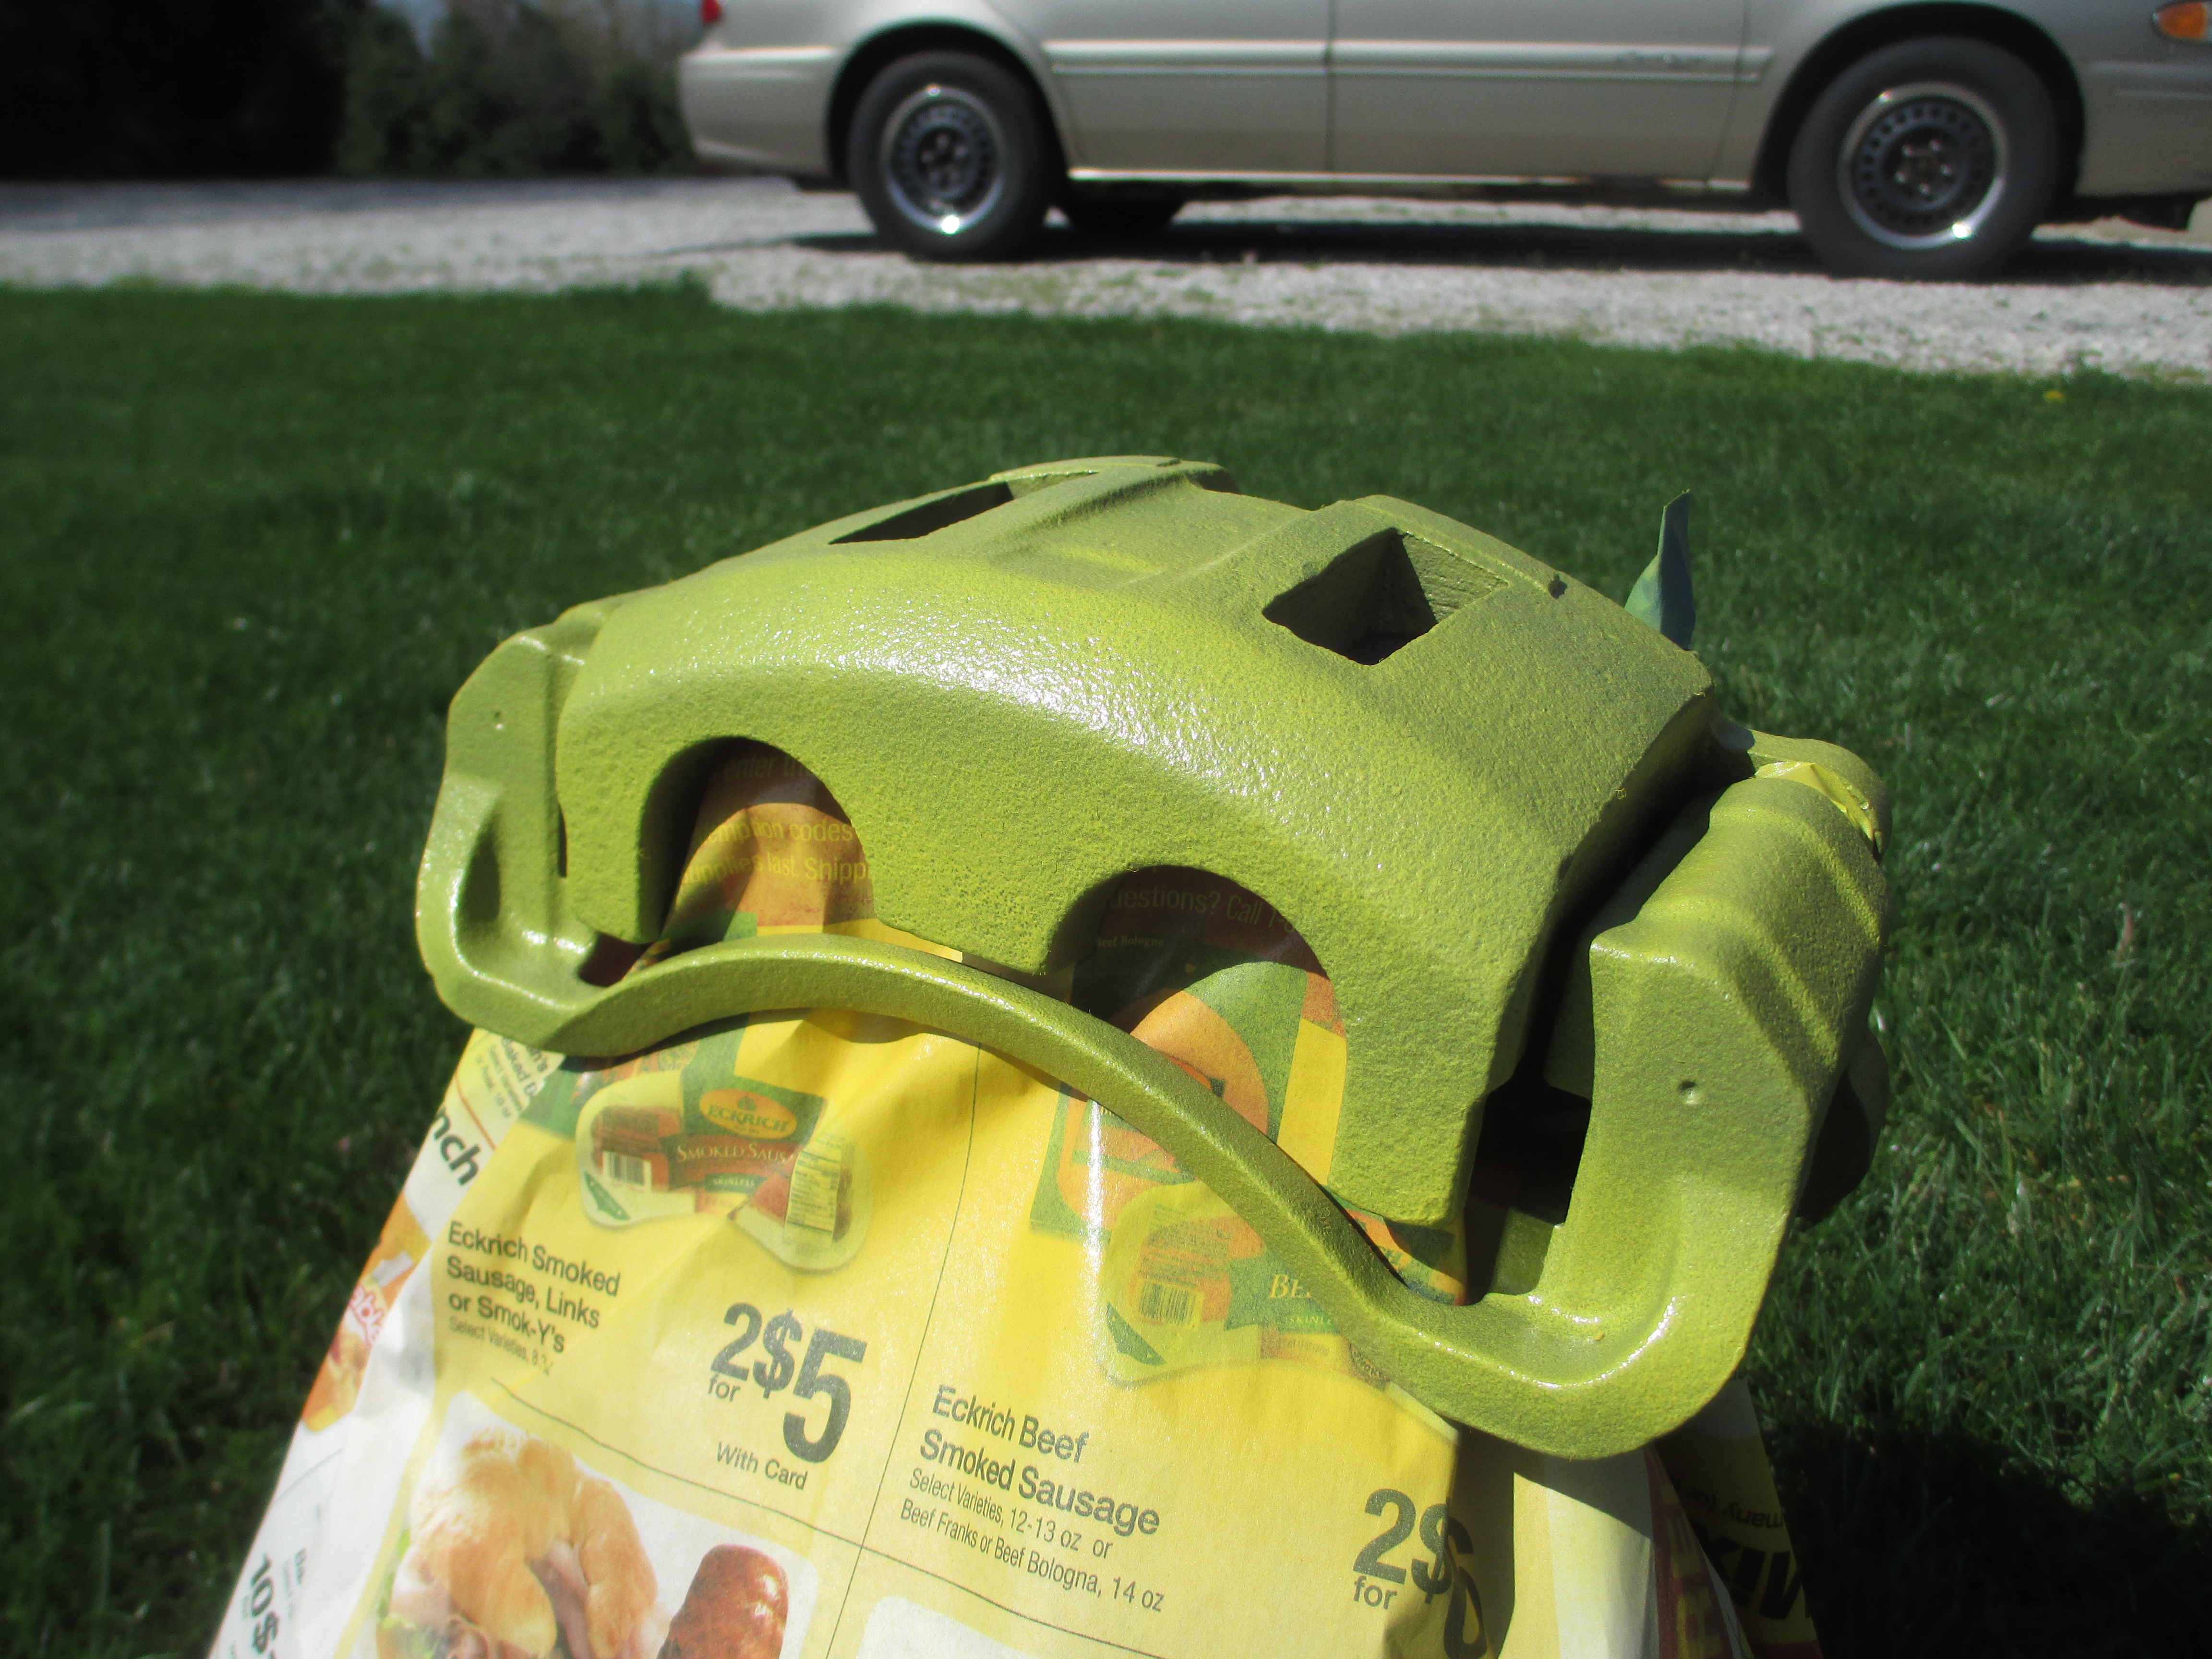
I did the color coat with them sitting on paper-covered jack stands. This didn't allow me to hit them from beneath, but in hindsight I decided it wouldn't matter since I still had to spray clear and you'd never see the bottom anyway. Had I sprayed the bottom, the can would have run dry. (This is a one-can-minimum. You won't be able to do it with less.)
For clear coat, I hung the calipers from saw horses. Again, it was about 4-5 coats before the can ran dry. I was able to cure the paint later in a small toaster oven at 200 degrees F for 1 hour. The paint seems to indeed be brake fluid resistant as advertised, but I recommend you do good prep work. All I did was degrease the calipers and I did not use VHT caliper primer. My finish is prone to chipping. You may have better results if you sand yours and use primer. Regardless, I am pleased with the results:
I also experimented with "rolling the fenders" but that's a thread for a different time.
Next up is everything done the week prior to the race.
Just for the sake of showing it, here we are at the beginning with the hood and fender removed:

While I had good access, I removed a lot of nasty rust from my radiator core support and added a healthy coat of paint. Be sure to check this area of your car for rust and remove any nasty chunks with a hammer & chisel, and blow it out with some compressed air.
Blow this area out when finished, and protect your face while doing so. Lots of rusty pieces went flying.

Moving past front end disassembly (which I have no pics of) let's move onto the lower ball joints. I ordered them out of the Speedway catalog. They have a section of extended joints with corresponding "MOOG" part numbers. They come in an advertised .500" and 1.000" of extra pin length and Speedway also stocks a universal dust boot that you can use. (Keep in mind that these extended LBJs will lower your ride height and alter your steering tie-rod angle)
These lower ball joints are "rebuildable" and tolerances need to be set. If possible, do this with the LBJ installed in the lower A-arm. The process is simple and the instructions are easy enough. Just make sure that you have a wrench that's big enough. Better yet, they sell a cheap tool to do this. It's right next to the joints in the catalog.
I don't have installation pictures, but when installing front springs make sure that the bottom of the spring is resting correctly in the recessed area of the lower A-arm. Not doing this can result in an incorrect ride height and a difference from one side of the car to the other.
I also altered my alignment shim count and flipped my cross-shafts on my upper A-arms to try and alter my camber and caster. I did an okay job, but the process was too involved to stop and document and not professional enough to share here. I have no idea what my current caster is (should be more than it was) but I think I set my camber somewhere between -1.7 and -2.2 degrees. (My dad's angle finder has some variation from side to side, and I was holding it against a ruler which was held against the face of my rims.)
Here's how my current upper A-arm angle looks with 1/2 inch taller UBJs, 1/2 inch taller LBJs, and Eibach Pro-Kit springs:
With them pointing upward like that, anymore suspension compression should only result in a further increase of negative camber.
(The uppers I use are Spohn Tall Spindle uppers. They have a shorter distance between the cross shaft and the ball joint. FWIW, they also still have bump-stops.)
And now the brakes! Here's a stock G-body pad vs a 2WD Blazer pad:
The pads I'm using here are Wanger Severe Duty Commercial pads. They come with these little anti-rattle clips you have to put on. The ones stamped "L" all fit loosely enough to just fall off, but a quick pinch in a vice solves that.
G-Body:
2-piston 2WD Blazer:
I'm switching from Belltech 2-inch-drop spindles to Blazer standard height spindles here. Or basically I should say I'm going back to a standard height spindle in general. Look closely and you can see the difference in distance between the top of the rotor and the upper A-arm in each photo.