Had a little delay on this...life always coming up. But blessed to keep moving forward.
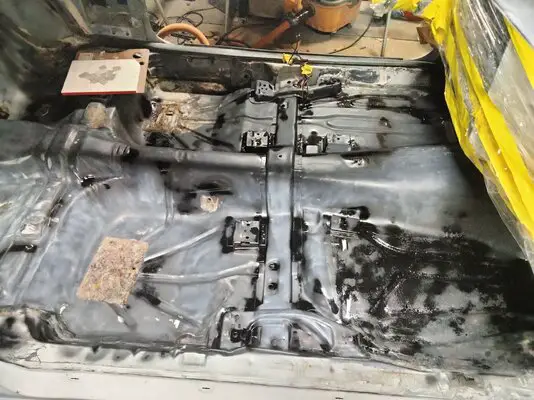
Did a final wipe down today and got the Rustoleom Rust Converter sprayed. Came out pretty good and I am happy with it. 😁 Gonna let this cure and as long as time allows, will spray a layer of white over it on Thursday. Then my next weekend off, will work on jute padding and then back to installing the new carpet!
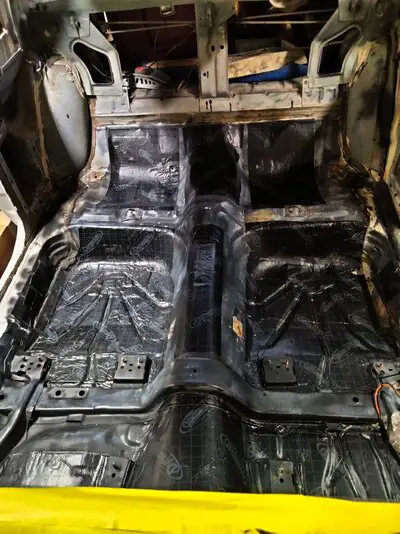
Got the white top coat down today. Will let it fully cure then will get down with the jute padding and carpet kit. I was actually pretty suprised to realize that the carpet kit actually has some jute already attached to it! So will see how it lays out w the extra jute I purchased. Then will make a new jute piece for under the rear seat and will probably even install some in the lower 1/4 sail panels as a lil sound deadening lol. Help keep more of the bass in the car from the subs lol.
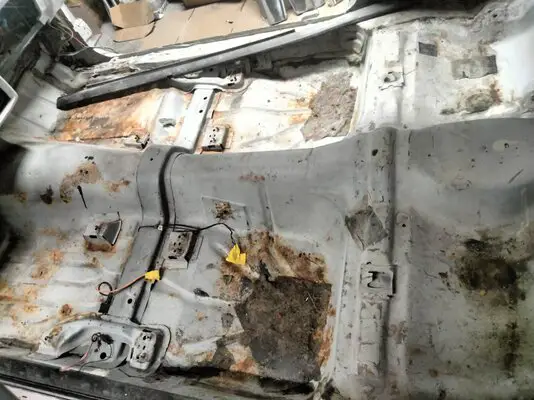
Alright friends. Got down on starting my interior refresh. Today, pulled the seats, seatbelts and carpet. For a 40 year old carpet nothing super crazy found. Was actually pretty dang clean. As expected, I did come across some surface rust on the drivers front floor board and two pin holes. I am looking for suggestions on how to properly attack this issue before putting the new carpet kit in. Here is where we sit today.
Before: View attachment 251506 View attachment 251507
That's awesome I actually used an angle grinder and swept across the rust and I brush Eastwood Rust Encapsulator then after 48 hrs. I put a little wire mesh for autobody and mixed up some Fiberglass Bondo and spread it, just enough for them holes, 1" passed those holes. On my floor pan there was a few of those hole but I was able to fixe it. It also made it very sturdy and rigged as well. then over that I layed Dynamat as well. On my You Tube channel either ep 17 or 18 I show how I have the fiber glass bondo.
GBodyForum is a participant in the Amazon Services LLC Associates Program, an affiliate advertising program designed to provide a means for sites to earn advertising fees by advertising and linking to amazon.com. Amazon, the Amazon logo, AmazonSupply, and the AmazonSupply logo are trademarks of Amazon.com, Inc. or its affiliates.
This site uses cookies to help personalise content, tailor your experience and to keep you logged in if you register.
By continuing to use this site, you are consenting to our use of cookies.