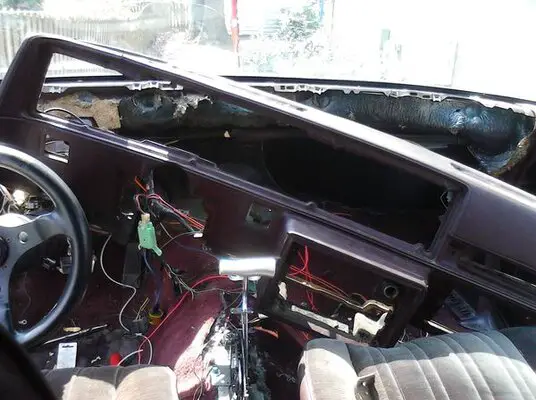
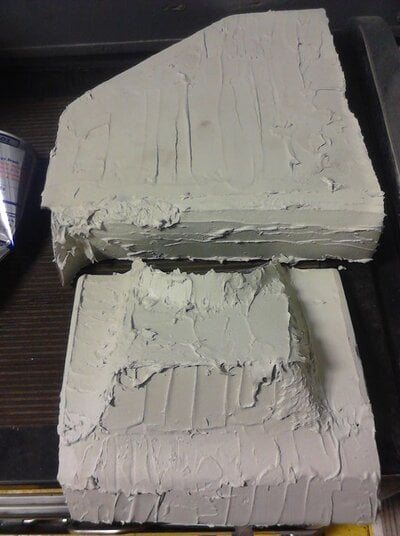
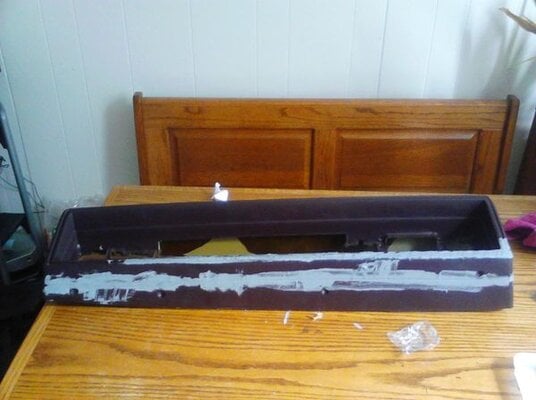
ok pulled out the dash.. which was kinda hell.. so after 2 hours of back breaking moves..started by removing the gauge cluster and everything else from the front surface.. also it was kinda hard getting into those small spaces..i finally got it out...
1985 CUTLASS FIBERGLASSING THE DASHBOARD
- Thread starter roachownsu
- Start date
You are using an out of date browser. It may not display this or other websites correctly.
You should upgrade or use an alternative browser.
You should upgrade or use an alternative browser.
- Status
- Not open for further replies.
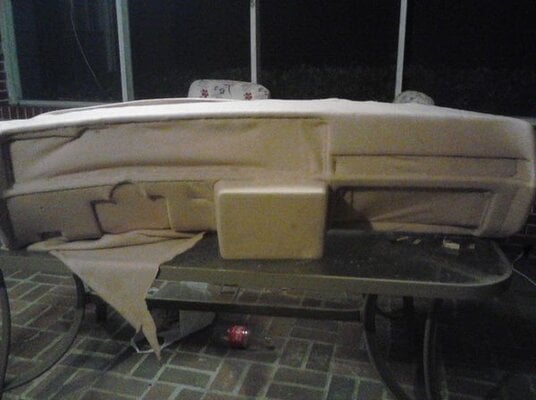
sanded the dashboard down with some 100 grit sand paper to give it a rough surface so the resin will stick to the plastic of the dash...ok so i went to joann fabrics around the area and got some tan fleece.. if you want to fiber glass anything always use like a mild bright color. (due to the fact it is easier to see where you lay the fiberglass resin down and avoid dry spots)..
so i measured the fabric on the dash.. (really just threw it on there..lol) after i messed around with the fabric and got a feel for it... i started by stapling the top side of the dash.. so my method was to staple as i go visually..and this is what i ended up with... its pretty damn good for my first time doing this
so i measured the fabric on the dash.. (really just threw it on there..lol) after i messed around with the fabric and got a feel for it... i started by stapling the top side of the dash.. so my method was to staple as i go visually..and this is what i ended up with... its pretty damn good for my first time doing this
Attachments
im just going for a mild stock/ custom look.... deleted the tweeters up top of the dash.. going to build my own gauge insert and new gauges of coarse.. havent decided on the gauge typs though.. also no vents because i delted the a/c and heater.. umm all the wood trim that came on it where the vents are is going to be solid... now for where the radio and stuff.. i havent decided if i just want to put a detachable tablet in it for all the audio.. video and navigation or what ever you please..
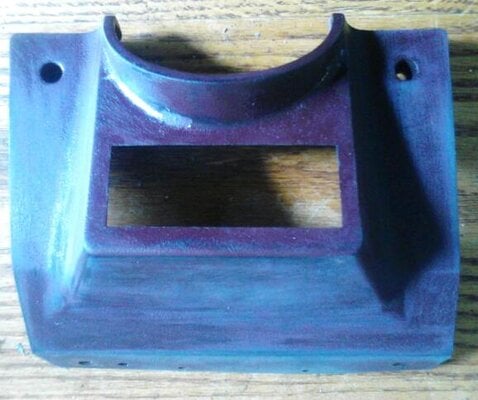
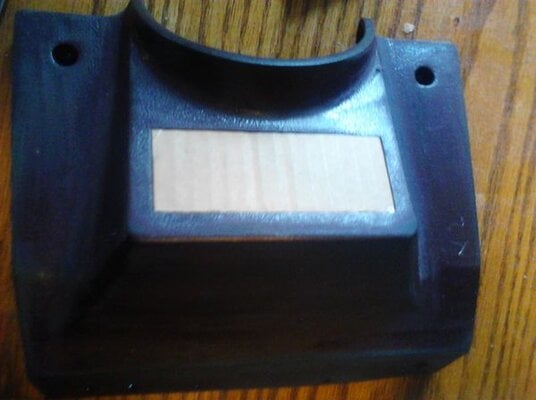
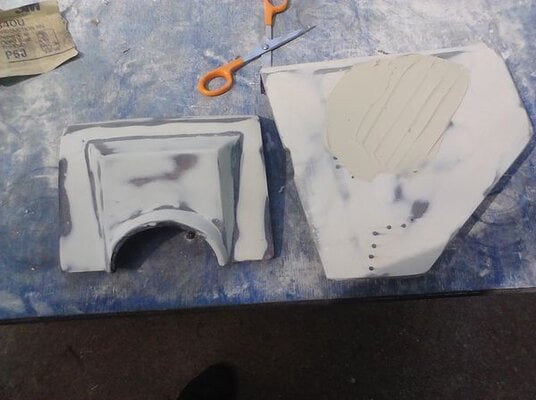
here are some panels i started doing before i started fiberglassing the dash.. just to get a feel of how to do it and step to do it right.... these pieces are the passengerside lower kick panel and the drivers lower vent just underneath the steering wheel... already layed the fiberglass and sanded it... then put some bondo on it and started to sand it
Attachments
im finishing up the glove compartment cover right now.. ill post pics of it today hopefully.. im going to be doing some engine work today.. and im making custom under hood lights and trunk ligthts today with LED lights and making brackets that look like thay arnt even there!!!
- Status
- Not open for further replies.
Similar threads
- Replies
- 2
- Views
- 135
- Replies
- 6
- Views
- 174
- Replies
- 11
- Views
- 415
GBodyForum is a participant in the Amazon Services LLC Associates Program, an affiliate advertising program designed to provide a means for sites to earn advertising fees by advertising and linking to amazon.com. Amazon, the Amazon logo, AmazonSupply, and the AmazonSupply logo are trademarks of Amazon.com, Inc. or its affiliates.


