CHEVY OPGI (Dashes Direct) Reproduction Dash Review
- Thread starter pagrunt
- Start date
You are using an out of date browser. It may not display this or other websites correctly.
You should upgrade or use an alternative browser.
You should upgrade or use an alternative browser.
No diirect contact to ensure you still want it? Maybe I had to cause of how long I waited for mine to ship.Got an email from them yesterday. They are shipping it. No tracking number yet though
Figured I'd search this one back up to get ready to post a review with pics of the '78-'80 dash for Jr.'s Monte Carlo aftter we get it next week. I do expect some short comings to be the same as the '81-'88 dash. Maybe some slight improvements as from my understanding this is the last one tooled up by the place OPGI has making them. So with what would be expected delays in production cycles, one should be able to order a '78-'80 with center speaker, a '78-'80 with side speakers or a '81-'88 with side speakers. Mine took about 9 months to ship, Jr.'s took 4 months. If one would want a color other than black I'd suggest to check in with OPGI if they have a color sample of one of the 12 other colors offered. To be honest, I would of been happy if the dashes were plastic like most newer cars & truck dashes seems to be made of. Might of cut the cost down compaired to one made like an OE.
Here we go with some hands on with the OPGI '78-'80 Chevy/GMC dash with side speakers. First off I don't think the over all finish as the same as my '81-'88 dash as it seems to been more of a rush job. Simular things like no cut out slot for the ash tray light, poor/incomplete finish on the mounting bosses & leaving the vinyl covering in spots the OE's didn't have it. Now I won't have anything on the glove box door or steering column cover as the extras where packed away & I let the cold keep me from digging into the storage bins. Lets start with basic pictures of the dash.
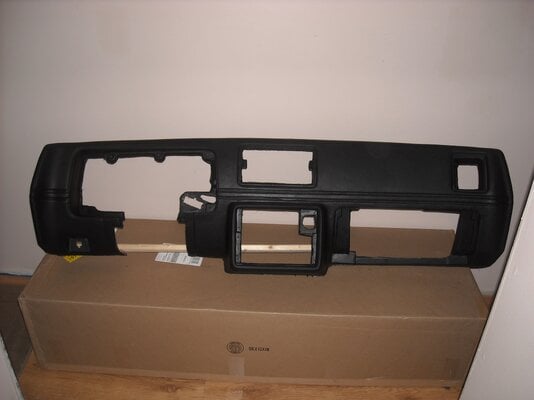
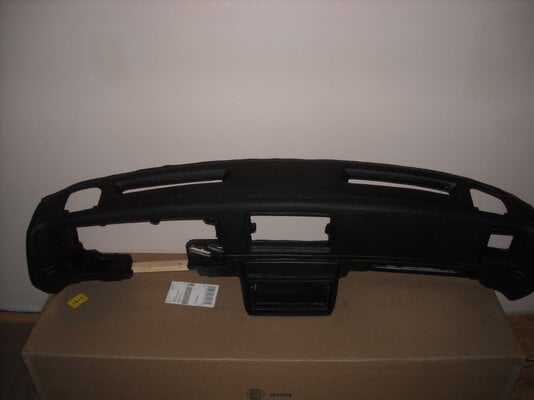
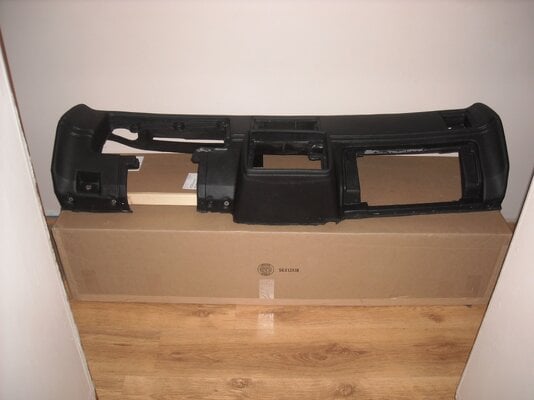
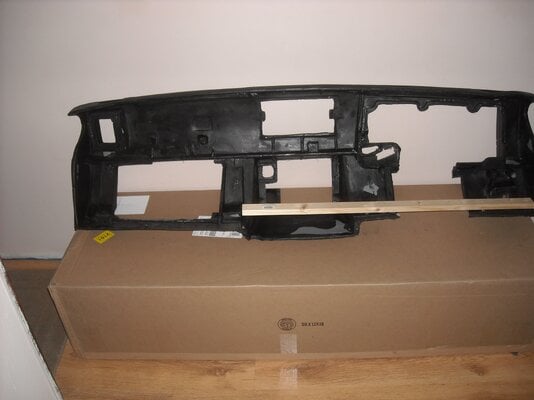
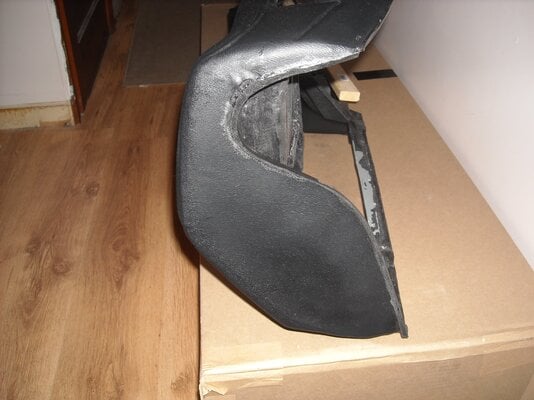
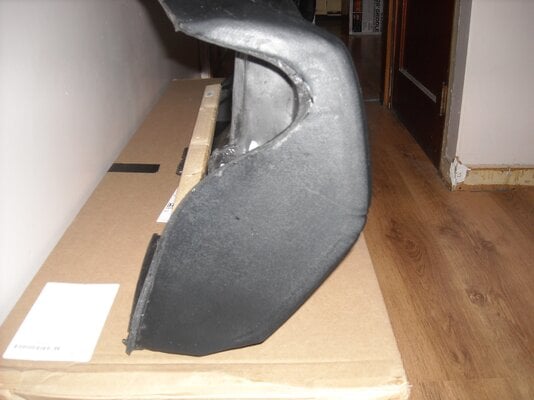
This is where some of the flaws can be seen. The vinyl covering shows some of the raised spots with the under lay foam, cut outs not as clean as the OE's & the lack of finishing on the backside. Closer pictures will show the glue.
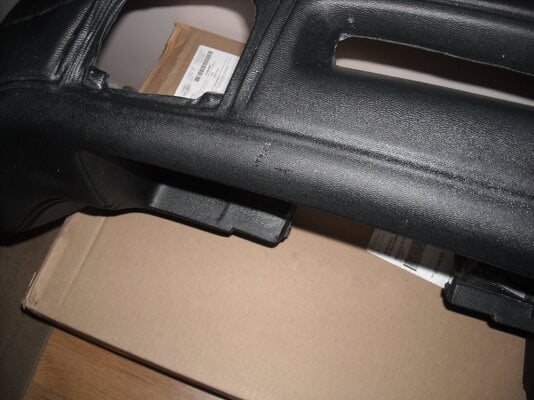
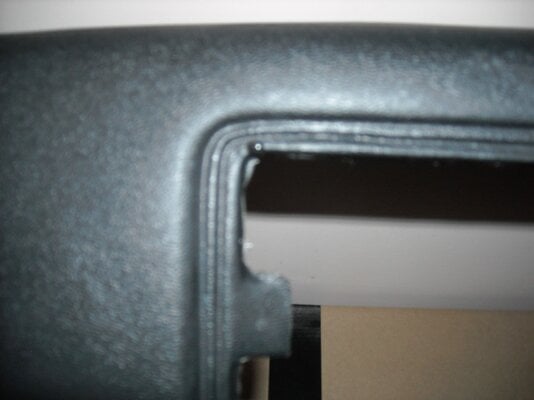
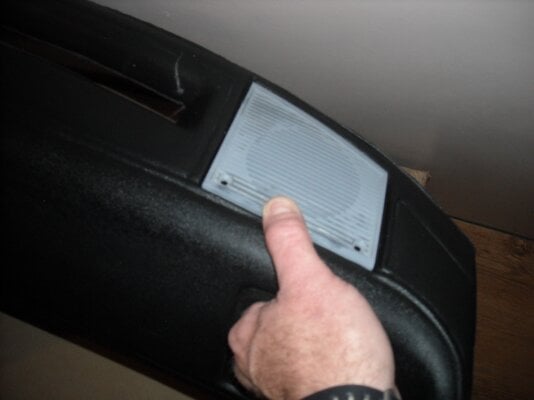
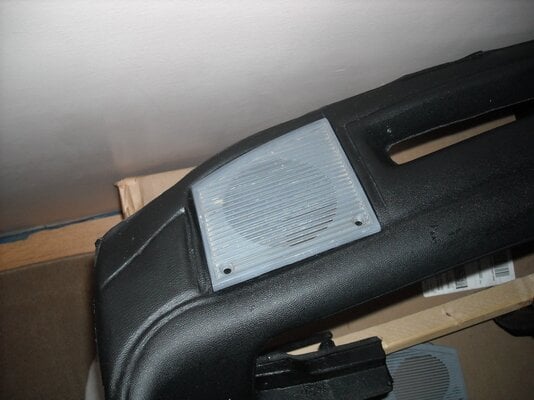
Not sure how this all happened & why QA would of passed it with these spots. Now with the top, the speaker grills don't sit flat when seated. Passenger side should sit better when screwed down. Driver side won't as the warped edge won't go away, don't know how this passed QA either. The leading edge is a bit rough cut & looks like it'll need trimmed up to be cleaner. The defroster openning also will need to be.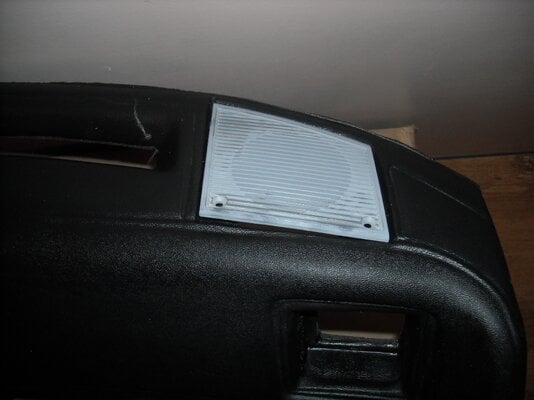
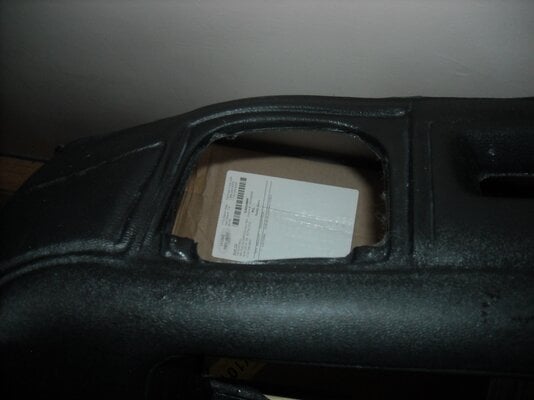
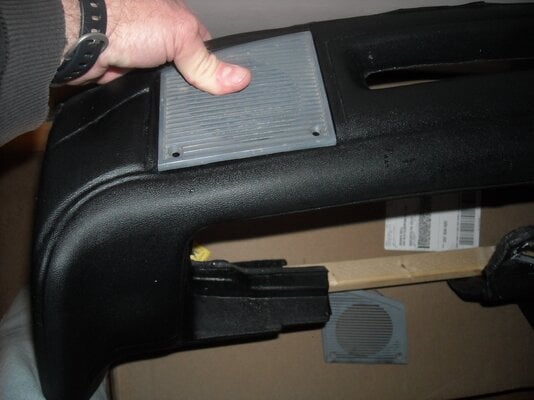
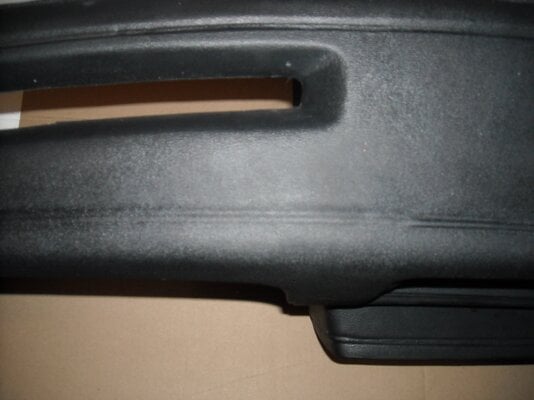
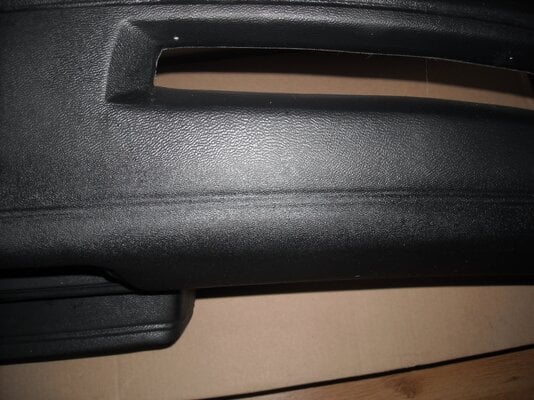


This is where some of the flaws can be seen. The vinyl covering shows some of the raised spots with the under lay foam, cut outs not as clean as the OE's & the lack of finishing on the backside. Closer pictures will show the glue.


Not sure how this all happened & why QA would of passed it with these spots. Now with the top, the speaker grills don't sit flat when seated. Passenger side should sit better when screwed down. Driver side won't as the warped edge won't go away, don't know how this passed QA either. The leading edge is a bit rough cut & looks like it'll need trimmed up to be cleaner. The defroster openning also will need to be.


Now here's some other finish defects with looks to be in the under laying foam or the fiberglass frame. The detail line in the top fors between defined to lightly there. In the pictures of the defrost vents zooming in can show it better. Here's a few more of the top of the dash.
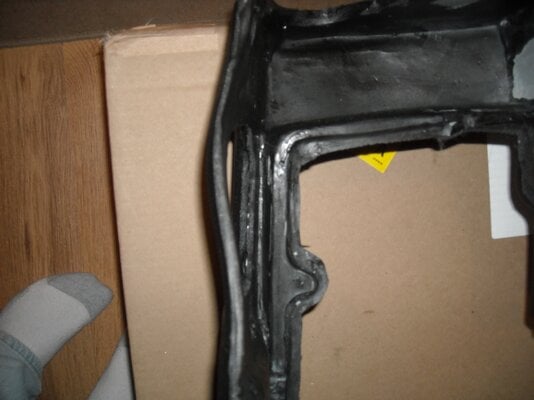
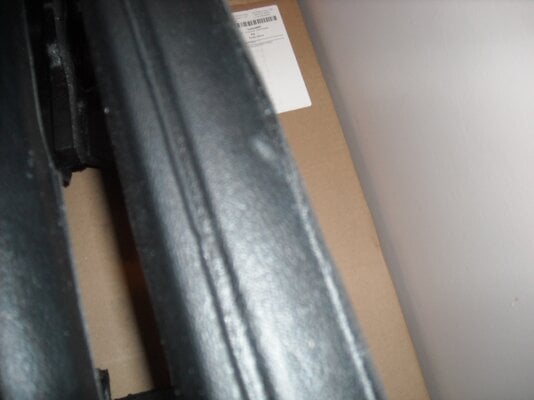
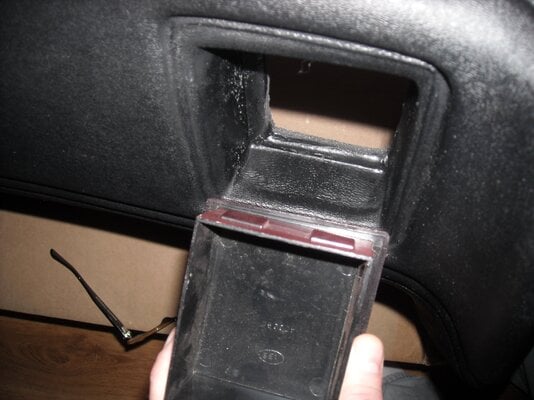
The vent opennings are OK with the passenger side having a tight fit on the block off plate I used Didn't push it in too far as I didn't want to have to fight with it being removed. There is a rib top & bottom to allow the vent or block off to lock in. Since it didn't go in fully seated I wasn't able to see if the detail lines would sit along the edge or be some what covered but did take pictures of it sitting edge to detal lines. Looks close but will have to be looked at again during assembly. I don't have an extra center vent so no test fit. It too looks like it could be trimmed up to clean it up better.
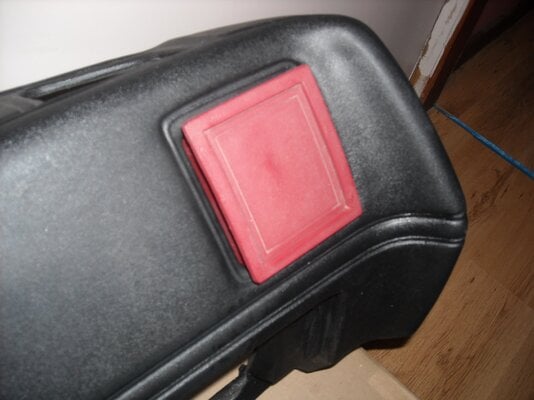
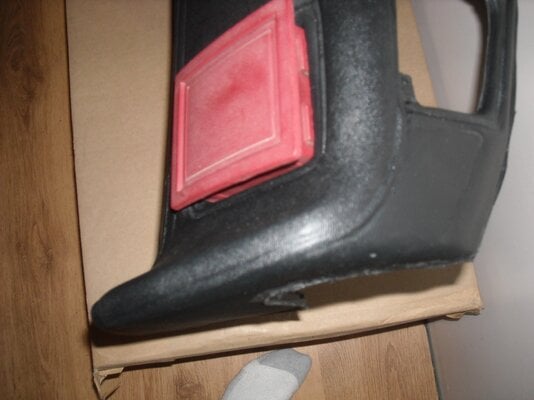
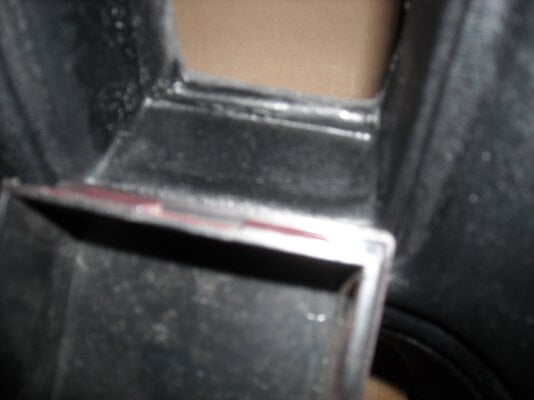
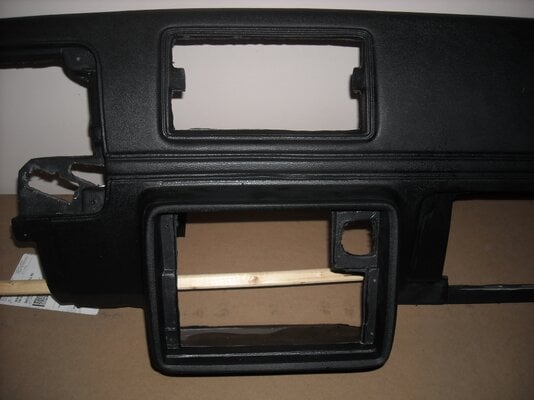
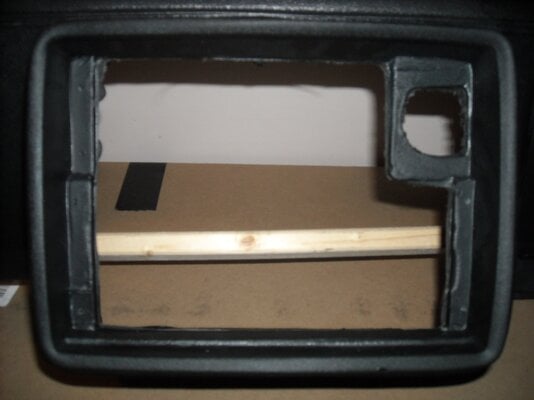
The radio/heater control opening is too tight & not square enough just to place a '78-'85 face plate in but the '86-'88 slides tightly on but looks over sized after seating it. Needs some clean up & trimming to allow the use of a 1.5 DIN Delco & possible needed for aftermarket radio kits.
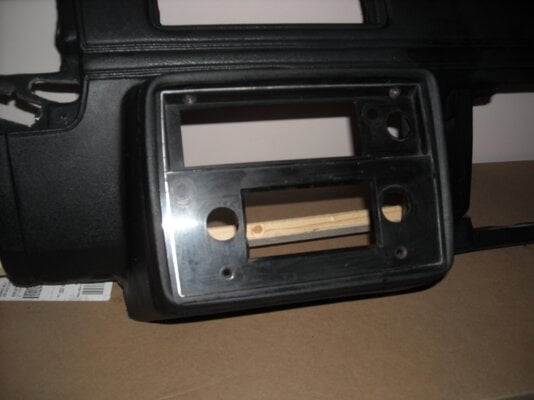
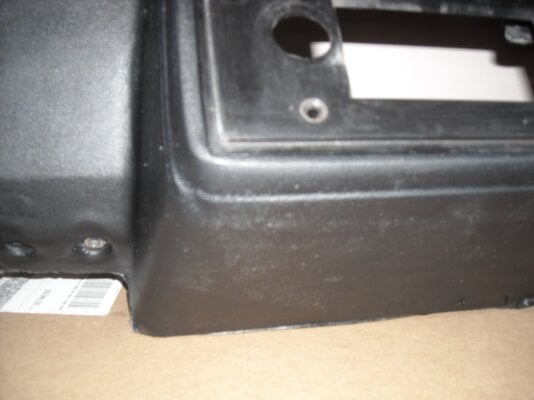
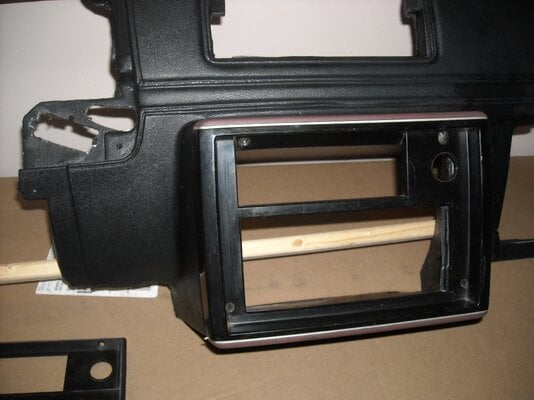
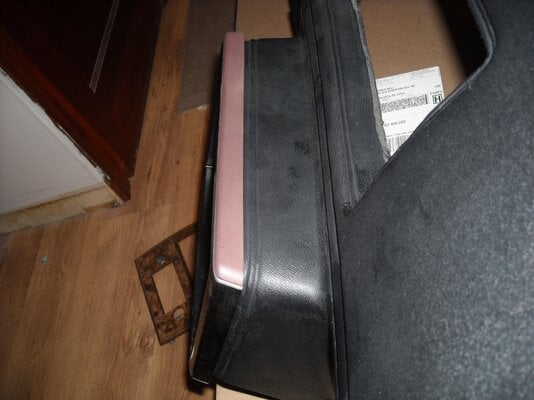
The gauge cluster pod did sit in nice & all the way seated. Didn't have a circuit board connector handy to test fir the openning for it but guess it too will need cleaned up.
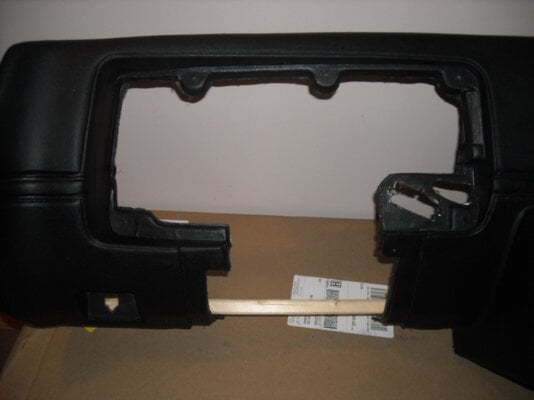
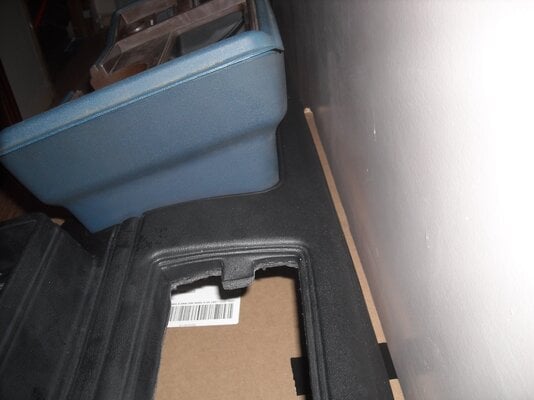
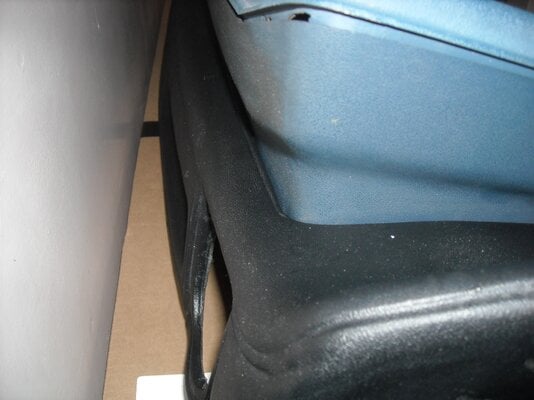
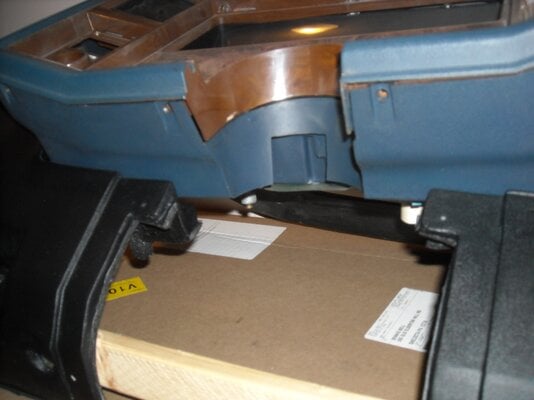


The vent opennings are OK with the passenger side having a tight fit on the block off plate I used Didn't push it in too far as I didn't want to have to fight with it being removed. There is a rib top & bottom to allow the vent or block off to lock in. Since it didn't go in fully seated I wasn't able to see if the detail lines would sit along the edge or be some what covered but did take pictures of it sitting edge to detal lines. Looks close but will have to be looked at again during assembly. I don't have an extra center vent so no test fit. It too looks like it could be trimmed up to clean it up better.


The radio/heater control opening is too tight & not square enough just to place a '78-'85 face plate in but the '86-'88 slides tightly on but looks over sized after seating it. Needs some clean up & trimming to allow the use of a 1.5 DIN Delco & possible needed for aftermarket radio kits.


The gauge cluster pod did sit in nice & all the way seated. Didn't have a circuit board connector handy to test fir the openning for it but guess it too will need cleaned up.


The back side Needs finished as none of the bosses are done & were left rough. Comparison of the OE dash bosses will be needed to ensure they are the lenth from the fiberglass frame. As I have brought up, the slot for the ash tray light needs trimmed out. There looks to be a faint sign of one being in the frame. There are the same mounting points for the brackets from the old dash that are needed to mount the dash in the car. There are no pre drilled holes for the ash tray mount. Like on the '81-'88 dash, any needed holes for the ALDL or vaired brackets mounted behind the radio will need holes drilled.
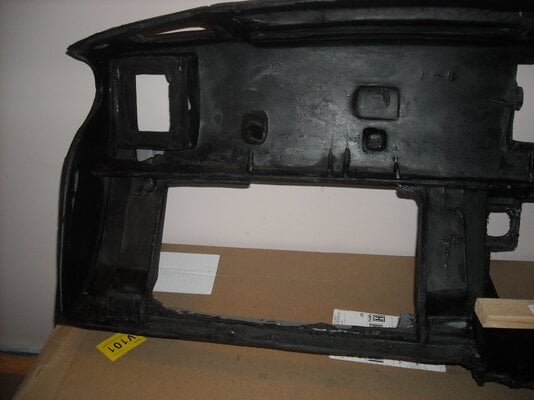
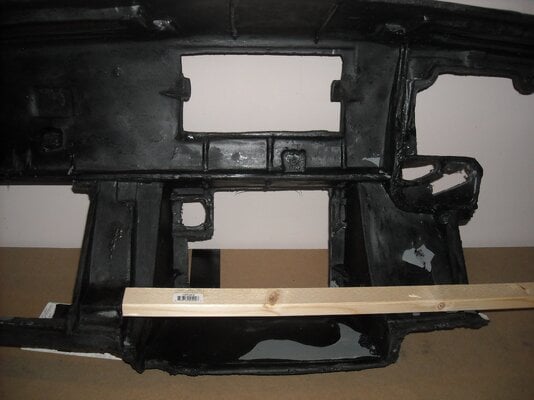
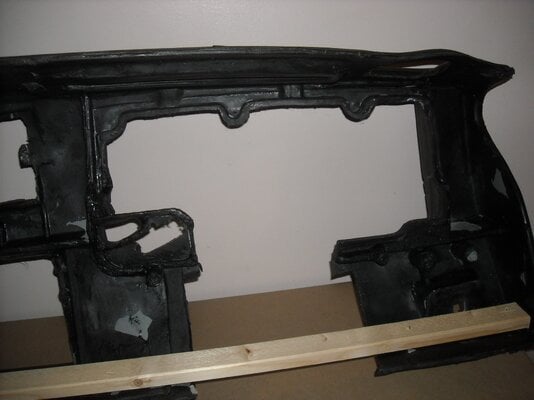
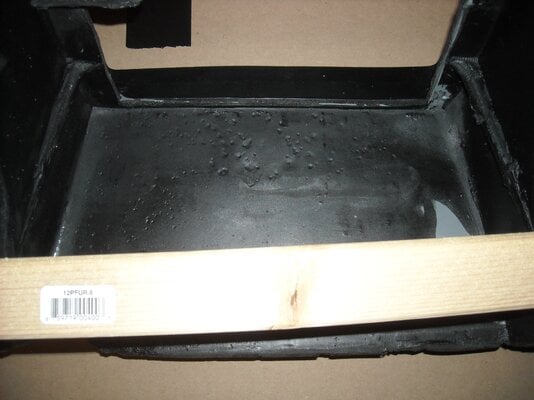
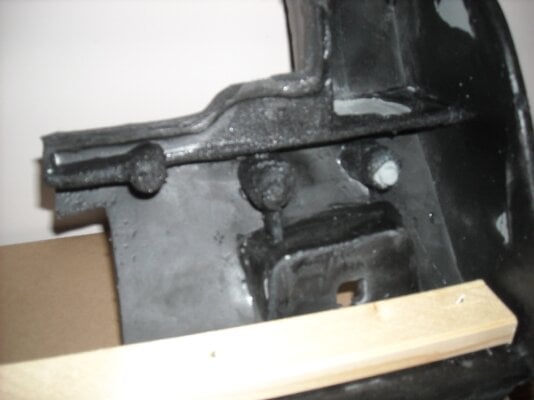
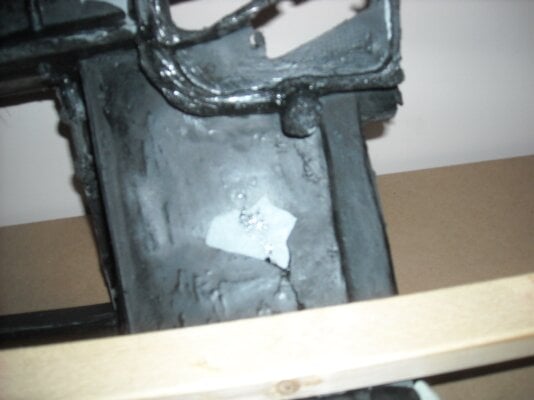
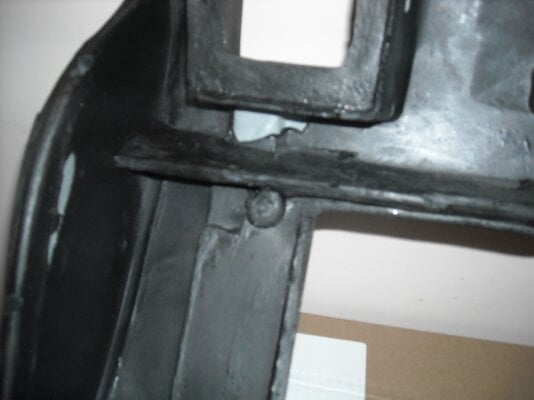
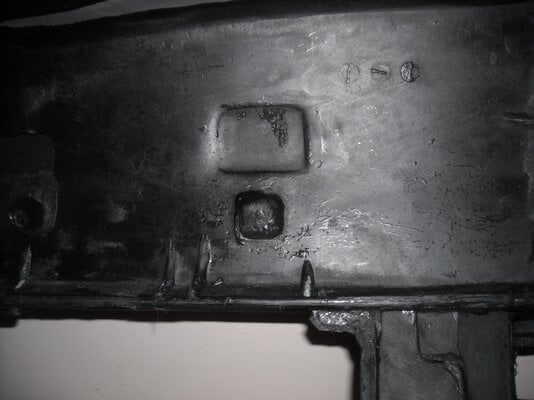
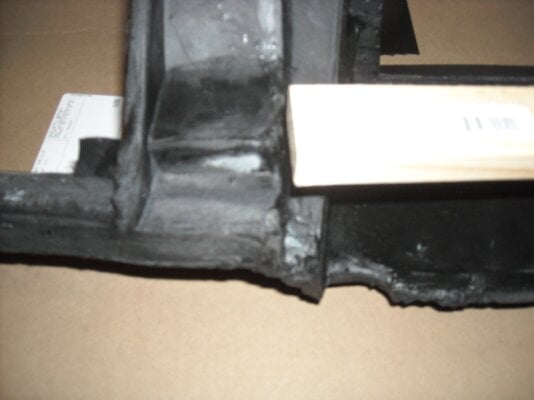
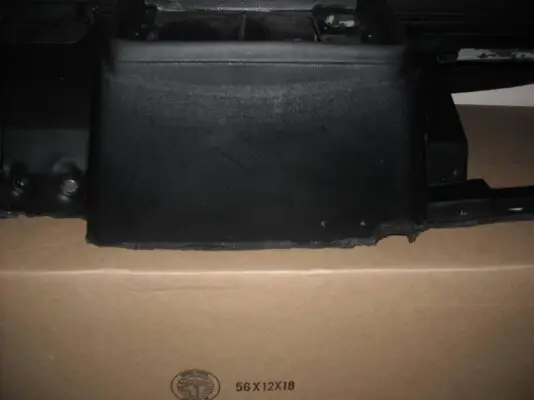
Don't want to over look the glovebox area, it has the holes needed to mount the door, latch & trunk release button bracket. Like everything else on the back side the limiting cable's mount boss needs to be cleaned up & tapped. The excess vinyl needs removed.
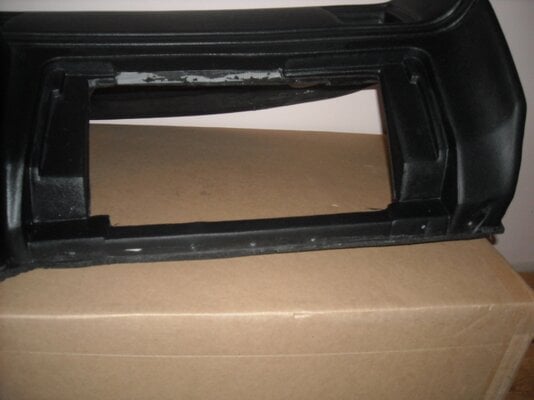
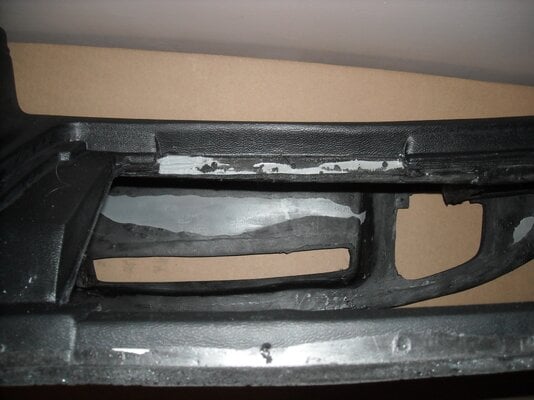
Over all, there could be better work done & quality control on these dashes, being the '78-'80 with dual speakers, the '81-'88 & will also add the '78-'80 center speaker as it too will most likely be like the two I've bought already. It is nice that there are atleast some dashes being reproduced for our cars but we shouldn't have to settle for the cost. If we had something like a '69 Camaro, '70-'72 Chevelle, early Mustang or even any Vette the dashes would continue to be redeveloped into better dashes on a regular schedule to improve them. As for the direct issues with this one for Jr.'s car, I'll have to call OPGI to see what will be done.


Don't want to over look the glovebox area, it has the holes needed to mount the door, latch & trunk release button bracket. Like everything else on the back side the limiting cable's mount boss needs to be cleaned up & tapped. The excess vinyl needs removed.


Over all, there could be better work done & quality control on these dashes, being the '78-'80 with dual speakers, the '81-'88 & will also add the '78-'80 center speaker as it too will most likely be like the two I've bought already. It is nice that there are atleast some dashes being reproduced for our cars but we shouldn't have to settle for the cost. If we had something like a '69 Camaro, '70-'72 Chevelle, early Mustang or even any Vette the dashes would continue to be redeveloped into better dashes on a regular schedule to improve them. As for the direct issues with this one for Jr.'s car, I'll have to call OPGI to see what will be done.
Similar threads
- Replies
- 15
- Views
- 2K
- Replies
- 11
- Views
- 279
GBodyForum is a participant in the Amazon Services LLC Associates Program, an affiliate advertising program designed to provide a means for sites to earn advertising fees by advertising and linking to amazon.com. Amazon, the Amazon logo, AmazonSupply, and the AmazonSupply logo are trademarks of Amazon.com, Inc. or its affiliates.

