Nice work you have done to your ride! I laughed when your dog took off of the first start video, he was caught off guard...😆
83 Buick Regal Estate Wagon 5.3 LS, bagged
- Thread starter vandall
- Start date
You are using an out of date browser. It may not display this or other websites correctly.
You should upgrade or use an alternative browser.
You should upgrade or use an alternative browser.
As the world turns... lol. The last time I updated it was all working pretty well. I still had to get the engine ECU tuned up, the airbags would deflate pretty quickly (like over a couple nights if it sat) and they were blowing the fuse at an alarming rate. So I figured might as well take everything apart!! I think the lockdowns helped influence this decision plus I had a little cash to spend so I figured why not tear it apart for build 2.0!
Here is the set up when I decided to really get after it. This is right around May 2020.
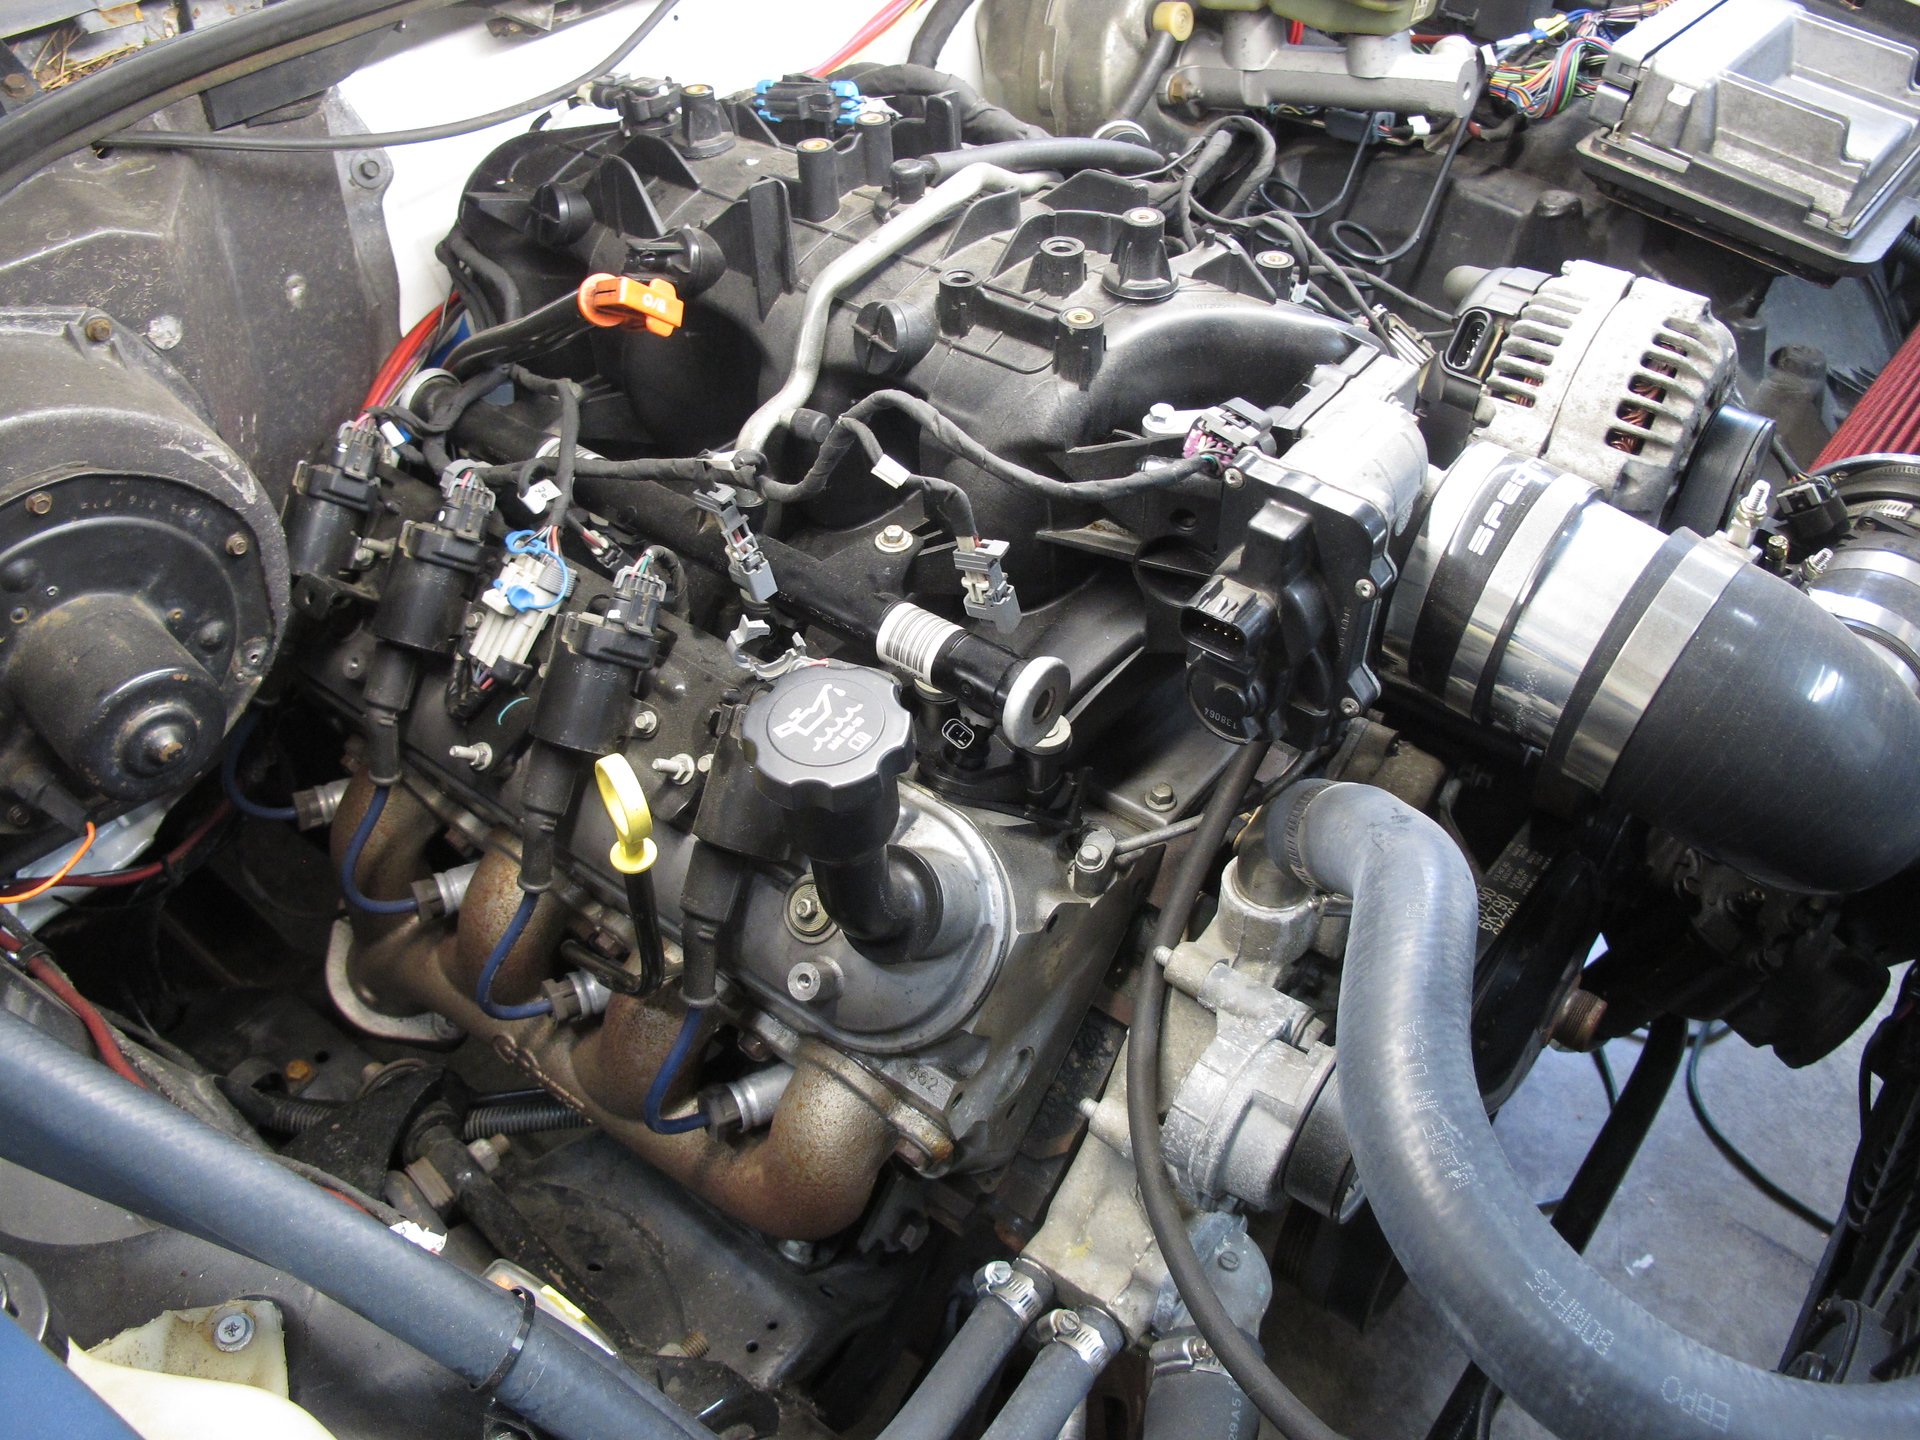
just for reference here is the old harness coming off.. it was a clean job and worked, and I like OEM equipment.. but getting a little upgrade
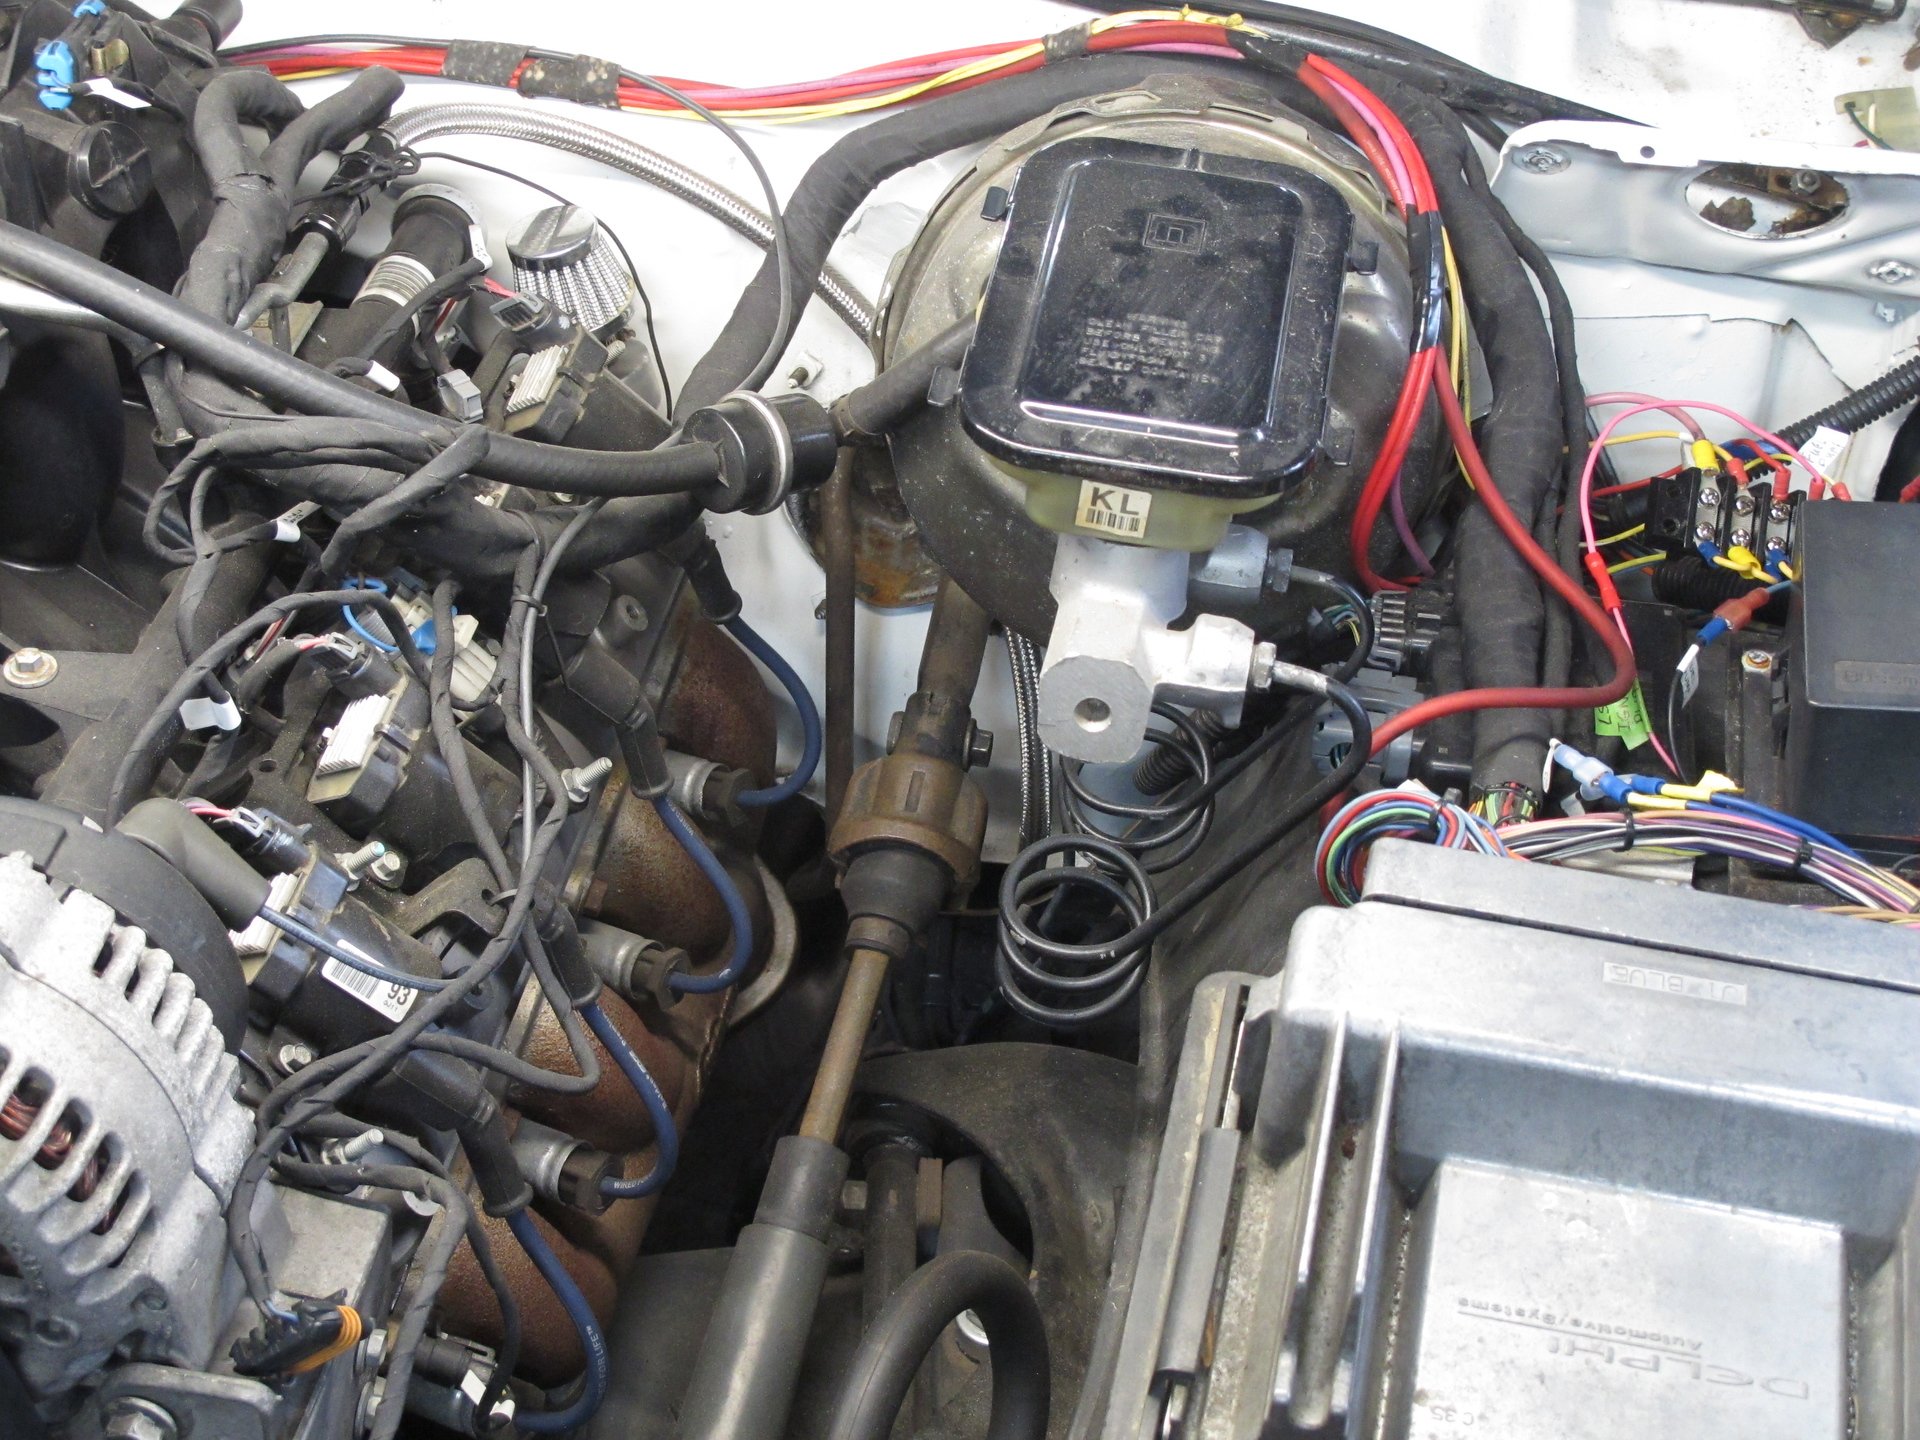
here is the factory computer and fuses for the main circuits - fuel pump, electric fans, and air bag system
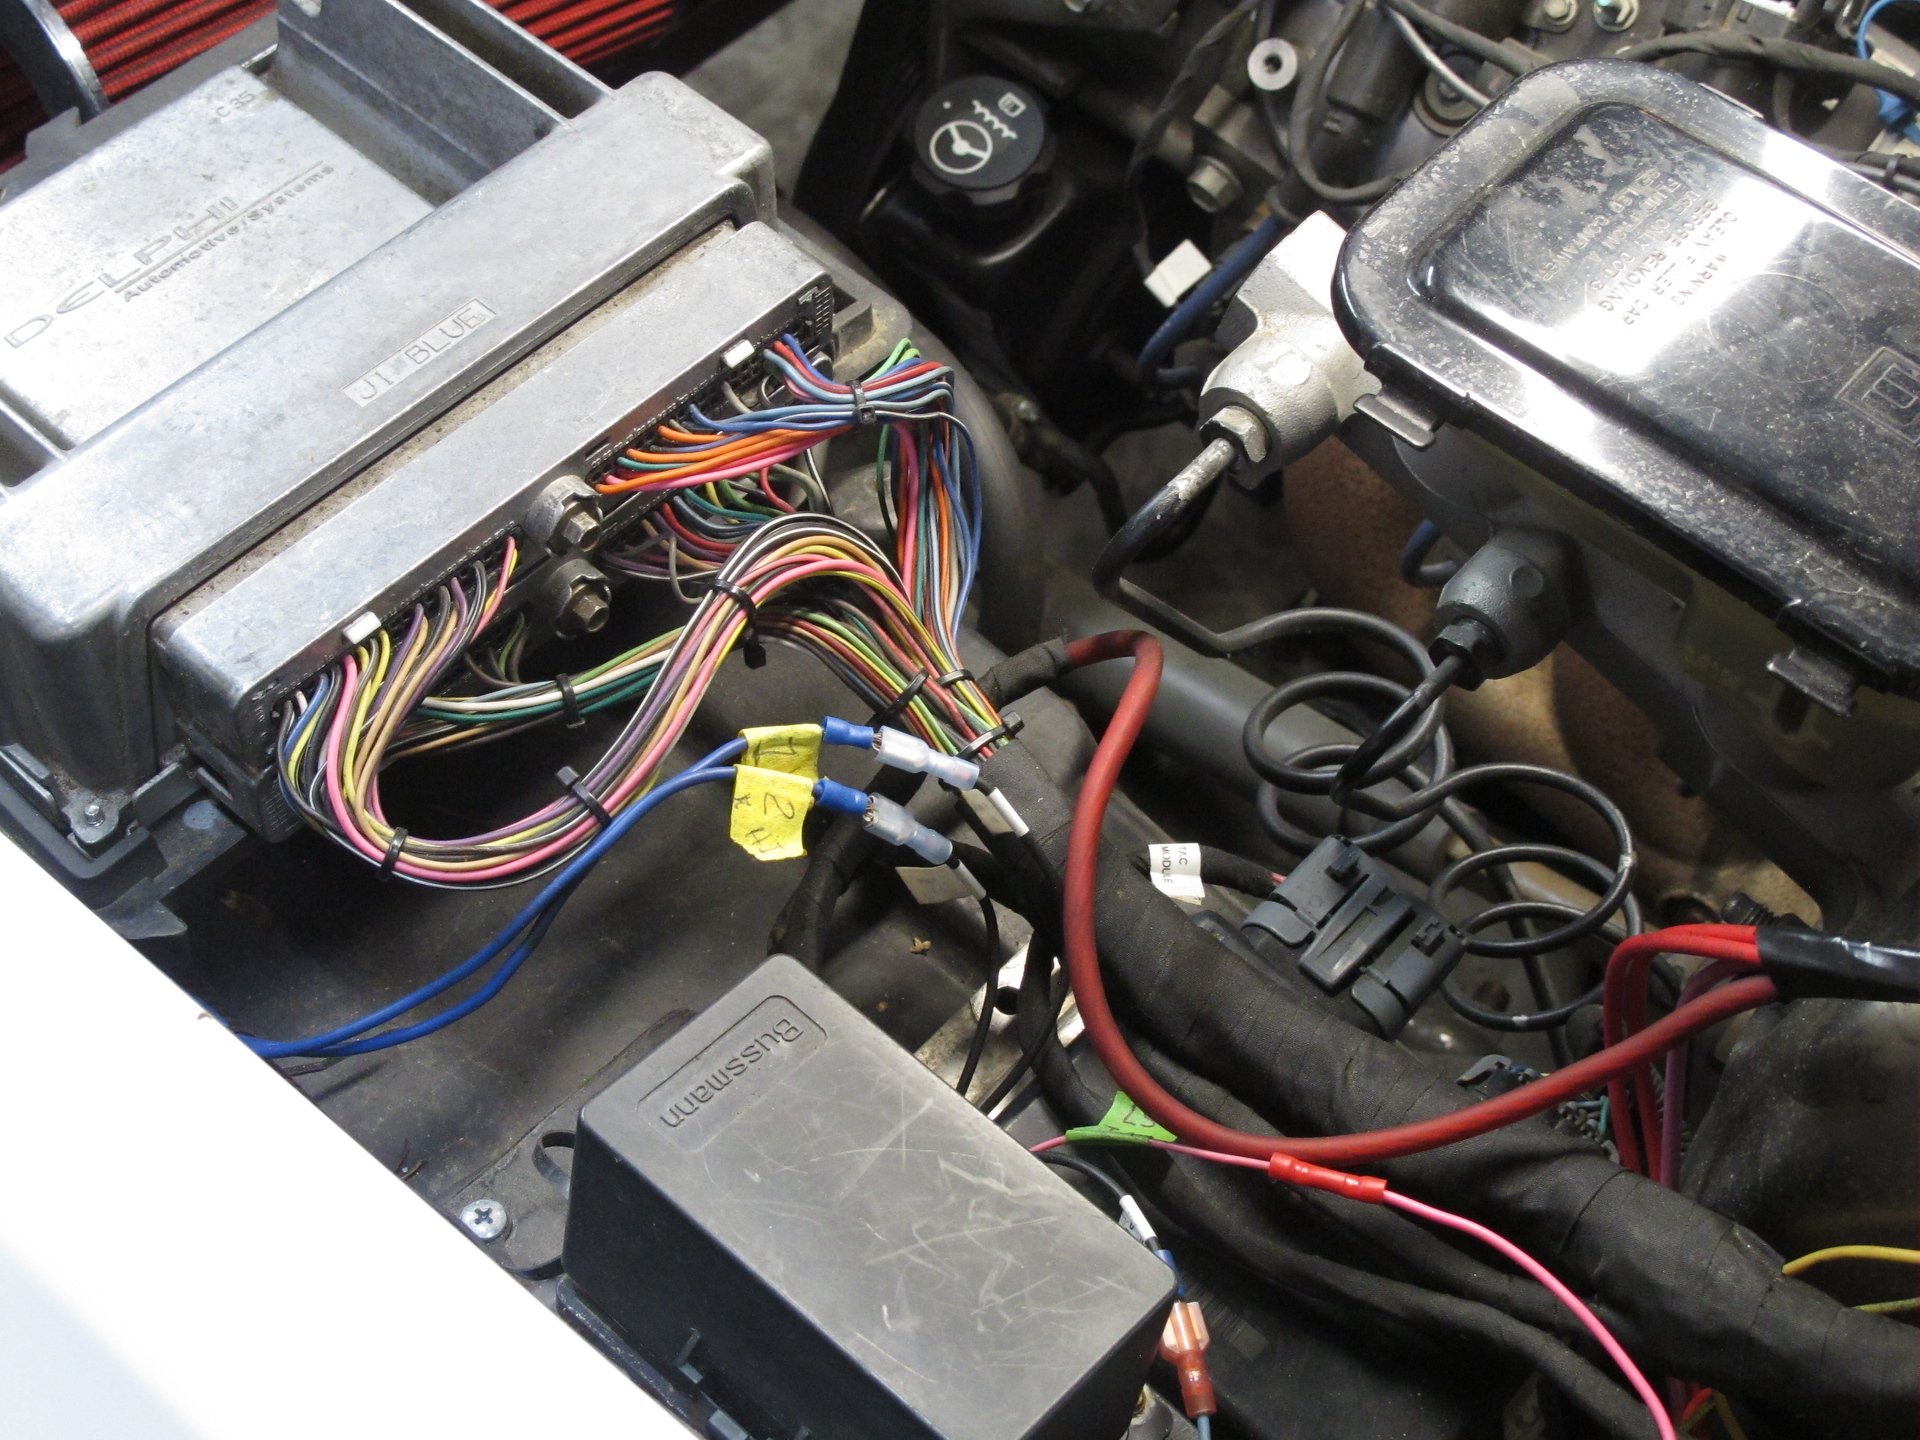
I also wanted to take some time to clean up everything like the wire runs, looms, connectors, finishes, etc
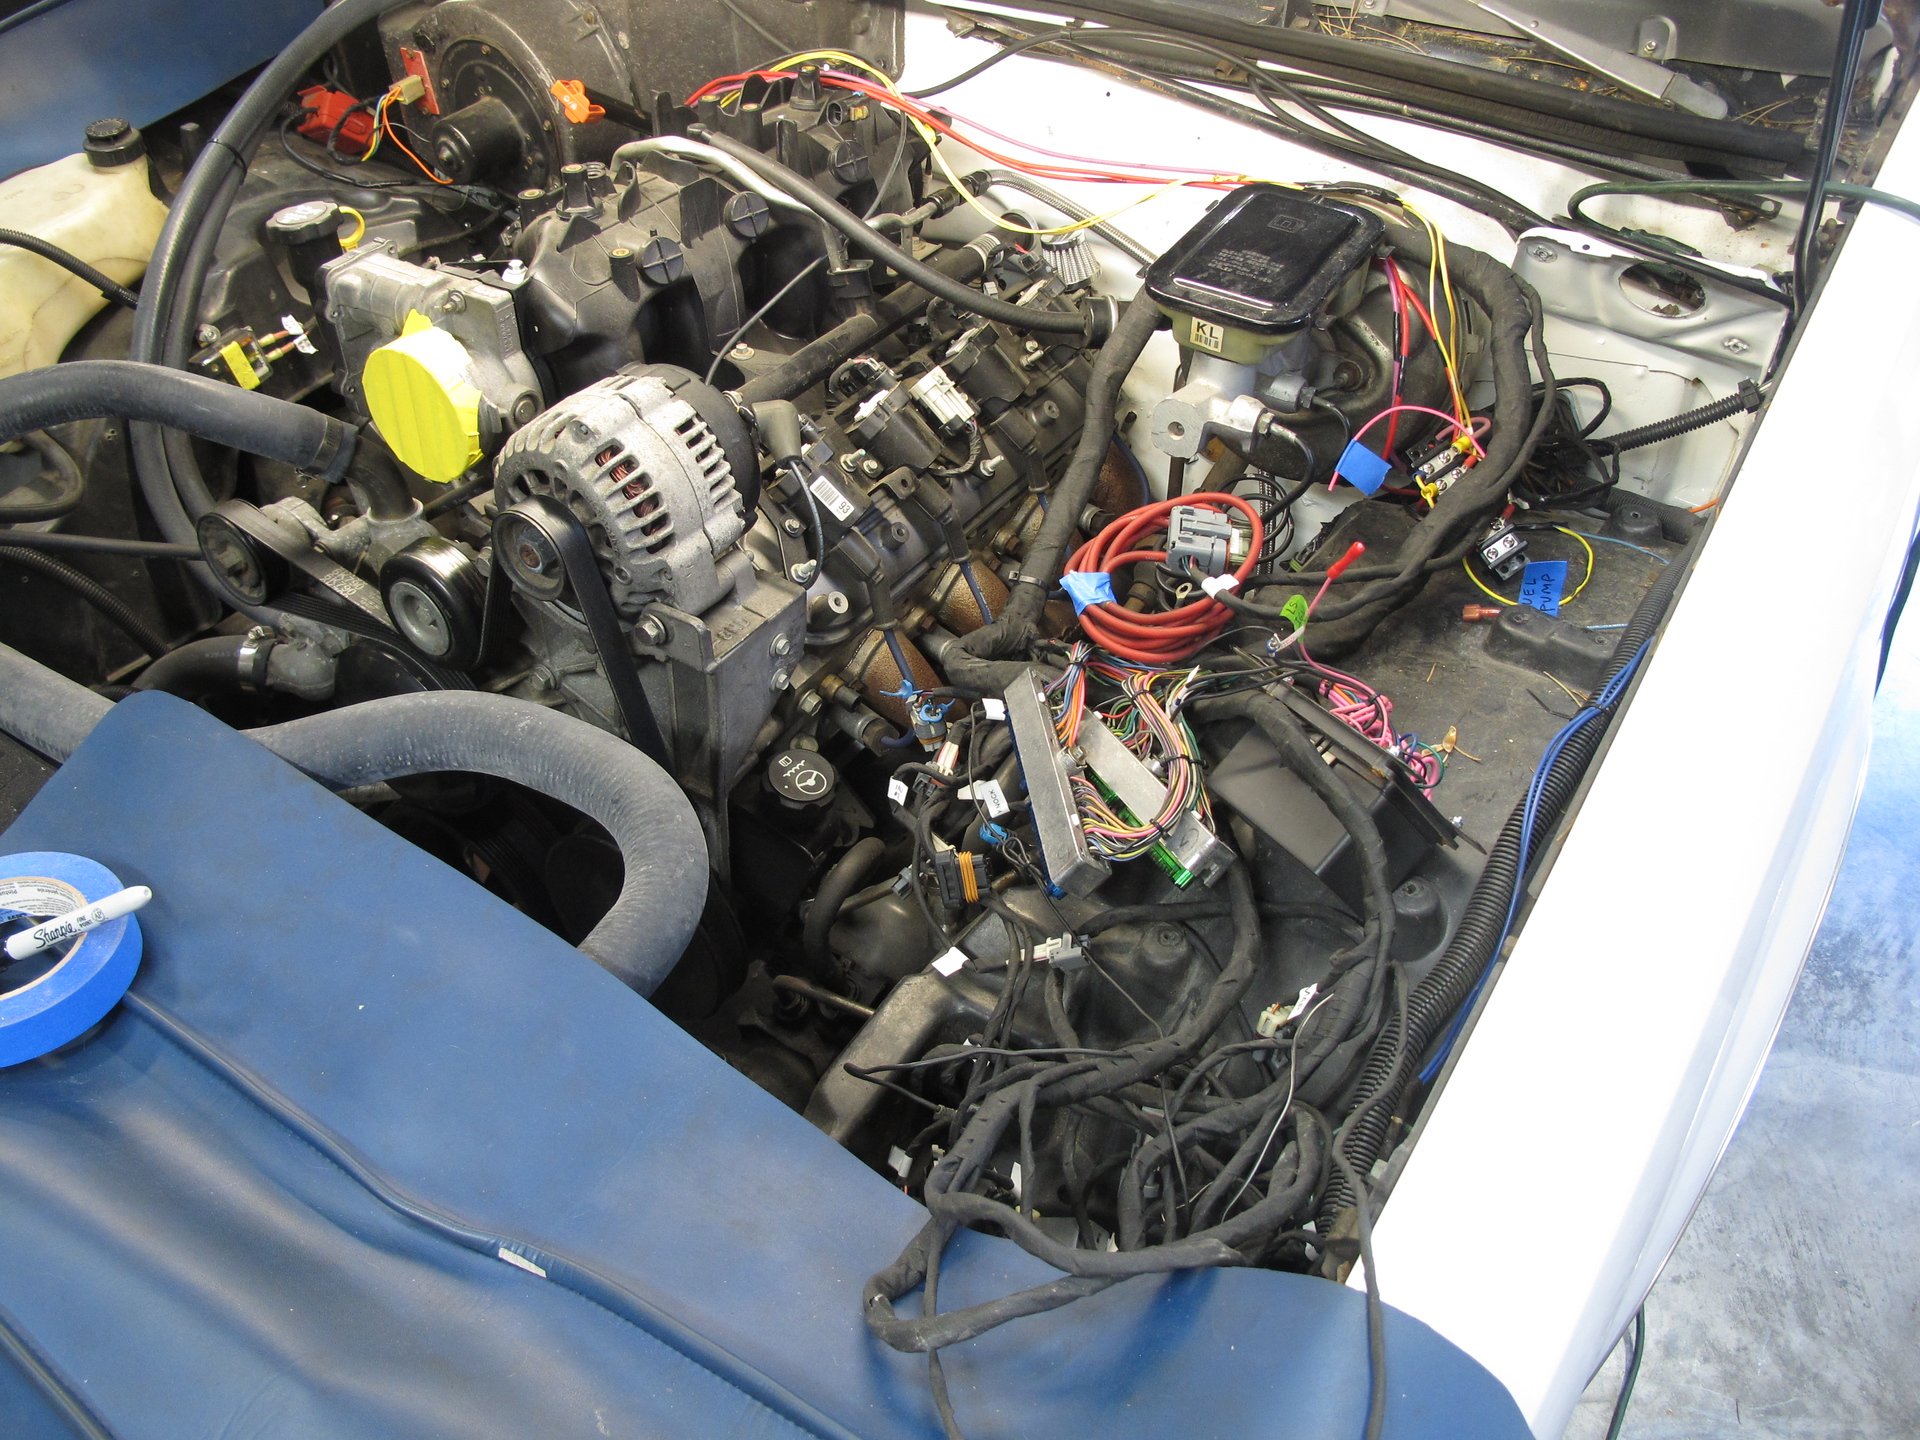
I'm trading this rat's nest for a shiny new one
Here is the set up when I decided to really get after it. This is right around May 2020.

just for reference here is the old harness coming off.. it was a clean job and worked, and I like OEM equipment.. but getting a little upgrade

here is the factory computer and fuses for the main circuits - fuel pump, electric fans, and air bag system

I also wanted to take some time to clean up everything like the wire runs, looms, connectors, finishes, etc

I'm trading this rat's nest for a shiny new one
Lookin' good, Randy.
That's nothing, I've seen far worse "rat's nests" out there. Still a pretty nice install. 😉
I'm sure you'll clean it up more to your liking.
That's nothing, I've seen far worse "rat's nests" out there. Still a pretty nice install. 😉
I'm sure you'll clean it up more to your liking.
Last edited:
Thanks Jack and others for the kind words! Here are some more photos of those early thrash days that seem to inevitably stretch into weeks and months. Haha
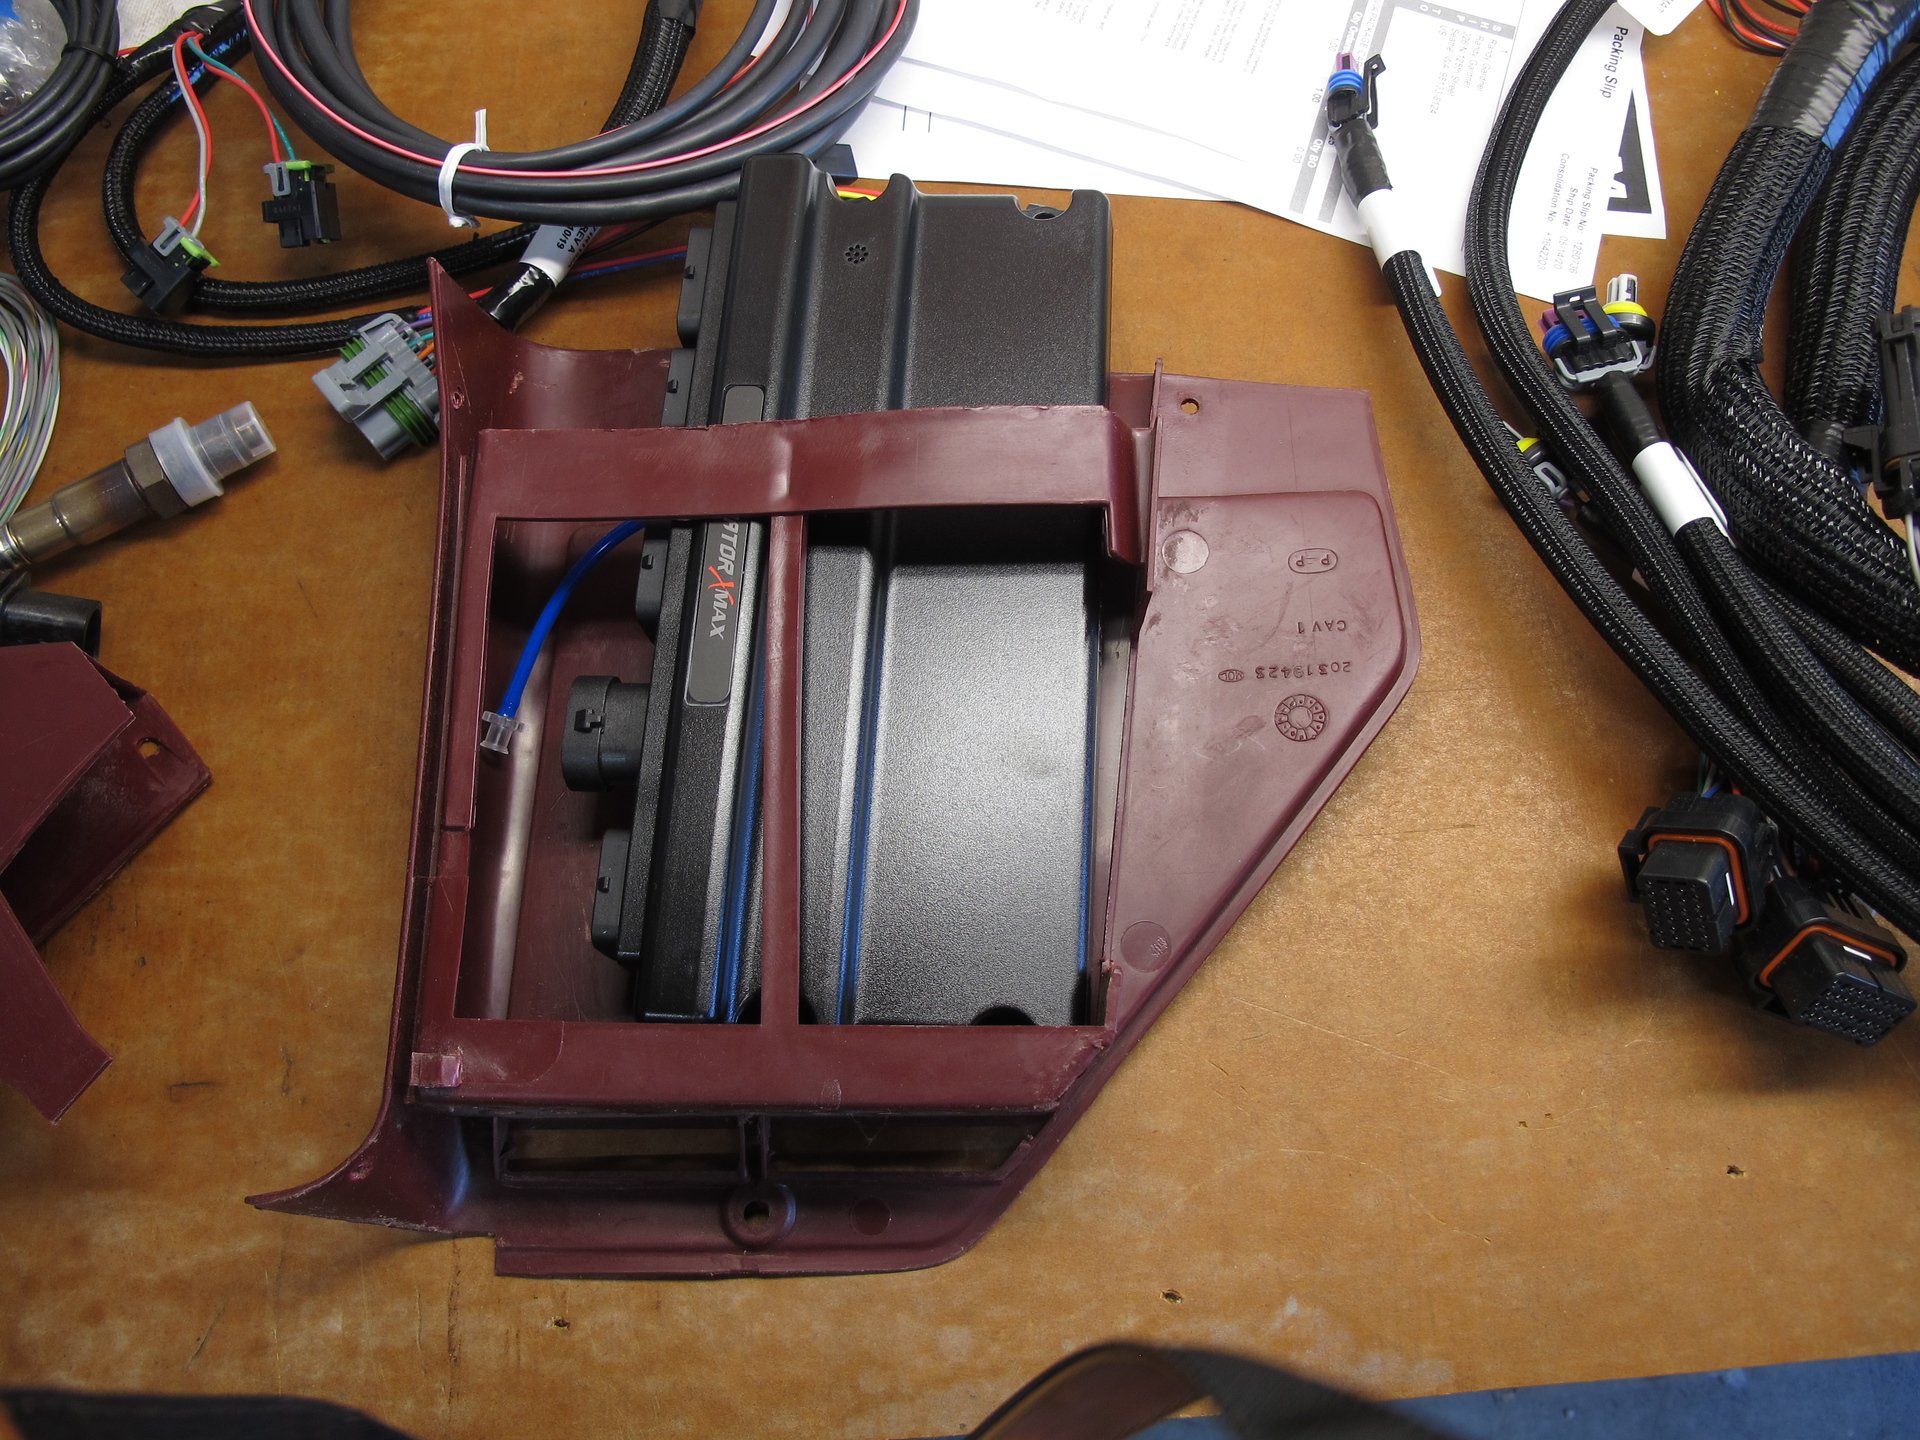
A little hint at what is to come! 🙂 As you can see I attempted to retrofit in to the old computer slot on the passenger kick panel
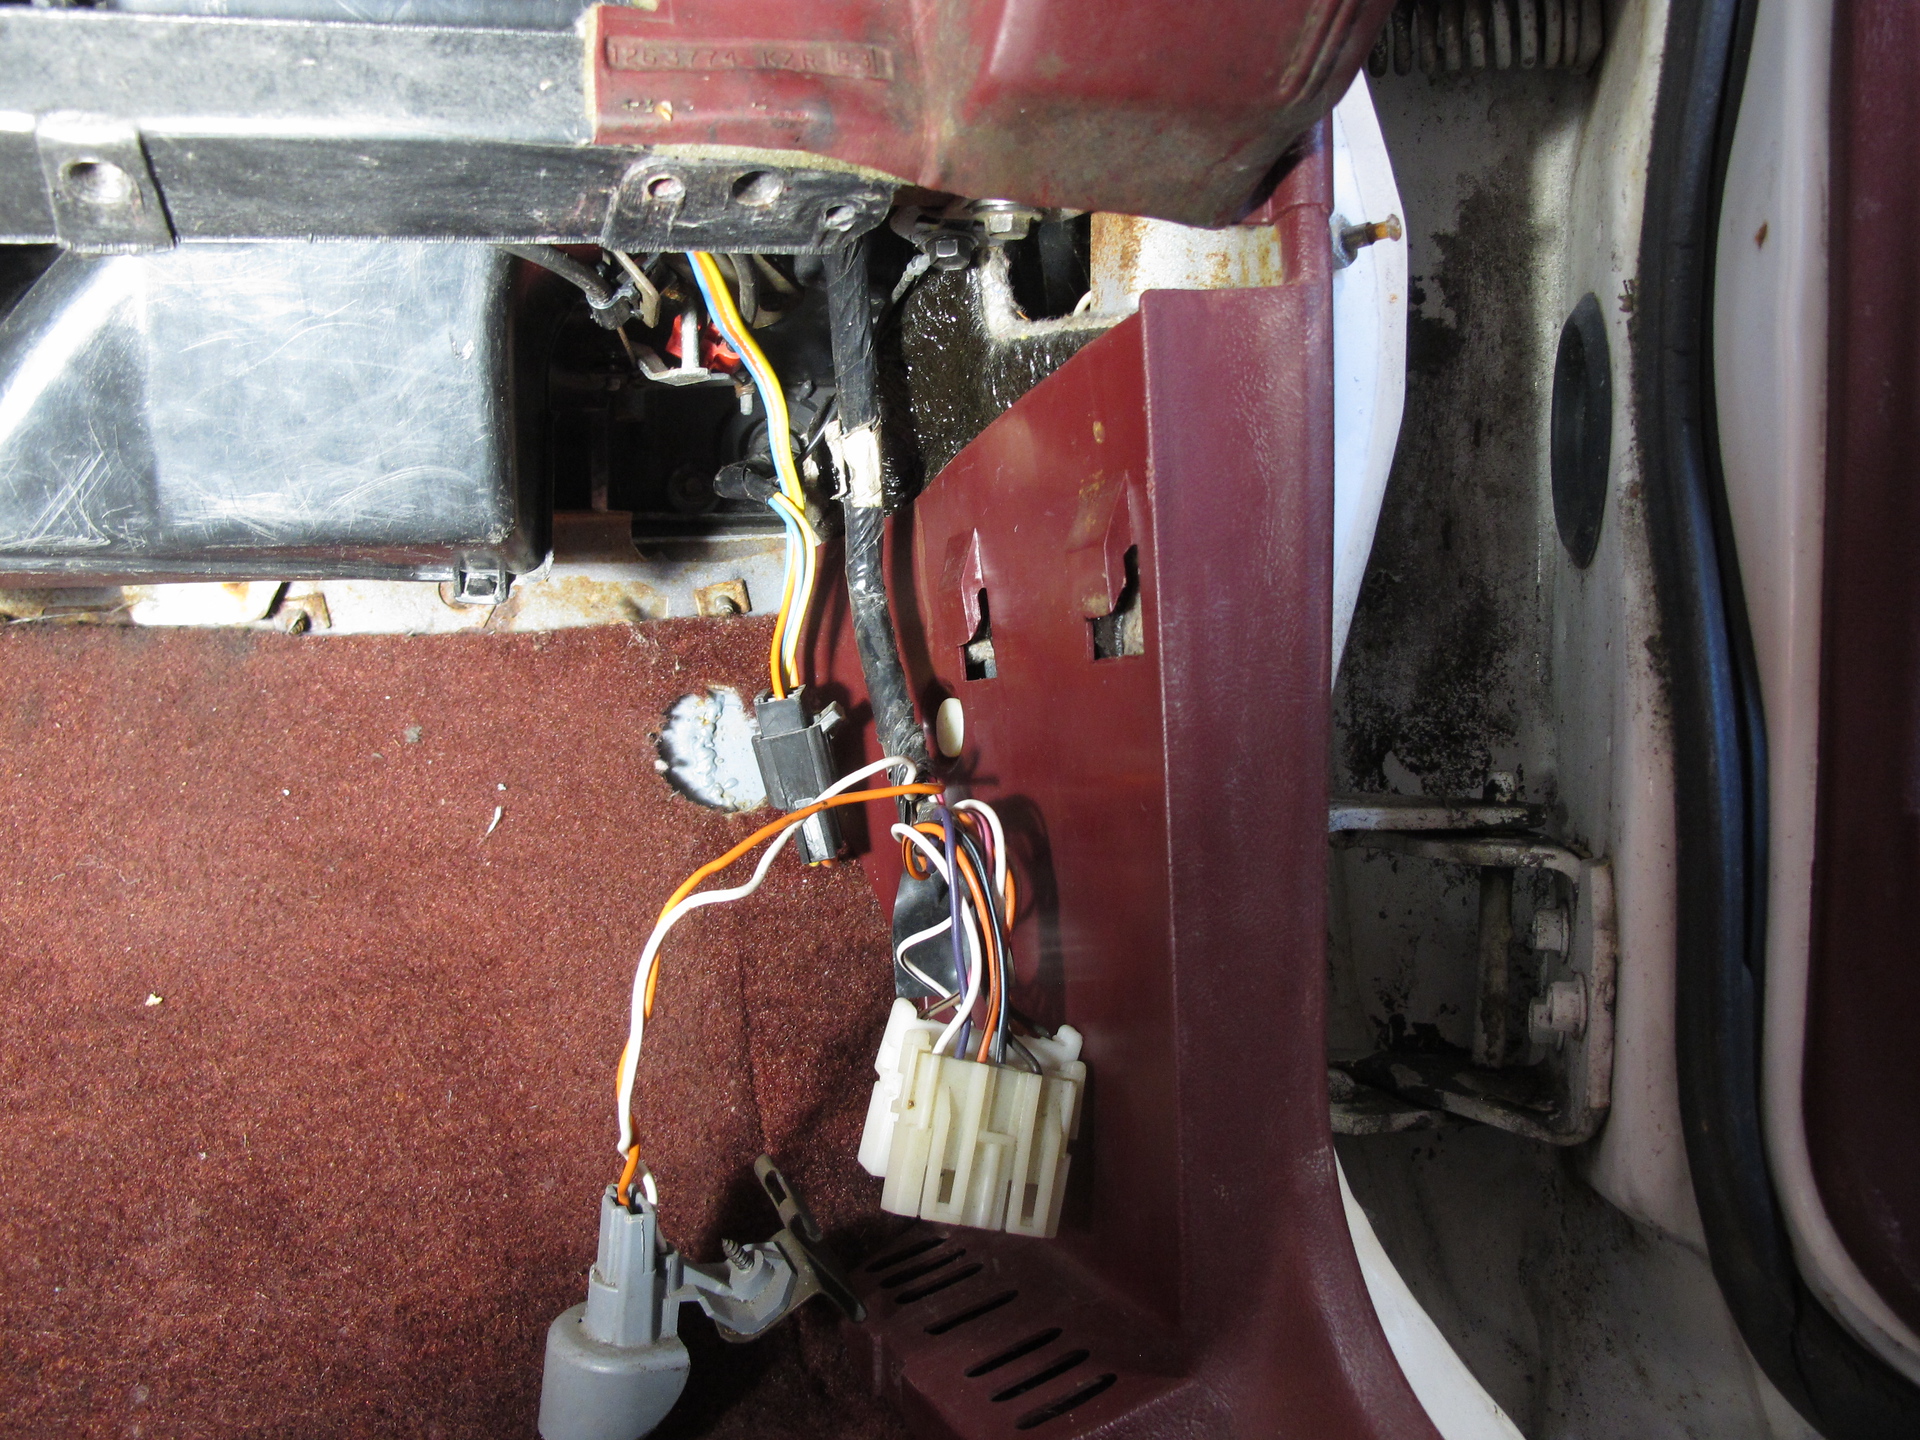
Here's where that goes, which is a bit tight.. especially considering the vast amount of wiring. Those old computers had minimal connections compared to new stuff
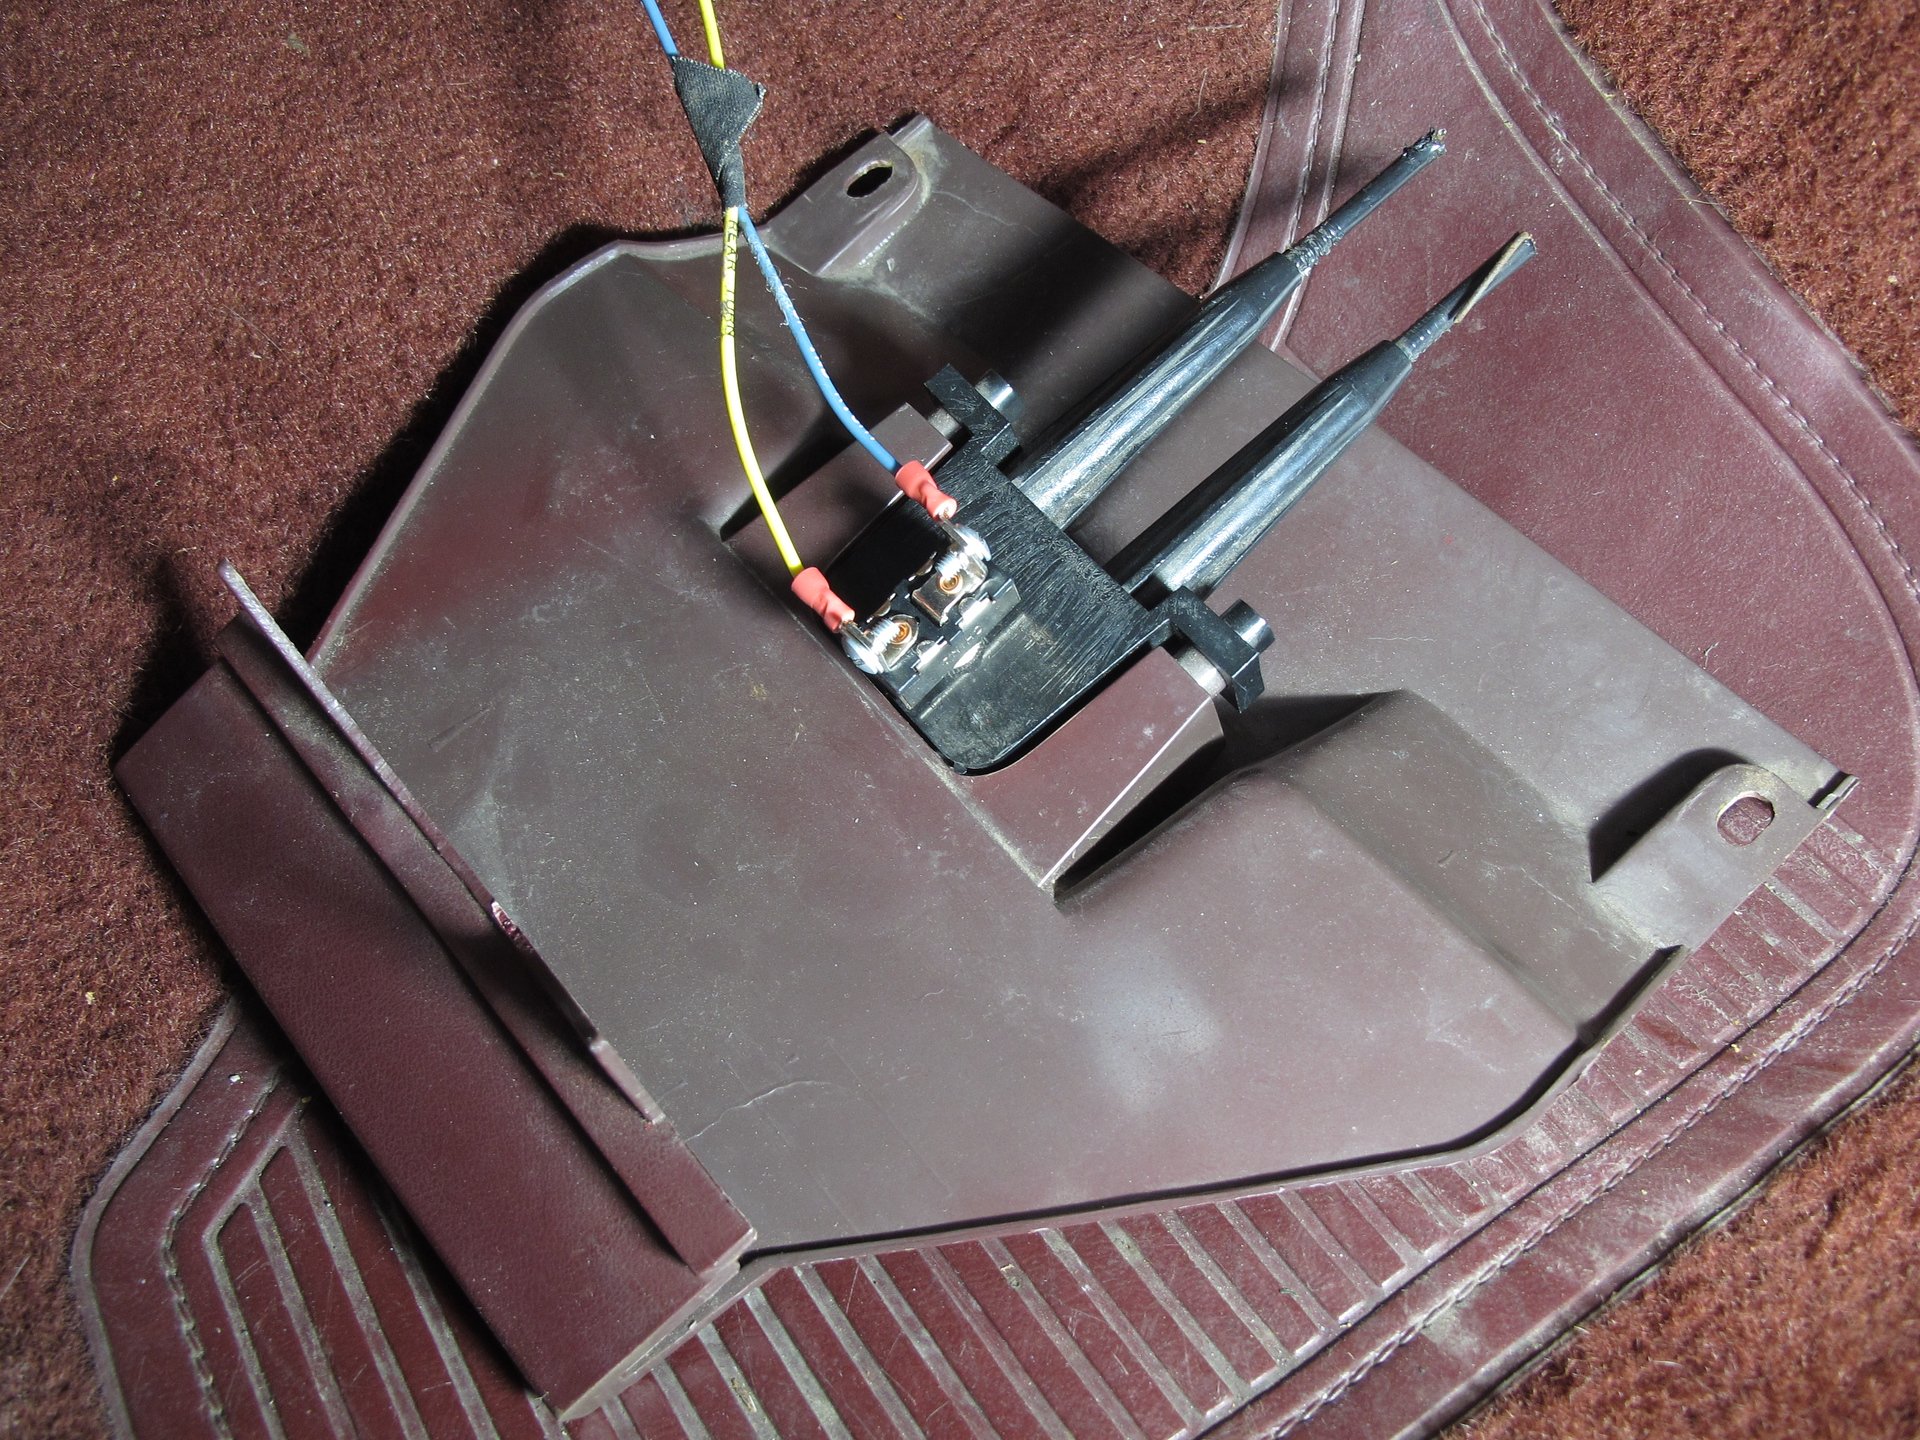
Here's my vent controller below the steering column that the dealer clipped when installing AC. It shows my old "security" device which is just a switch controlling the fuel pump signal, which works well. It will fire for a second and then just crank and crank.. I got the idea from Adam Carolla. Lol
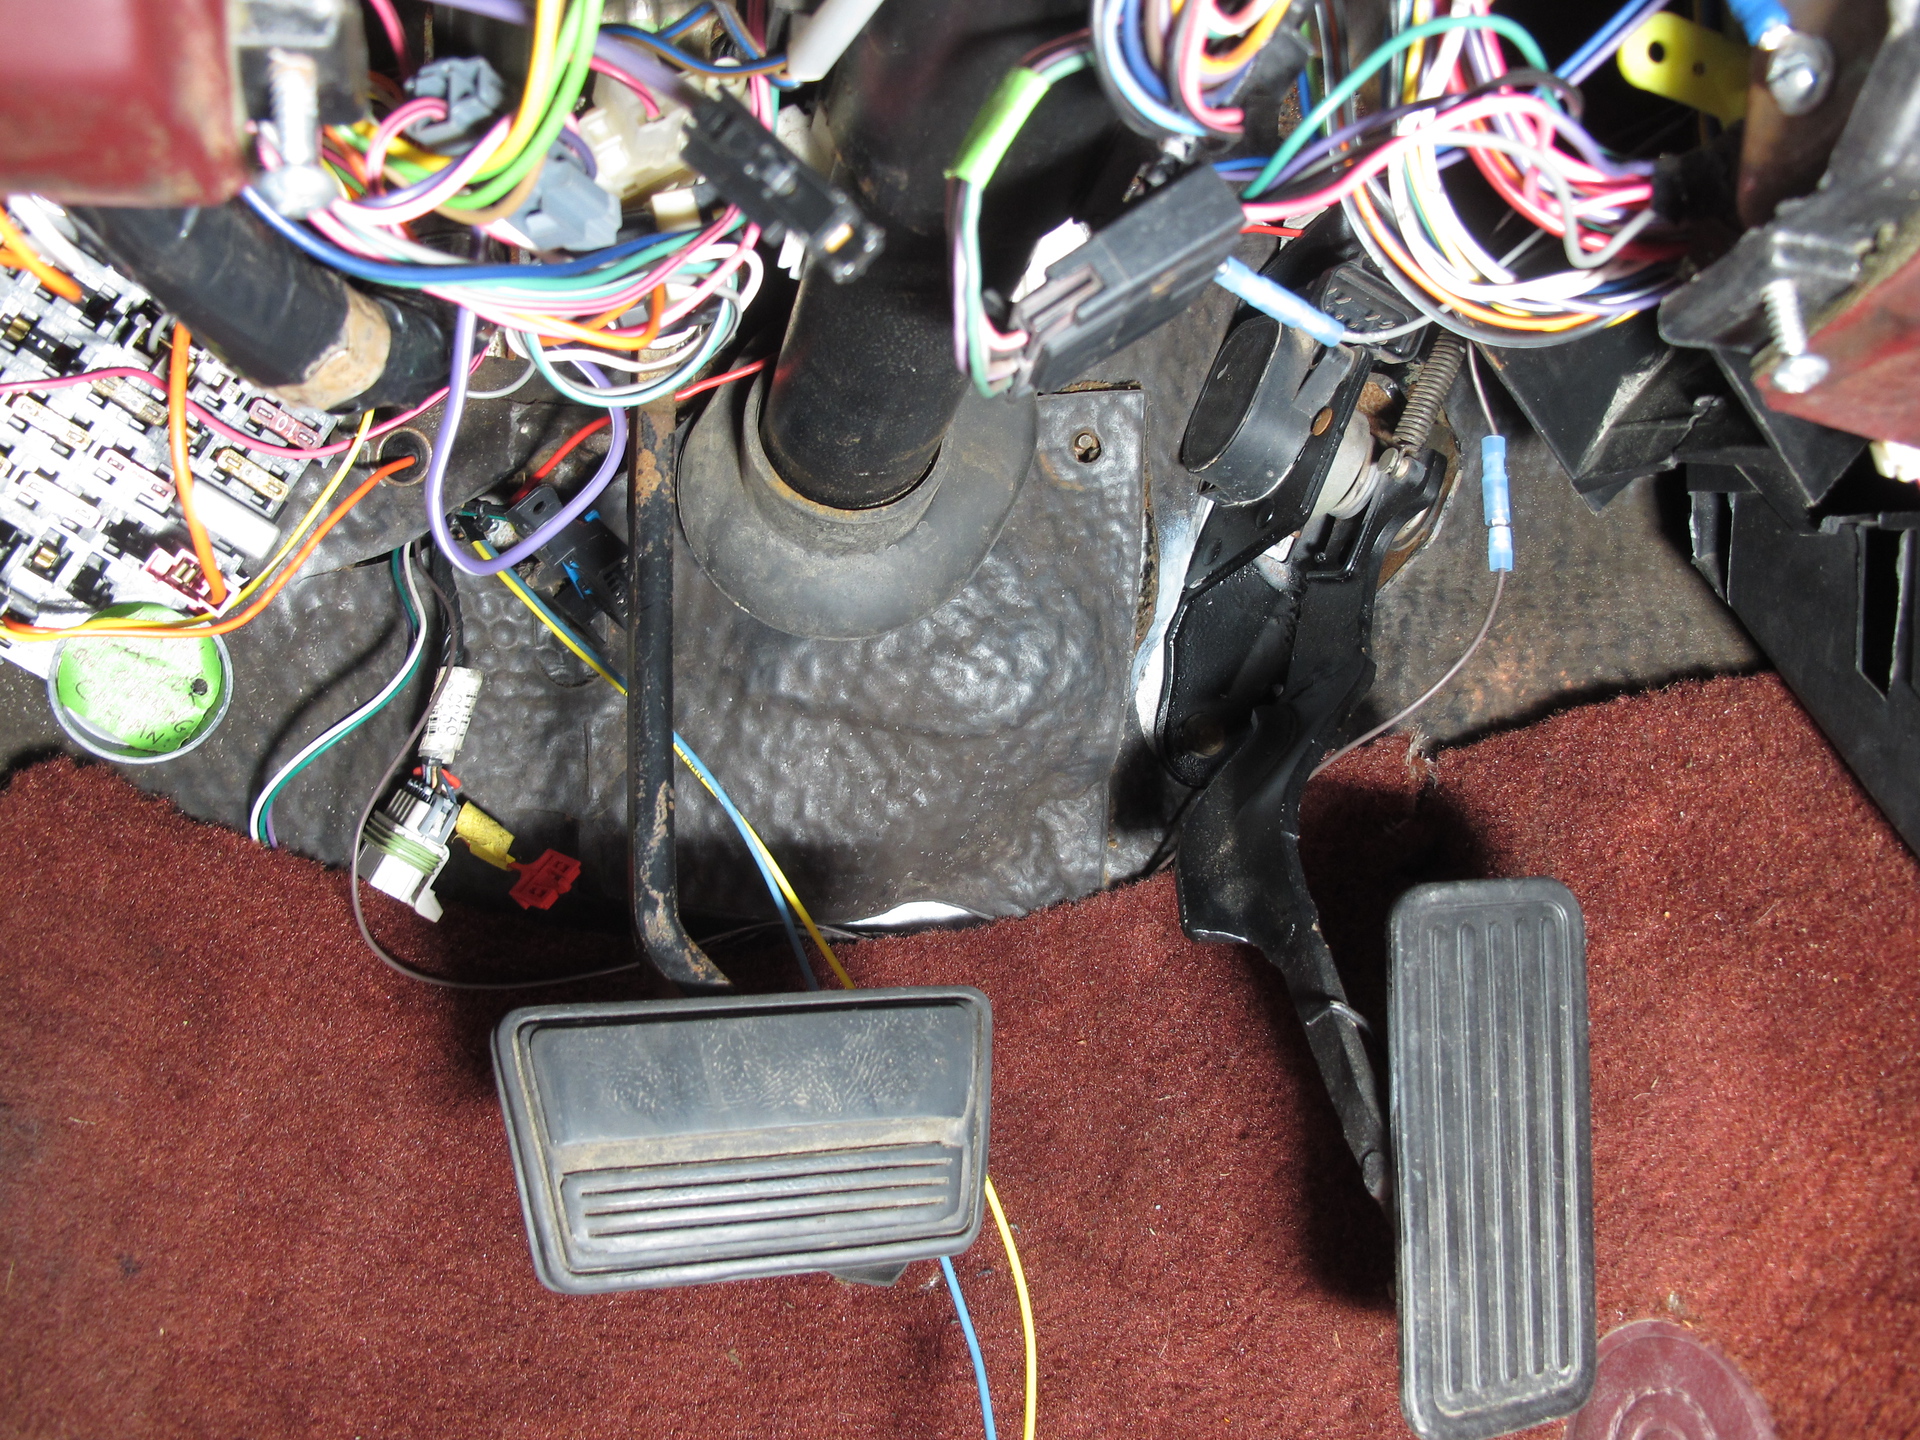
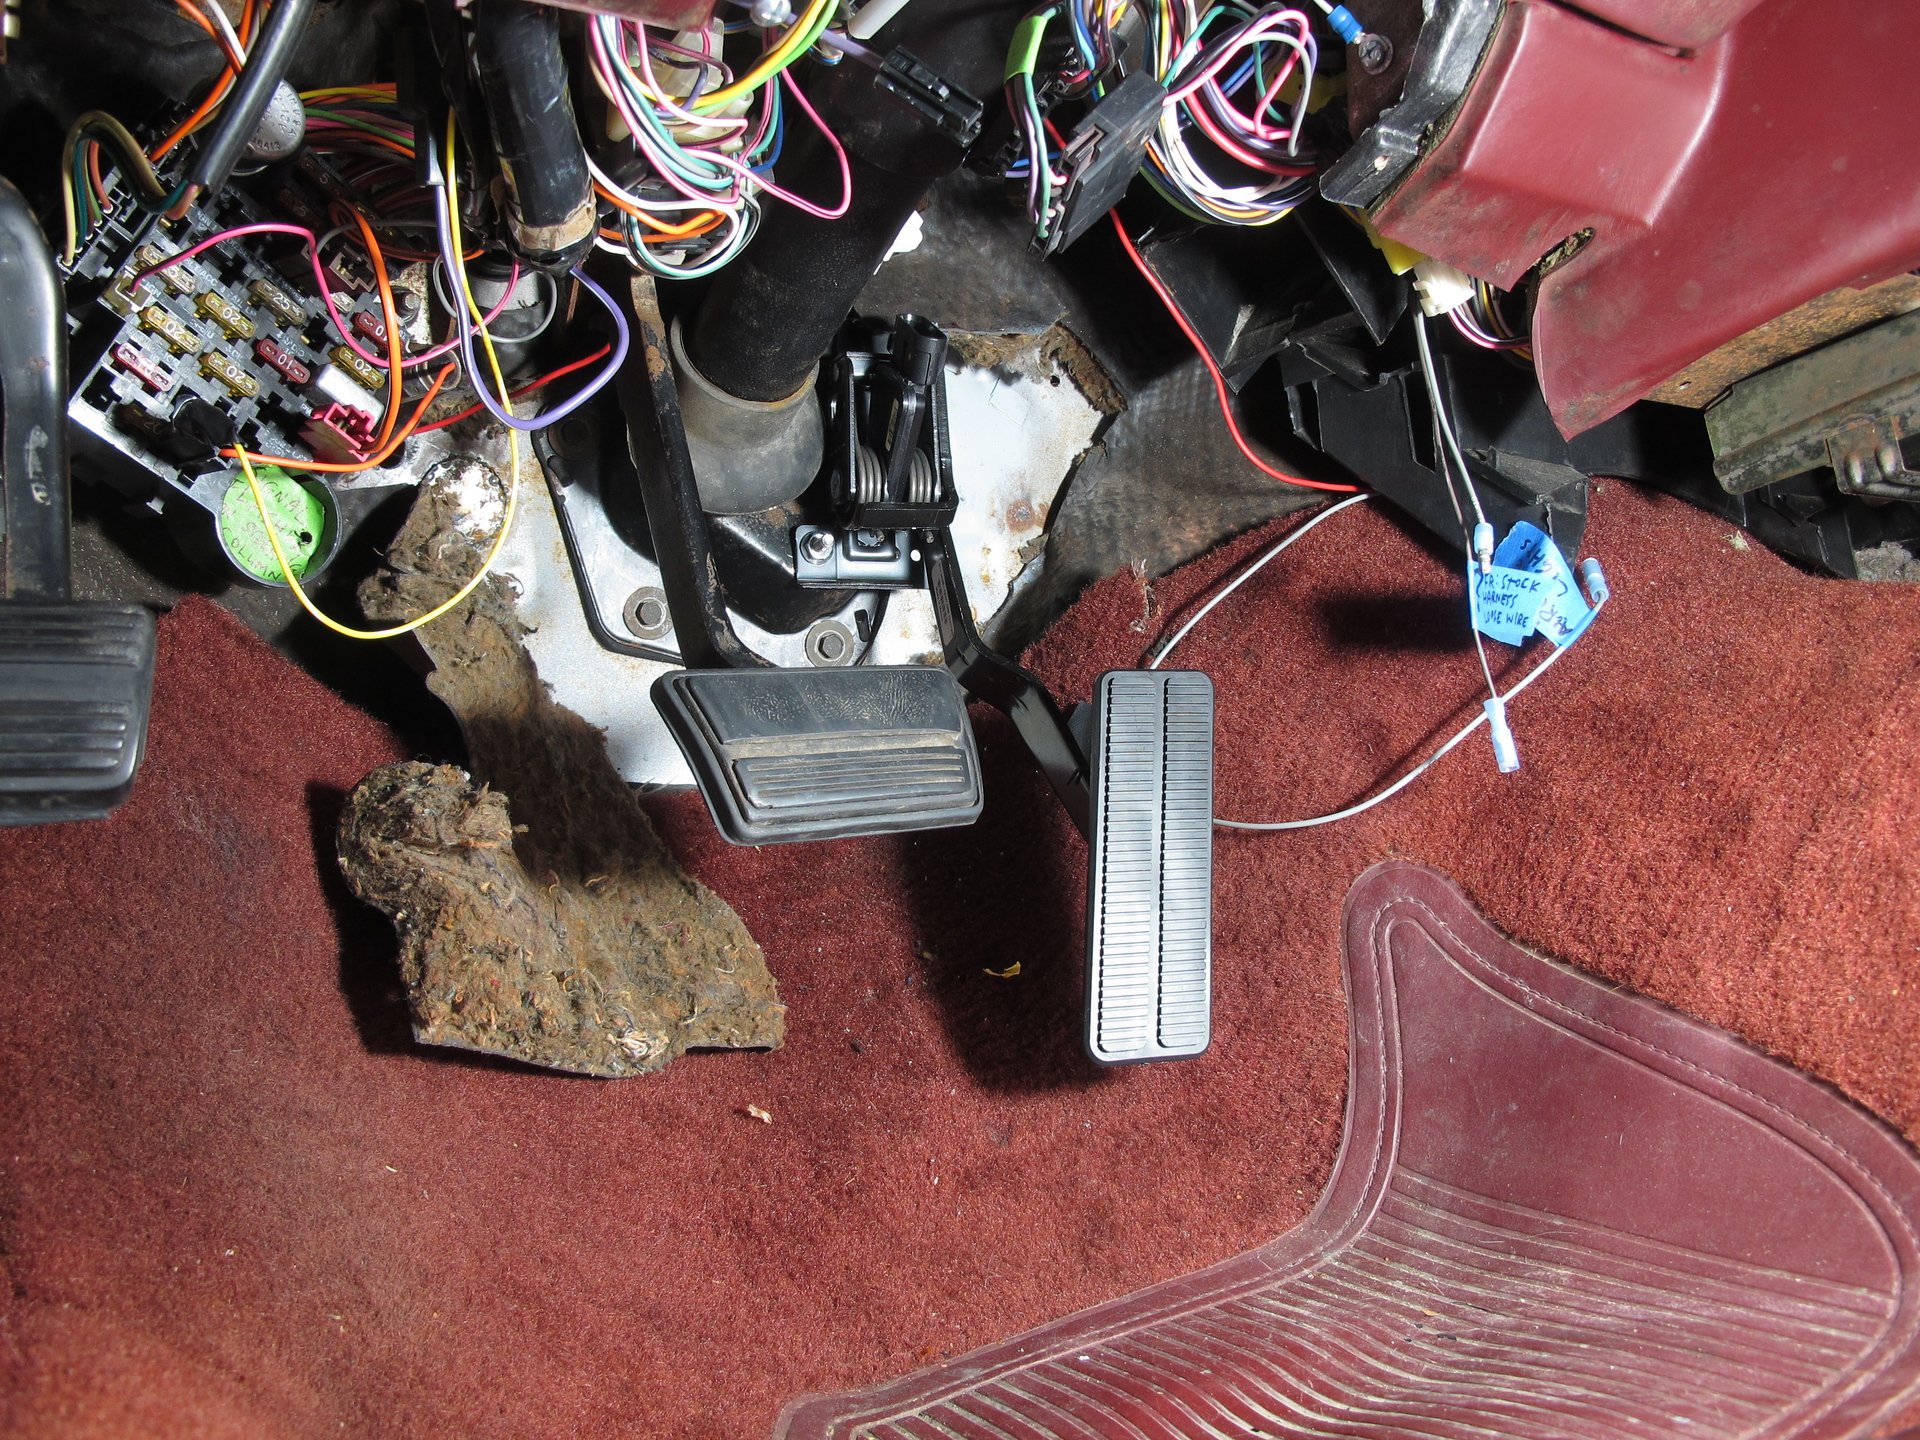
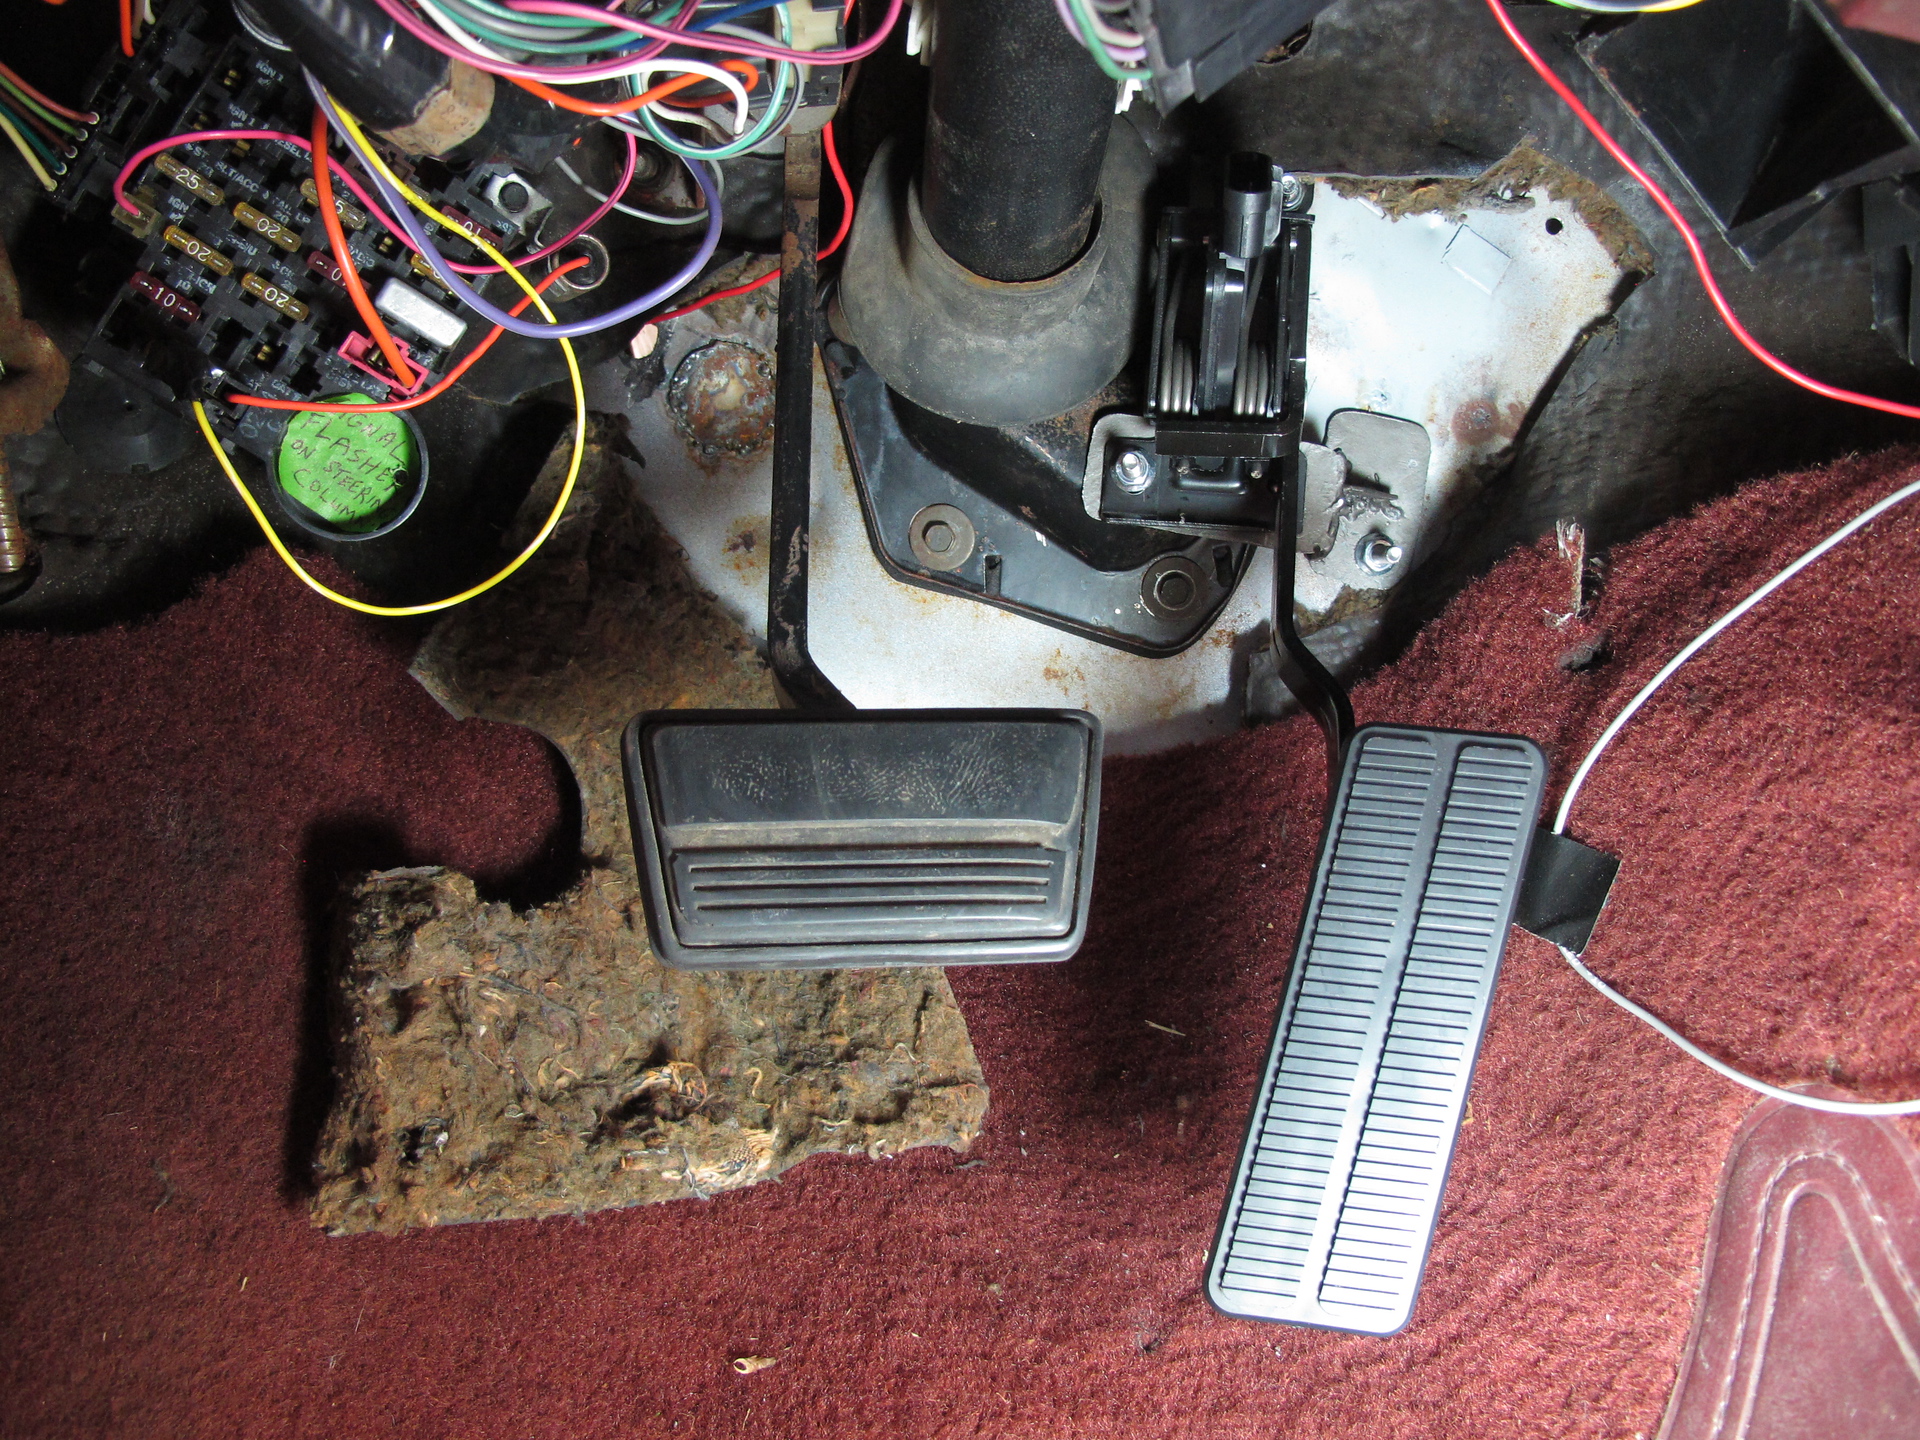
The old pedal had to go because the different type of connector

A little hint at what is to come! 🙂 As you can see I attempted to retrofit in to the old computer slot on the passenger kick panel

Here's where that goes, which is a bit tight.. especially considering the vast amount of wiring. Those old computers had minimal connections compared to new stuff

Here's my vent controller below the steering column that the dealer clipped when installing AC. It shows my old "security" device which is just a switch controlling the fuel pump signal, which works well. It will fire for a second and then just crank and crank.. I got the idea from Adam Carolla. Lol

The old pedal had to go because the different type of connector
Hey 64nailhead, I am running the stock (2004?) 4L60E with a Holley crossmember. We pulled it due to the 1-2 clutches having burned up. I forget exactly what had caused it, but it may be earlier in the thread. We got some rebuild kit with a few upgraded pieces and did it in the garage.
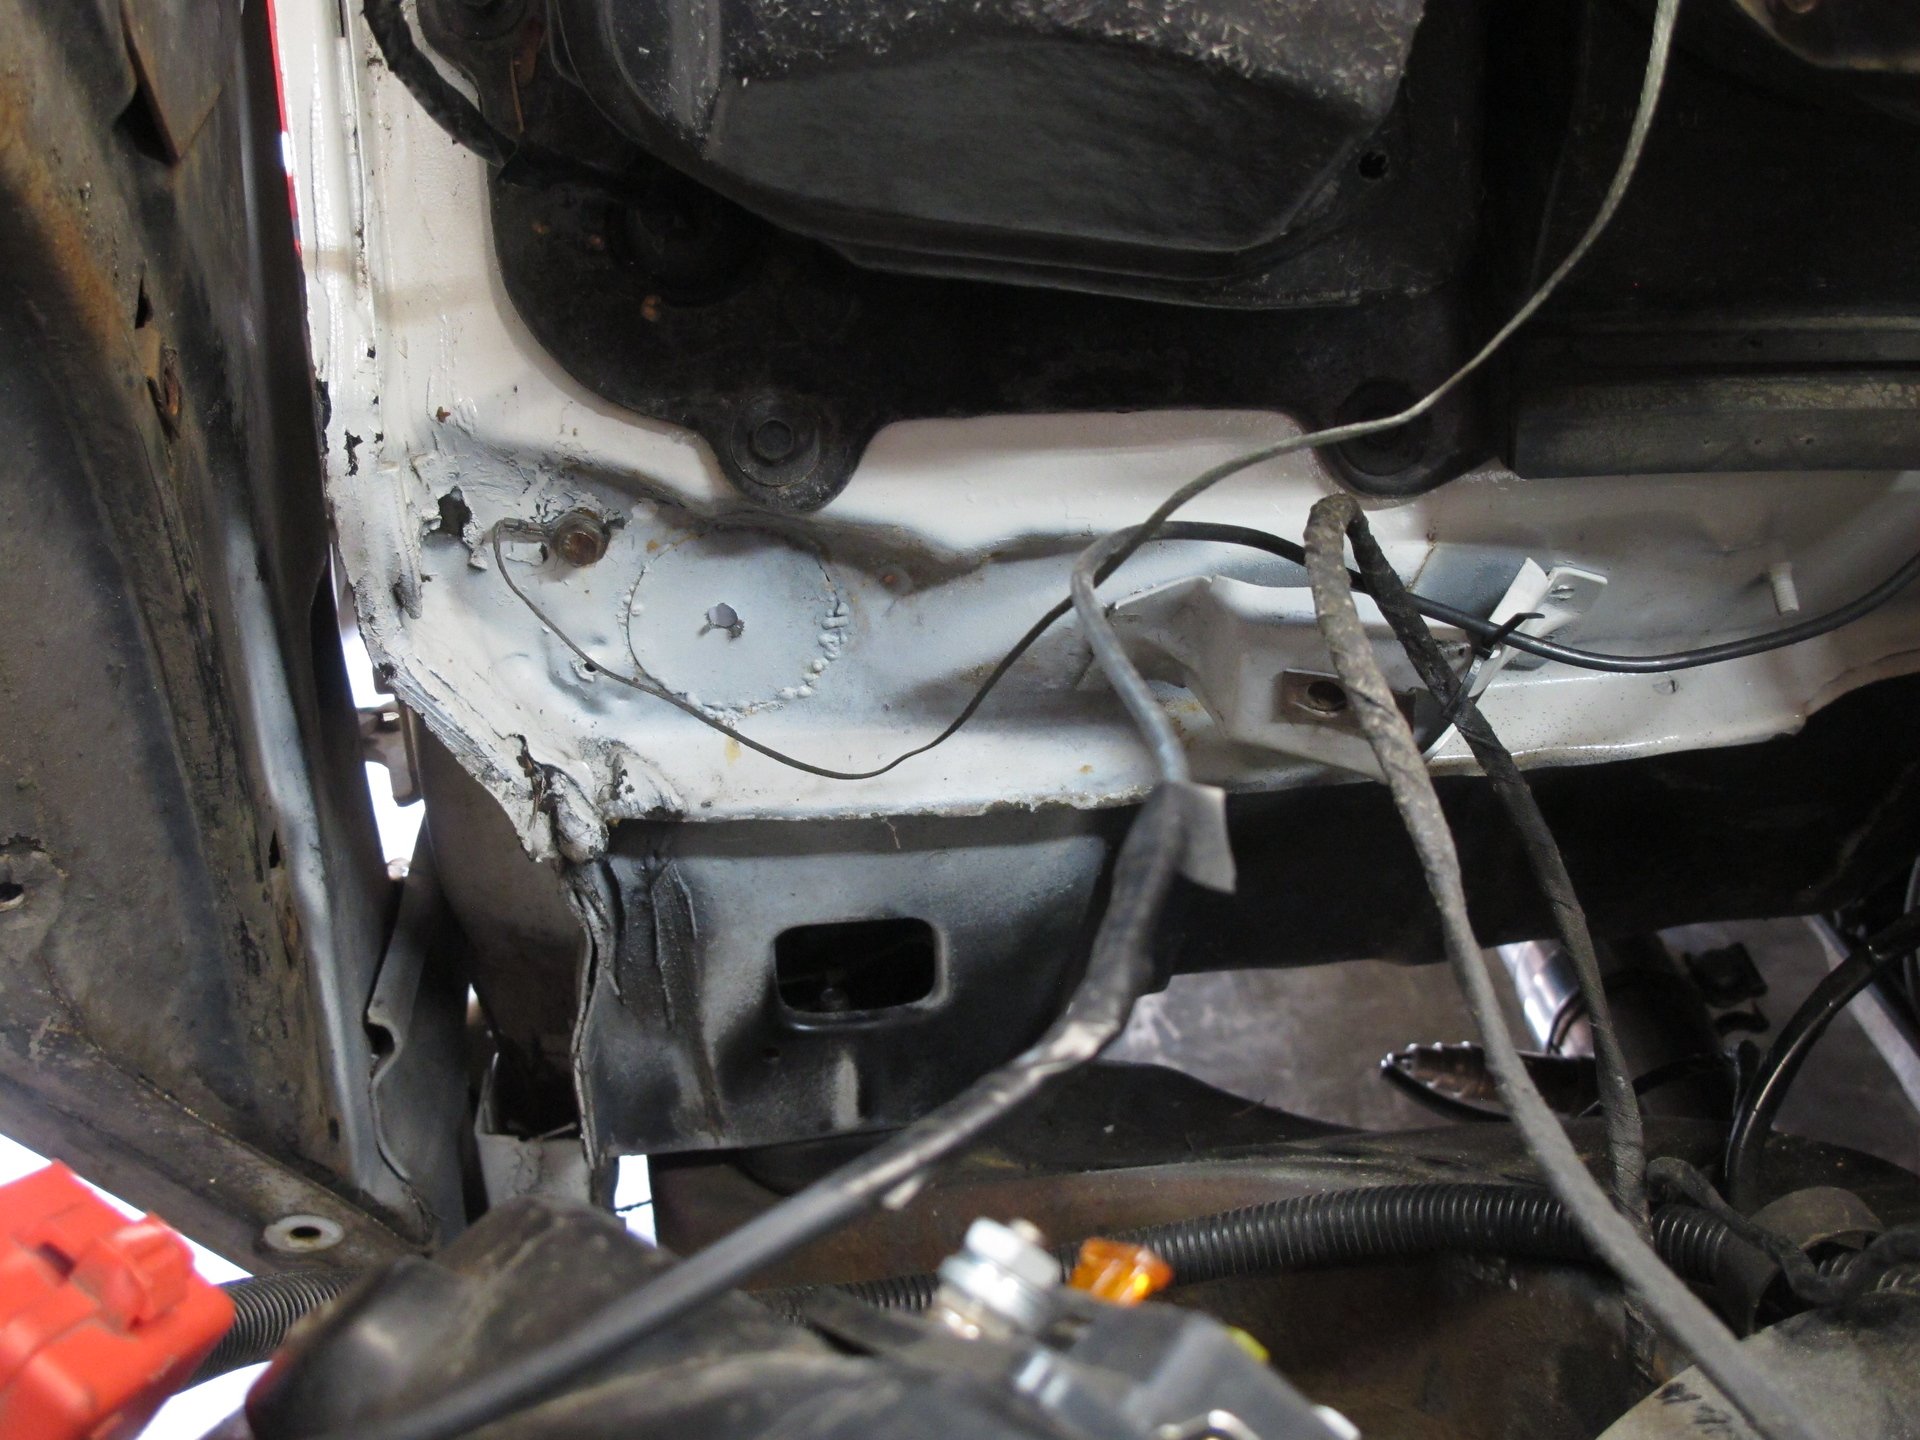
The first pics are of the engine bay cleaned up and the wiring removed. I had a piece of heavy gauge sheetmetal holding the radiator down so I wanted to fix that up and clean the compartment a little.
For the gas pedal it's just mocked up here and I will show more how we got that to mount solid and in a good position. You can't really see it but the plane of the old pedal was just a bit in front of the brake pedal which can be annoying.. I didn't realize before how being able to quickly slide your foot over from brake to gas is really nice.
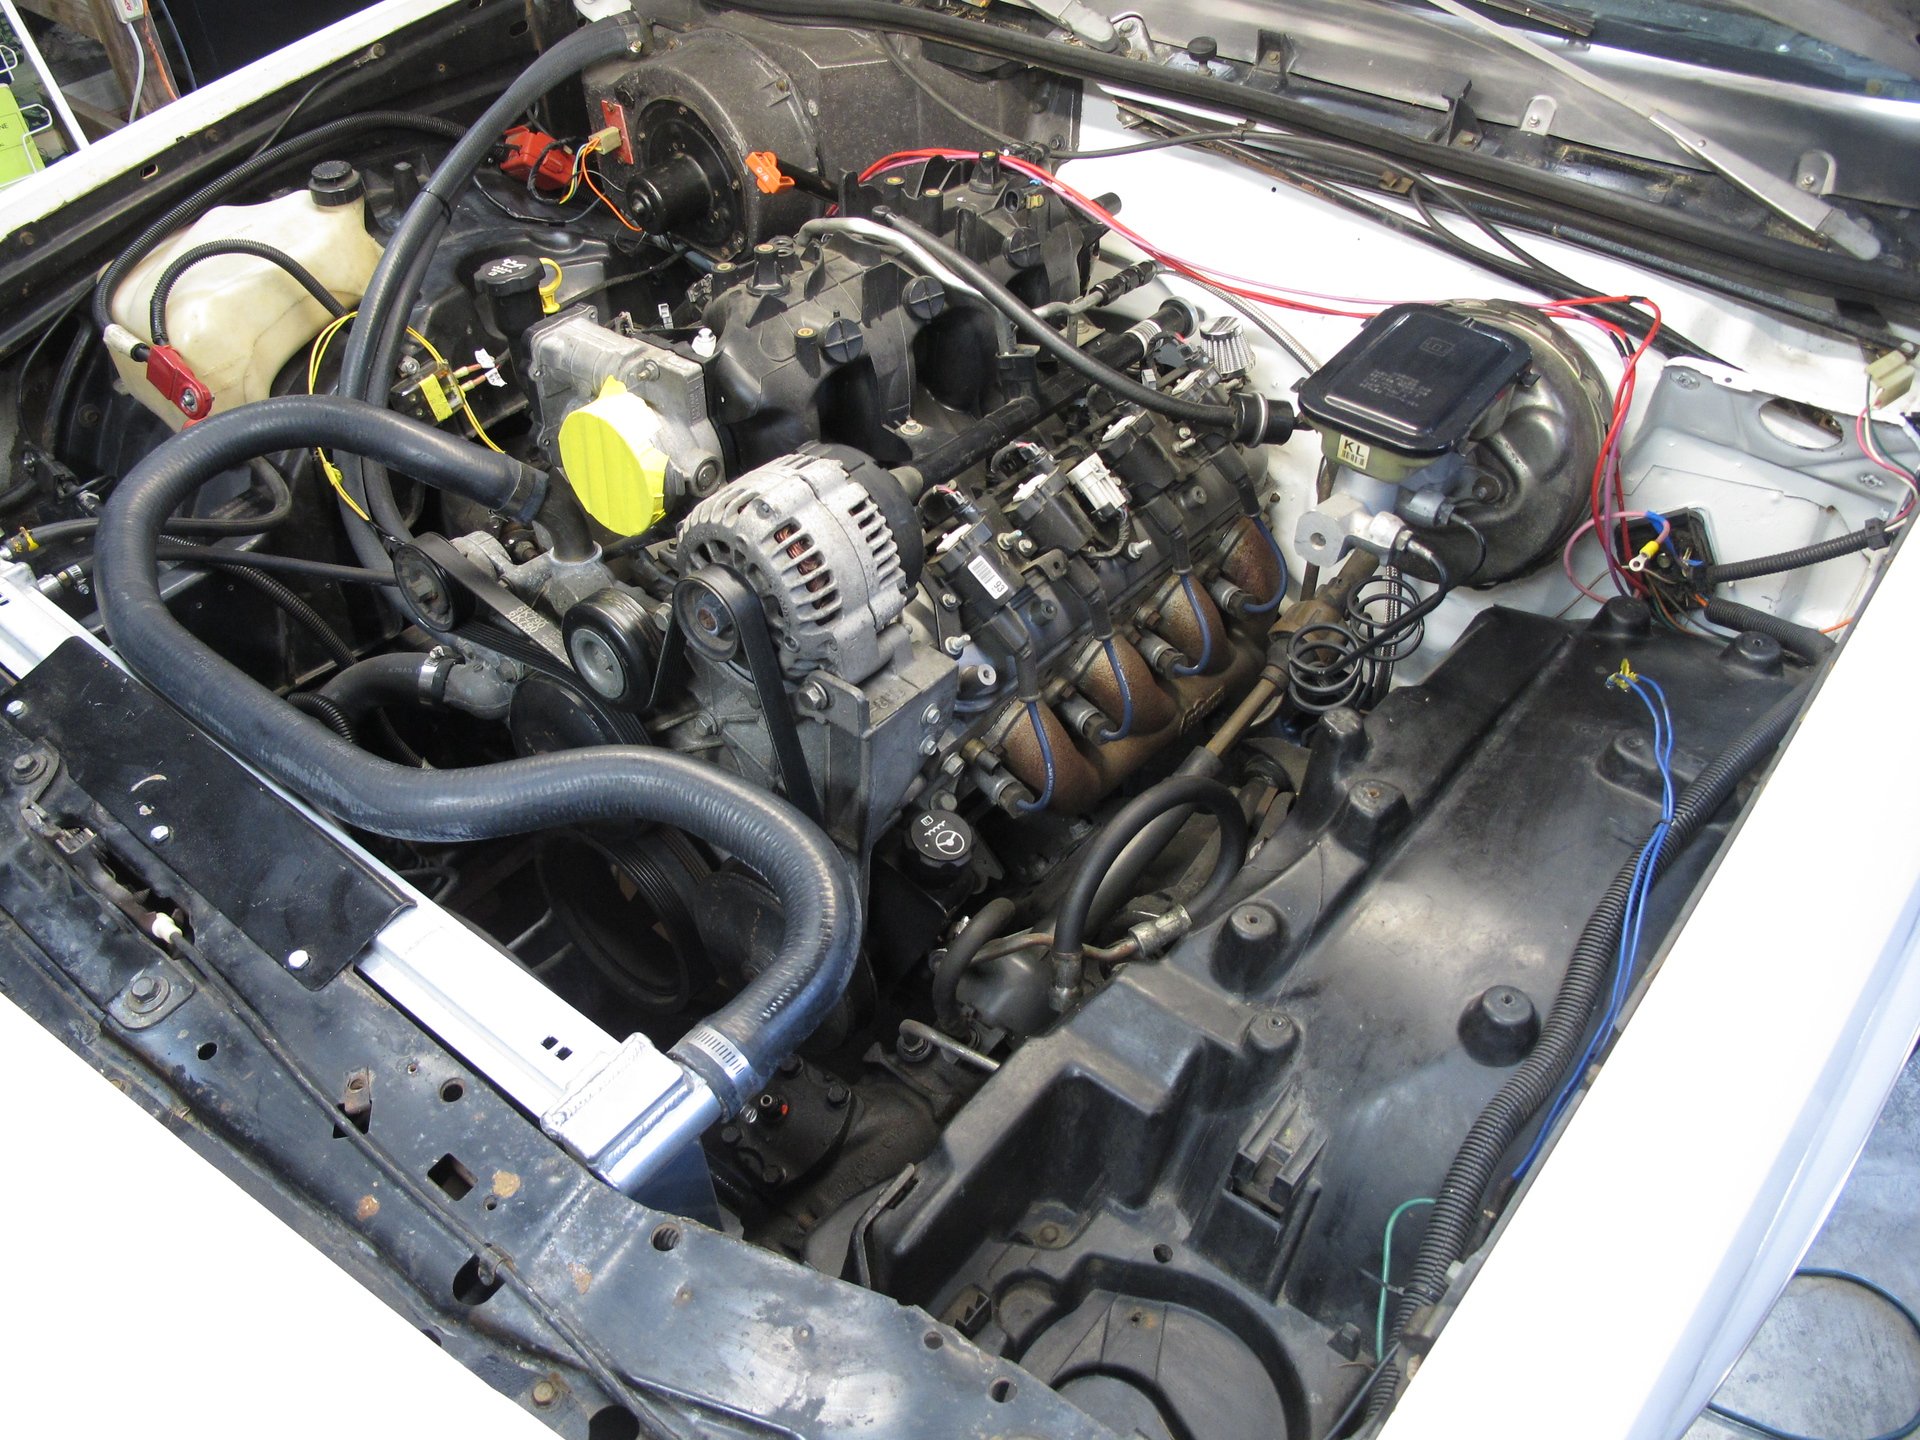
Still a few straggler wires to move.. at this point we didn't know where anything would go yet
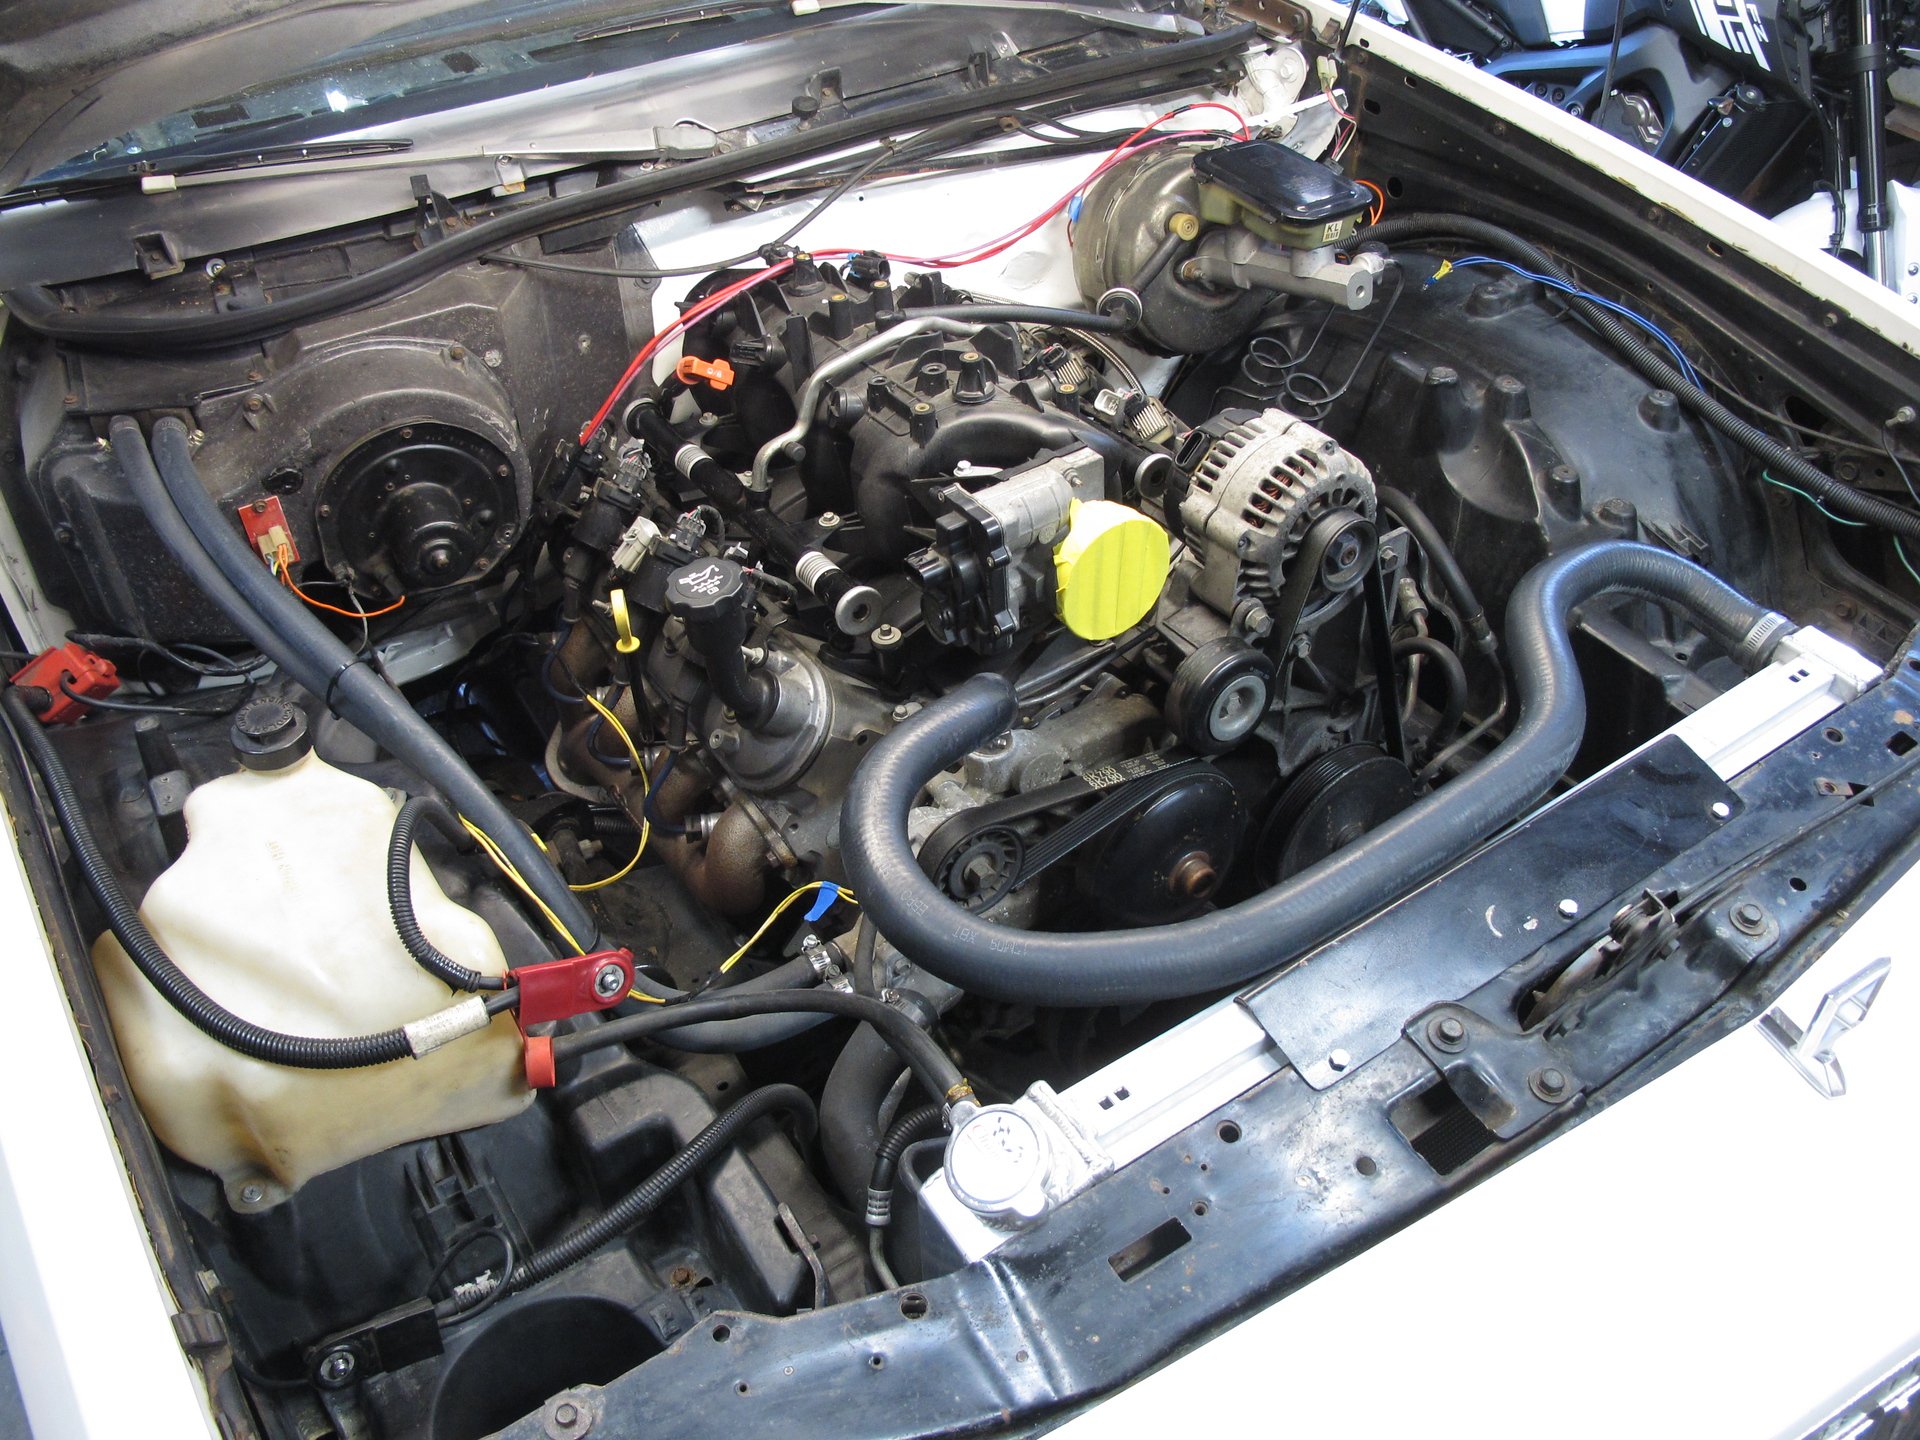
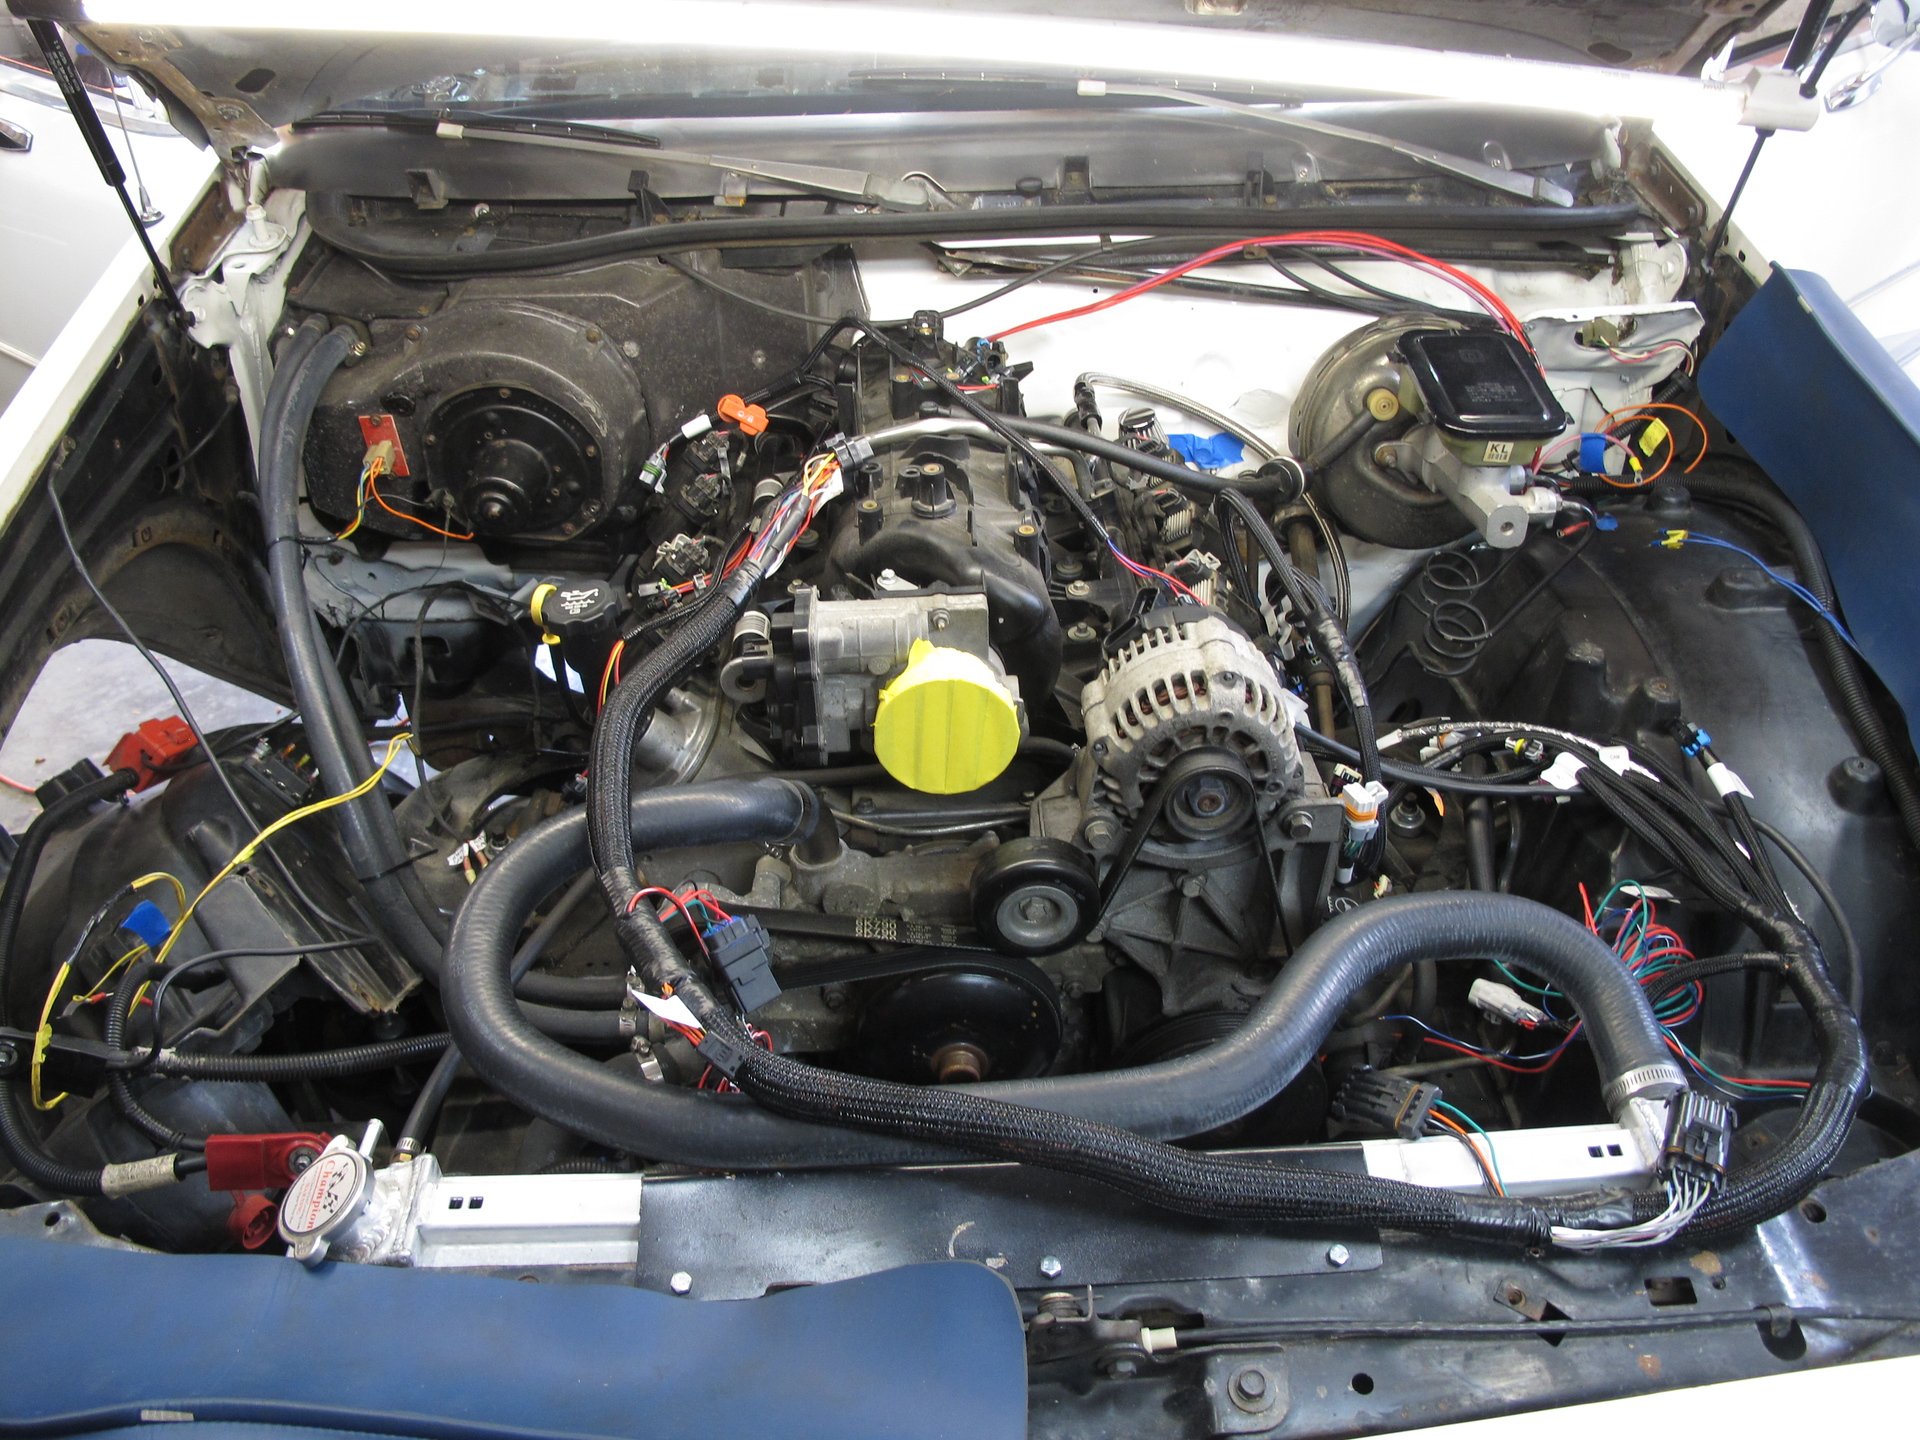
I laid out the main harness to see how things might fit. It's nicely finished
The first pics are of the engine bay cleaned up and the wiring removed. I had a piece of heavy gauge sheetmetal holding the radiator down so I wanted to fix that up and clean the compartment a little.
For the gas pedal it's just mocked up here and I will show more how we got that to mount solid and in a good position. You can't really see it but the plane of the old pedal was just a bit in front of the brake pedal which can be annoying.. I didn't realize before how being able to quickly slide your foot over from brake to gas is really nice.

Still a few straggler wires to move.. at this point we didn't know where anything would go yet


I laid out the main harness to see how things might fit. It's nicely finished
We had to plug two large holes (iirc even a few small ones too) that the dealer cut to run the AC install. This one under the heater box had to be opened up again to run the new harnesses through since we are mounting the ECU inside the cabin. It's not the most elegant method and I did research bulkhead fittings but could not find one that would work due to how close this is to a seam in the firewall.
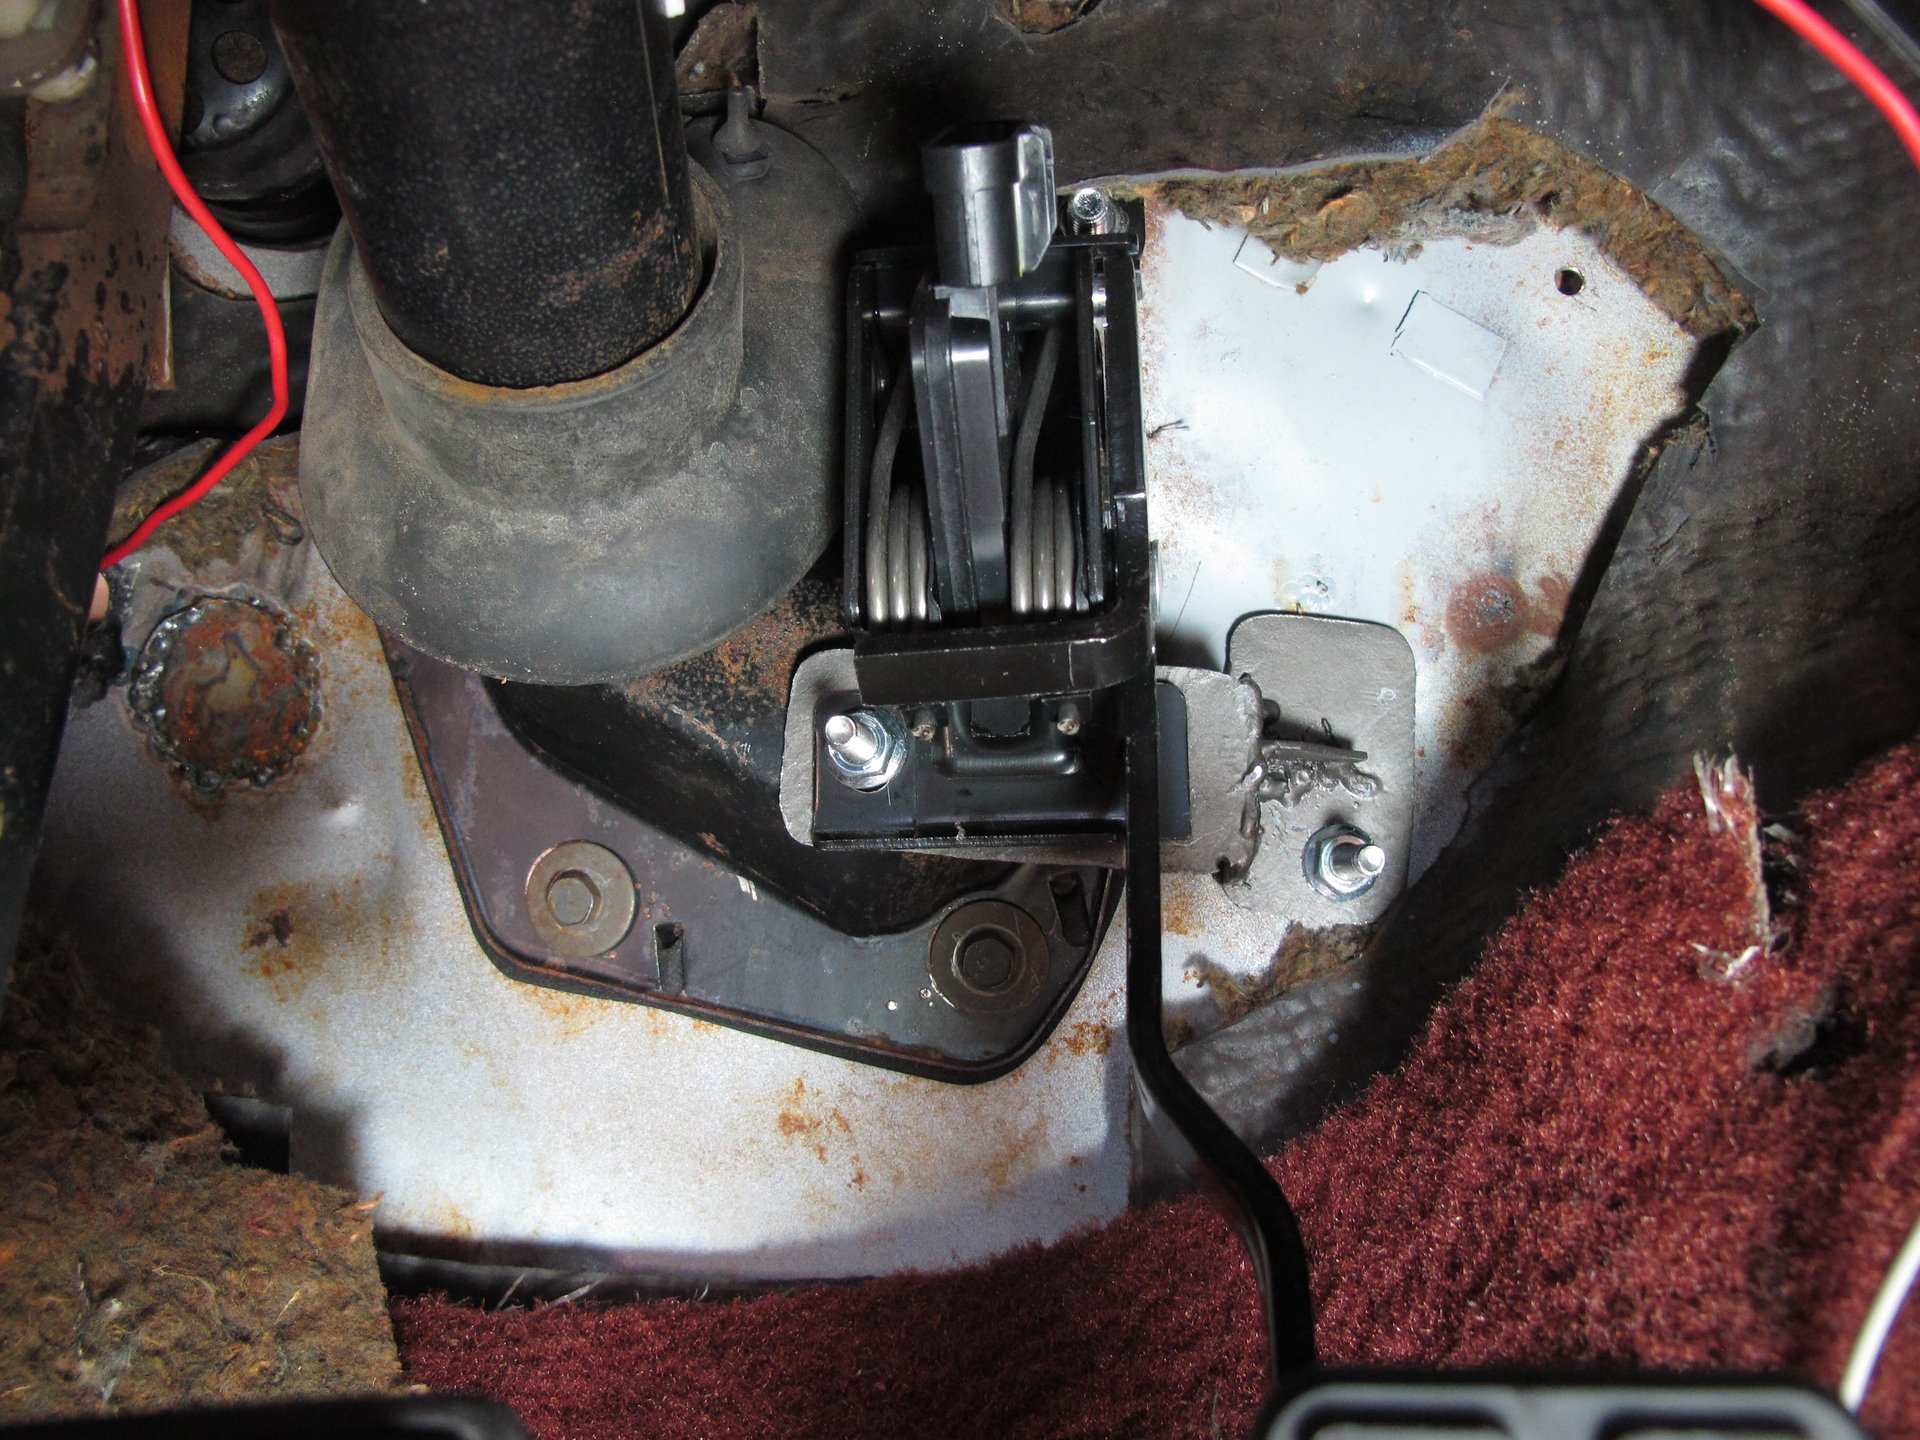
On the pedal we had to fab a small pedestal type mount so we used 3 bolts / studs to mount it. Very solid and it looks like it belongs there.
Cutting through welds is difficult..
Final pedal fitting
You can see the top bolt in this close up
Other side
On the pedal we had to fab a small pedestal type mount so we used 3 bolts / studs to mount it. Very solid and it looks like it belongs there.

Cutting through welds is difficult..

Final pedal fitting

You can see the top bolt in this close up

Other side
I should clarify that when I said the pedestal mount looks like it belongs there, I meant it fit very well and feels solid. It really looks like hell but it's mounted where it won't be seen.. LOL. Does not look OEM
To back up a bit - we had to drop the inner fender to access the firewall. I love the plastic fenders as they can bend a bit and have places to mount components.
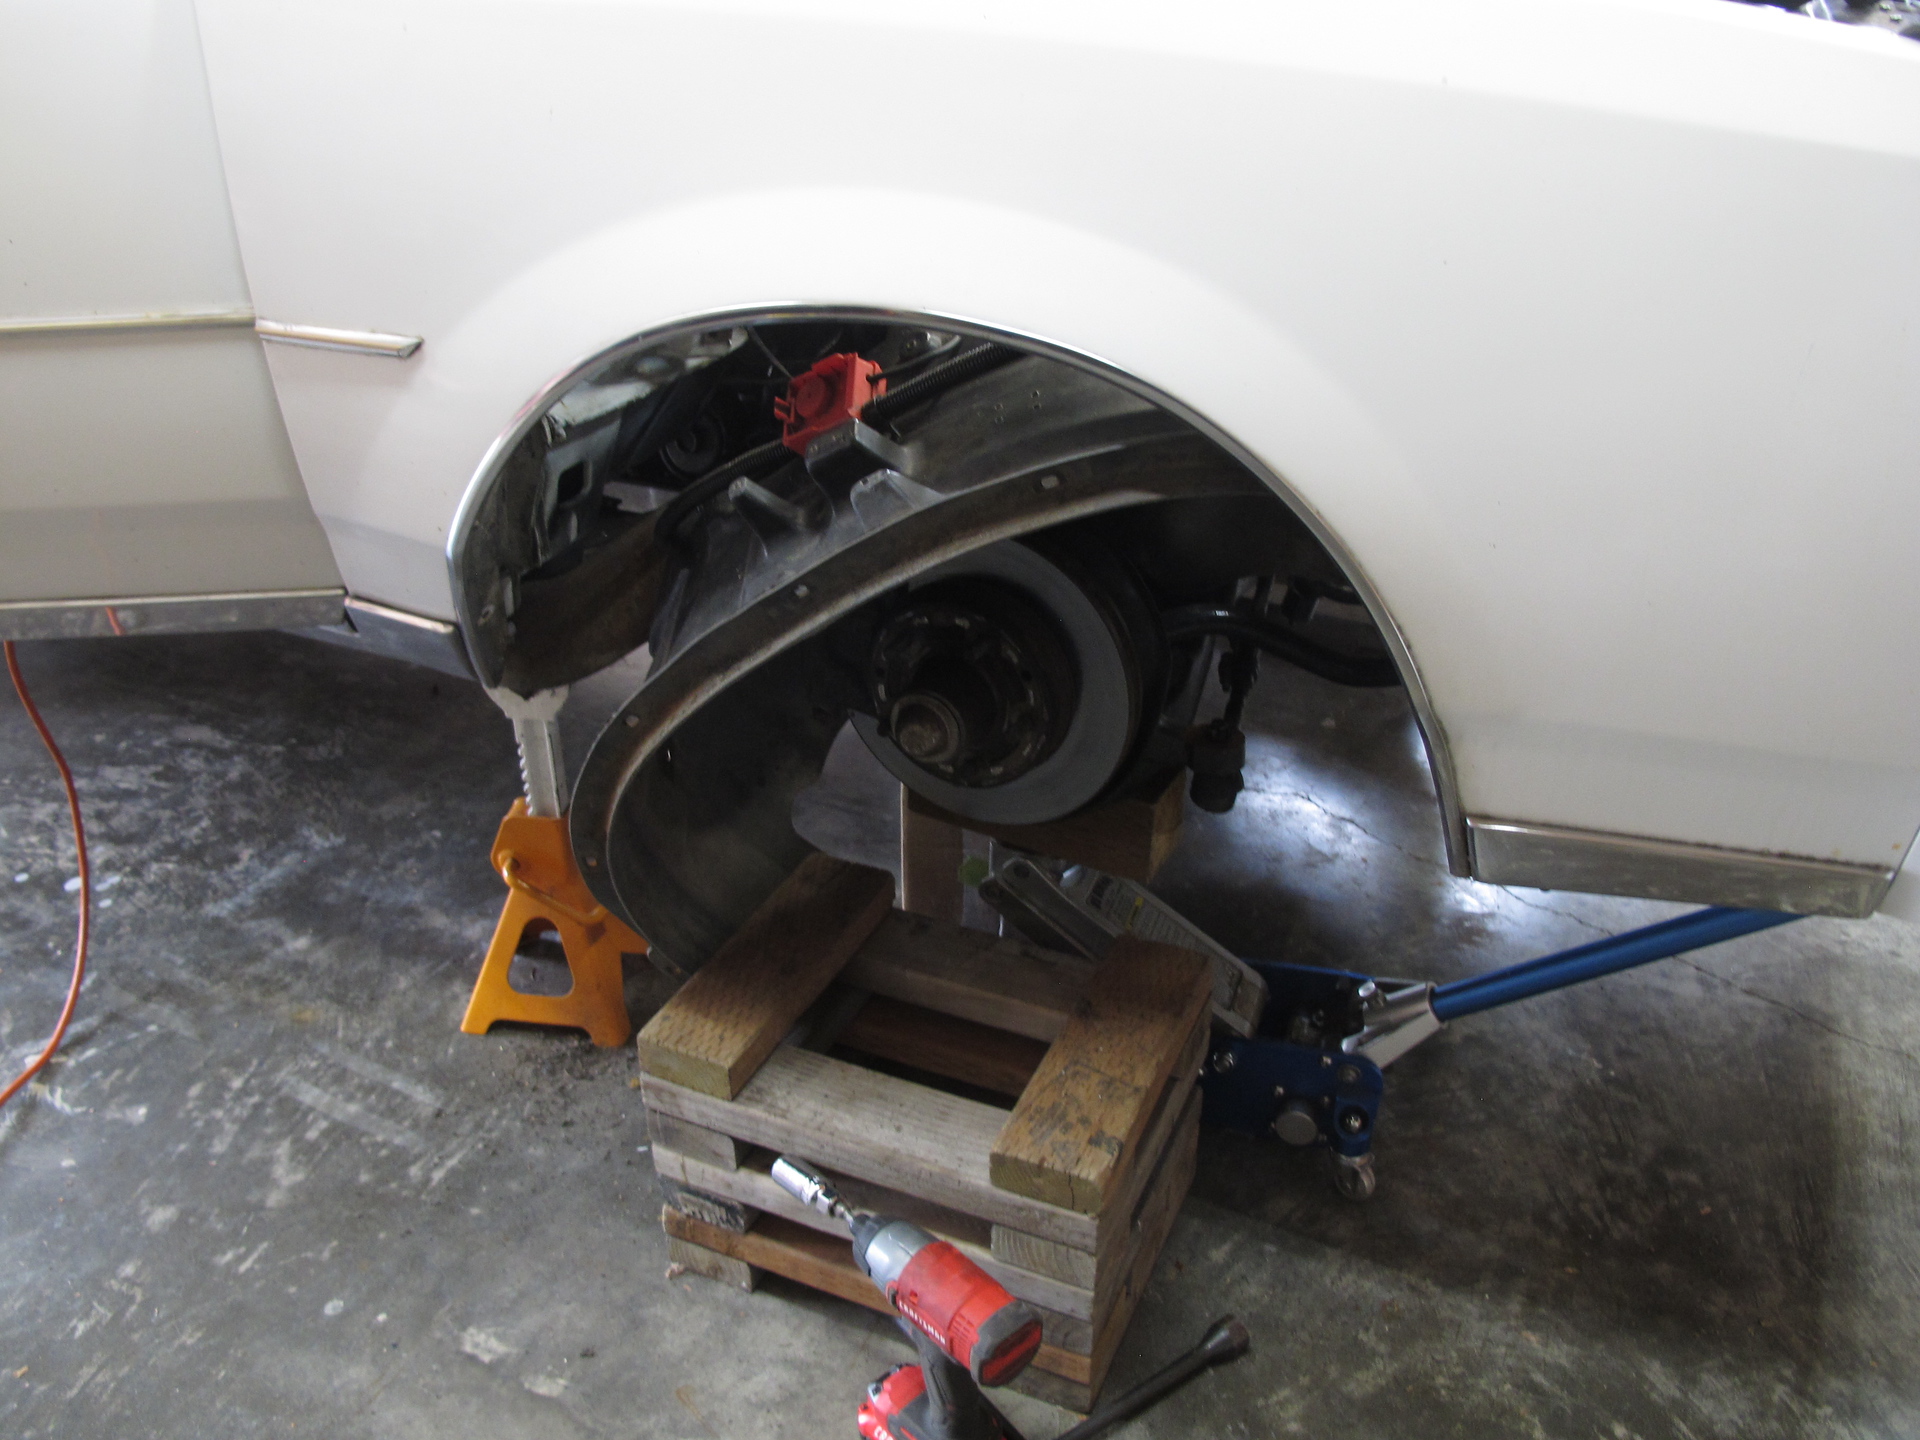
To back up a bit - we had to drop the inner fender to access the firewall. I love the plastic fenders as they can bend a bit and have places to mount components.

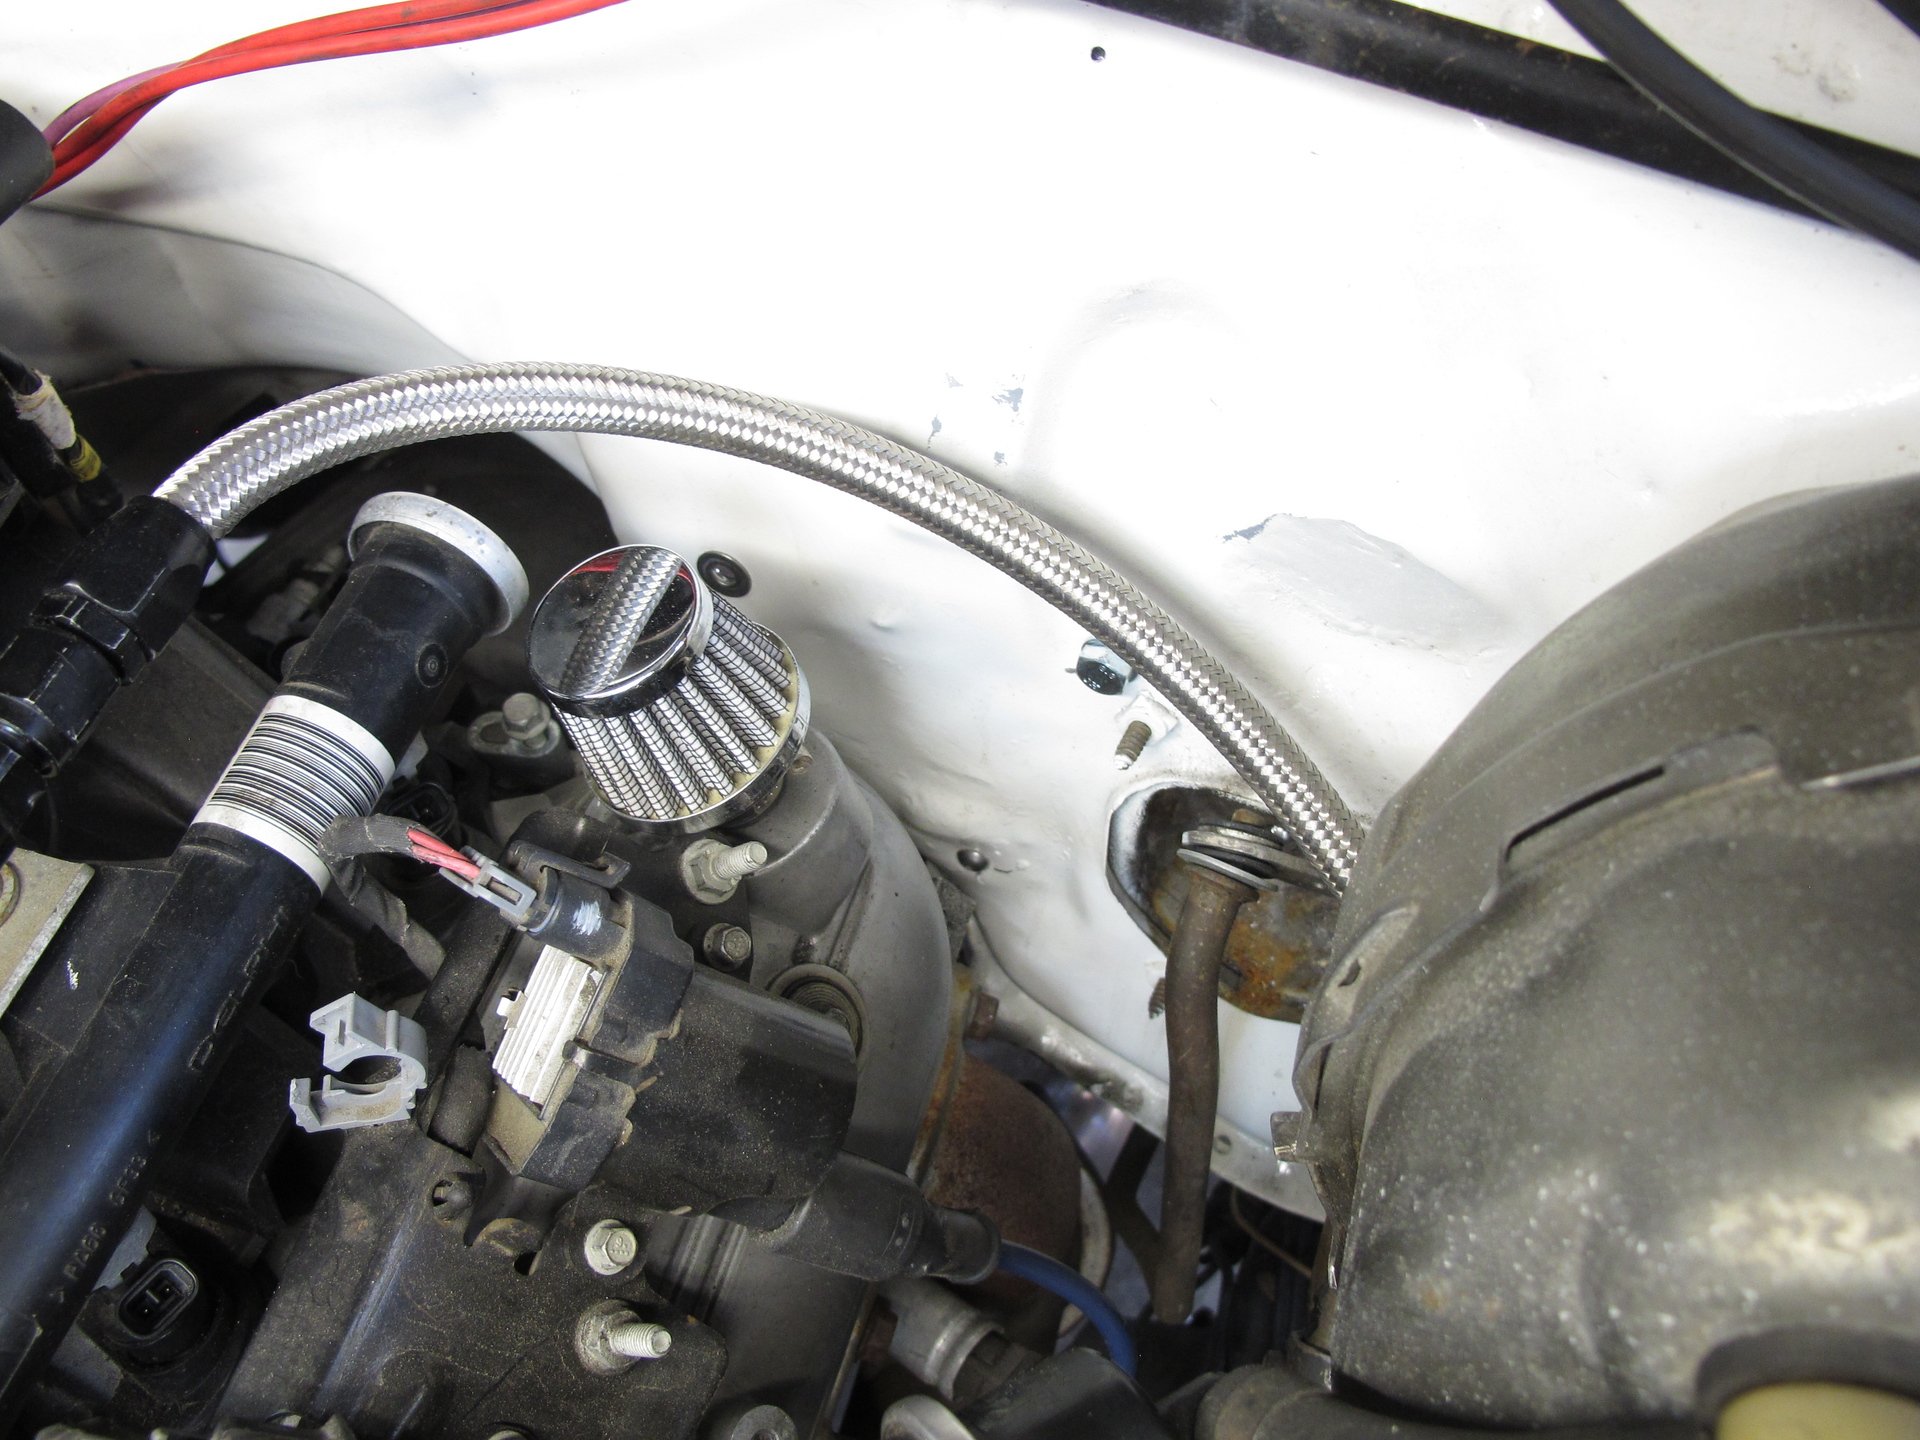
I had to purchase the intake sensor along with a bung. I have a friend who is a metal fabricator by trade so I took it to the shop where he works in Ballard and had him aluminum weld the bung in place. It took him a few minutes.. and welding aluminum is intense!
As mentioned (probably many times before) one of my biggest gripes was the air system would somehow bleed out too quickly (most systems will lose some air over days and weeks I think), but this was driving me nuts. I sprayed everything with soap multiple times and found a very slow leak early on, replaced the fittings, replaced the lines, and finally took the manifold apart to clean the solenoids. Since I got this system used I had no idea the history and use of it, so this was my Hail Mary like Lamar Jackson throwing 60 yard end zone bombs.. ended about the same lol.
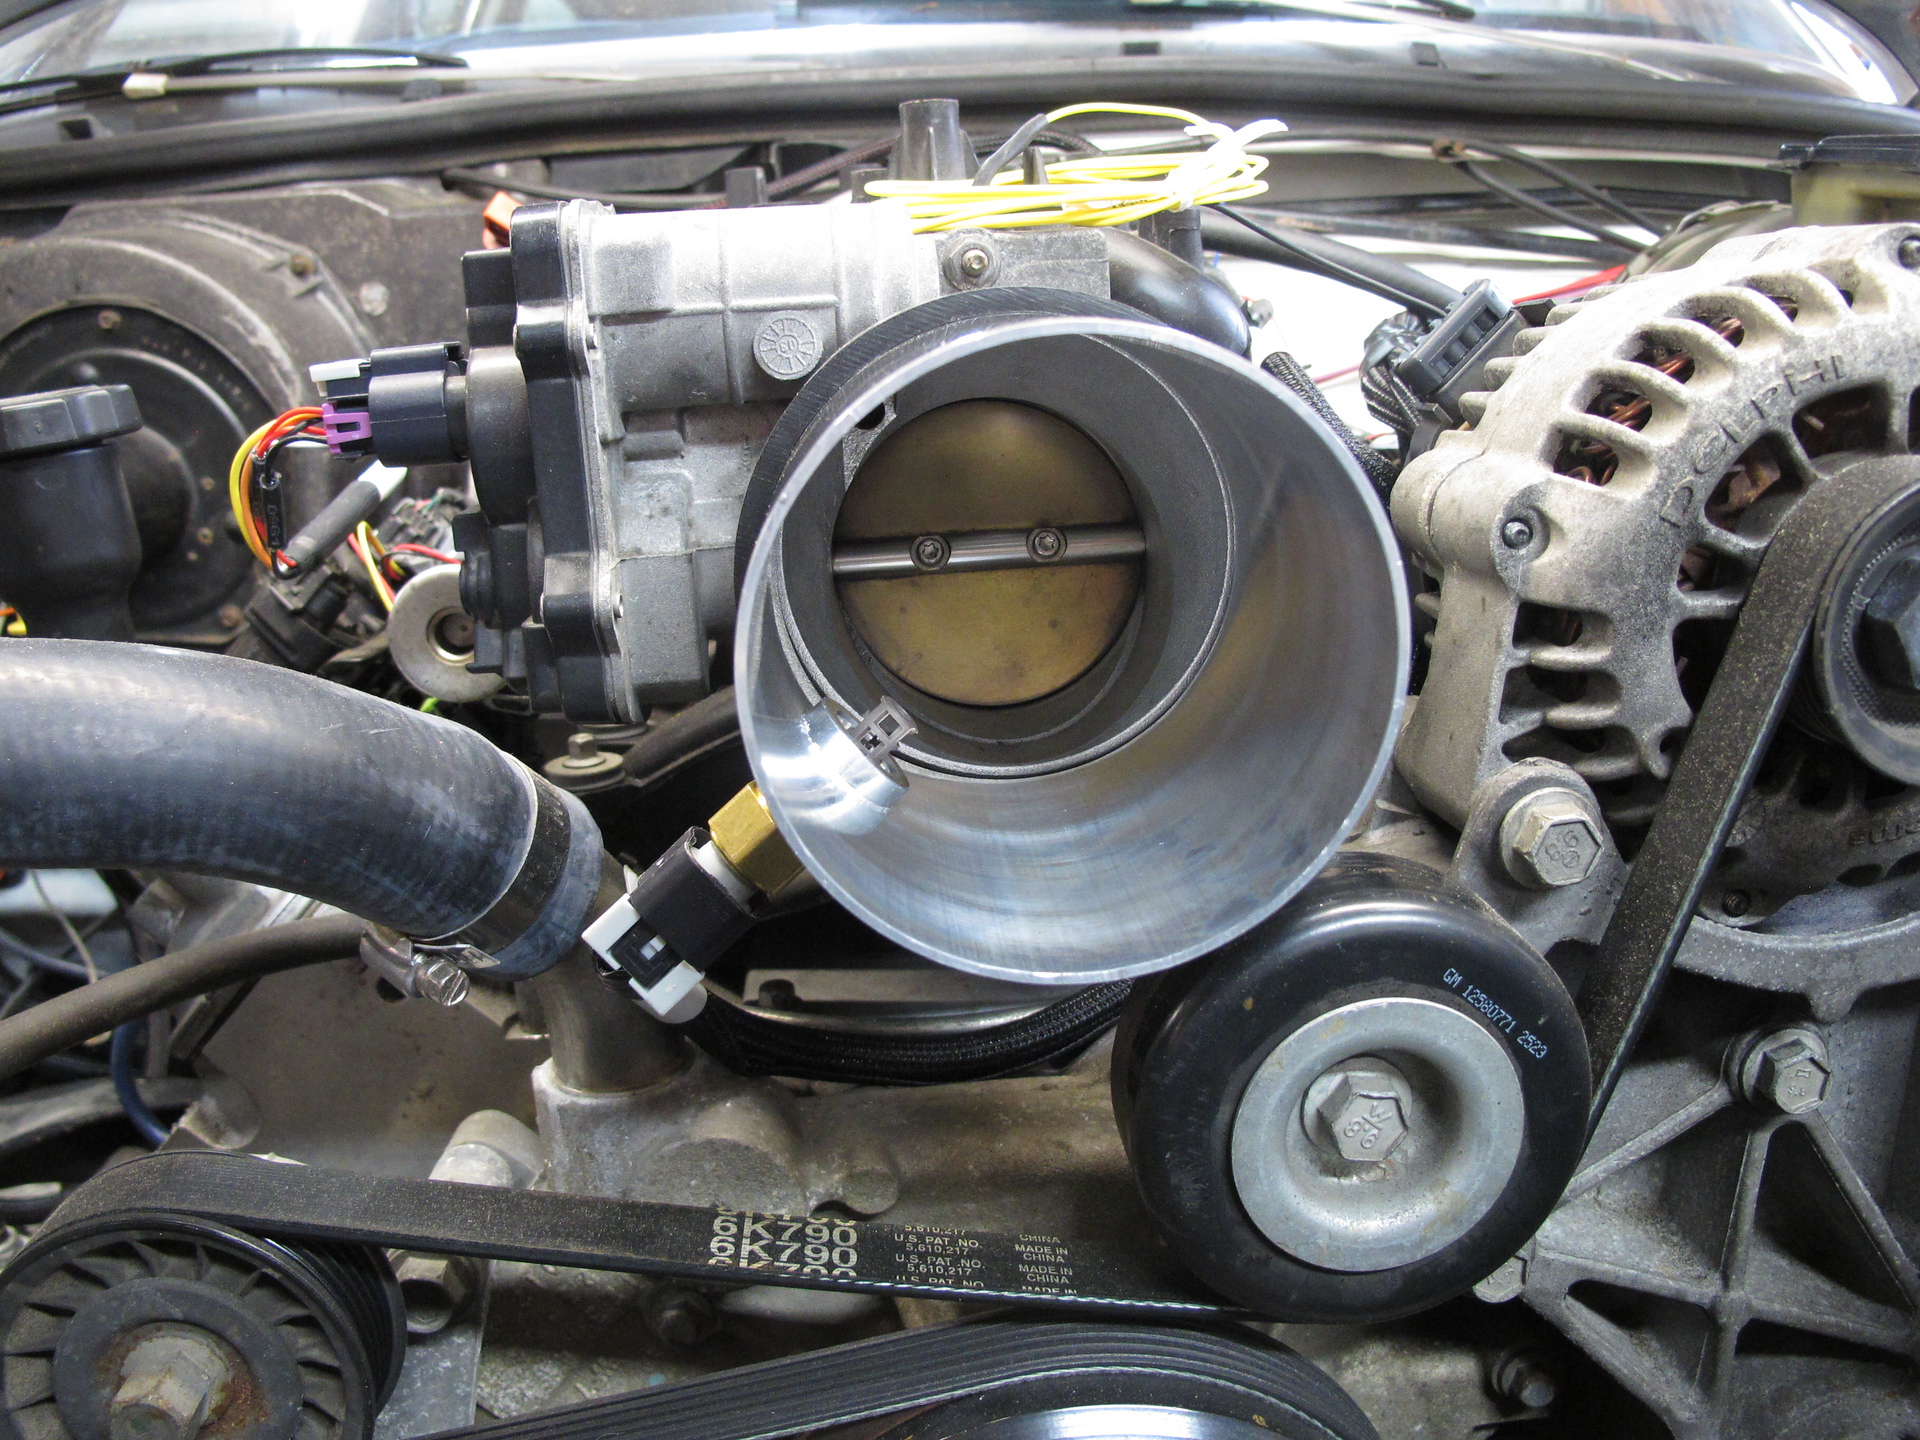
I don't know why I love a good throttle body
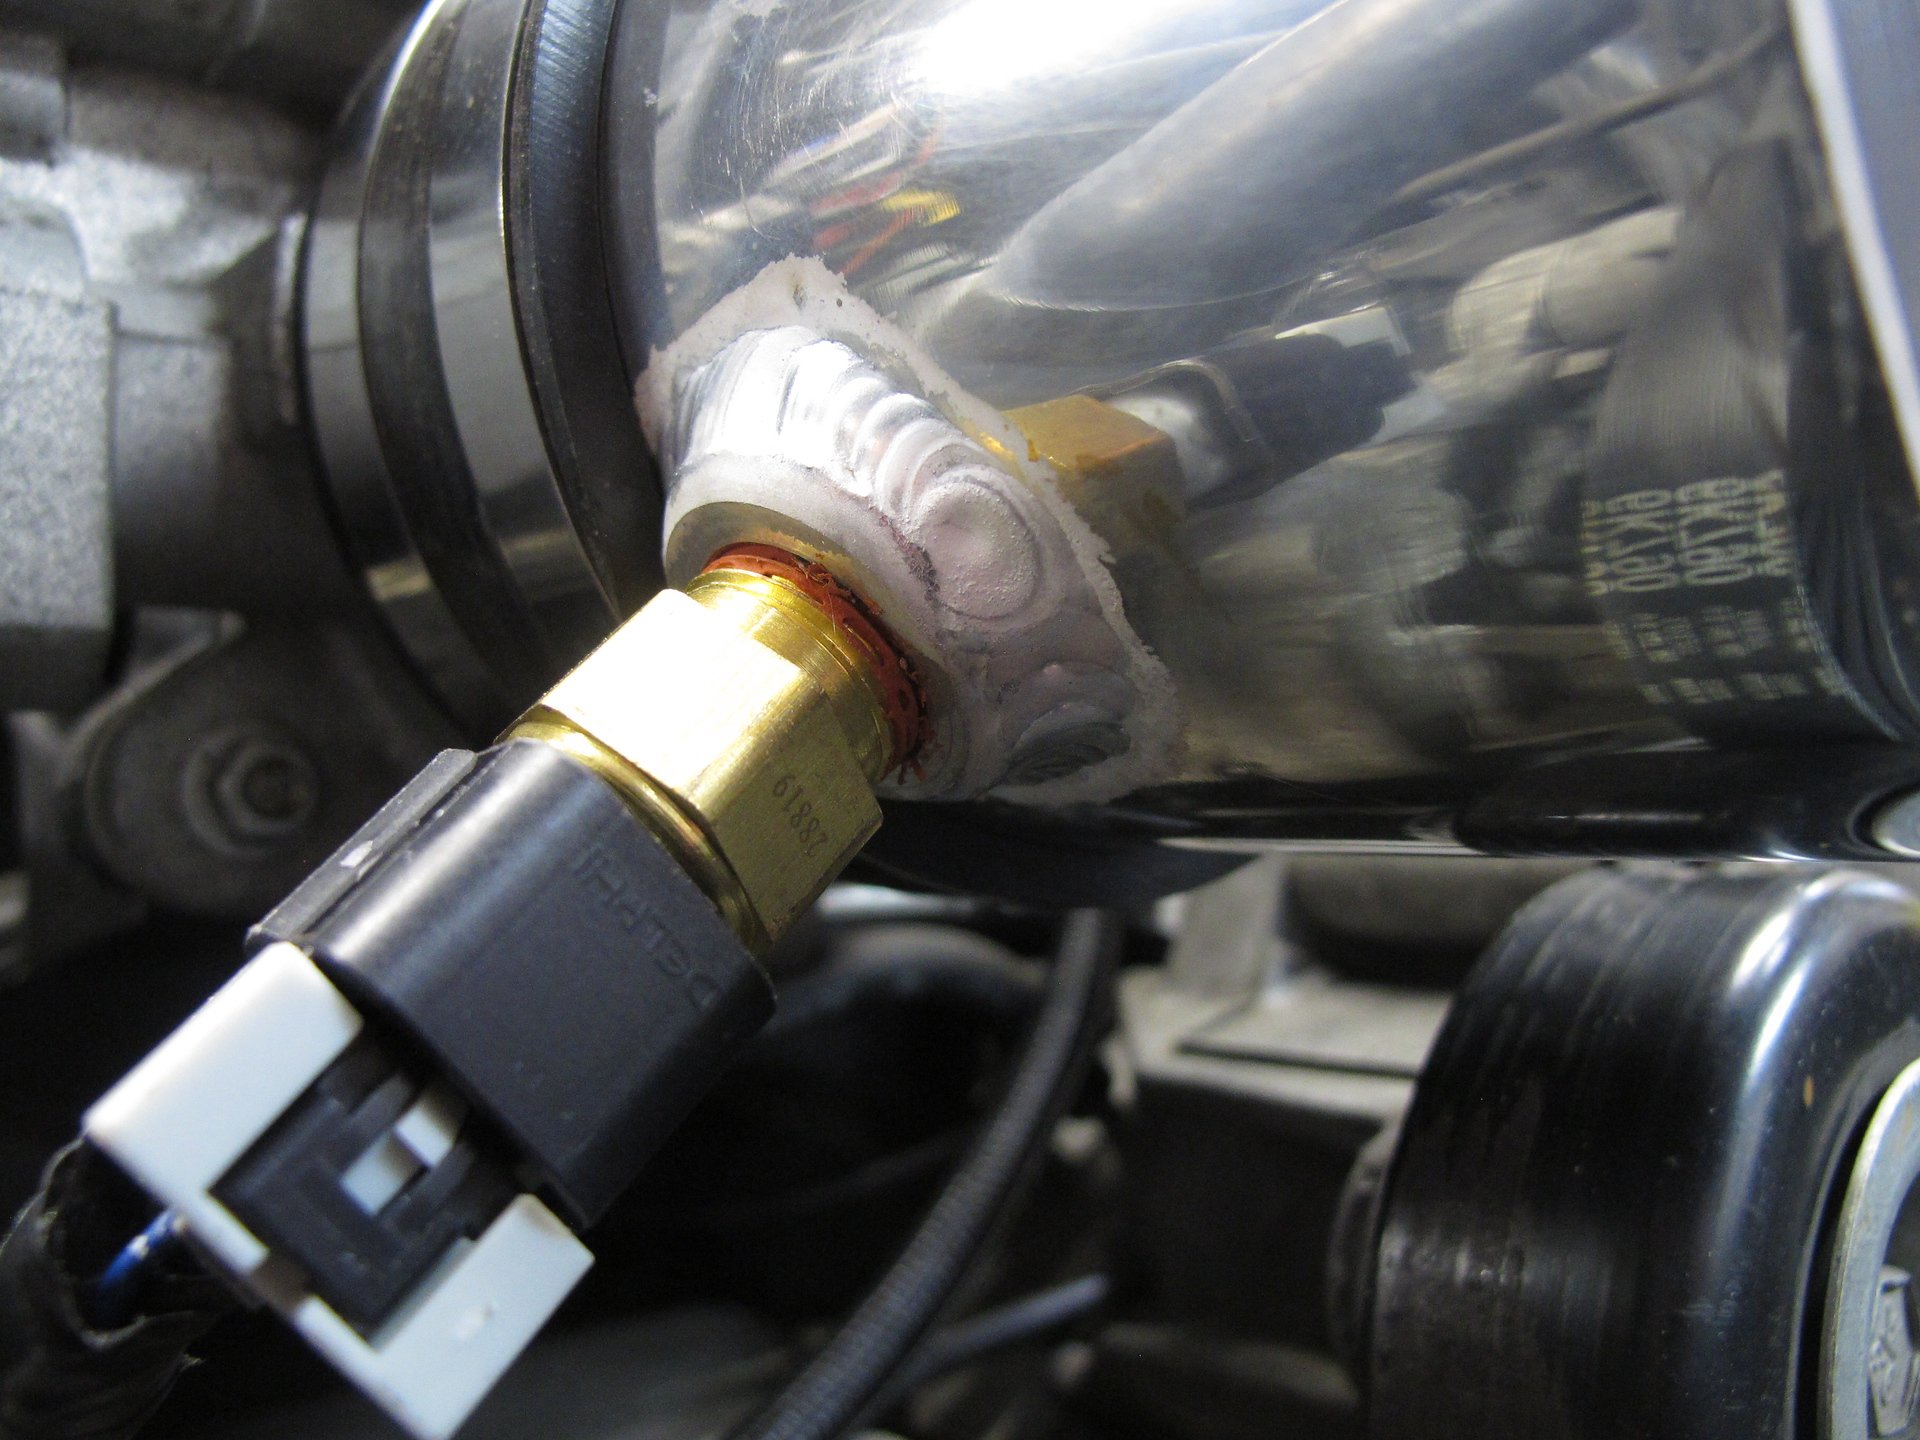
Laid dimes like a long payphone conversation 😀
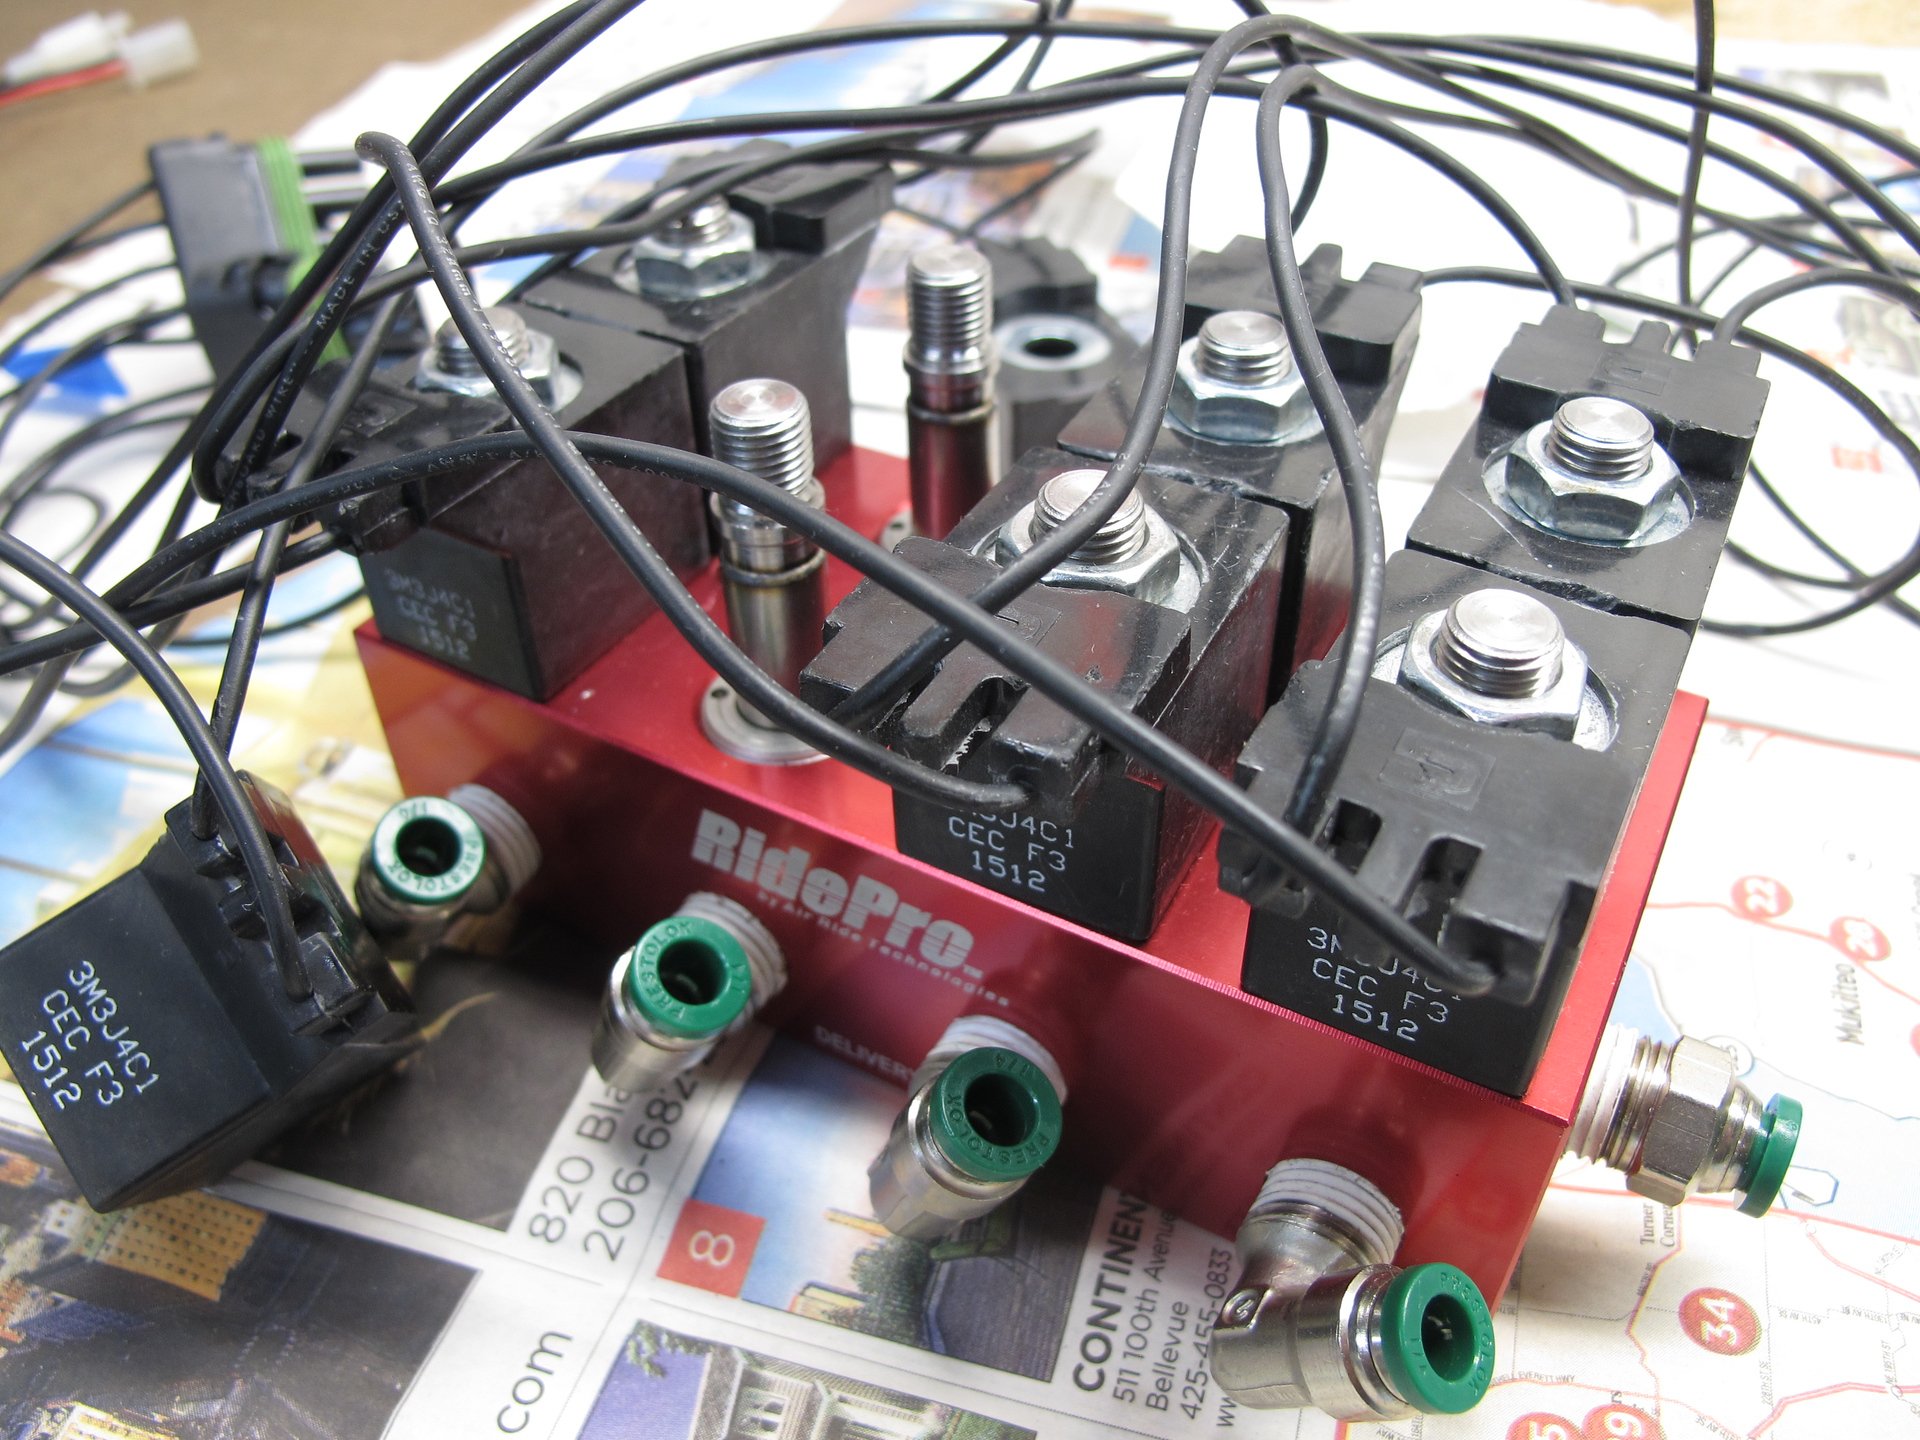
At least they are easy to service
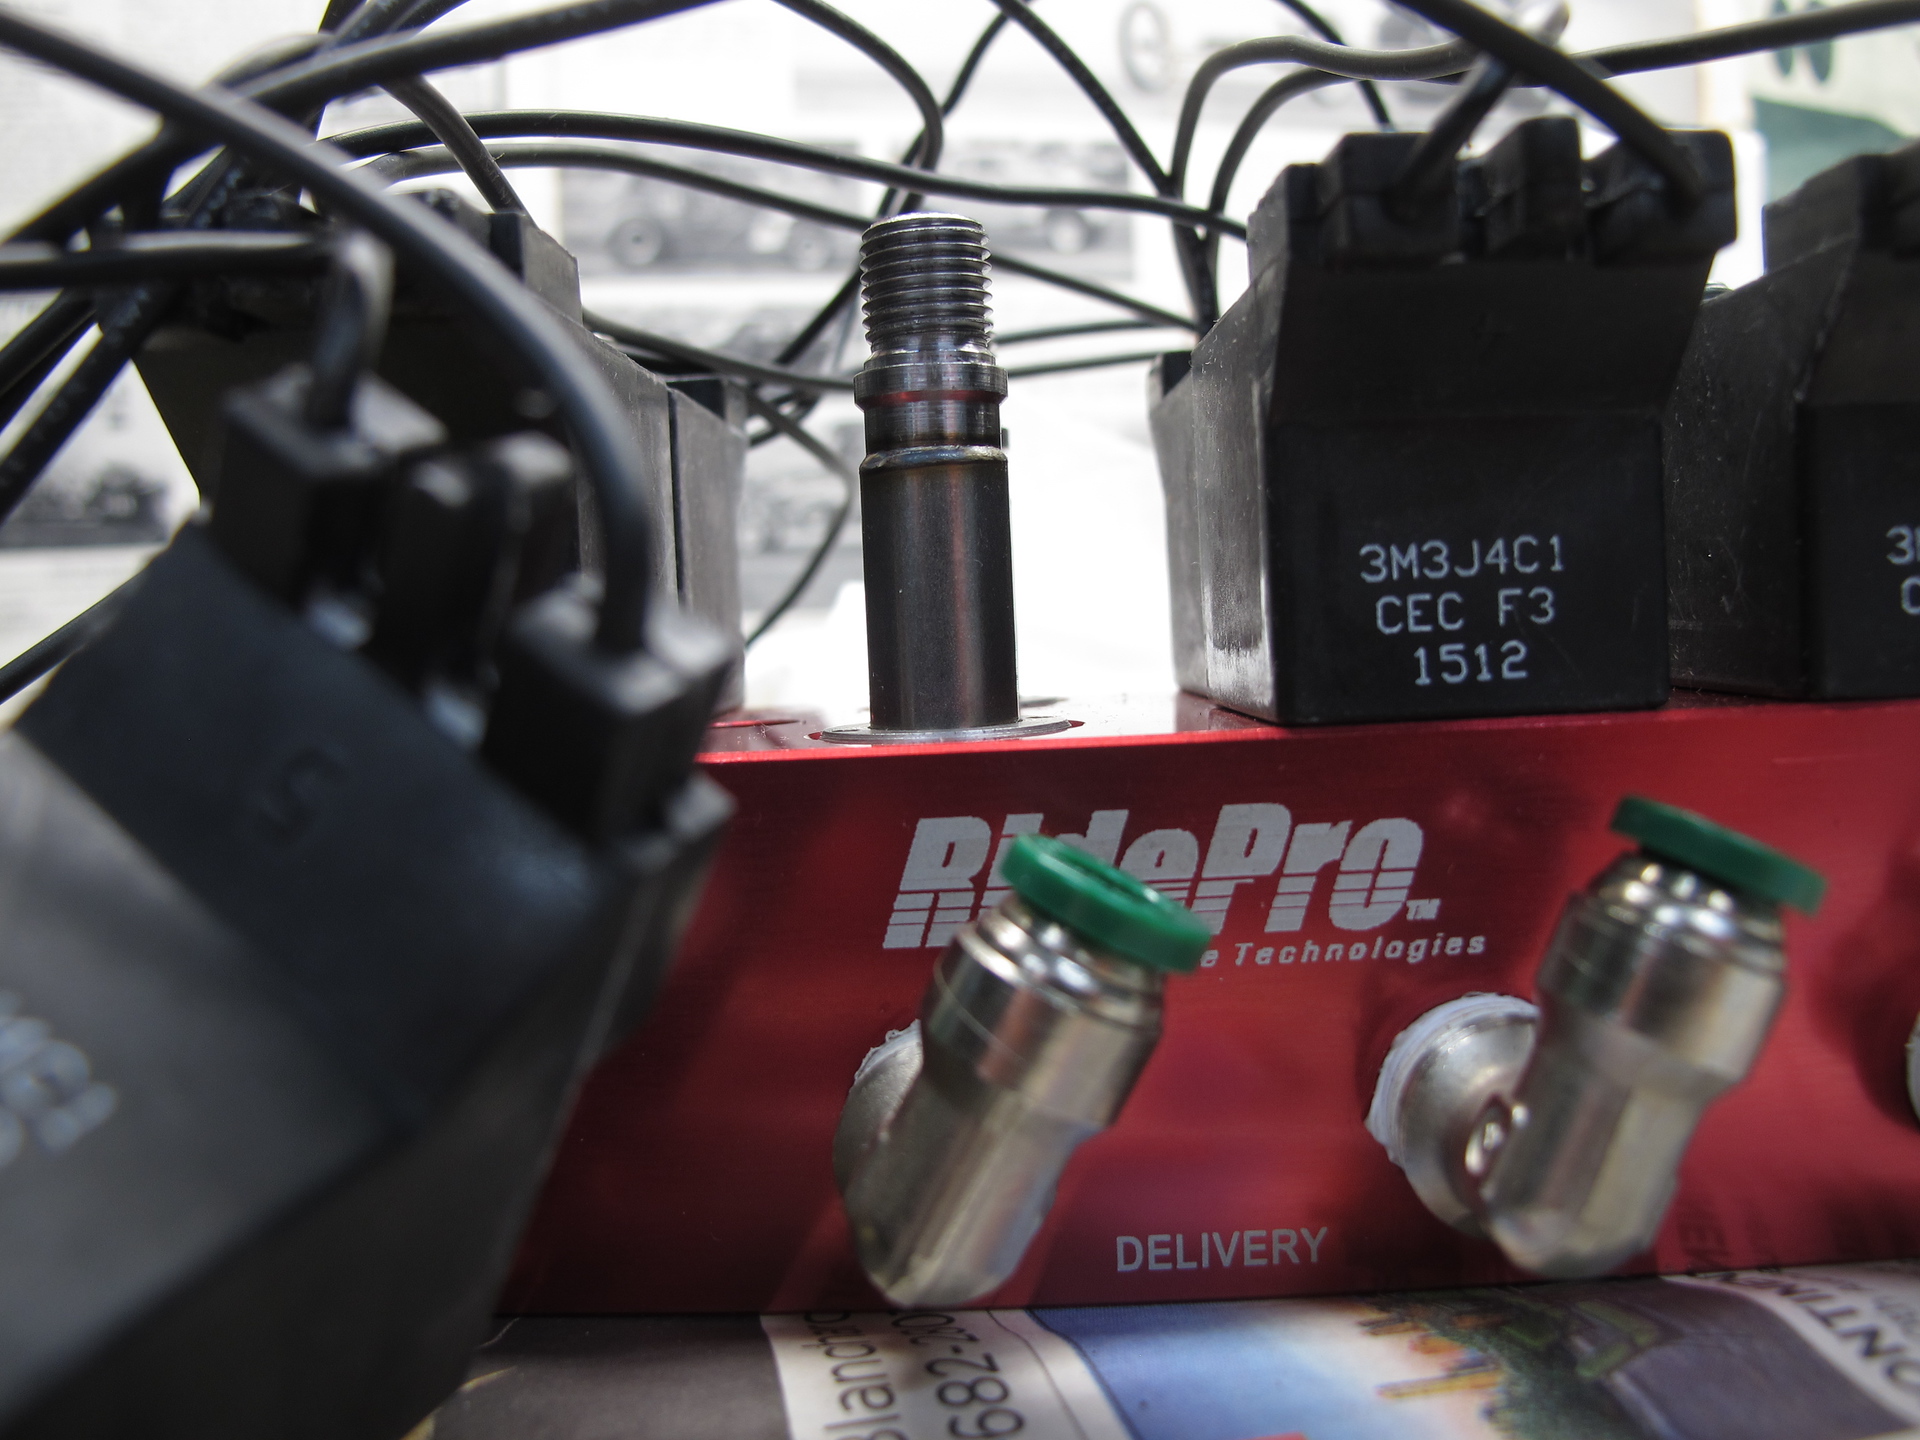
As mentioned (probably many times before) one of my biggest gripes was the air system would somehow bleed out too quickly (most systems will lose some air over days and weeks I think), but this was driving me nuts. I sprayed everything with soap multiple times and found a very slow leak early on, replaced the fittings, replaced the lines, and finally took the manifold apart to clean the solenoids. Since I got this system used I had no idea the history and use of it, so this was my Hail Mary like Lamar Jackson throwing 60 yard end zone bombs.. ended about the same lol.

I don't know why I love a good throttle body

Laid dimes like a long payphone conversation 😀

At least they are easy to service

Fast forwarding a bit... and we have contact! After much deliberation we decided sadly that the only place the computer will fit with the various garden hose gauge harnesses feeding in is sandwiched between the heater ducts and the dash, where the glove box used to be. In fact it is so tightly jammed in there we didn't really need to mount it with bolts or screws. I may have even put a zip tie on for safety haha..
It took a bit to go through the initial start up and then realize the vacuum line needs connecting bc I thought it was optional.. reading the Holley support forums is critical. Their paper directions are excellent but a couple items were somewhat unclear even after rereading them several times. Probably just user error but we worked through it and it runs great.
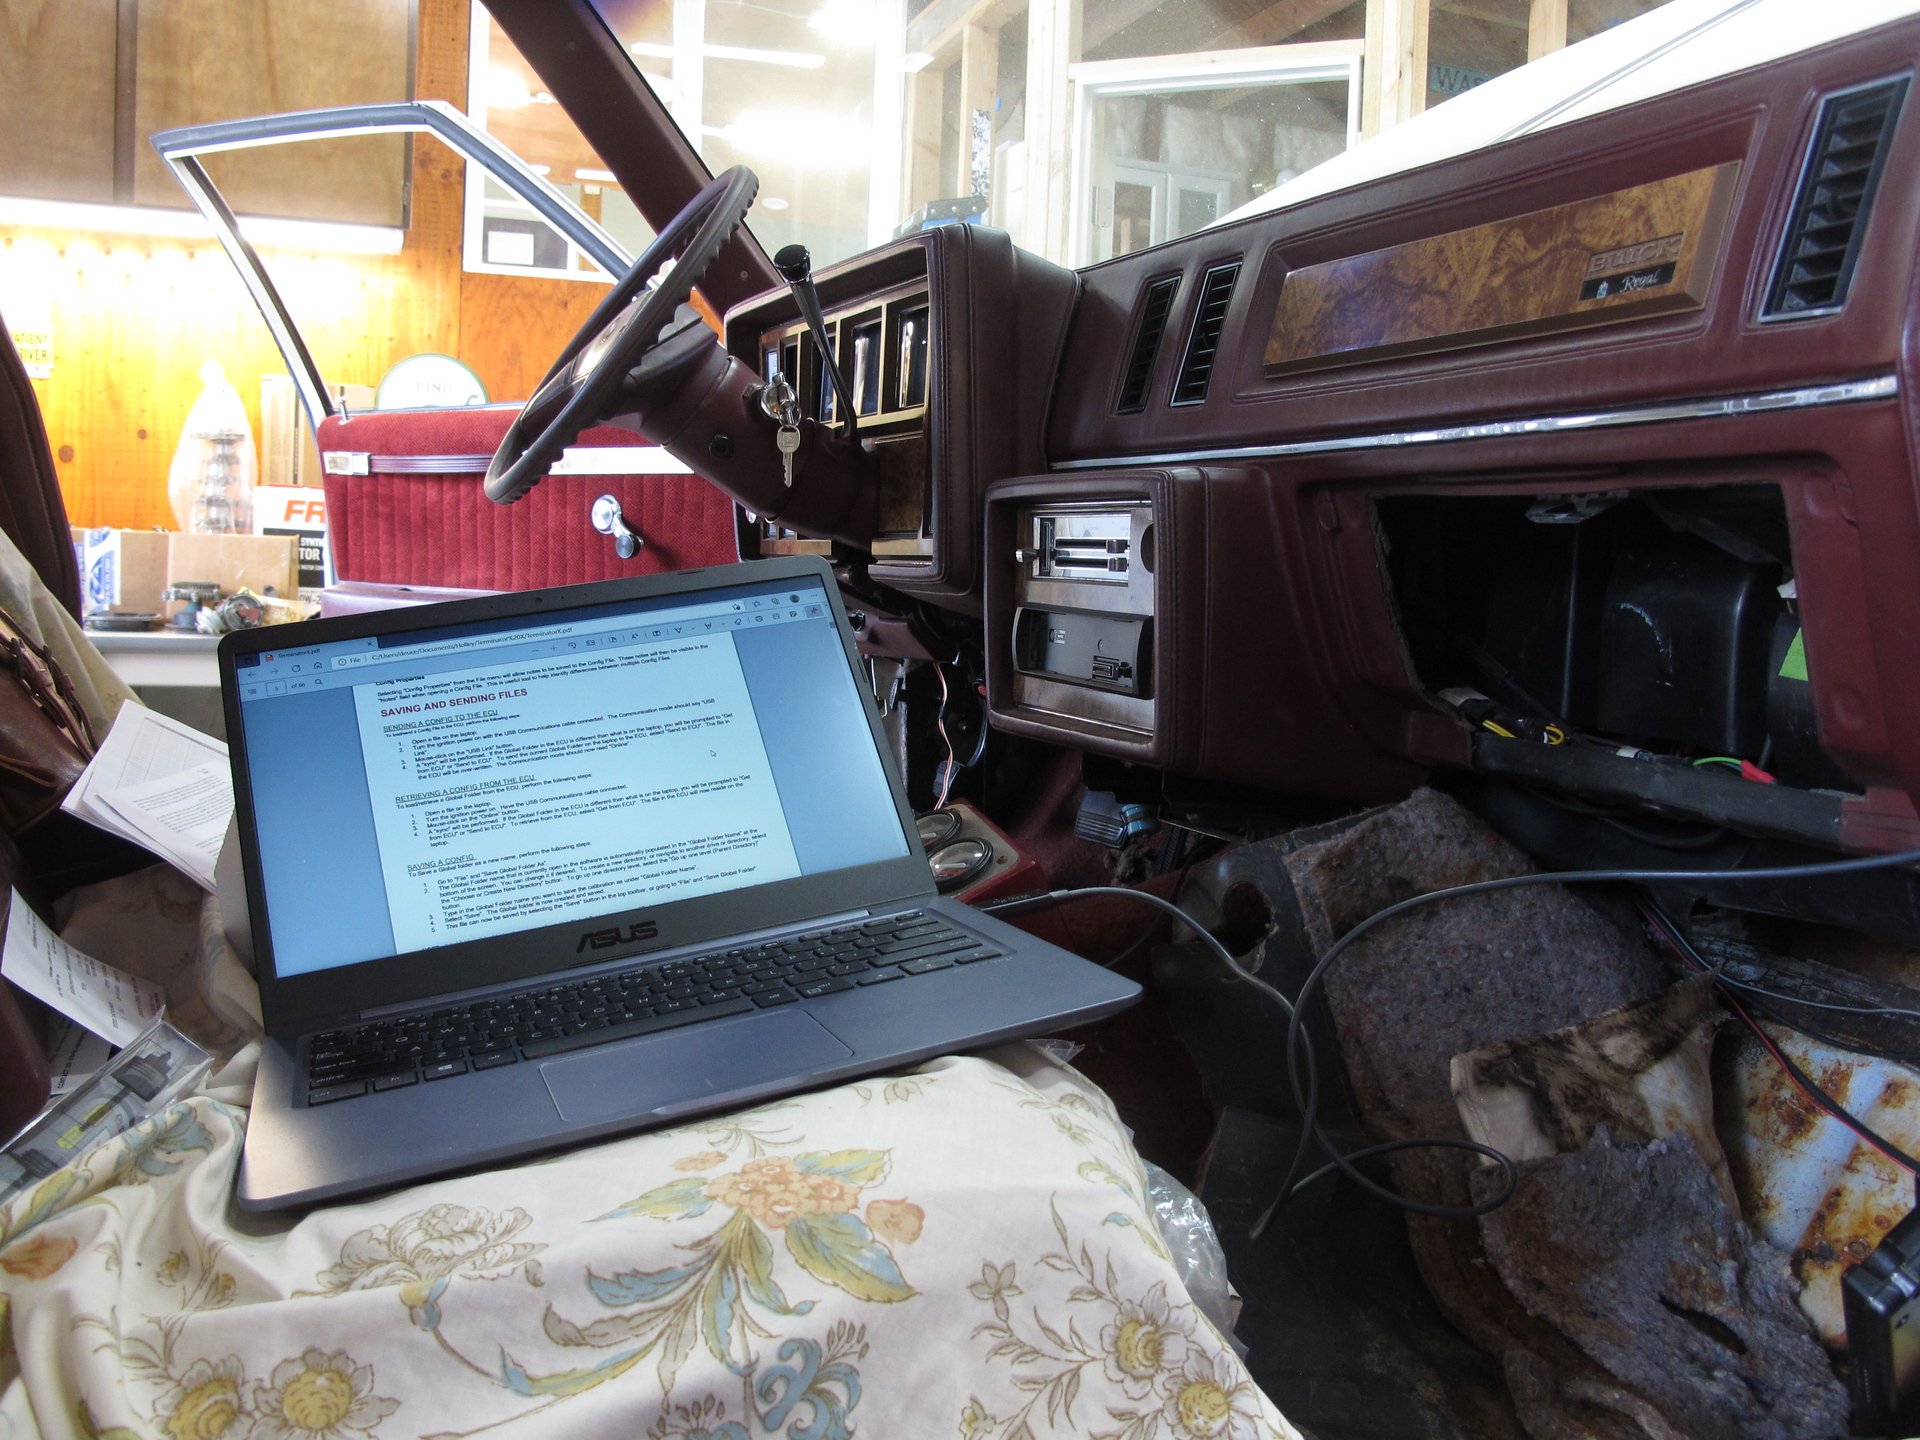
It's a lot to take in but it's insanely cool to be able to check all the parameters and potentially tune the computer on a laptop
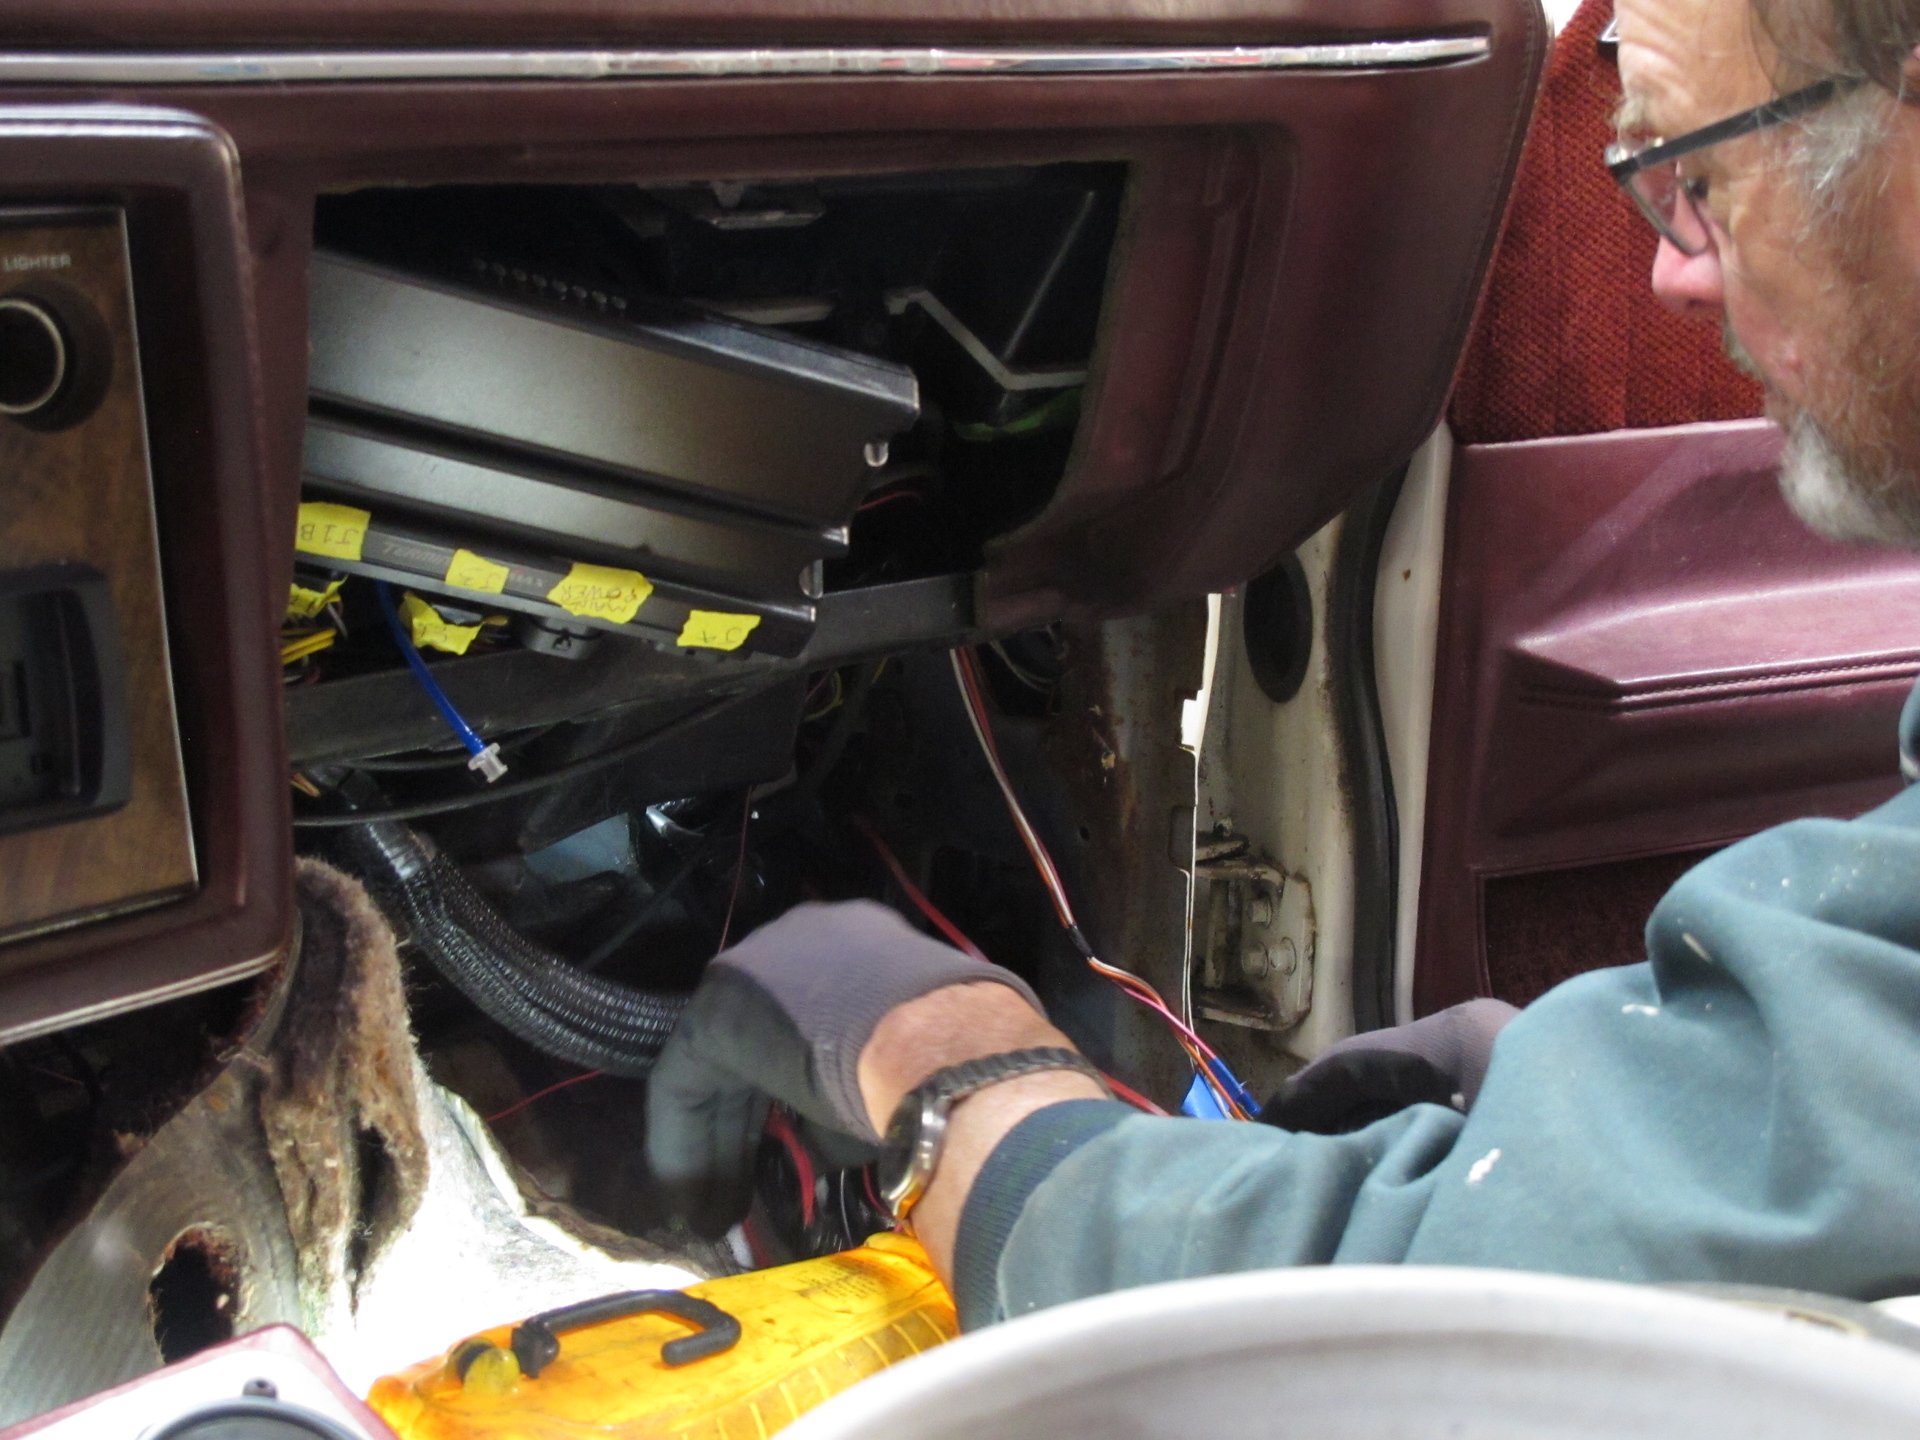
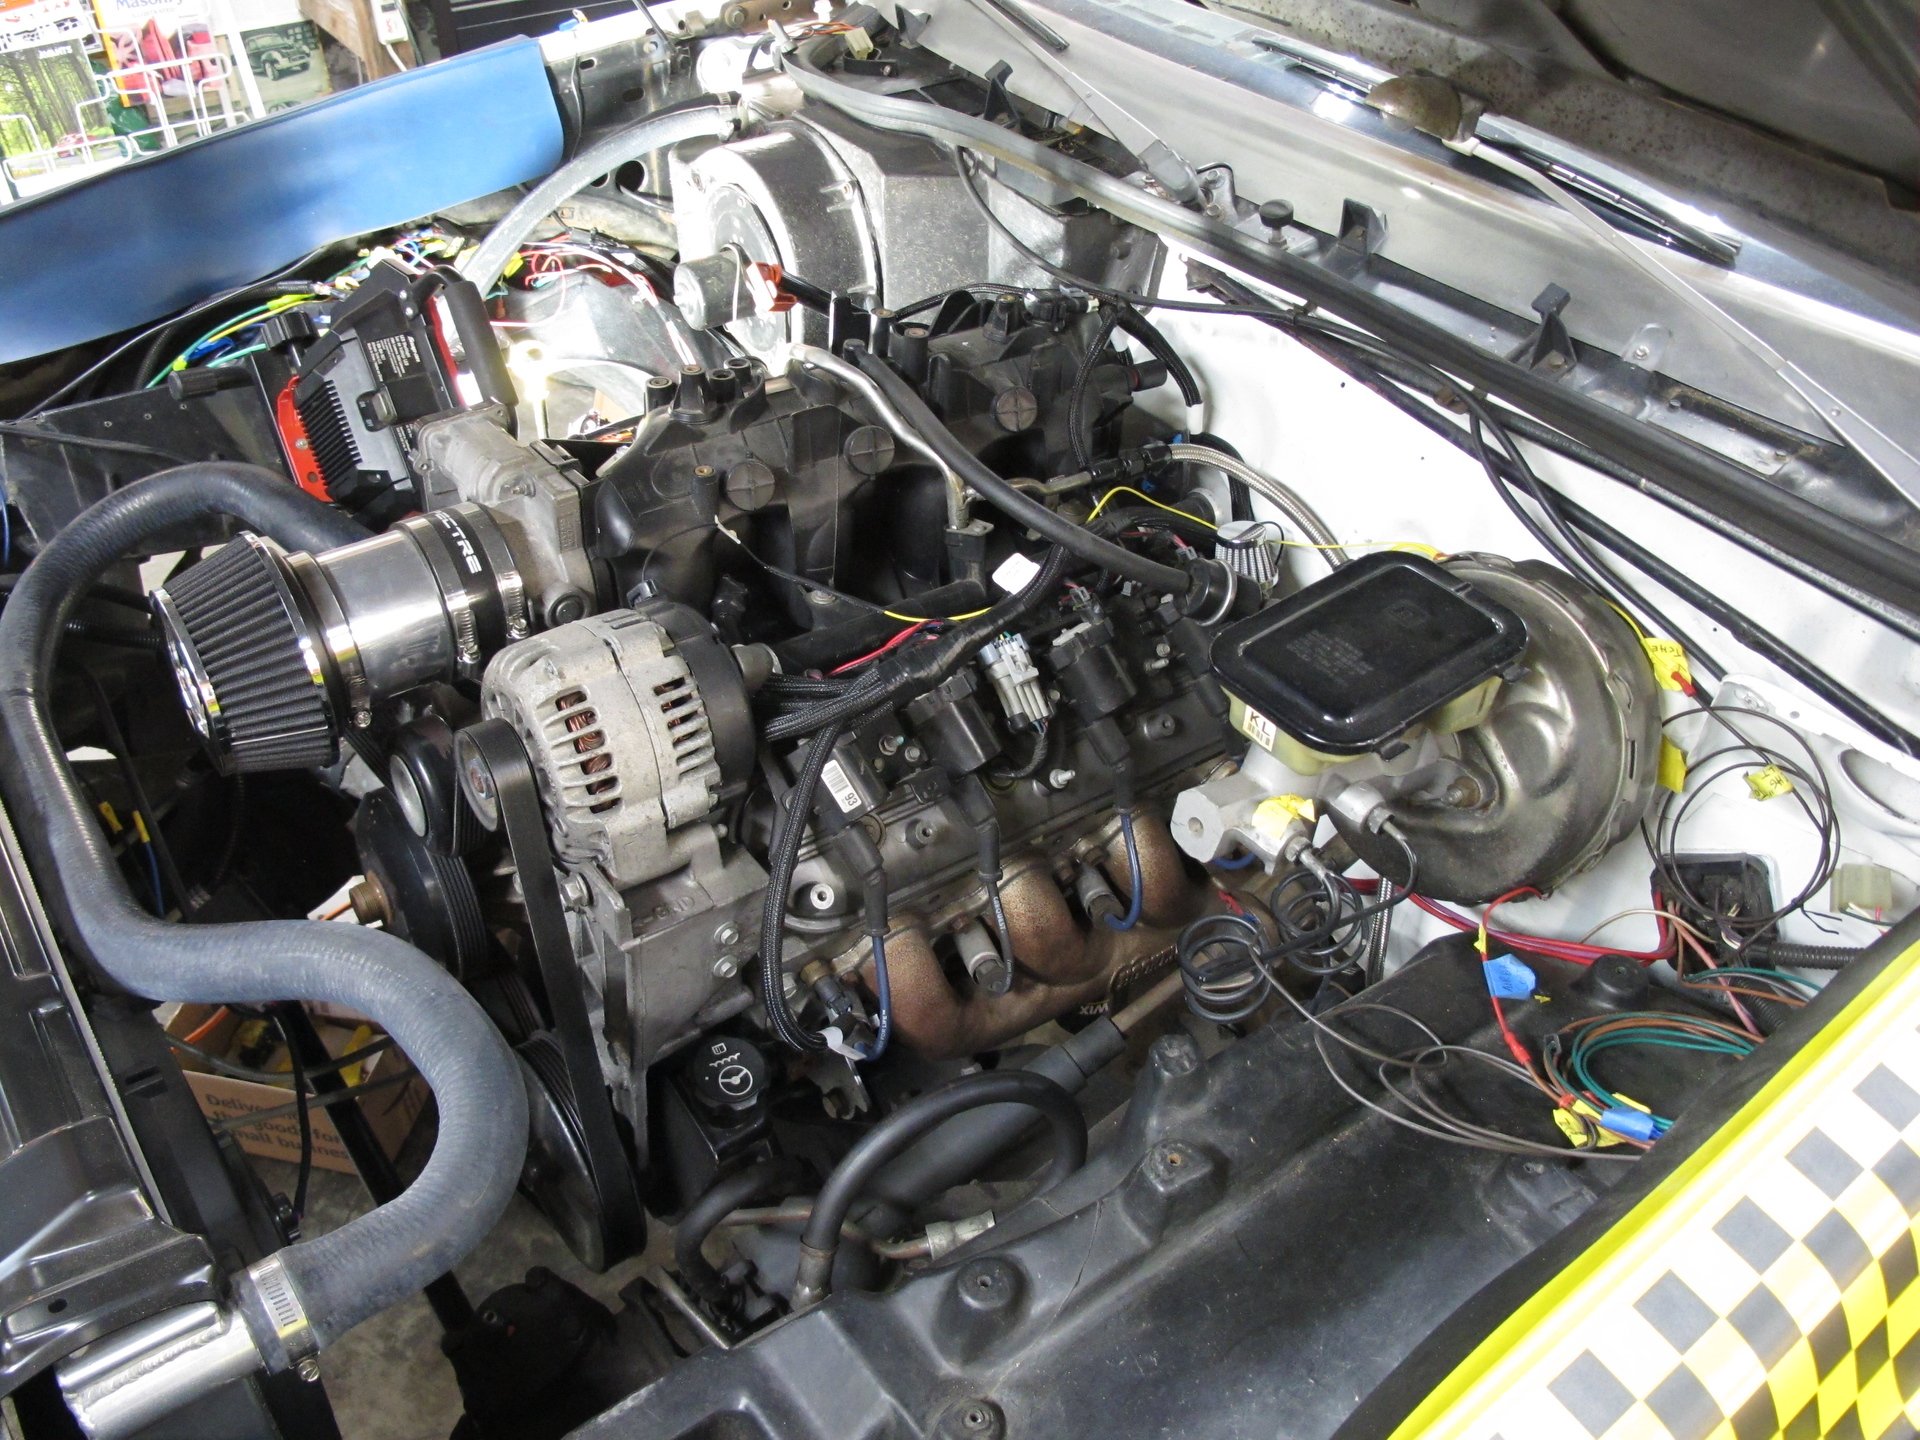
Git r dun!
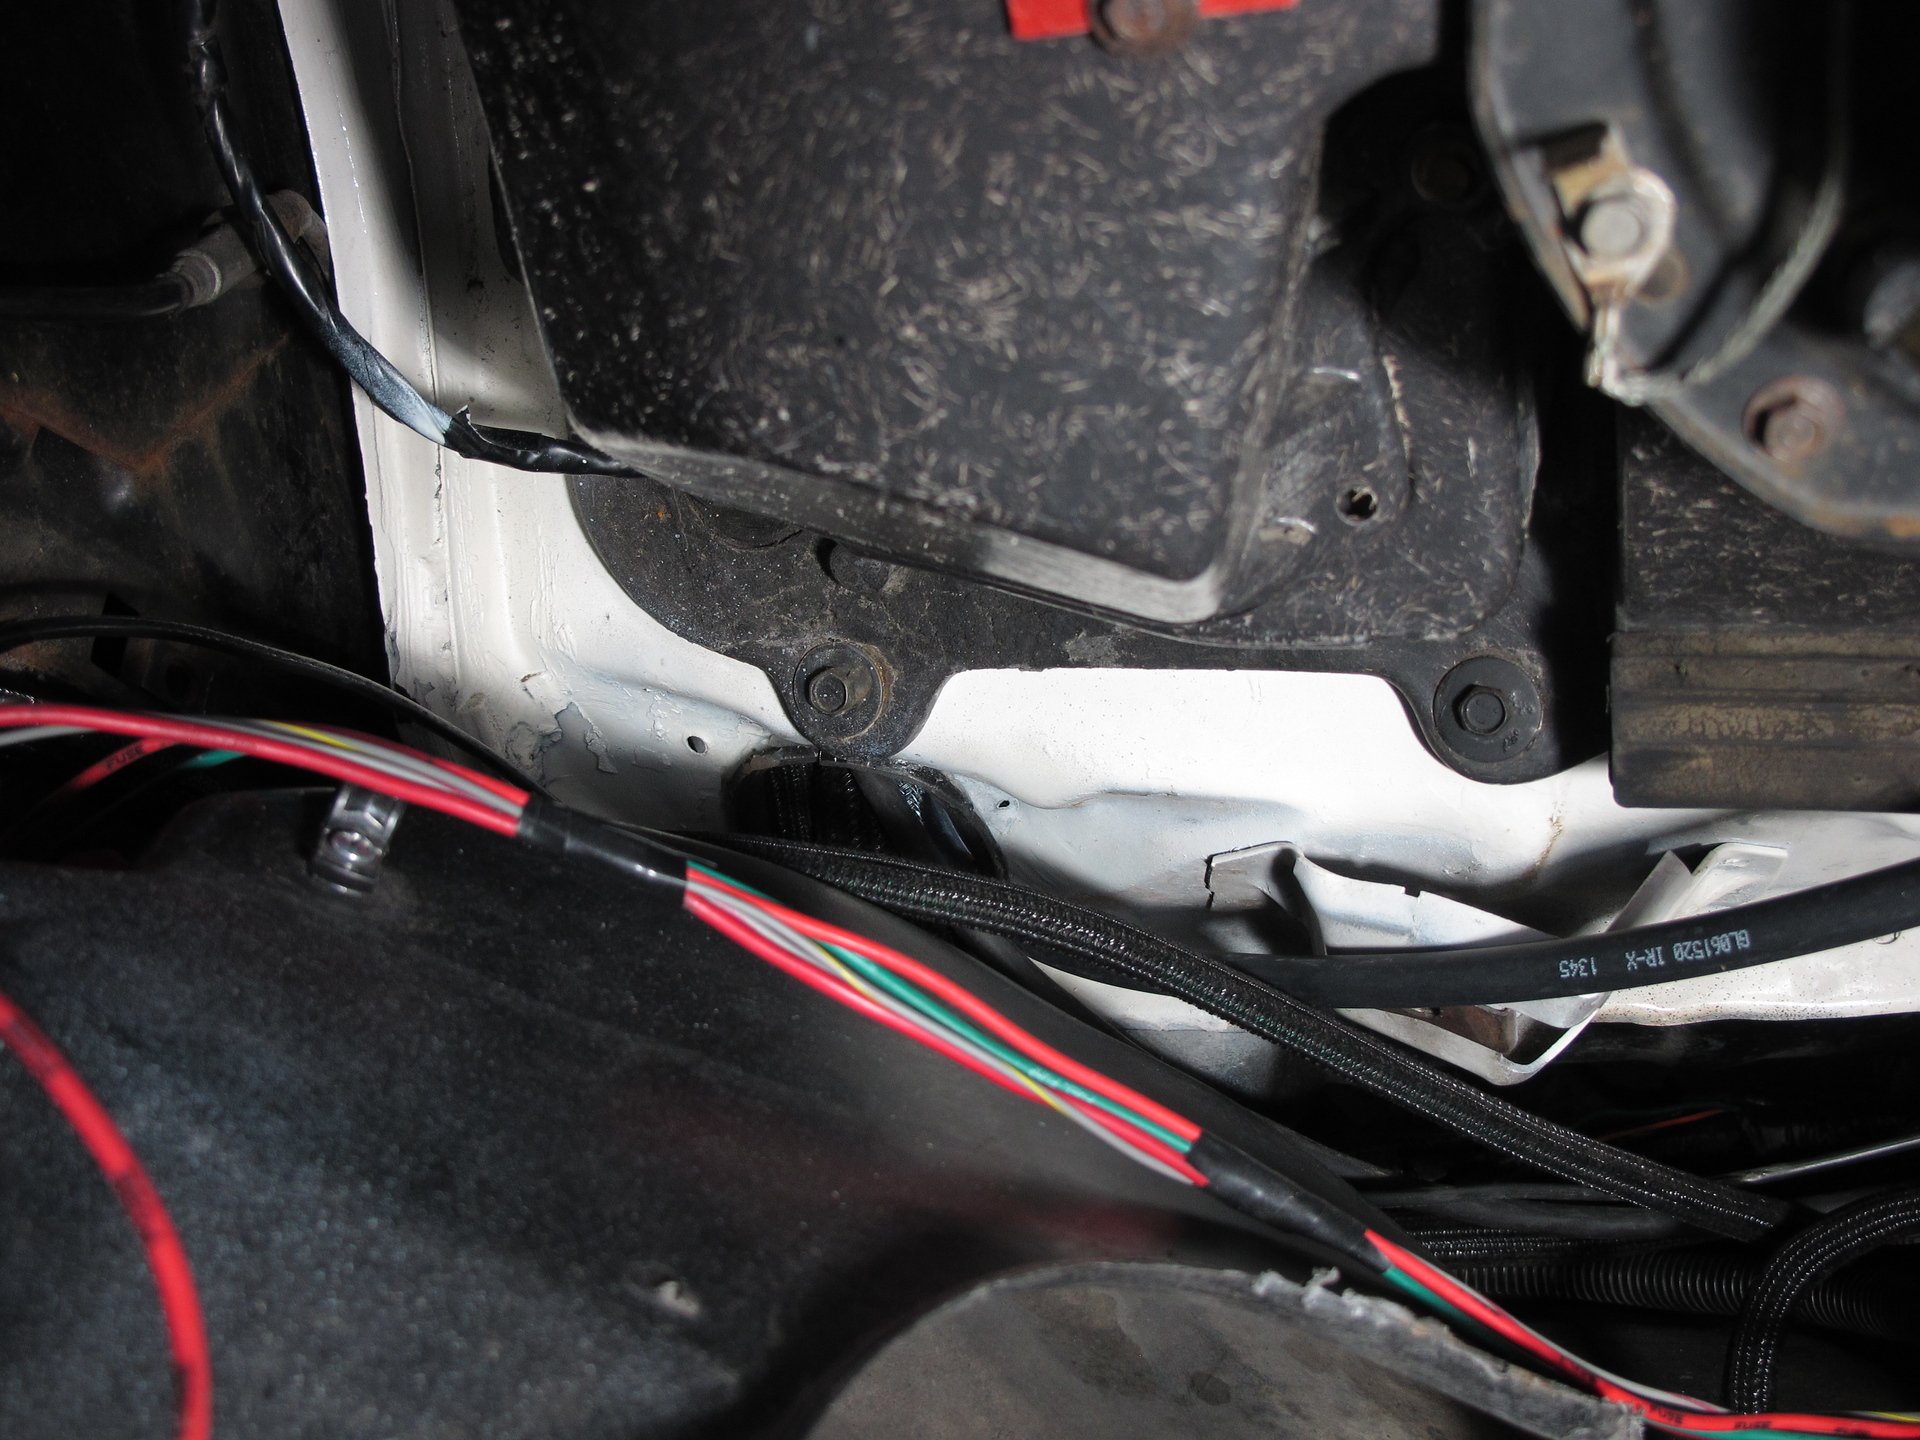
You can kinda see the various harnesses feeding through
It took a bit to go through the initial start up and then realize the vacuum line needs connecting bc I thought it was optional.. reading the Holley support forums is critical. Their paper directions are excellent but a couple items were somewhat unclear even after rereading them several times. Probably just user error but we worked through it and it runs great.

It's a lot to take in but it's insanely cool to be able to check all the parameters and potentially tune the computer on a laptop


Git r dun!

You can kinda see the various harnesses feeding through
Similar threads
- Replies
- 28
- Views
- 1K
- Replies
- 3
- Views
- 317
GBodyForum is a participant in the Amazon Services LLC Associates Program, an affiliate advertising program designed to provide a means for sites to earn advertising fees by advertising and linking to amazon.com. Amazon, the Amazon logo, AmazonSupply, and the AmazonSupply logo are trademarks of Amazon.com, Inc. or its affiliates.

