

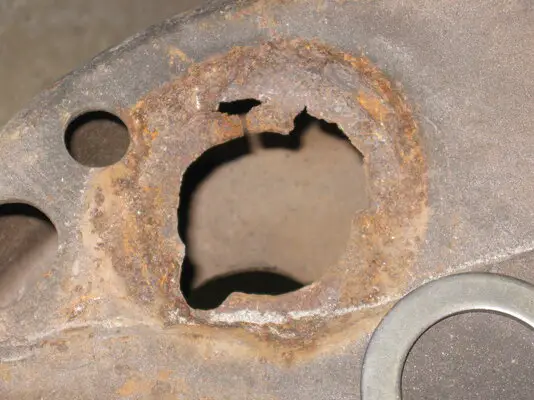
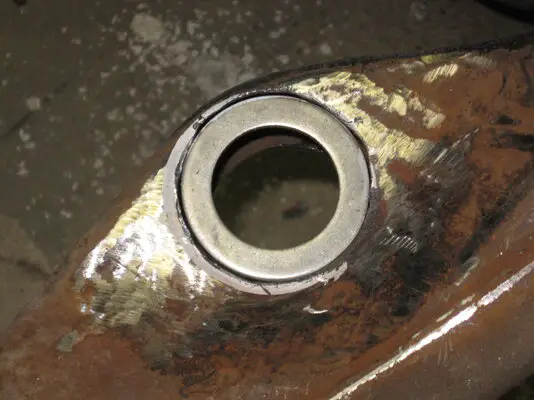
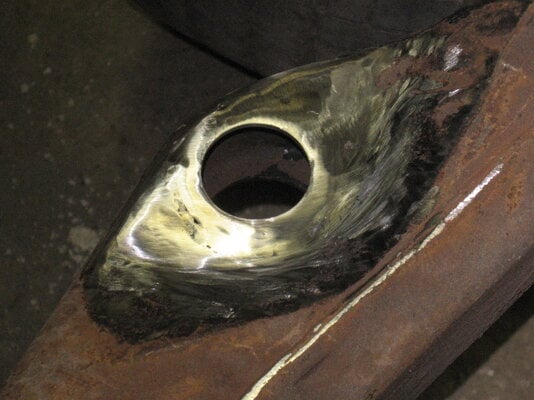
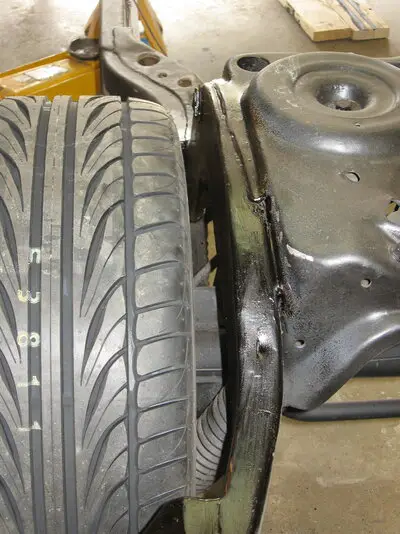
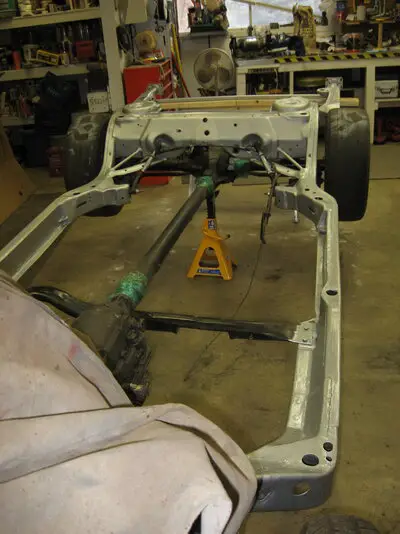
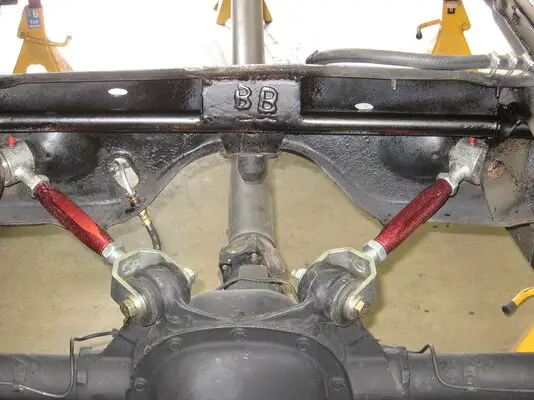
As expected, typical rust out in the mounting holes. Fastenal had heavy washers that fit nicely, weld er up. Notched frame, boxed in rails with some additional bracing, (personalized) and small gussets in cut areas. Next step, Iceman and Edelbrock suspension kit installation. Too bad the work doesn't go as fast as posting the results.
BUILD THREAD 87MCSS - TFB, Get it done already!
- Thread starter B's 87mcss
- Start date
You are using an out of date browser. It may not display this or other websites correctly.
You should upgrade or use an alternative browser.
You should upgrade or use an alternative browser.
- Status
- Not open for further replies.
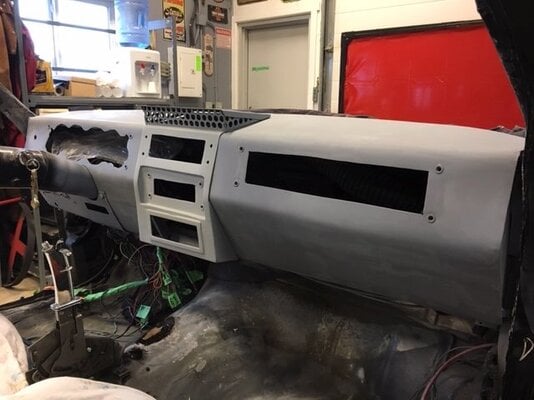
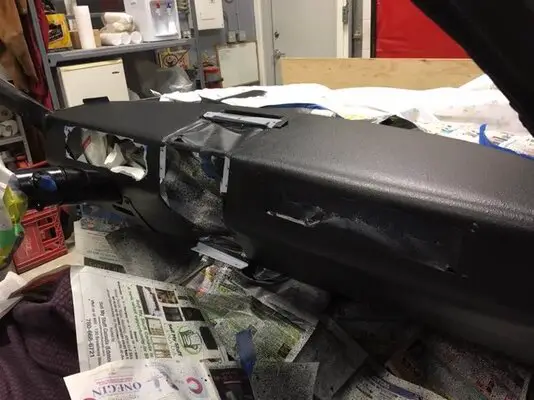
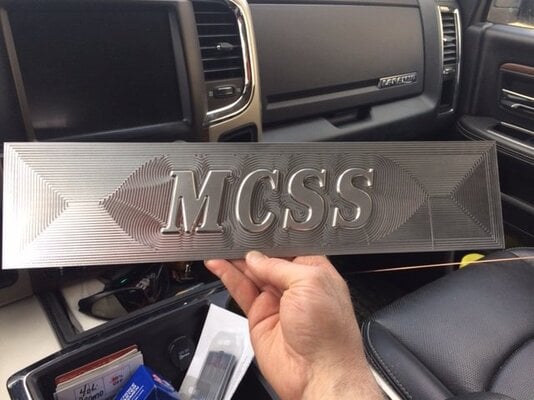
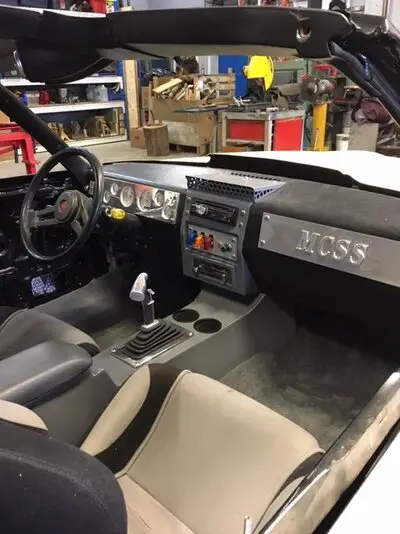
Still plugging away, drivetrain/suspension is all in, goes forwards and backwards, mission accomplished. Decided to build my own metal dash and console. Replace all gauges etc. Didn't want it to look to radical from stock but personalized enough to say I built it. Stainless screws hold the center portion and all access panels in place. Install a few pretty toggles for something later, couple skull knobs from electric guitar, Fuller screwdriver key to freak out cops. Finish is a medium coat of bedliner with satin coats of black and grey, clear coat over the top to protect a bit from UV. Instrument cluster is mounted in a Chevelle panel and a buddy from CNC shop made the MCSS plate for me. B&M shifter, couple basket type pen holders from stationery store work great for beer holders, whoops, I should say cup holders. Stereo, subs + amp mounted in the trunk, new carpet. Re-covered headliner and rear tray with black cloth, install overhead gauge pod for trans. temp gauge and clock, rear speakers.
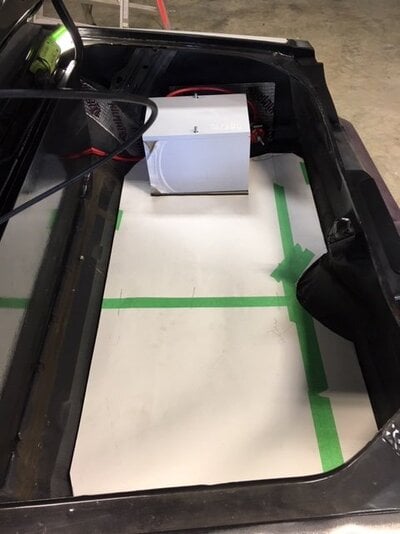
Next step, Trunk: carpet, build sides, finish battery box and shut off panel in the trunk.
Next step, Trunk: carpet, build sides, finish battery box and shut off panel in the trunk.
Attachments


Holy snappers! Nice work Brian!
That dash turned out awesome!
👍🏻
That dash turned out awesome!
👍🏻
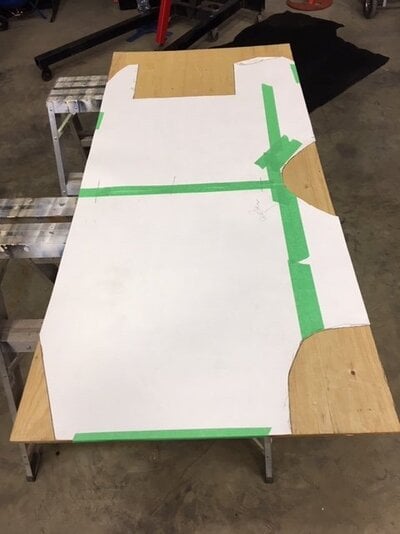
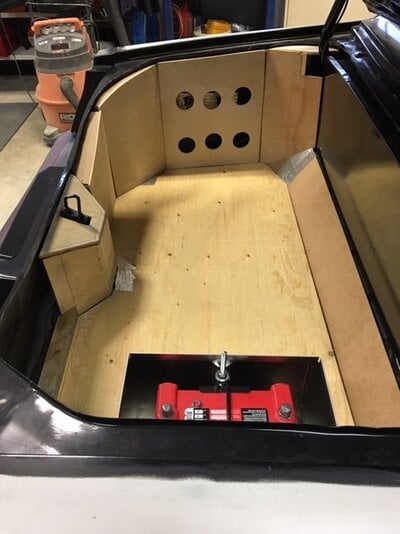
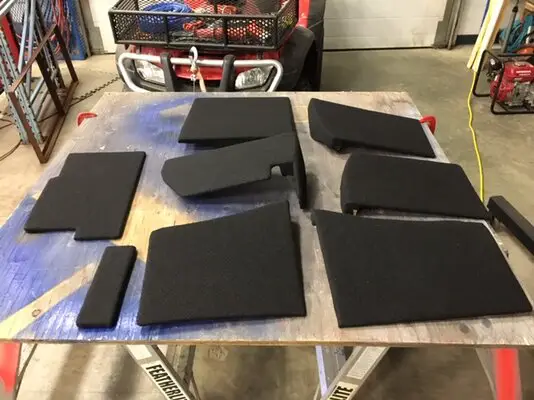
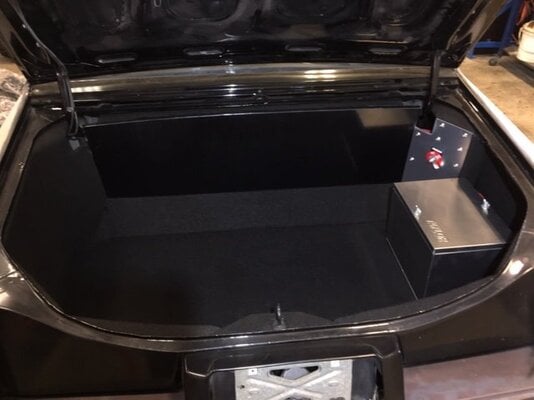
Got my *ss in gear again and started on the trunk project. Installed Taylor aluminum battery box and battery shut off. Covered back of sub enclosure with adhesive carbon fiber sticker. Templated floor, used 3/8" spruce plywood for floor, 2"x2" for frame, 1/4" birch plywood, 1/8" and 1/4" hardboard for sides. Birch and hardboard pretty flexible for wood and smooth finish. Black material is trunk liner, 3M spray contact cement for adhesion, and of course, and air stapler. All panels are held in place with friction fit and velcro so they can be removed. Sub amp is mounted behind panel with holes for a little extra air movement. Next, hopefully before Santa shows up, get'er in for some paint.
Attachments

The day finally came for the Monte to head for the body-shop and get painted. Finished up a few minor details, new water temp. sender, torque convertor lock up wire/switch, dangling wires, etc. and into the trailer she goes. Jus Cuz Customs in Edmonton will be her new home for a while. Upon return I will finish up with interior, exterior lights, side glass etc. The car has had all major body work completed, panels bolted in place, and one coat of primer. In my mind (comments not req'd) it was pretty damn good. Of course, when a REAL Journeyman bodyman looks at it you come back to Earth. At least Mitch (the journeyman) didn't run back out the door when he saw the car. I thought his estimate's below might be of interest to anyone trying to get a handle on the hours (and money) required to finish their project.
Estimated hours to complete body work/paint
Panel alignment on front clip 6
align and adjust front bumper cover 3.5
trunk panel align and adjust 1.5
Lt door alignment 1.5
repairs to exterior shell 8
clean exterior, mask and prime complete 16
prep exterior for refinish 38
R&I Sheet-metal 10
edge paint doors, trunk 6
exterior complete 14
add satin black for accents on
front cover, lower trim, window trim 8
de nib exterior 4
total hours 116.5
Merry Christmas and Happy New Year to you all!

Where'd you lift on to get the body off the frame? I'm afraid mine will disintegrate when I go to lift it.
- Status
- Not open for further replies.
Similar threads
GBodyForum is a participant in the Amazon Services LLC Associates Program, an affiliate advertising program designed to provide a means for sites to earn advertising fees by advertising and linking to amazon.com. Amazon, the Amazon logo, AmazonSupply, and the AmazonSupply logo are trademarks of Amazon.com, Inc. or its affiliates.