A little something to offend everyone

Status
Not open for further replies.

DRIVEN

Geezer
Apr 25, 2009
8,197
15,154
113
*CENSORED*
I guess this is technically a sub-thread from The Compound. Hang on to the end and you'll see why I thought I would offend every niche of the car community.
Chapter 1:
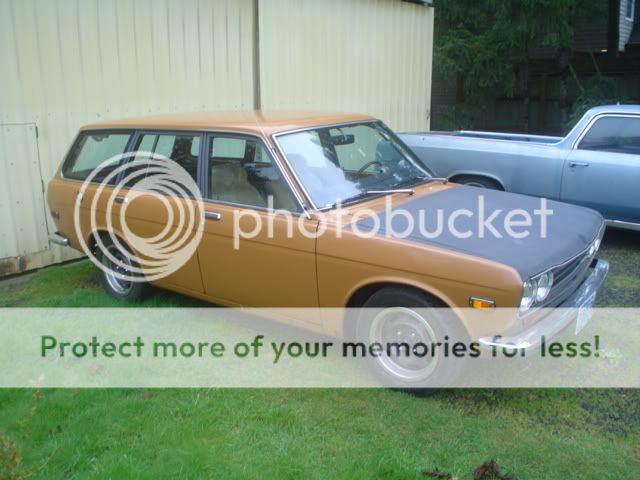
My wife drives a '95 Neon that we've had for 16 years. She loves it (she's a keeper, right?) but I know it isn't going to live forever. I've been looking for a suitable replacement for a few years. I actually was hoping she'd drive the Rambler wagon I had for a while but she just didn't like driving it. We finally settled on a Datsun 510 wagon. They're still pretty affordable, parts are available, it's pre-smog, they can handle well, and most importantly - she thinks they're "cute". I found the first one for $400 but it really had more body issues than I had hoped.

002-11.jpg

My brother is my bodyman and suggested I look for a better platform. I had it for a few months and got it running and driving. Mechanically it was actually well above average. I came across the second one at a local tow yard auction. The manager said it had a blown head gasket. I assumed the engine was toast. Here's how it sat when I got it home.
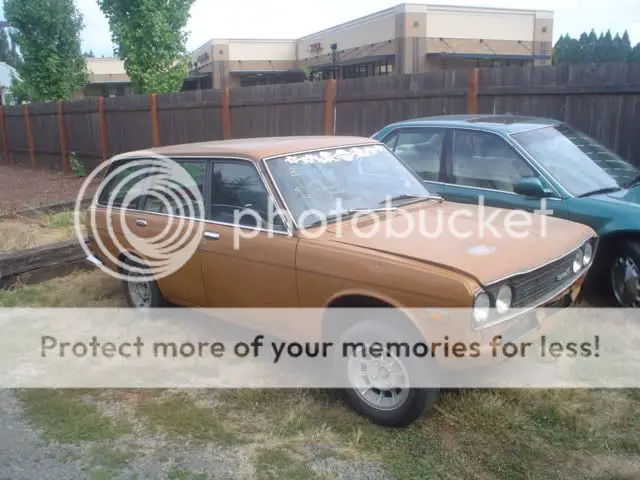
001-11.jpg

There actually IS an engine in it. The good news was that it had an L20b (2 liter) swapped in place of the 1.6 they came with. Not really a big deal because the engine was never intended to stay. I immediately started "operation un****".
Replaced the head gasket and leaking radiator then replaced the faulty, incorrect carb.
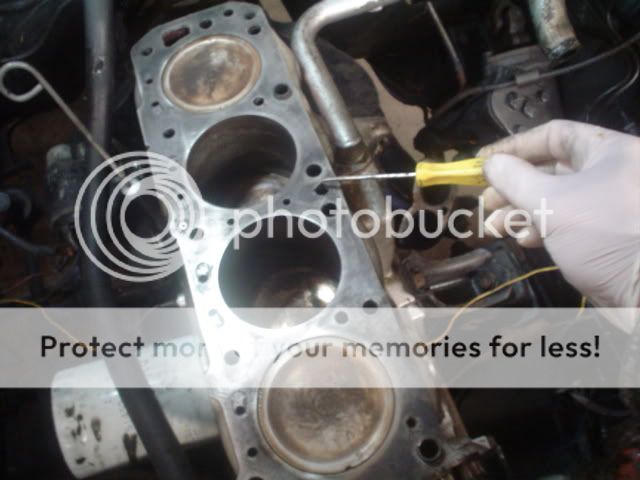
004-7.jpg

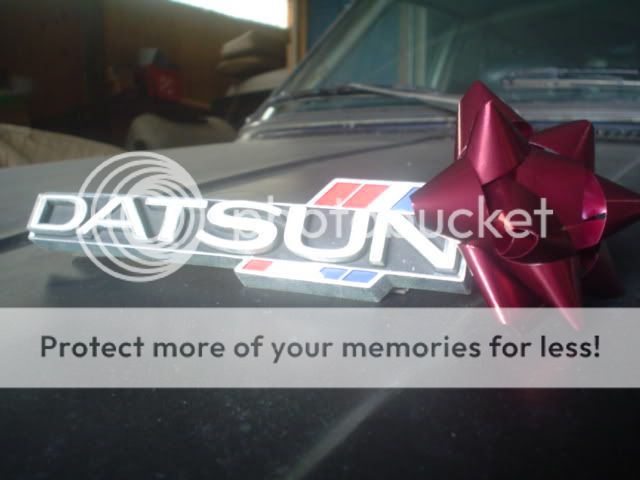
Removed the decals. Tossed the ill-fitting Cavalier seats in favor of a stock pair. Upgraded from stack steering wheel to a spare 240Z unit I had.
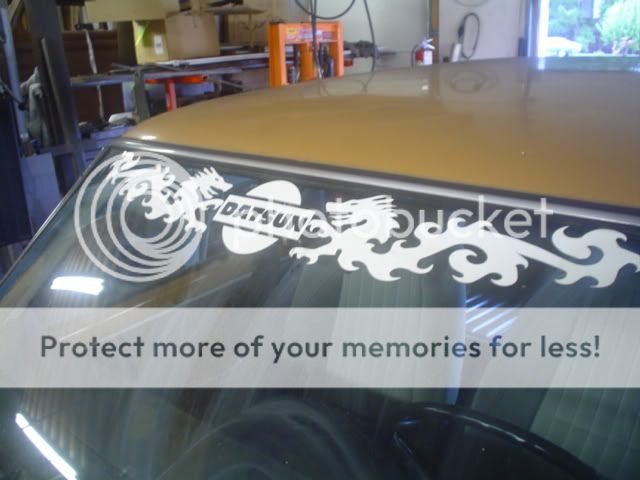
004-8.jpg

006-22.jpg

007-2.jpg

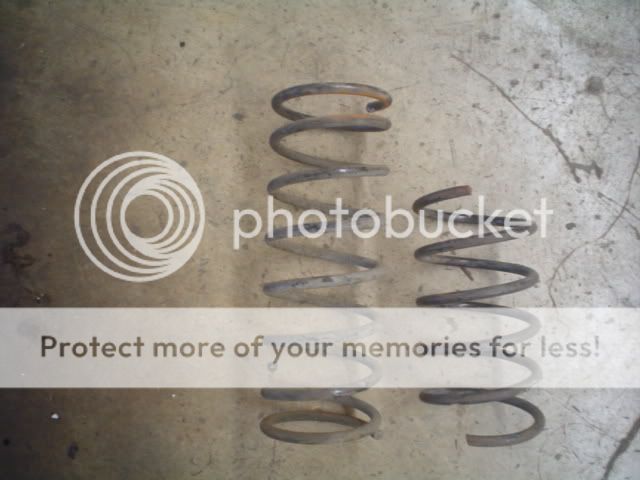
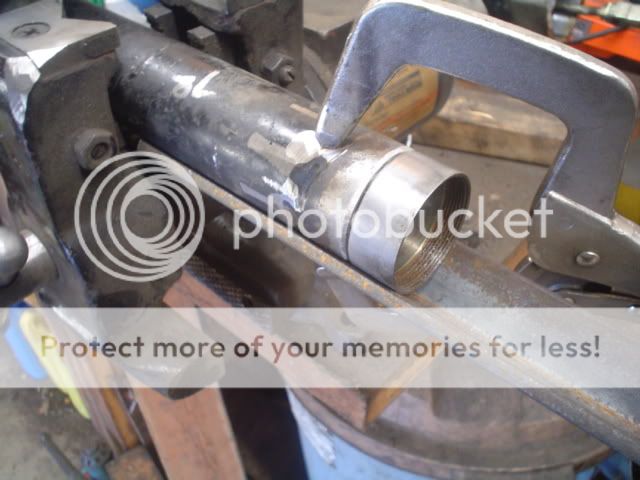
Next up was an altitude adjustment. I picked up some clipped stock springs from a buddy and ordered up some Toyota MR2 rear strut inserts. This is a fairly common upgrade for the front of a 510. In order to make them work you need to shorten the strut housings.
002-21.jpg

0122-1.jpg

Stock spring on the right, mystery spring on the left. Don't know why they were installed but the inside edges of the tires were wasted so I think they were used for a while. Makes no sense because there were 2" lowering blocks in the rear :roll: .
002-10.jpg

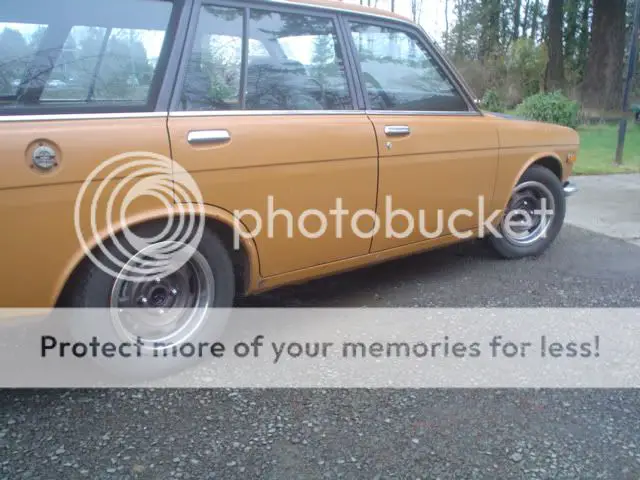
While I was at it I replaced some worn frontend parts and installed bumpsteer spacers. Also got some different wheels and tires they were red so I painted them and added a set of trim rings I had laying around. Much better!
003-17.jpg

Another common upgrade is replacing steel rear drums with the finned aluminum ones from a 240Z.

001-20.jpg
 
Those Datsun 510's were awesome cars and were so good they stopped making them...In one of your pictures in another thread I think I saw a white 240 or 260 or 280Z in your mega garage tucked in the corner...I luved those Z cars
 
Chapter 2:
Making it more acceptable.
Around Christmas time 2009 I sold the blue wagon.
Trailer008.jpg

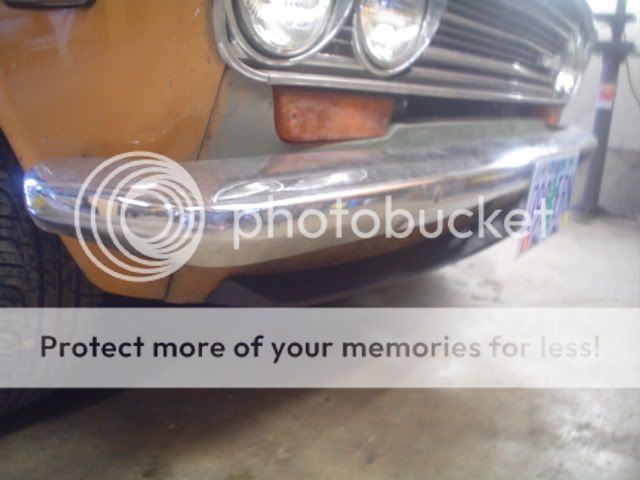
So at that point the pumpkin wagon was finally drivable. I did a little more clean up. Blacked out the hood to temporarily disguise some poor attempts at body work by a previous owner. Since the front bumper was missing and the valance was tweaked I addressed those issues too. The other wagon had a nicer grille so I swapped them out. Some 510 guys run a deep duckbill (chin spoiler) from the Mk1 GTI but I prefer the small version so one was ordered and installed.
001-35.jpg

002-24.jpg

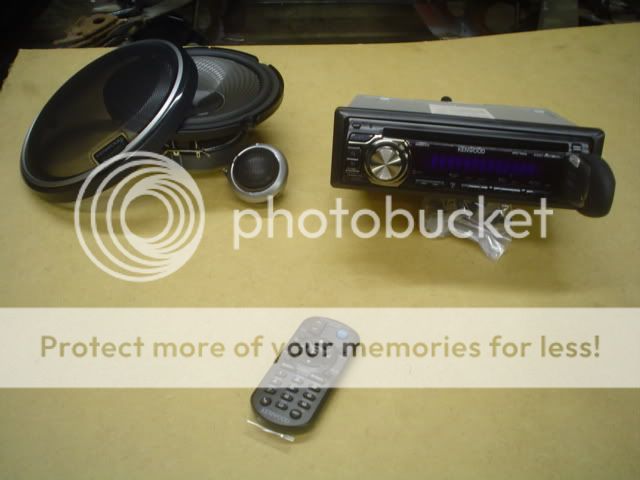
Needed some tunes:
003-24.jpg

002-26.jpg

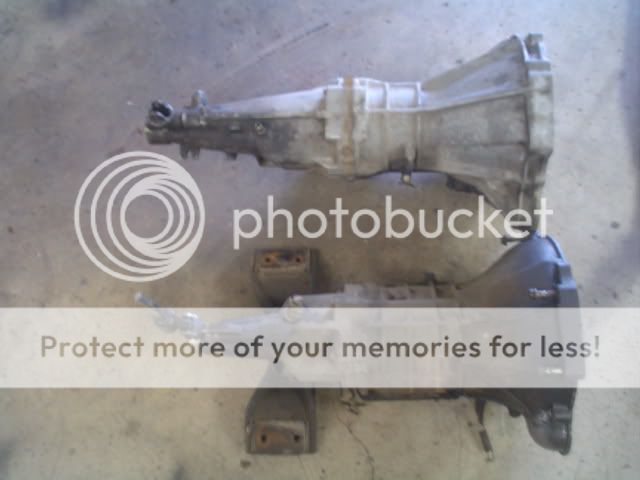
Around this time I stumbled across a deal on a 280Z 5-speed for $40. Like I mentioned earlier, I had no intention to keep the L-series engine for very long so it really wasn't necessary. I couldn't resist. The 4-speed (bottom) next to the new 5-speed (top). See anything different? Everything!
001-29.jpg

009-5.jpg

I needed to modify the crossmember, move the shifter hole in the floor, reroute the speedo cable and shorten the driveline. I showed the details (on a Datsun forum I belong to) of shortening my own driveline and got flamed hard about the "lack of safety" and my use of hose clamps to balance it. It was great for about 2000 miles and I should have ignored it but I finally let it get to me. I had a camping trip planned that involved an 800 mile round trip and figured I'd better "safe". I sent it to a reputable driveline shop and they screwed it up...twice, along with almost causing me to cancel the trip and costing $60 more than I was quoted. For the record, it was smoother after I shortened it and before they "did it right".
Before the camping trip I decided to investigate some inop dash lights and discovered that the dash harness had experienced a "thermal event". Once I replaced a couple wires I found that all the lights worked and my gauges were now accurate. The trip went off flawlessly. We loaded my car with the stuff and the dog. My brother and his wife and kids did the same in his '69 Volvo wagon. We spent a few days at Wallowa Lake and had a great time. Both cars ran great!
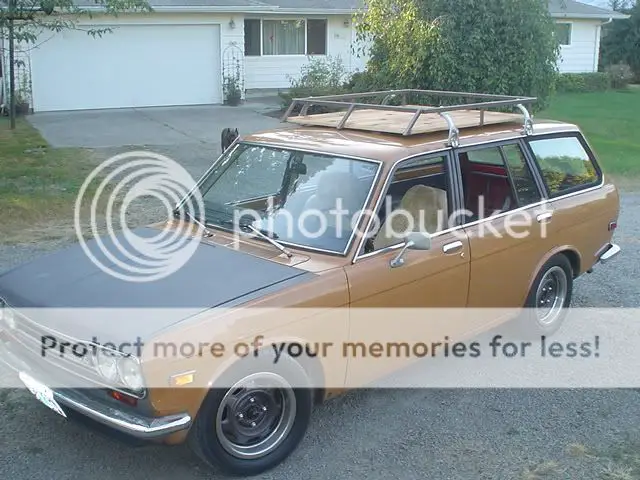
The car stayed basically just like this and I drove it all summer.

*Edit. Also fabbed up a safari rack. It was a little crowded on the trip so I figure I'd be ready for next time.
010-10.jpg
 
Neat little car. Normally I don't admit this because of what you mentioned goes with it.....I ran my malibu with a home shortened driveshaft for about 3 or 4 years, never an issue. The only reason I stopped using it is because I went from a 7.5 to an 8.5, and I found a direct fit shaft from another car, so I didn't have to shorten it again. I trust my fab work, but others get bent when they see or catch wind of that sort of thing :roll: .
 
Yeah, the ones who were most vocal really didn't understand what I did and were under the impression that the balance clamps were somehow holding it together...idiots :lol: .
 
Nice work. What do they think a driveshaft shop does? Wittle a billet driveshaft? They weld it of course. And the GM factory manuals all say to use hose clamps to check for out of balance shafts. Sheesh.
 
  • Like
Reactions: ssn696
Chapter 3:
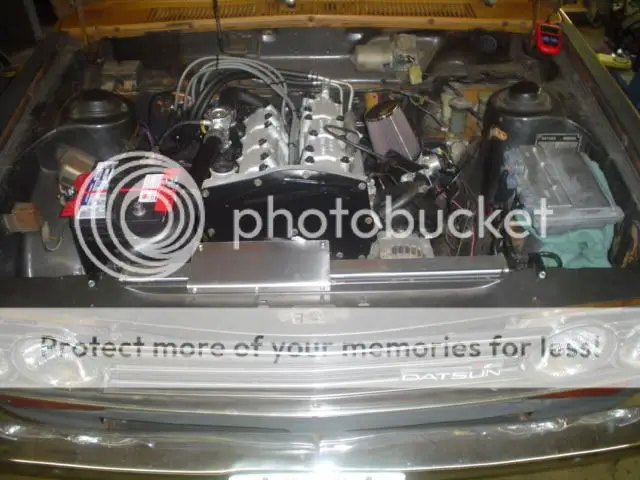
Here's where it starts to get offensive. Datsun guys are generally a pretty cool crowd. However, they do have a pretty short list of "acceptable" candidates for engine swaps. As long as you are sticking with an L18, L20b or any of the LZ variants everyone is happy. Those are pretty much like putting a 350 or 327 in place of a 283. Most Datsun guys are really receptive to the idea of newer Nissan engine too. The KA24E, KA24DE, CA18DET, SR20DE(T) and VG30 are all pretty common nowadays. The equivalent to a TPI, LT1 or LS swap. You won't be too ridiculed for a rotary either - as long as it's fast. It's actually kind of rare that any other swaps get completed. I knew I wanted a more modern engine but I don't like Nissan's engine control systems. Plus, they've all been done. I went on a search for an alternative. The criteria was as follows; it needed to be reliable, economical, readily available and have reasonable power. I considered Ford 2.3 turbo, Volvo turbo, Chrysler 2.2 turbo, VW TDI, even GN 3.8. The one engine I always liked the idea of was the 2.3 Olds Quad4 and it's variant the 2.4 Twincam. They run good and I just think they look cool. I decided to go with the newer 2.4 Twincam. Yeah, that oughtta piss everyone off!

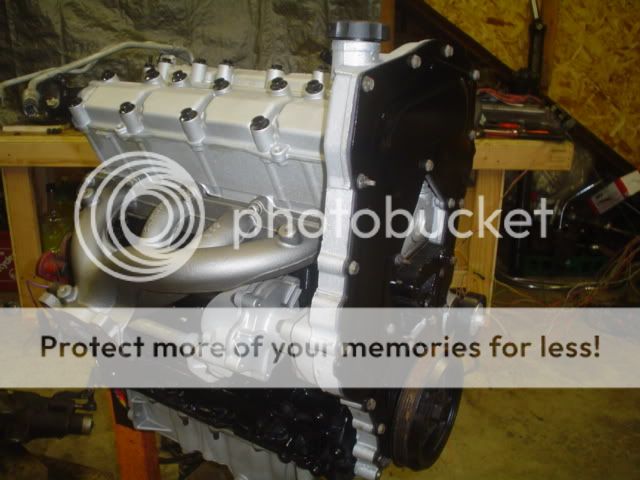
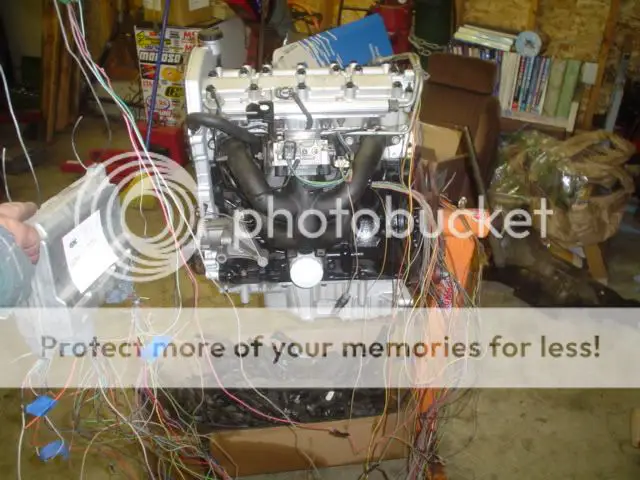
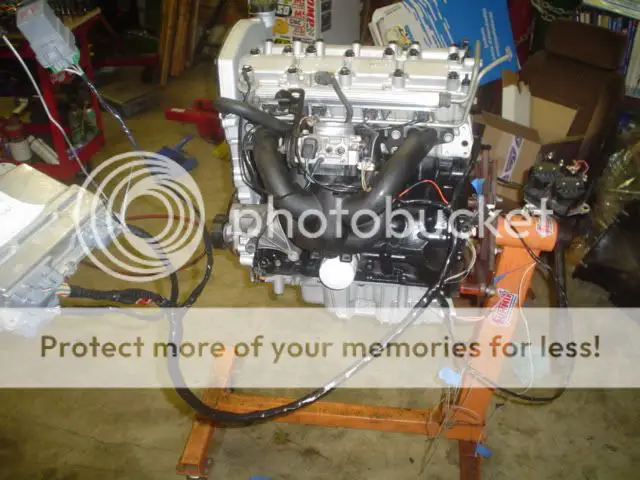
I went out to PicknPull on 1/3 off day and pulled an engine, harness and ECM from a Grand Am GT. Total cost was $165 and included all accessories. It had some pretty substantial body damage so I figured it might be a safe bet. I was wrong. After a few months in the corner I pulled it out and started to prep for the swap. I ordered a gasket set and water pump and set out to clean it up. Once I pulled the pan I thought I'd pull a rod cap just for kicks. Glad I did, 3 of 4 were spun. URG! As luck would have it a half-off sale was coming up. Replacement engine from 2000 Alero that was slammed hard in the butt. This one had to be a runner. Even better, it had a GM replacement sticker on the timing cover. All cleaned, sealed and ready for harness work.
004-20.jpg

001-42.jpg

The harness needed the automatic transmission, ABS, EGR, AC, PS and SRS circuits dissected. Part of the discard pile.
003-28.jpg

002-31.jpg

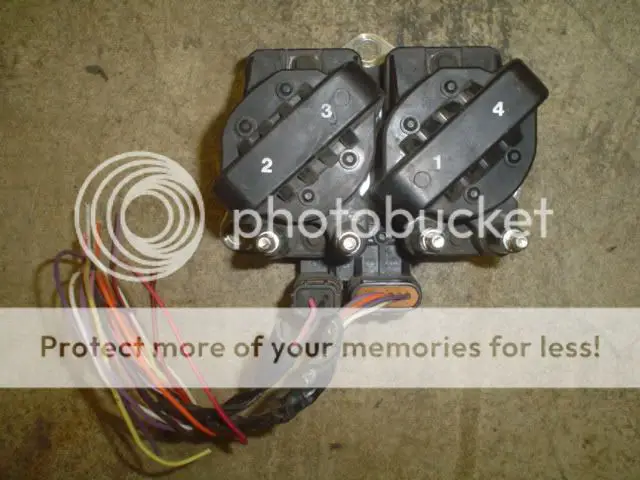
I also did an ignition system modification. One of the common complaints/problems with the quad is the ignition system which sits between the cam towers. Too much heat and general neglect earned a poor reputation. I wanted to run without the cover anyway so I converted to remote coils from a 2.2 in a Sunfire. Easy upgrade because the wiring is fairly standardized. Plugs were different but wire colors are the same.
005-14.jpg
 
  • Like
Reactions: L92 OLDS
My buddy had a B210 back in high school. It was actually a fun little car for what it was. The thing I remembered most about it was that damn aggravating door chime!

There's quite a following for the older imports. The early Corollas and Mazda RX's from the 70's & '80's are pretty popular too.
 
  • Like
Reactions: DRIVEN
Chapter 4:
Making it fit.
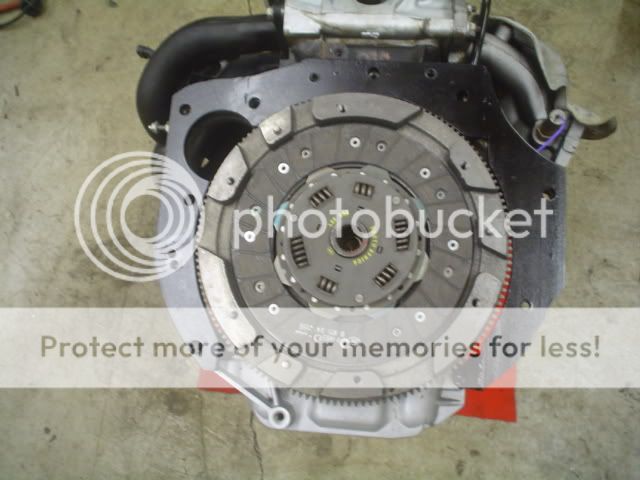
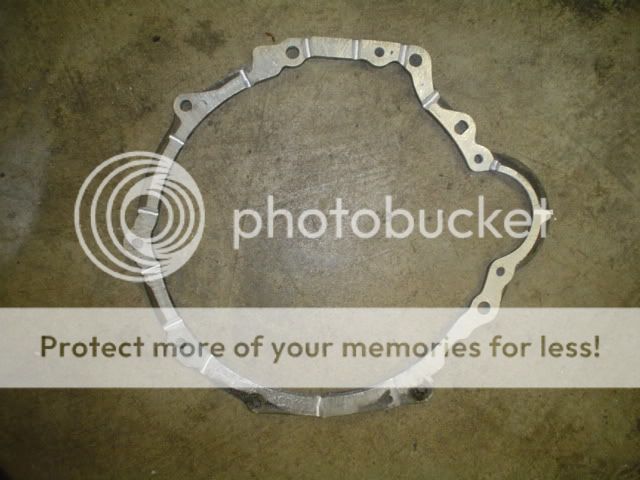
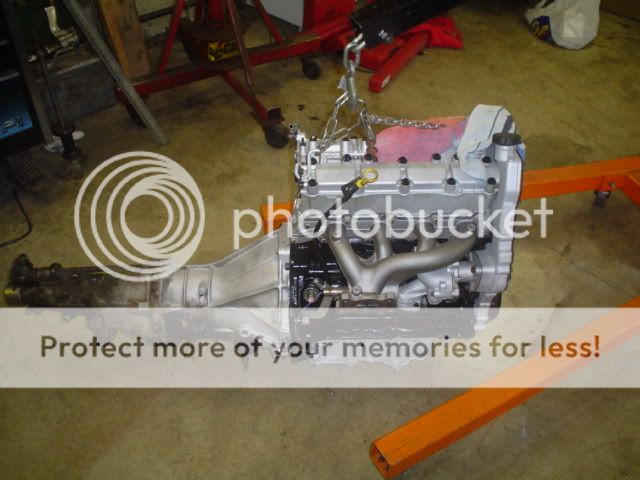
The 2.4 Twincam was never offered as a RWD and it has a unique bellhousing pattern. There was a company making a bell that would allow you to bolt a T5, Muncie, etc and also an adapter for automatics. They cost $550+. Since I had spent the money on the driveline I decided to adapt my $40 5-speed to the GM engine. After doing some research I found that the Datsun clutch disc was exactly the same diameter as the GM. Nice! I ordered a flywheel and pressure plate for the quad and a disc for the Datsun. I reused the throwout bearing and fork from the Datsun too. I found that the 1 wrap of shim stock around the Datsun pilot bushing made a nice tight fit. Next I made an adapter plate out of 3/8" plate. Nothing fancy here:
002-32.jpg

I was feeling pretty good up until this point. I was using my old 4-speed for mockup and everything looked good on paper. When I went to slide everything together and looked through the side I found this. Not enough spline engagement. URG AGAIN!
003-30.jpg

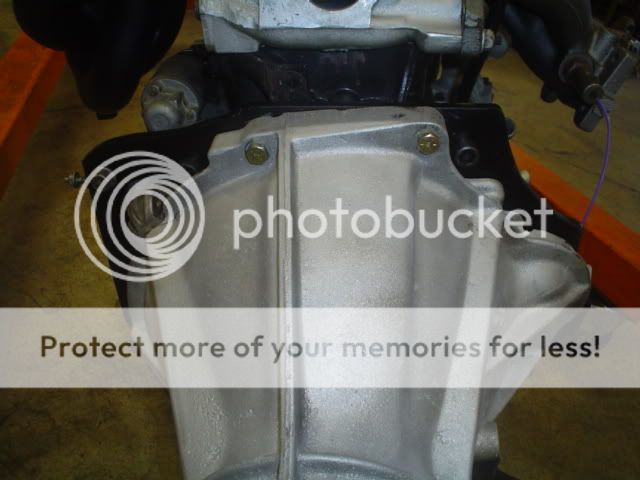
So what's the solution? Yup, cut the bellhousing back. Luckily, there is a ton of meat to work with. I scribed a 5/8" line all the way around and went to work. Problem solved.
013-4.jpg

007-6.jpg

006-14.jpg

Random wife shot:
DSC00750.jpg

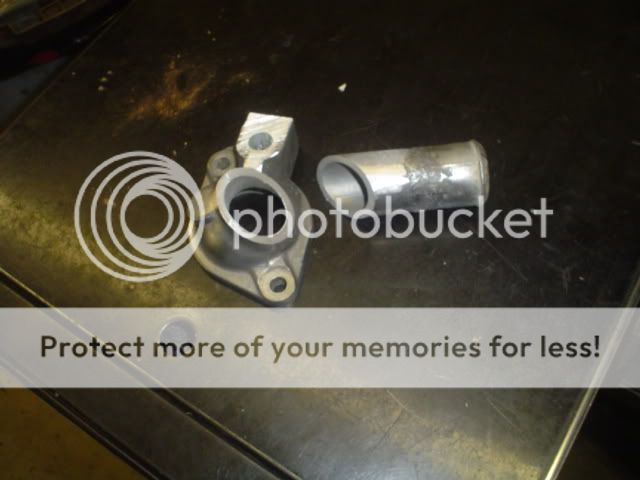
Another fitment issue is the "thermostat" housing. The thermostat is actually under the water pump and the original outlet is plastic and points straight out of the back of the head. I found one from an earlier quad and 45ed it. I don't weld aluminum so I got a buddy to do it for me.
005-15.jpg

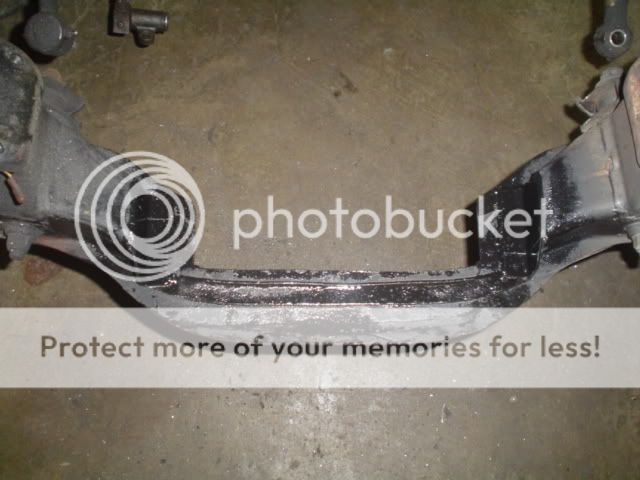
Next up was a trial fit. I knew the Twincam is a tall engine and was certain that I'd have to section the crossmember. My measurements indicated it would fir under the hood - but just barely. I slipped it in and attached it at the transmission mount, marked the crossmember and pulled it back out. Trimmed as needed and reinforced on the bottom side.
004-23.jpg

Slid it back in and fabbed mounts to bolt to the block and set in the original Datsun rubber motor mounts.
When I tried to close the hood I found that the oil fill cap hit the inner hood brace. I shaved the cap and carefully made a pocket with a hole saw. Everything fits under the hood!
 
Chapter 5:
Getting ready to run.
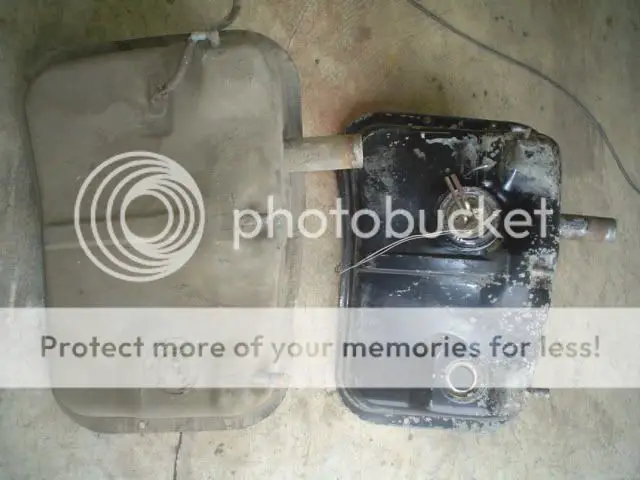
So the engine is in and I need to hook everything up. Starting at the back, I picked up an extra fuel tank. My brother welded in a fuel pump hanger from a C/K pickup. I gutted the sender portion and installed a new '89 Calais fuel pump.
008-7.jpg

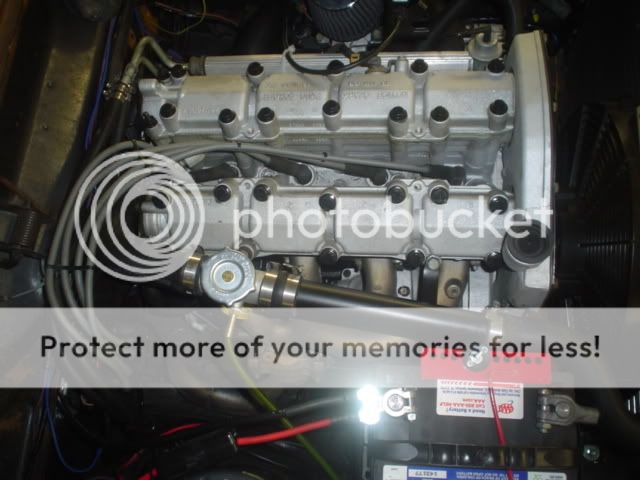
I ran a feed and return line up to the front and installed a permanent fuel pressure gauge. Next, I tackled the exhaust. The manifold is on the passenger side and the Datsun system goes down the driver's side. I got a mandrel bent "J" bend kit from Speedway and joined it all together. Kind of visible here:
008-10.jpg

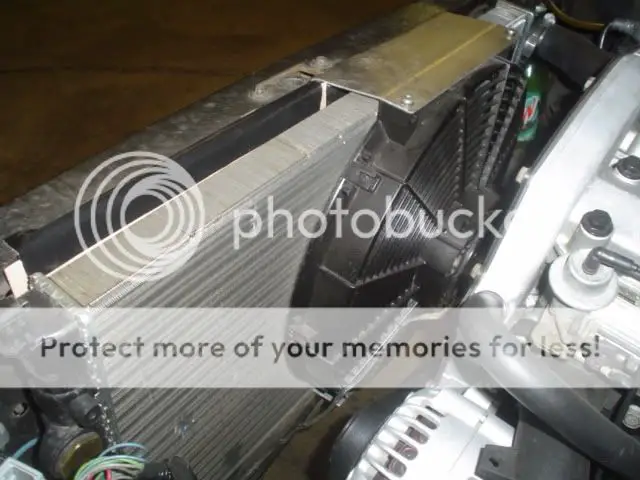
It's also a good view of where the coil pack is mounted to the firewall, the coolant fill point in the return pipe and the snug clearance around the battery. I found that a '98 Jetta radiator was a perfect fit and the inlet/outlet are in the correct position. It's also very efficient along with being cheap. The electric fan was salvaged from a buddy's Landcruiser project. Mounts were obviously pretty simple.
002-42.jpg

001-51.jpg

Another random wife shot:
8-13-06010.jpg

The air filter was supposed to be temporary until I got a cold air system built. It's still there :lol: .
I layed in the harness and hooked up the ECM. Then I connected it to the necessary grounds and power sources. Almost time to hit the key.
008-8.jpg
 
Status
Not open for further replies.

GBodyForum is a participant in the Amazon Services LLC Associates Program, an affiliate advertising program designed to provide a means for sites to earn advertising fees by advertising and linking to amazon.com. Amazon, the Amazon logo, AmazonSupply, and the AmazonSupply logo are trademarks of Amazon.com, Inc. or its affiliates.

Please support GBodyForum Sponsors

Classic Truck Consoles Dixie Restoration Depot UMI Performance

Contact [email protected] for info on becoming a sponsor