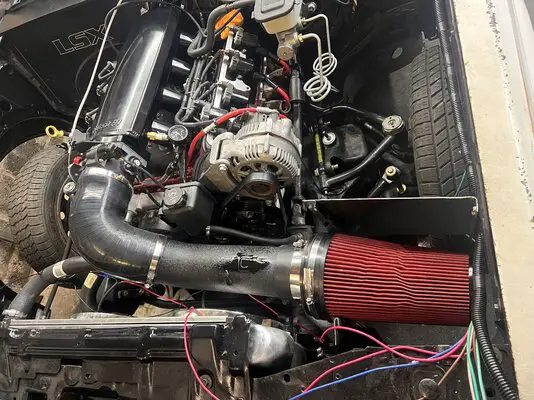
Make sure you get any residual fluid out of your calipers before doing the dot5.1.
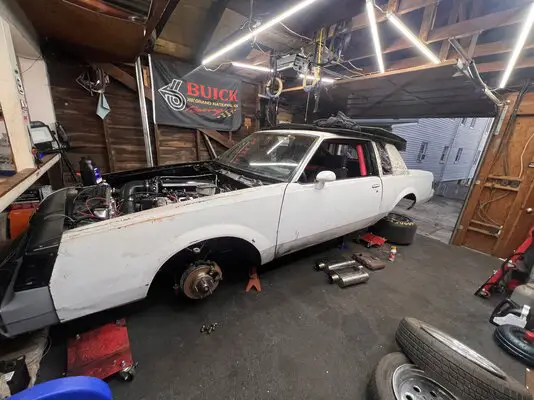
I think that rear should hold up fine until you decide to change it up.
I think that rear should hold up fine until you decide to change it up.

Calipers and lines are all brand new, and have never been filled, but 5.1 is compatible with DOT 3 and 4. DOT 5 is the one you cannot mix since it’s silicon based and doesn’t mix with glycol based.Make sure you get any residual fluid out of your calipers before doing the dot5.1.
I think that rear should hold up fine until you decide to change it up.
I did read about the 5.1 but got it mixed up with the 5. Thanks for setting me straight.Calipers and lines are all brand new, and have never been filled, but 5.1 is compatible with DOT 3 and 4. DOT 5 is the one you cannot mix since it’s silicon based and doesn’t mix with glycol based.
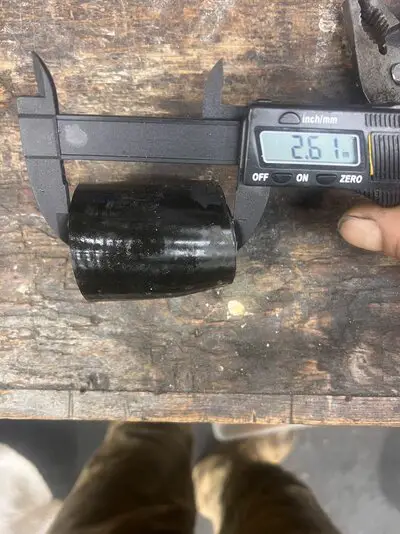
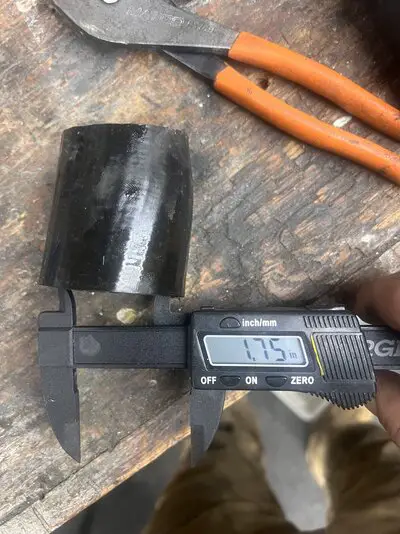
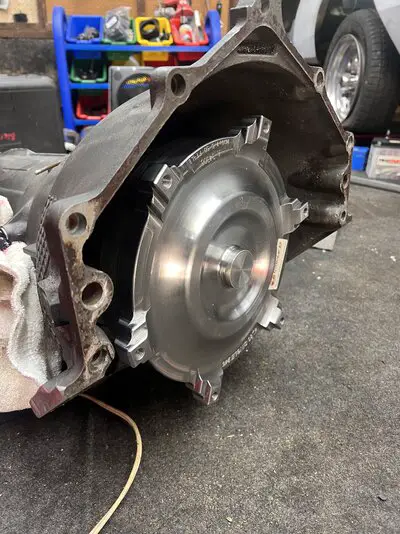
The gears are toast, extremely worn but will
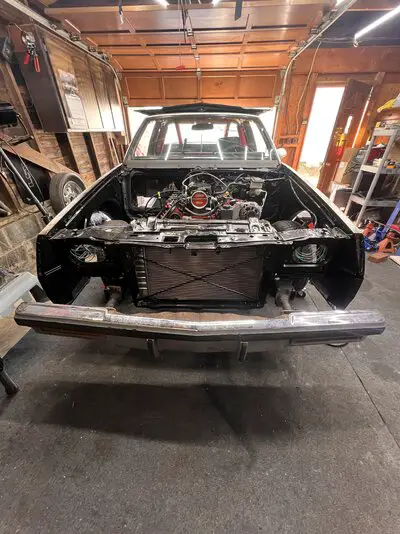
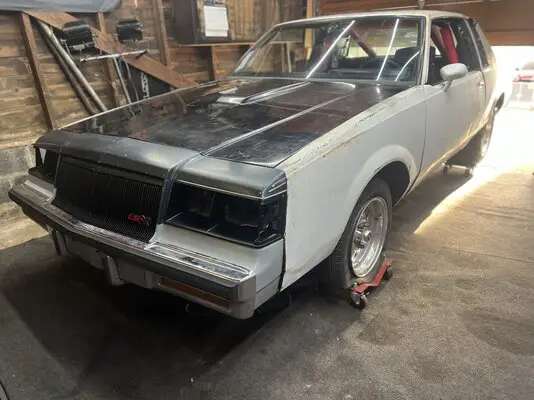
Get the car moving around the block and a few test drives lol I would say the backlash is like 1/8th inch lol 🫢
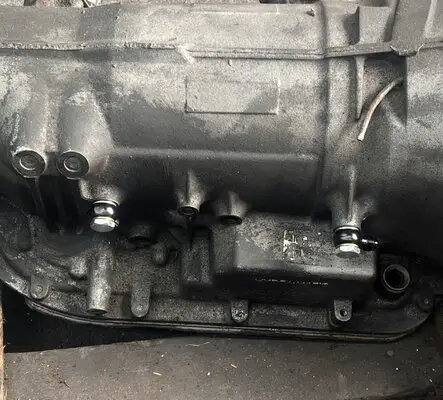
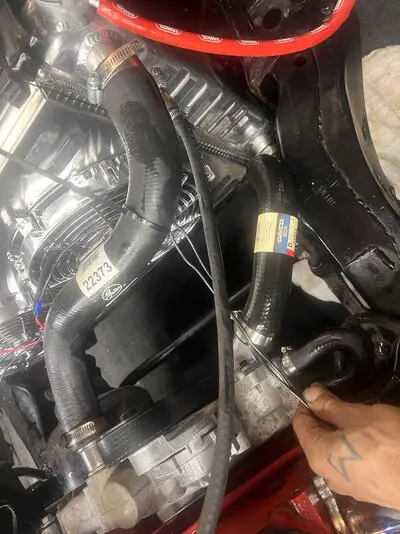
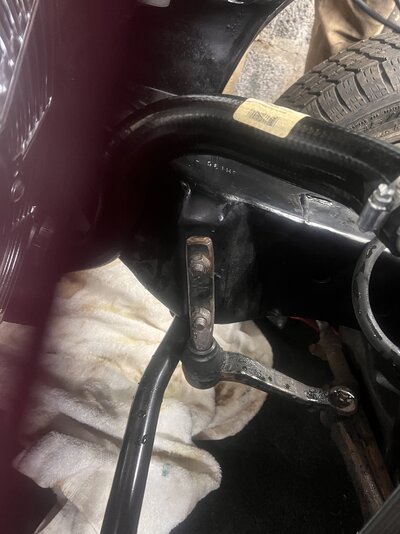
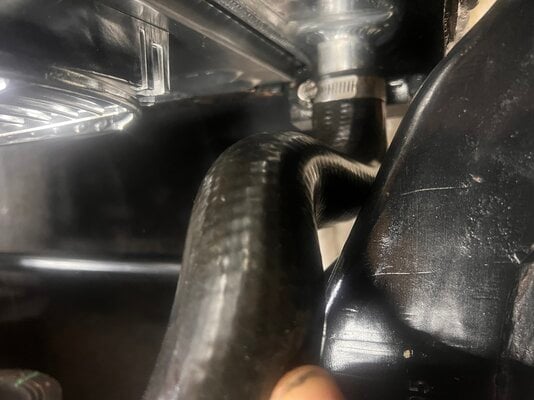
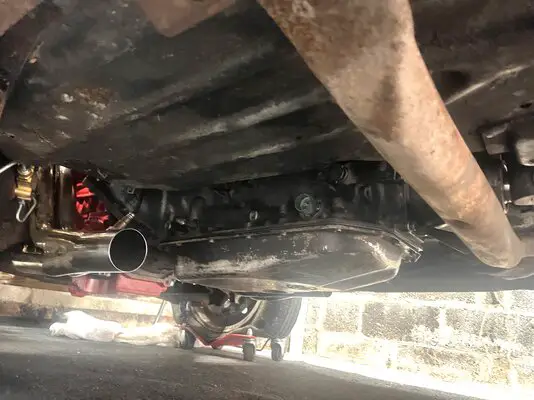
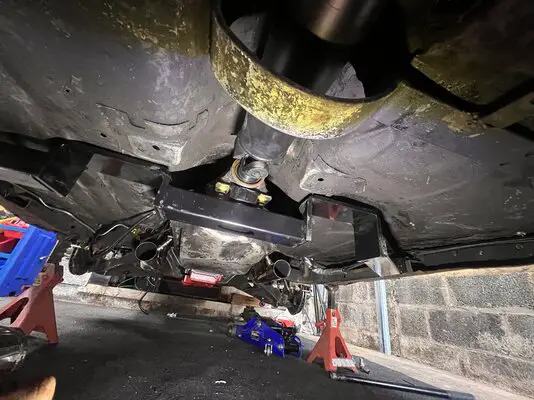
Read an article about those banjo fittings and how they can reduce flow. Just an FYI. Many use 90 degree fittings and hammer a little clearance to the tunnel.
Yup, rear fitting is longer, and needs to protrude into the case, and is also the return (cooled) side, front is short and the cooler feed (hot) lineIt's been awhile for me but I know one of the fittings (rear i believe) has to be a longer internal tube for proper lubrication. There are many threads out there about the restriction from banjo fittings but the one I'm looking for was specifically by an expert trans builder. May have been a magazine article 🤔
GBodyForum is a participant in the Amazon Services LLC Associates Program, an affiliate advertising program designed to provide a means for sites to earn advertising fees by advertising and linking to amazon.com. Amazon, the Amazon logo, AmazonSupply, and the AmazonSupply logo are trademarks of Amazon.com, Inc. or its affiliates.