BUILD THREAD Beautifying Beverly- We're Going Retro, Baby!

Sweet_Johnny

Has A Face For Radio
Supporting Member
Oct 4, 2022
1,961
3,677
113
39
Wichita, Kansas
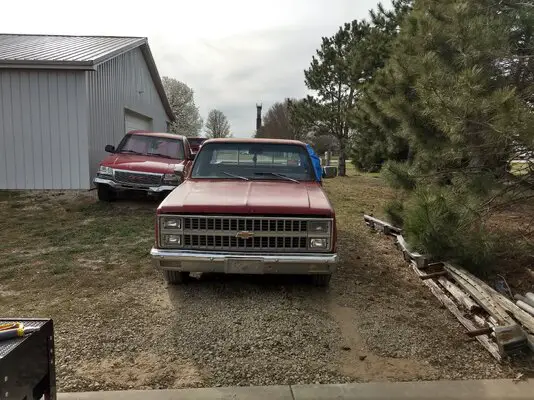
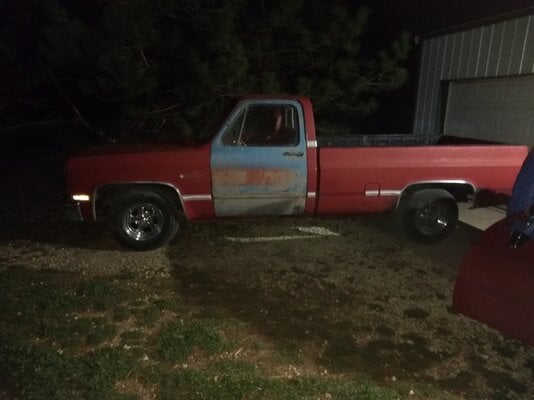
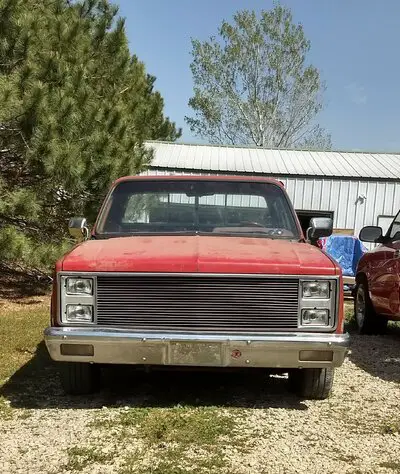
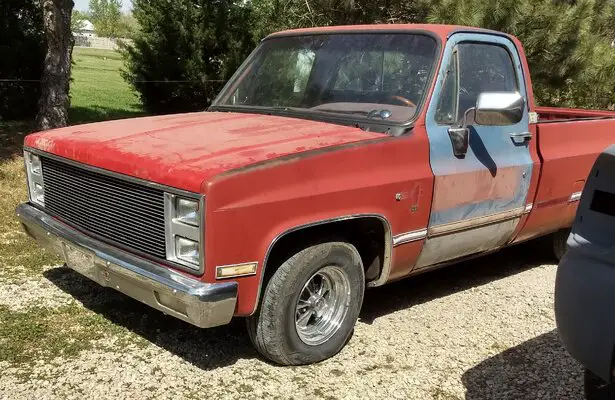
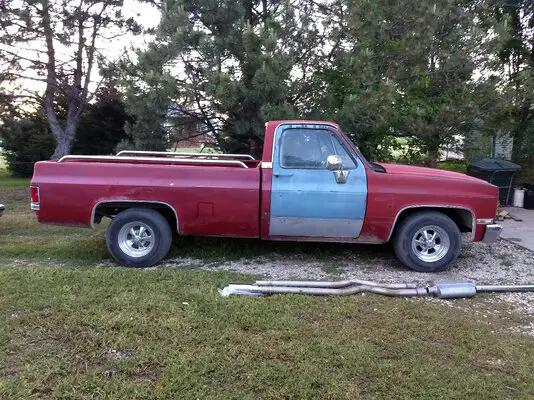
I felt it was time to start a build thread for my '81 C10 Silverado (Beverly) instead of continuing to clog up the "Non G Body" thread, so here we go. Many of you might be familiar with her already due to previous posts so the first one or two here will be rushed but still contain many pictures.

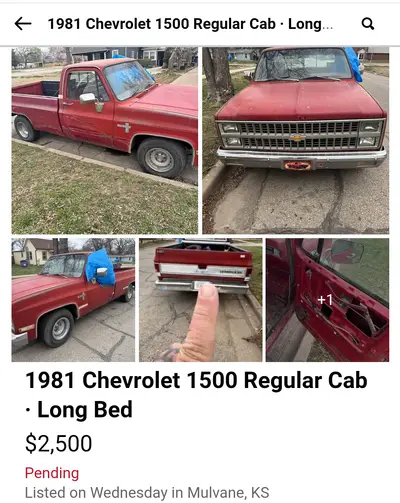
Short story: Had a truck picked out on Marketplace but the guy wasn't serious. After many other failed attempts I hopped on one last time while discussing said attempts with my father, and stumbled across something I could work with.
Screenshot_20250320-215824~2.png

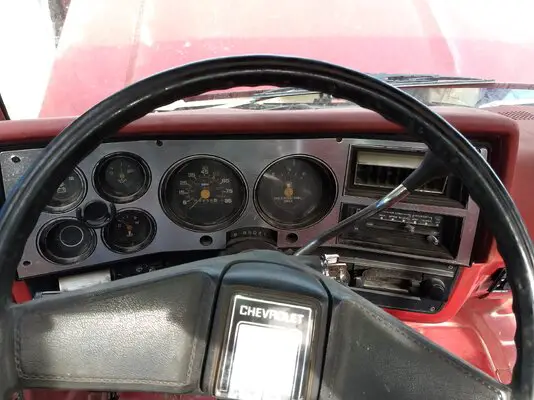
It was listed as being in my home town but was actually south of there, and the drive from my current residence was about the same so I immediately responded and went to check it out 2 hours later. I knew that it would have multiple issues at that price but figured a straight frame and a strong drivetrain made it worthwhile if the damage was within my purview, and I believe it to be so. There's just a lot of it to deal with. After seeing the mess, being warned of a transmission leak, and hearing it run a deal was struck for $2,200 cash. The following day I got a ride down to drive her home and get a feel for just how deep I stepped in "it", and the drive was quite informative: the speedo, temp, & fuel gauge didn't work; the brakes were abysmal; she shimmied down the road (quite violently at the time); the steering is shot; and the cab bounces on the frame. But she fires right up, doesn't smoke, and hits every gear.
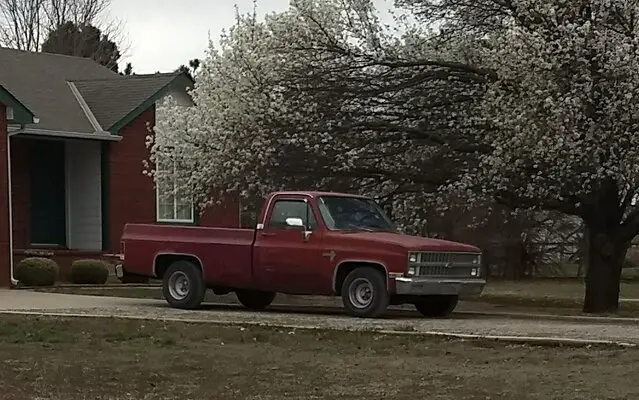
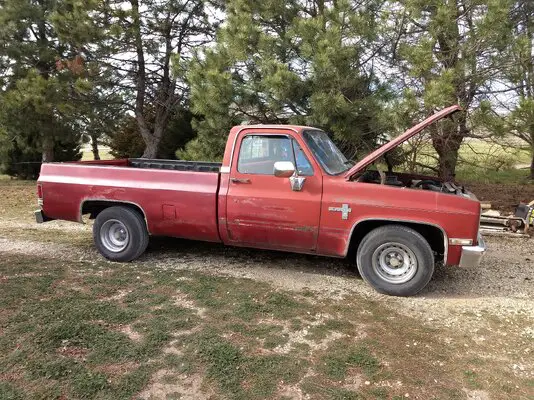
IMG_20250322_143058135~2.jpgIMG_20250323_171014114.jpgIMG_20250323_171028969_HDR.jpg


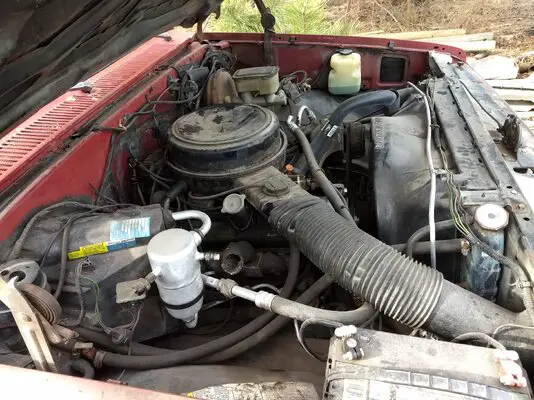
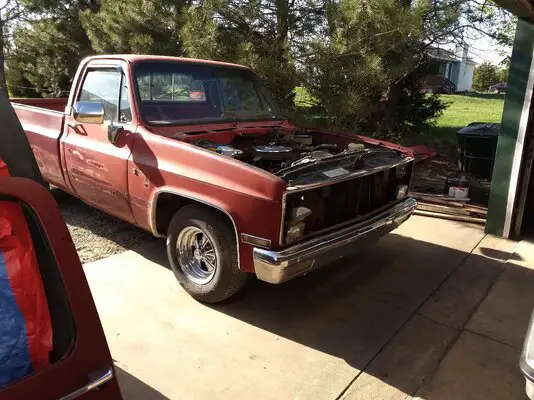
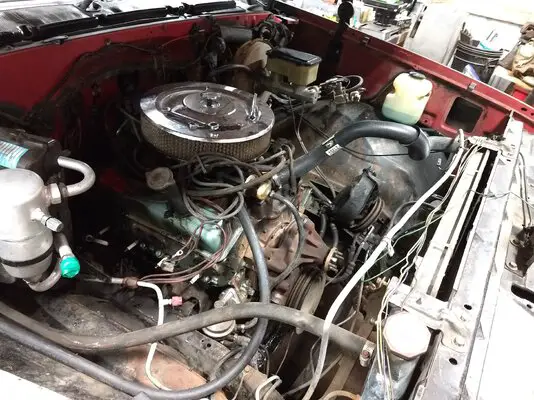
Quite a few things under the hood were left disconnected after being tampered with, as the engine has supposedly been rebuilt and the transmission definitely got replaced at some time- actual mileage or specs on these is unknown. She's equipped with ESC but the knock sensor wire is cut/missing and the "tip in" vacuum switch is plugged, which jives with the replacement th350 transmission not needing it to control converter lockup. The ESC module is still wired (not bypassed) and provides spark but no ignition retard as it never thinks it needs to.
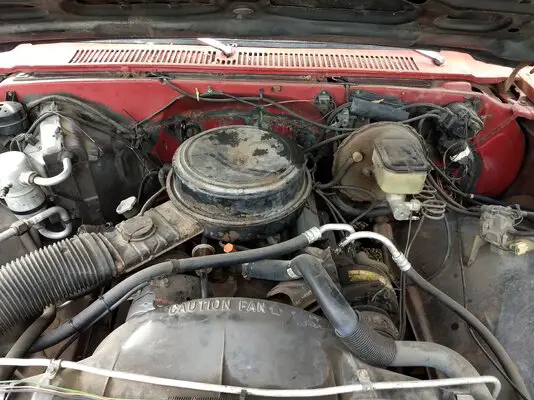
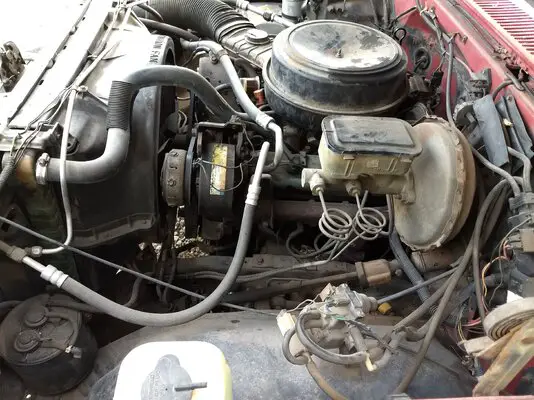
IMG_20250323_171040344.jpgIMG_20250323_171045968.jpgIMG_20250323_171052564.jpg


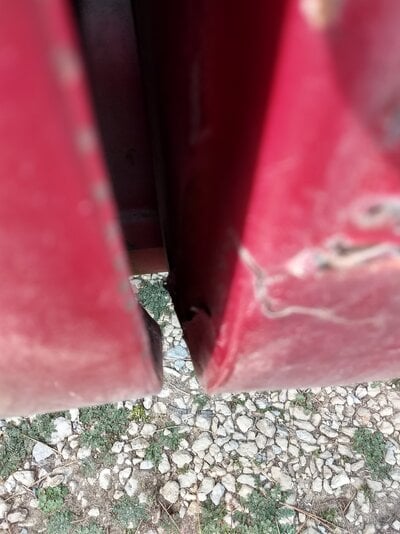
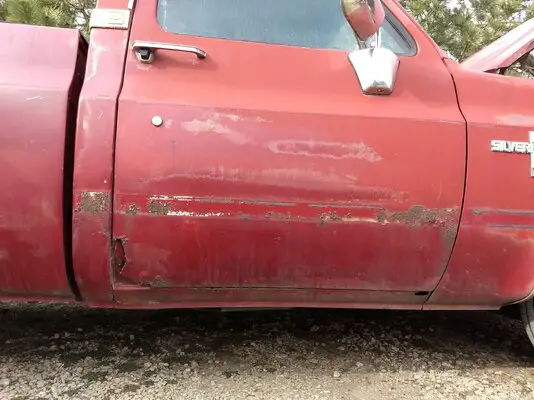
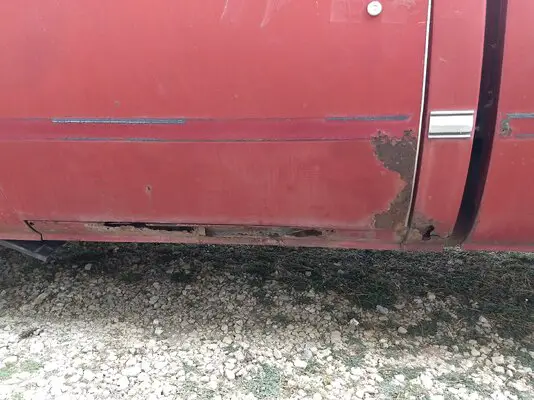
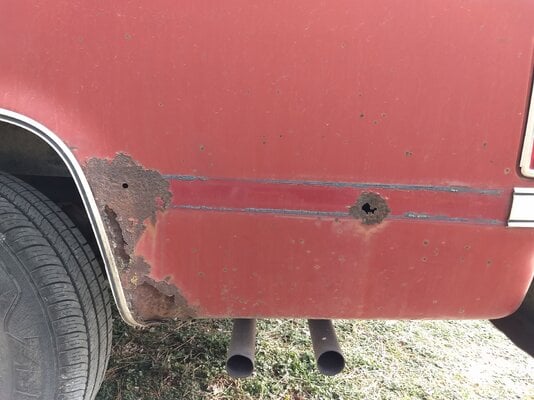
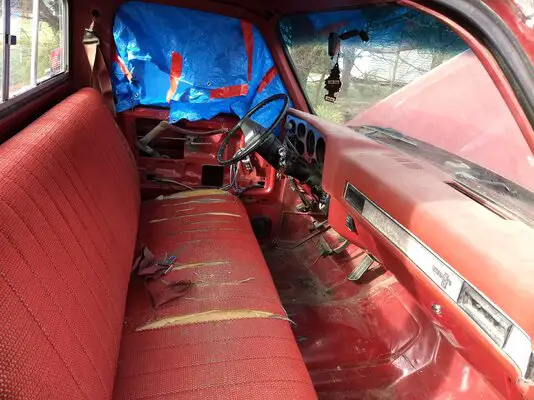
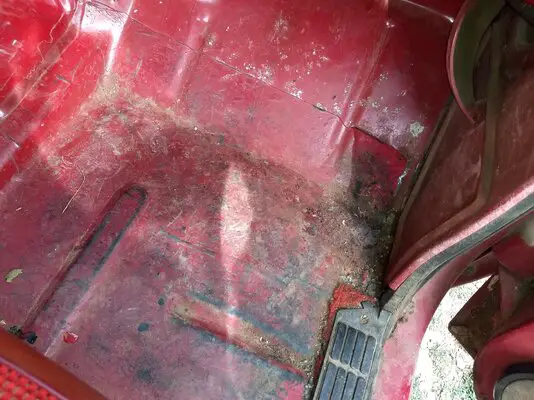
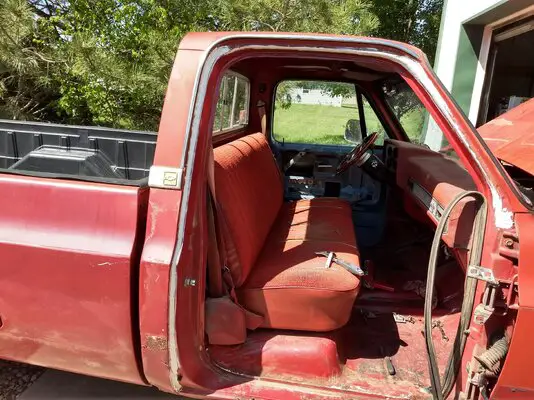
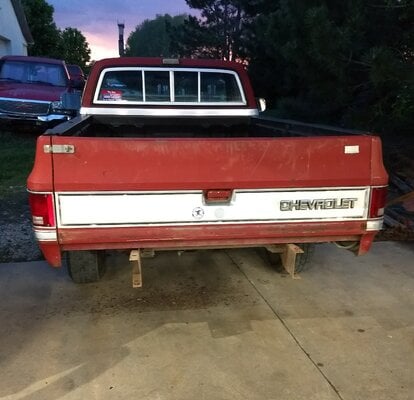
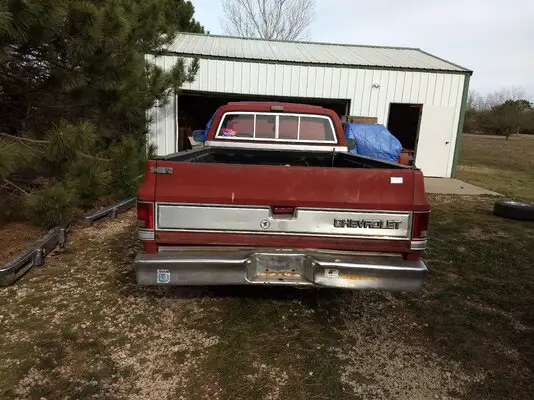
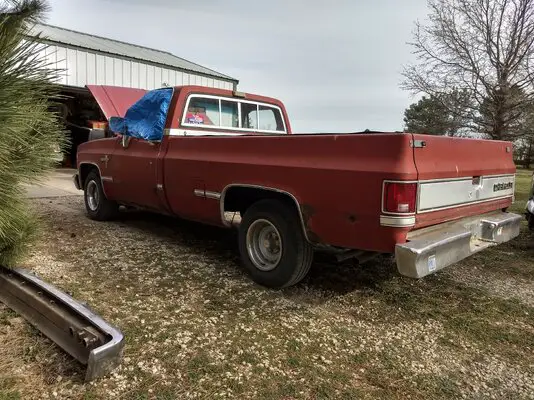
The body has a decent amount of rot and requires body mounts, new sealer everywhere, cab corners, outer rockers and possibly an inner, inner fender patchwork, doors, a hood, a complete interior, a rear bumper, and the bed needs attention by the wheel wells as well as underneath- the bracing is toast and the bolts are toothpicks. I have yet to check under the plastic liner. 🙄
IMG_20250323_171102631.jpgIMG_20250323_171113494_HDR.jpgIMG_20250323_171215523_HDR.jpgIMG_20250323_171159152.jpgIMG_20250323_171130556.jpgIMG_20250323_171140490.jpgIMG_20250323_171322070.jpgIMG_20250323_171316035.jpgIMG_20250323_171344197.jpg

Now, don't you worry your pretty lil head about how much the ol' gal needs: I held onto a boatload of parts (some new) from multiple squares that I've owned over the years and have a few twists in store as well.
 
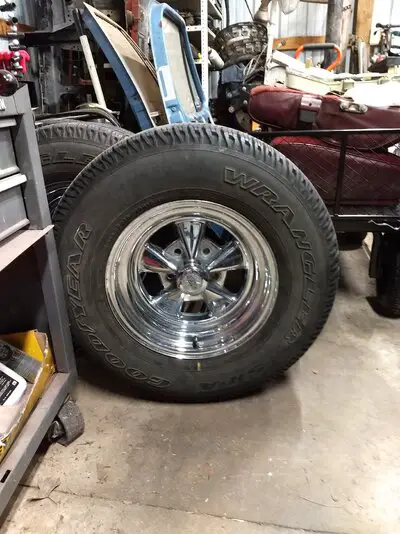
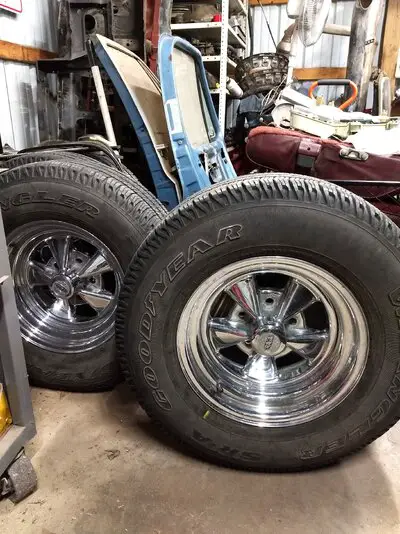
After scrolling Marketplace for parts to accentuate what I had in storage I went to go get Beverly's tires re-mounted onto some Cragars I bought for $250. The Wranglers were old as hell and visibly cracked all over, as well as having various deformities due to how they were stored. They don't look so bad in the pics but one had a sizeable leak at the bead and I figured the No Names she came with were a better choice than the May Pops. Check out the blue bunny ears.

IMG_20250327_225206009.jpgIMG_20250327_225345612.jpg


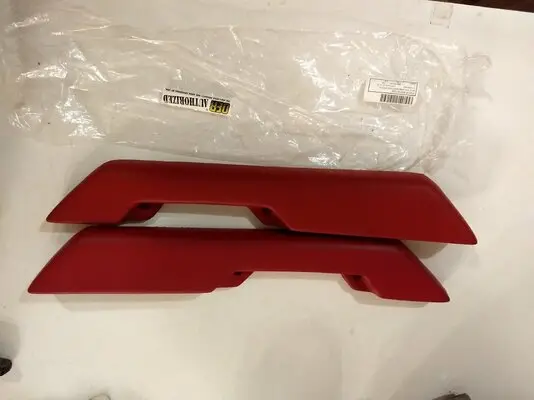
I purchased new bolt- in valve stems and a gang of new Dorman Mag lug nuts, threw a bunch of stuff in the truck, and went to the salvage yard since I trusted Ken to do the work more than the yahoos at the tire joints. After dropping off the Cragars for dismount I headed North to pick up some OER arm rests but ran into massive trouble when I simultaneously ran out of gas and plugged the filter that had been added near the carb. Much walking ensued, and the dog did not appreciate it but fresh gas was carried very quickly and we went back for our tires to be changed. The arm rests had to wait, and may or may not go into this truck anyway. This fun outing was subsequent to a similar one where I discovered that the fuel tank selector valve was stuck between tanks and not allowing much fuel flow and starving the carb.

Aside from different running shoes Beverly also received a glove box swap and a different door that actually contained glass. Shortly thereafter the hood and grille were removed as was the cowling, and I pulled the factory steering wheel in favor of the Walnut Grant that came in my El Camino. It's definitely not staying. The interior mirror is an Auto Zone special from years ago, and is a "chrome" piece that's framed with skulls.

1745469370896.pngIMG_20250402_005812574.jpgIMG_20250412_174634627.jpg
IMG_20250413_182232910.jpg

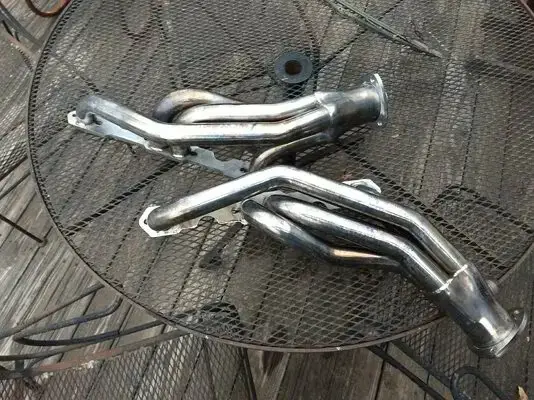
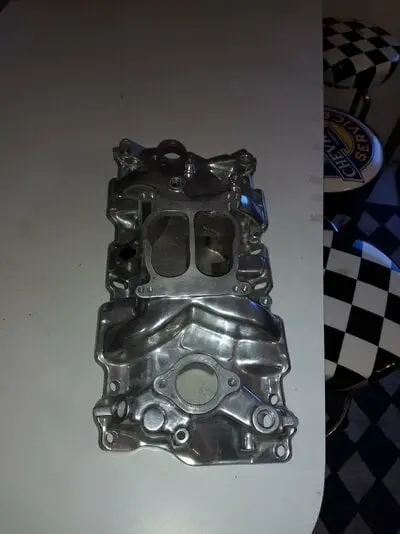
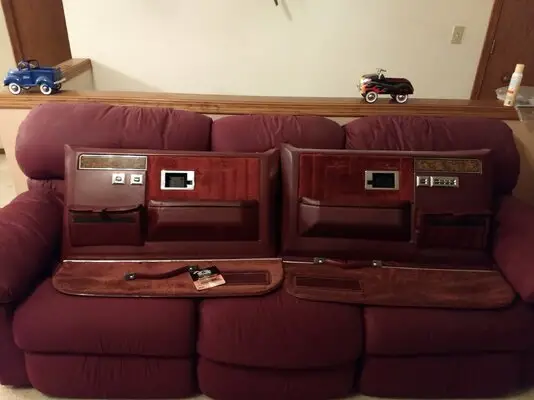
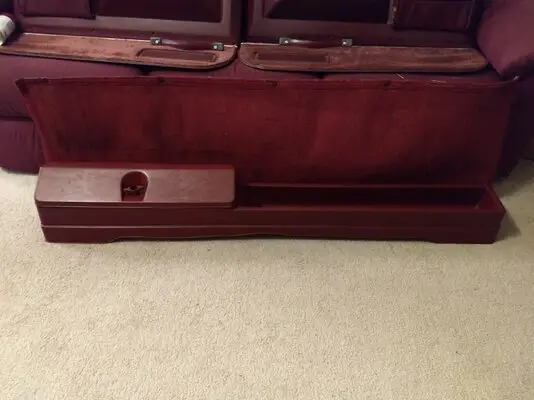
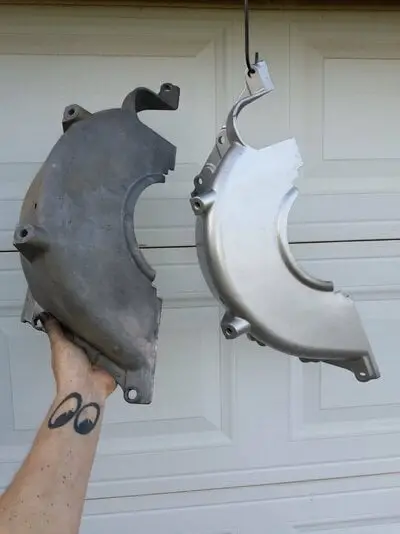
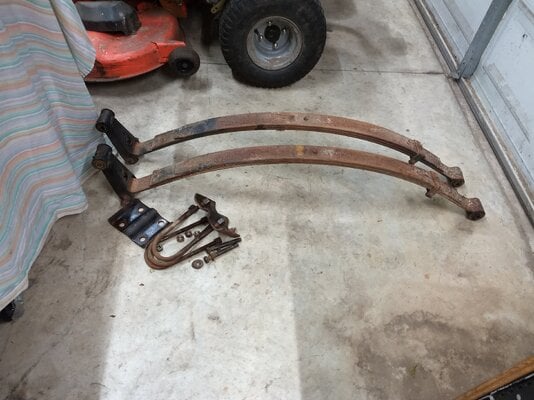
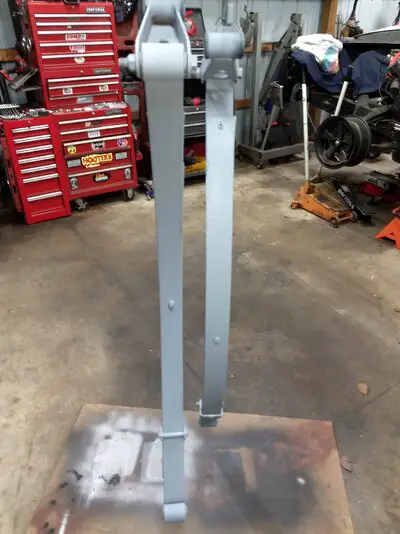
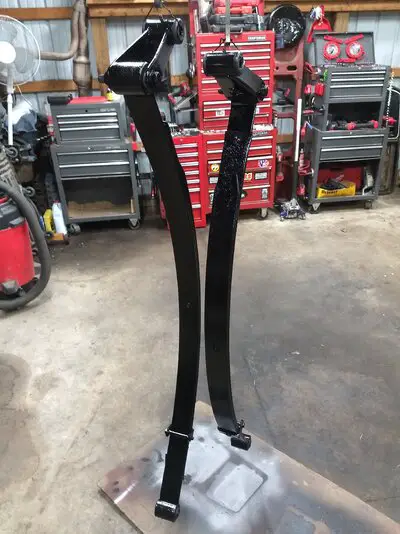
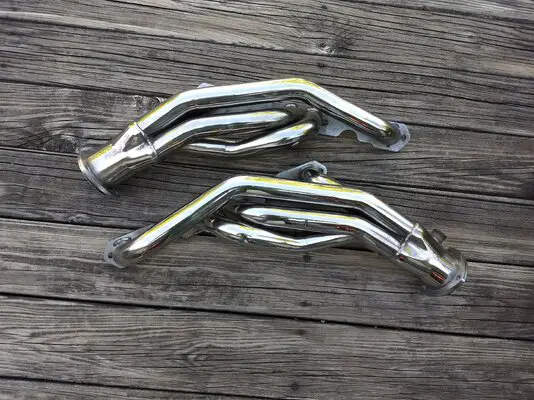
I bought a seat for a Dodge because it fits the theme but would prefer a specific 60/40 split from an '88-94 Chevy/GMC, and they're NOT cheap when in good condition. According to Unique Auto Upholstery they also cost $800 minimum to re-cover since the material is glued to the foam. I found a guy parting out an '82 and snagged some 3" drop spindles complete with 1.25" rotors + accompanying calipers, stainless headers, a spare driveshaft, some wiring and hard lines, an intact factory fan shroud, and attempts to buy the 20 gallon driver's side gas tank have been fruitless. Another seller had a Power Plus aluminum intake and eBay provided complete upper and lower door panels. I started cleaning parts and prepping them for paint and proceeded to remove the "new but stored outside" lowering shackles + the leaf springs from my '86 C10 frame. They've had the overload springs removed but retain the factory Nylon/Teflon? sliders in between the leaves.

1745469338092.png1745469594790.png

1745469179022.png1745469423422.png

1745469640602.png1745469664937.png

IMG_20250412_211417919.jpgIMG_20250413_182053630.jpgIMG_20250413_185338473.jpg
1745469702450.png
1745469794464.png
1745470411616.png
IMG_20250416_153624149.jpg

1745470433213.png
1745470453898.png


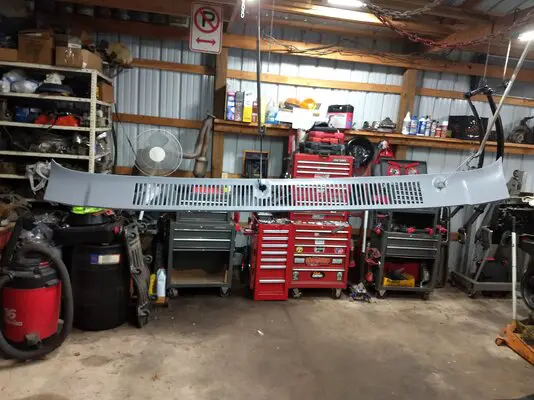
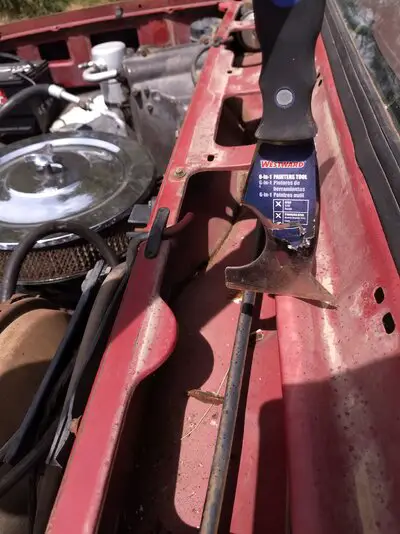
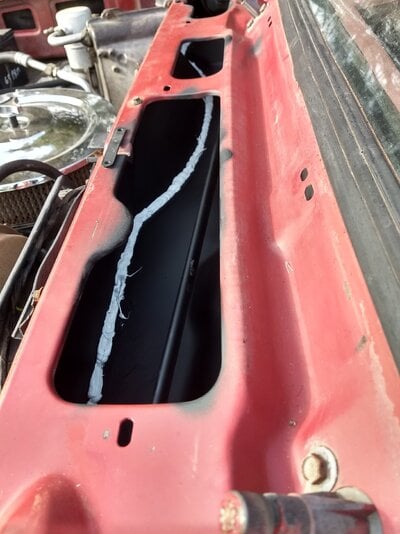
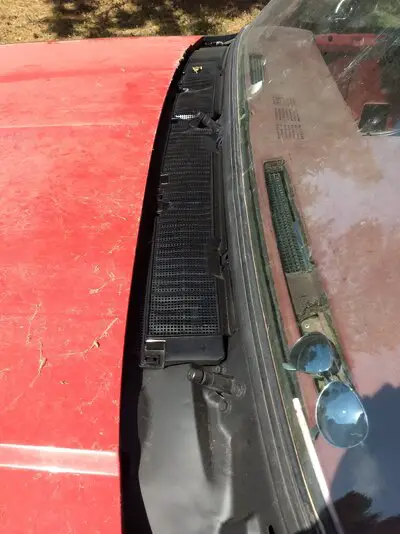
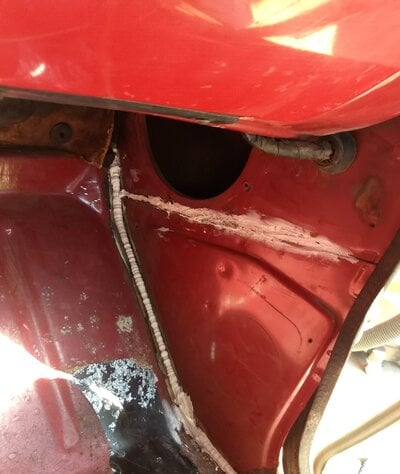
I scraped the sealer from the cowl area, replaced it, and painted everything again after:

IMG_20250414_135342186.jpgIMG_20250414_180034455_HDR.jpgIMG_20250416_150620081.jpg


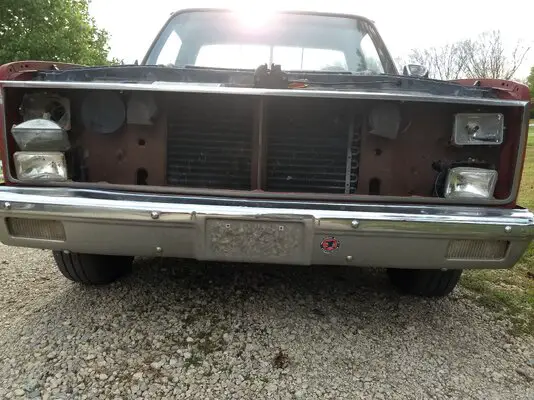
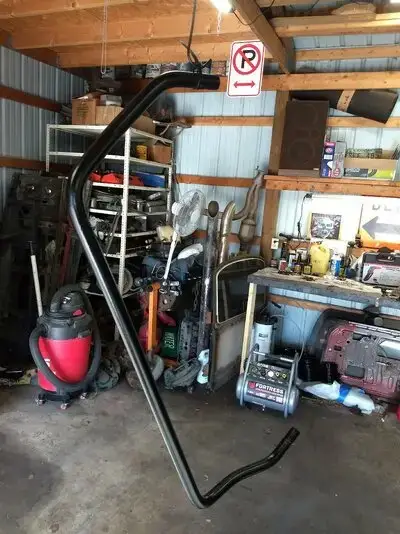
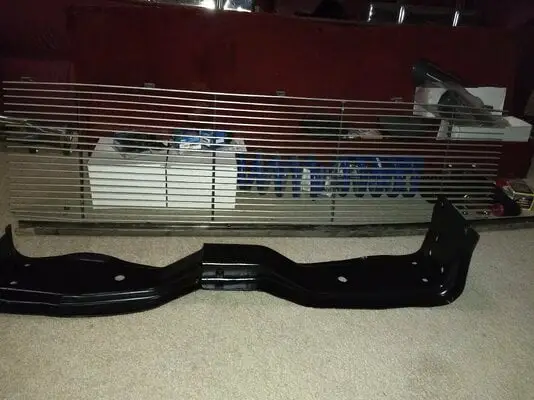
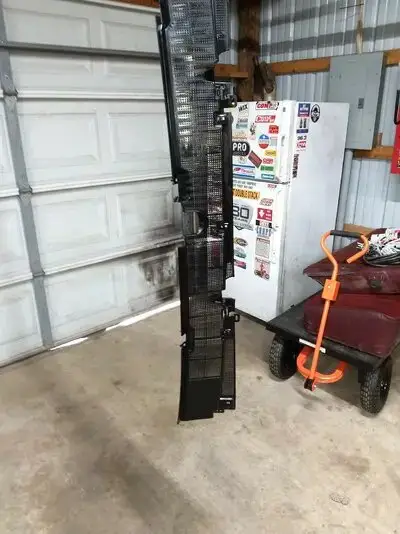
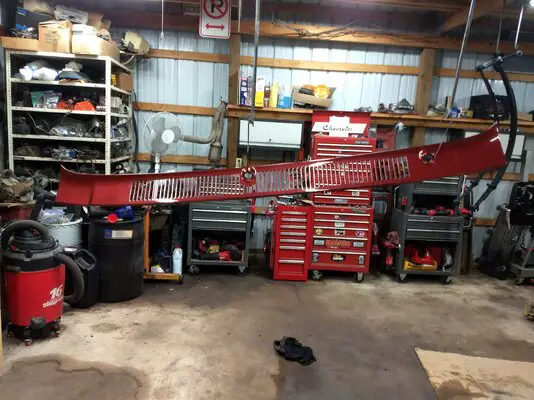
After blacking out the grille area with Rust Inhibitor Primer I installed the factory hood from my '85 Suburban as well as the grille it wore, though it's clearly not correct for the vehicle as it doesn't come close to fitting. I completely forgot that it was zip tied to the 'Burban and am working on a fix. I've already got it better than the following pic but not by much:

IMG_20250416_150630914_HDR~3.jpg
 
Last edited:
  • Like
Reactions: SoFloG and Rktpwrd
IMG_20250416_150701079_HDR~2.jpg

Those are aftermarket glass H4 housings that need a bit of adjustment as well as wiring + bulbs, and the bezels aren't correct for '81 but look better next to the grille. The horns don't work nor does the cigarette lighter and I believe they share a wire somewhere. I have no reverse lights, no dome light, and no cargo light either. The front left tire still leaks, possibly at the bead.

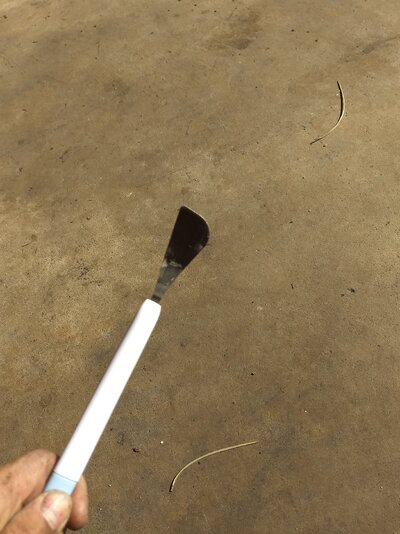
The passenger door got swapped but I don't have a picture of it, though I do have shot of when I scraped and replaced the sealer. Neither power window motor currently works but they did when I put them into storage- it could be a wiring compatibility issue but the plug does receive power from the switch. The truck is an '81 and the doors are '84 but the plugs were different as is one of their two wire colors, and I thought the major change to rotating ground was in '80 so I need to investigate further. I abhor the thought of having to swap the window motors but at least the power locks work without hesitation and the wing windows and slider window function as well. After doing the jamb I moved on to the floor then the kick panel before running out of product, and I used a cake decorating tool to try and keep the door seam looking decent but running tape lines would've been smart too. I'm just low on tape.
IMG_20250421_152959730_HDR.jpgIMG_20250421_153022985~2.jpgIMG_20250421_173008471.jpg


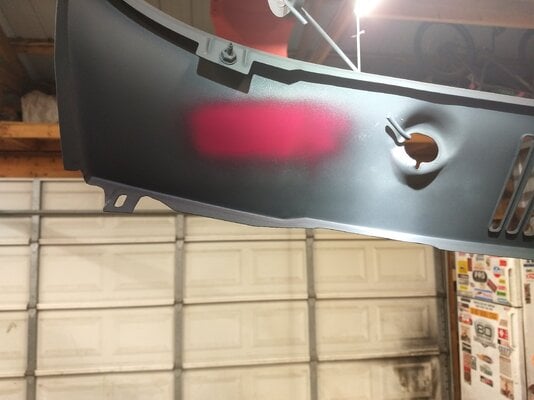
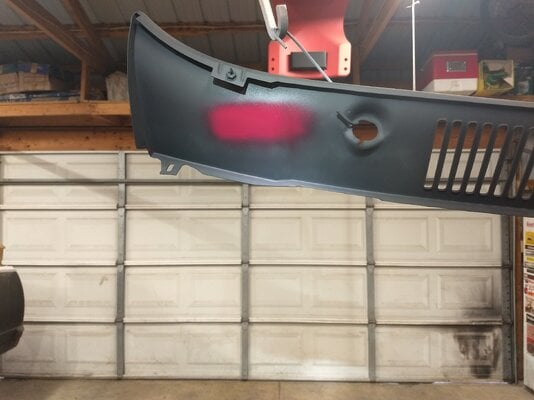
The cowl panel got sanded and hit with Sealer Primer, Filler Primer, spot sanded, and more Sealer before the previous pic, and then it received Black Sandable before I tried some Cranberry Gloss on the back. Nope. It looks Pink under a light, though it's supposed to be a fair bit darker. I'm now really, really leaning towards a Dark Cherry Metallic for a two-tone job but don't look forward to the potential issues of trying to do an entire truck with spray cans of metallic. I've had excellent results with spray cans but when I tried it with black metallic it had some zebra stripes + dark clouds, mostly from not maintaining an even distance and not keeping a good "wet edge" but possibly also from only having handheld halogen lights to do that particular job- I always wondered if their proximity to the work affected how the flake laid due to the heat. It was also my first time painting a car at all, and the following gloss jobs looked better and better as I learned along the way.

IMG_20250418_191937406.jpgIMG_20250418_192028573.jpg

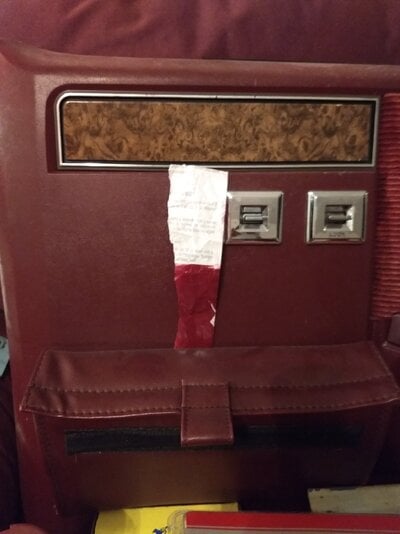
Same paint on a piece of receipt paper, in the house. I can't return it now because I'm an idiot:

1745473445091108982811.jpg


In addition to cutting the exhaust off from the muffler back I also removed the rear bumper, which required an impact, a grinder, and a mini sledge.IMG_20250422_201018496~2.jpg


Beverly's got a few mechanical issues that need sorted such as the entire braking system, but it's late so I'll save that for later. I haven't worked on that yet anyway.
 
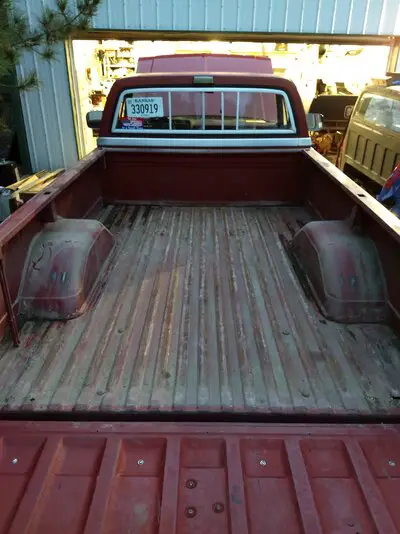
Removed the plastic bed liner and it's not as bad as it could've been:

IMG_20250424_201617432.jpg

I vacuumed out a ton of sand, dirt, leaves, etc. but there's only a few spots that are rusted through and the panels/tubs are in great shape.
 
The remaining beltline trim has been peeled off with a heat gun and a drywall tool. I also changed the oil, replaced the flexible rear brake hose, tried degreasing the engine to pinpoint the leaks, and the proposed serpentine setup is halfway through the cleaning process. It appears that it's just the valve cover and power steering gear box leaks that are covering everything but I ordered way more parts than that from Rock Auto. I knew the carb had an issue because it was incredibly loud but I wasn't expecting to find a vacuum nipple that was completely missing from the main body. What's odd is that someone must've tried tuning it in that condition because the mixture screws were backed out about 6-7 full turns but weren't close to even. I missed seeing a bent control arm and tie rod during my initial inspection but that's all getting replaced anyway so it's of no concern. I checked the timing just for fun and found it to be at 10° @ 650 rpm with manifold vacuum connected! I haven't adjusted it yet and see no point since I'll be changing it soon anyway. The balancer looks alright but for all I know it's slipped, or maybe the vacuum advance isn't working. The truck runs well either way. The leaky driver's front tire has been repaired with a tar plug.

I mentioned before that the brakes were a nightmare, and they continue to be problematic. When I purchased the truck they barely worked and the pedal feel was atrocious but that improved slightly after I replaced the bad check valve, grommet, and vacuum hose, though it didn't do much- the right rear was dragging VERY badly and the left didn't work at all. This was the major cause of the truck dancing down the street but I believe the broken leaf spring on the left side to also be influential, and on the drive home the right rear wheel (stock) was wearing about 8" of weights. Surely that was a factor as well. I inspected the combination valve and found it to be disconnected... naturally the dash "brake" light illuminated after plugging it in. When trying to bleed the system I broke the bleeder off of the right rear but got air out of the fronts (did these first to try and equalize pressure), and it's now obvious that the wheel cylinders are junk. They weren't receiving any fluid before I swapped combination valves but now the right one just leeaaks. While things were apart I adjusted the star wheel and collapsed the old cylinder, and also replaced the combo valve with the one from my '86. It's not trustworthy though, as the lines were left open to the elements, and working it with a pick told me nothing. It's slightly different than the unit it replaced- the sensor tip design changed and the newer one has a smaller hole. I can't see a thing or move the slide but it's in, the brakes are better but require a lot more work, and the valve I removed appears to move much more freely now so it's going back in at some point. The aftermarket ones don't interest me since I can't find straight information about which ones are decent.
Diagnosis was a bit of a crapshoot since half the main line to the rear has been replaced with a hand-bent length of line and the rubbers are all aged/cracked. When I put the Cragars on I pulled the drums and saw a mess but the wheel cylinders themselves were dry as a bone. I wondered if the hard line was a solution to a problem or the cause of one, and assumed that the rubber lines were impeding flow by swelling and collapsing. It's also possible that both combination valves are bad or that there's still debris in the lines. I've drained the darkest brake fluid I've ever seen and it's had bits of snot at every connection.

I got my hands on some of the Dark Cherry Metallic Rust-Oleum to see if I like the way it looks. The previous paint was checked in the sun prior to in the garage or the house, and it seemed "off" but I couldn't put my finger on why until it showed as pink under an LED shop light. After seeing that once it was all I could see under any light source and I'm not going to paint a color I'm not absolutely certain of. My other complaint is that many of today's spray paints have a 2D appearance with no depth or richness at all, and the Cranberry was no different.
 
Last edited:
  • Like
Reactions: SoFloG and Rktpwrd
The fact you can get a lot of quality replacement stuff is awesome

It sure is, there's no shortage of aftermarket parts for these things and thankfully most of it is pretty affordable. I lucked out and saved even more due to Advance going under, and have a tonneau cover and bed rails on the way. They're not listed as fitting but they should. Should.
 
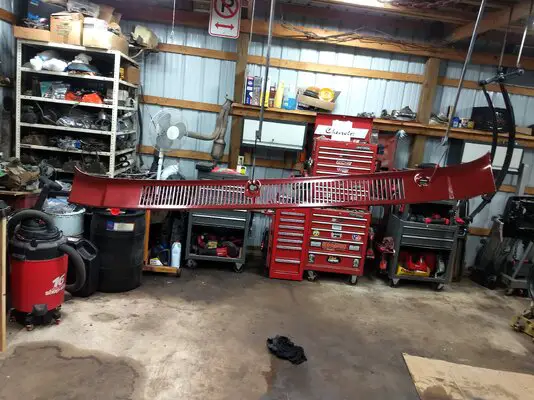
The headers are as polished as I'm going to get them, though a bit more time would definitely garner results. My arm is tired:

IMG_20250504_191310896.jpg


I ordered bed rails to fit a '99-'13 Chevy/GMC and they come in at 87" long, 9" short of the bed length. But that's ok, because having longer rails doesn't gain me anything. I opted to not use the mounting plates that are supposed to bolt into the stake pockets, and I never intended to in the first place because they make the rails resemble giant drawer pulls. They don't reach anyways so I took measurements, made some marks to guide me, drilled a few holes and sh*t actually lined up. Sometimes dummies do get it right.

IMG_20250505_201624458.jpg

I sprayed the Cherry Metallic on the cowl panel and managed to do so with no runs, drips, and only a couple errors. It showed more of the underlying damage than I'd hoped but the color looks good under ALL light sources. Too bad I messed up and added some "happy little clouds" with poor technique.

IMG_20250505_211300252.jpg

It looks even better with Clear on top but I managed to add about 6 runs.... It was the last of the can. It was an old can. I'm a bit rusty. I don't see too well. As a powdercoater I applied all the paint at once and it's a hard habit to break. Pick whichever excuse you like, but I was really only performing a test- metal flake likes to be sprayed all at once or it doesn't match but I needed a definite answer on paint choice and it's worth the $13 to me. I'll gladly do this again.
With clear:

IMG_20250505_224607415.jpg
 
Last edited:
Started stripping and cleaning the engine:

IMG_20250507_221810096.jpg


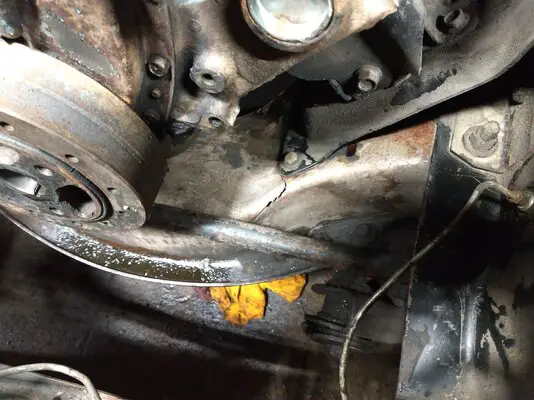
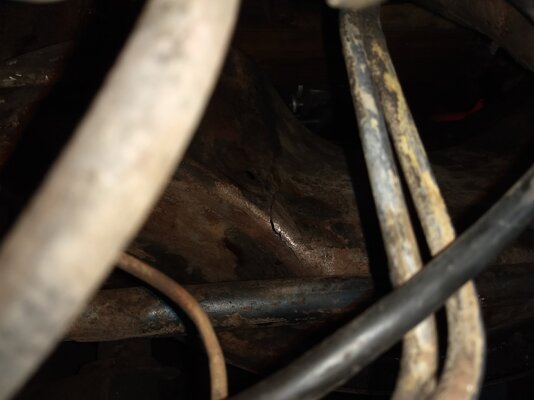
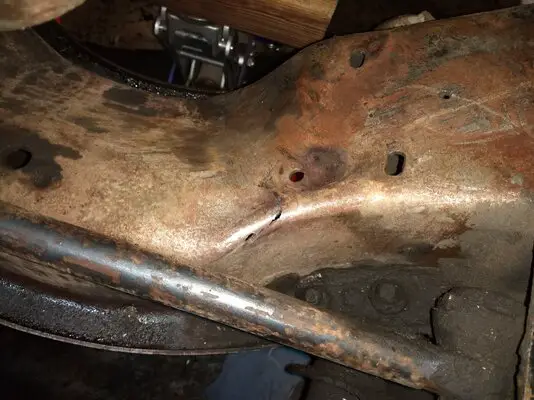
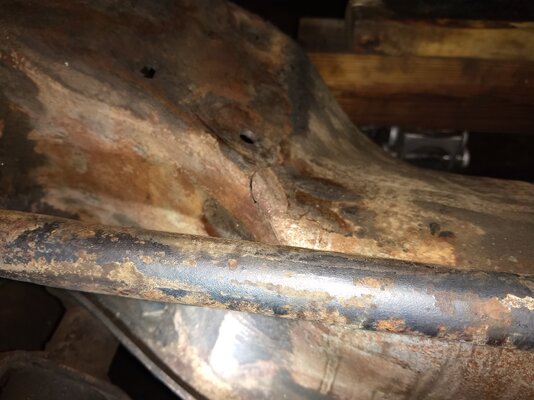
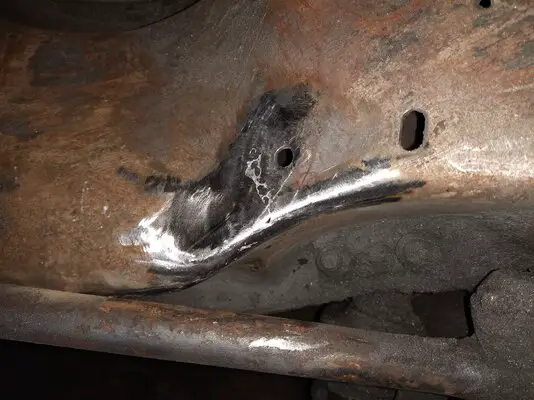
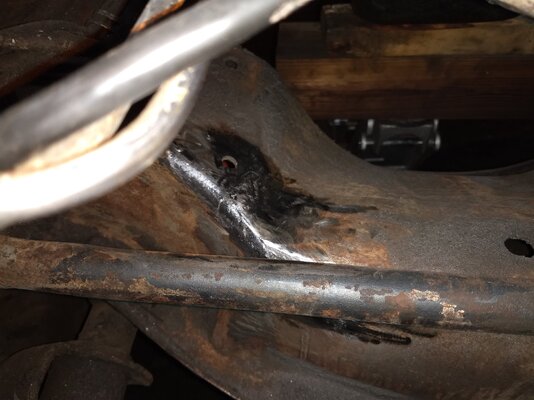
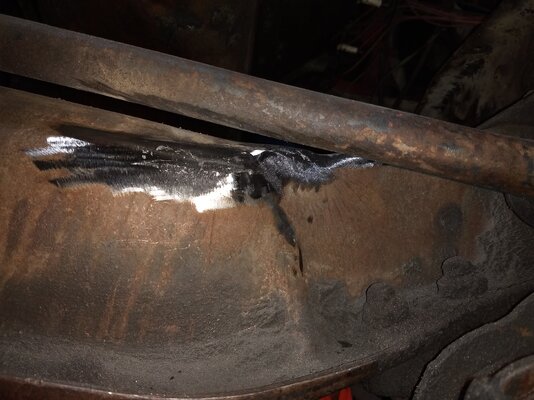
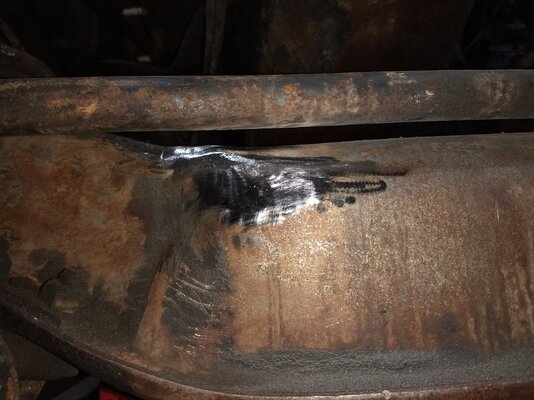
Then I found these:

IMG_20250509_171000210.jpgIMG_20250509_184118247.jpg

IMG_20250509_184141957.jpgIMG_20250509_184305585.jpg


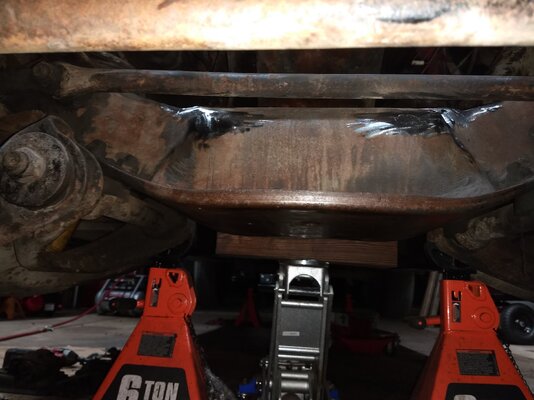
So after drilling a couple holes I grabbed my little Lincoln flux core welder and cranked it up to "D", set the wire speed at a modest "5", and went to work. A little time with the die grinder wearing a Roloc got me to here, and I'm not quite done. You can clearly see the edges of the weld but the cracks are completely filled:

IMG_20250509_223238870.jpgIMG_20250509_223258776.jpg

IMG_20250509_223351067.jpgIMG_20250509_223407650.jpgIMG_20250509_223335574.jpg


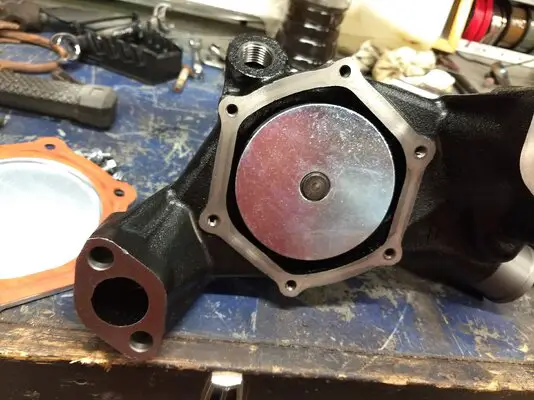
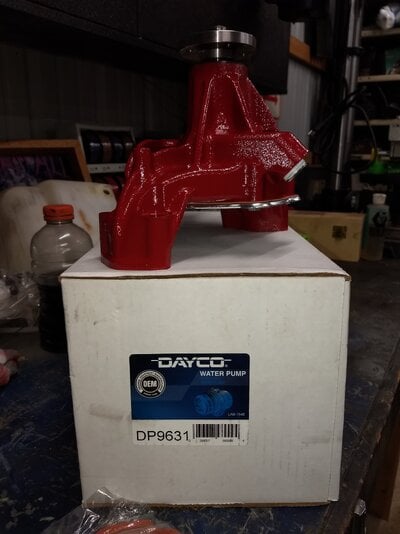
I also finished cleaning and painting the serpentine brackets, pullies, etc., though that involved a bit of repair where the compressor bolts live- corrosion had mated the compressor to the bracket and two pieces broke off once they were separated. No pictures of that at the moment but you can see the reverse rotation water pump:

IMG_20250508_142355430.jpgIMG_20250509_184343139.jpg
 
Last edited:
  • Like
Reactions: SoFloG and Rktpwrd

GBodyForum is a participant in the Amazon Services LLC Associates Program, an affiliate advertising program designed to provide a means for sites to earn advertising fees by advertising and linking to amazon.com. Amazon, the Amazon logo, AmazonSupply, and the AmazonSupply logo are trademarks of Amazon.com, Inc. or its affiliates.

Please support GBodyForum Sponsors

Classic Truck Consoles Dixie Restoration Depot UMI Performance

Contact [email protected] for info on becoming a sponsor