1936 Ford Pickup Refresh

Status
Not open for further replies.
Chapter 5, Wiring harness rehab:

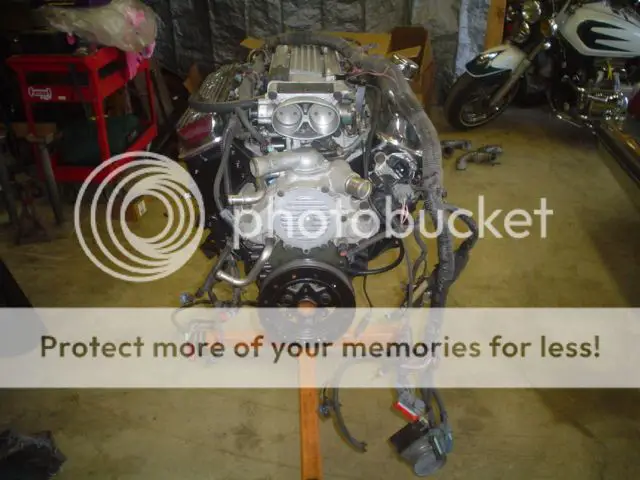
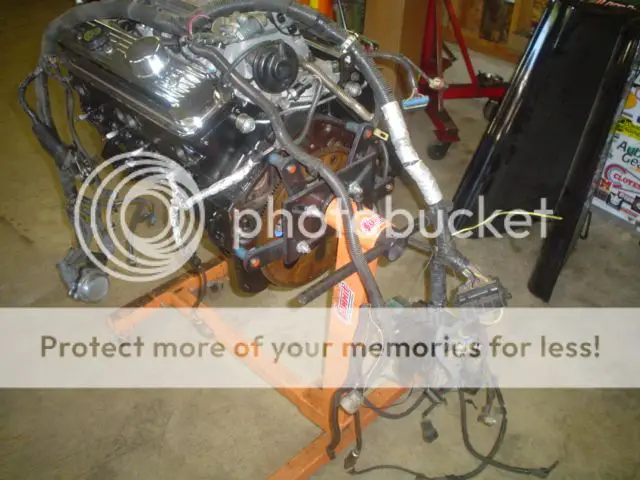
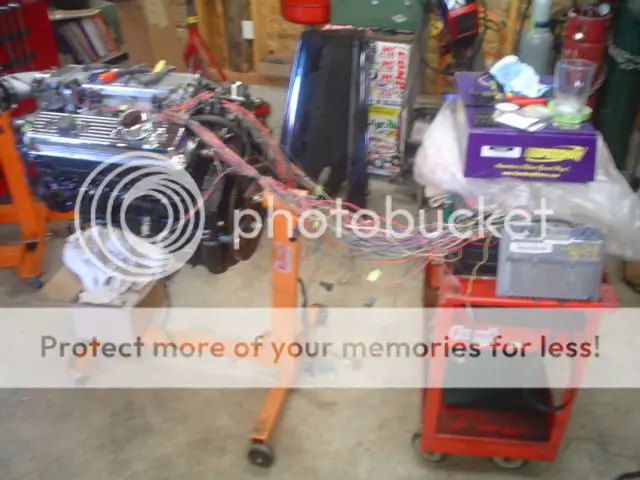
The engine is back on the stand. Starting with a factory ('95 Caprice?) engine harness.
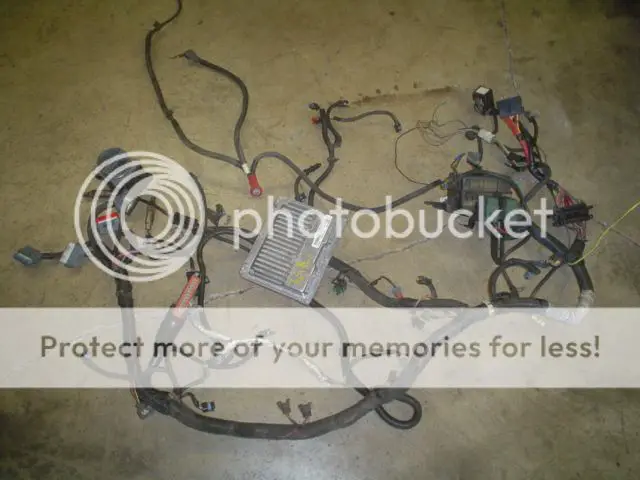
003-62.jpg

Lay it on the engine:
001-82.jpg

002-73.jpg

Start with one of these...
004-46.jpg

...and 3 pages of this...
005-38.jpg

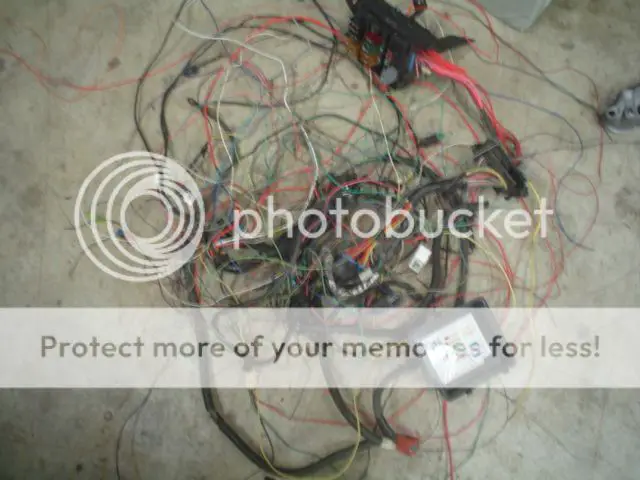
...and start removing any irrelevant circuits. The ECM plugs are hanging from the hook on the far left.
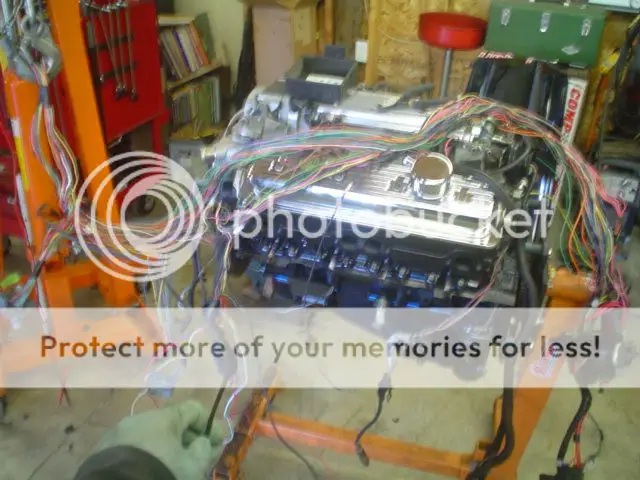
006-35.jpg

At this point I'm about 4 hours into it. I've extracted all the ABS, AIR, AC, PS, EVAP, etc. from the main harness and isolated all my B+ and ignition power feeds and grounds along with the ALDL wires. I'm going to utilize the OE fuel pump and cooling fan relays. All those wires will be run through the firewall just behind the EGR. The one thing I don't like is the location of the ECM. It would be behind the driver's side headlight in the donor car. I'm going to have to extend/shorten various wires to change the orientation of that portion of the harness. That should keep the top of the engine from being obscured by a wrist-sized bundle of wires. I plan to run it into the cab near the steering column and locate the ECM on the inside. More to come.
 
That's the point. I'm trying to make it less visible and obtrusive. I see lots of post/threads where guys brag about doing LT1 swaps in 3 hours (or some bullshit time) and that they just "hook up what they need and cut all that smog stuff out". There's just no way you can do it right by cutting some pigtails off and duct taping the PCM to the inner fender. As sick as it sounds, I actually kind of enjoy wiring stuff. Go in the shop, lock the door, turn off the phone, crank the stereo, and get to work.
 
Funny, I did the same thing, locked myself in the garage with my wires, schematics, tunes, beer, and zoned out for many hours tracing, marking, gutting and repairing the harnesses. Now that I look back a bit, even though it was a pain in the *ss, I enjoyed that much more than body work, lol, gave me something to think about. I can't stand to see hacked in harnesses either, lol.
 
Project temporarily interrupted. Details in the Compound thread.
 
More wiring. Pile of heat wrap and tape:
001-84.jpg

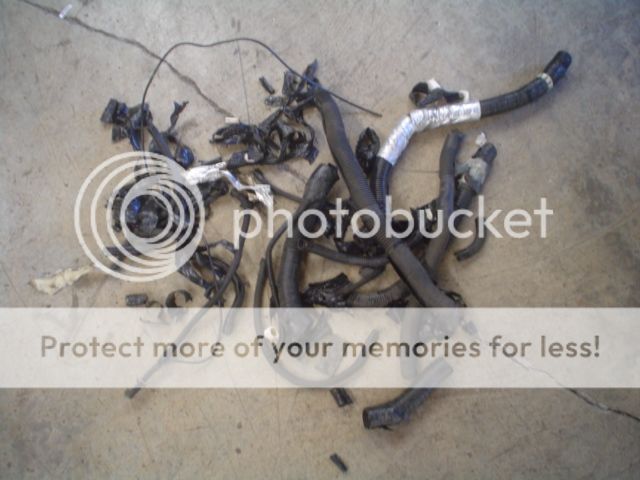
Unused wires:
002-75.jpg

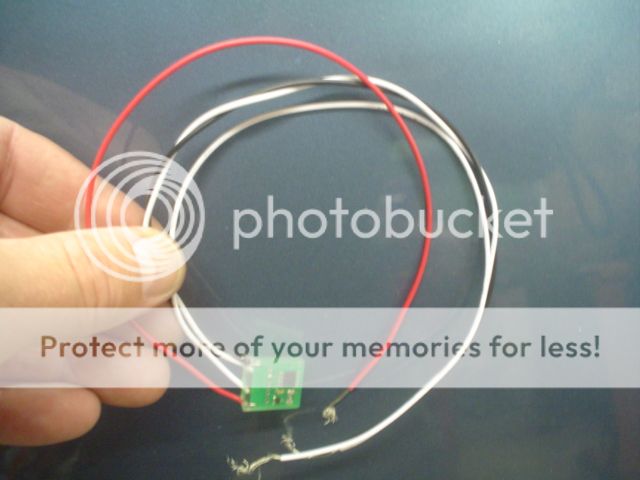
VATS simulator. I actually bought this for my Quad4 wagon but it didn't work. Should be fine for this though:
003-64.jpg

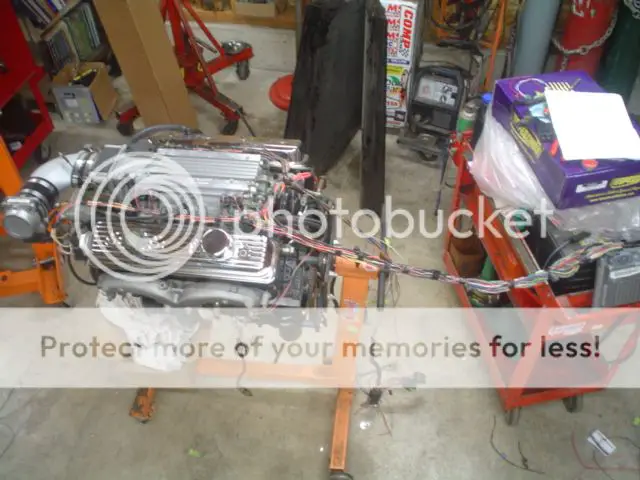
ECM rerouted to the rear. Still in the midst of lengthening and shortening circuits. In fact, I cannibalized another harness I had so I could keep the proper wire color coding on the wires I needed to make longer. All connections are soldered and shrink-wrapped. It just takes time but the end product is cleaner and more reliable:
004-47.jpg

This is my current stopping point. Next I'll be putting power to it and cranking it over. That should let me check for spark, injector pulse, DTCs, etc. before I finish taping the harness up. Total harness time is between 8 and 10 hours.
005-39.jpg

I gotta get a new camera. My pics really suck.
 
Vats simulator? I thought there was a way to trick the vats system with a simple resistor matching the resistance that the key had? Though I could be mistaken, that conversation took place a few years and a few beers ago. Looking good at any rate, very professional job there.
 
The ECM looks for an input signal from the passkey decoder module. Depending on the year and version it can include the car's gauge cluster too. So in order to work correctly you would need a corresponding key and tumbler along with a decoder module. The keys can loose calibration over time and seem to fail at the worst possible moment. What this simulator does is send a generic signal to the ECM making it possible to eliminate all the other pieces. You could also have it tuned out of the ECM. Once it's up and running we may do that anyway if we get a custom tune flashed. My uncle has the equipment to do it but it's hard to get him pinned down to actually get the job done. At least this way we can get it fired.
 
Gotcha, we had one in the shop a couple weeks ago with a pass key problem, turned out to be the cluster, after thinking, must be the passlock module, :blam: .
 
Chapter 5, Getting ready:
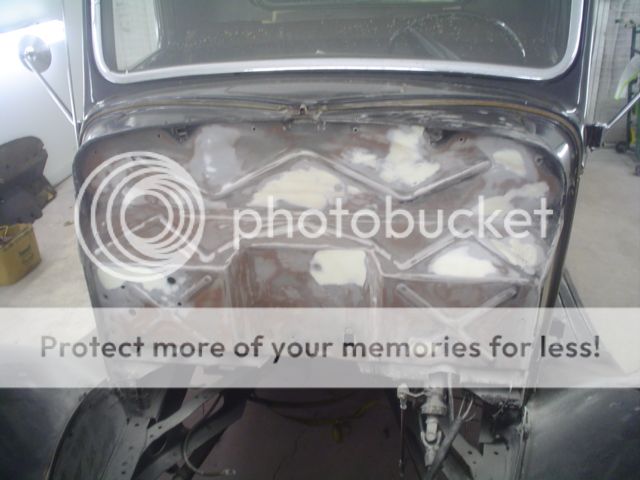
My brother slipped in while I wasn't looking and started the firewall. He said he welded up 31 holes before starting the body work. Probably about 3 hours into it:
001-85.jpg

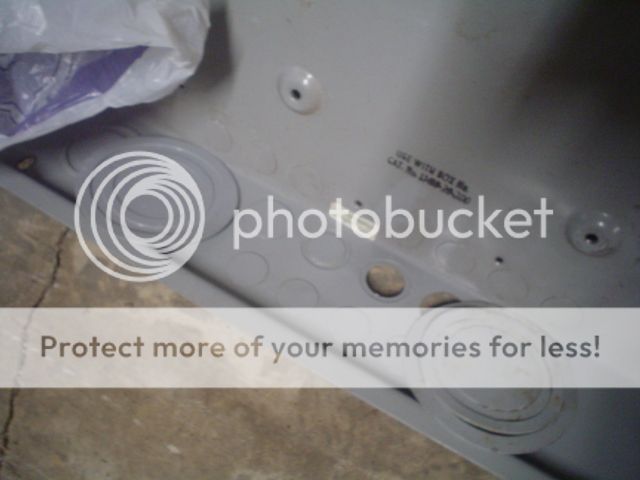
Here's a little tip/trick you guys may or may not have seen before. We use the knock-outs from breaker panels to weld up larger holes. They come in various sizes and are similar gauge as factory firewall sheet metal. My buddy's dad is a county electrical inspector so I occasionally come home to a hand full of presents he's left on my doorstep.
002-76.jpg

0012-10.jpg

Still not 100% decided on what the finished product will look like. We discussed all the typical firewall treatments like white, black with pinstriping, checkered flag look, and even some non-traditional twists like lace or large airbrushed engine turning. At this point he's leaning toward a dark red. Officially, it's TBD.
 
Status
Not open for further replies.

GBodyForum is a participant in the Amazon Services LLC Associates Program, an affiliate advertising program designed to provide a means for sites to earn advertising fees by advertising and linking to amazon.com. Amazon, the Amazon logo, AmazonSupply, and the AmazonSupply logo are trademarks of Amazon.com, Inc. or its affiliates.

Please support GBodyForum Sponsors

Classic Truck Consoles Dixie Restoration Depot UMI Performance

Contact [email protected] for info on becoming a sponsor