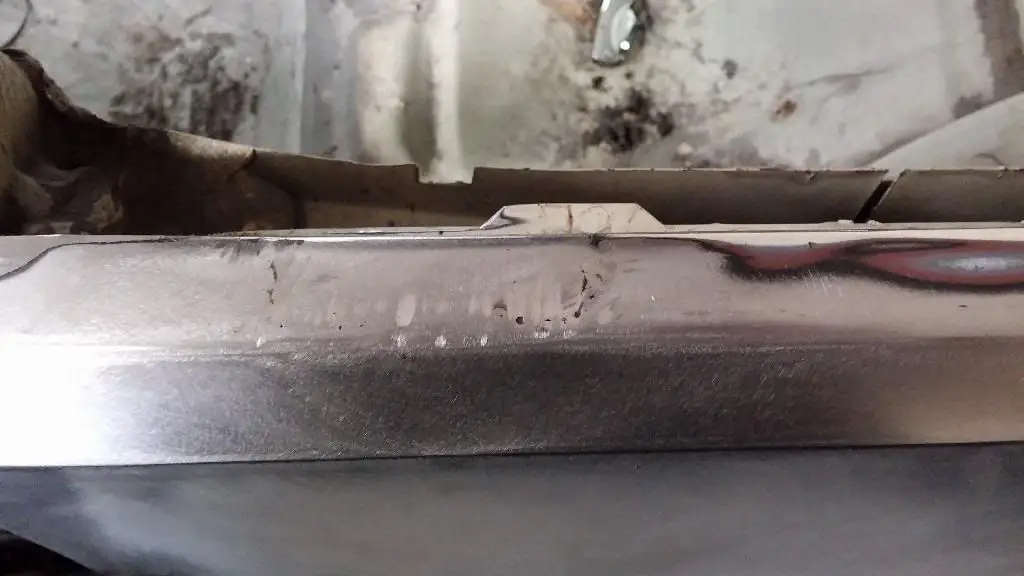
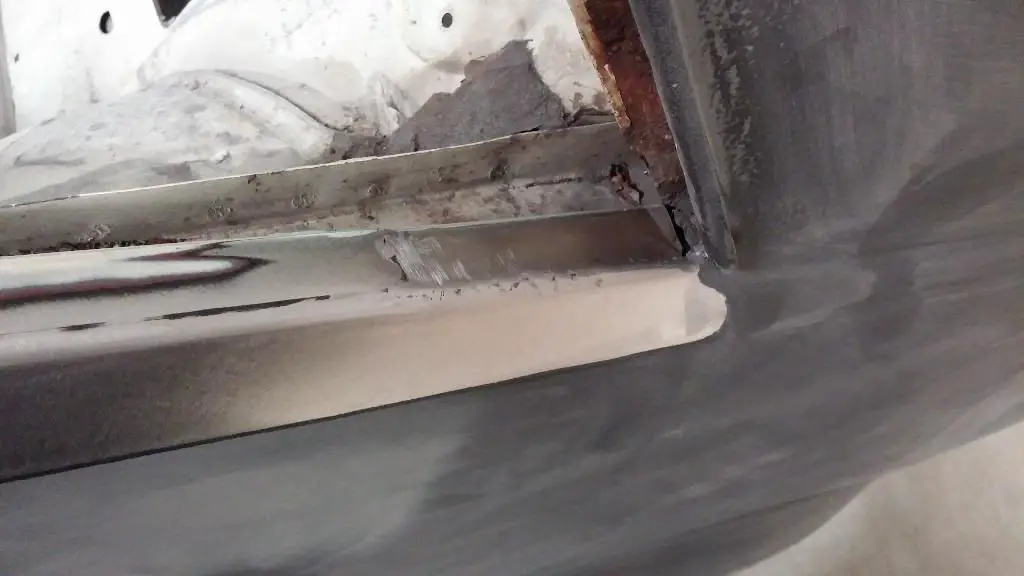
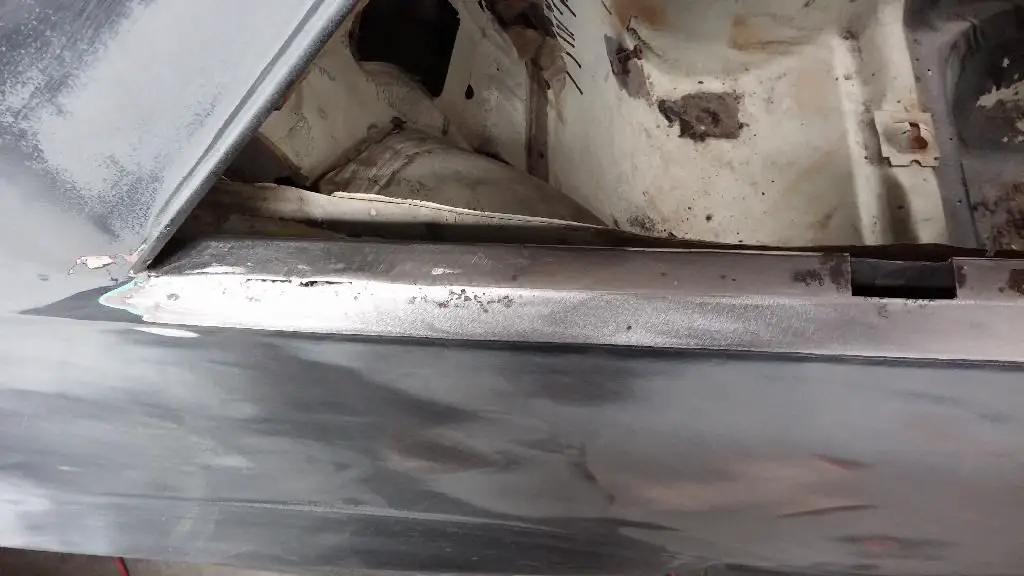
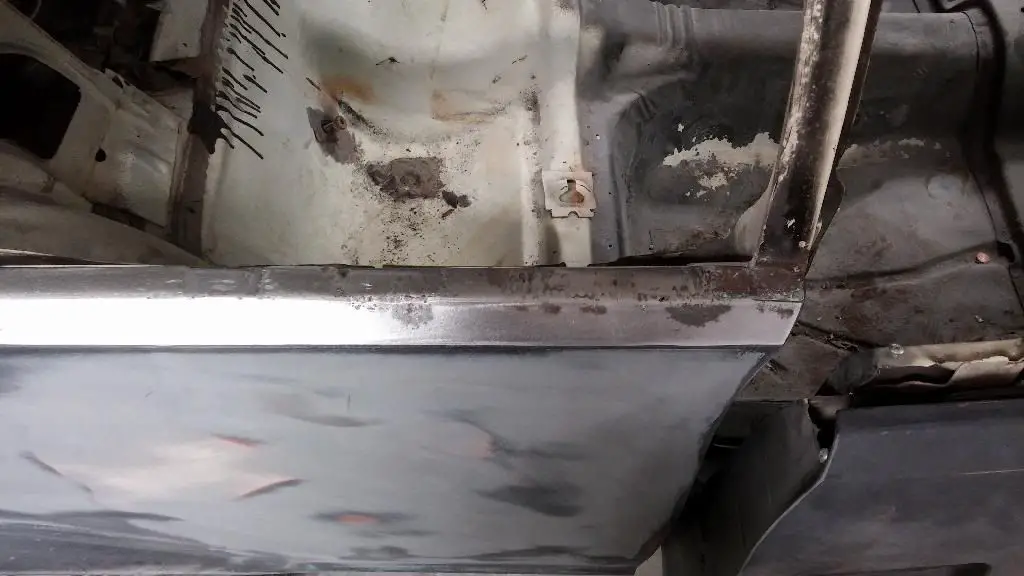
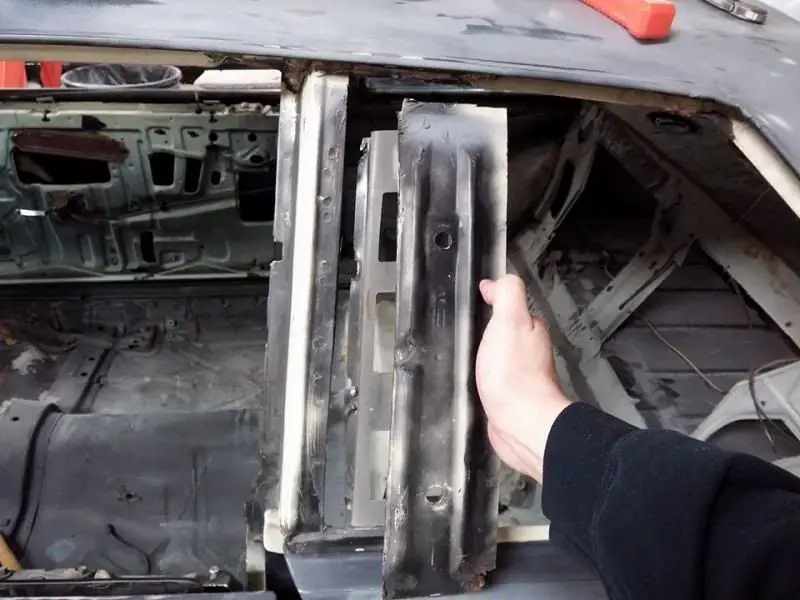
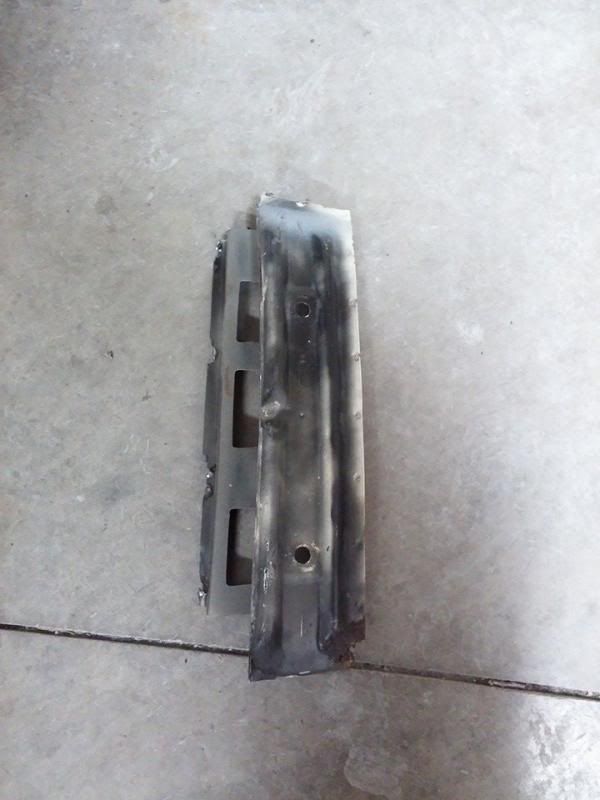
That is actually how it came. I bought it from rockauto.com. its a bit thinner then the original floor pan gauge wise but wasn't enough to bother me.
1981 Malibu Build
- Thread starter rodneypierce
- Start date
You are using an out of date browser. It may not display this or other websites correctly.
You should upgrade or use an alternative browser.
You should upgrade or use an alternative browser.
- Status
- Not open for further replies.
Looking good progress- wise, Rodney.
Keep up the good work...and welcome to the forum.
Looks like a good solid car to begin with. Keep the pics coming.
Keep up the good work...and welcome to the forum.
Looks like a good solid car to begin with. Keep the pics coming.
Longroof79 said:Looking good progress- wise, Rodney.
Keep up the good work...and welcome to the forum.
Looks like a good solid car to begin with. Keep the pics coming.
Thanks man!
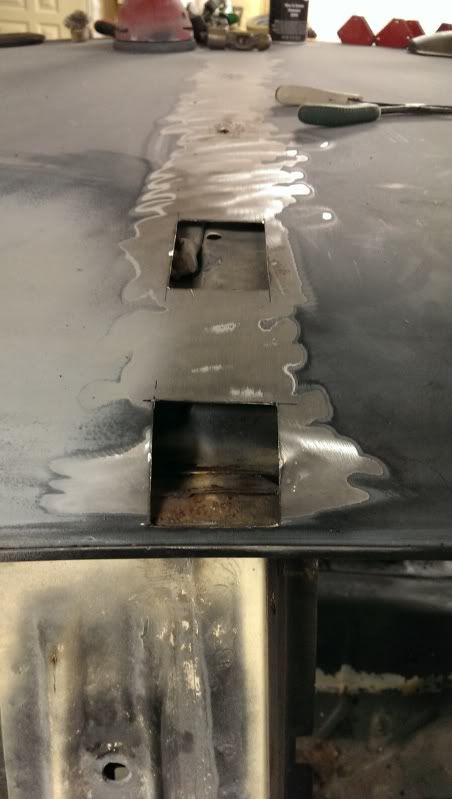
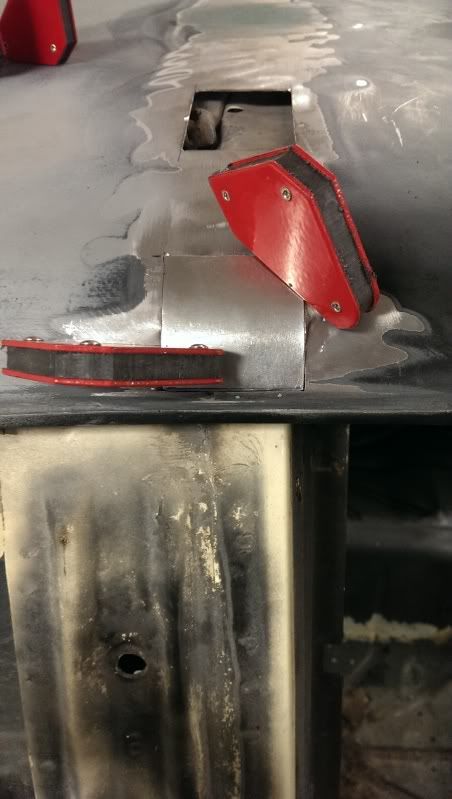
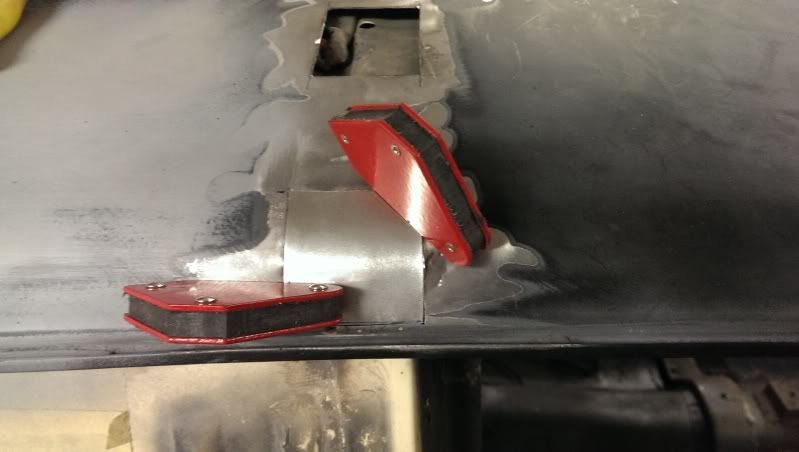
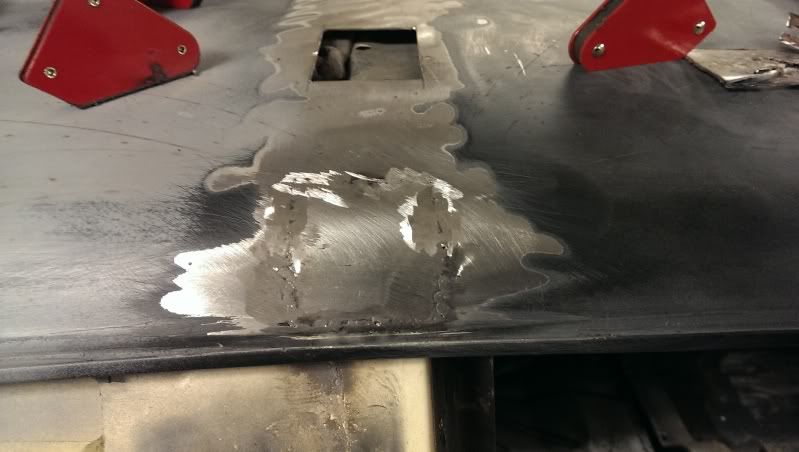
Got a bit more done tonight. Got the rot on the roof cut out in the two spots that were all the way through. Got patch panels cut and tacked in, ground and duraglass spread on them. Hope to get the roof true and flat in the next couple days. Also want to get a few seams resealed on the passenger side floor pan, and get everything undercoated floor pan wise.
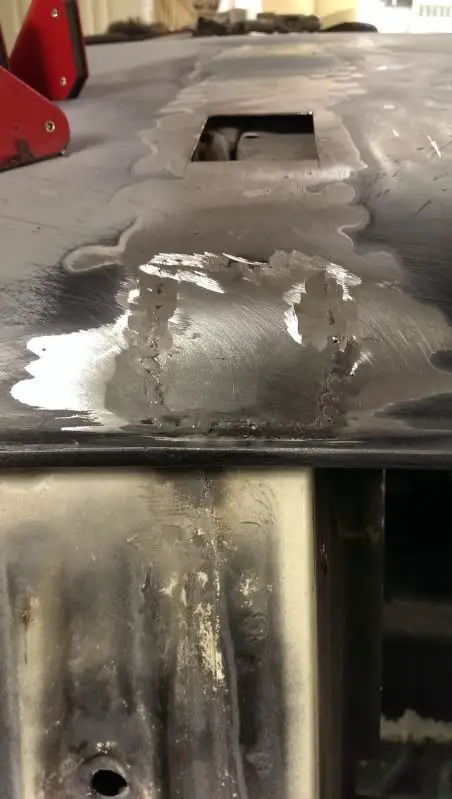
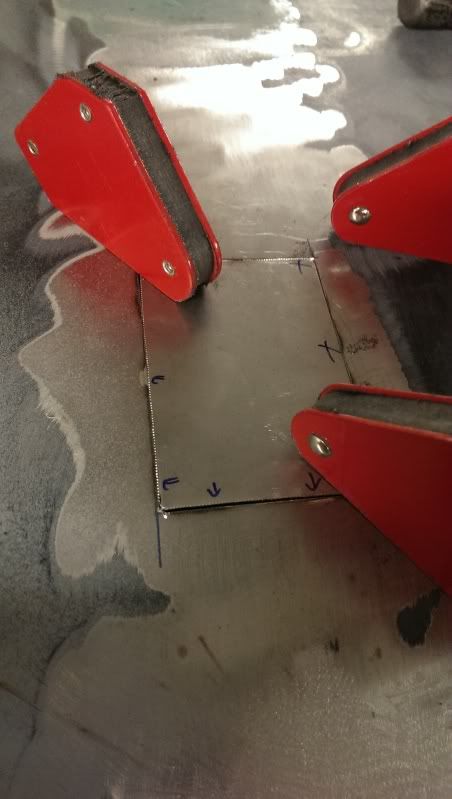
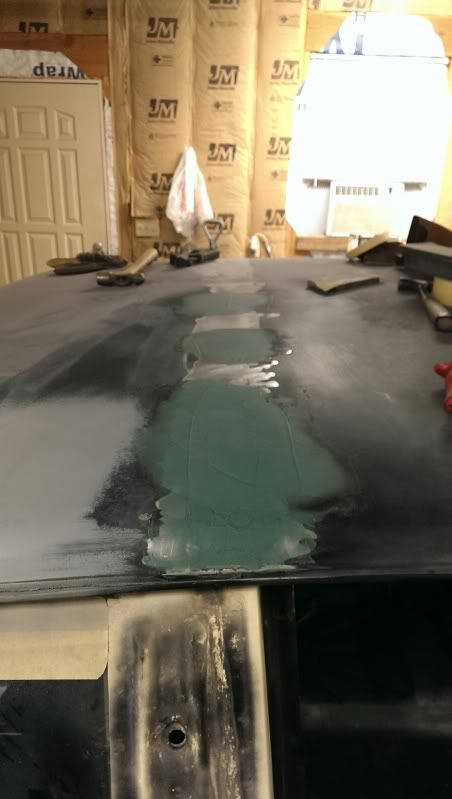
Alright, been a while since I updated. Got the passenger rear quarter panel done (as straight as possible without replacing the entire quarter panel, as the metal is a bit stretched, but its straight and blocked out now)
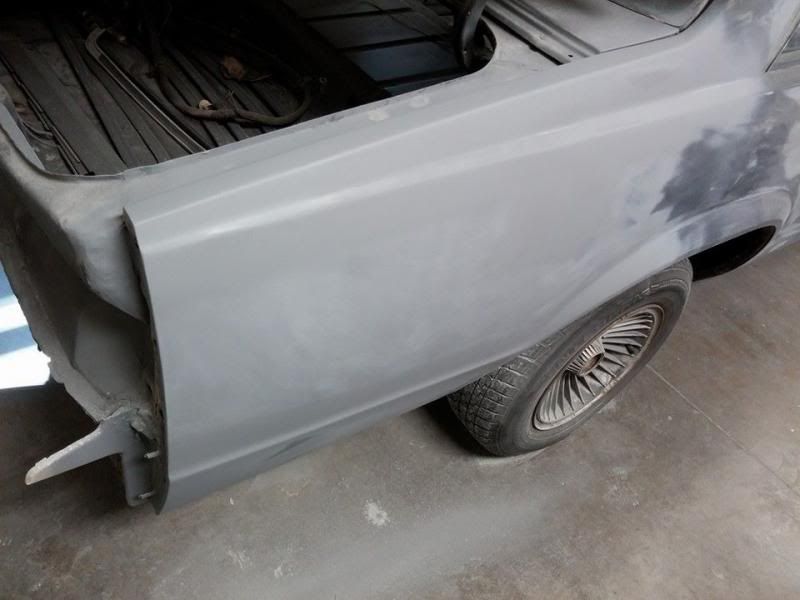
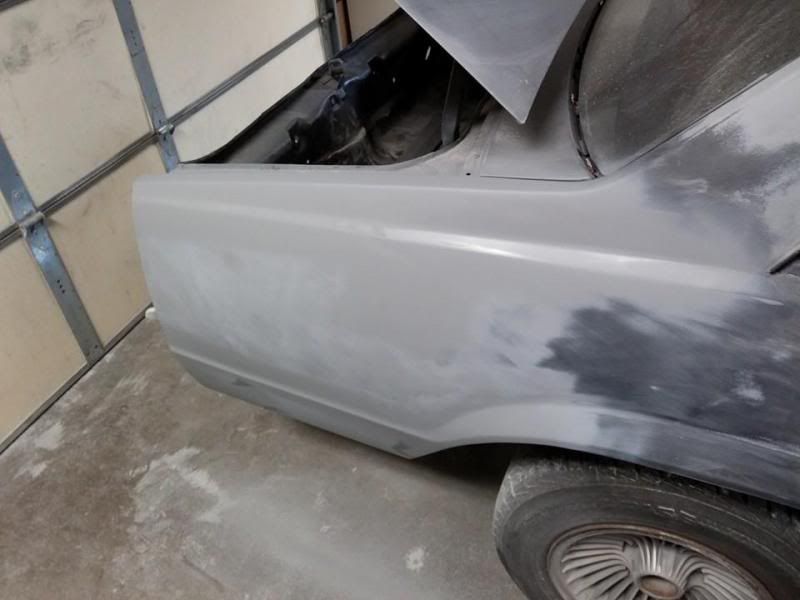
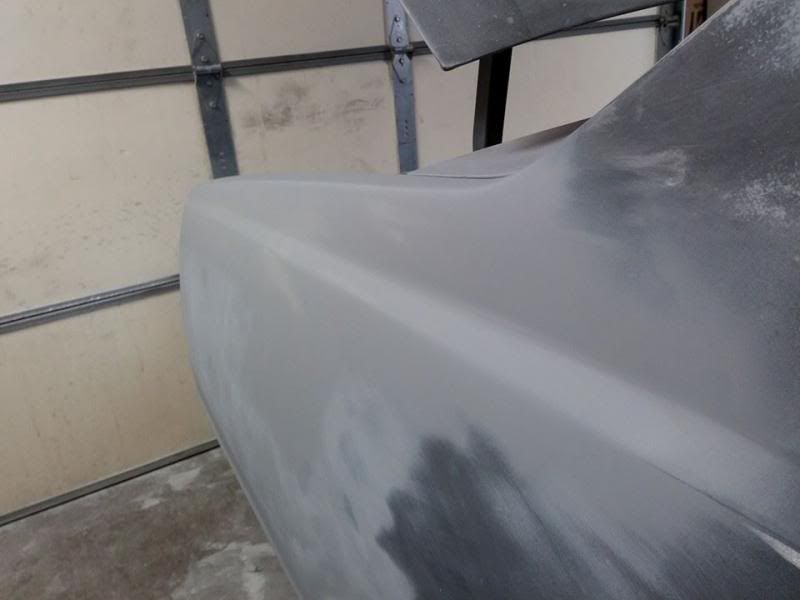
So, after that was done, I finished up the passenger side of the car and thought I was done with body work, and ready for 2K primer!
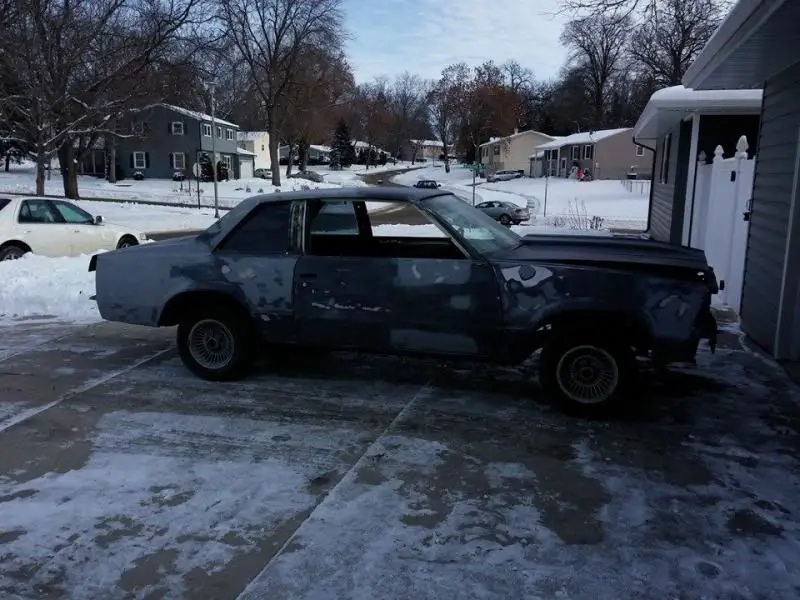
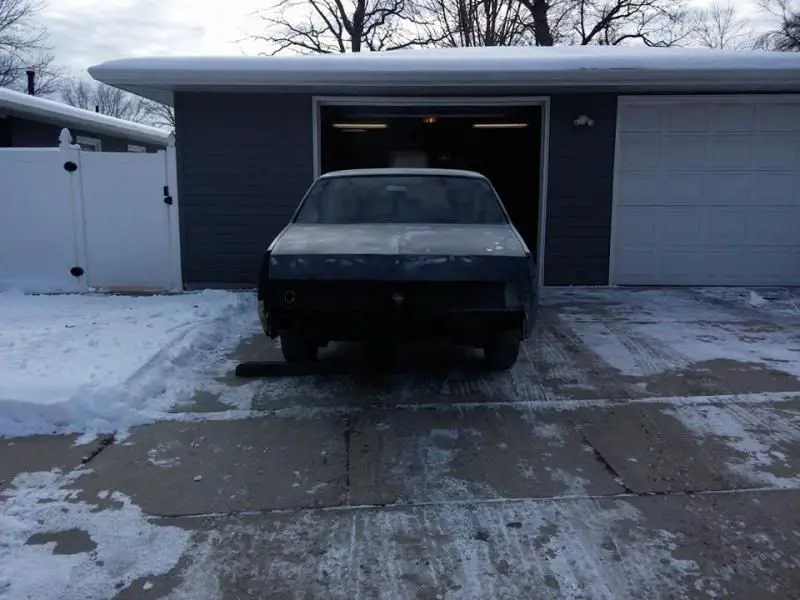
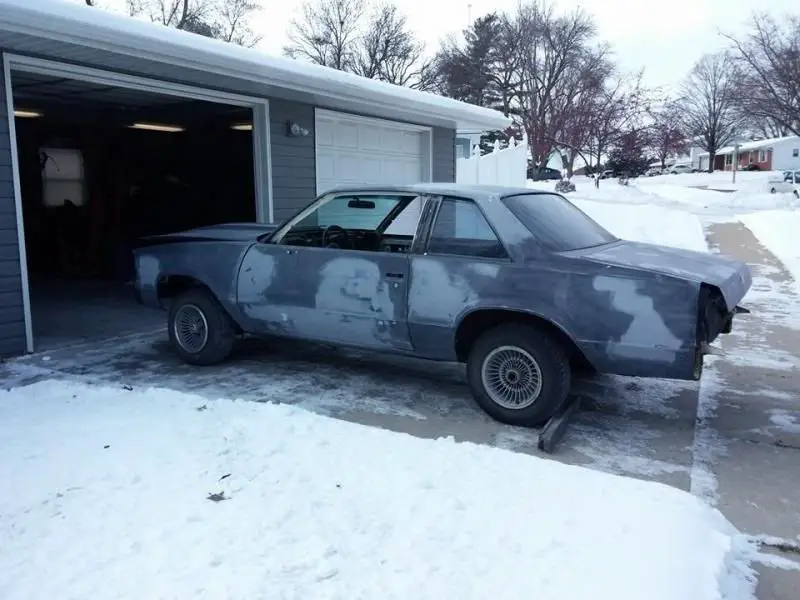
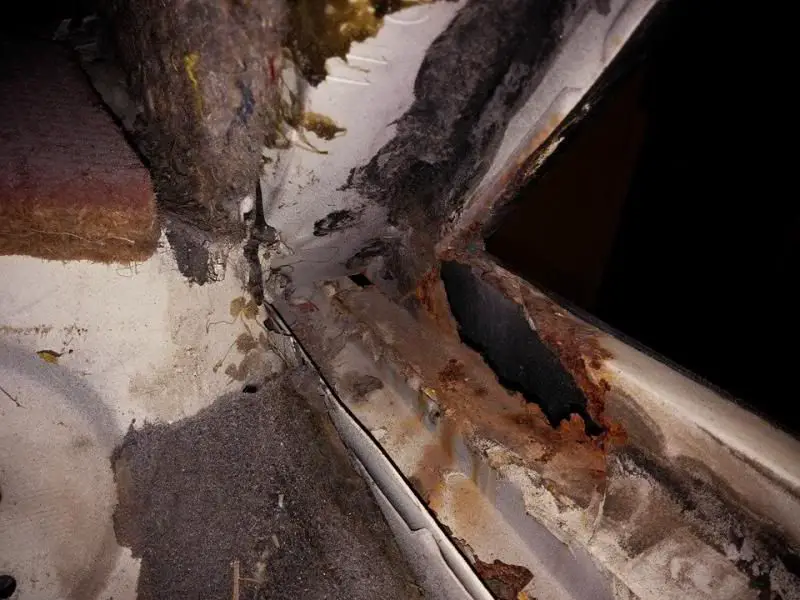
But tonight got a wild hair, and decided I was going to remove the Landau portion of the B Pillar and convert it to a standard pillar. Glad I did, as I found some rot at the bottom back corner of the drivers side quarter panel window that I would have never found without removing it!
And finally the drivers side pillar is done, have some finish grinding to do and clean up the urethane from the window. Then gather glass and trim parts from a standard pillar car!
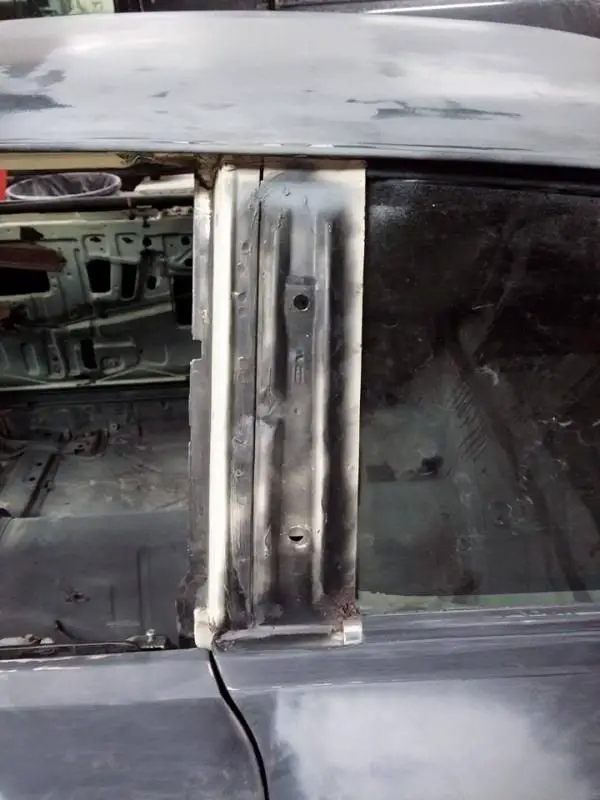
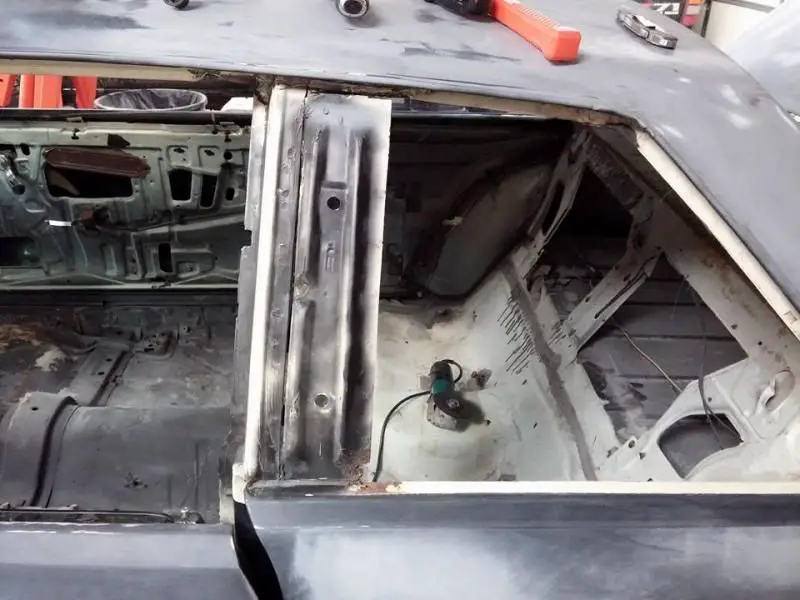
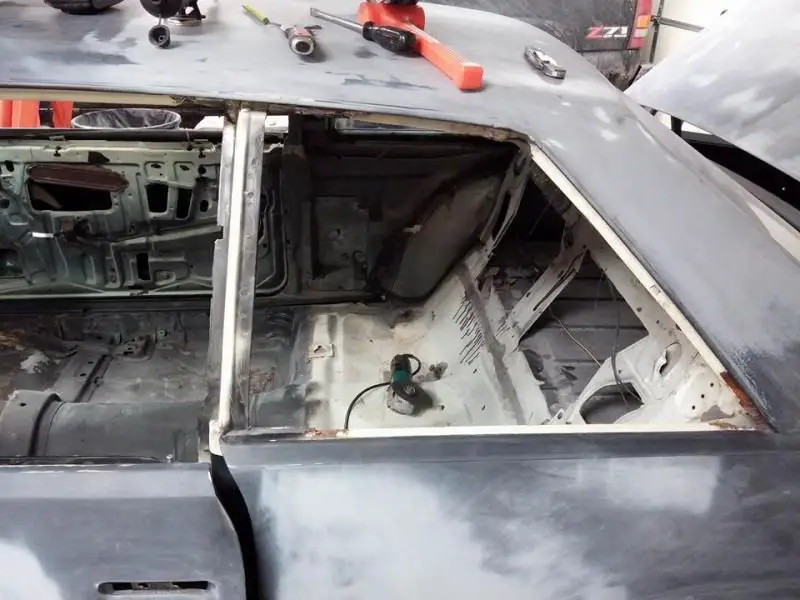


So, after that was done, I finished up the passenger side of the car and thought I was done with body work, and ready for 2K primer!


But tonight got a wild hair, and decided I was going to remove the Landau portion of the B Pillar and convert it to a standard pillar. Glad I did, as I found some rot at the bottom back corner of the drivers side quarter panel window that I would have never found without removing it!

And finally the drivers side pillar is done, have some finish grinding to do and clean up the urethane from the window. Then gather glass and trim parts from a standard pillar car!


Well, got to the other side and it was much worse. So, went ahead and cut it all out. Running by the speed shop tomorrow to get some 20 gauge bent to the shape of the channel. Will work on welding the patch pieces back in here later in the week, and into the weekend. Hope to have it all welded in, ground down, and filled with dynaglass by the end of the weekend.
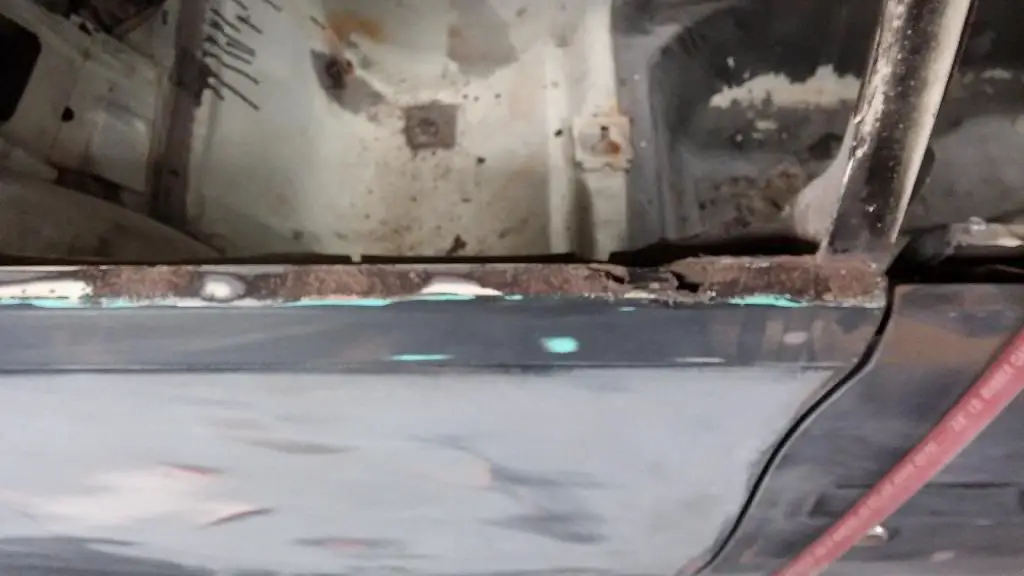
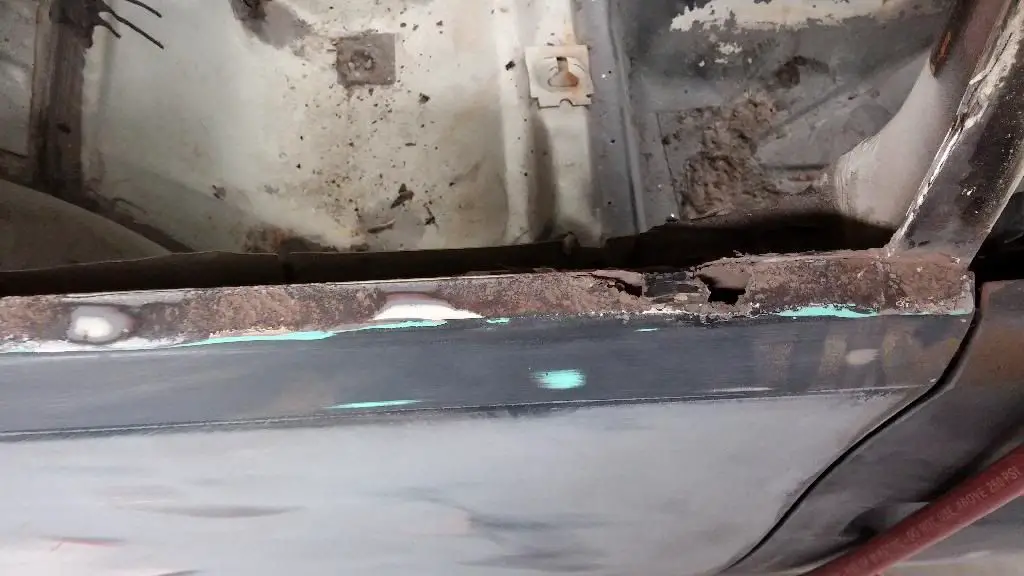
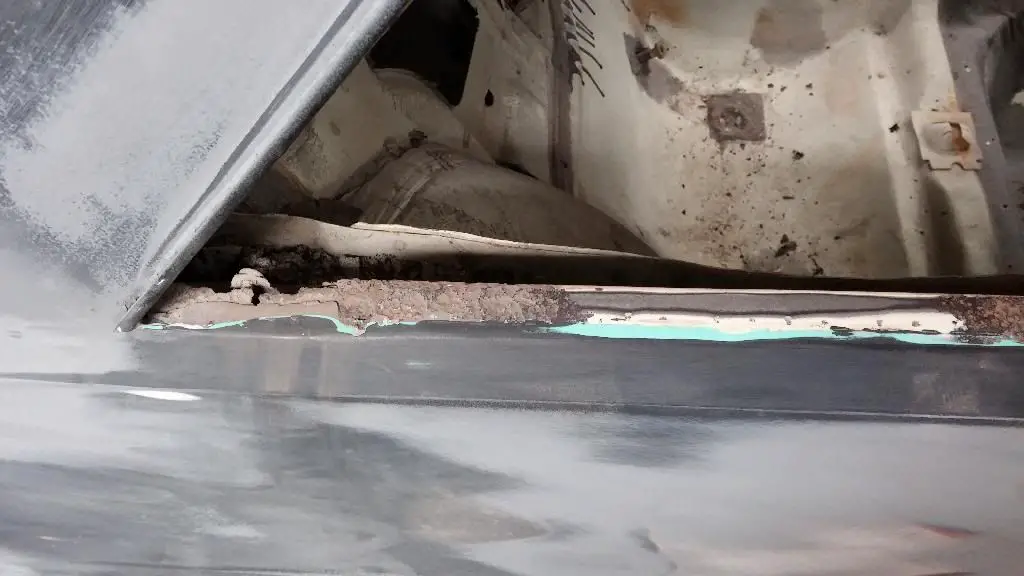
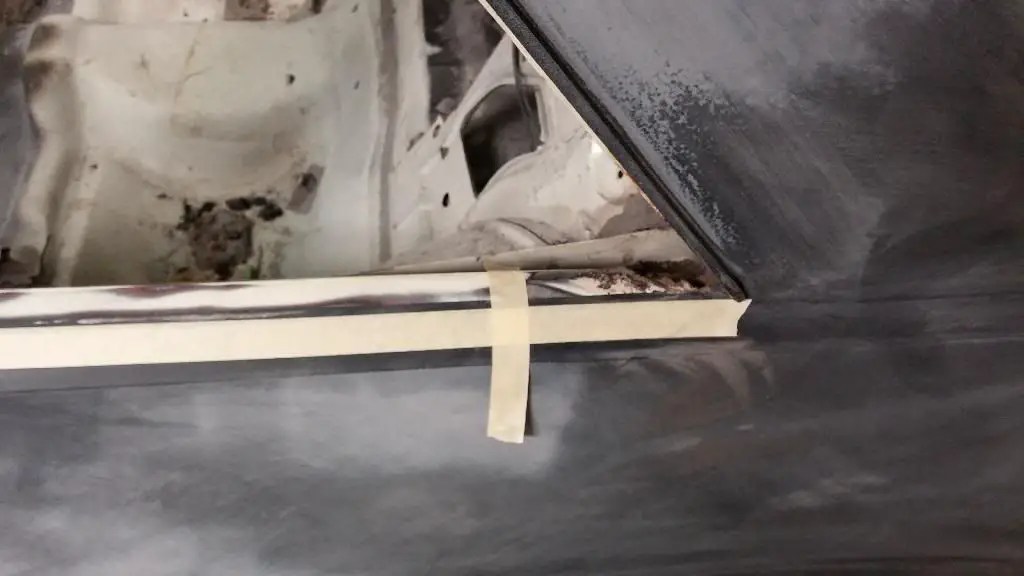
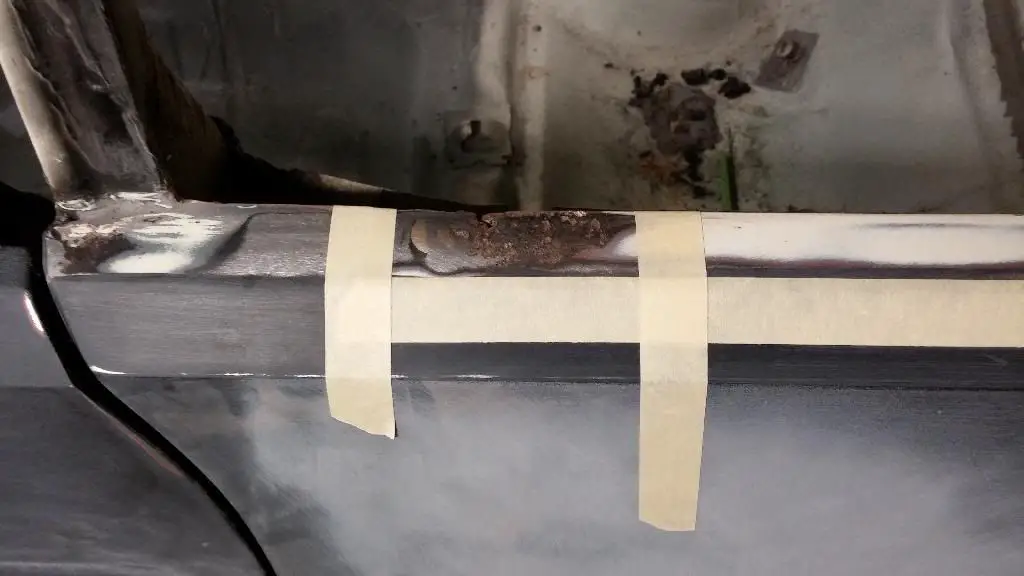
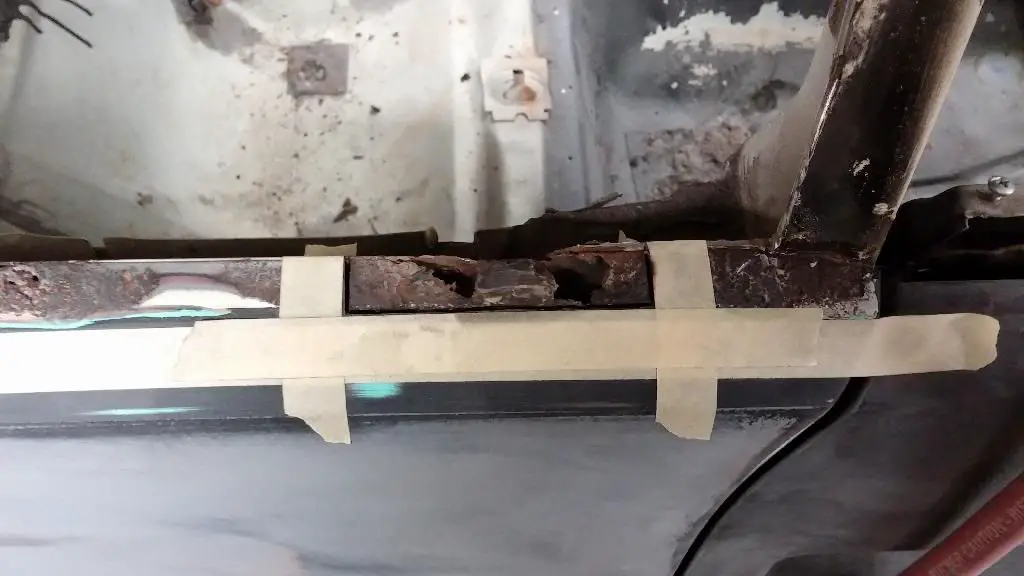
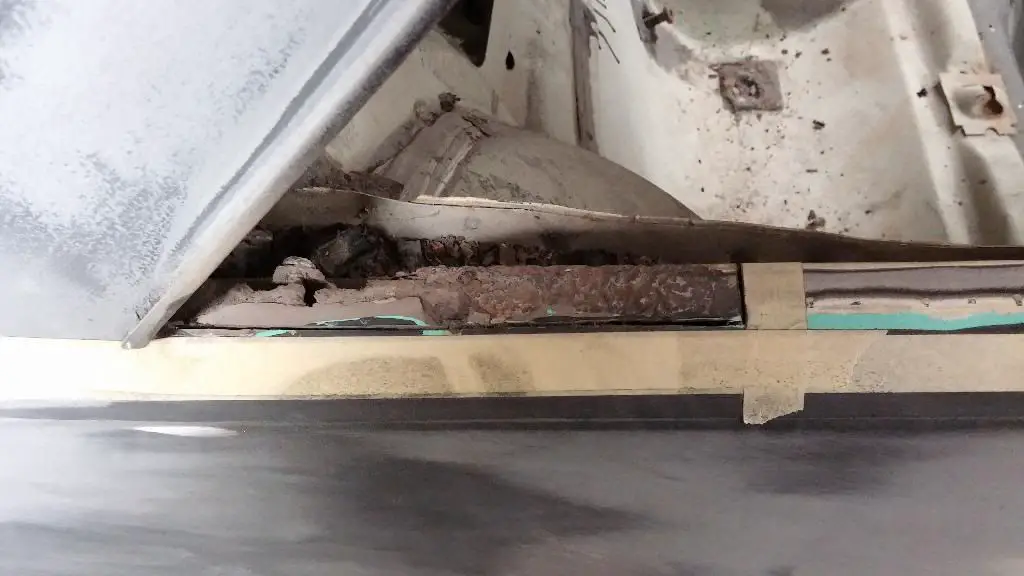
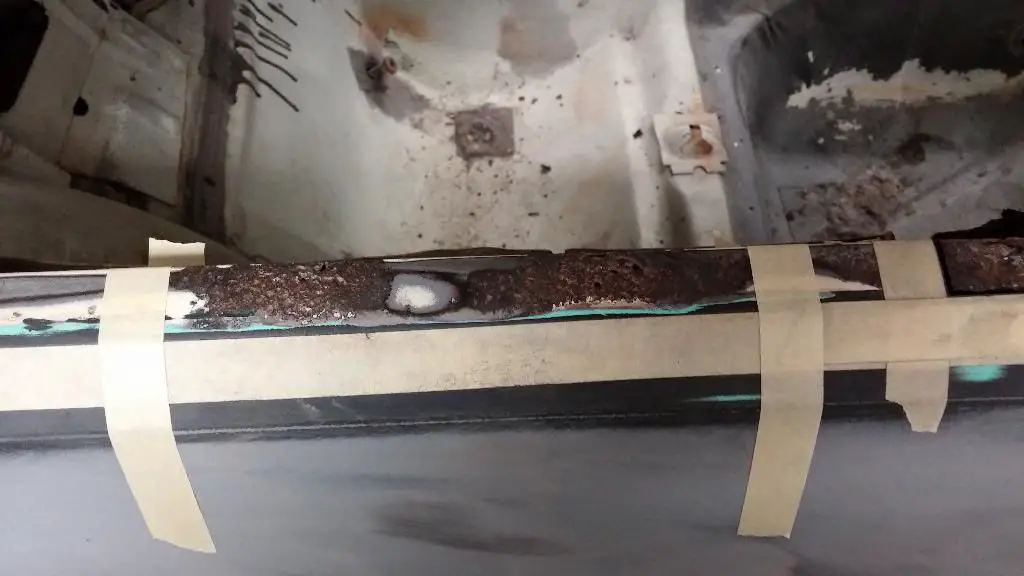
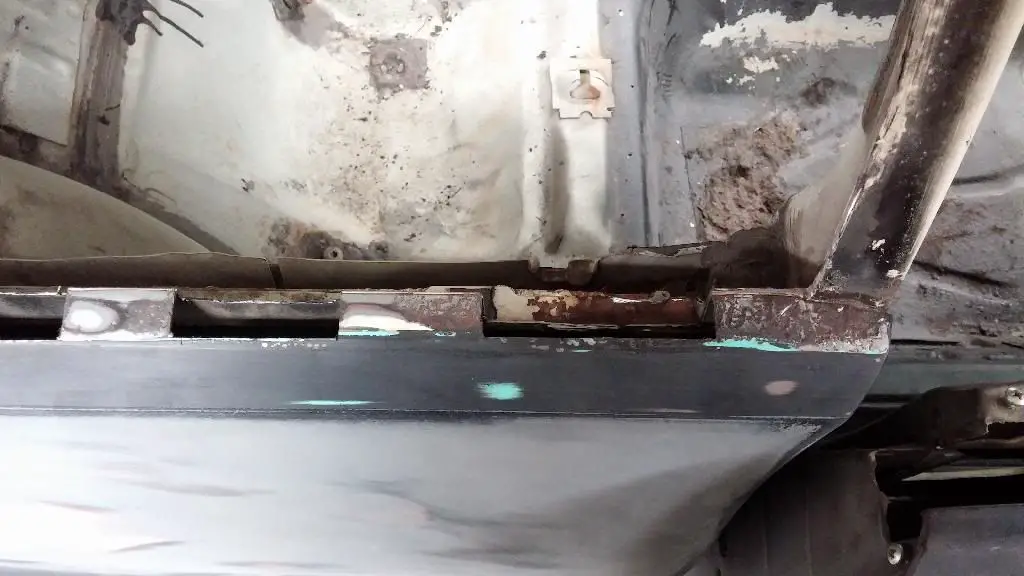
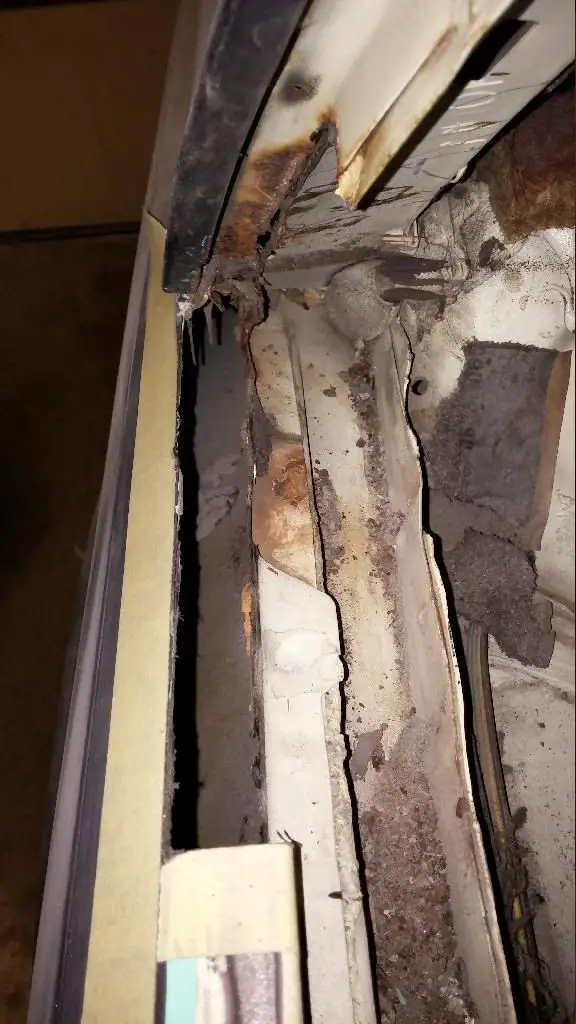
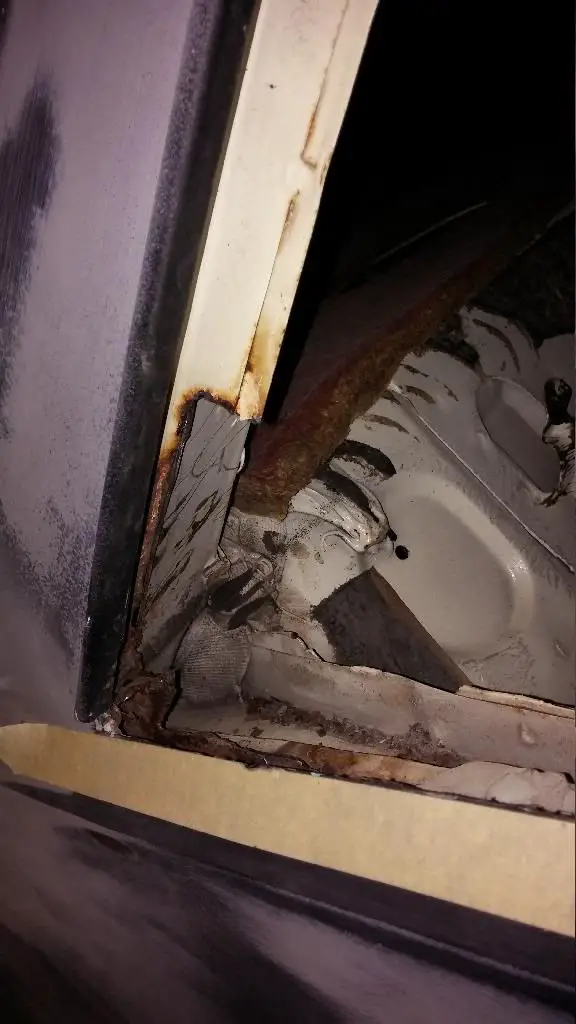
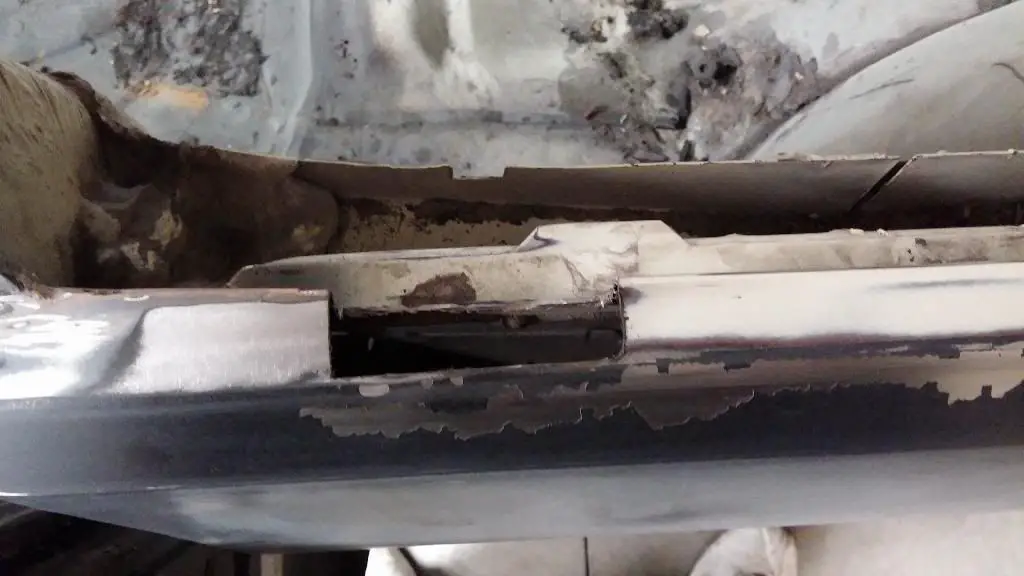
Also got the other pillar cut out and ready for some finish grinding. Doing that conversion was very easy to be honest!
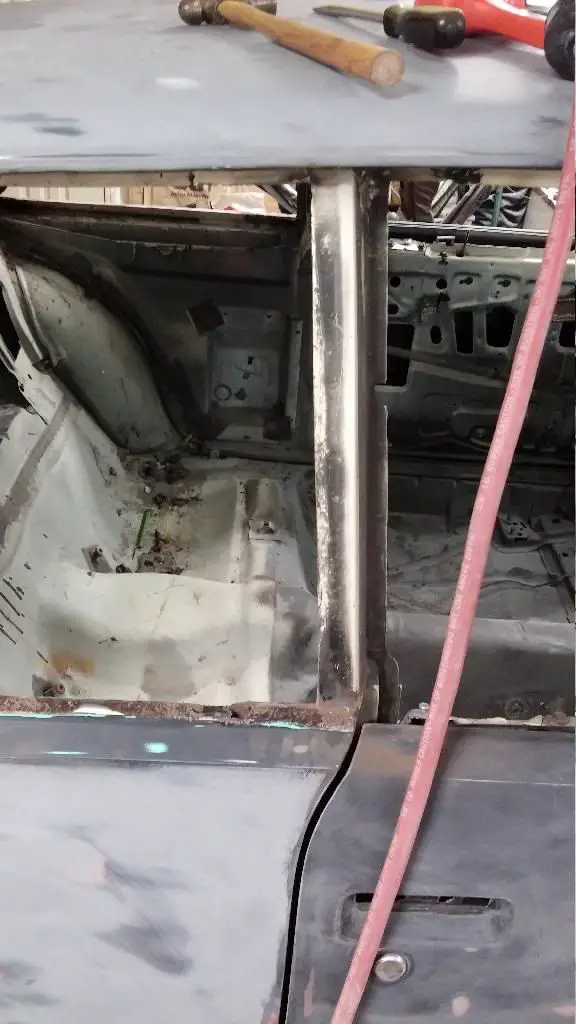


Also got the other pillar cut out and ready for some finish grinding. Doing that conversion was very easy to be honest!

Will do! Heading out to weld in the new pieces now. Hope to have them all welded and ground tonight with a coat of dynaglass on them.
- Status
- Not open for further replies.
Similar threads
- Replies
- 0
- Views
- 47
- Replies
- 3
- Views
- 137
- Replies
- 1
- Views
- 196
GBodyForum is a participant in the Amazon Services LLC Associates Program, an affiliate advertising program designed to provide a means for sites to earn advertising fees by advertising and linking to amazon.com. Amazon, the Amazon logo, AmazonSupply, and the AmazonSupply logo are trademarks of Amazon.com, Inc. or its affiliates.


