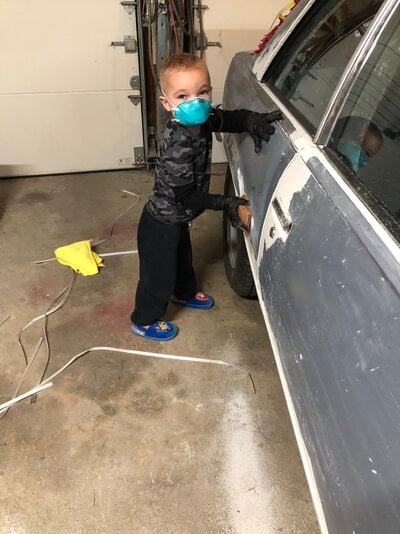
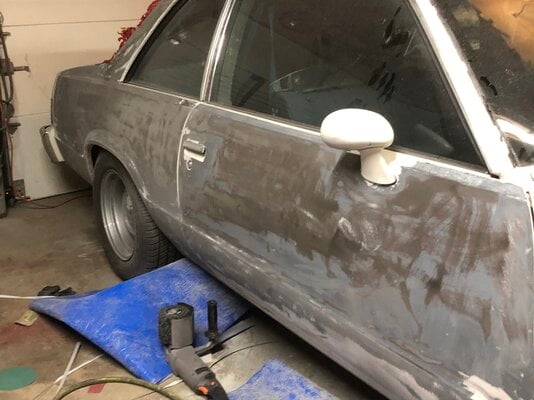
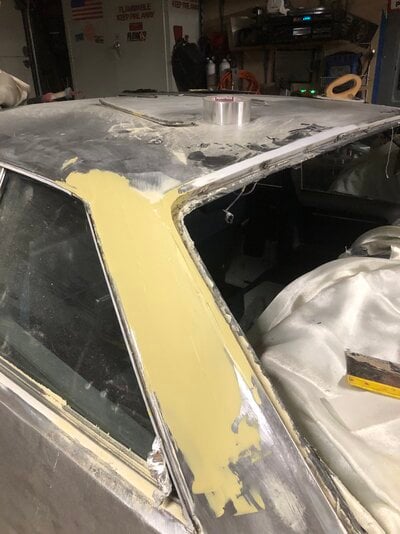
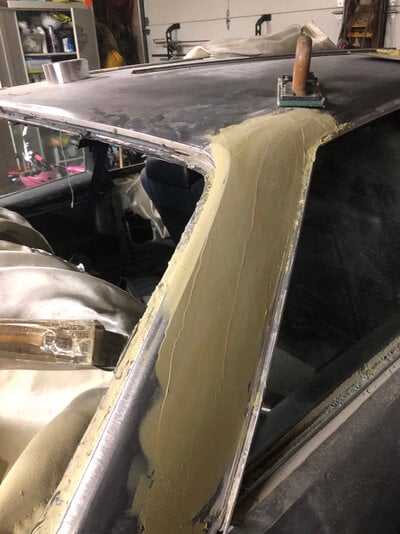
Had a little help in the garage tonight. Nice to have him take interest in working on the car at such a young age. He was frustrated with sanding the laquer paint down though, and decided to go back in the house after about 20 minutes of sanding and 10 of hanging out. After my helper left, l made some decent progress.
81 Malibu project restarting
- Thread starter 08Malibu
- Start date
You are using an out of date browser. It may not display this or other websites correctly.
You should upgrade or use an alternative browser.
You should upgrade or use an alternative browser.
You got to start them off young. As long as the authorities don't arrest you for child endangerment.Had a little help in the garage tonight. Nice to have him take interest in working on the car at such a young age. He was frustrated with sanding the laquer paint down though, and decided to go back in the house after about 20 minutes of sanding and 10 of hanging out. After my helper left, l made some decent progress.
He has ppe on. And he’s not allowed out there, when I’m making any dust without it.You got to start them off young. As long as the authorities don't arrest you for child endangerment.
I'm sure you're a responsible parent. I'm glad that you're making sure that he's safe.He has ppe on. And he’s not allowed out there, when I’m making any dust without it.
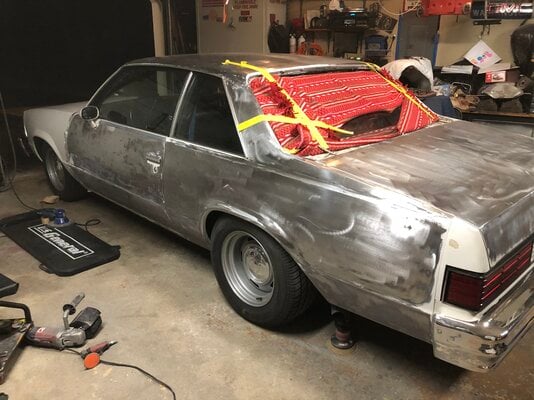
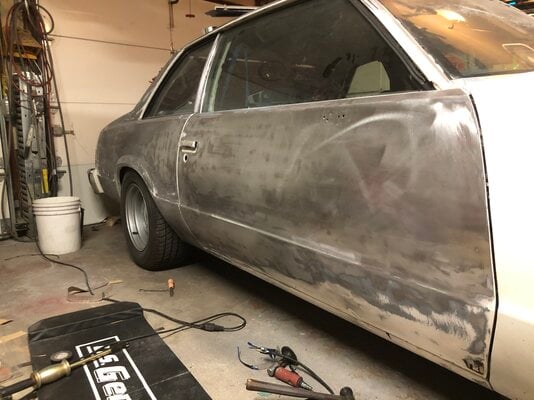
Got the car almost all the way stripped, on the outside. I’ll have to coordinate when I’m going to bring it to the shop to epoxy prime it before I finish. I’m going to go over the whole car again, right before I prime it, so I won’t trap any rust.
Attachments
So it looks like I’m going to have the car towed to my Saturday job, on Saturday afternoon. I’ll go over the whole car with 180 and shoot it with dp. I want to try and take car of as many dings as I can and weld up the 2 quarter seams and a pillar seams before. I’ll still have to pull the doors and repair the skins and do some other metal work later. I just can’t have the car sitting around in bare metal. The whole car is going to get skim coated and primed 2-3 times at a later date, so this is just the beginning.
Attachments
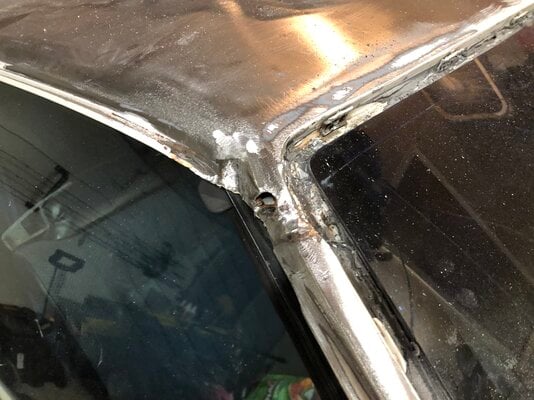
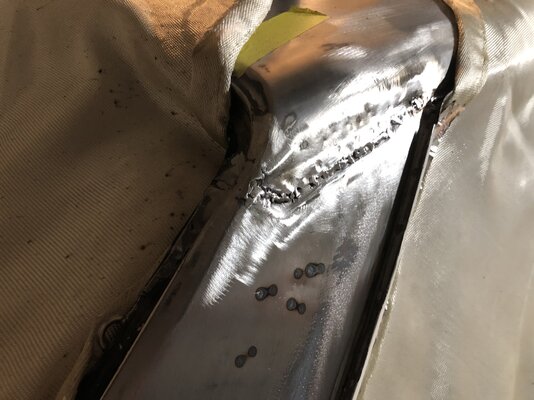
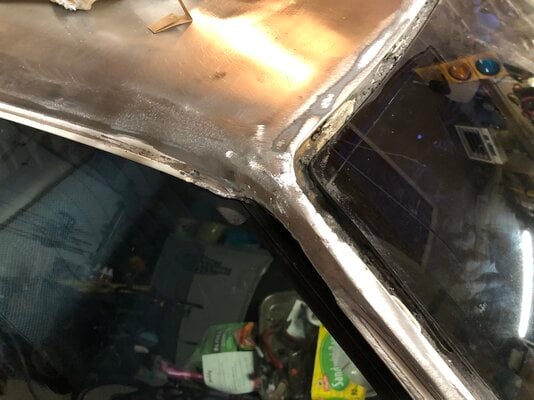
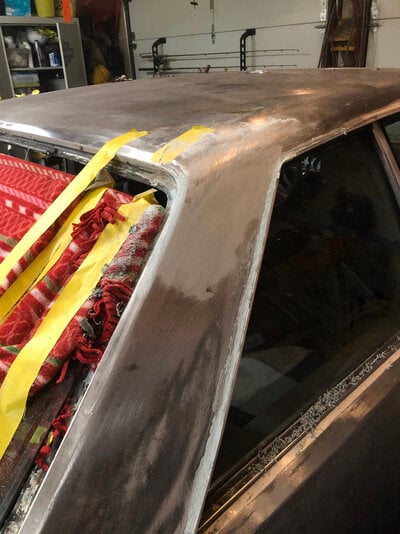
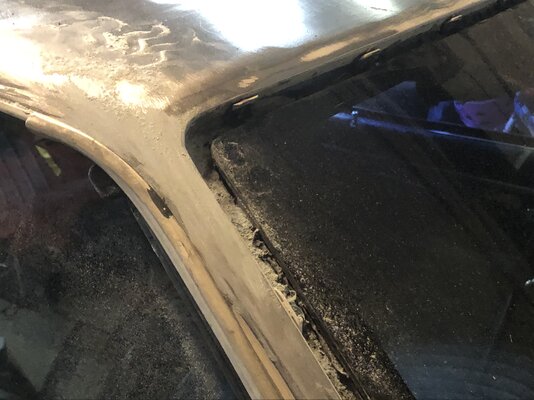
So I welded up the passenger side a pillar and quarter panel seams tonight. The a pillar looks like crap inside by where the weatherstripping goes. I’ll have to address that.
Unfortunately my welding blanket moved, and it let a spark hit my side glass. Couldn’t have hit the windshield, I’m replacing it at some point. Now I’ll have to replace the door glass too.
Unfortunately my welding blanket moved, and it let a spark hit my side glass. Couldn’t have hit the windshield, I’m replacing it at some point. Now I’ll have to replace the door glass too.
Attachments
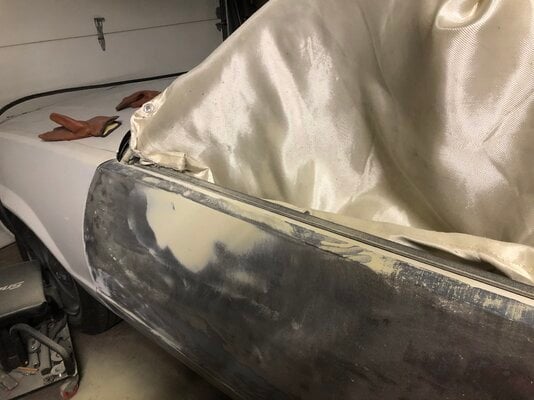
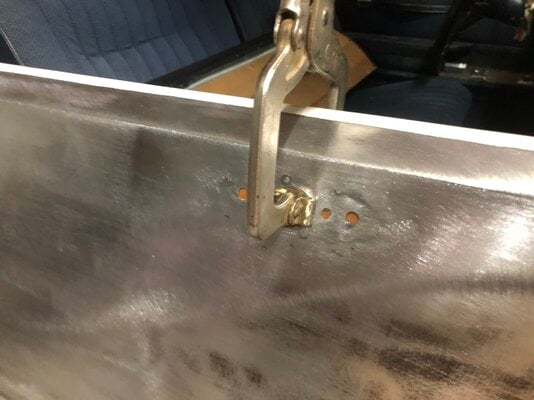
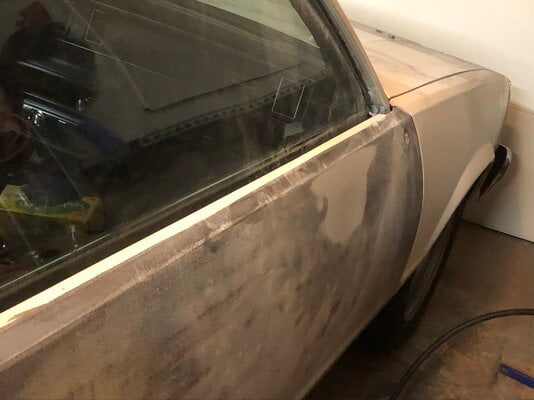
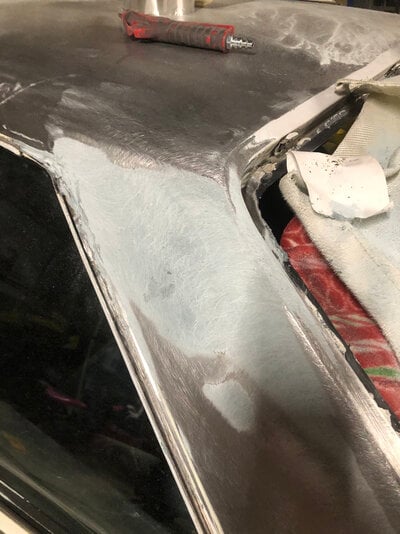
Tonight I welded up the holes in the passenger side door from the old mirror and the drivers side quarter seam. Then I duraglassed the passenger a pillar, door, and quarter. I also did the drivers side quarter. I’m probably going to hold off on the drivers side a pillar since the windshield is tighter to that side and there’s some rust low on the pillar.
I have to take care of the mirror mount on the drivers door and fix some small dents on it. I also want to take care of a few dents in the trunk.
Edit: just noticed the pic I took of the door welded didn’t take. The duraglas is intentionally low to leave room for regular body filler by the way.
I have to take care of the mirror mount on the drivers door and fix some small dents on it. I also want to take care of a few dents in the trunk.
Edit: just noticed the pic I took of the door welded didn’t take. The duraglas is intentionally low to leave room for regular body filler by the way.
Attachments
-
 D0E34351-00BB-47D2-A8E9-9232E7CF817B.jpeg2.8 MB · Views: 173
 -
 E910A5DD-791A-45C5-9C9E-2AA1B26061E4.jpeg2 MB · Views: 169
 -
 4E31B0E6-99A4-402E-92B5-F4EADA636F62.jpeg1.9 MB · Views: 165
 -
 5B204C4B-D7E6-4753-BF48-6812B3363887.jpeg2.3 MB · Views: 163
 -
 70FE6AE5-A7CE-4EED-9643-3E42434EBD9F.jpeg1.9 MB · Views: 179
So I decided I’d finish the bodywork on the seams and the old mirror holes. This way I can spray the rear window channel with some single stage black paint and get the rear glass reinstalled. Excuse the mess I’m in a time crunch.
Attachments
Similar threads
- Replies
- 0
- Views
- 52
- Replies
- 13
- Views
- 488
GBodyForum is a participant in the Amazon Services LLC Associates Program, an affiliate advertising program designed to provide a means for sites to earn advertising fees by advertising and linking to amazon.com. Amazon, the Amazon logo, AmazonSupply, and the AmazonSupply logo are trademarks of Amazon.com, Inc. or its affiliates.


