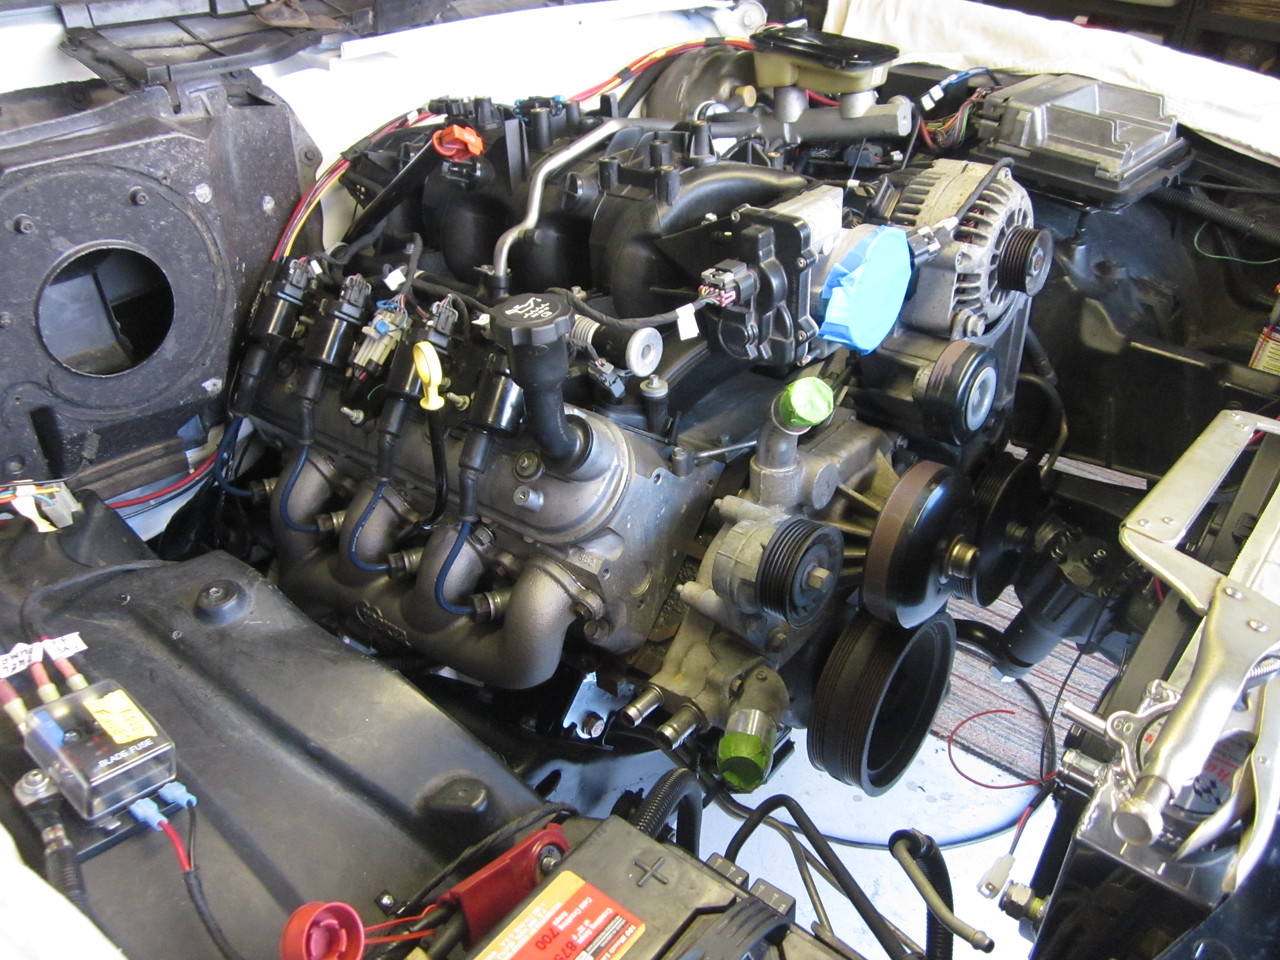
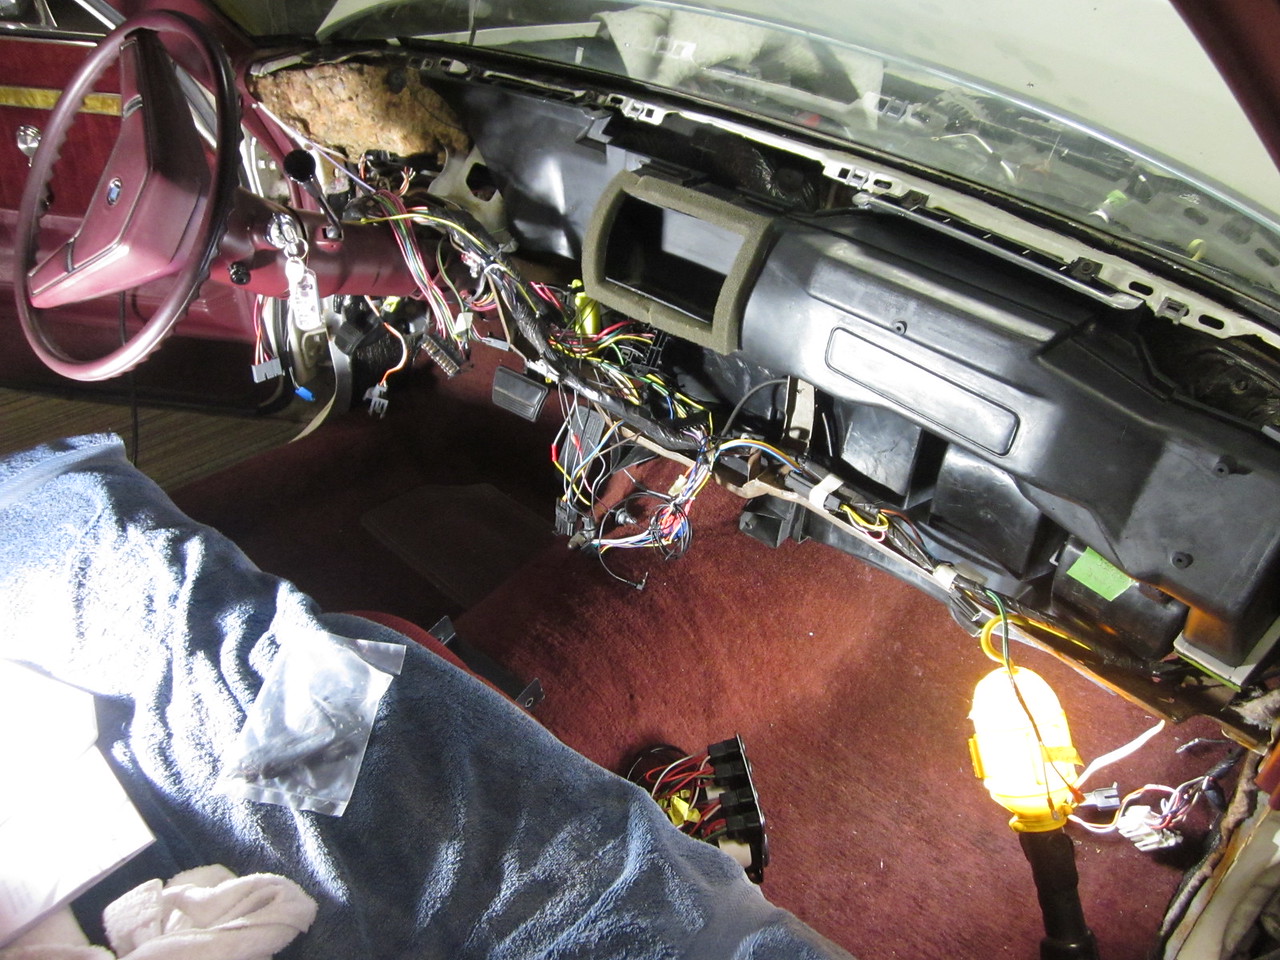
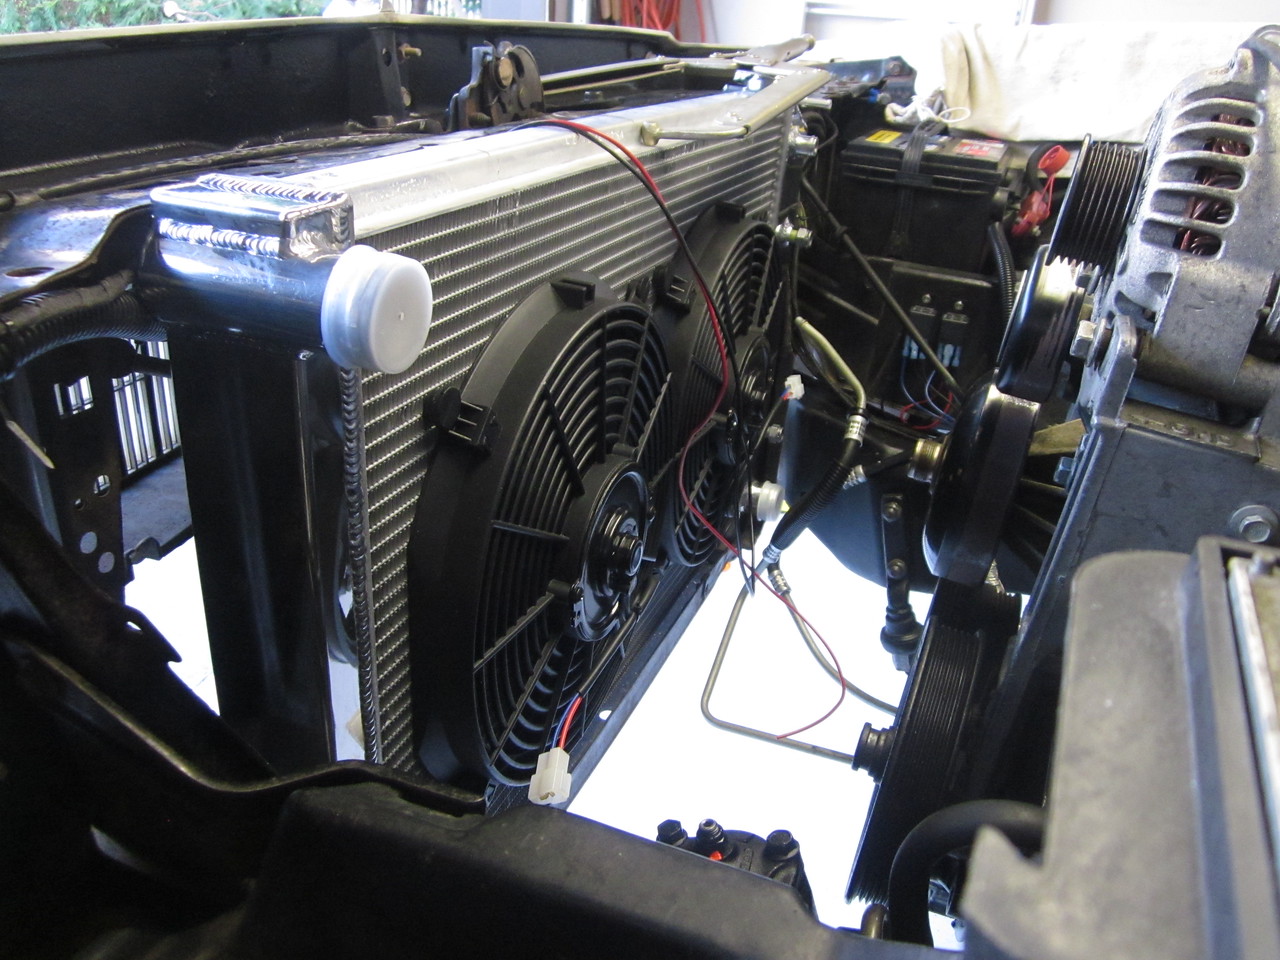
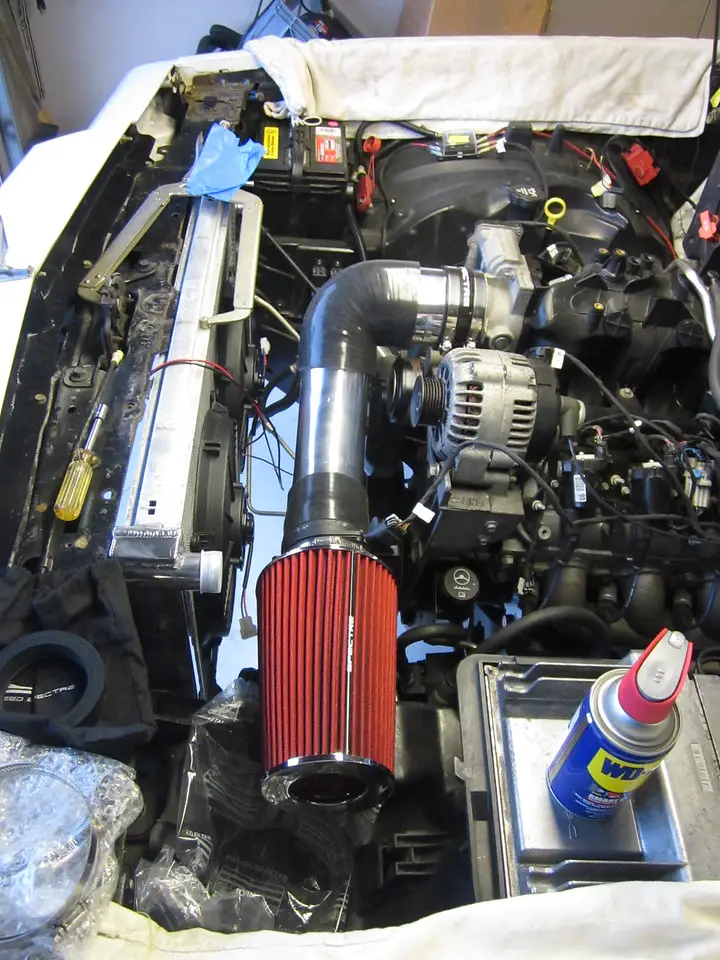
Thanks for the comments! Mike, your car is a huge inspiration.. the work involved is phenomenal. I've followed you over at LS1tech for a while now. For the mounts, I'm just trusting the Holley engineering and it seems to be spot on, if not a *little* close to the firewall. Or are you commenting on the clamshell mounts being on the farther rearward holes than the front ones? Either way it's too late as the entire drivetrain has been installed and set up with it in the current position.. hope it's right! 😵
Just keep an eye on the heater box when it torques over... don't want to punch a hole.


GBodyForum is a participant in the Amazon Services LLC Associates Program, an affiliate advertising program designed to provide a means for sites to earn advertising fees by advertising and linking to amazon.com. Amazon, the Amazon logo, AmazonSupply, and the AmazonSupply logo are trademarks of Amazon.com, Inc. or its affiliates.


