83 cutlass cruiser build.
- Thread starter mikeselky85
- Start date
You are using an out of date browser. It may not display this or other websites correctly.
You should upgrade or use an alternative browser.
You should upgrade or use an alternative browser.
- Status
- Not open for further replies.
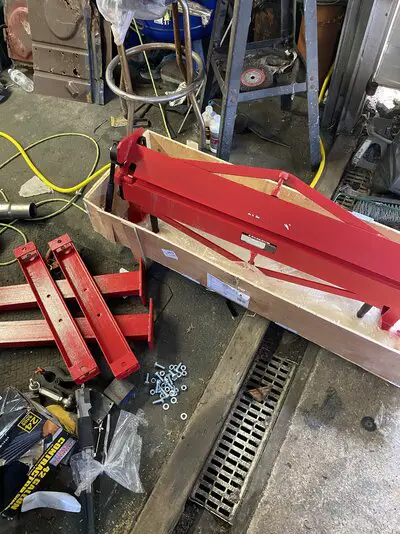
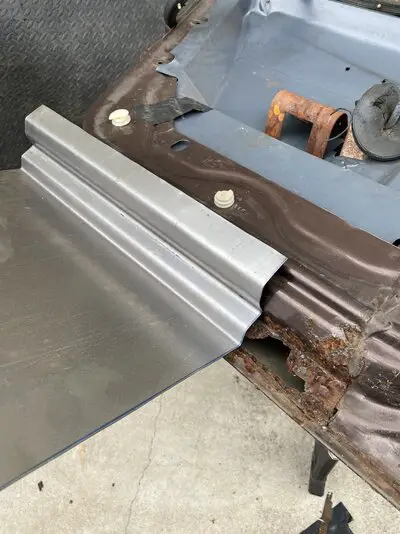
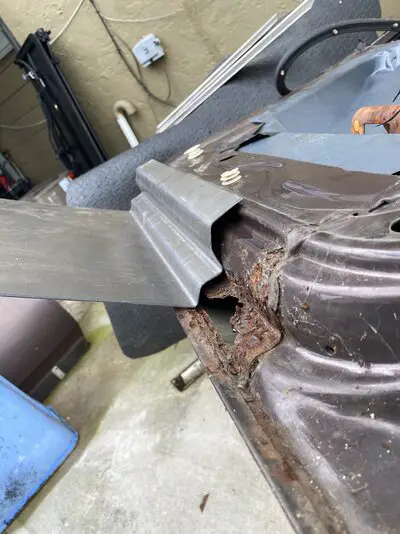
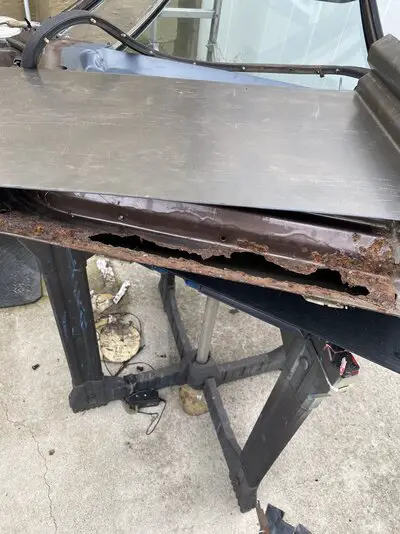
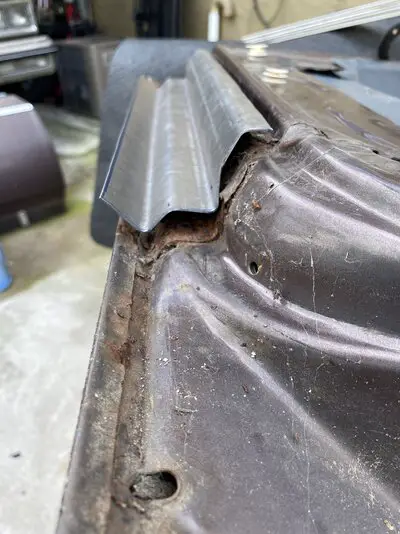
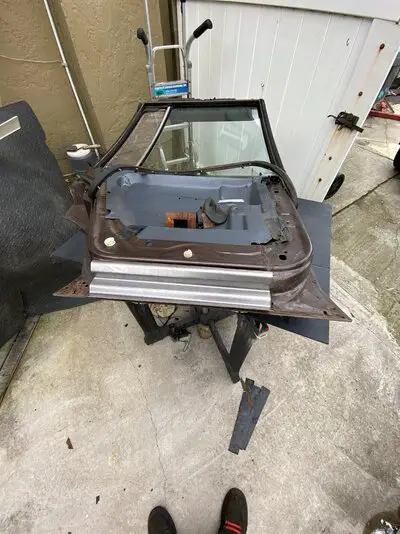
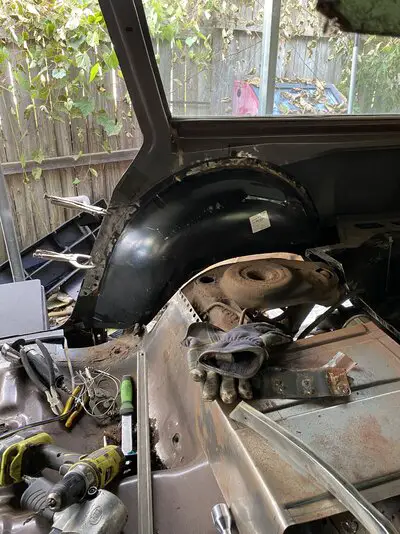
Havnt updated in a while, I’ve been busy and on vacation a little bit. Ordered a sheet metal brake and managed to start fabrication on the inner door repair sections. Also got the inner wheel well finished up, but have to figure out an outer wheel well to fit.
Attachments
-
 F4B7EA61-E153-467B-B62F-83D4C18C165E.jpeg2.4 MB · Views: 194
 -
 F89320E0-B86D-4EEA-9937-846DFA60A56F.jpeg1.8 MB · Views: 178
 -
 B90848D2-C84F-4143-BABA-E83E0A380E91.jpeg1.5 MB · Views: 177
 -
 F4D90B30-C54A-4B08-B5F2-BA90E9279765.jpeg1.9 MB · Views: 199
 -
 EA0A5D63-8660-4941-8D5A-CCCCE823FD65.jpeg1.9 MB · Views: 182
 -
 8DF78CC5-286B-46FA-BEB0-F7A96A4BD586.jpeg2 MB · Views: 185
 -
 BC28035D-F781-4767-819F-DC46E1B7D995.jpeg2.2 MB · Views: 190
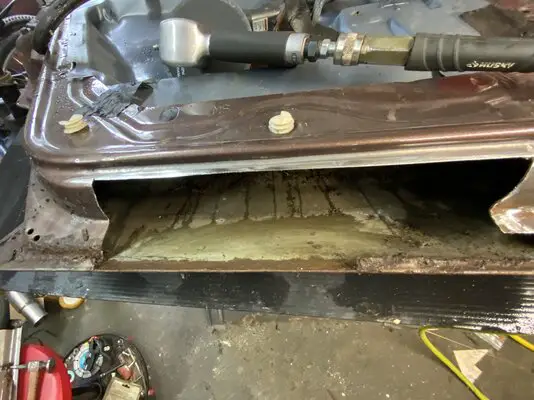
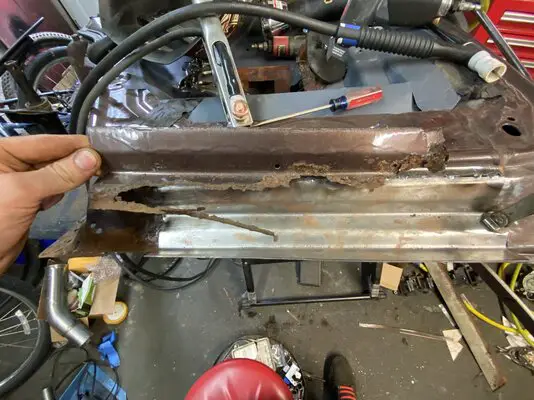
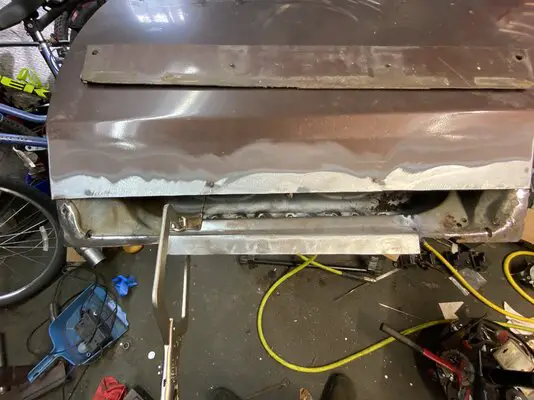
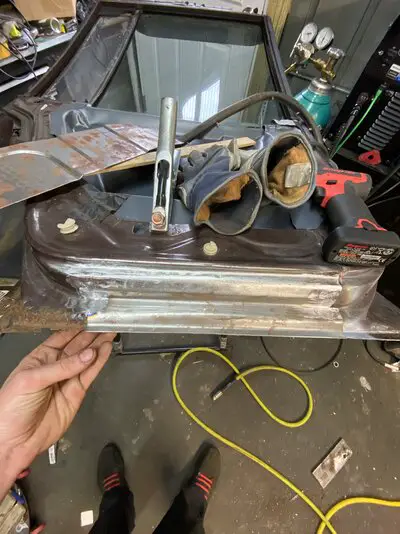
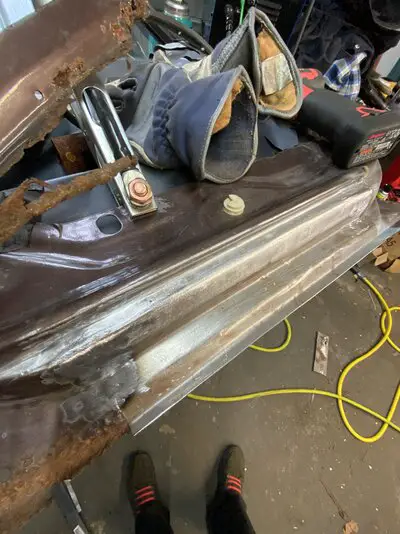
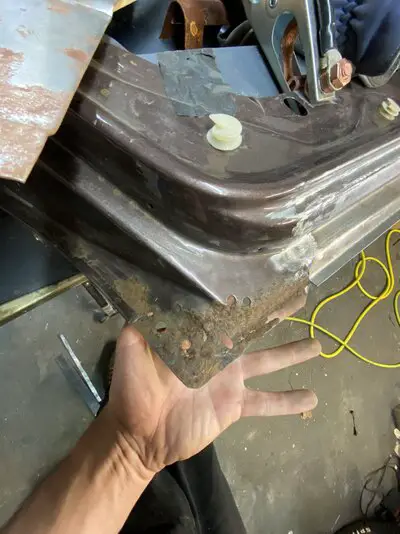
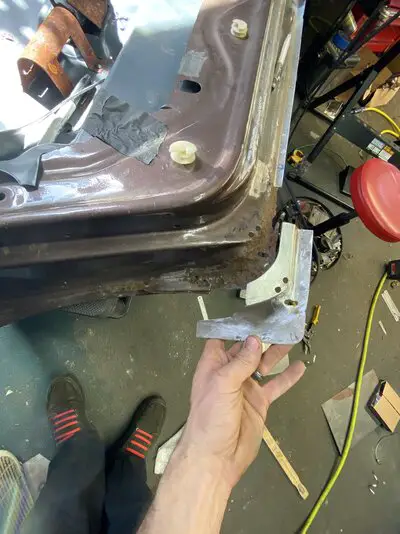
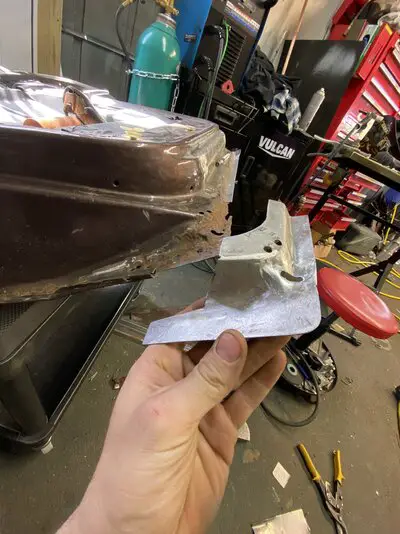
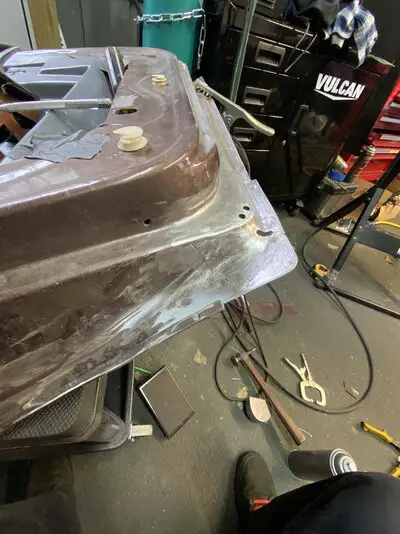
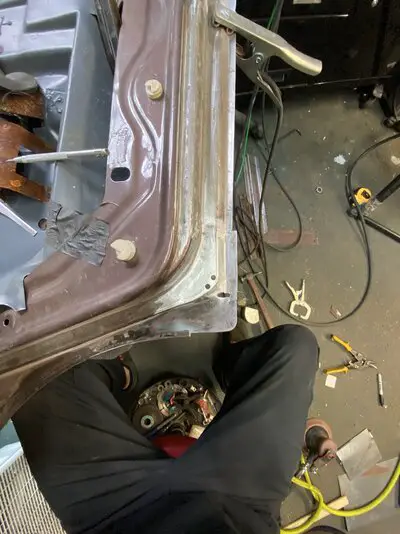
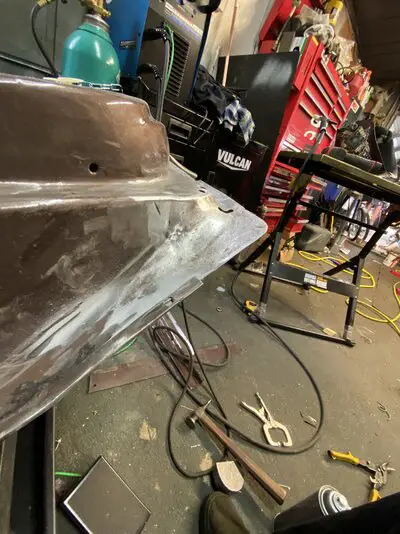
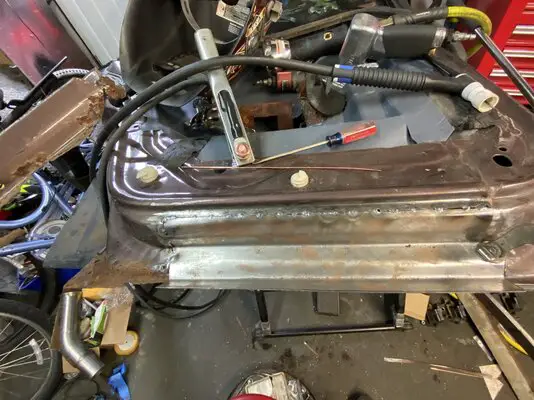
Well got the rest of the door repairs done. Now I just need to fab up a quick lower sling patch and move on. I would like to start finishing up the cargo floor soon as well.
Attachments
-
 8C95ACAB-1A99-4597-9124-BA1F15C64F92.jpeg1.5 MB · Views: 181
 -
 AD8B9148-43D9-4D64-9B81-A871DBE0F83B.jpeg2 MB · Views: 174
 -
 2ED3285C-CD49-4227-92E4-804B0732B6CC.jpeg2.6 MB · Views: 175
 -
 5B3D0399-FC65-4539-A43E-4DB6FB5C2902.jpeg1.7 MB · Views: 173
 -
 3C32ED7D-0DA8-47AB-8504-F016E1BA6D61.jpeg1.8 MB · Views: 175
 -
 9390948E-911C-4DA6-B5C4-239E38A6D94D.jpeg1.1 MB · Views: 170
 -
 5ACA4387-541D-471F-871E-7F8973B0B1A7.jpeg1.5 MB · Views: 172
 -
 2C205821-BC4B-4D38-8412-5368D27EE6B3.jpeg1.6 MB · Views: 179
 -
 6F2D3F8F-5452-437F-BF6A-CD1B64B4B904.jpeg1.6 MB · Views: 188
 -
 02592C39-713B-4BBE-8AA3-286478343050.jpeg1.6 MB · Views: 183
 -
 00224482-80F2-43EE-95EB-4BE30AC1A68B.jpeg1.4 MB · Views: 186
 -
 74114FD9-E67A-4307-83AD-8E3D3D3BD1A0.jpeg1.9 MB · Views: 179
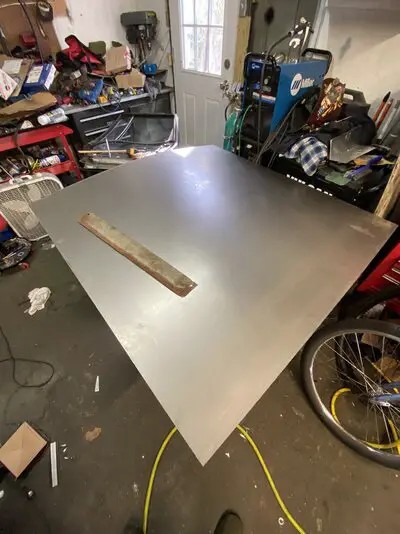
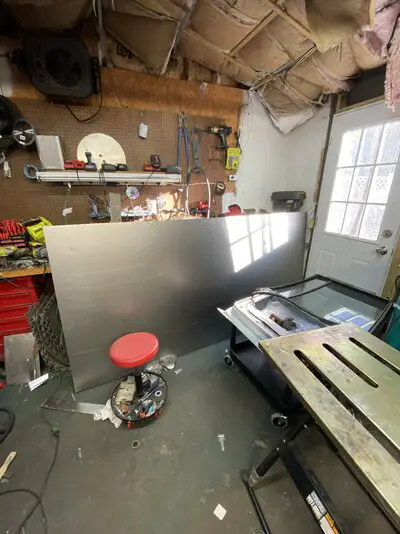
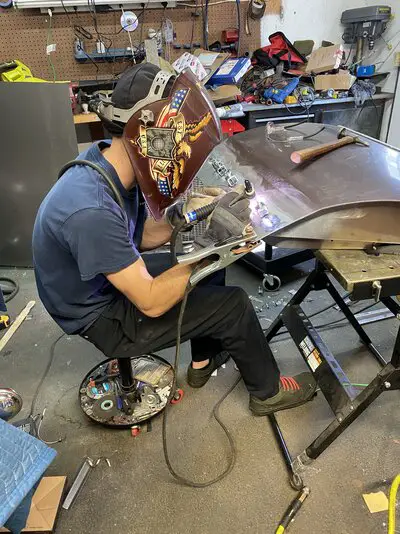
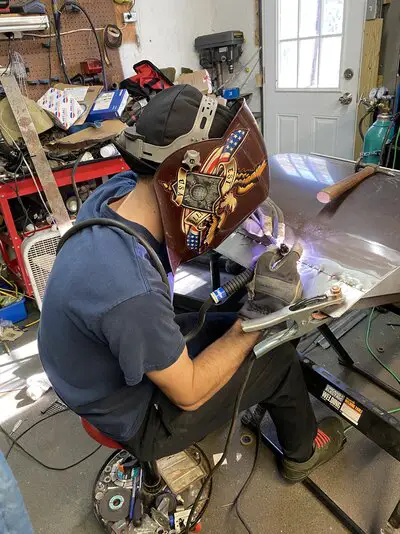
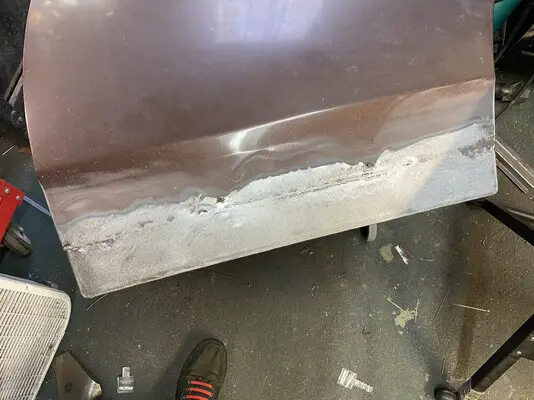
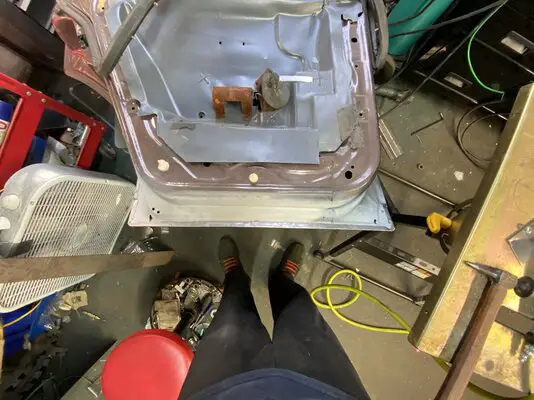
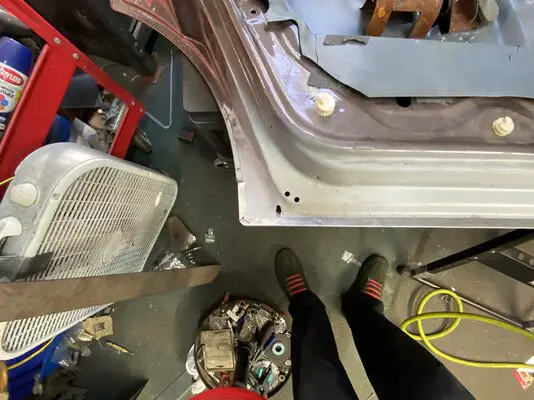
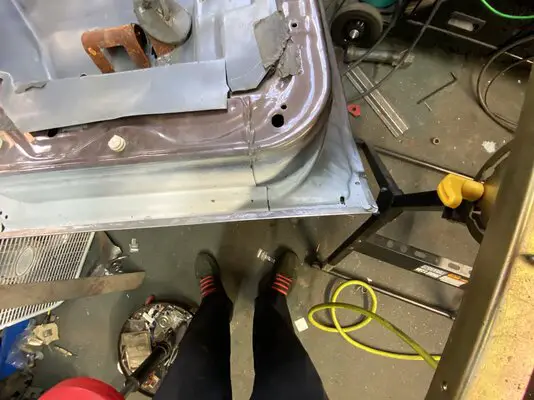
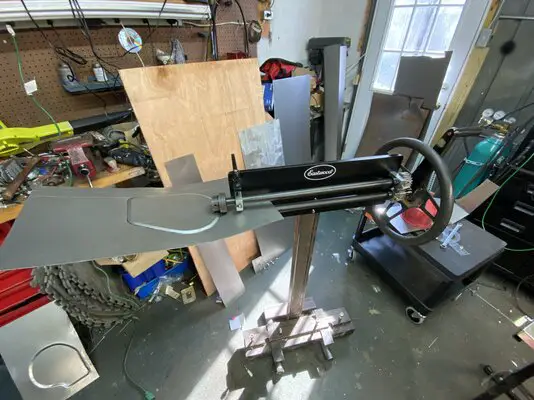
Picked up two 4’x8’ of 20 gauge steel. Some is for a hutch my pops wants me to build for his work box, but I’ll be using some for the wagon. Fabbed up a full lower skin and crimped the edges. A little more prep and it’ll be finished up.
Attachments
-
 2AC0F657-F074-4968-A82D-7B0AC0B6B436.jpeg1.4 MB · Views: 172
 -
 CCAD5757-2097-4C72-BC74-BEBA7060E206.jpeg1.6 MB · Views: 162
 -
 82516716-F1F2-4EBF-8C55-ACDE1FD7AF32.jpeg2.2 MB · Views: 193
 -
 33AFBF14-12E2-45CD-8225-6DA531F02456.jpeg2.1 MB · Views: 168
 -
 B1BCE33D-54E1-4825-AB58-8D3352FBA5AF.jpeg4.2 MB · Views: 171
 -
 F3A9BC3A-D206-49B8-AD5C-EFFB3C2AA077.jpeg2.1 MB · Views: 171
 -
 4C433D6A-9B7F-4CD1-B223-A584673E1665.jpeg2 MB · Views: 211
 -
 8E847CD4-0D15-4519-810C-EA58AA2D7935.jpeg2 MB · Views: 167
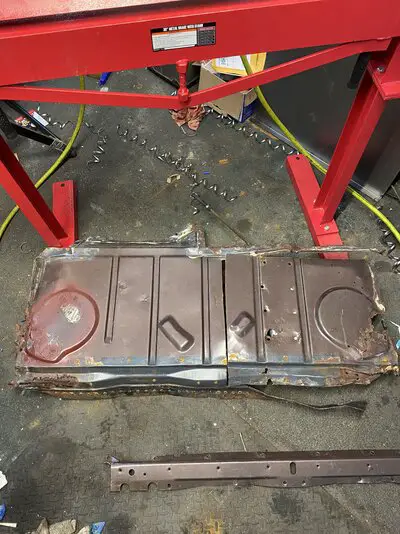
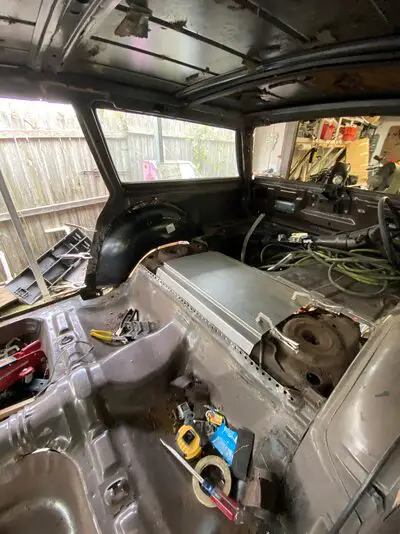
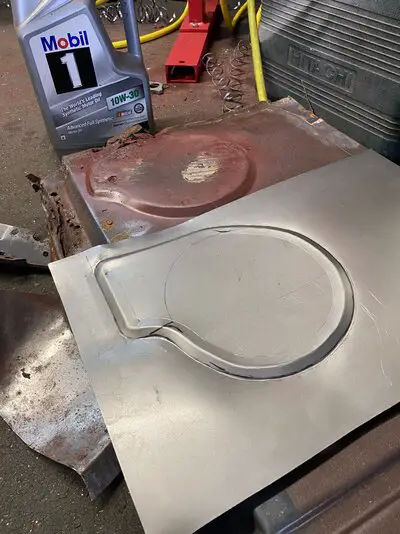
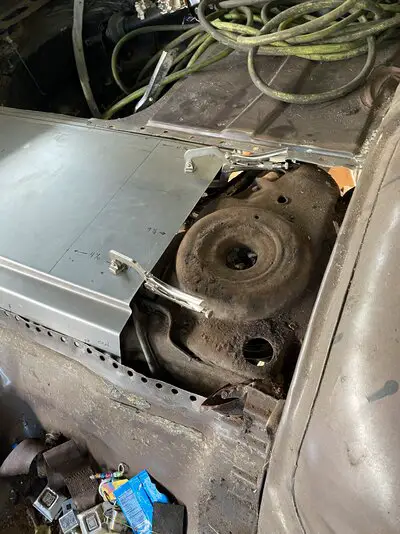
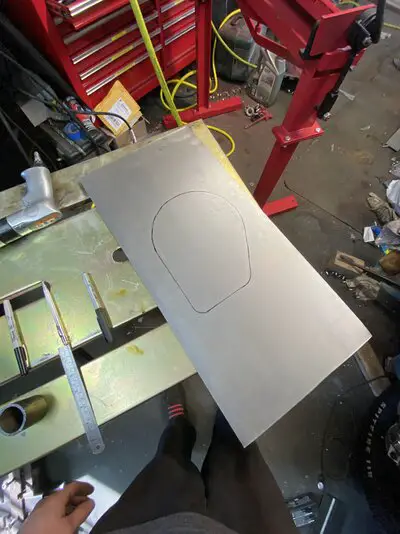
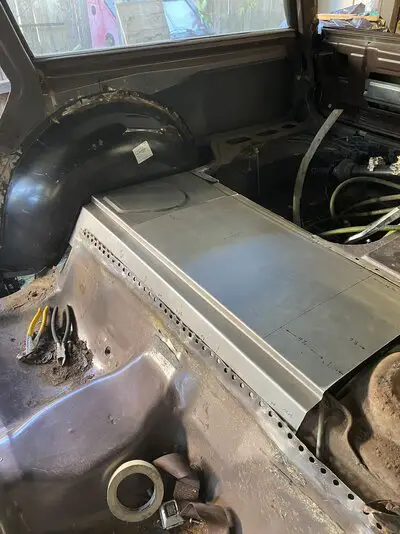
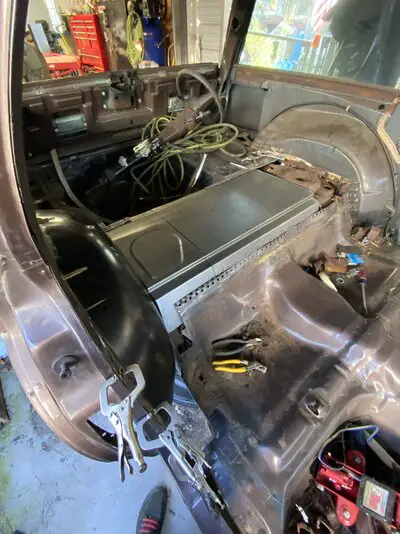
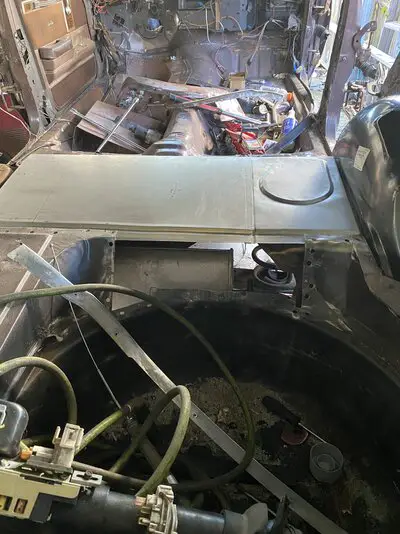
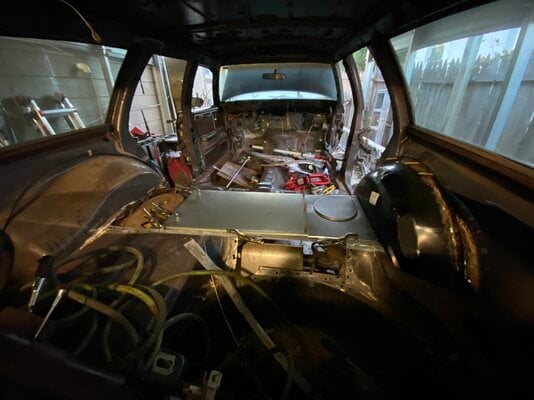
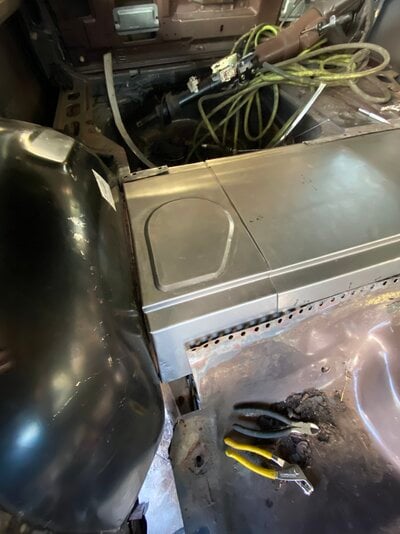
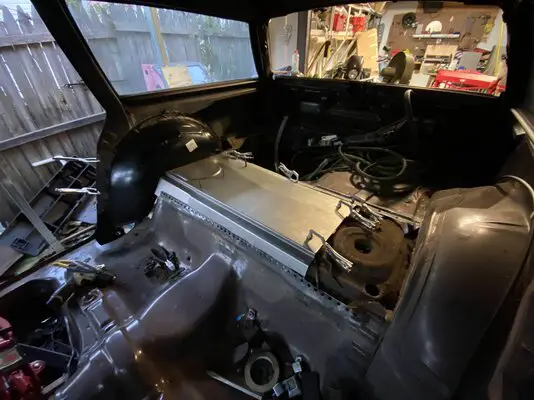
Double update cause I forgot to update on the door from last week. Decided to start on the rear floor panel. Still gotta run a strength bead in the middle panel, but got a lot done for today.
Attachments
-
 E56FA63D-B4B4-43B9-8E42-C82A98867116.jpeg2.5 MB · Views: 170
 -
 8715F12C-07A1-452E-A1F6-522AF3A9A8B1.jpeg1.4 MB · Views: 171
 -
 7E1942E5-3651-472D-B64F-39857D0A249C.jpeg2.2 MB · Views: 171
 -
 FF4C2FF7-FA2A-4437-AF9B-73F8FBD067D6.jpeg2 MB · Views: 184
 -
 8630C305-0C36-4B72-8005-0B067FF6AA8F.jpeg1.5 MB · Views: 162
 -
 91B6E5C2-EB7A-4F93-BA4E-A44A4B5837C1.jpeg2.5 MB · Views: 167
 -
 E4A7172B-6C97-4F52-B237-072B30AEC6E1.jpeg1.9 MB · Views: 176
 -
 1AB5A499-9AAD-4195-8001-58C01FBB0058.jpeg1.1 MB · Views: 176
 -
 4324BF2C-E2C8-4DCD-8061-8F112447E0C7.jpeg2 MB · Views: 174
 -
 F6E7AFA9-0132-42BB-B75E-5B8139E9B2BF.jpeg1.7 MB · Views: 187
 -
 CC9A25A0-4FFC-4AC5-B160-96B778ABD3A8.jpeg921.5 KB · Views: 177
 -
 CC2AFB23-53AA-462D-A20A-BD95BDF94575.jpeg1.9 MB · Views: 177
Rust never sleeps!Okay so this morning I removed the fuel tank to check the floor and the rear frame mounts. Looks like all 4 rear frame mounts are trash for the most part. Also found a little bit of rust in the rear gate/ hatch area that will require some work. I looked on the inside and it’s all still solid, so it’s just outer rust.
Also got the time to assess 3/4 doors (drivers wasn’t pulled yet). Looks like they will all require inner door fabrication and repair. It’s strange cause the skins are in great shape, but I will remove 2.3-3” from lower skin and patch it anyway.
seems like all I keep doing is finding more and more rust, but on a good note I actually melted out the undercoating on the drivers tire well. Let’s just say I’m very pleased with the small patchwork I have to do. the wagons have a very unusual wheel well on the driver side due to the fuel filler, so I won’t be able to source a new piece if it was rotted. But for the passenger side I did order a coup inner well, and may order an outer well just to do it. It’s not a direct fit, but it will be my little secret haha.
- Status
- Not open for further replies.
Similar threads
- Replies
- 6
- Views
- 153
- Replies
- 3
- Views
- 293
- Replies
- 0
- Views
- 229
- Replies
- 4
- Views
- 186
GBodyForum is a participant in the Amazon Services LLC Associates Program, an affiliate advertising program designed to provide a means for sites to earn advertising fees by advertising and linking to amazon.com. Amazon, the Amazon logo, AmazonSupply, and the AmazonSupply logo are trademarks of Amazon.com, Inc. or its affiliates.

