Last edited:
Finally finished my LSA swap in my 78 Malibu.
- Thread starter gnvair
- Start date
You are using an out of date browser. It may not display this or other websites correctly.
You should upgrade or use an alternative browser.
You should upgrade or use an alternative browser.
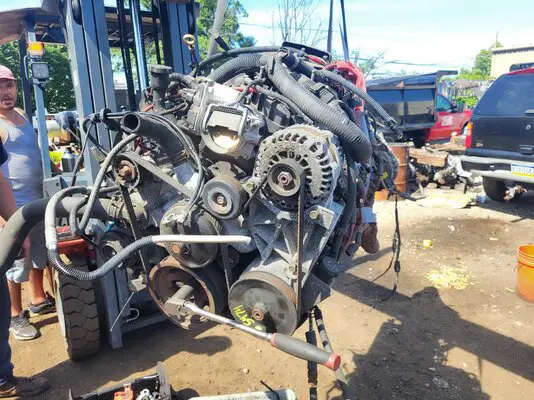
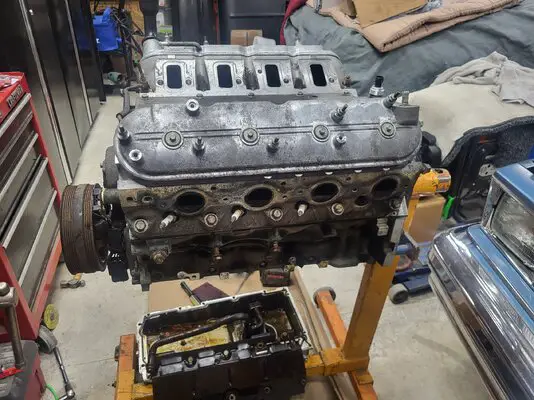
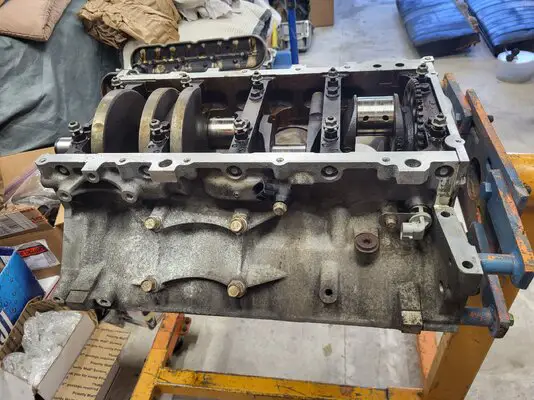
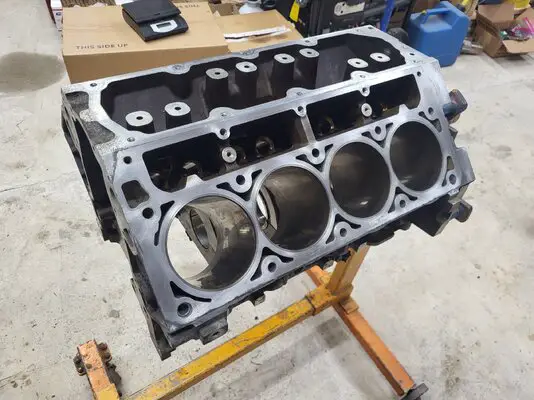
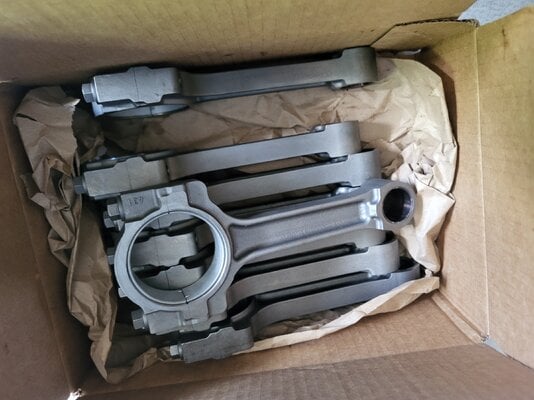
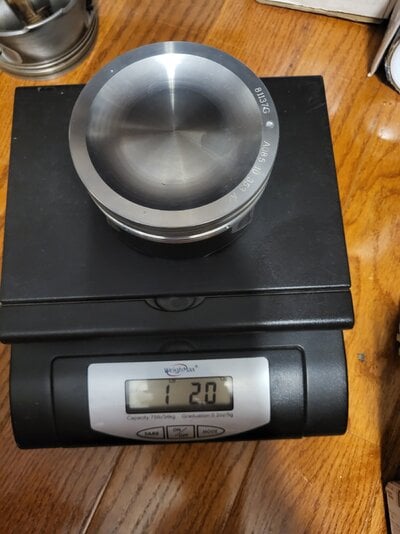
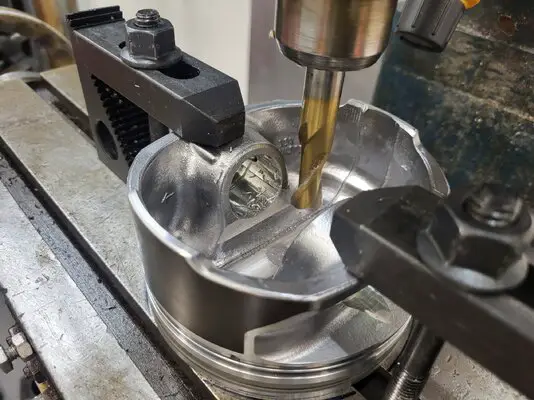
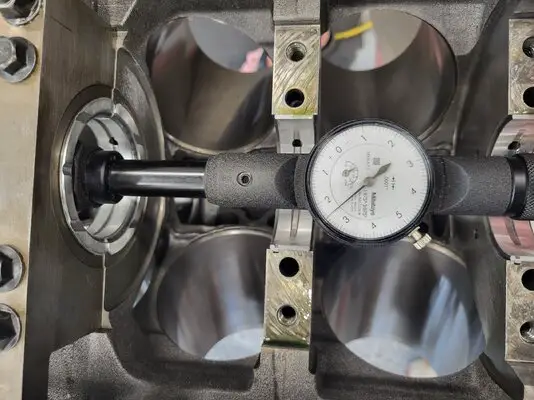
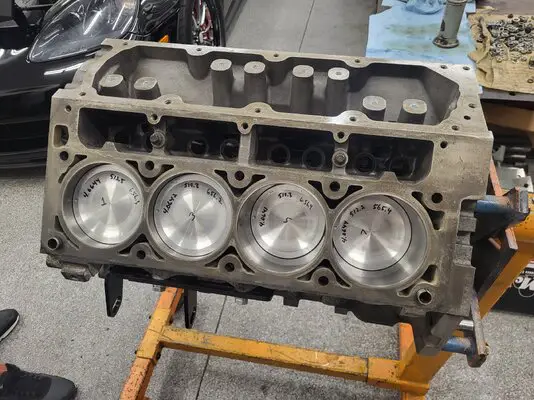
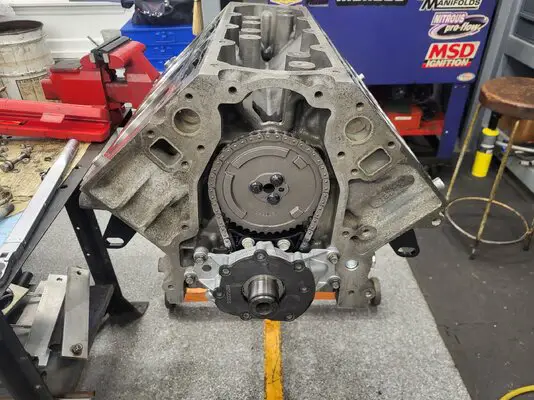
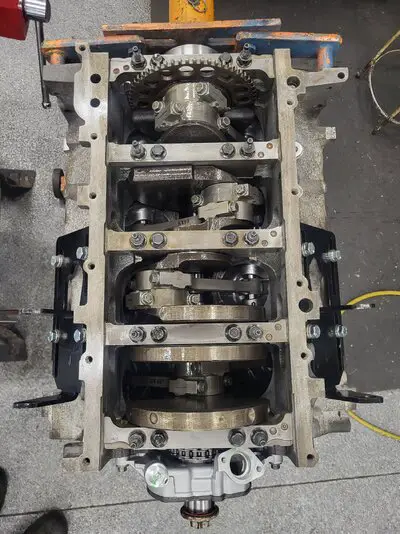
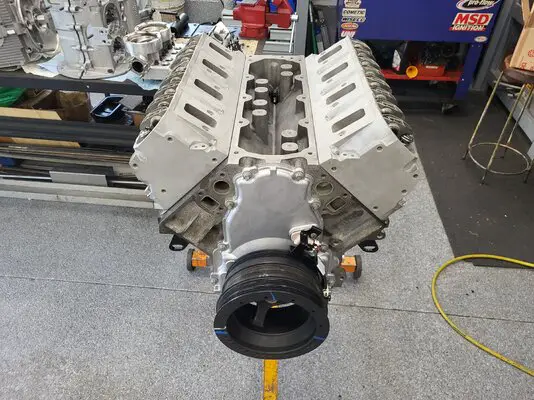
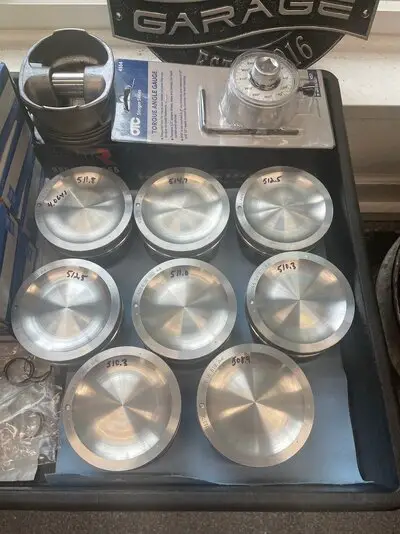
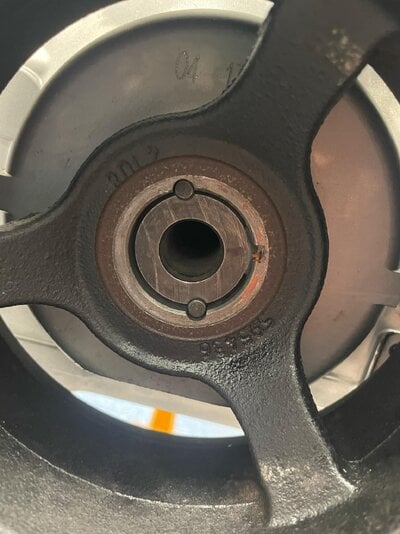
I completely disassembled the engine. Everything looked great. I replaced the cam bearings and eliminated the VVT system. I used all new GM parts (bearings, rings, pistons, timing components (except for a IWIS chain), Melling oil pump, CHE trunnion kit). Pistons are GM stock LSA modified to fit the common Gen 4 rod. I bought 12 pistons to match weight on 8 of them. Camshaft is a GM LS9. Lifters are real GM LS7. Heads were rebuilt with new Manley valves and BTR spring kit and BTR push rods.


Last edited:
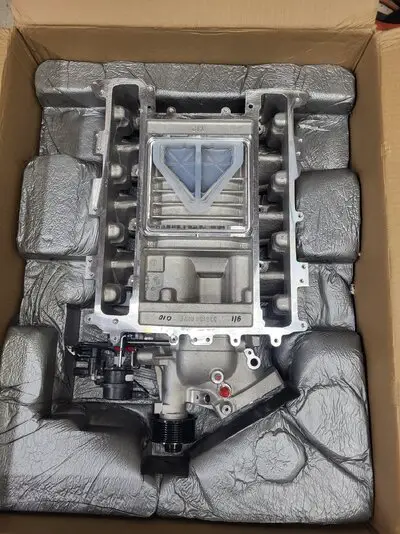
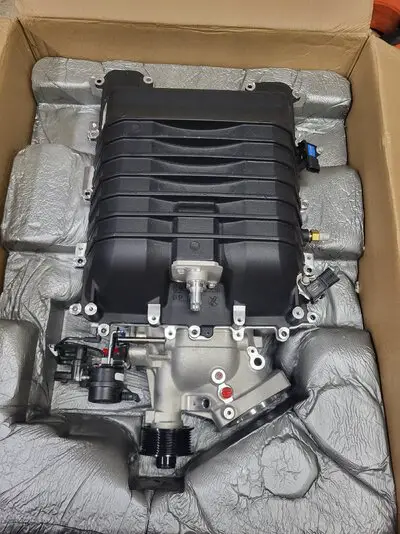
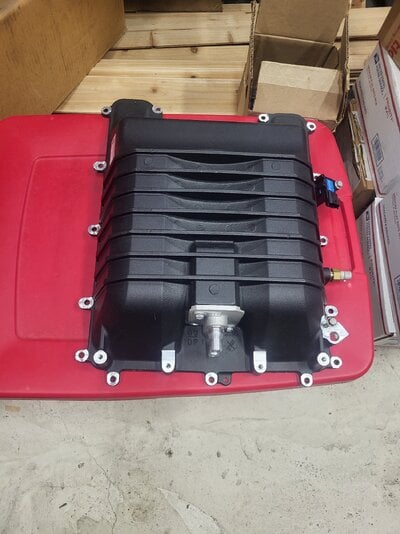
I started gathering up all of the LSA specific items including a brand new blower, brand new fuel rail and brand new injectors from GM. I lucked out and found a ZL1 lid with a reinforced brick locally for $600. I pressure tested the brick and found a pin hole in the reinforcement and tigged that up.
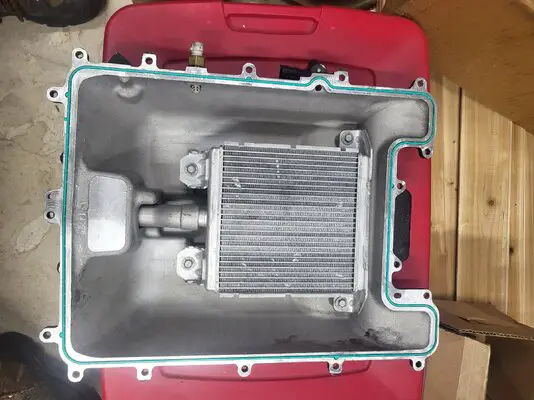


Last edited:
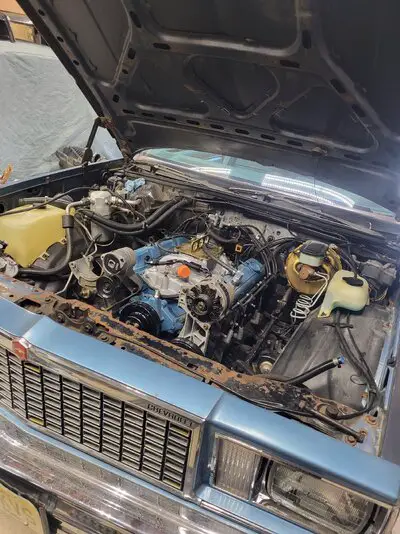
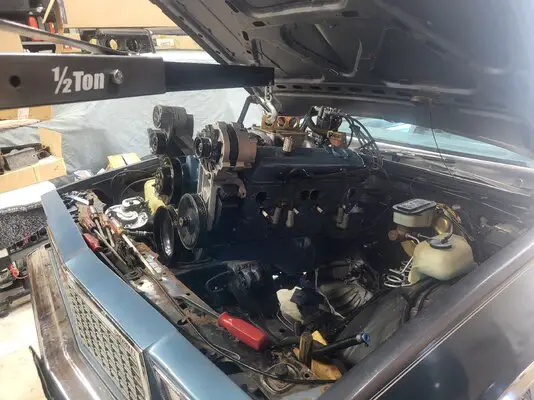
Fitting of the LS in the car. I had some goals. One of those was for the transmission to remain in the original location so my shifter would come up in the original location. To do this I left the transmission in the car when removing the old engine; something I don't usually do.
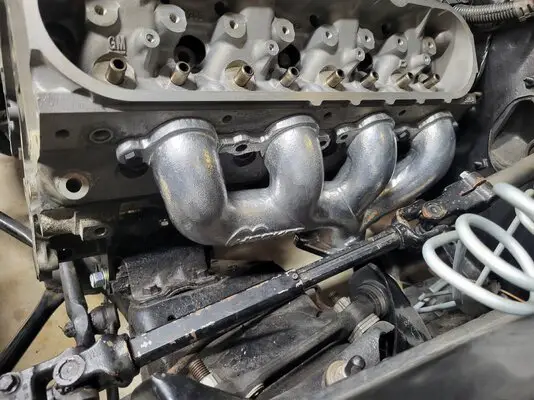
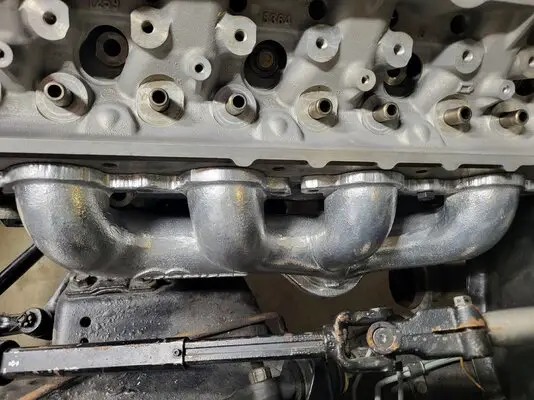
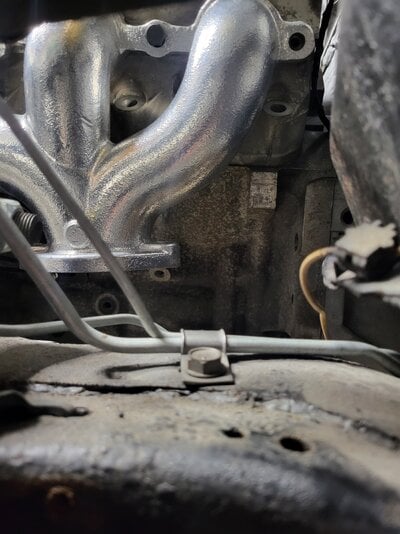
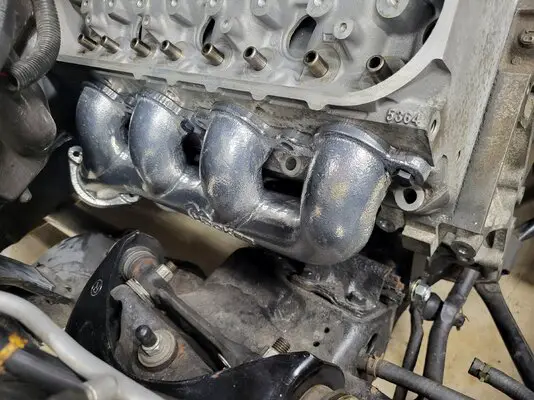
I used Dirty Dingo sliding mount brackets with original GM small block Chevy frame mounts. That passenger side head is so close to the hvac box!
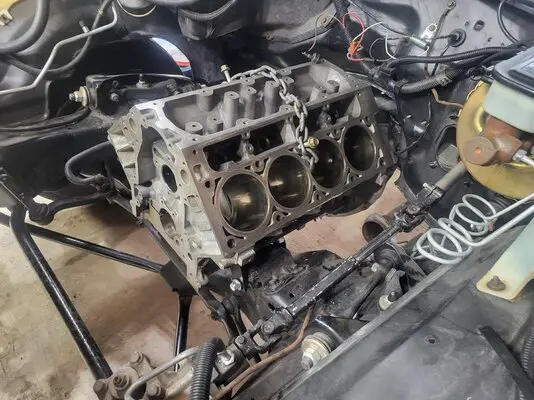
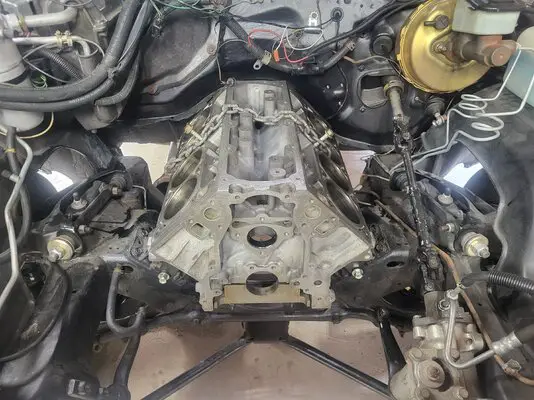
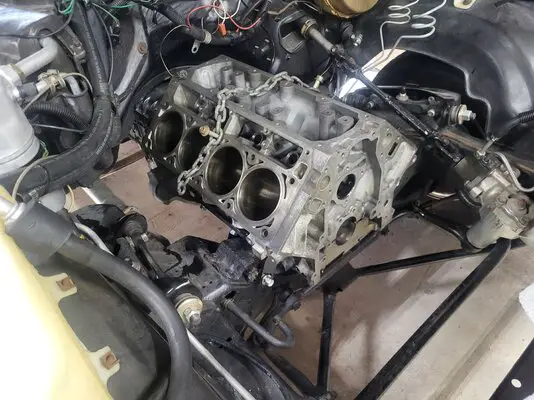
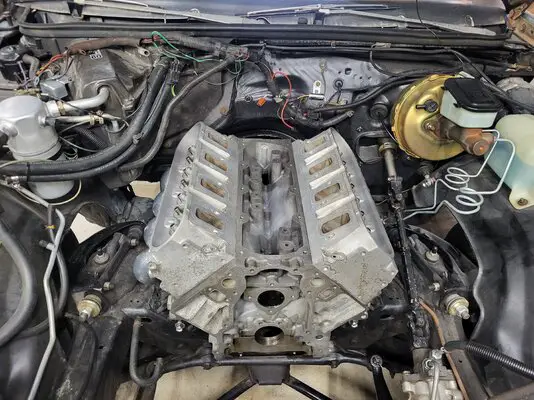
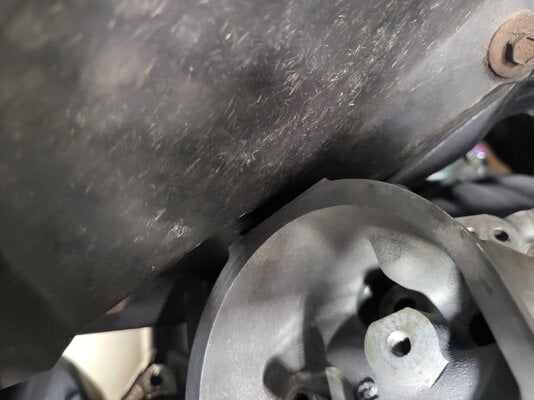
I used Dirty Dingo sliding mount brackets with original GM small block Chevy frame mounts. That passenger side head is so close to the hvac box!


Last edited:
Last edited:
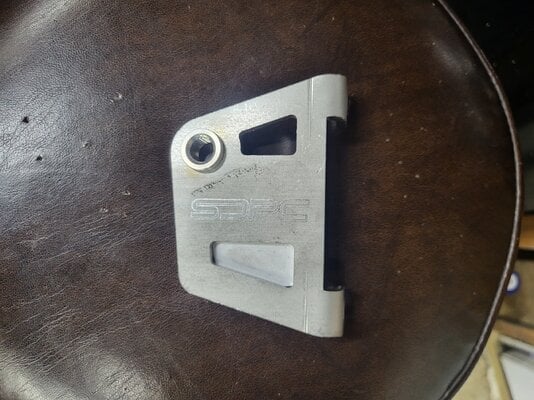
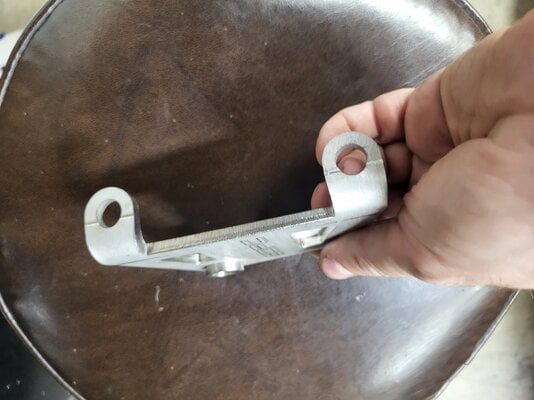
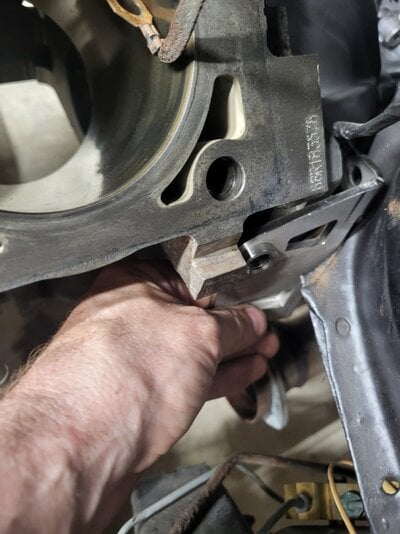
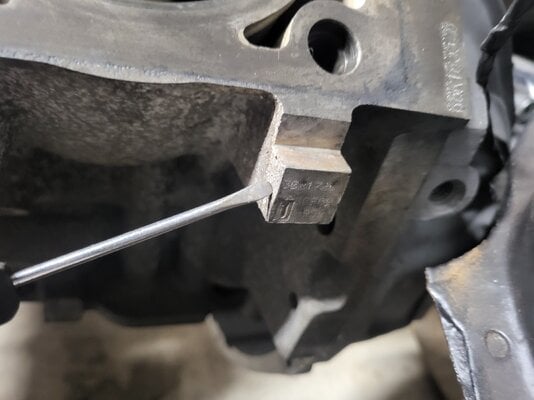
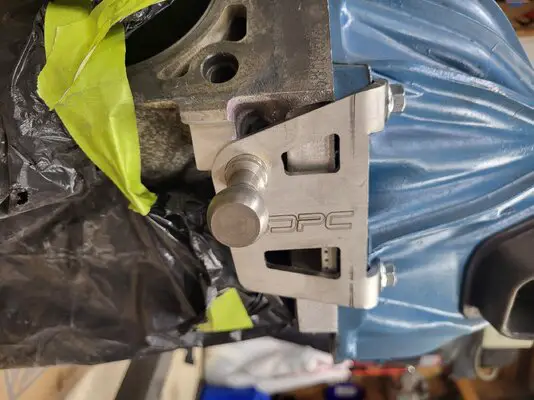
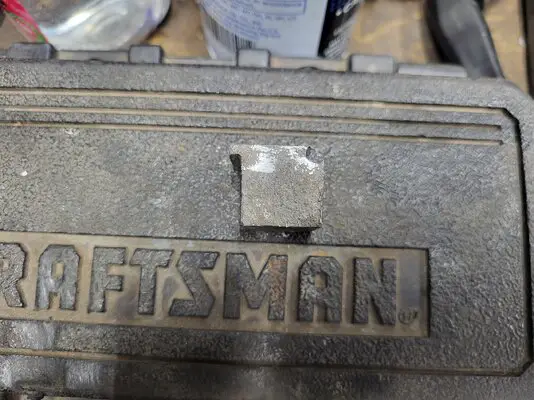
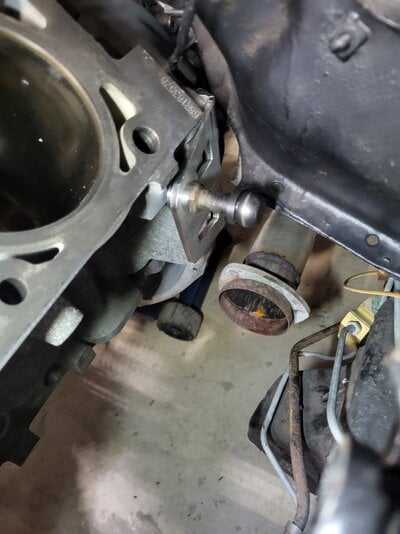
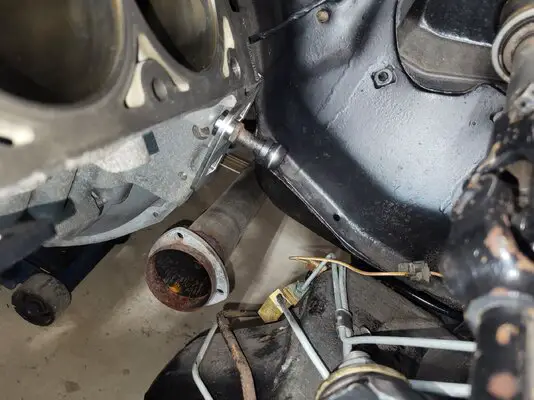
I found a nice bracket sold by Scoggin Dickey to add a pivot ball. This was originally designed for the Gen 5 and Gen 6 trucks. It uses the 2 left side bell housing to block bolts to retain it. Problem is this hunk of aluminum that it directly in the way of the threaded portion of the bracket. Some careful measuring and cutting removed the piece and gave me the needed clearance.
Attachments
-
 20240625_204023.jpg2.1 MB · Views: 8
 -
 20240625_204027.jpg2 MB · Views: 10
 -
 20240625_204041.jpg1.8 MB · Views: 8
 -
 20240625_204058.jpg1.5 MB · Views: 7
 -
 20240628_213438.jpg1.4 MB · Views: 10
 -
 20240628_215801.jpg1.8 MB · Views: 8
 -
 20240628_215843.jpg1.5 MB · Views: 10
 -
 20240628_215856.jpg1.7 MB · Views: 9
 -
 20240628_220225.jpg2 MB · Views: 7
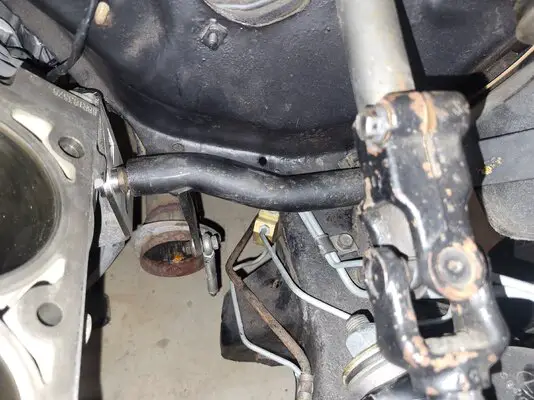
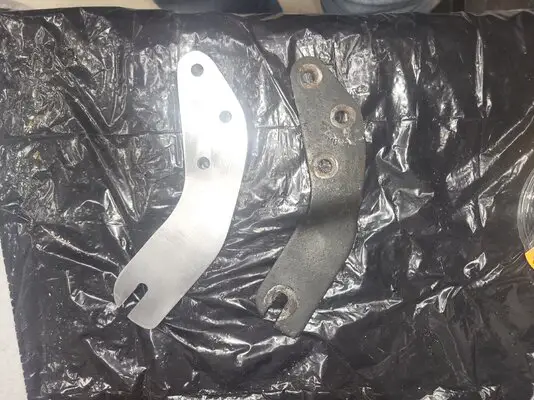
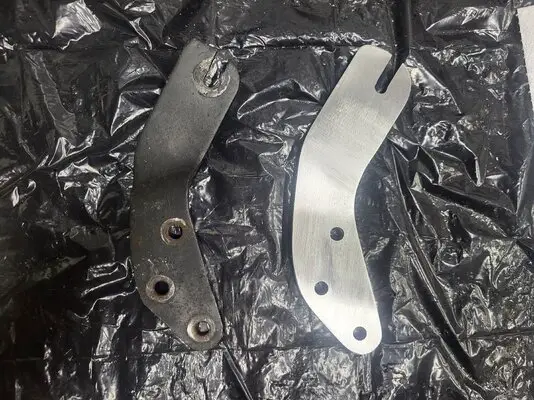
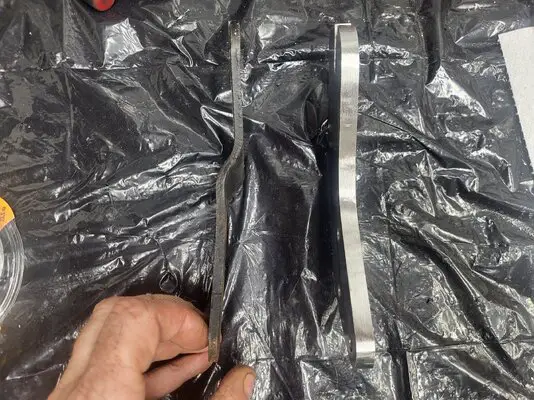
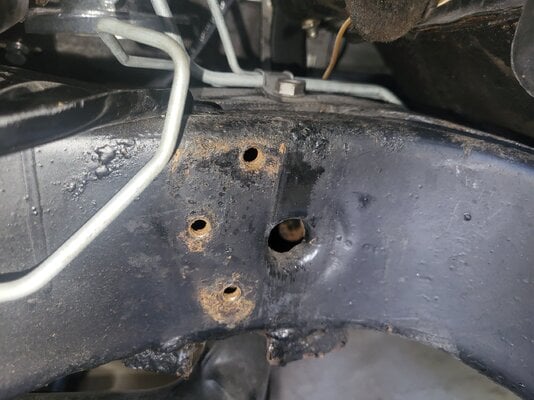
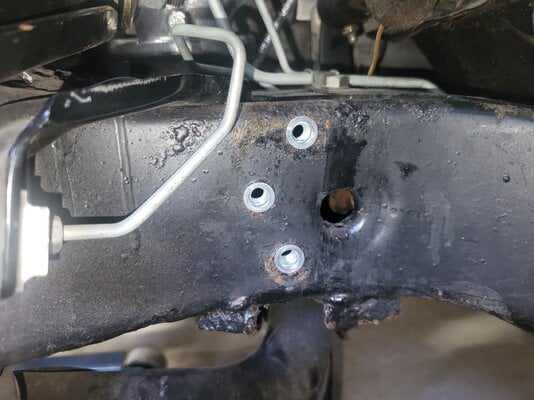
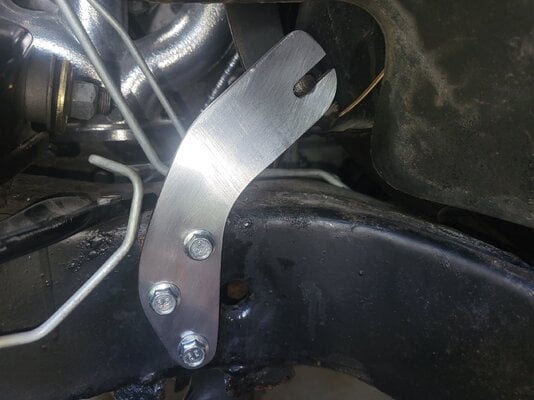
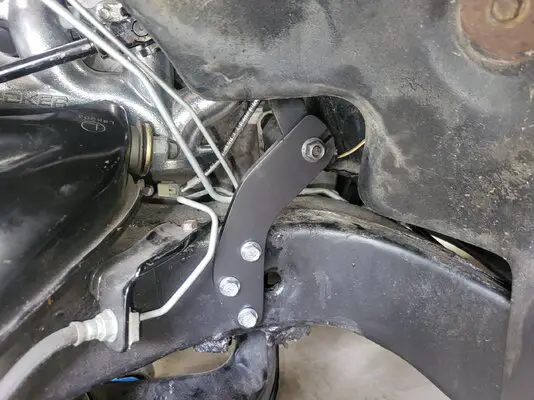
While on the subject of the z bar I found the bar shifted over to the left by about an inch. This turned out to be a good thing because I was able to eliminate the bend in the z bar support bracket that attaches to the frame. I made the new bracket out of 3/8" steel which should eliminate the bending and cracking the factory ones were known for. I also installed M8 x 1.25 rivnuts in the frame so I can now put some torque on the bolts and not worry about them working loose as the factory ones would do.


Last edited:
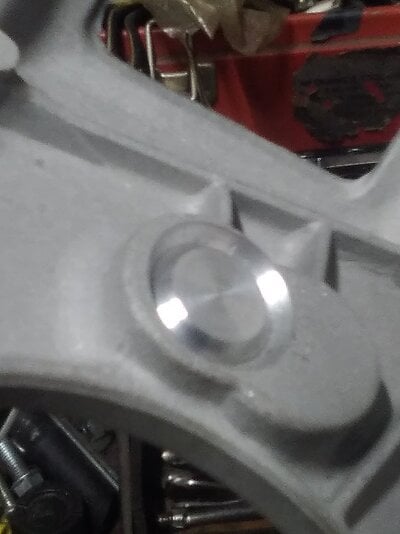
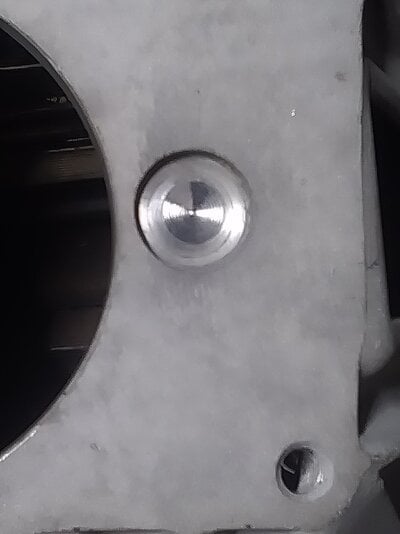
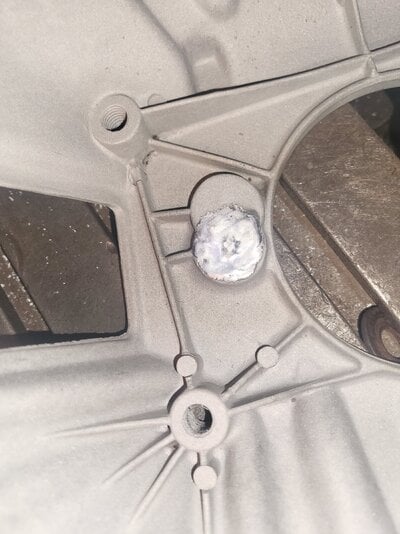
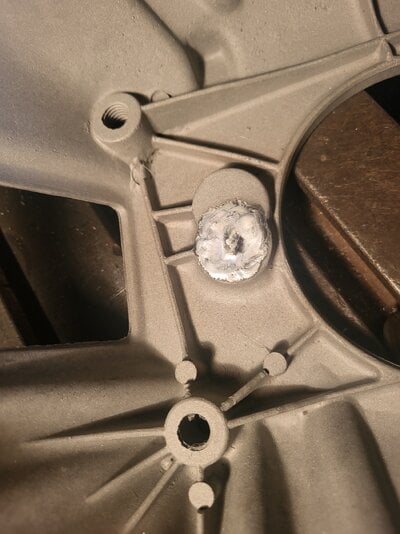
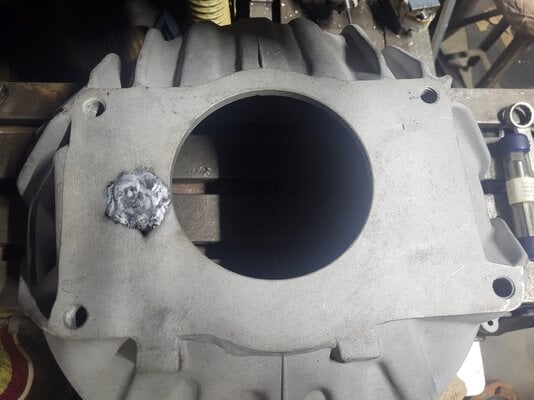
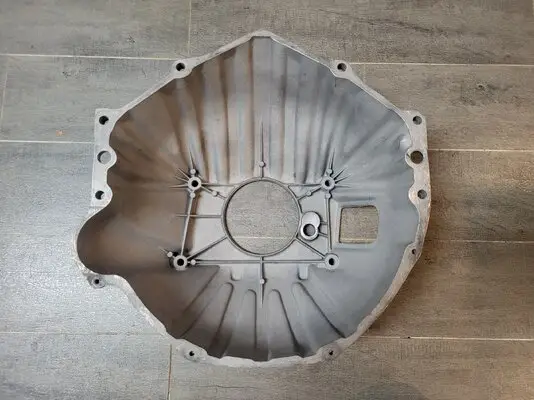
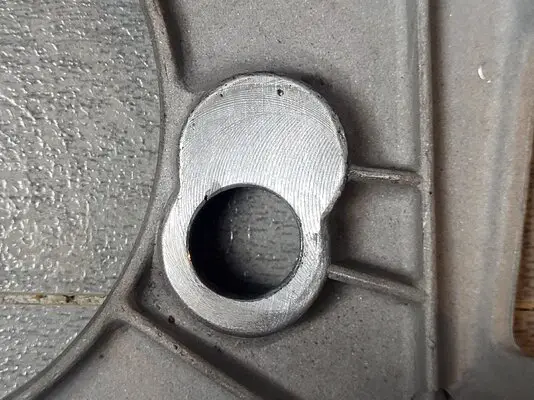
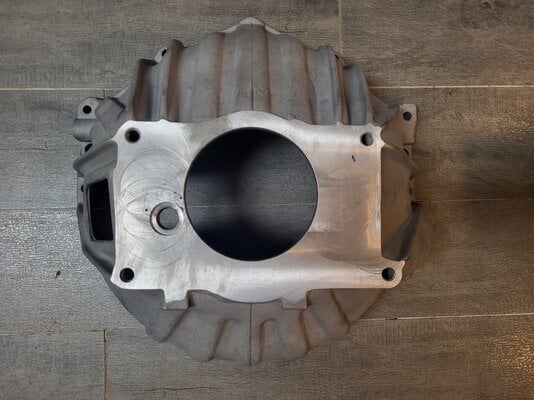
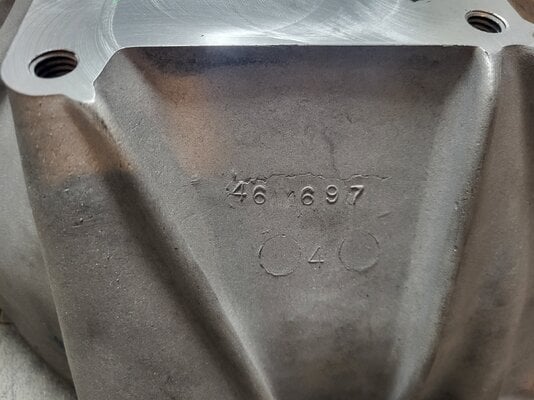
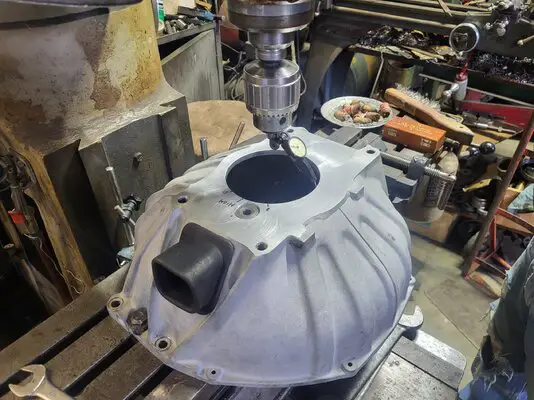
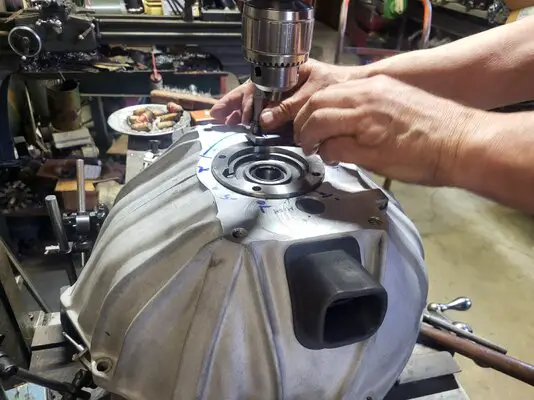
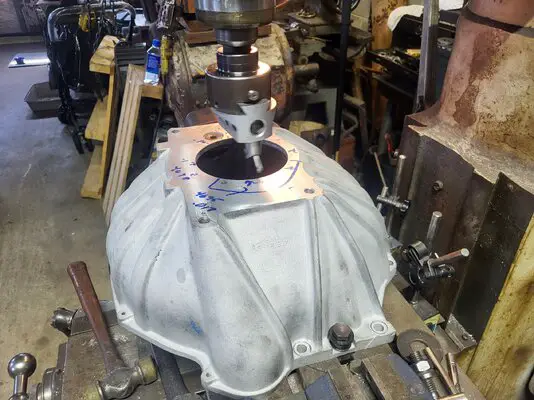
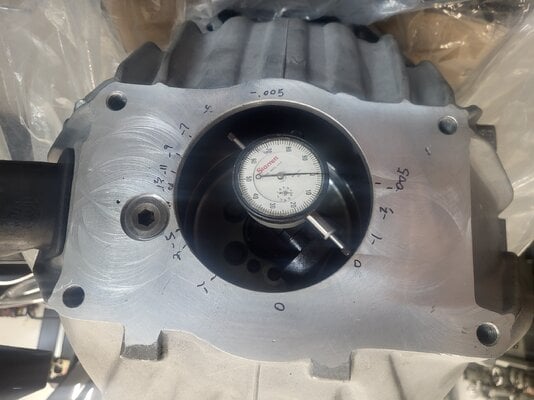
I modified a 697 bell housing by closing up the original pivot stud hole and moving it to the lower position that the G body fork location requires. This takes some effort as an aluminum plug needs to be machined. Then tig welded on both sides. Then the welded areas are milled. The rear face of the bell housing is always recommended even on non modified bell housings as I have found many original GM bellhousings are not parallel to the block. Also, the bearing retainer opening must be lightly touched with a cutter. Lastly, the bellhousing is dial indicated to the block with just the crank installed. This makes it an easy one man job.


Last edited:
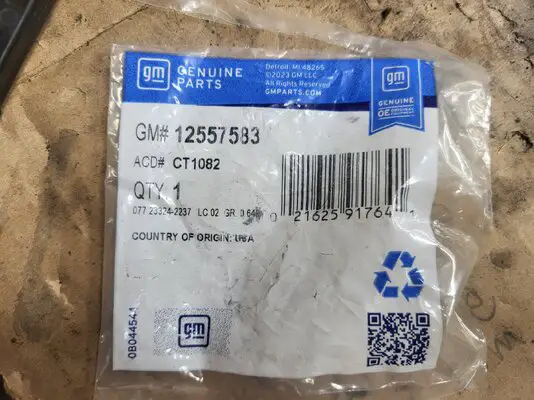
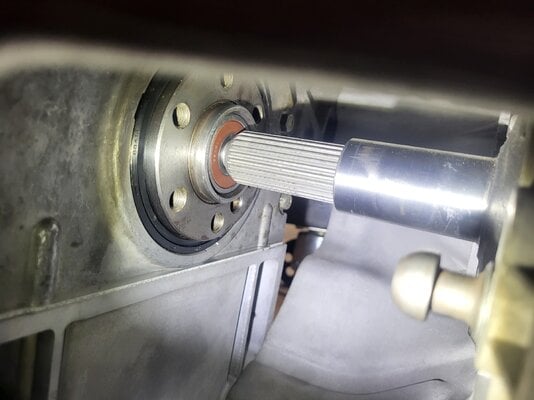
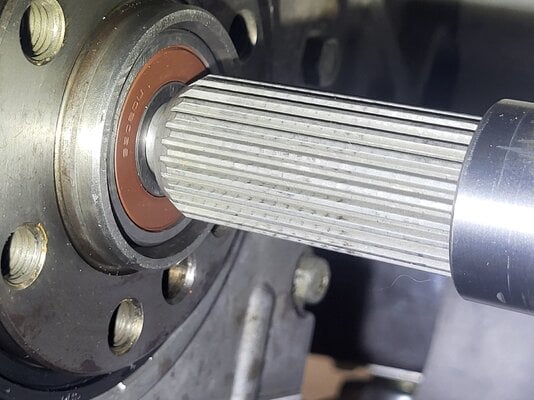
Prior to installing the flywheel I wanted to check the input shaft to crank clearance. I did this on the ground with the bellhousing and gear box installed onto the engine. Once I was satisfied I installed a new GM pilot bearing and the clutch components.
For the clutch I selected a McCleod 460535 SFI steel flywheel that has the correct .400" rearward offset to keep the clutch spacing in relation to the input splines. Clutch is an 11" Ram Powergrip.
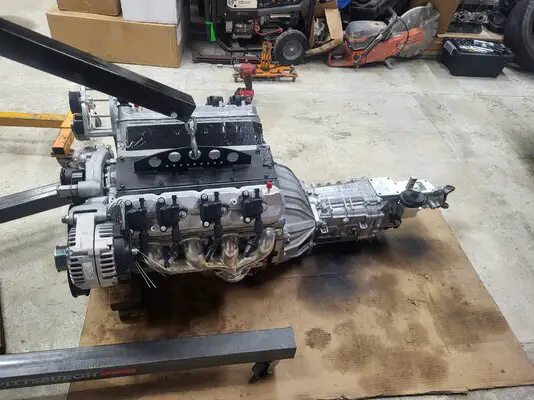
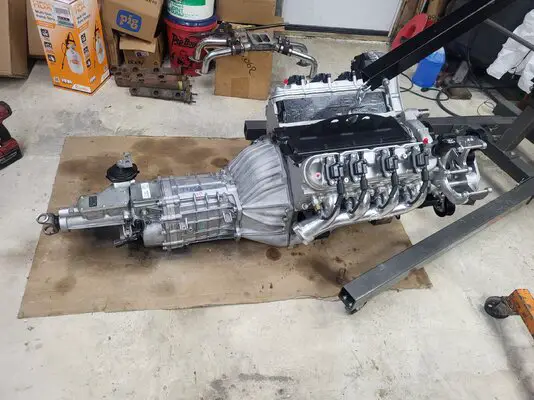
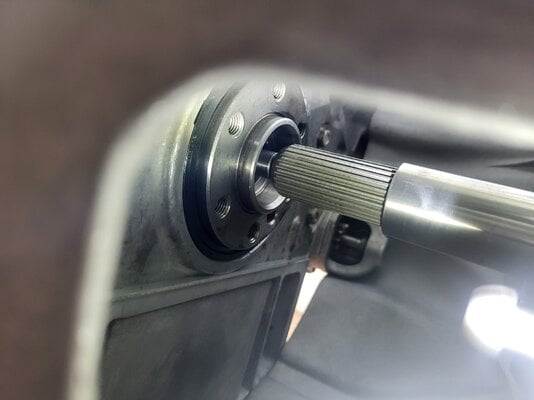
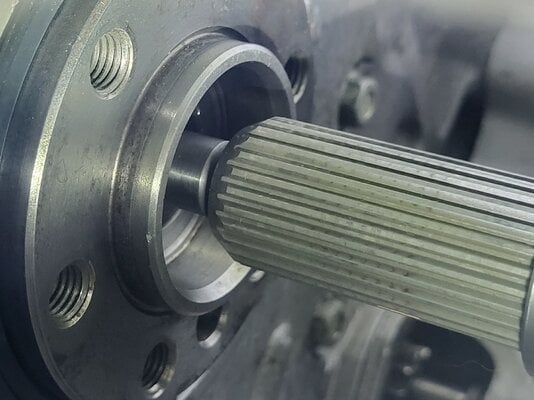
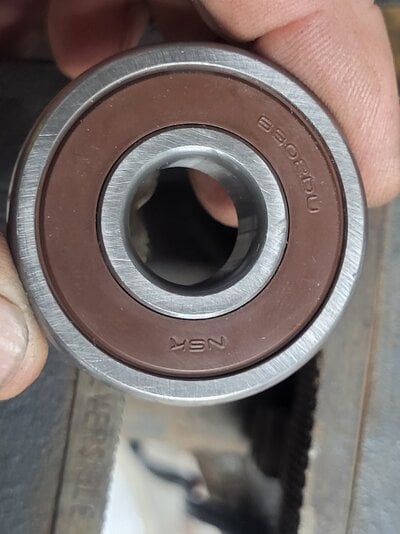
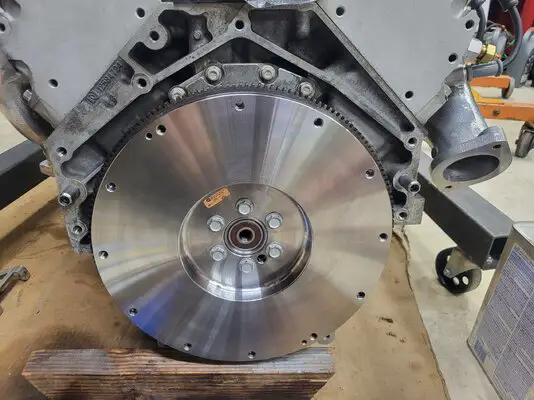
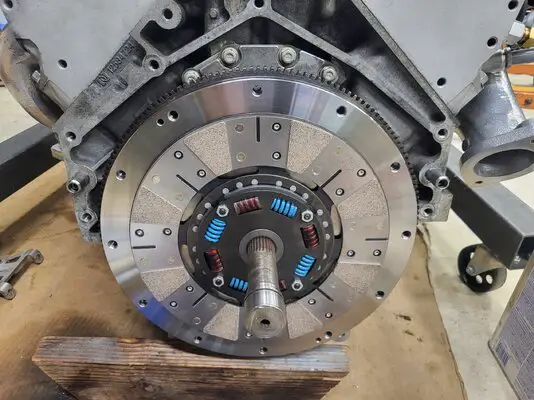
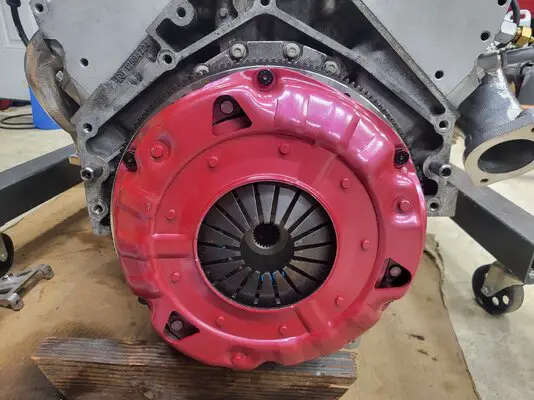
For the clutch I selected a McCleod 460535 SFI steel flywheel that has the correct .400" rearward offset to keep the clutch spacing in relation to the input splines. Clutch is an 11" Ram Powergrip.


Last edited:
Similar threads
- Replies
- 8
- Views
- 376
- Replies
- 12
- Views
- 446
- Replies
- 21
- Views
- 805
GBodyForum is a participant in the Amazon Services LLC Associates Program, an affiliate advertising program designed to provide a means for sites to earn advertising fees by advertising and linking to amazon.com. Amazon, the Amazon logo, AmazonSupply, and the AmazonSupply logo are trademarks of Amazon.com, Inc. or its affiliates.


