I started this more than a year ago, but haven't joined a g-body specific website. Thought I would join here and share it with you all.
Begin copy+paste.
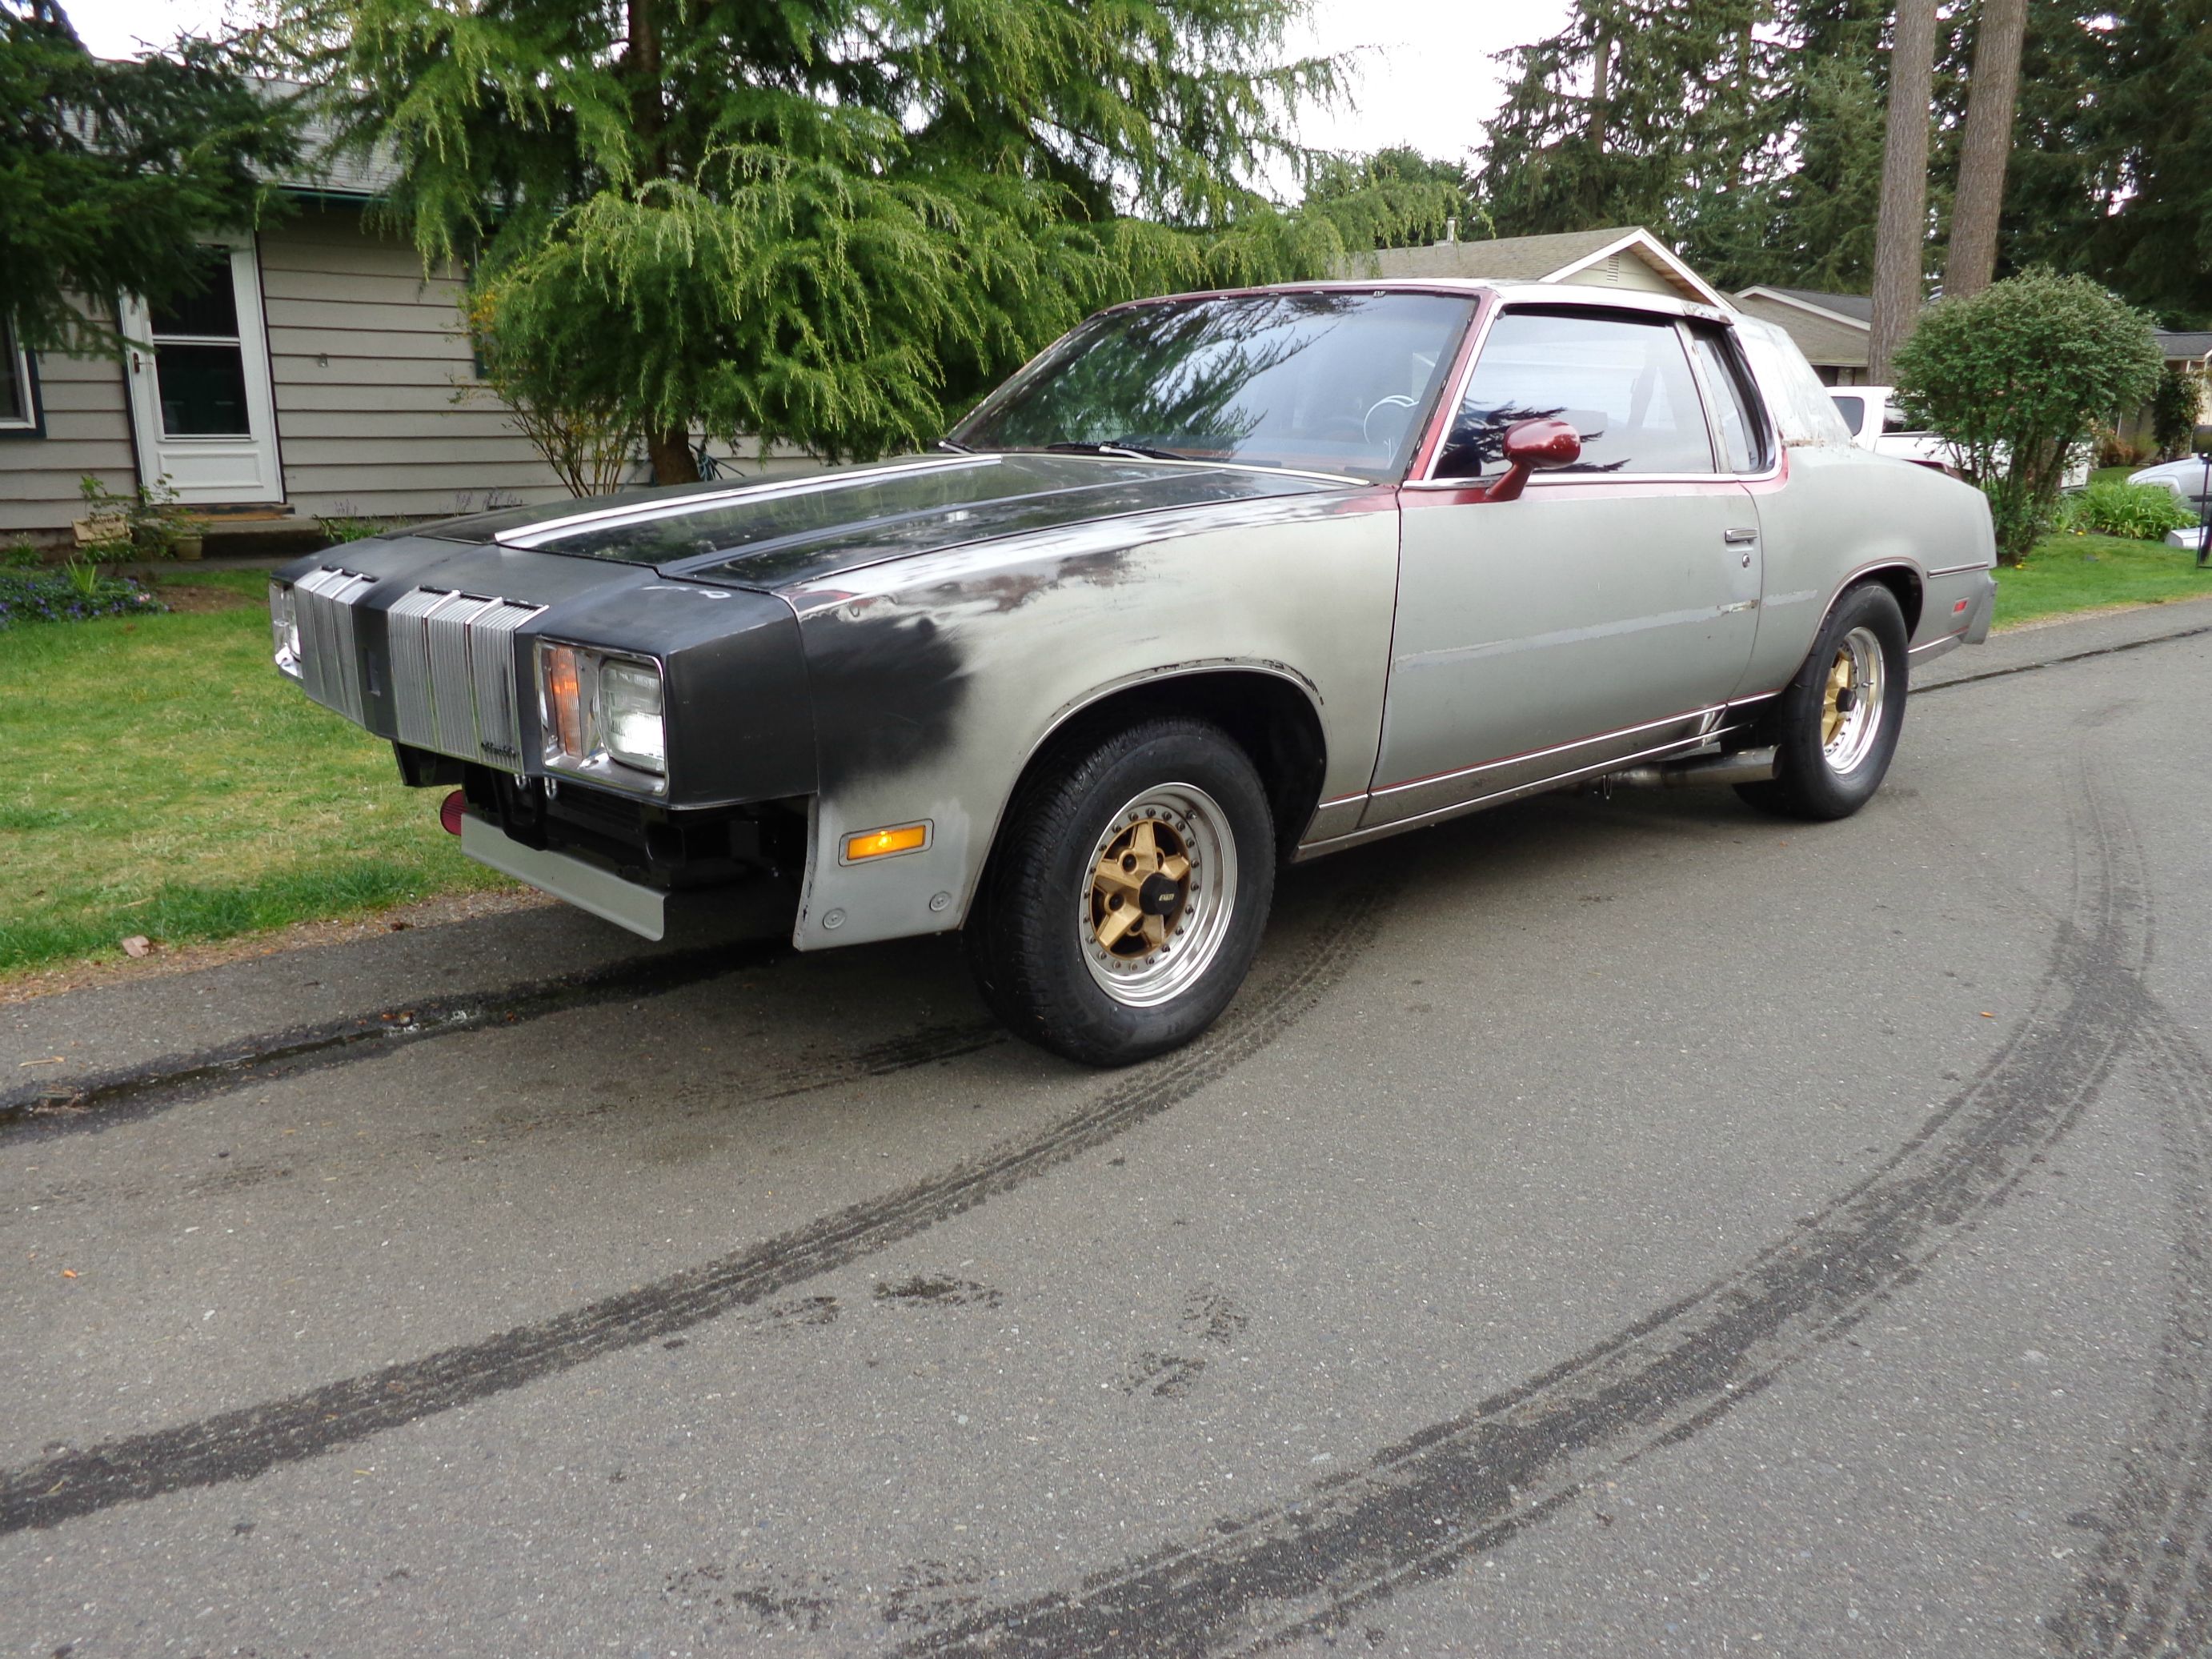
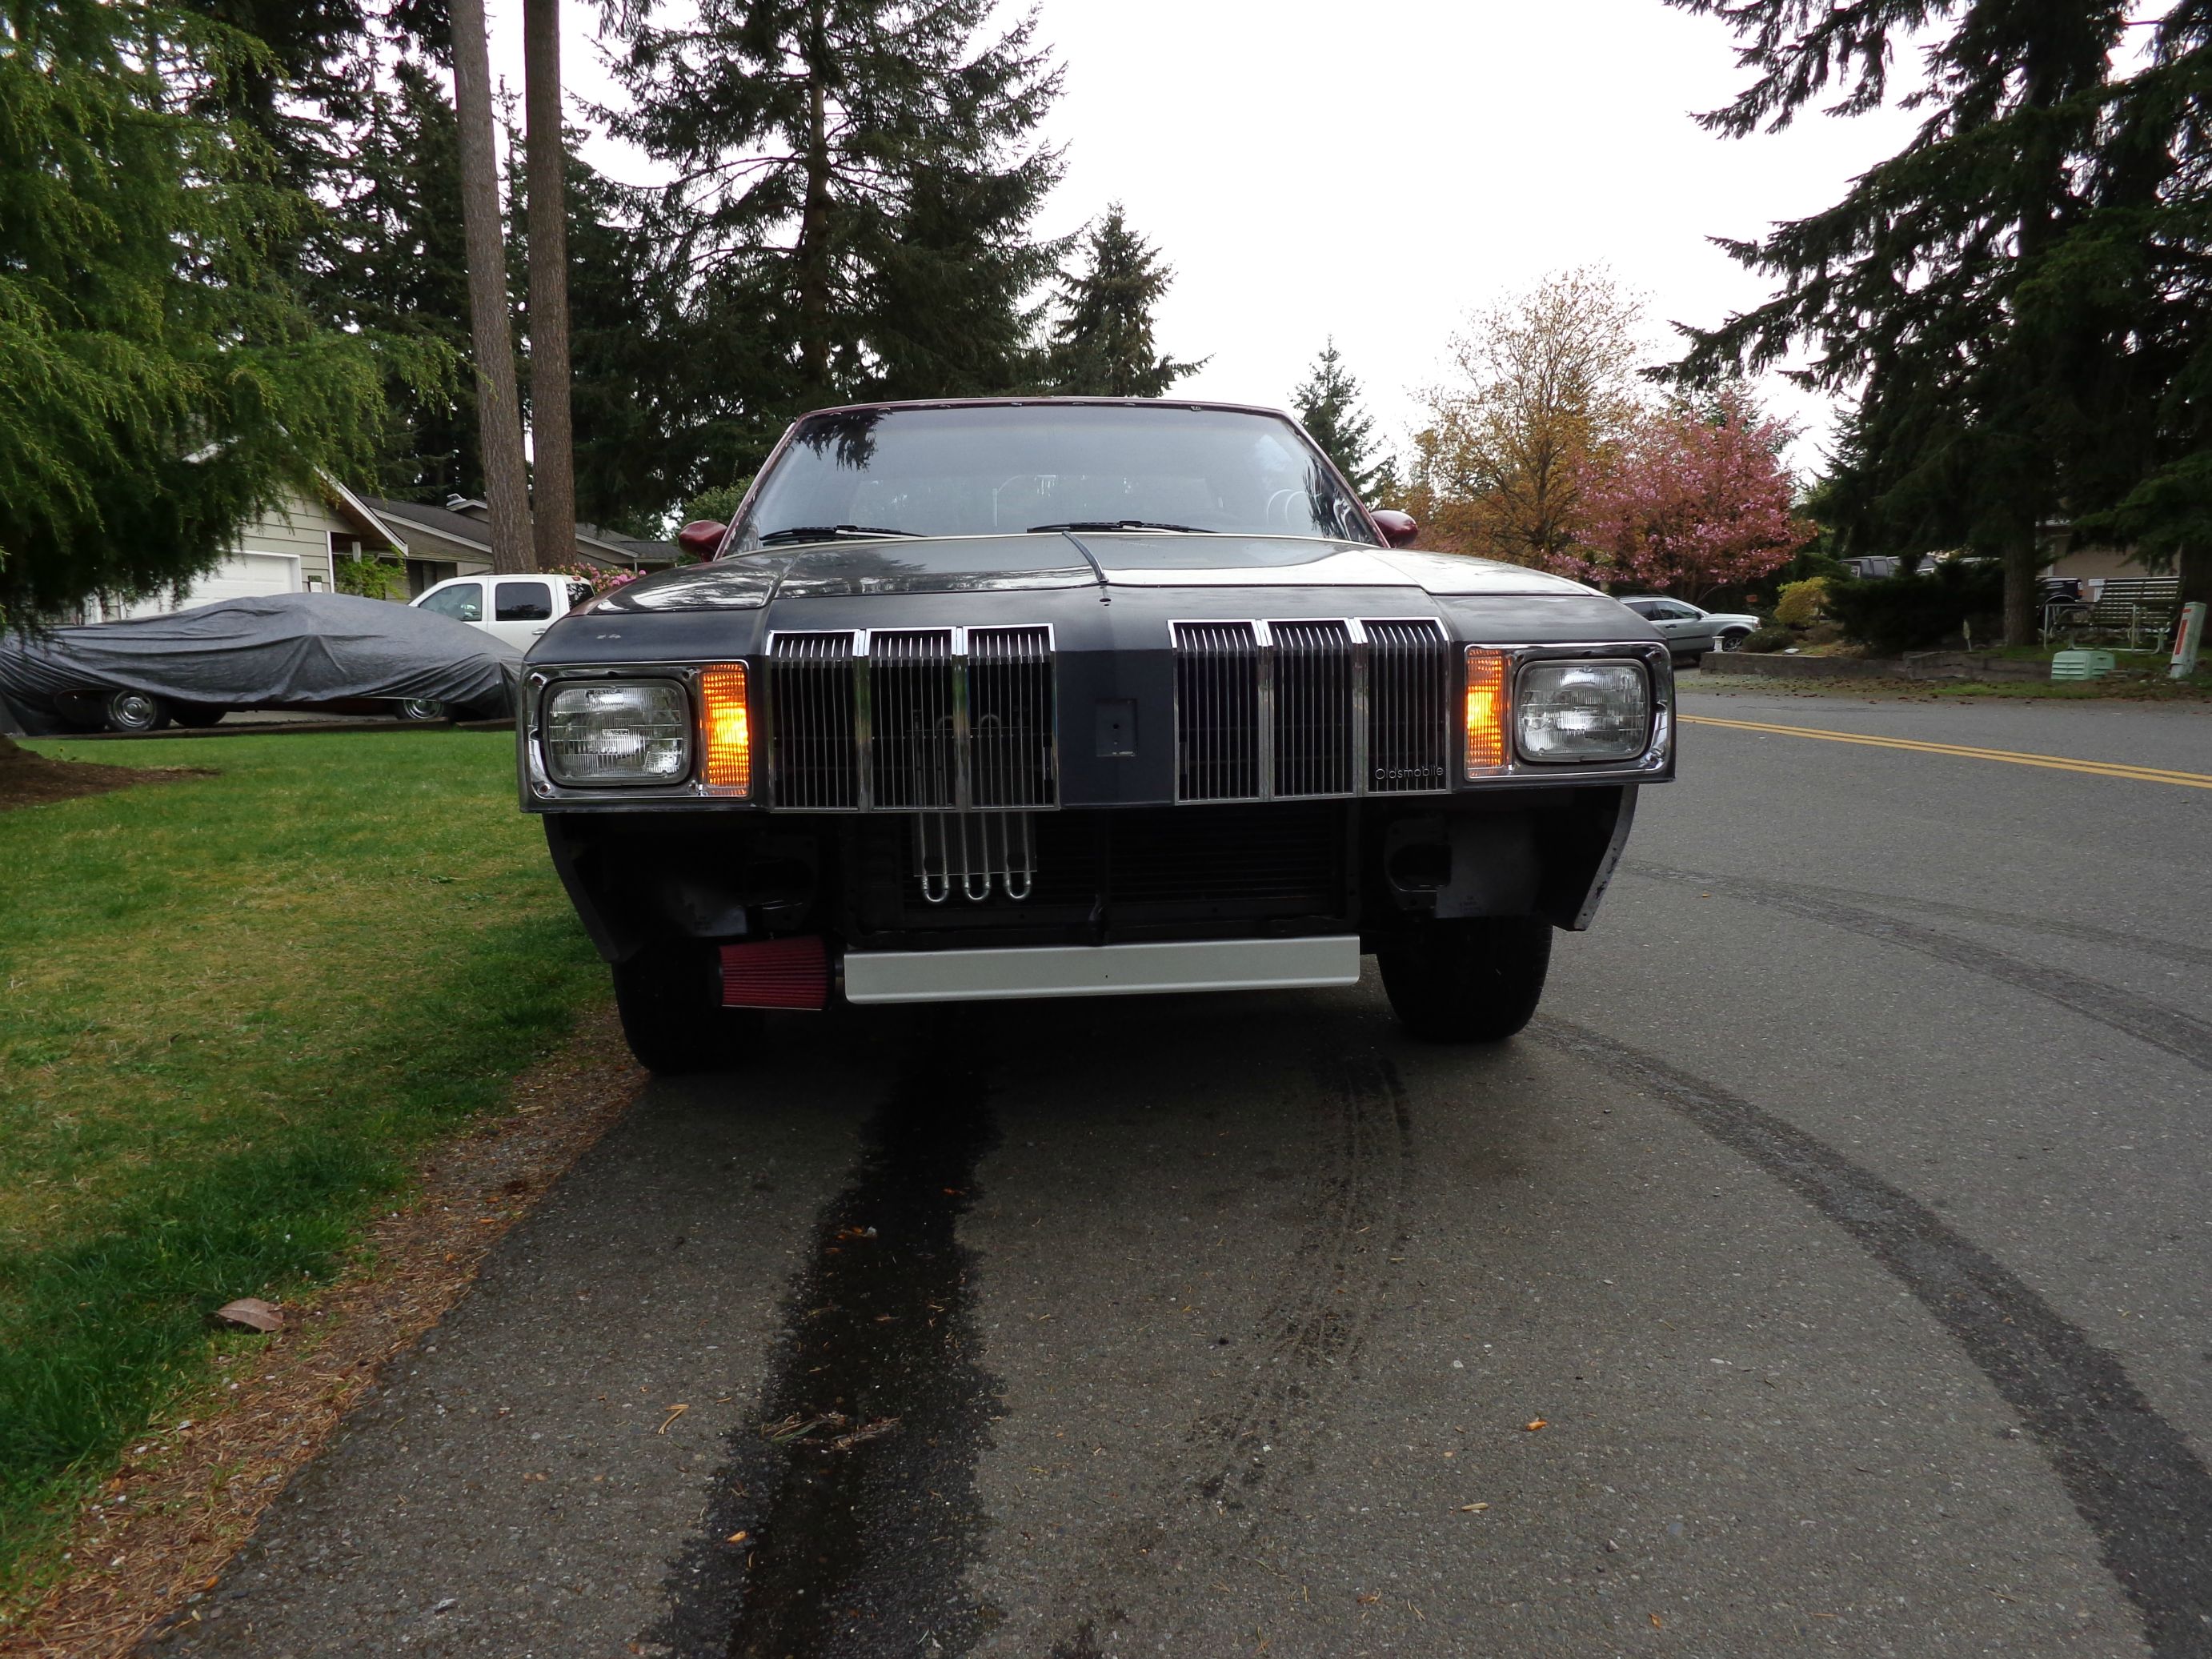
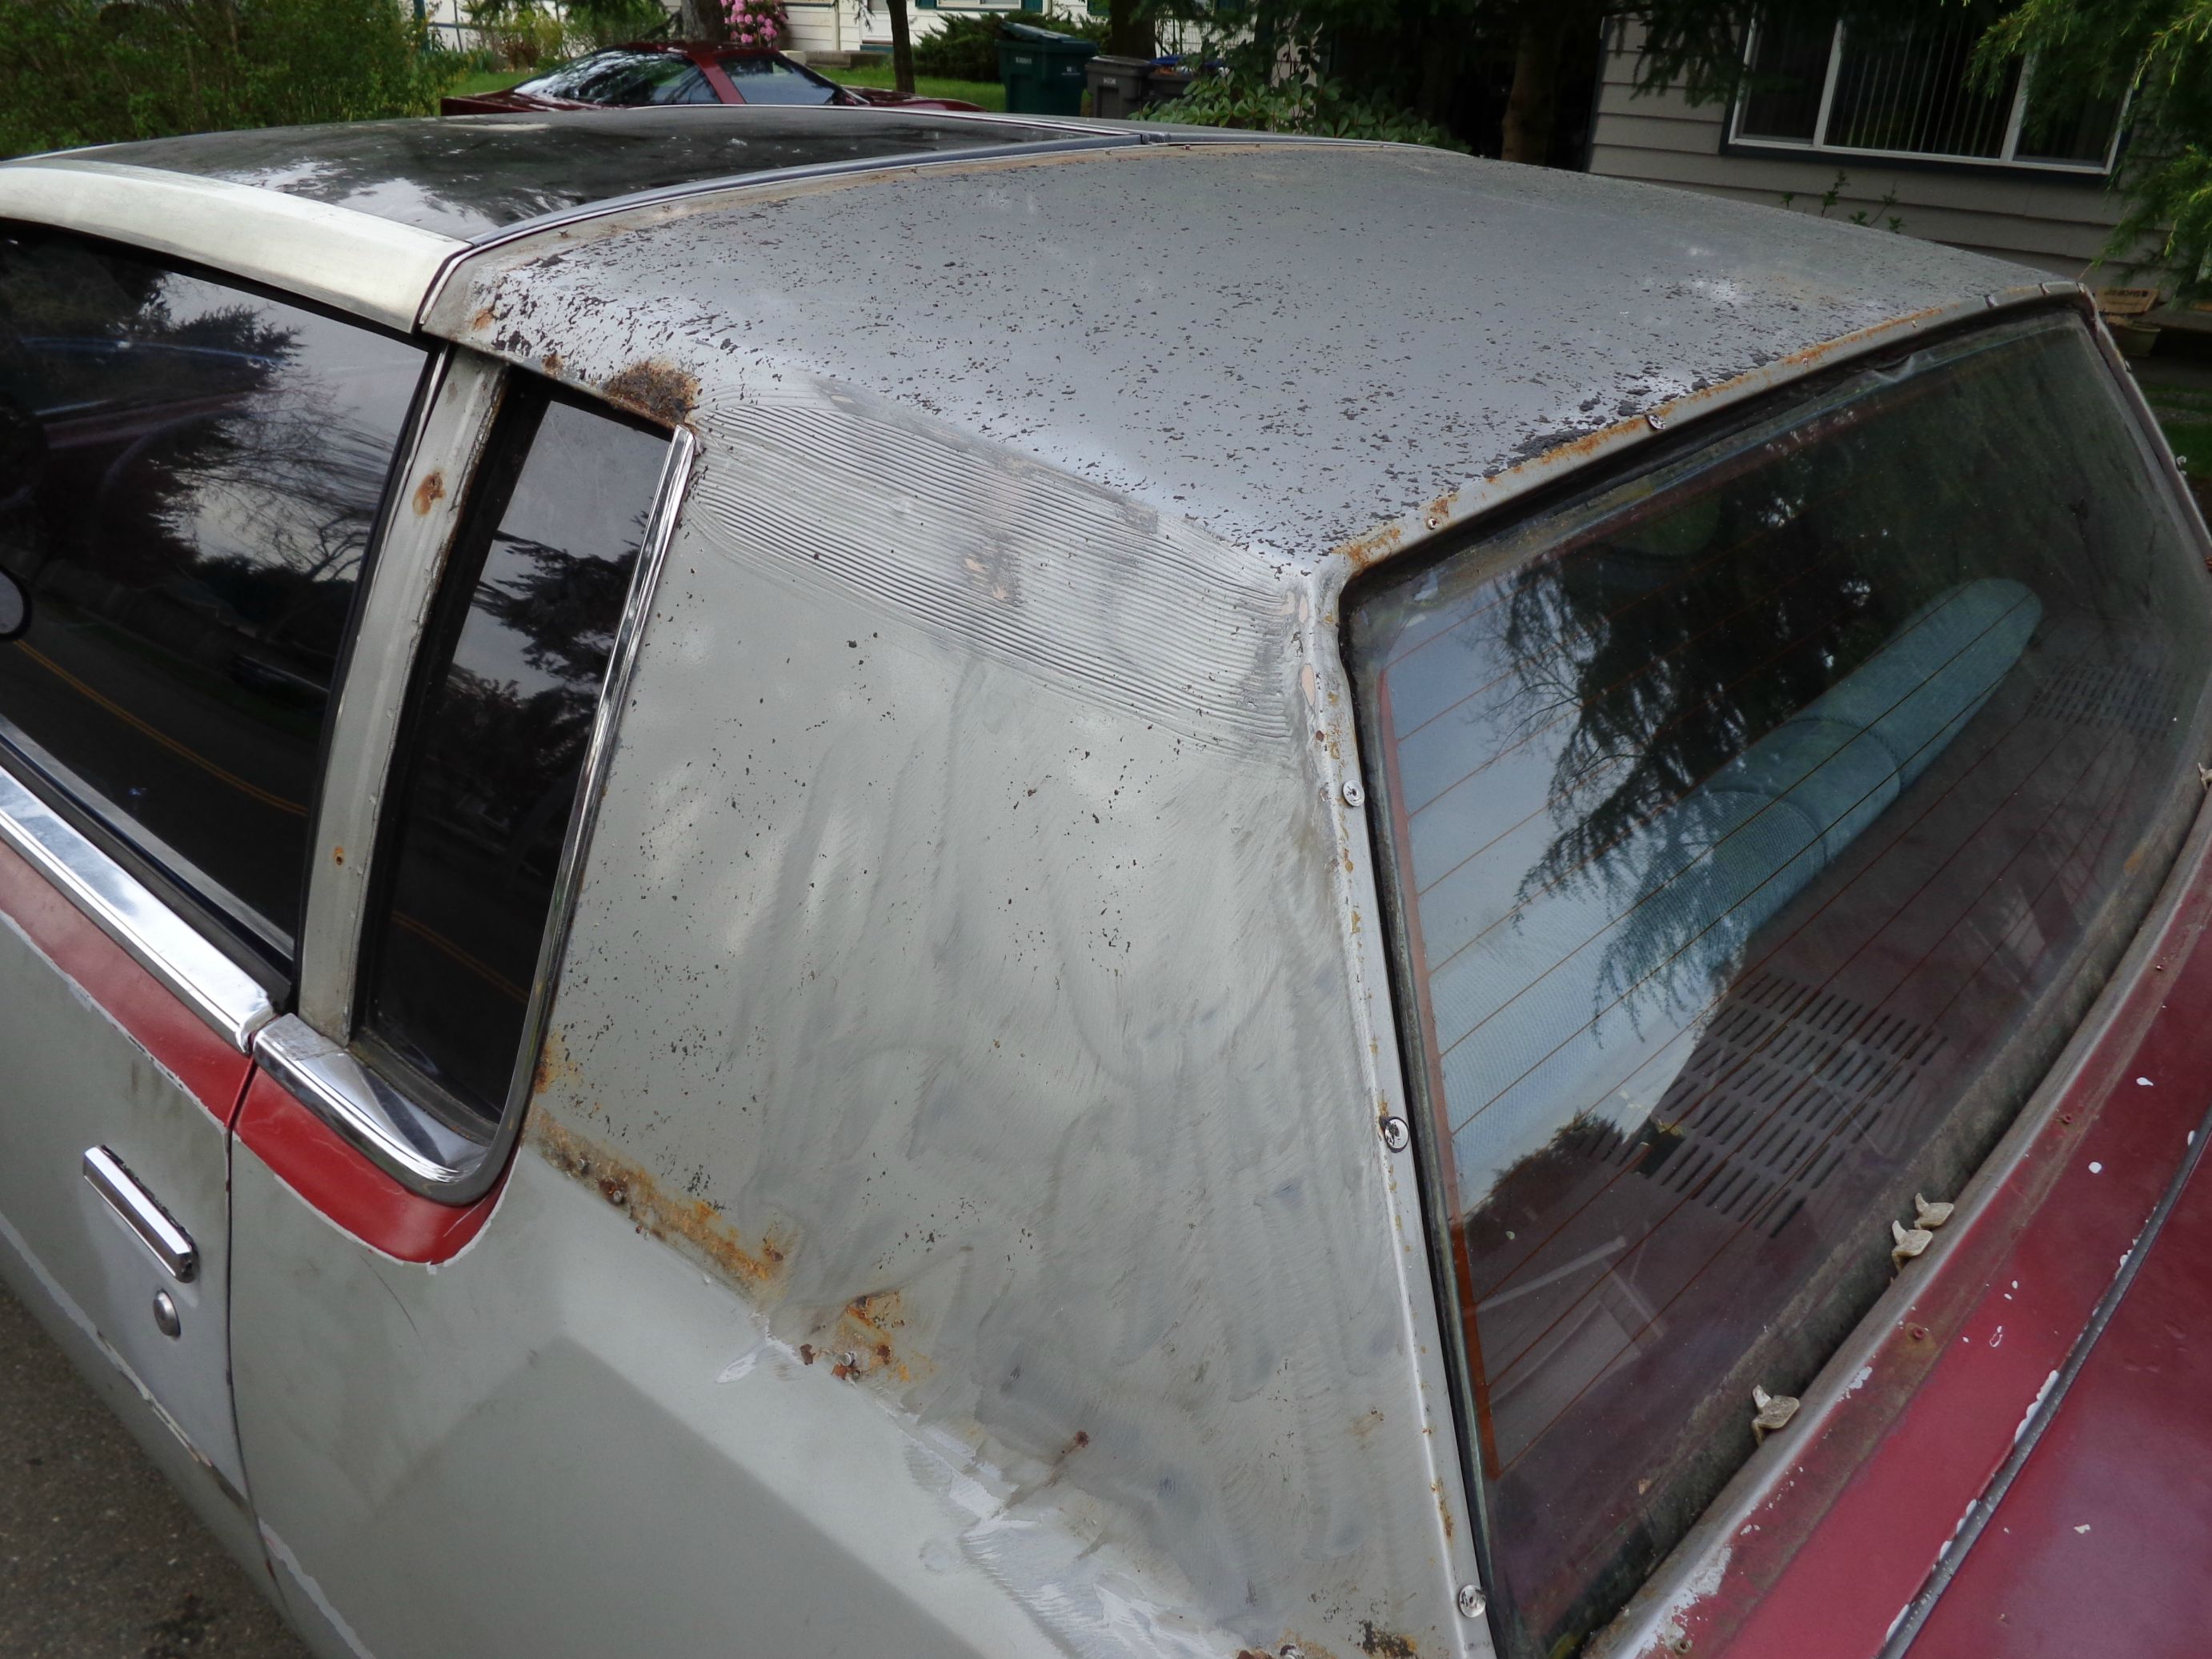
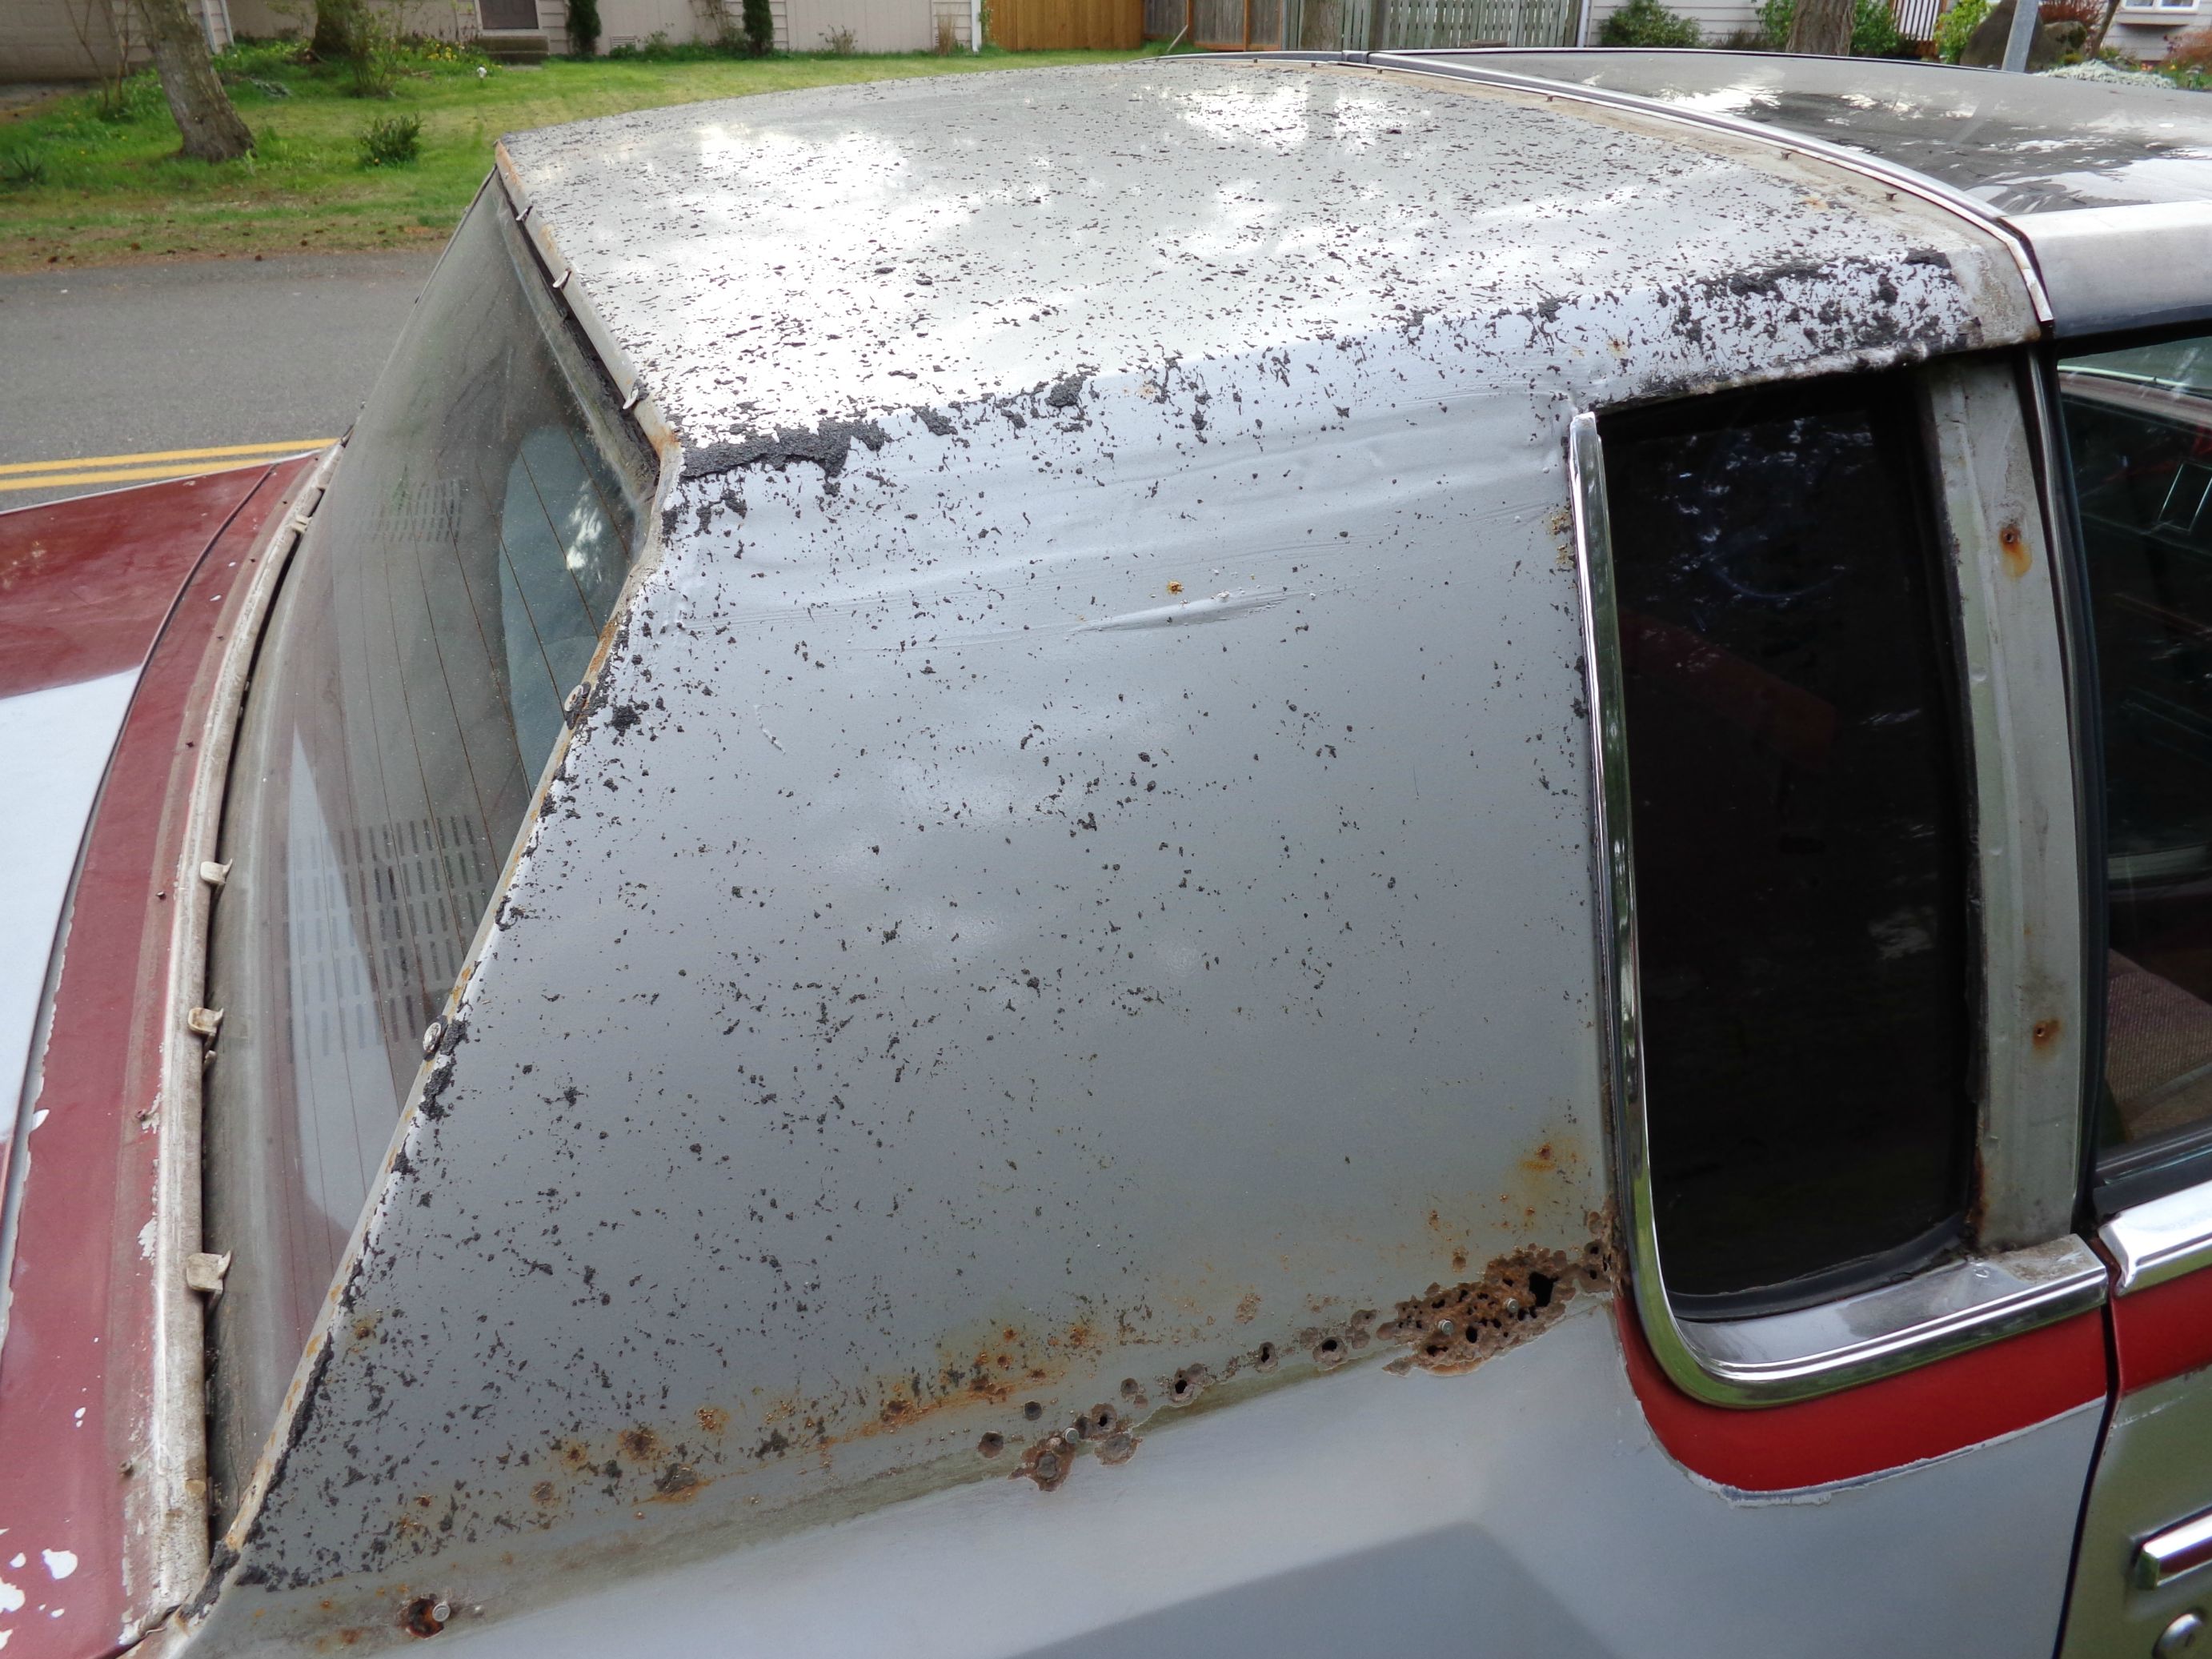
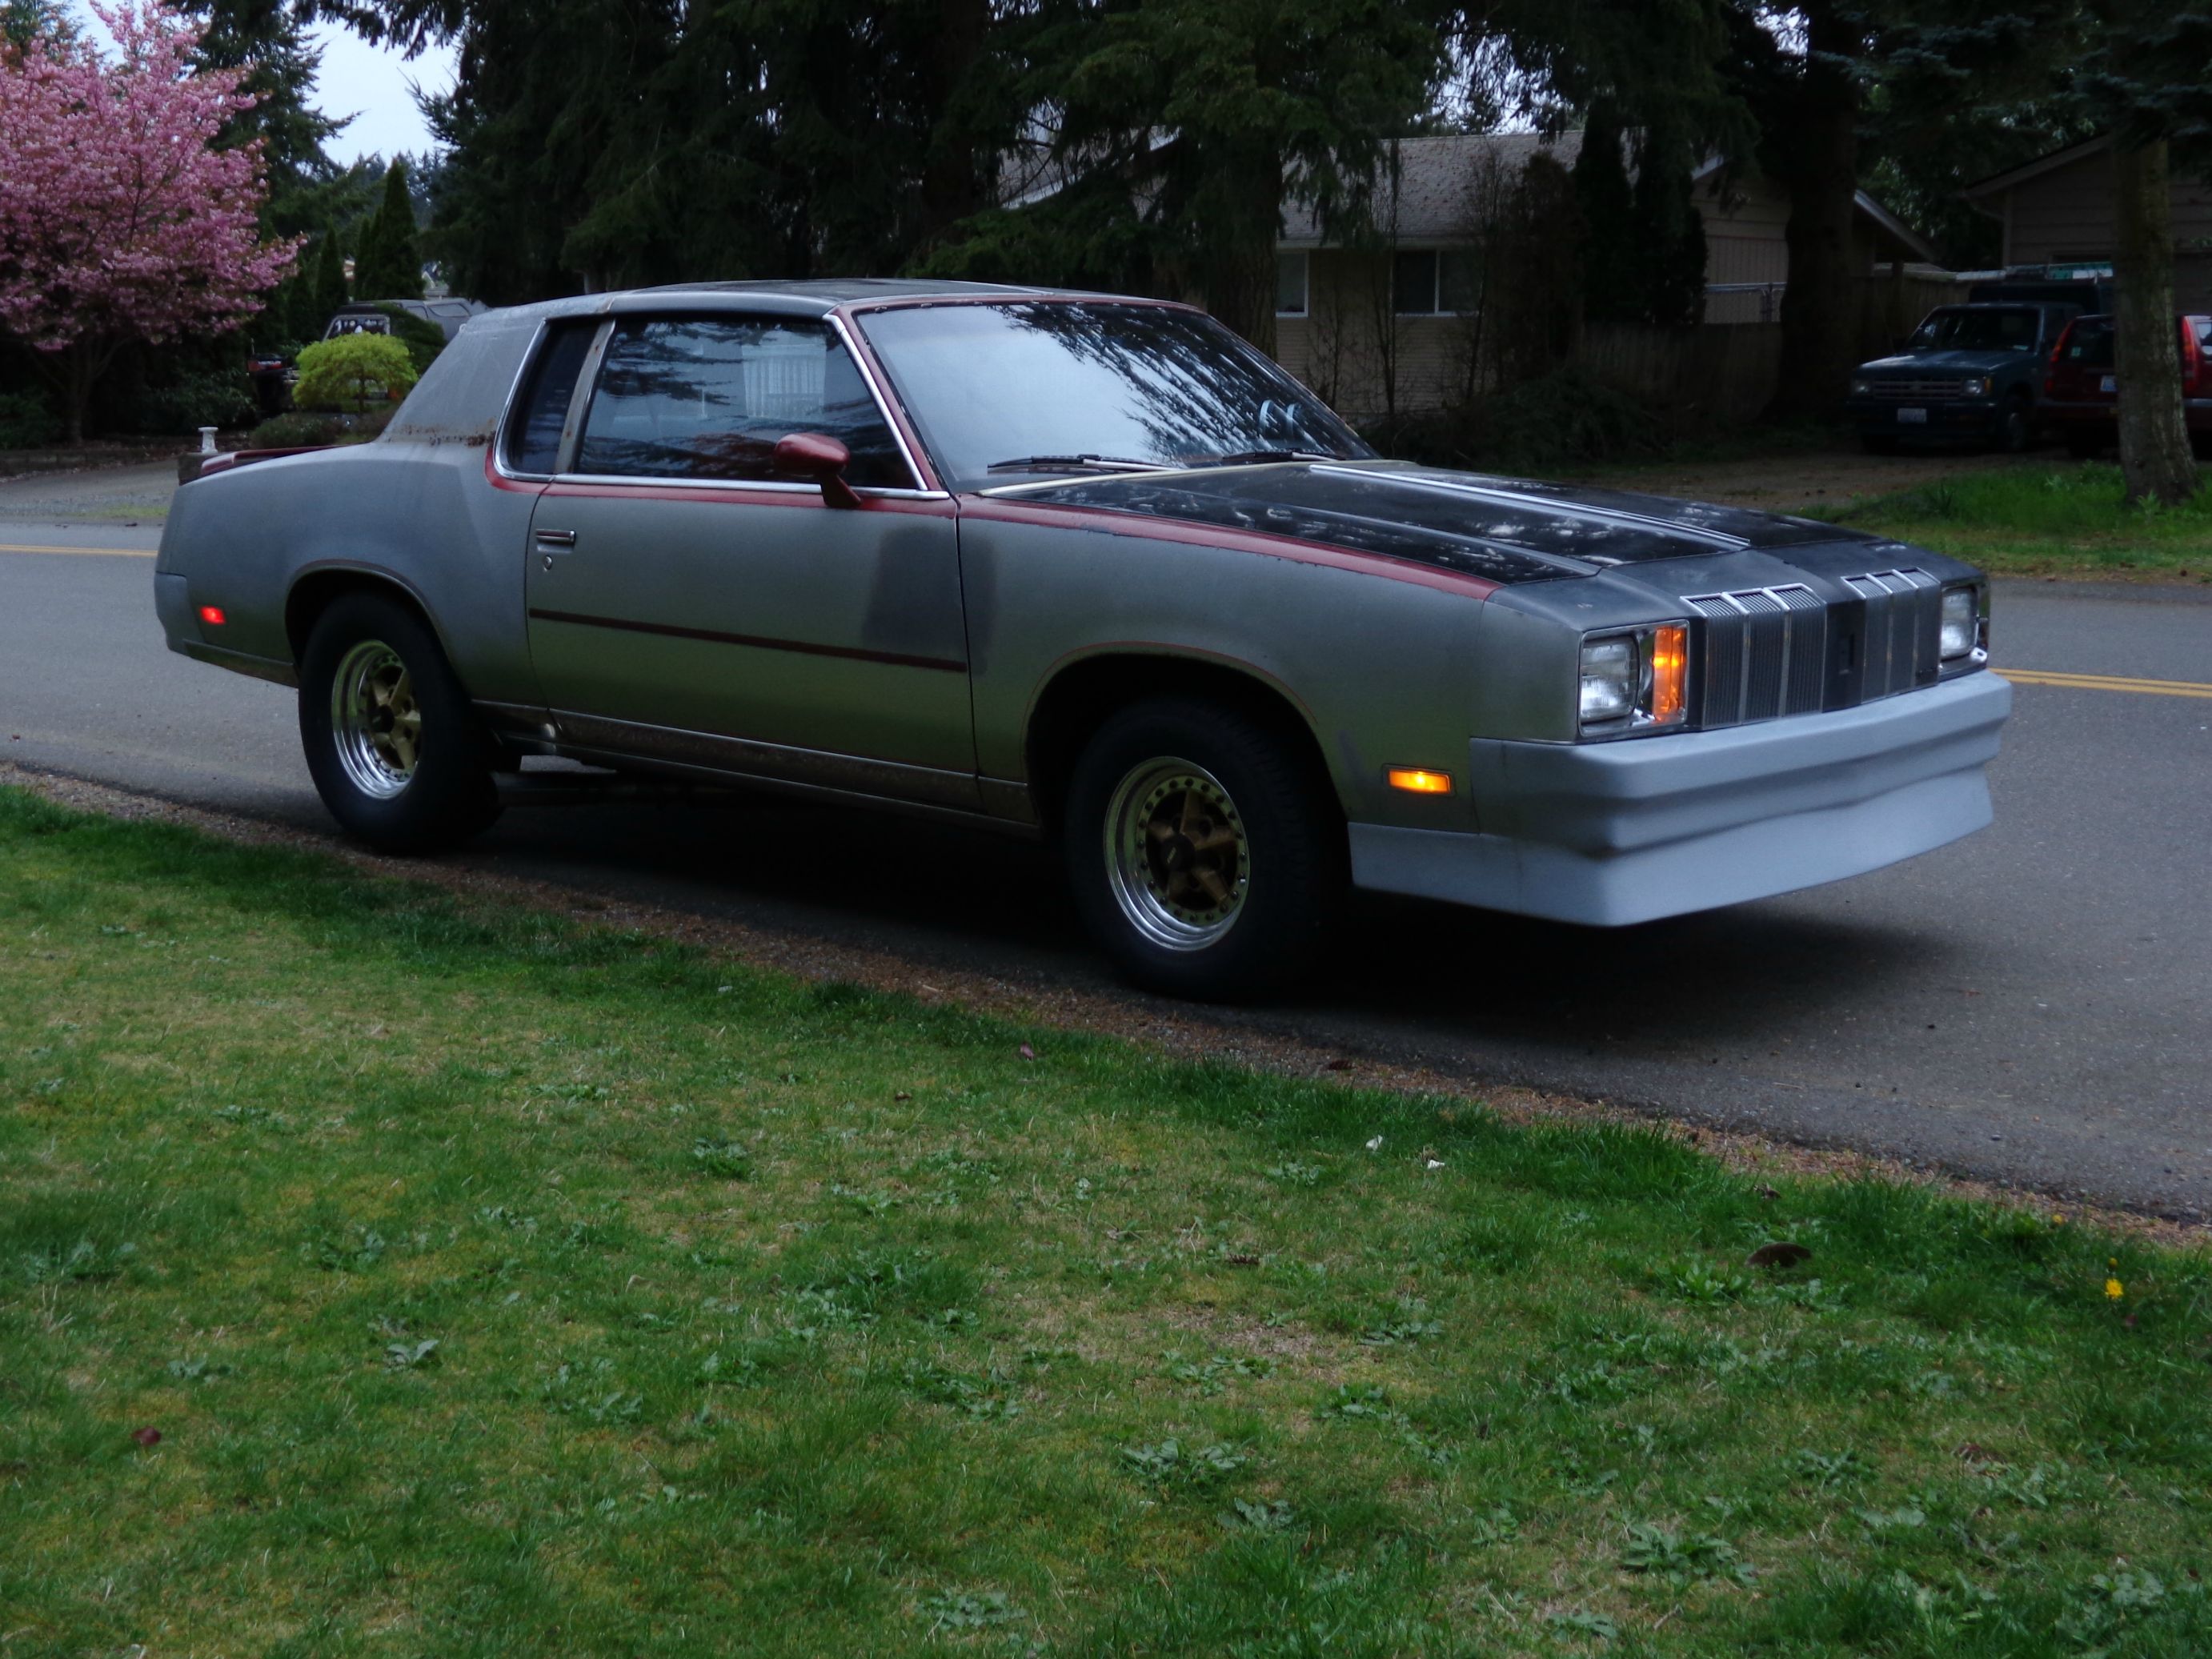
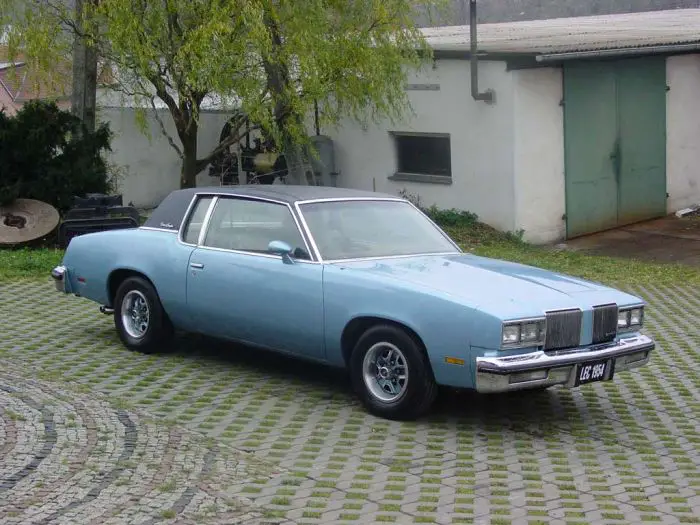
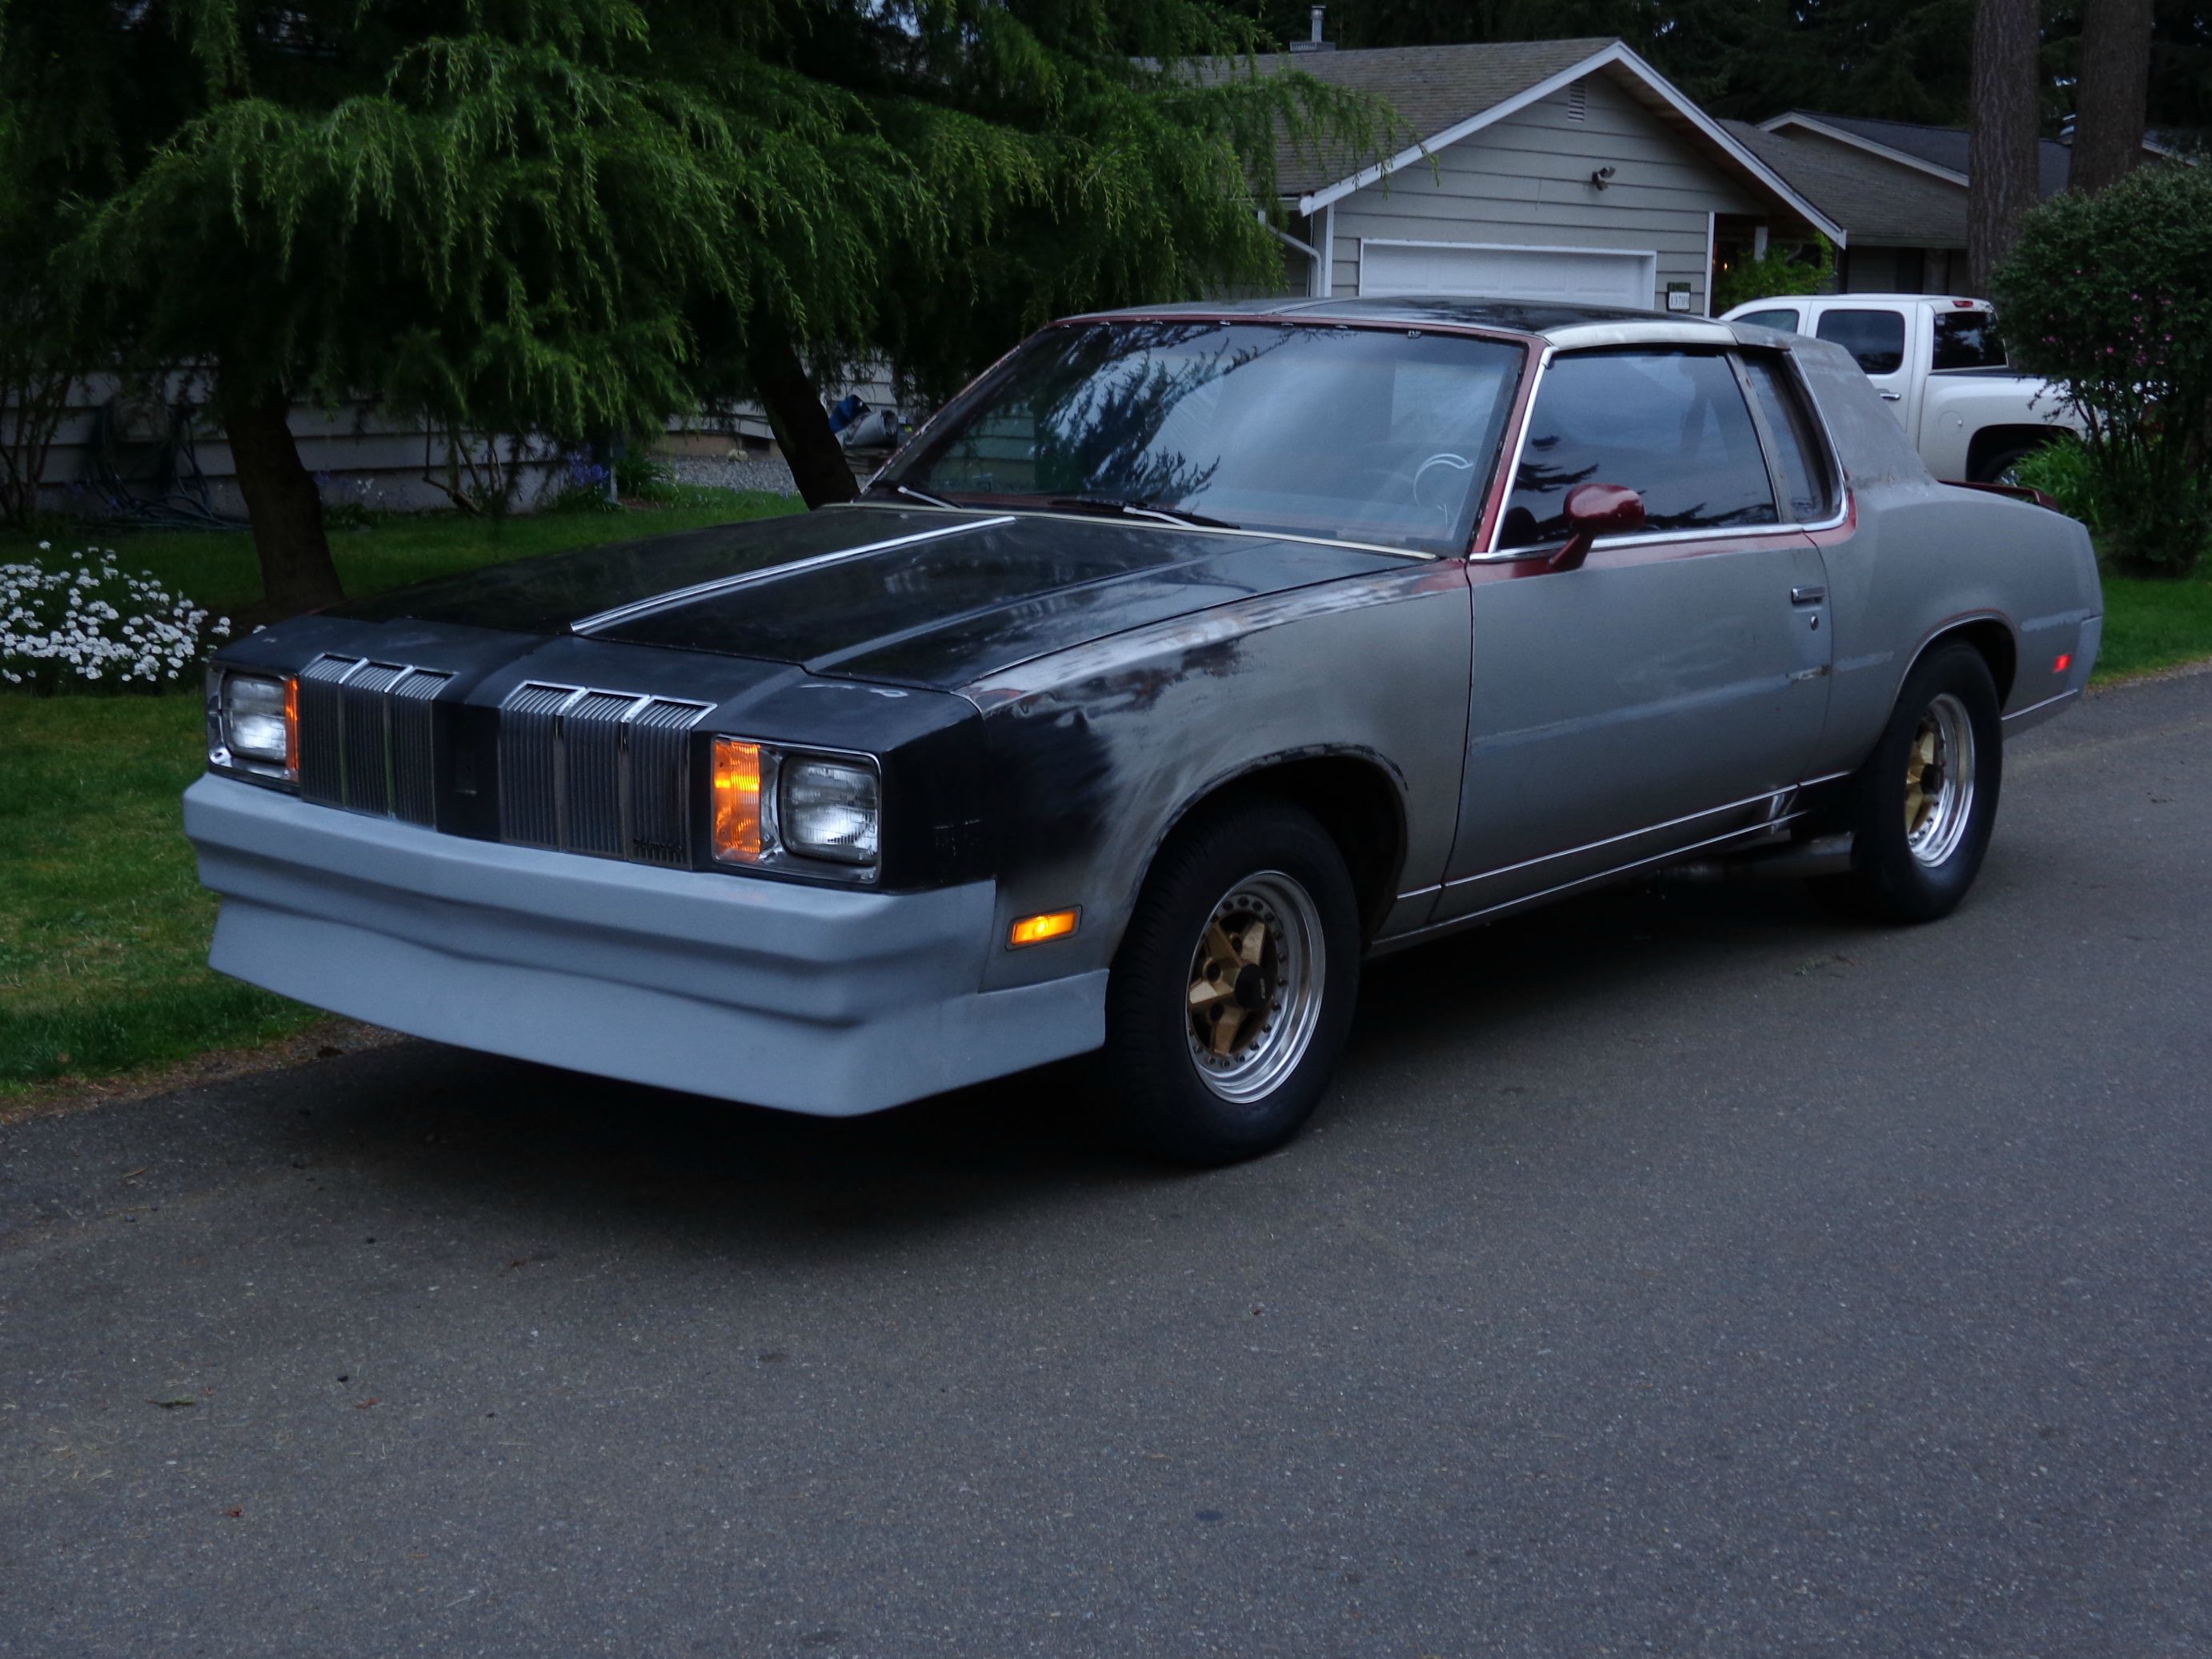
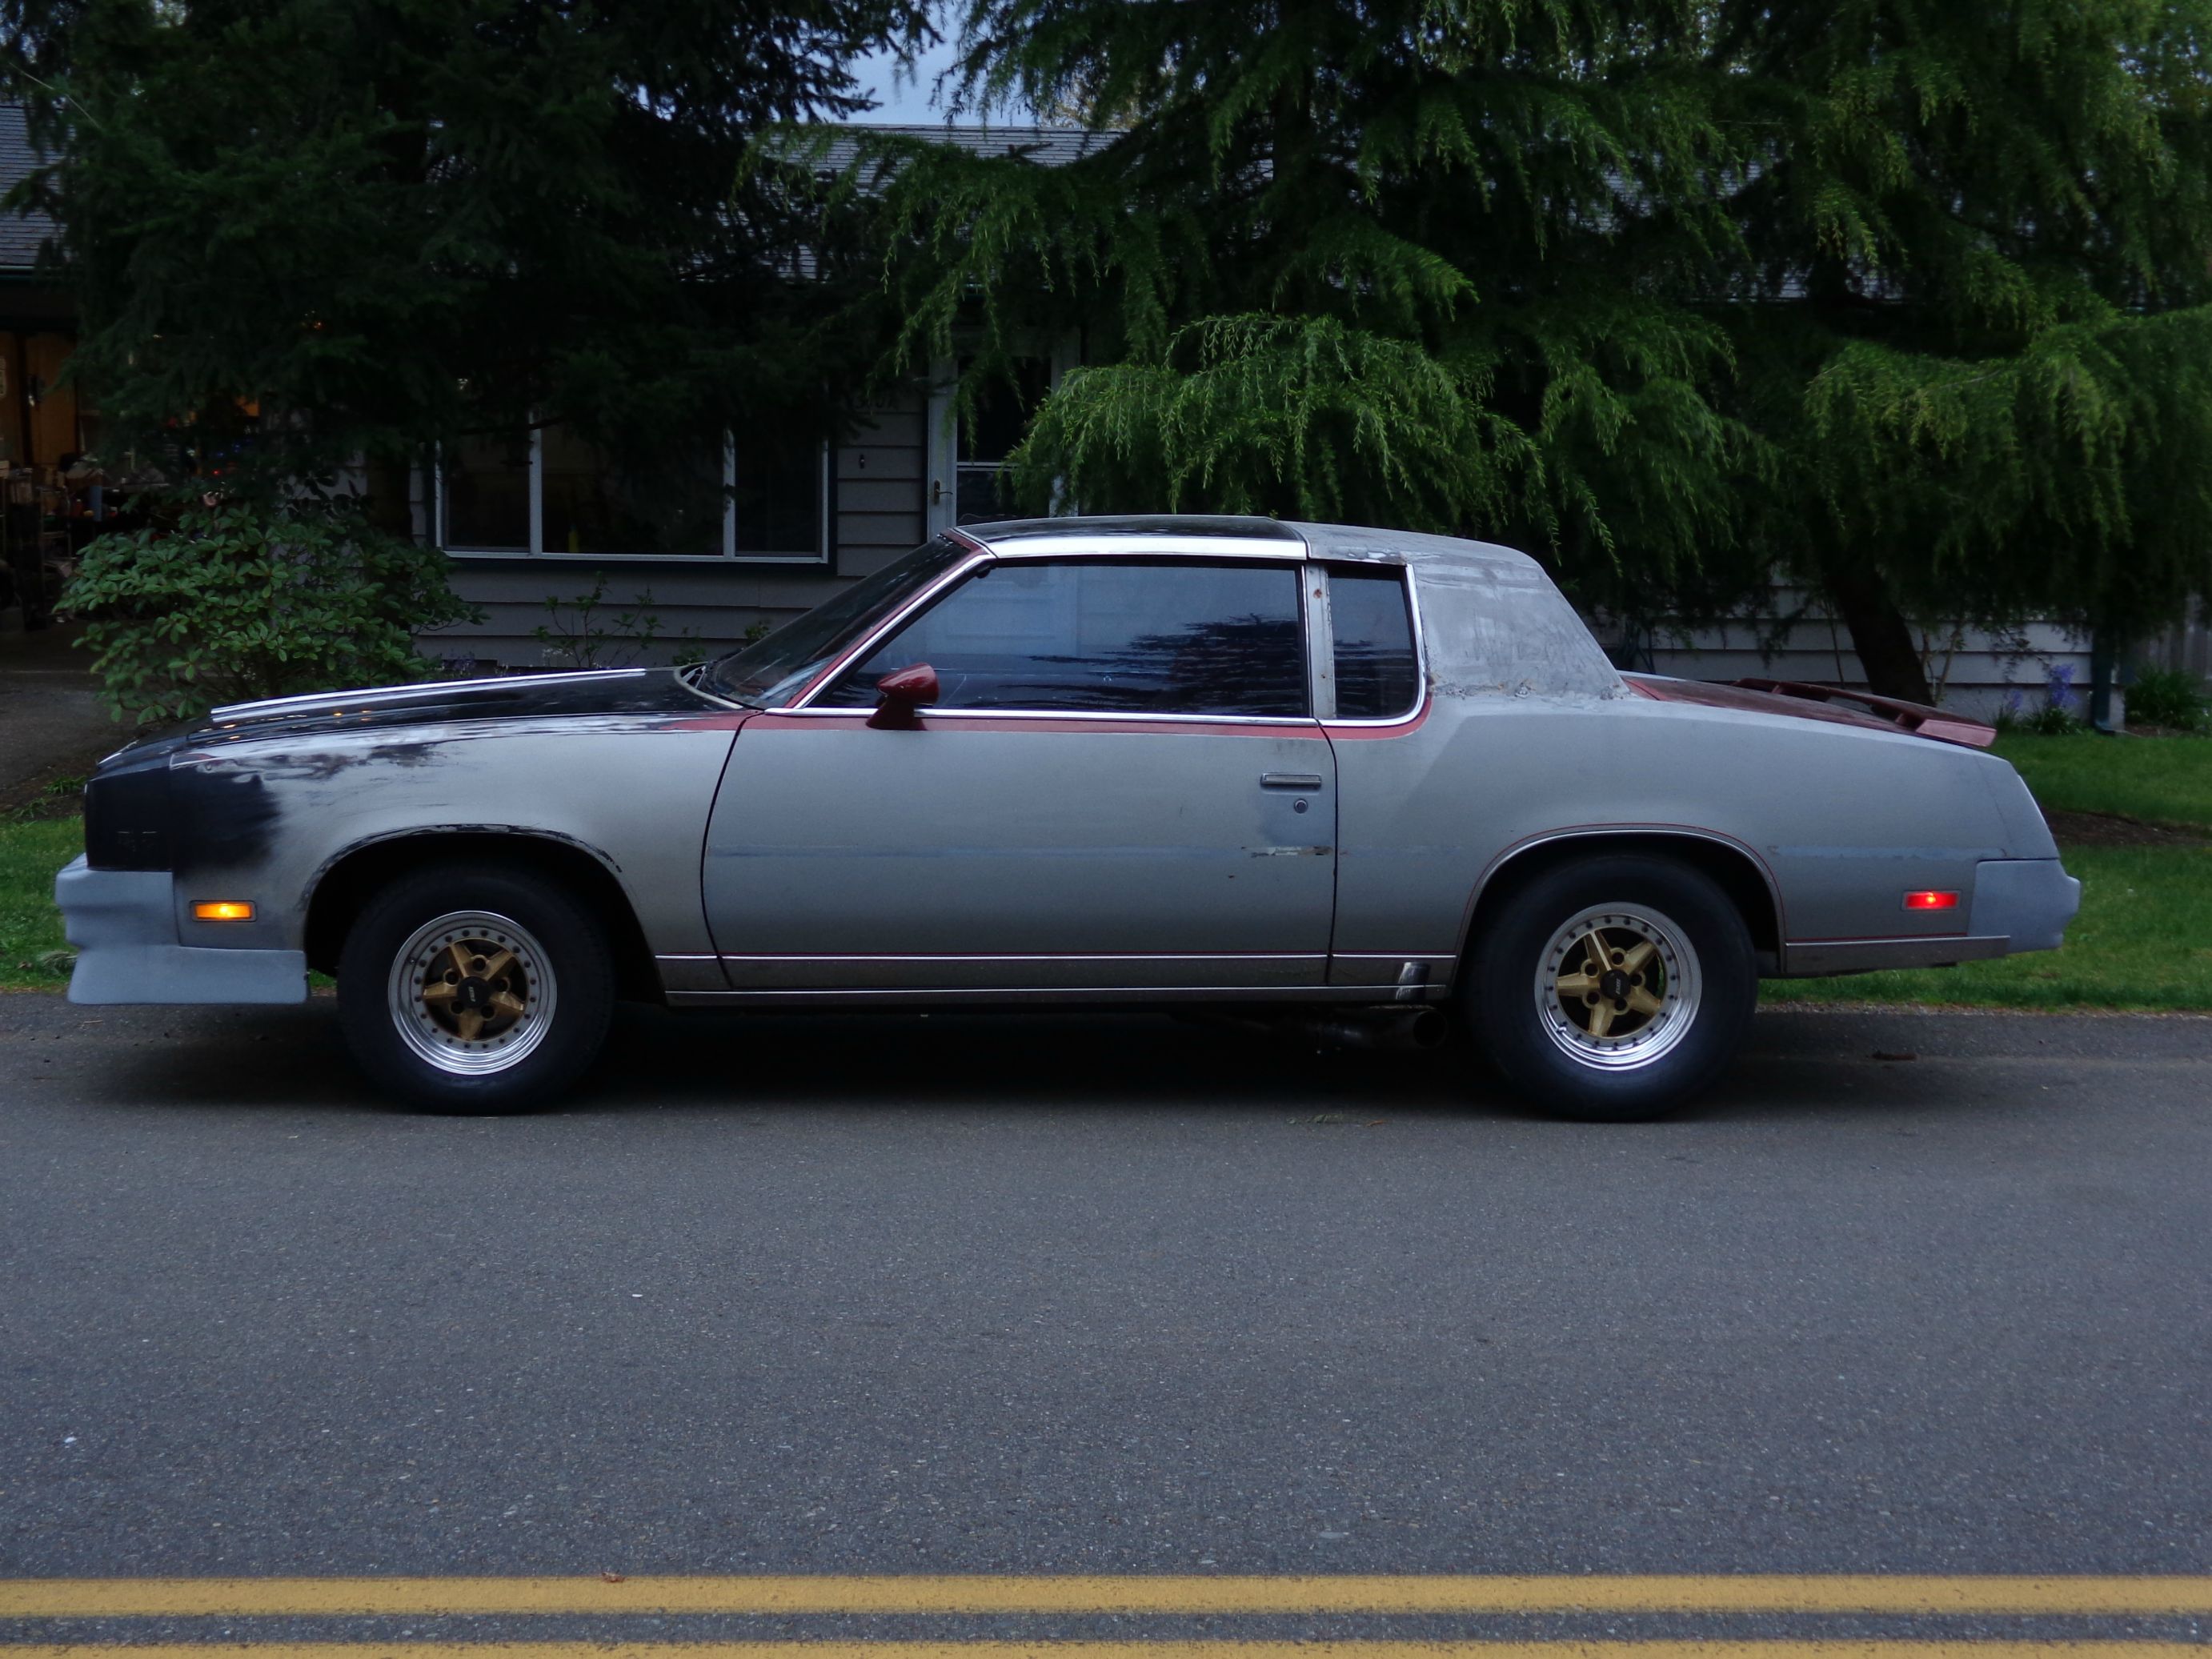
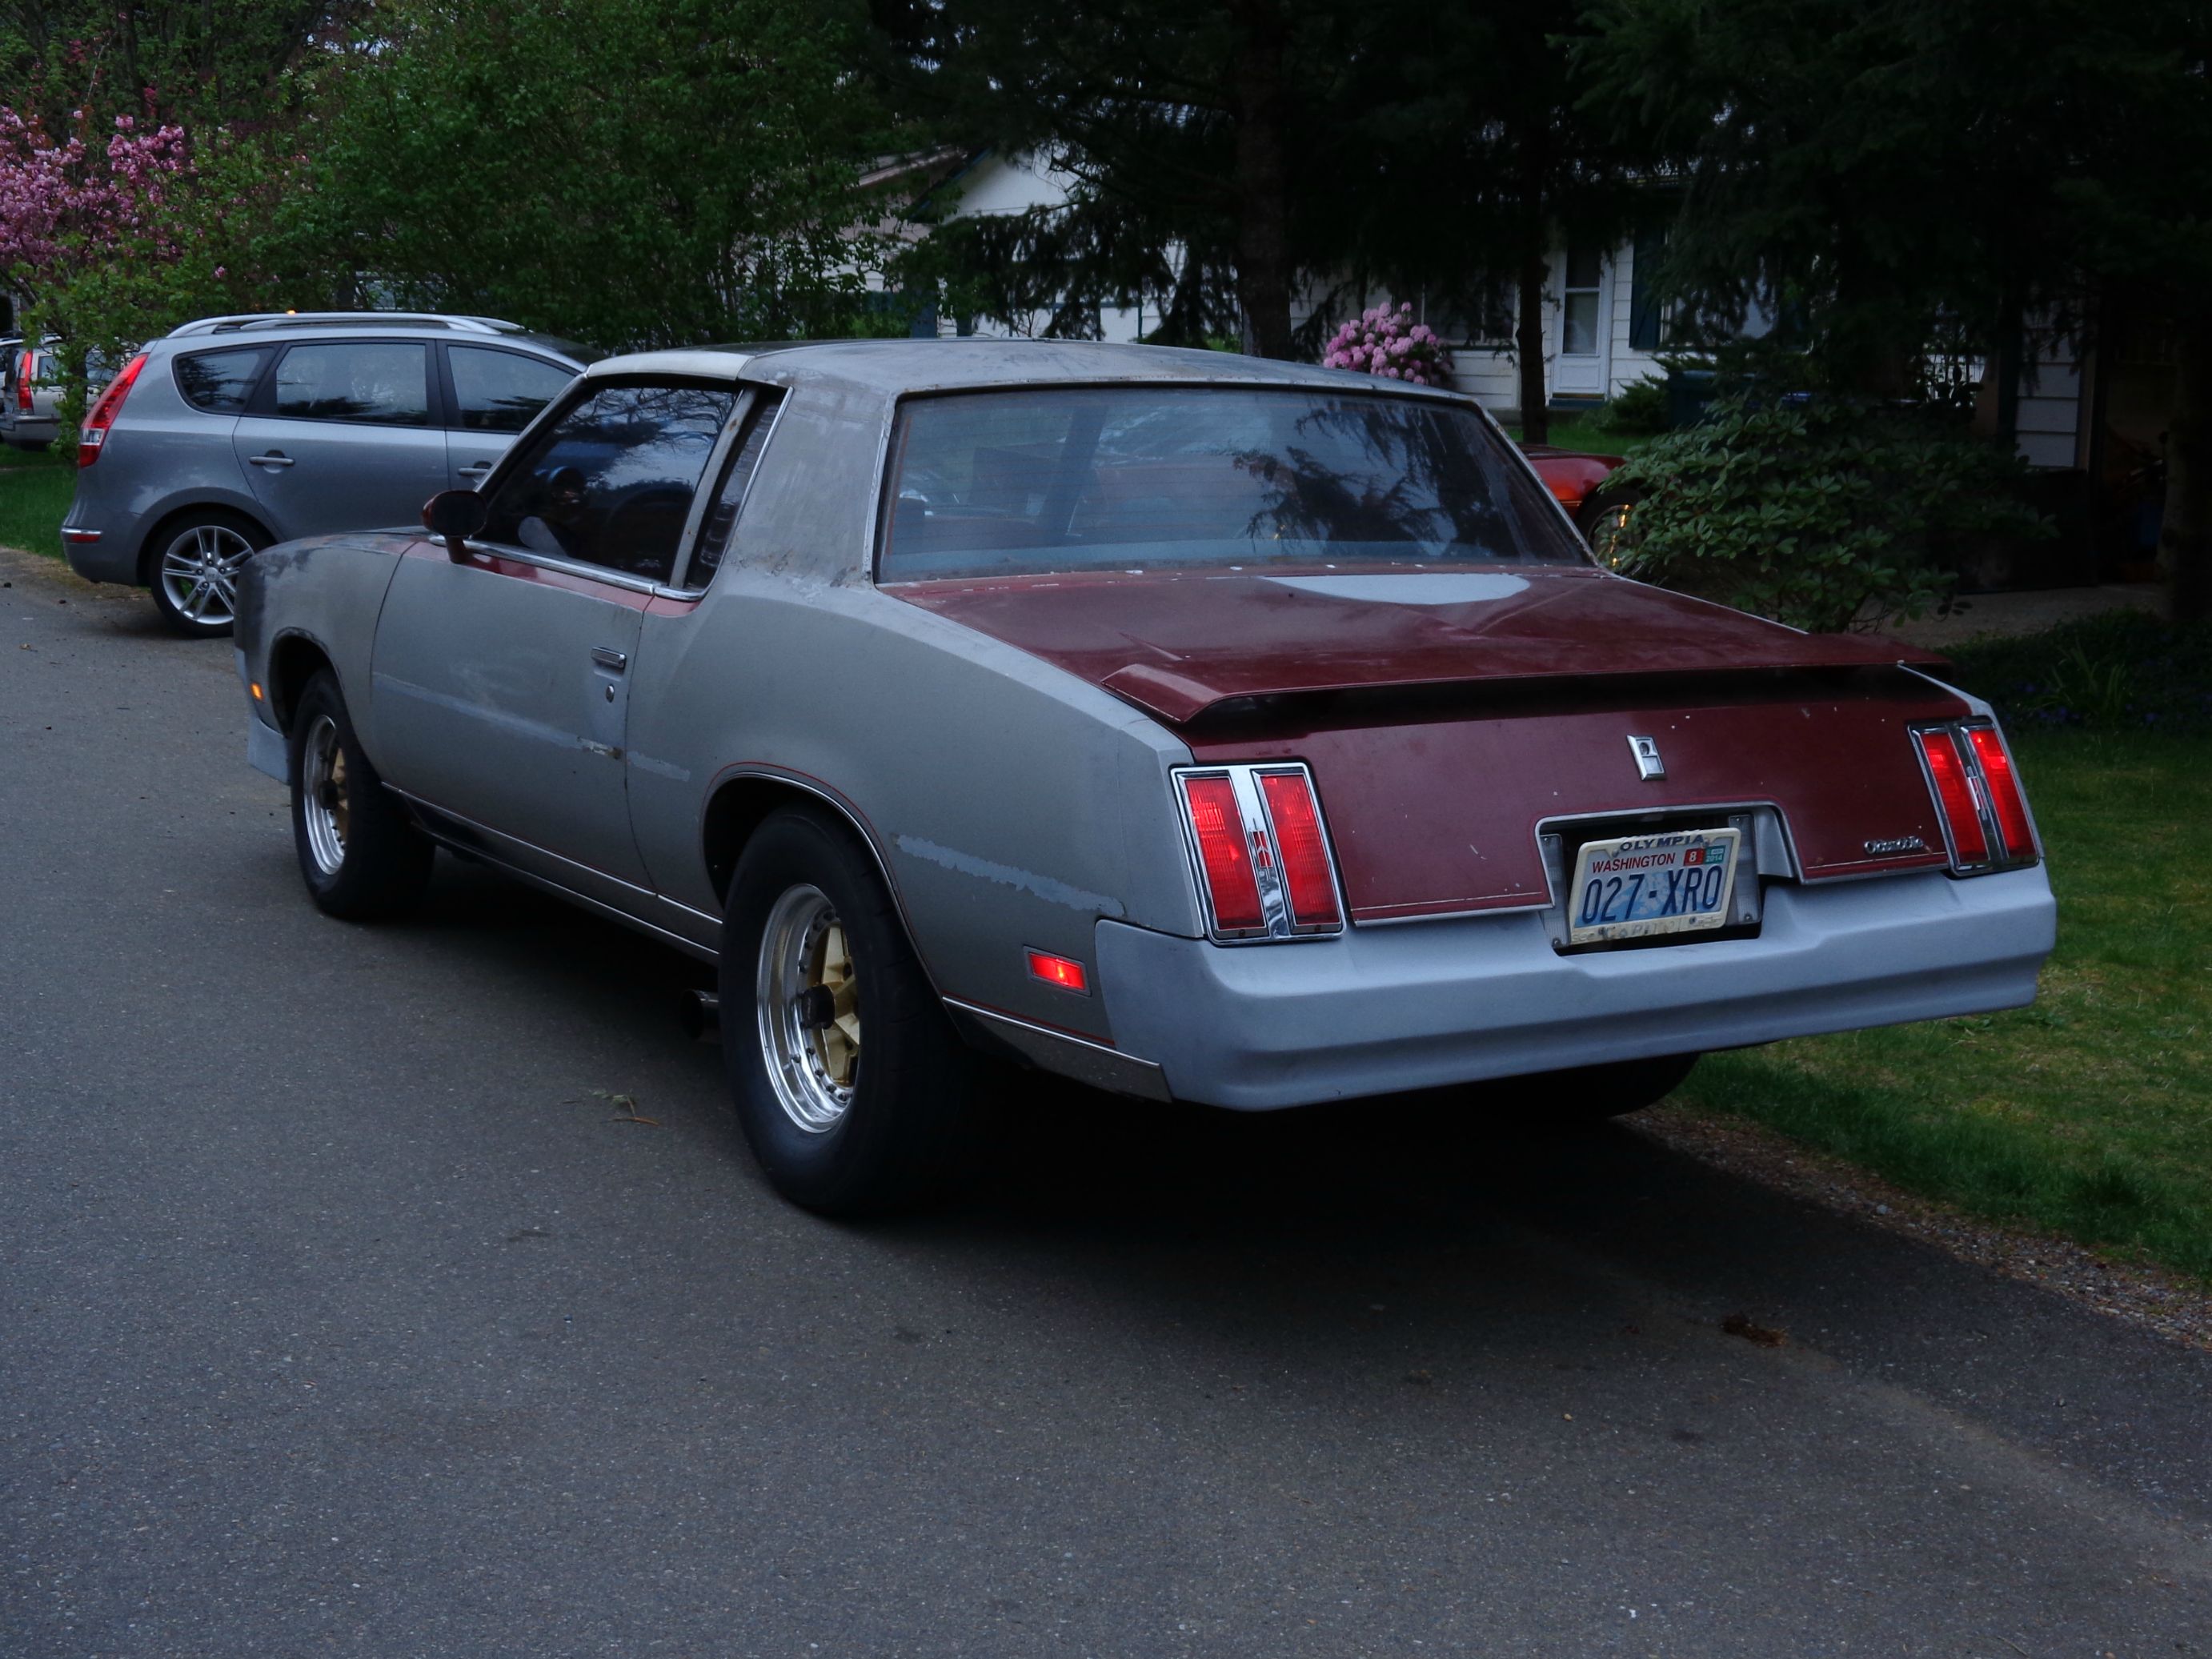
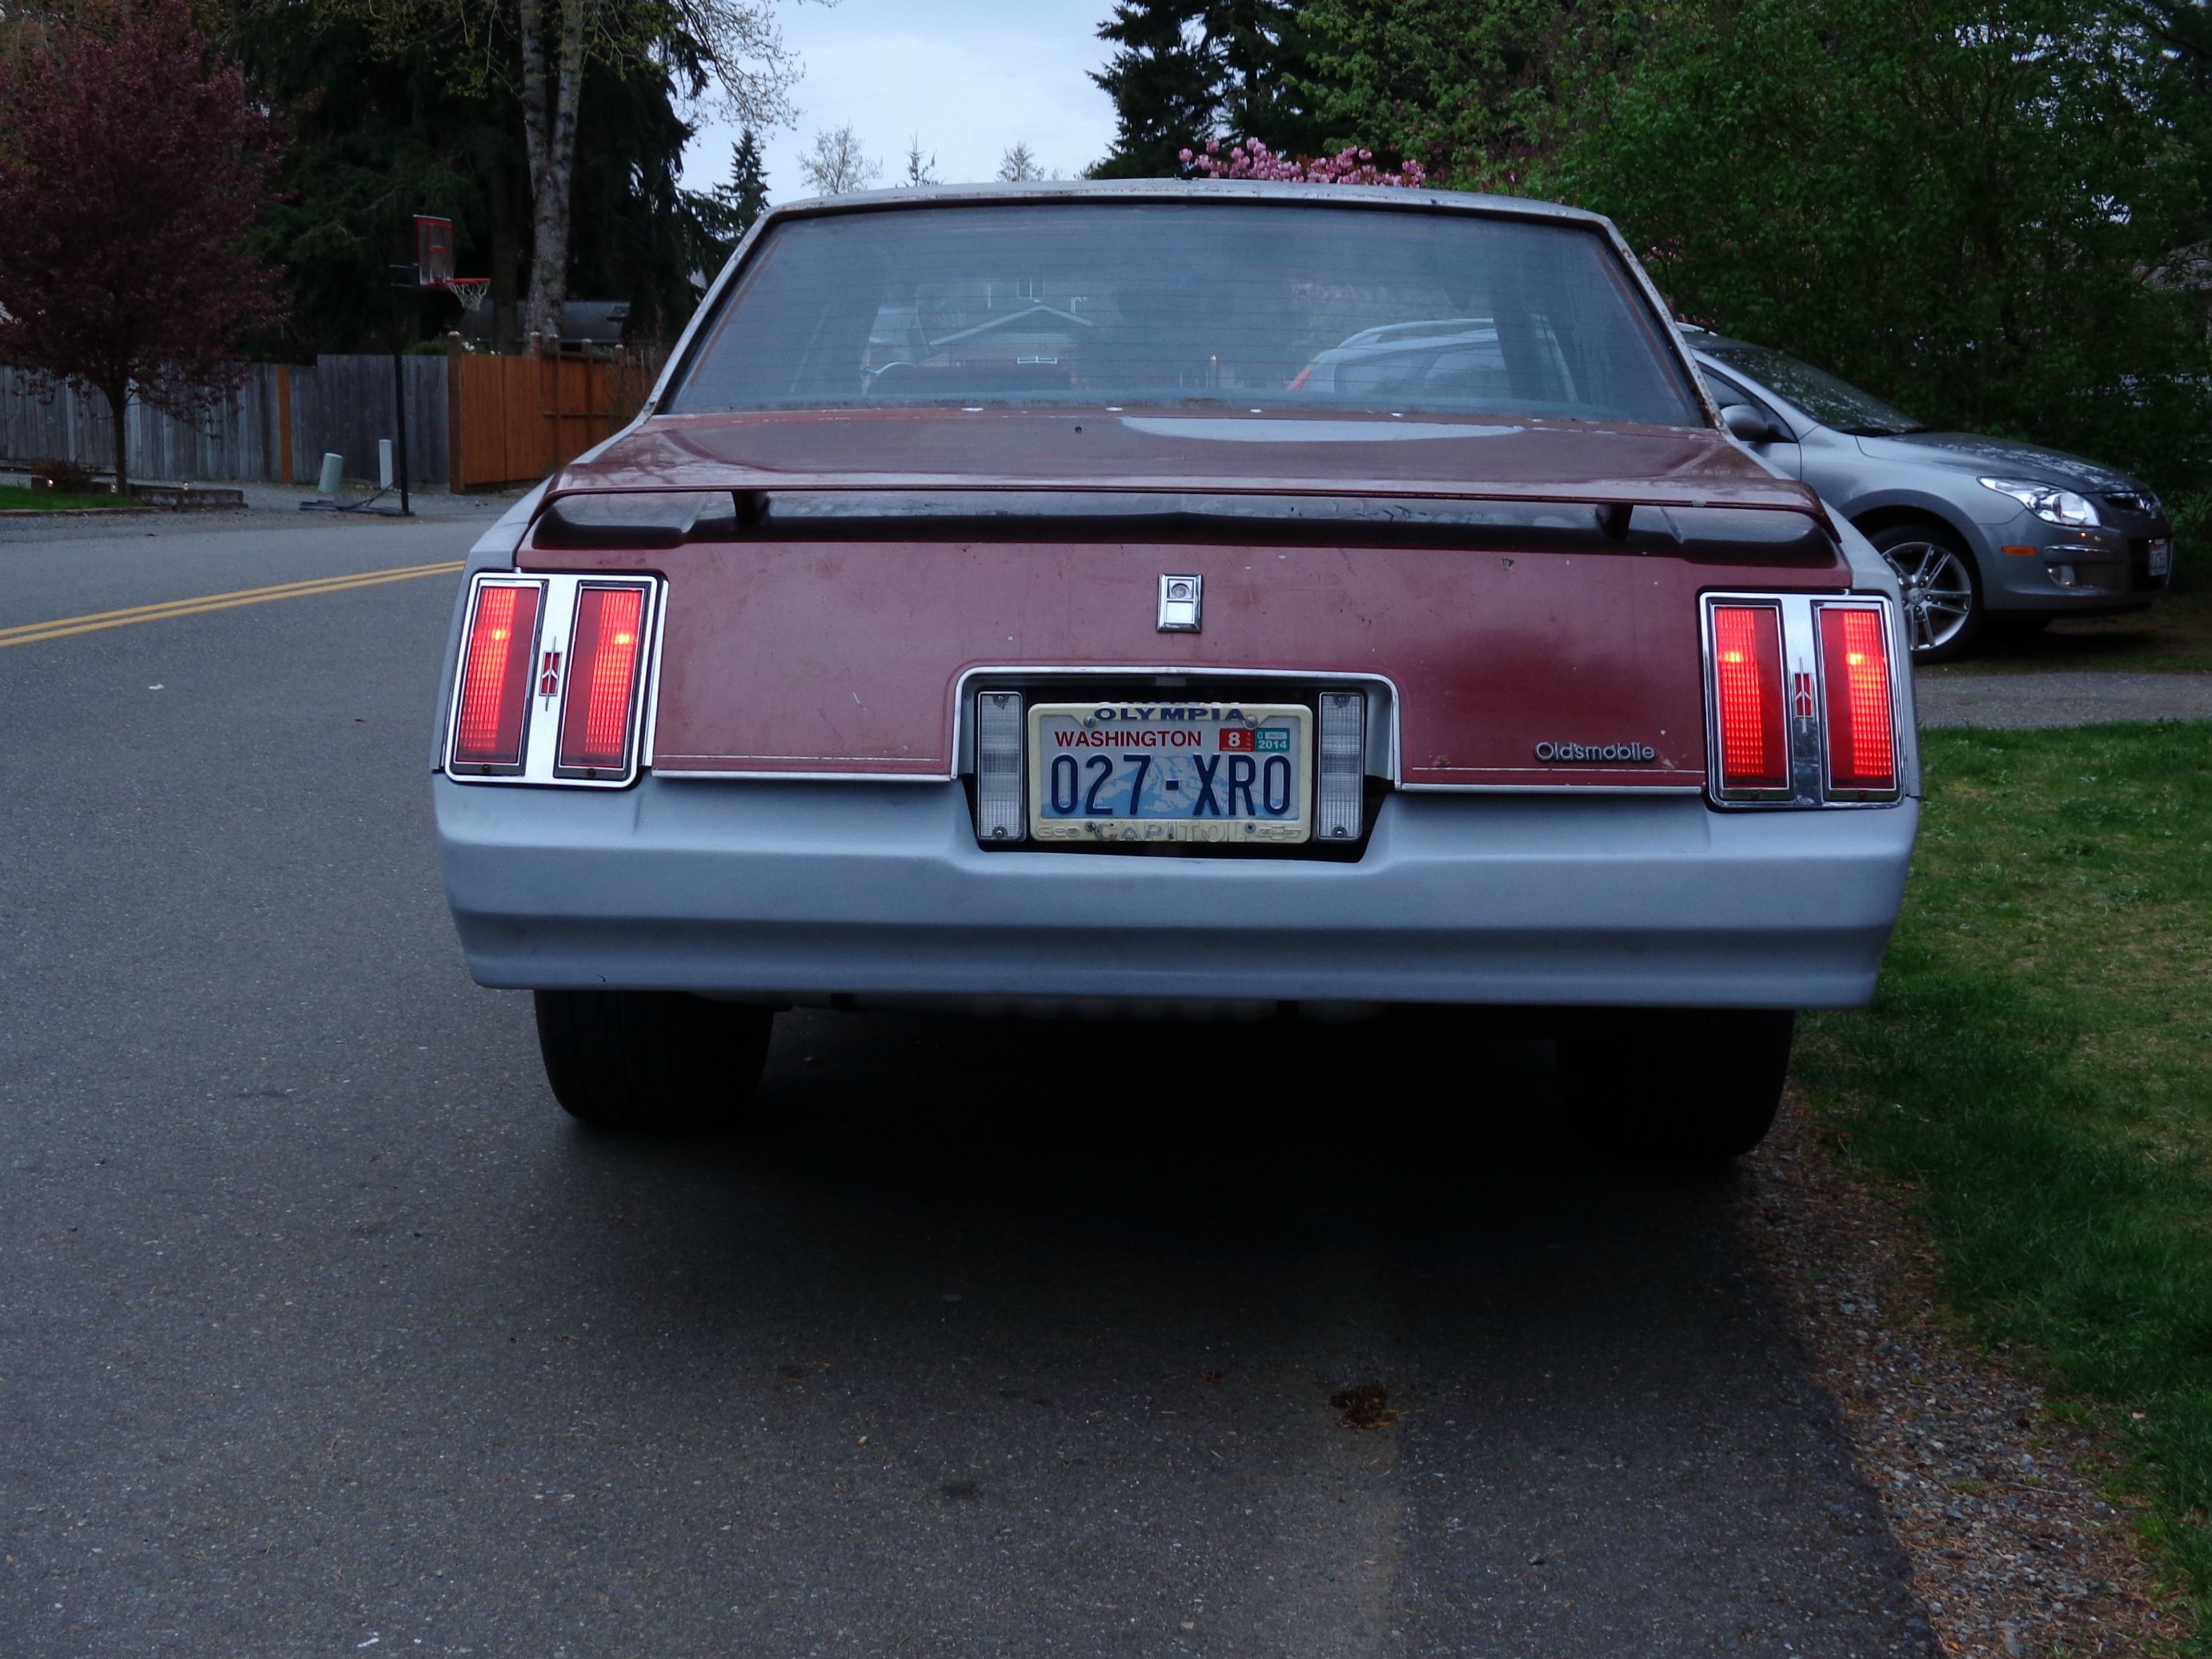
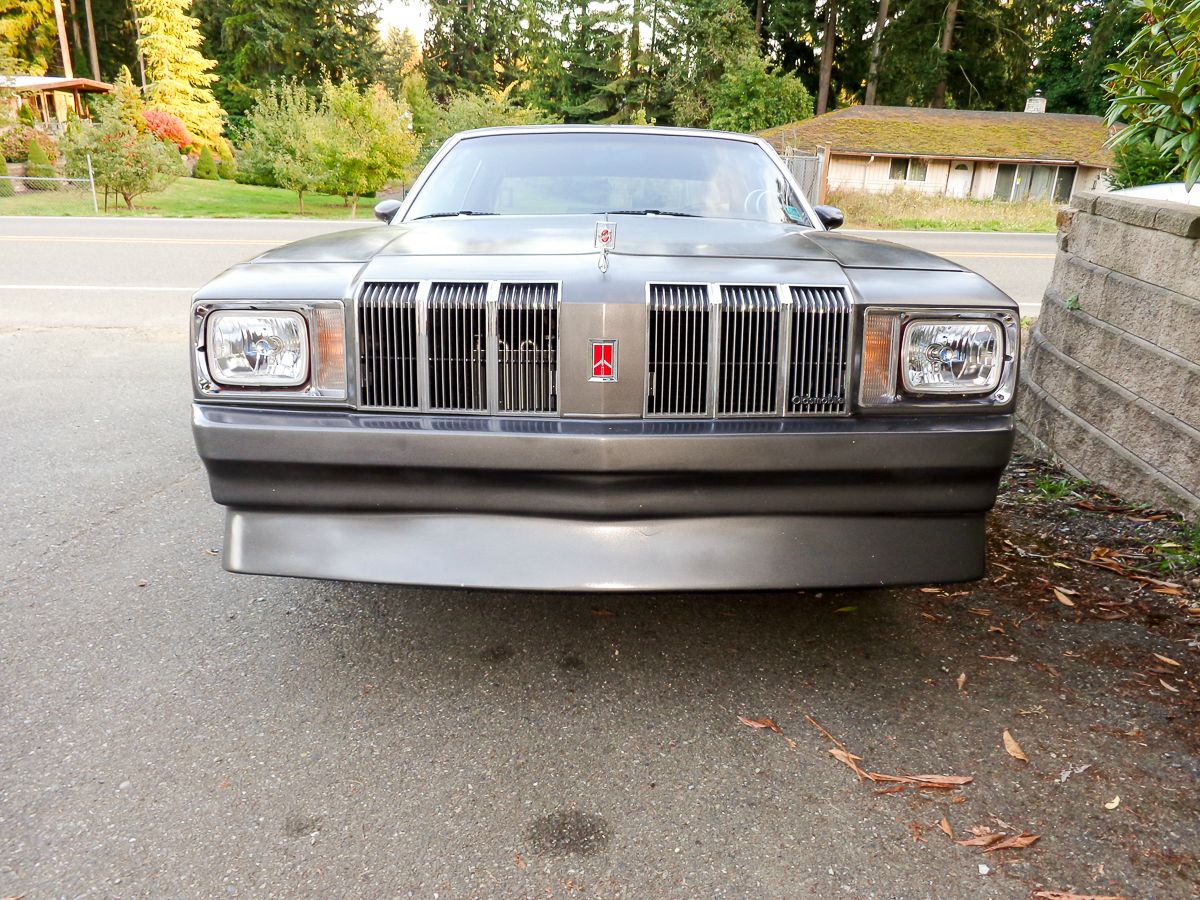
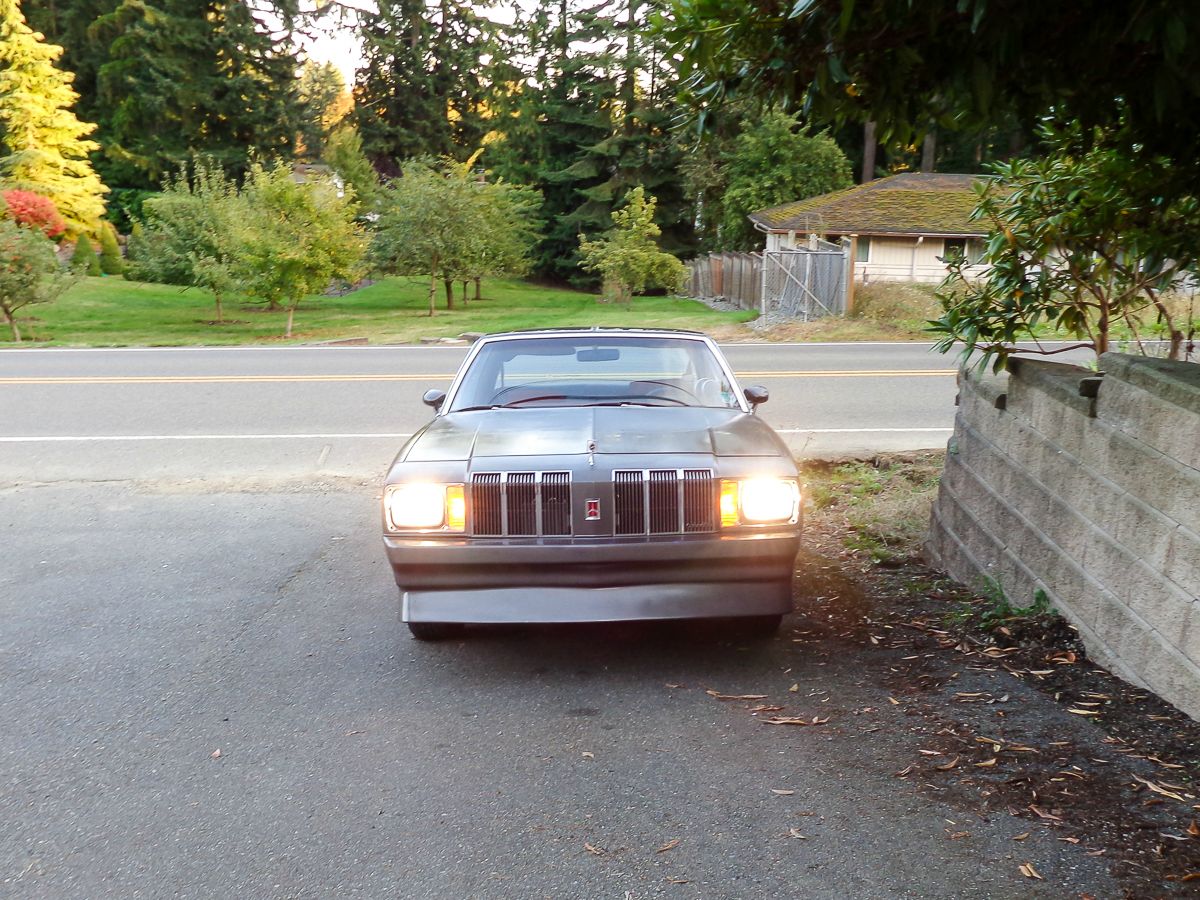
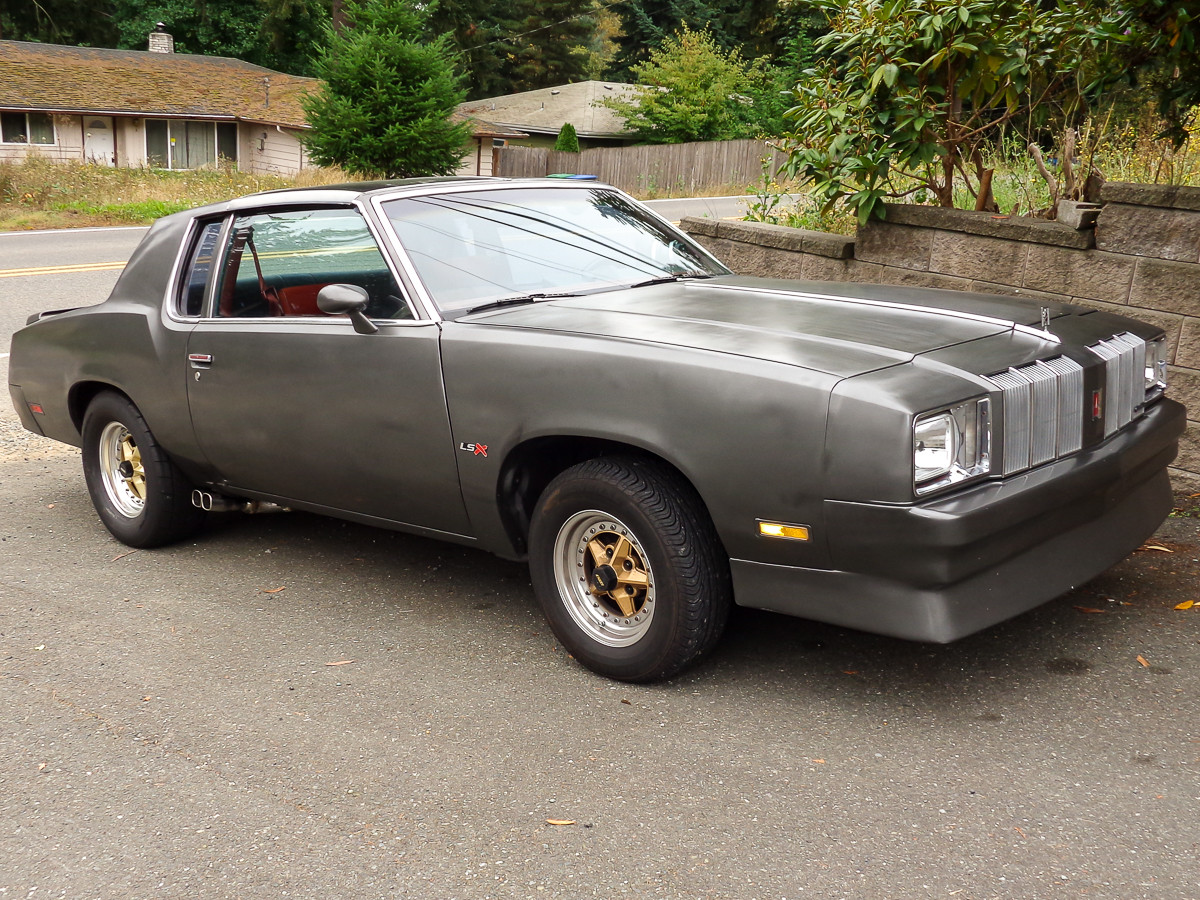
I got laid off from my job in November and decided I would return to school to finish my degree. I suddenly found myself with a lot of free time while I waited for school to start, and not a lot of money. I had a 1966 Thunderbird sitting in the driveway in need of serious attention, a 1963 MGB roadster in the garage waiting for a back-half and V8 swap and said V8 sitting on an engine stand in the corner. I sold the cars and my professional camera equipment and went shopping for a car that I could quickly, easily and afford-ably get my LQ4 into. The catch was that it needed to be ready for long-distance road work and have room in the back to easily put my two kiddos, a 4 year old and a new-born. I found a '78 Cutlass that ran and drove but in need of some attention. It was very clean inside and under-hood, but is a few different shades of gray and silver and red and black. Owner was in need of money for dental work. I put $1200 in his hand and drove it 90 miles home. I drove it all summer without issue, then pulled the motor and trans out and sold it for $400. So I got the car for $800. I've been a busy boy since then.
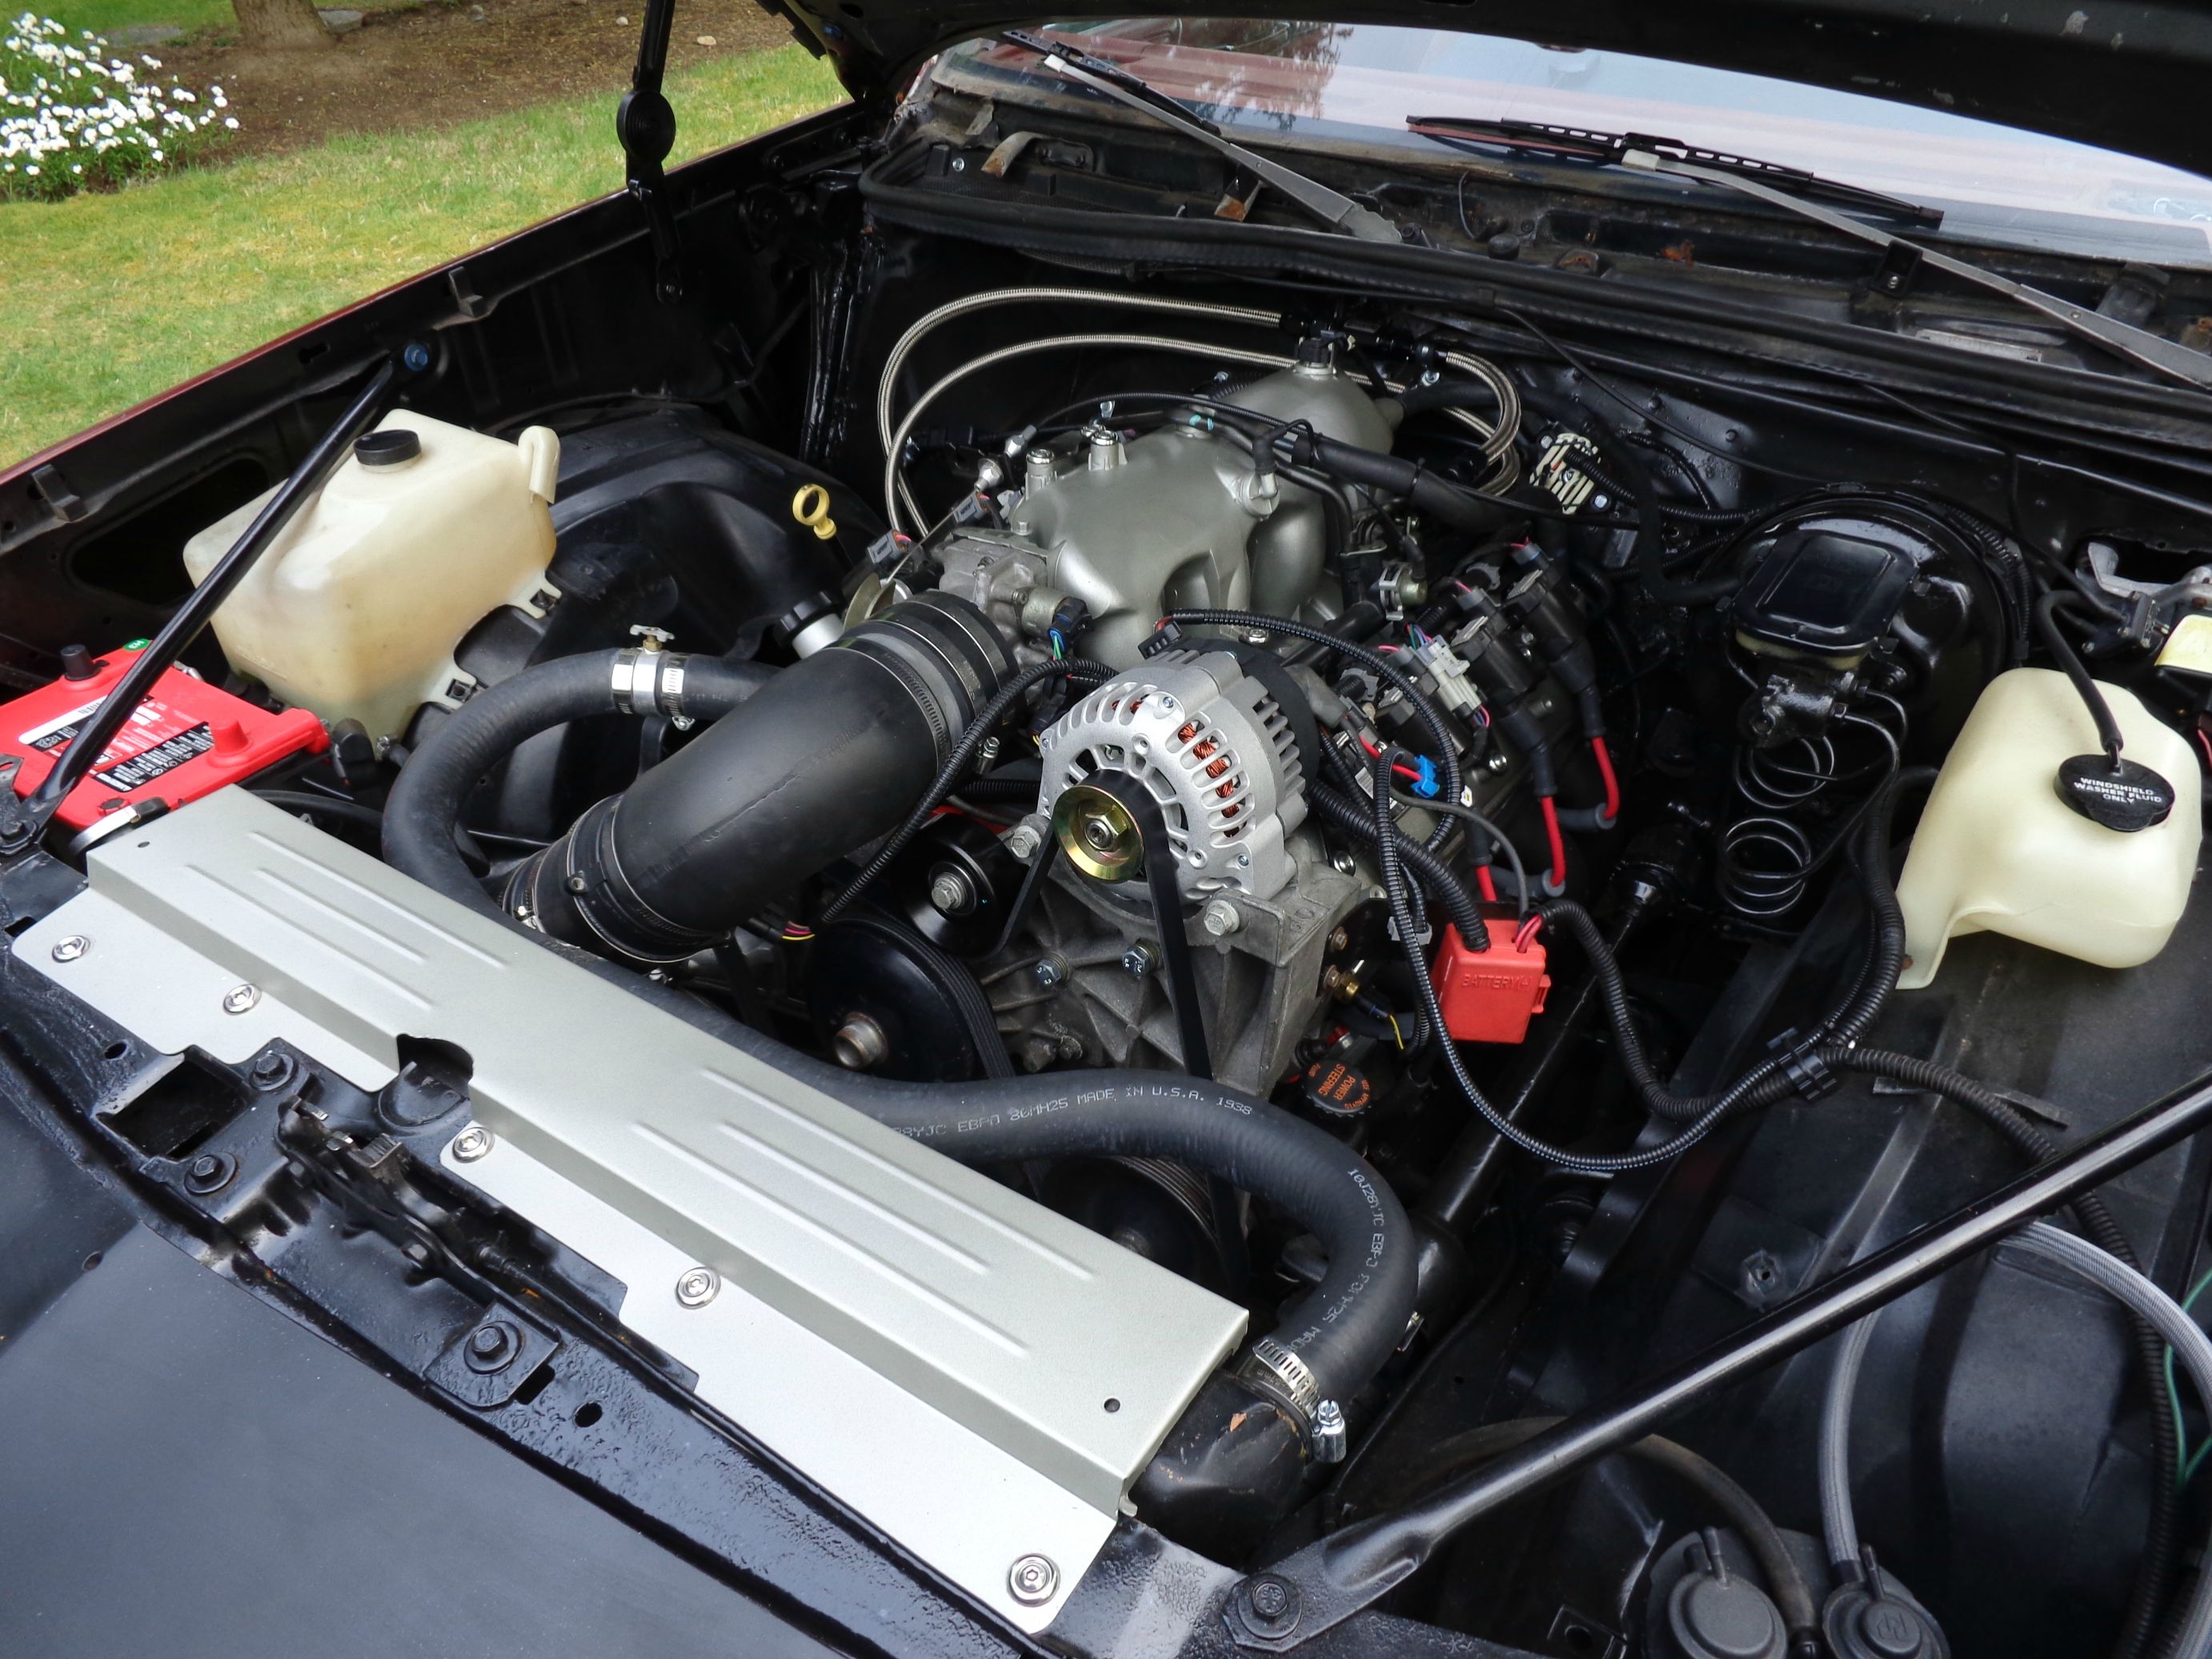
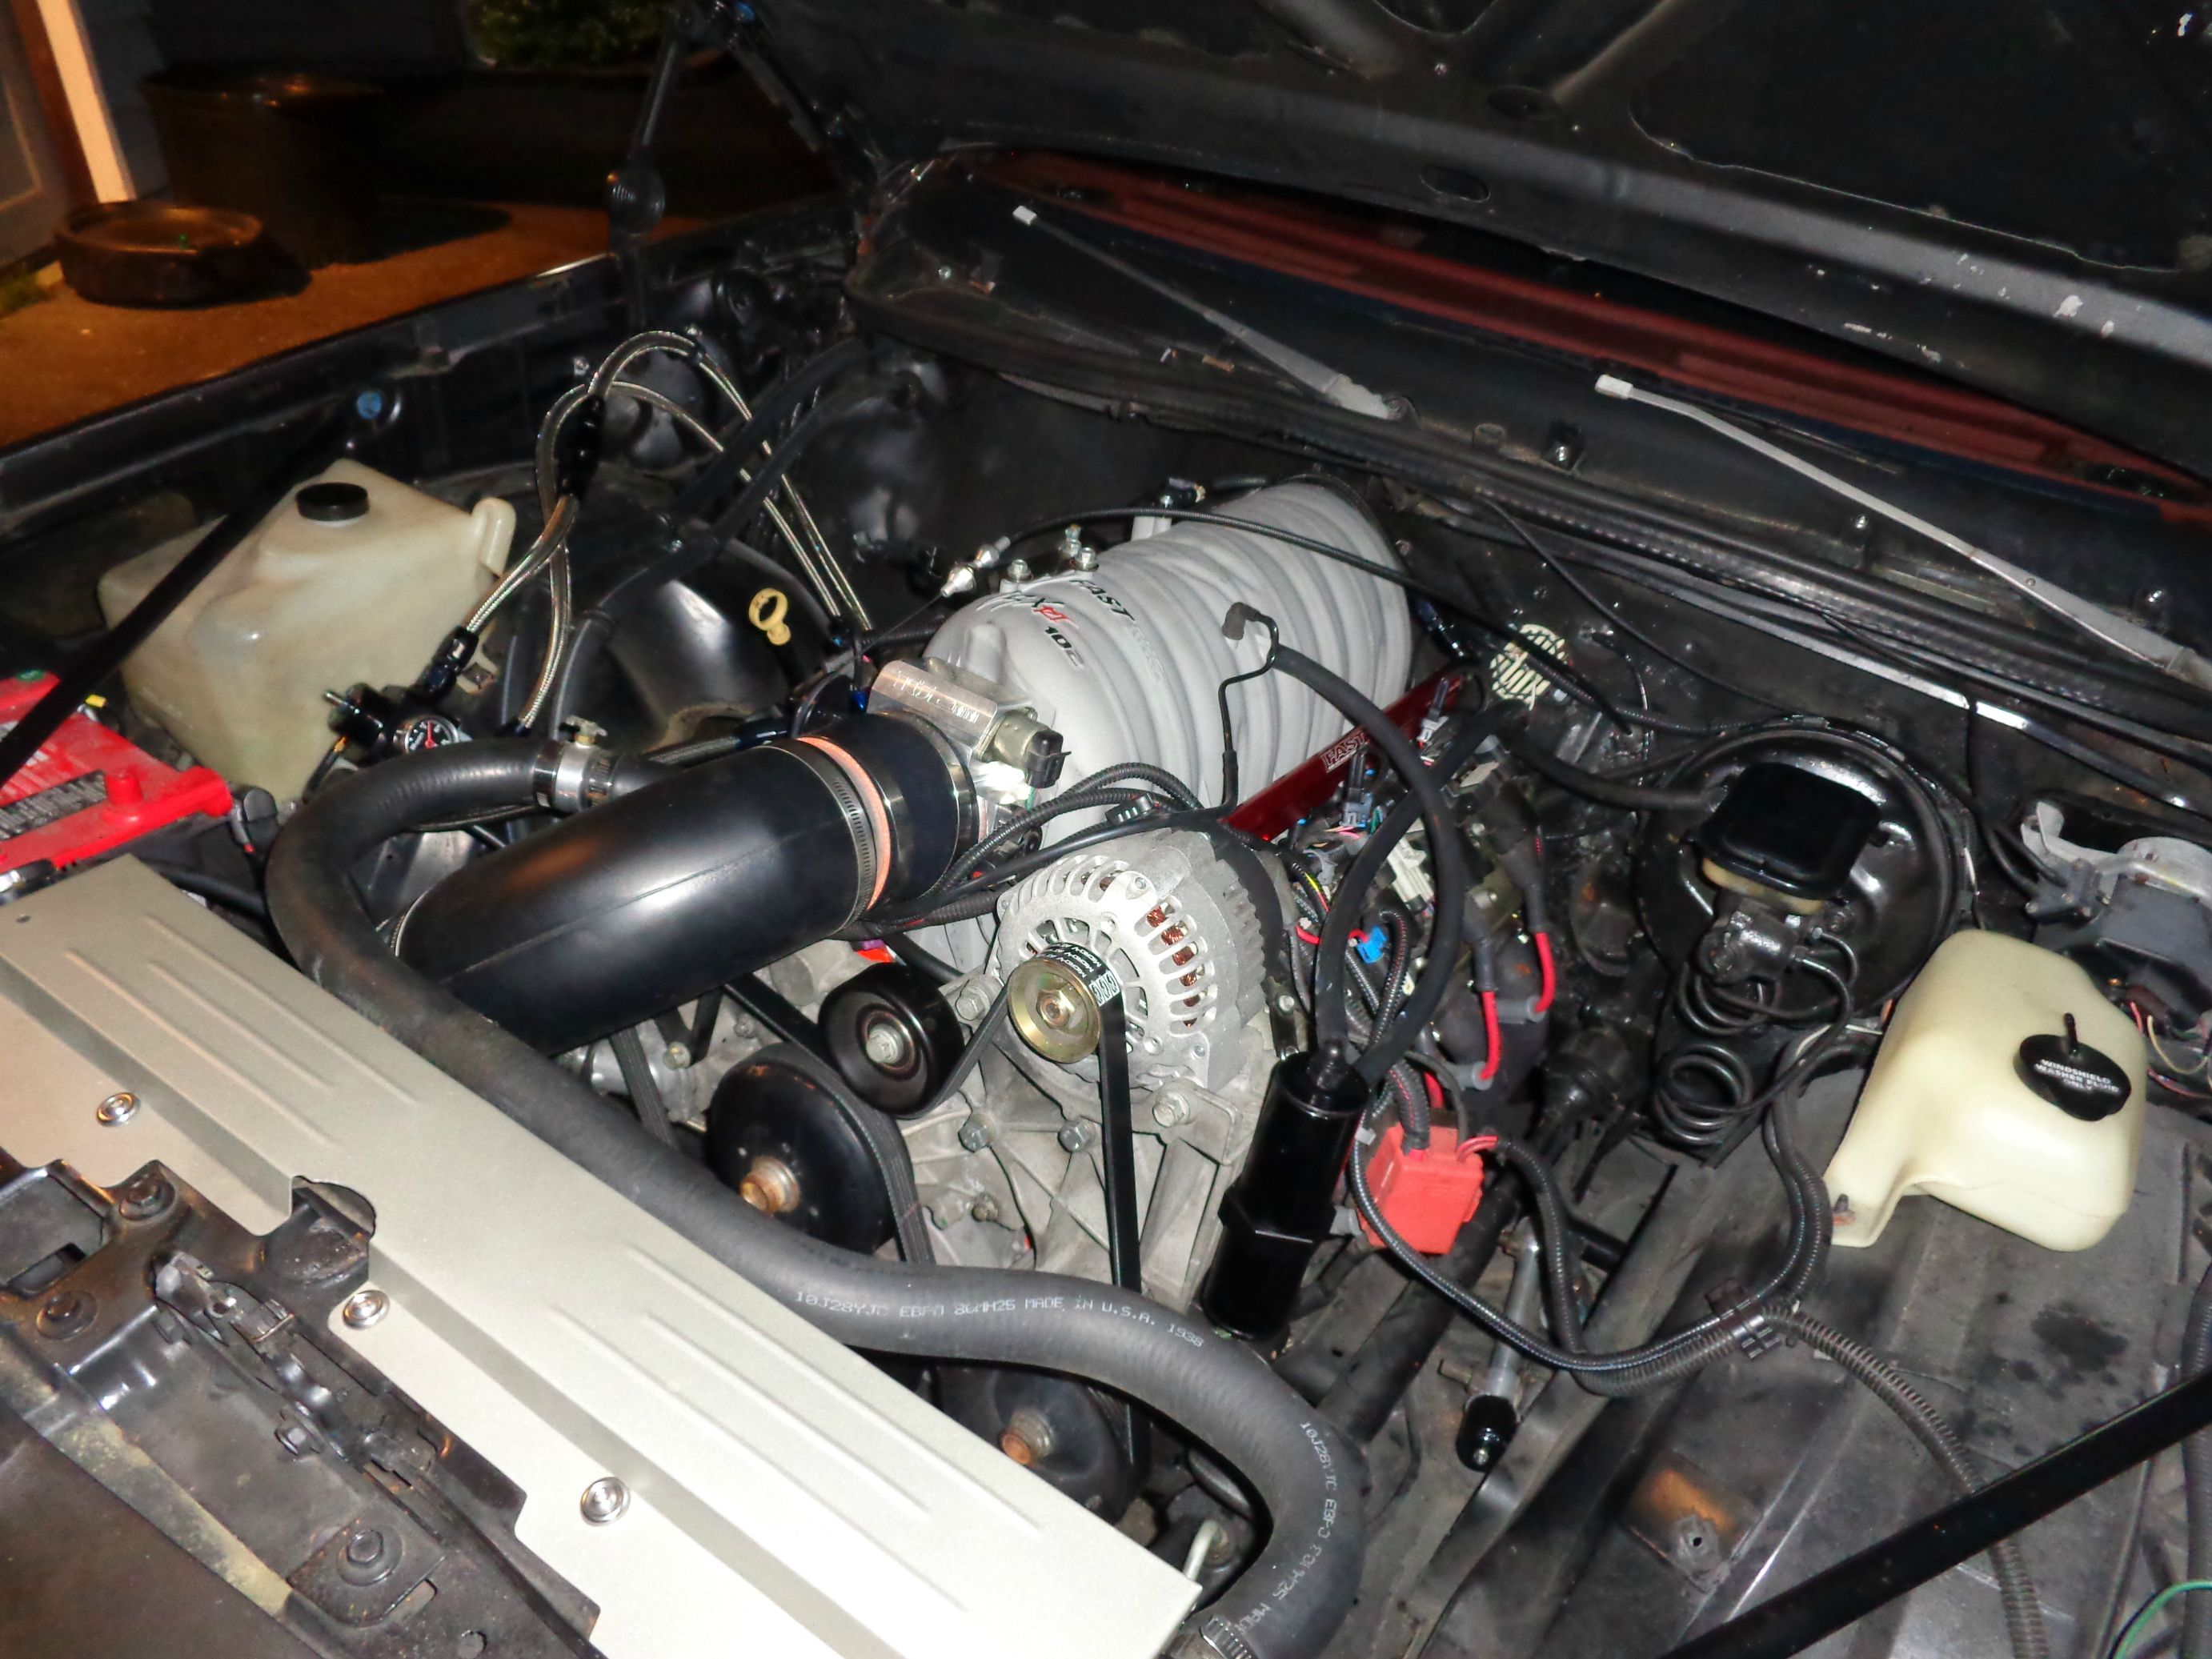
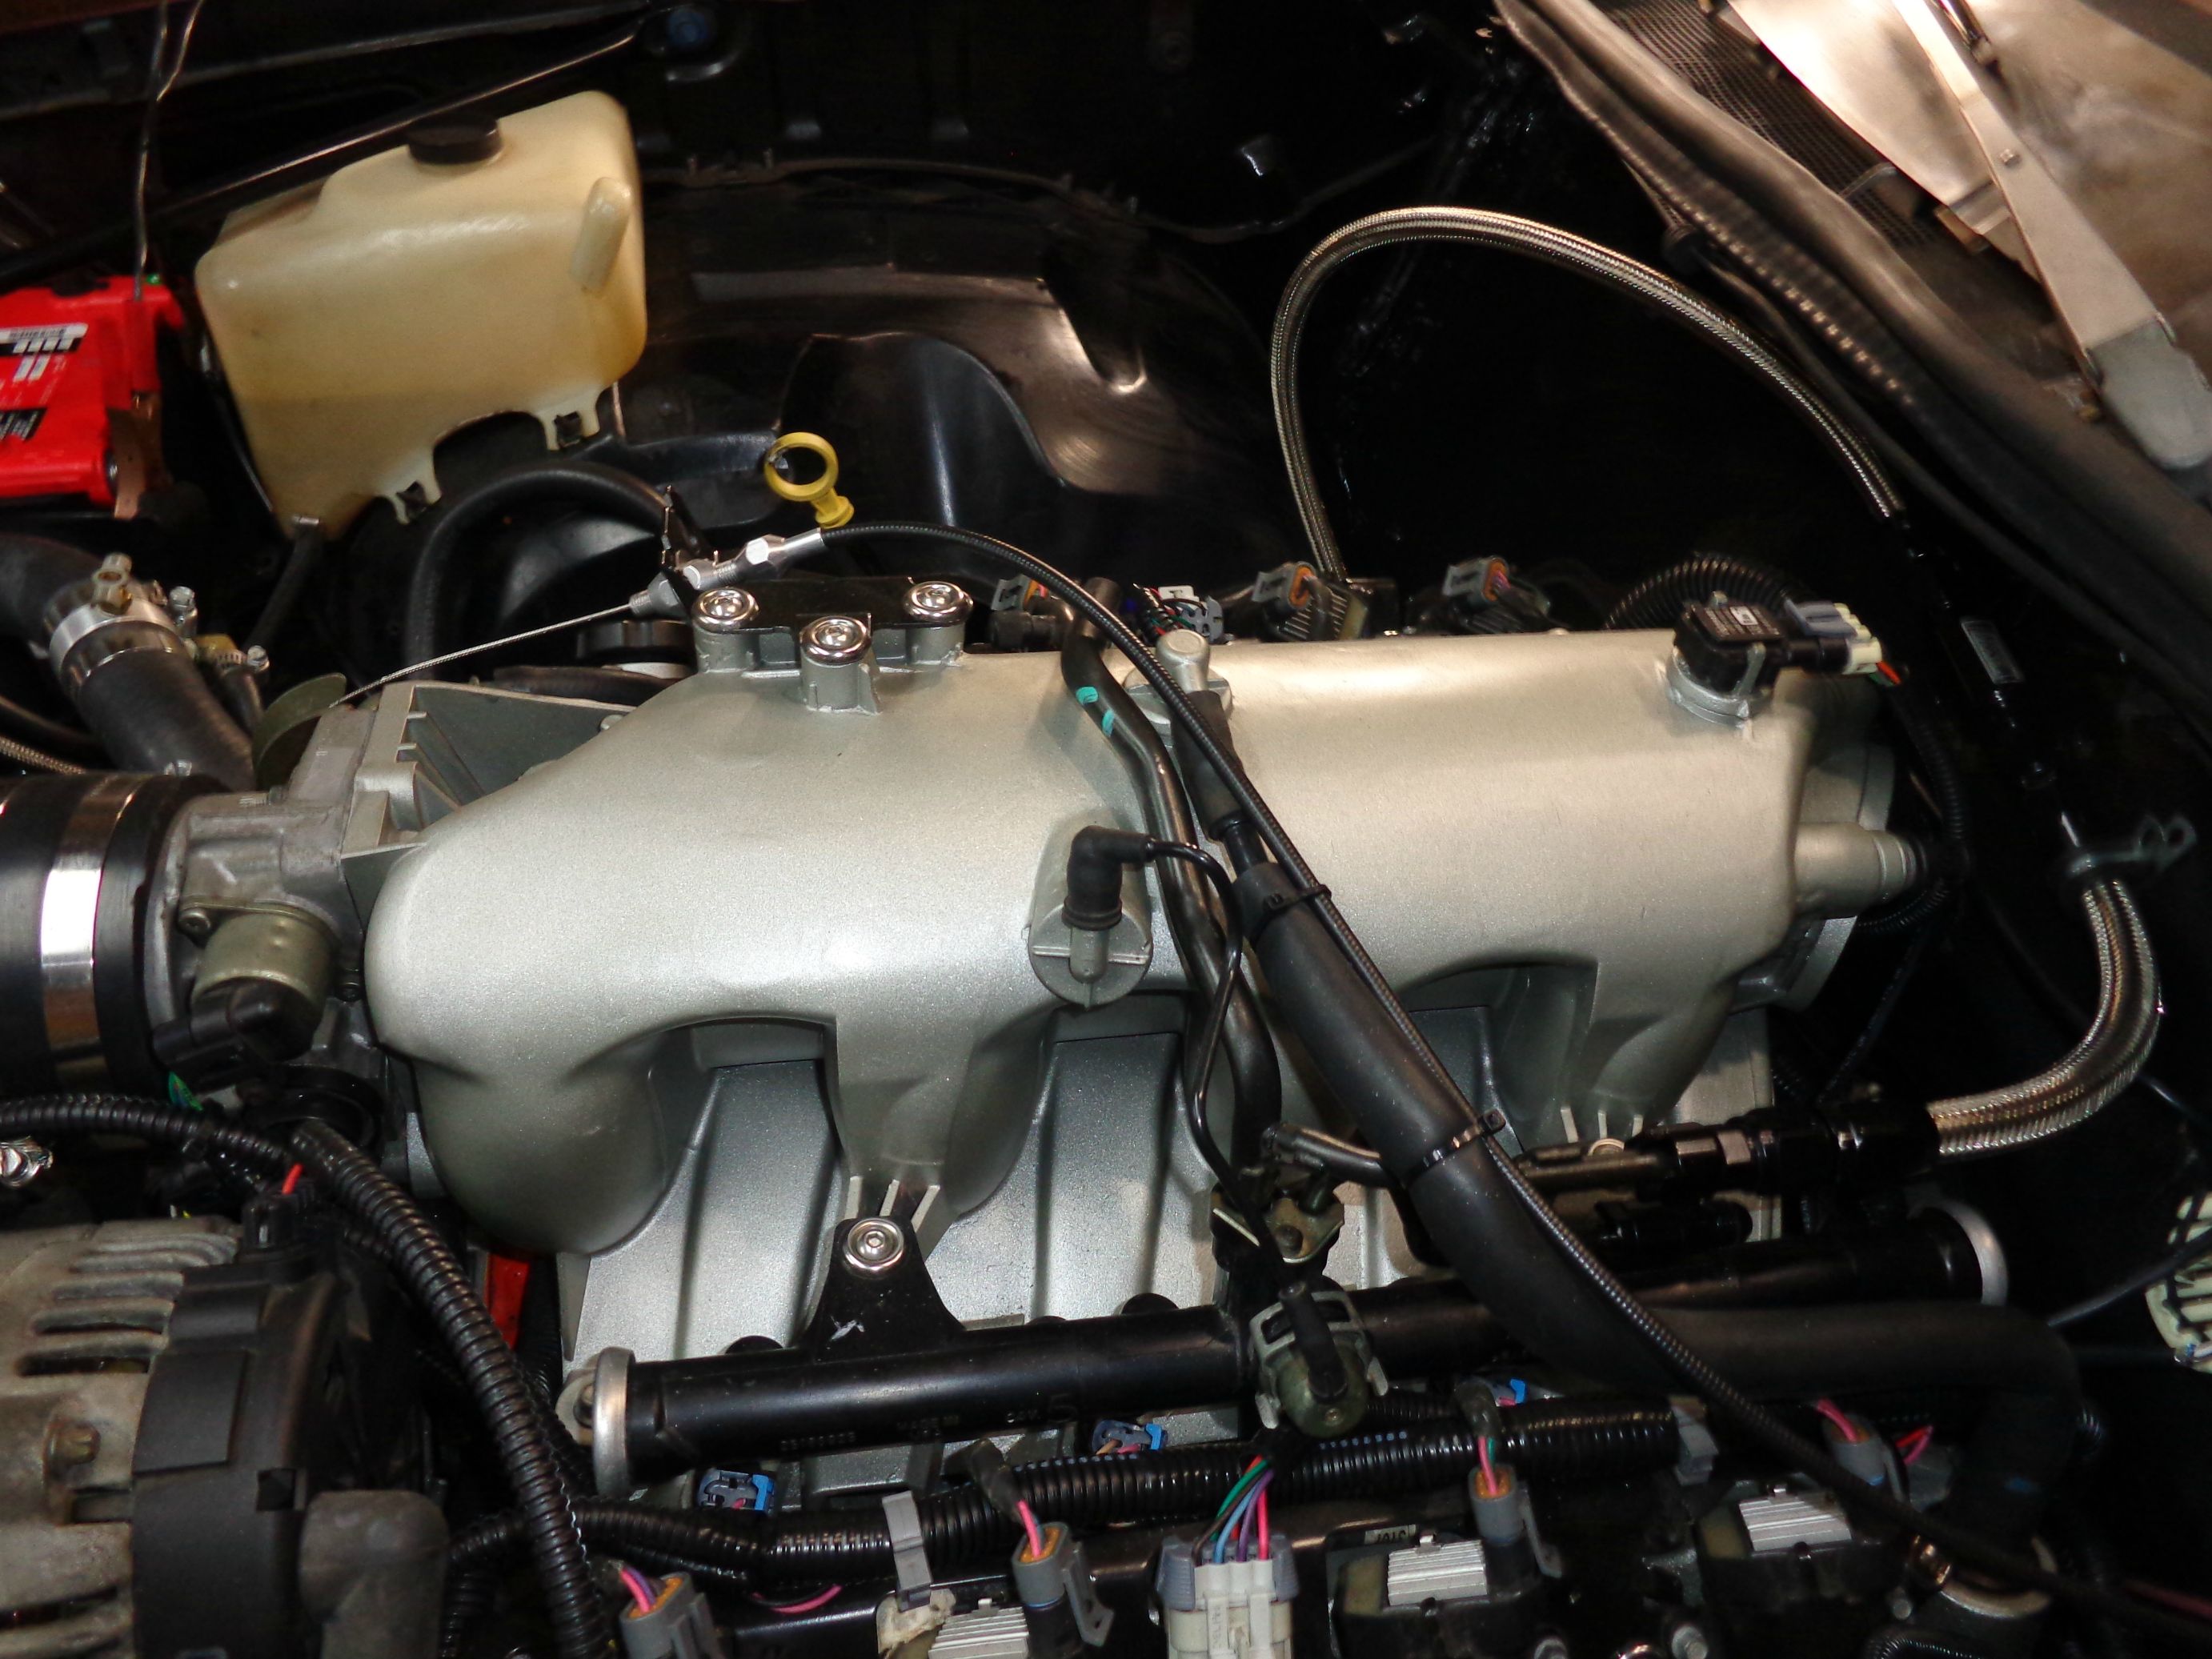
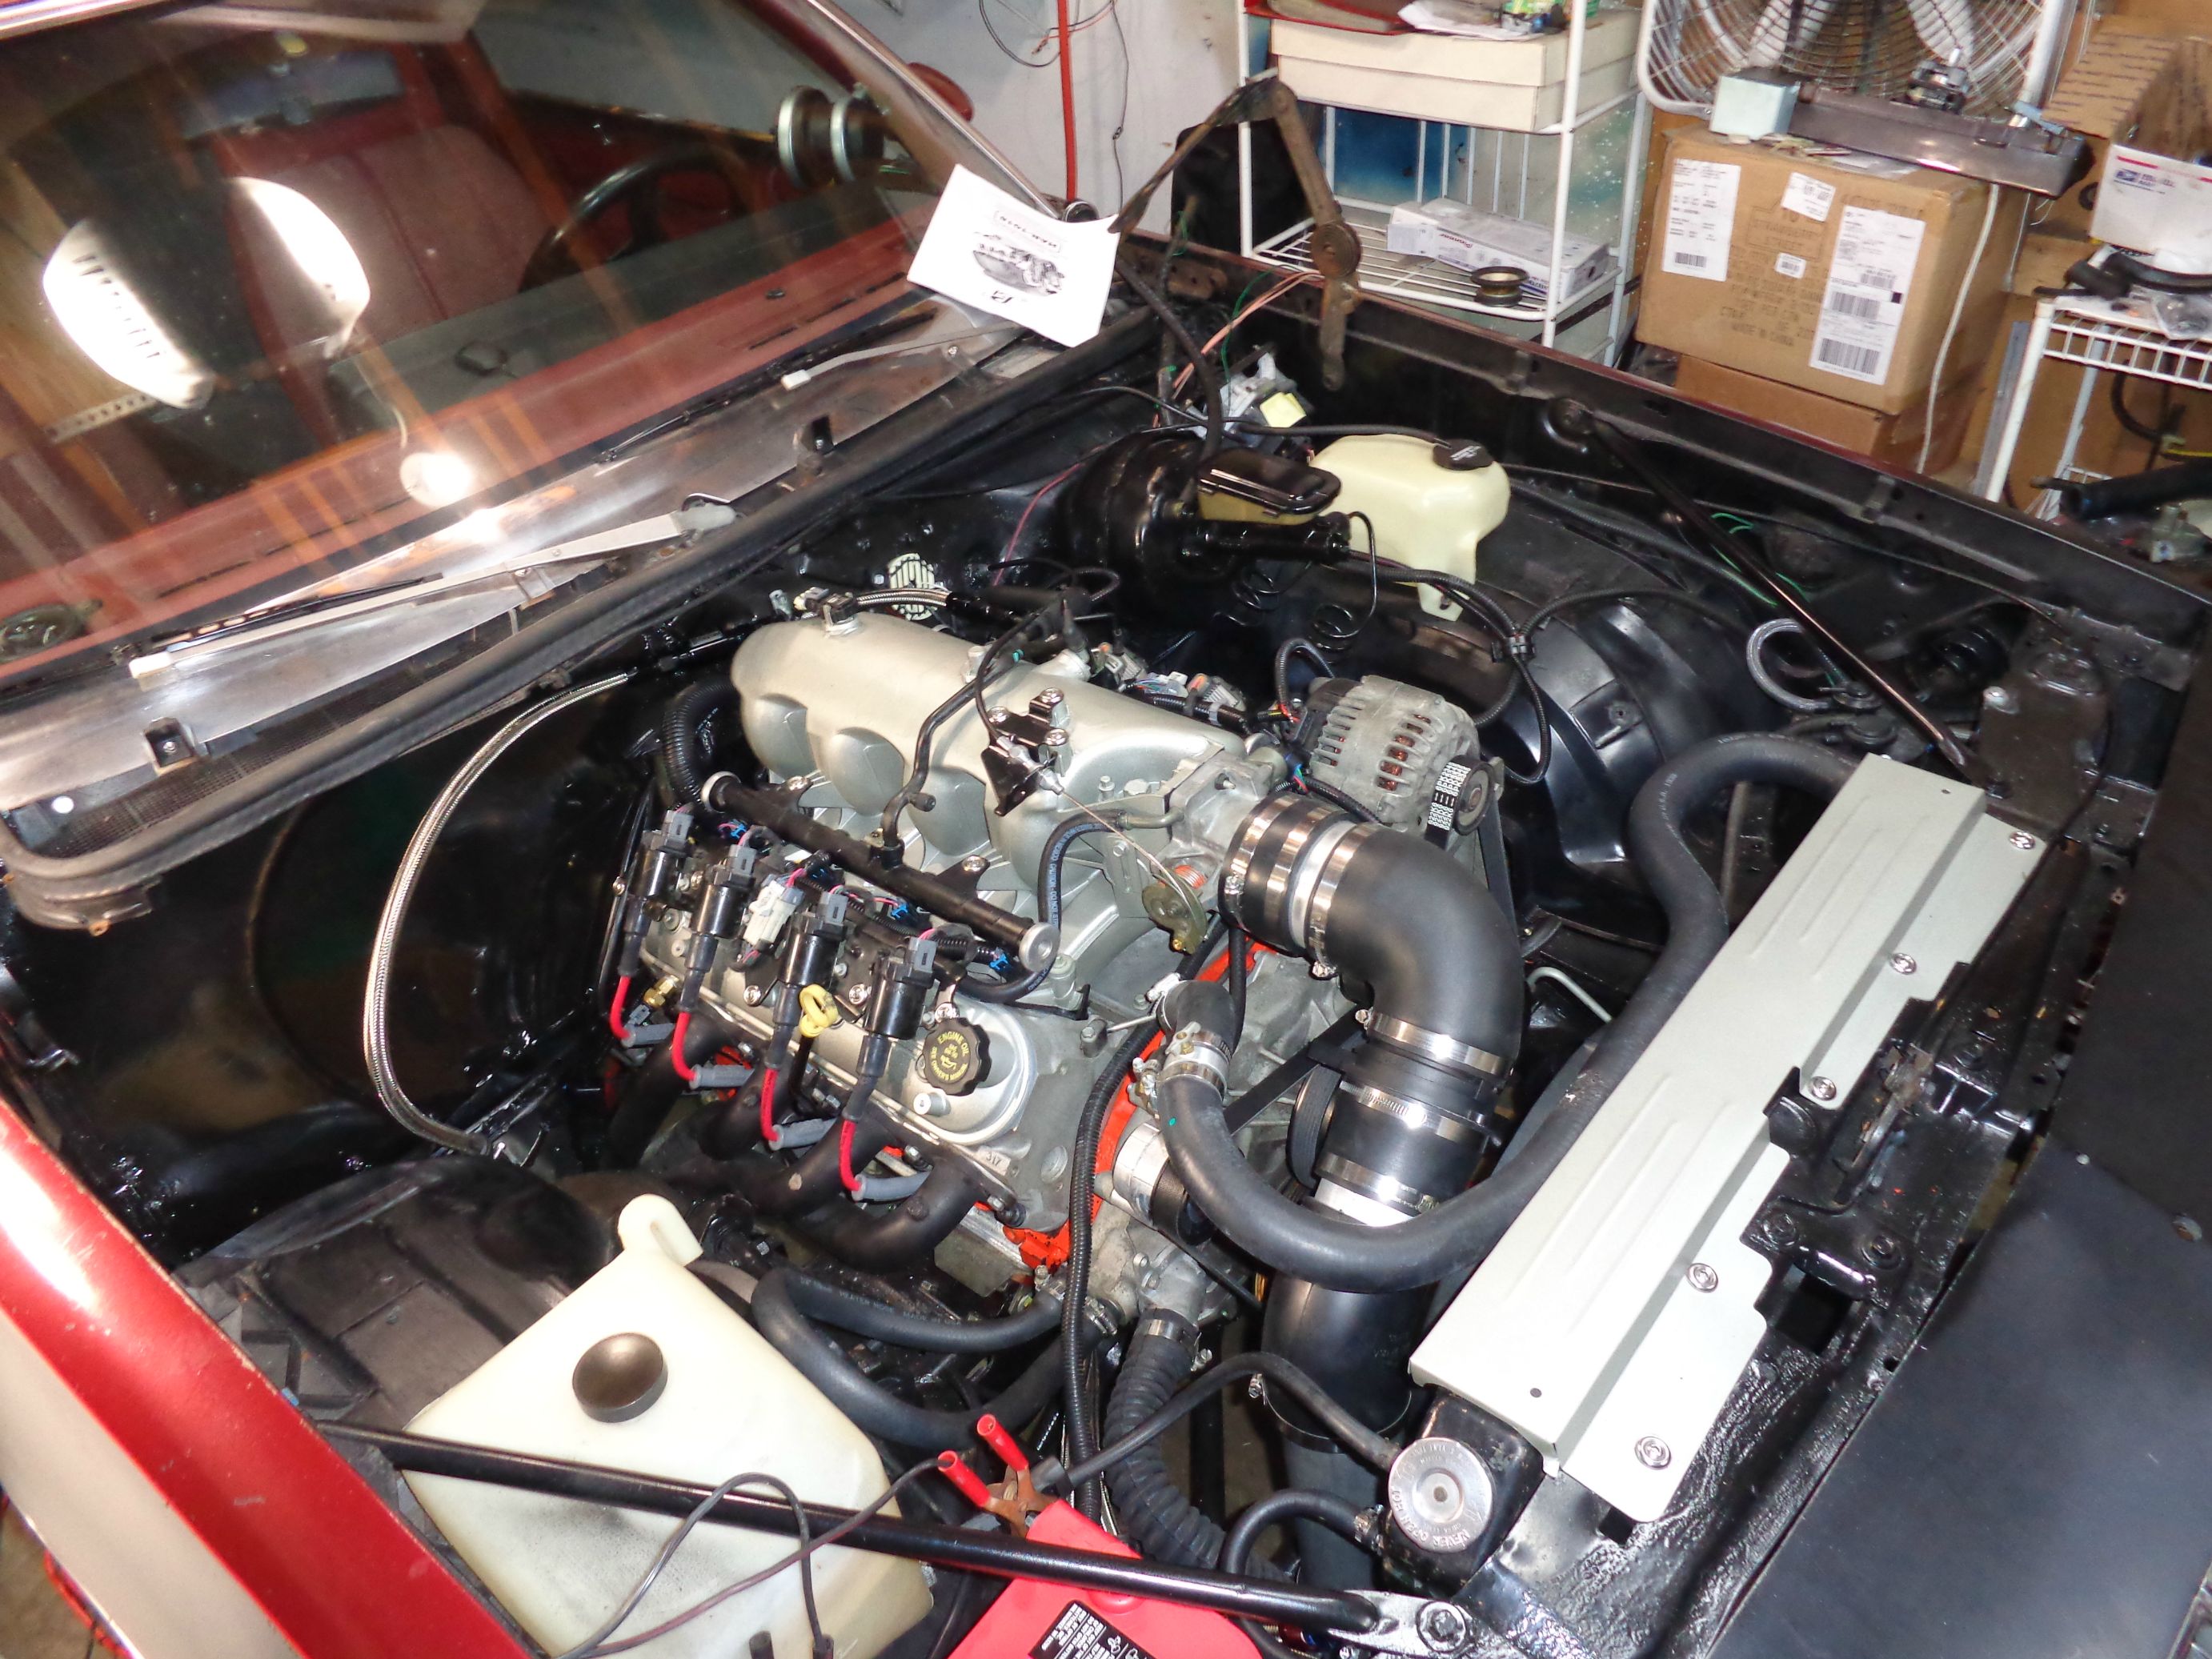
I smoothed and painted the stock LQ4 truck intake. I cut everything down with a sawzall, attacked it with a dremel, used a plastic glue made for nylon 66 plastic to glue plugs in using a black spatula as donor material, used glaze and spot putty and sanded. More glaze and spot putty and sanded. Repeat. Repeat. Rinse, prime and paint. Used a Rustoleum metalic "satin nickel" paint.
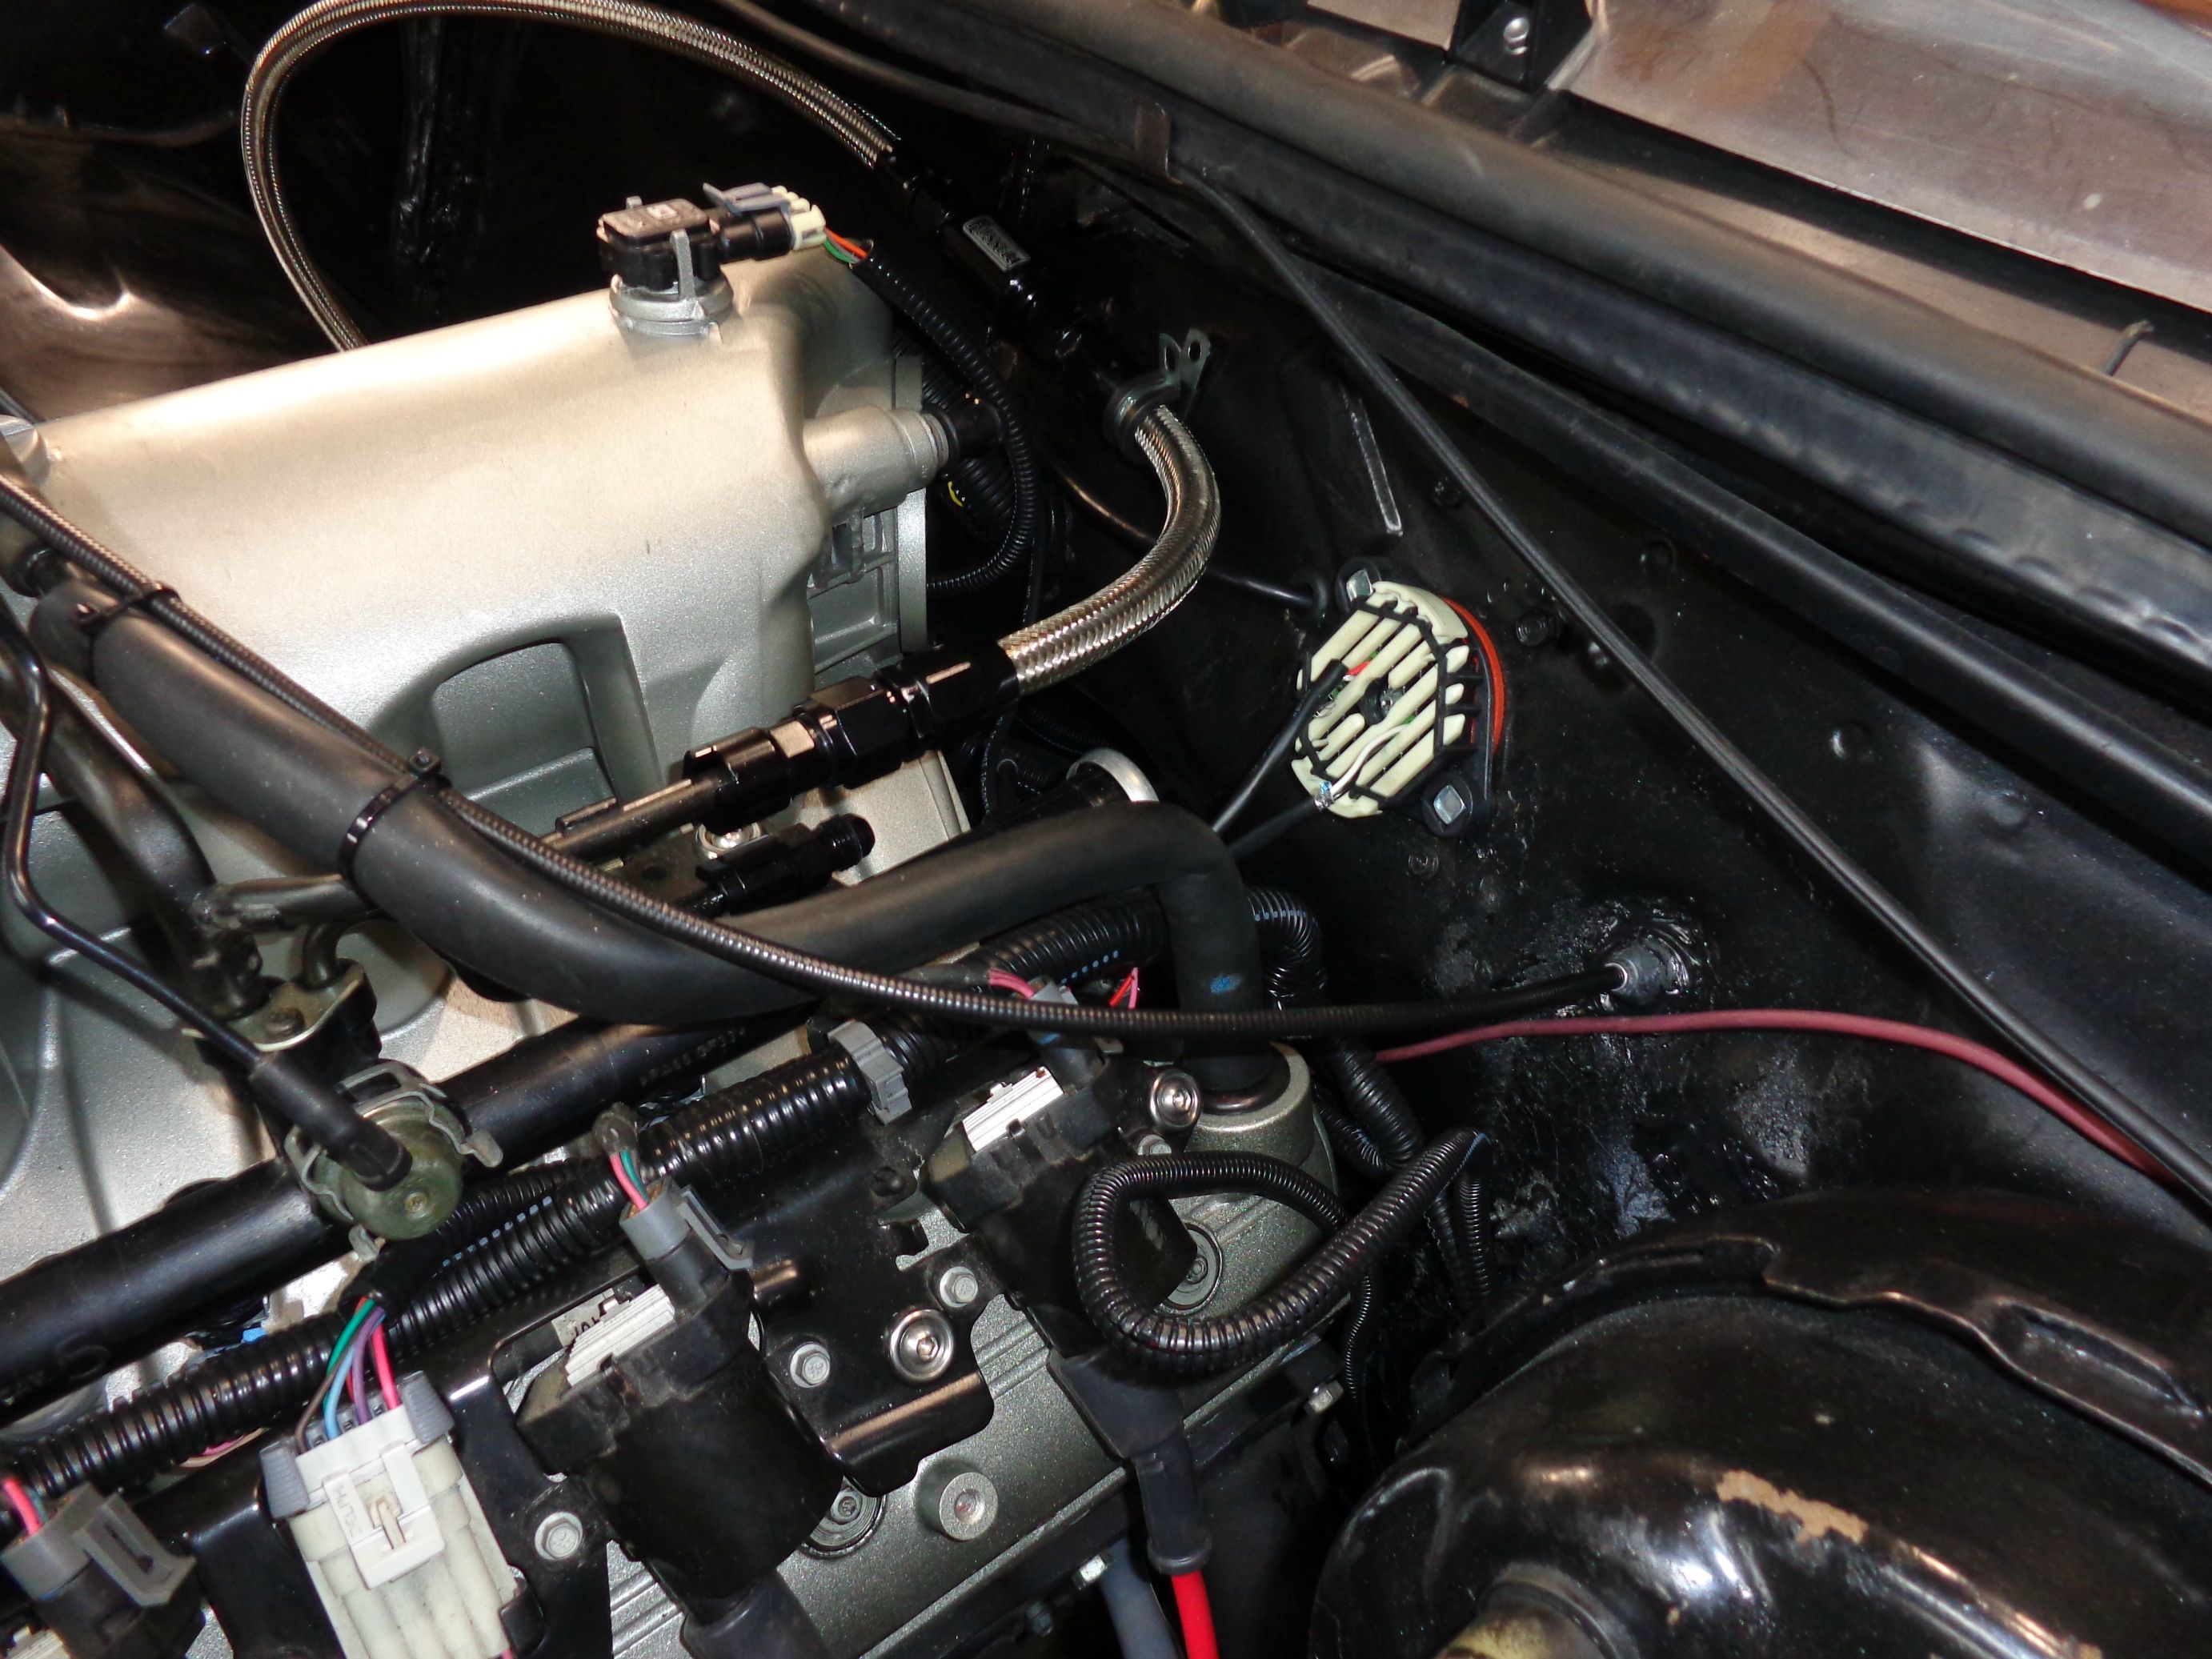
I had this bulkhead connector from US autowire sitting around and I'm using it for the guage wires, fuel pump relay and fan relay wires. Really nice piece! The stand-alone harness is from PSI Conversions.
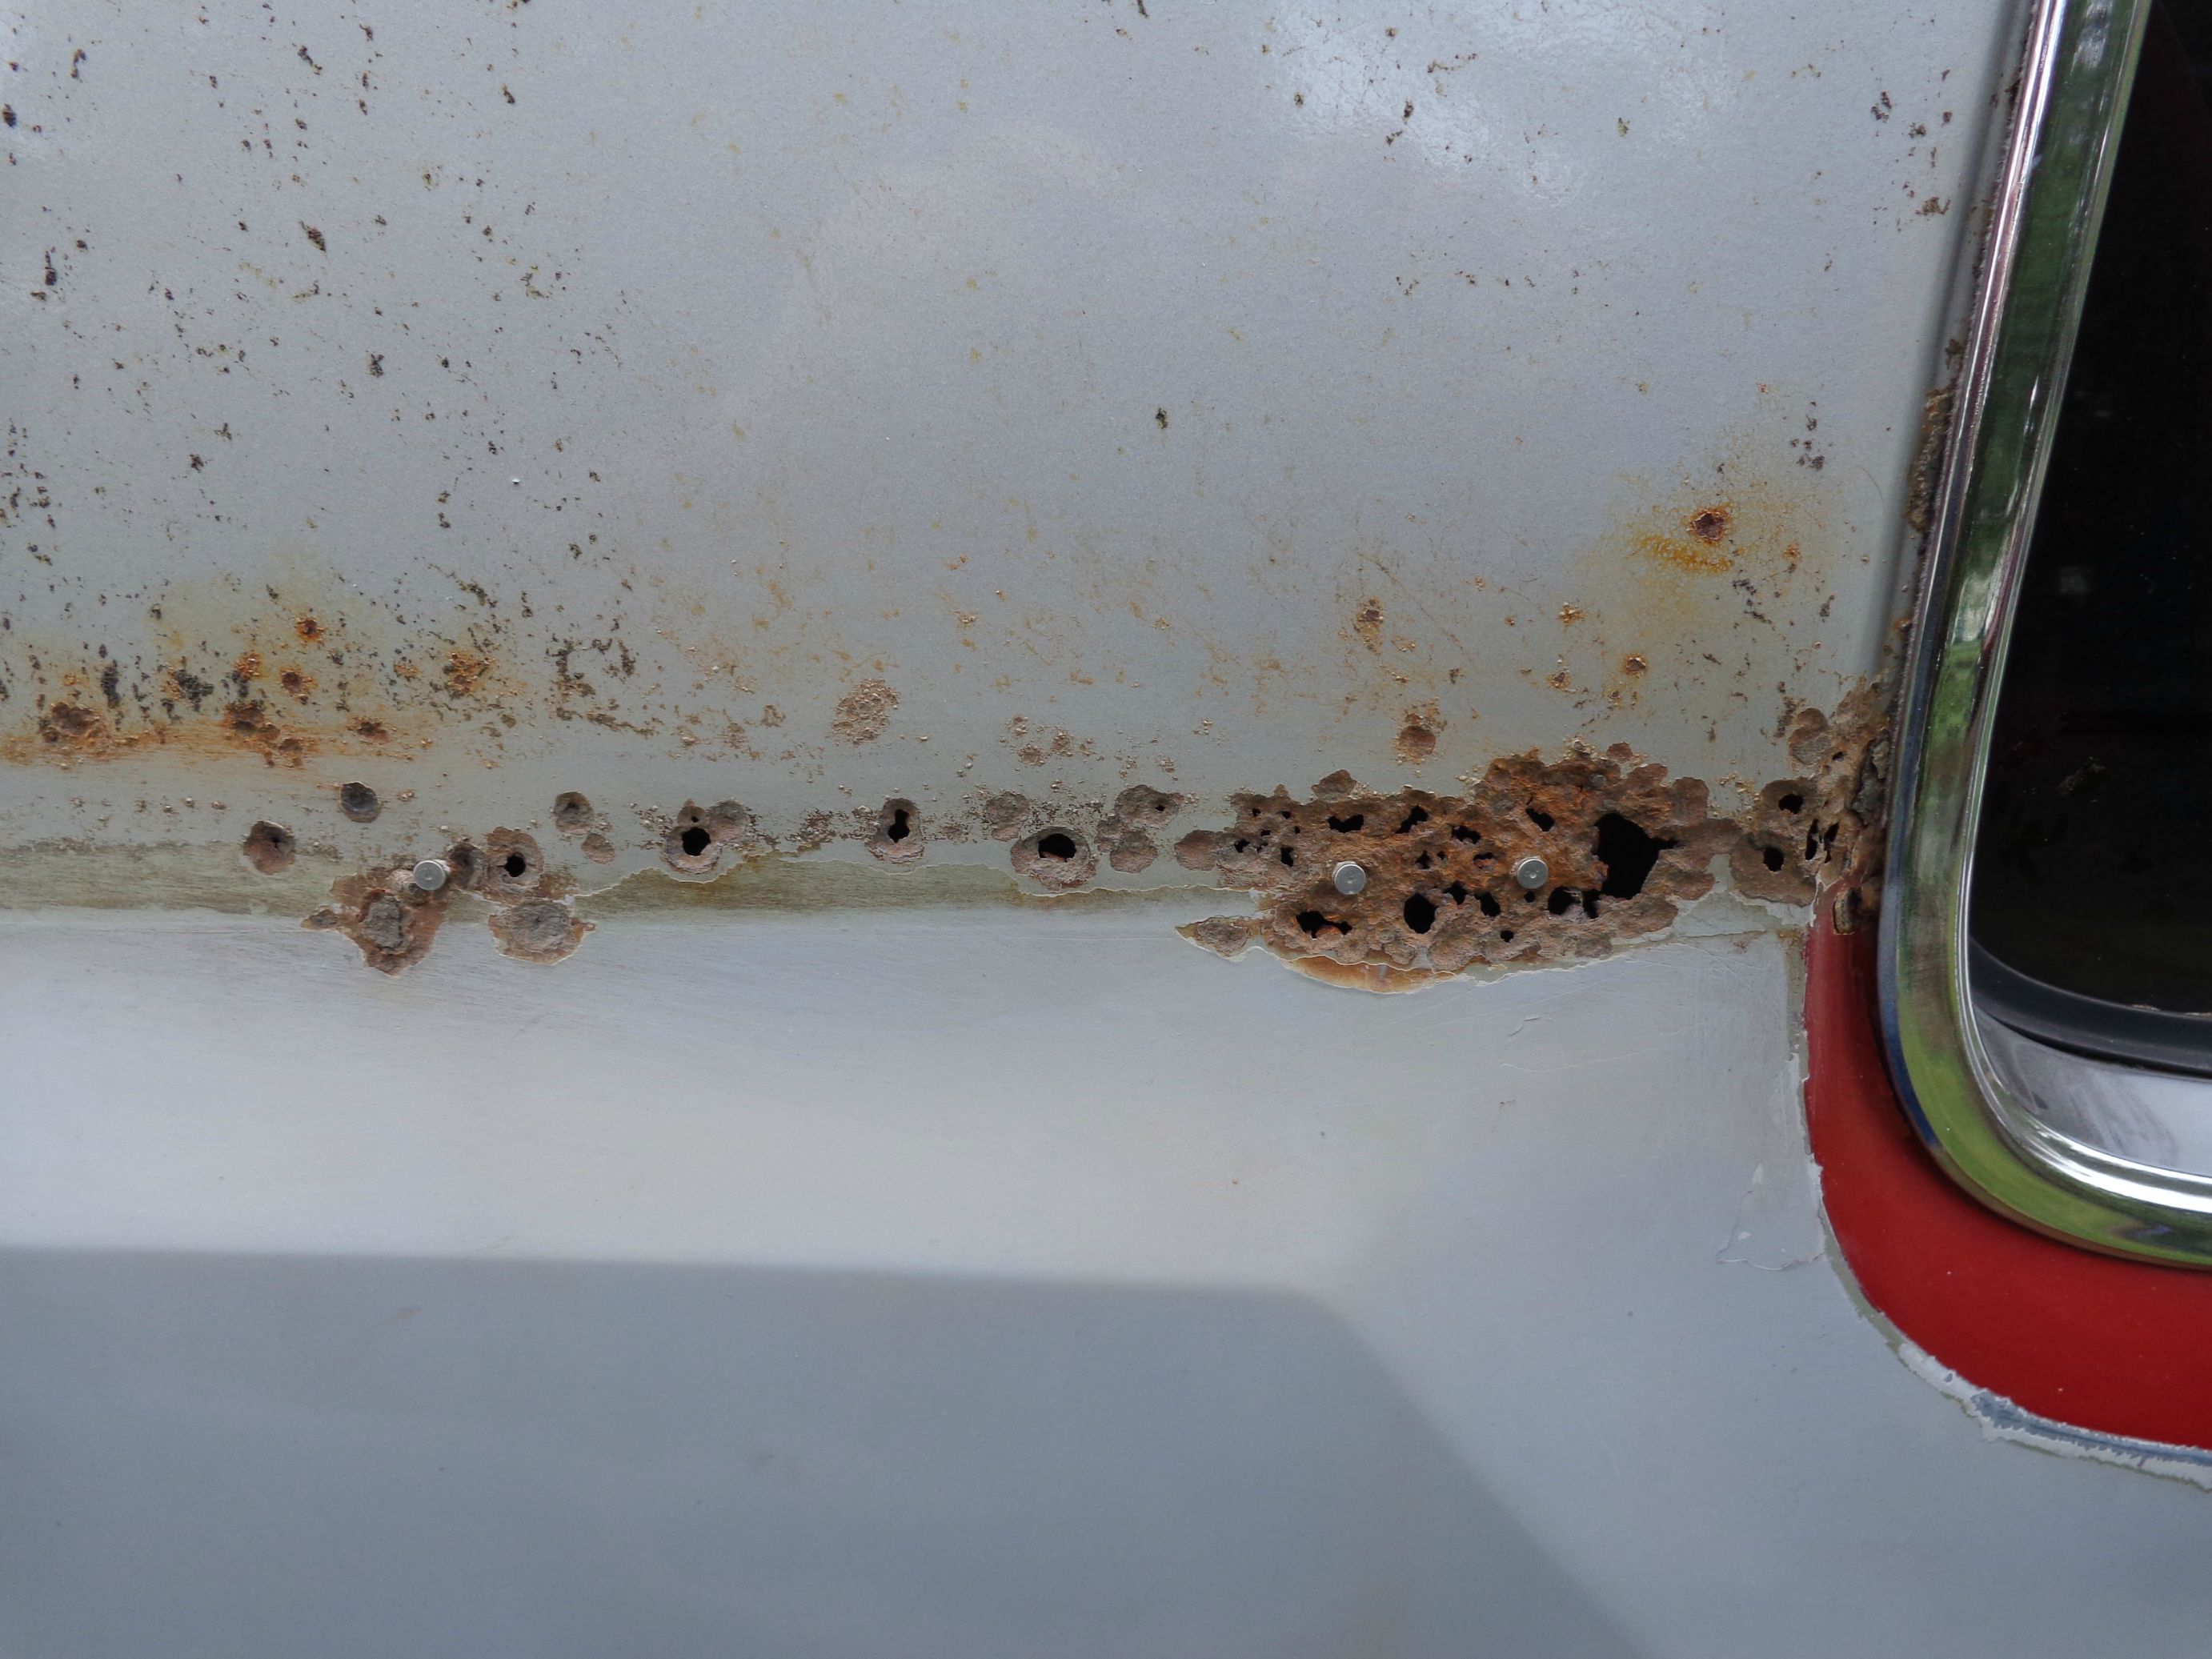
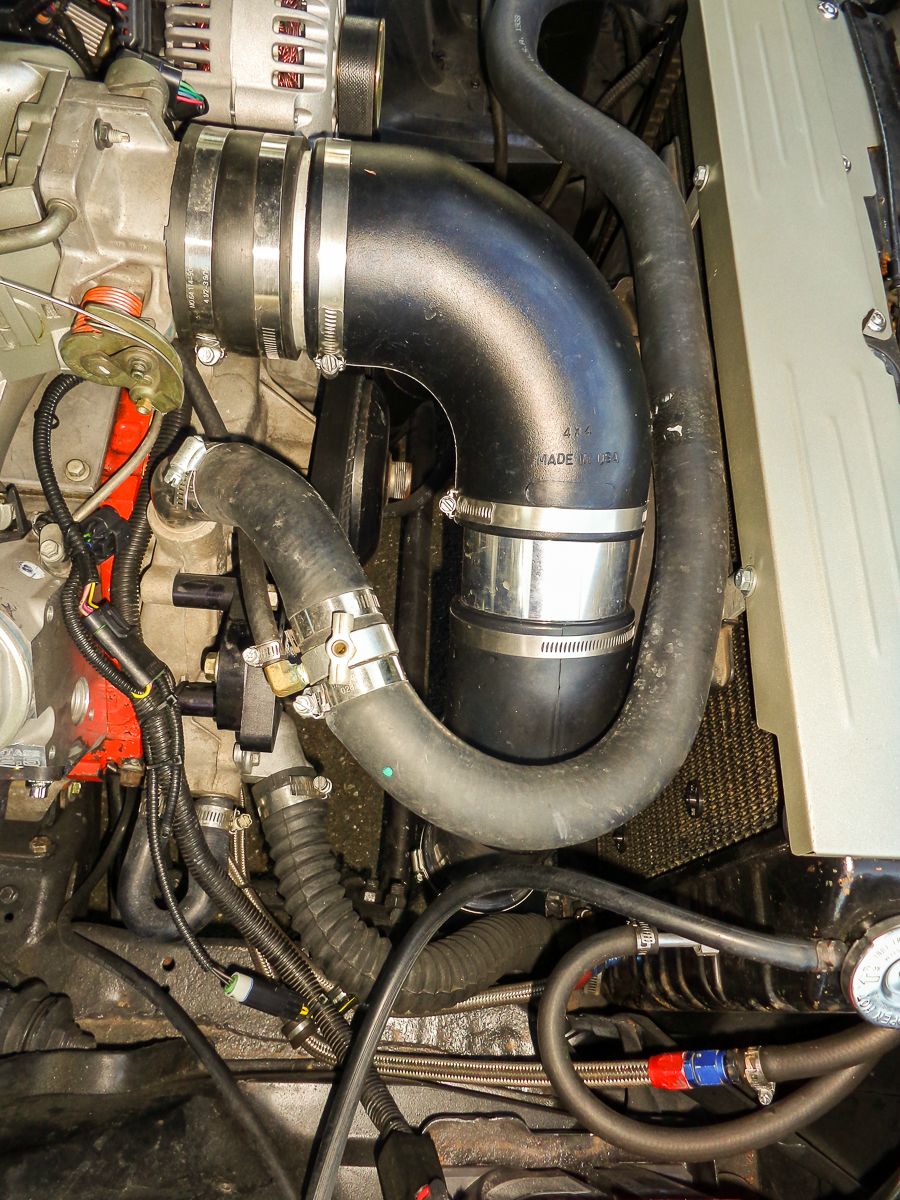
The radiator plate is an aluminum piece that allows me to ditch the stock mechanical fan shroud and use the stock Olds radiator. I'm using a one-speed mk-VIII fan that I've used on three different cars now. Best bang for your buck ever. I had to make a delete panel for the heater/ac. It fell apart on me and the firewall was riddled with rust. It's a simple sheet cut to shape, sealed and screwed. The headers are Pacesetters for an f-body I picked up for next to nothing and cleaned and painted. Intake tubing is from intakehoses.com. Upper radiator hose is for a 2002 Silverado and a Jags That Run splice fitting is used for the steam lines.
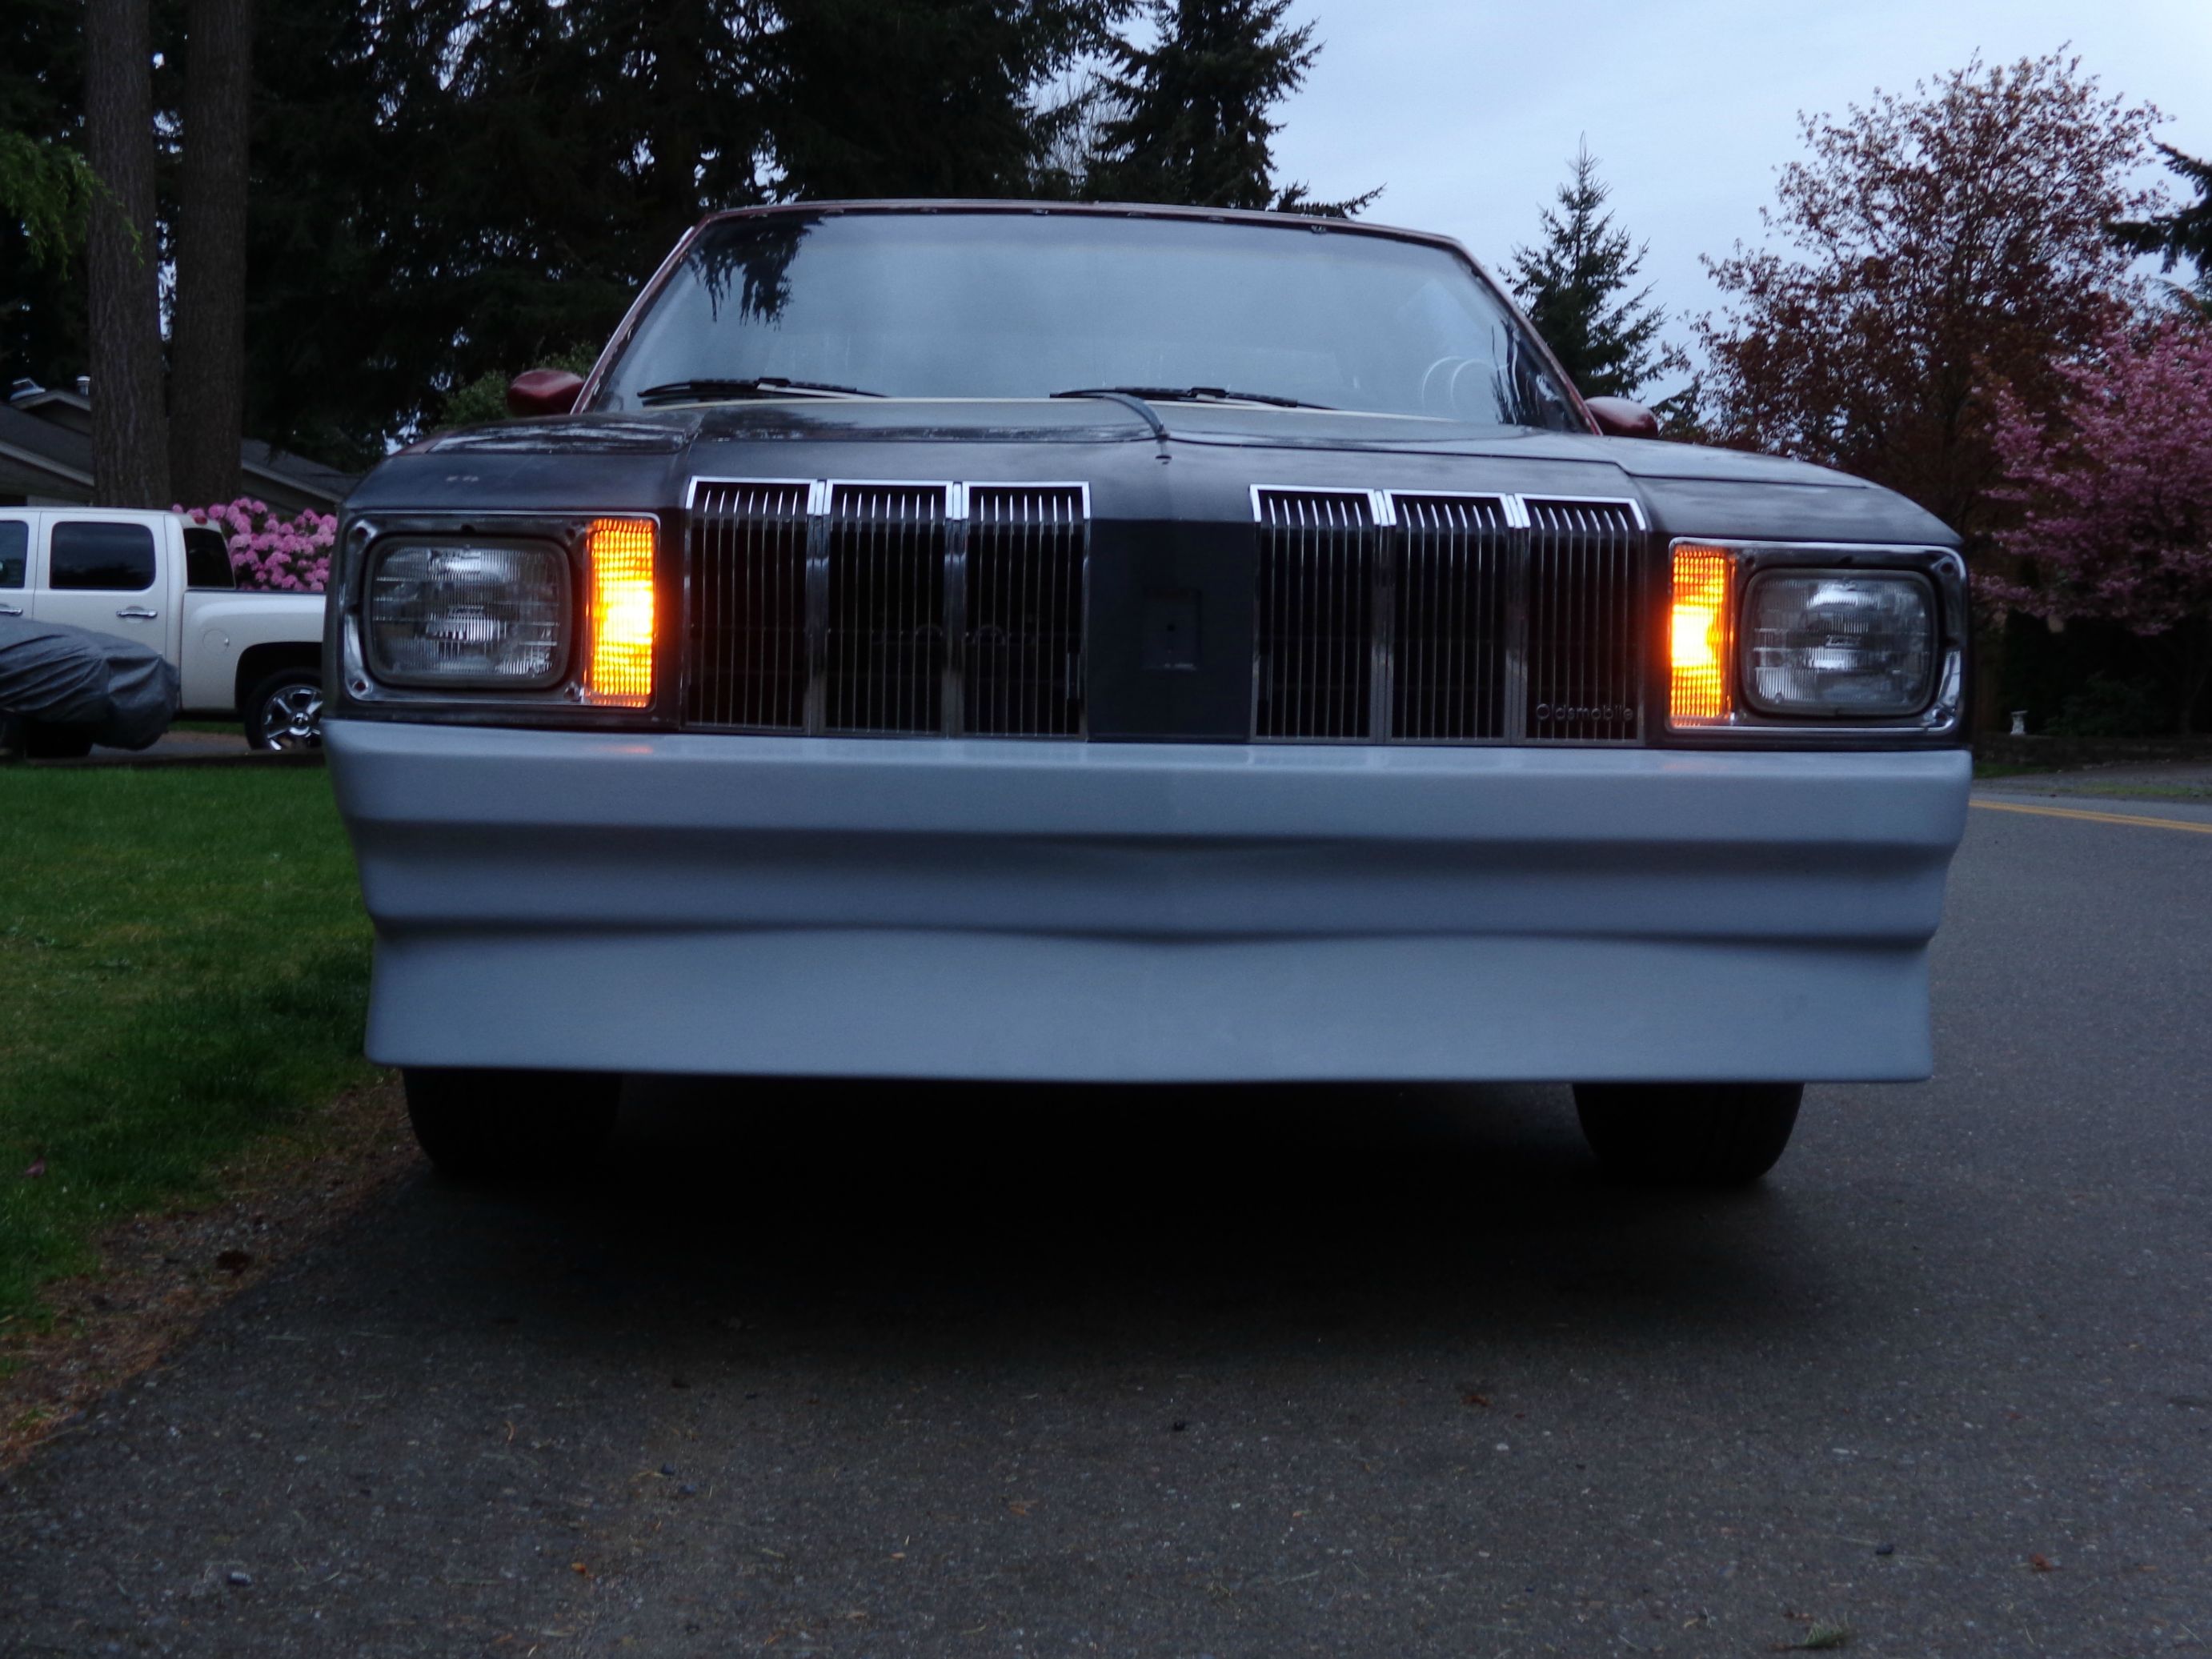
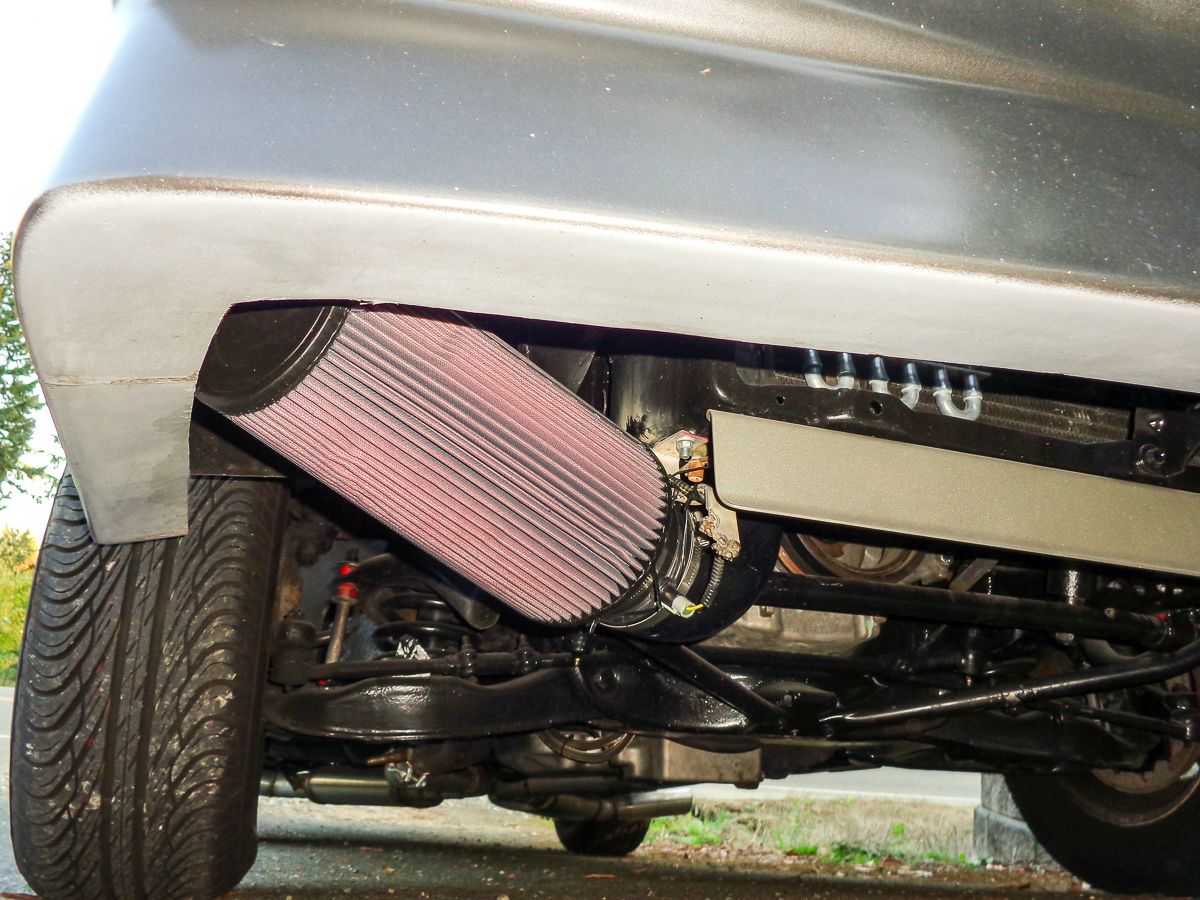
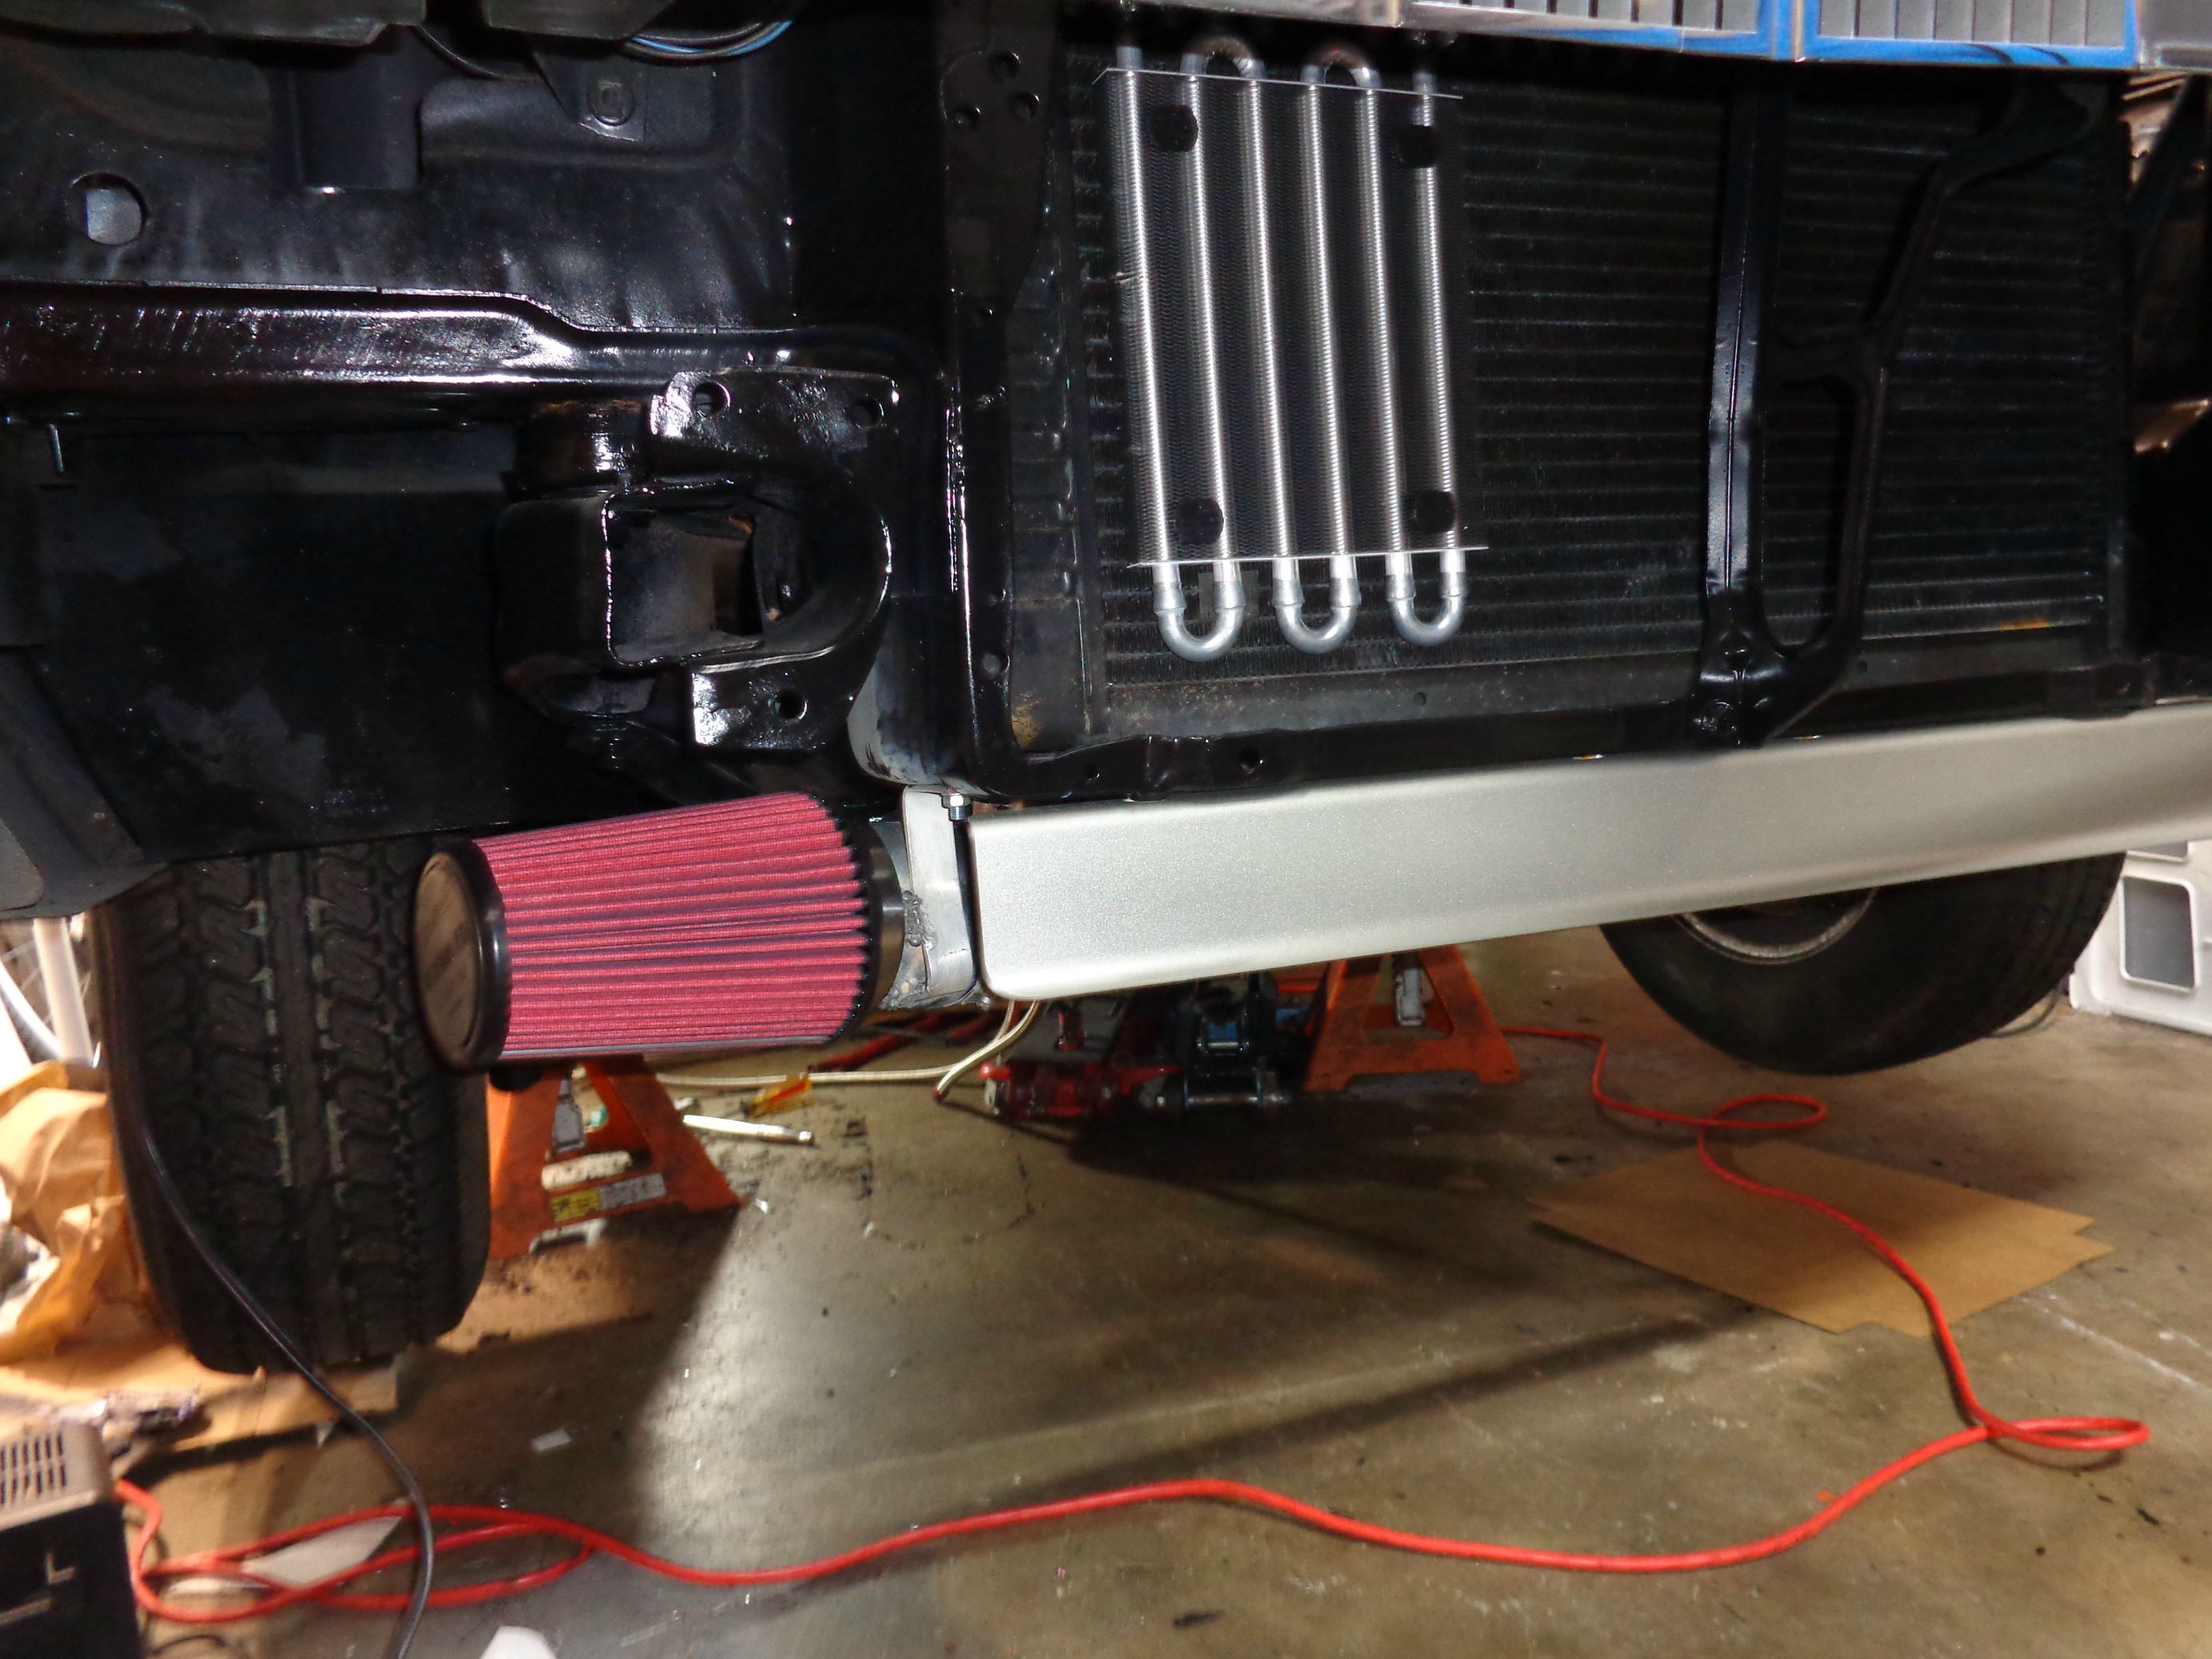
Radiator deflector is aluminum and a really nice piece. I will probably build a box around the air filter to help keep it dry, but maybe not. I will have to see once the fiberglass bumpers show up. Hayden trans cooler.
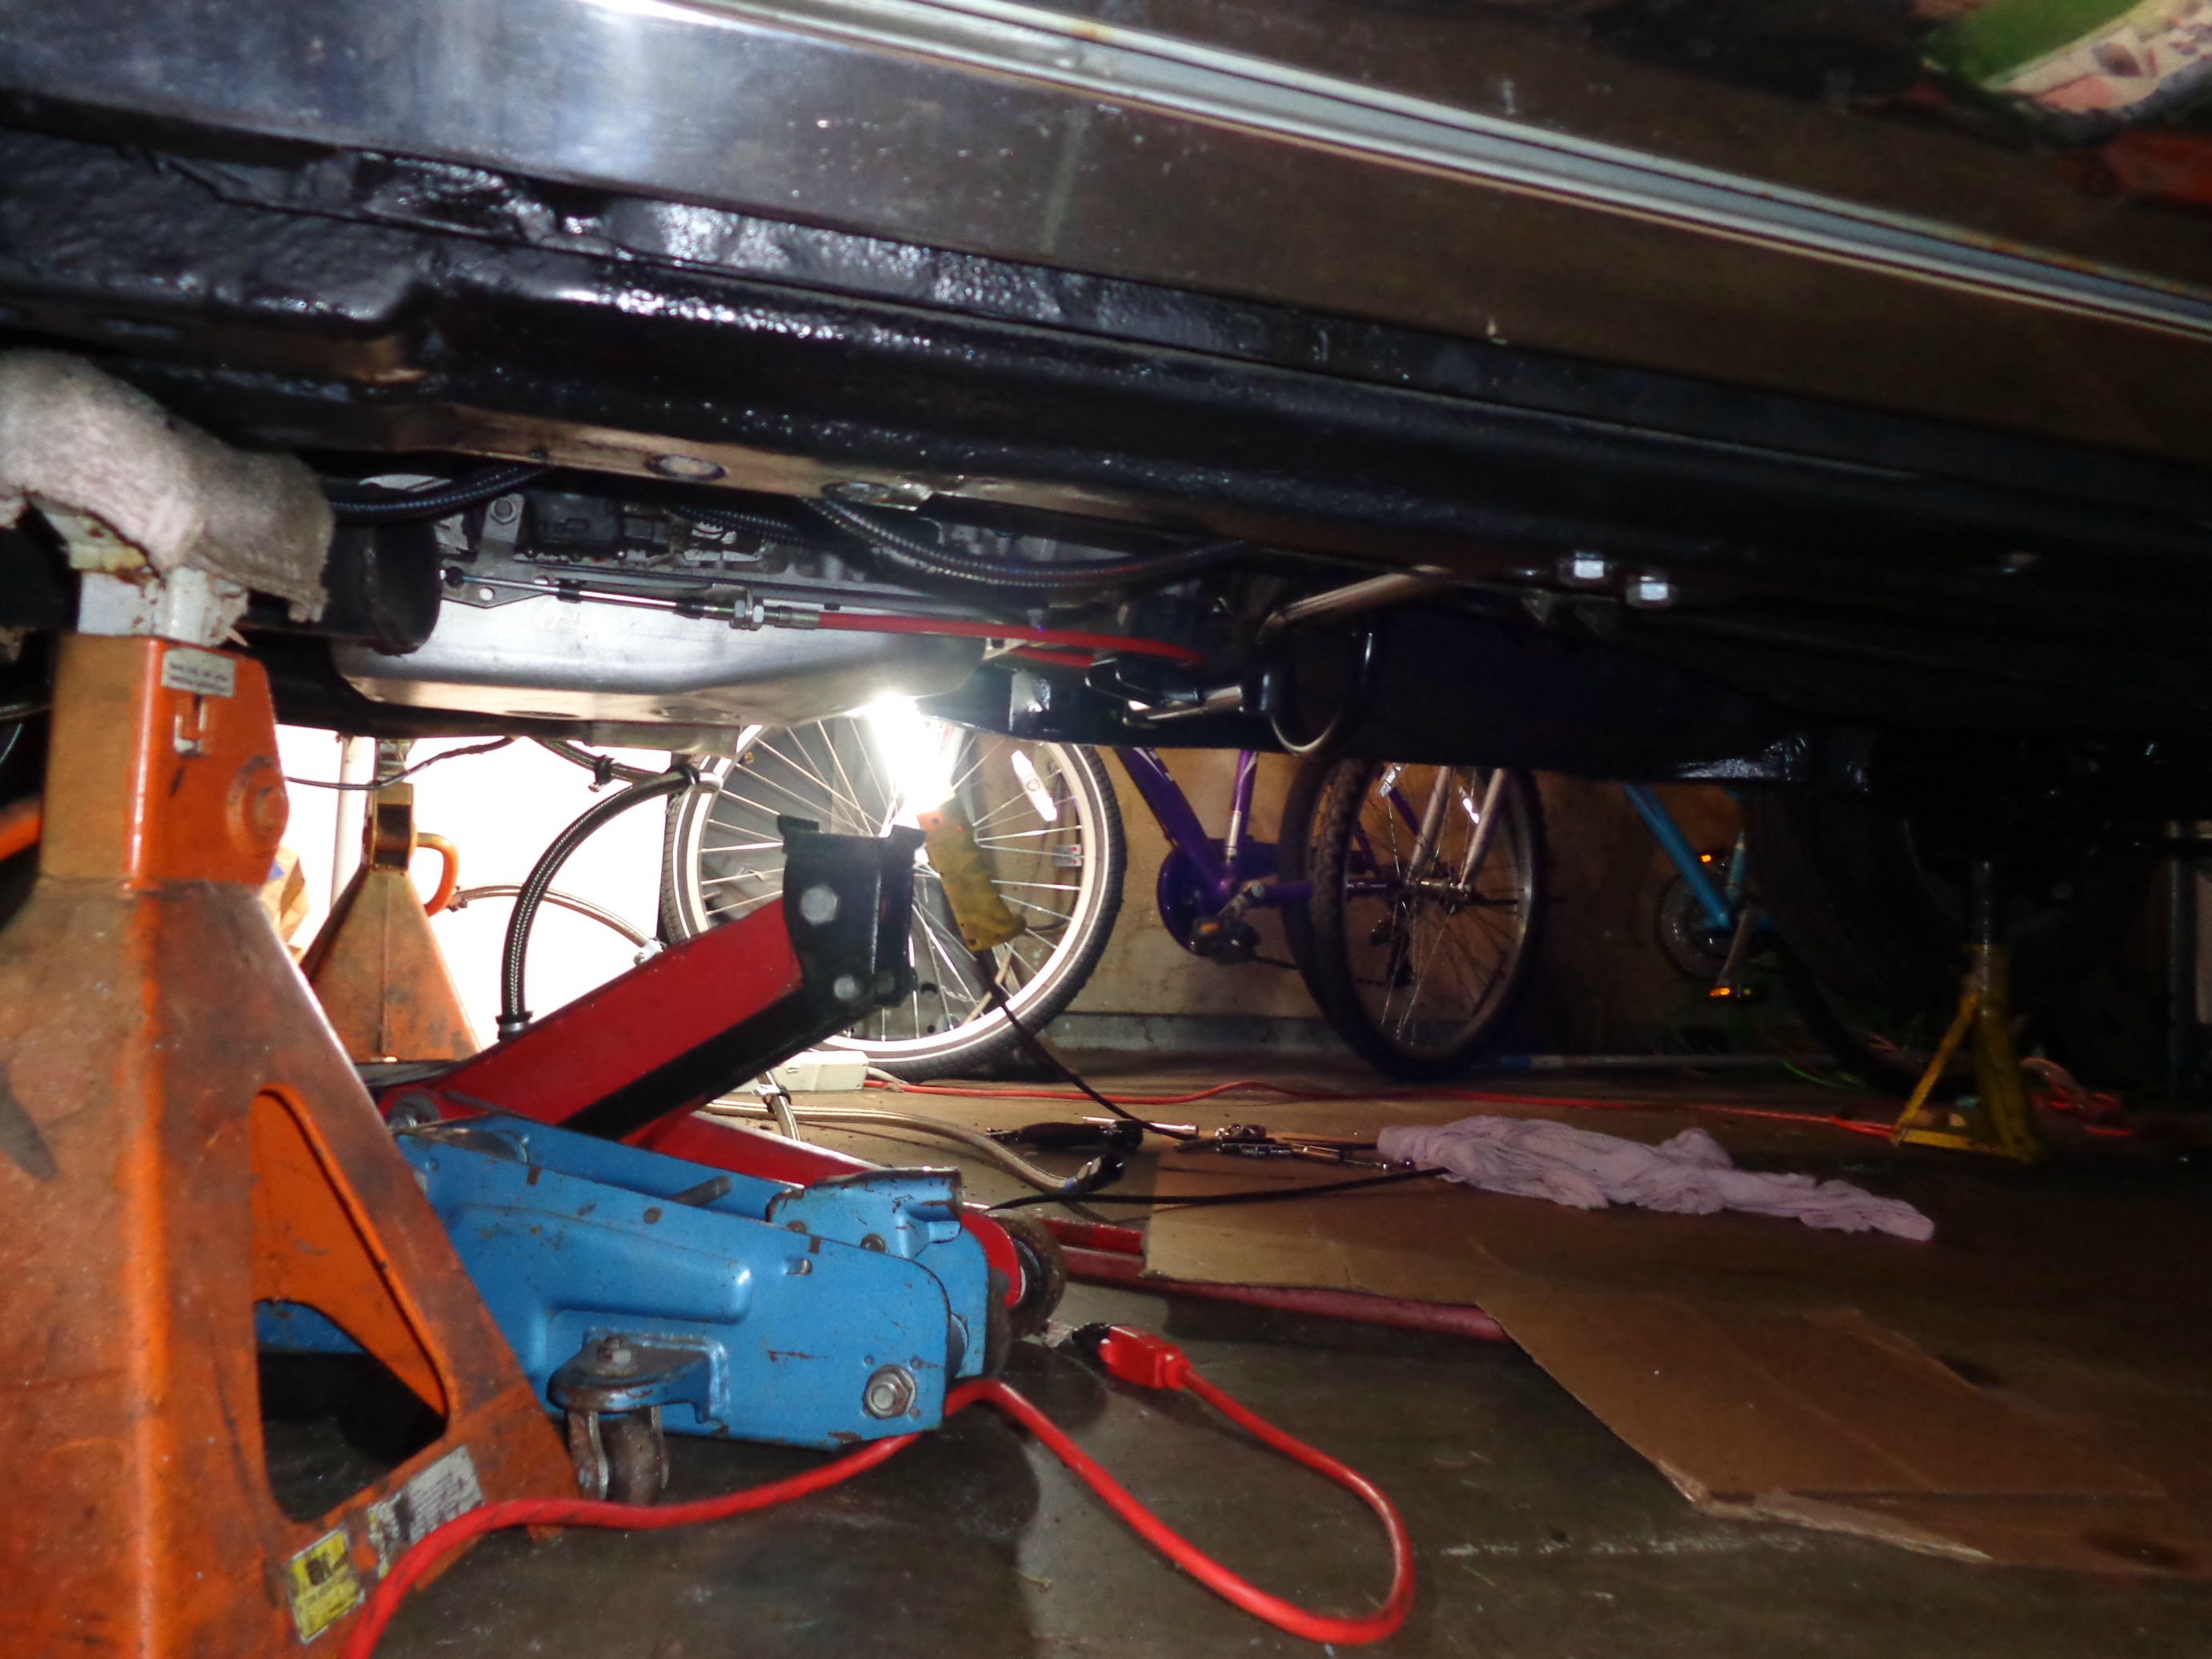
Tubular trans cross-member and drive-shaft safety loop.
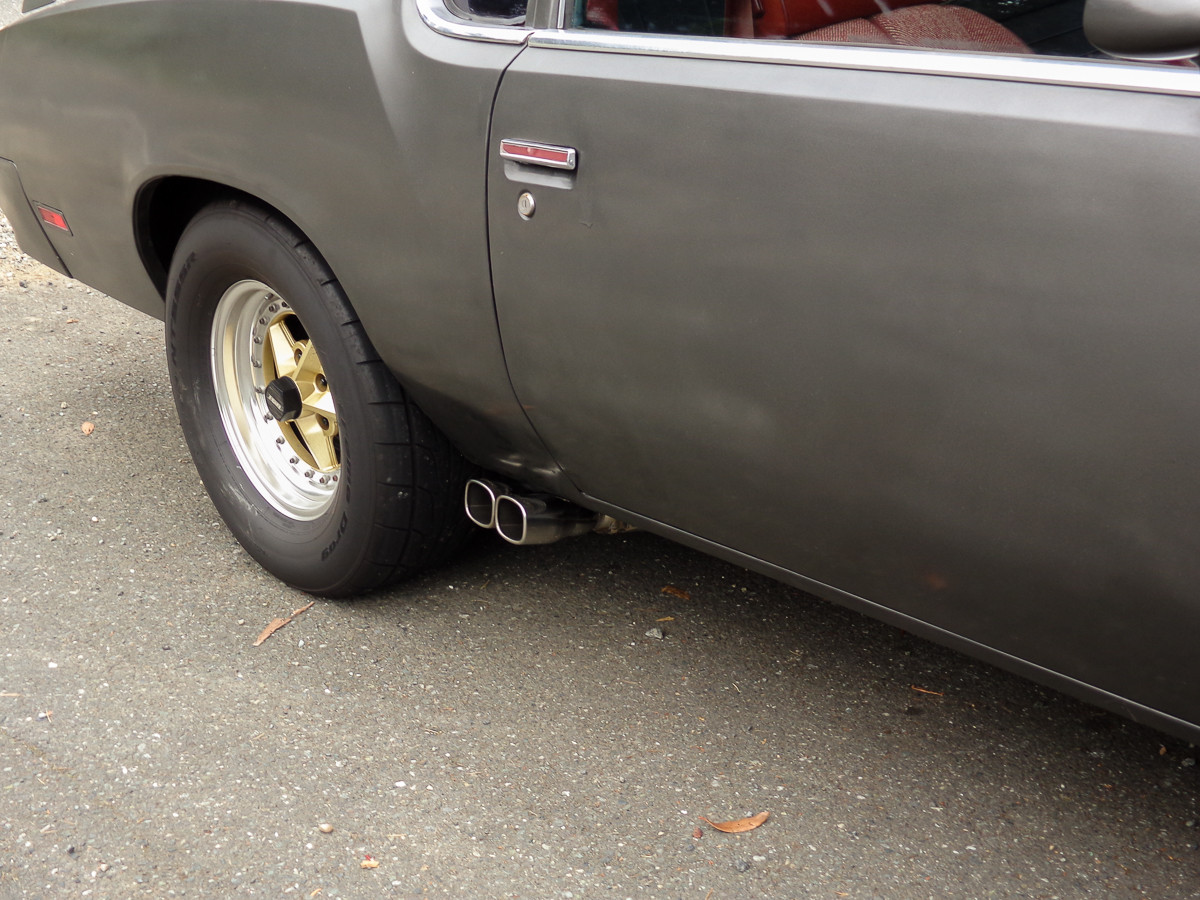
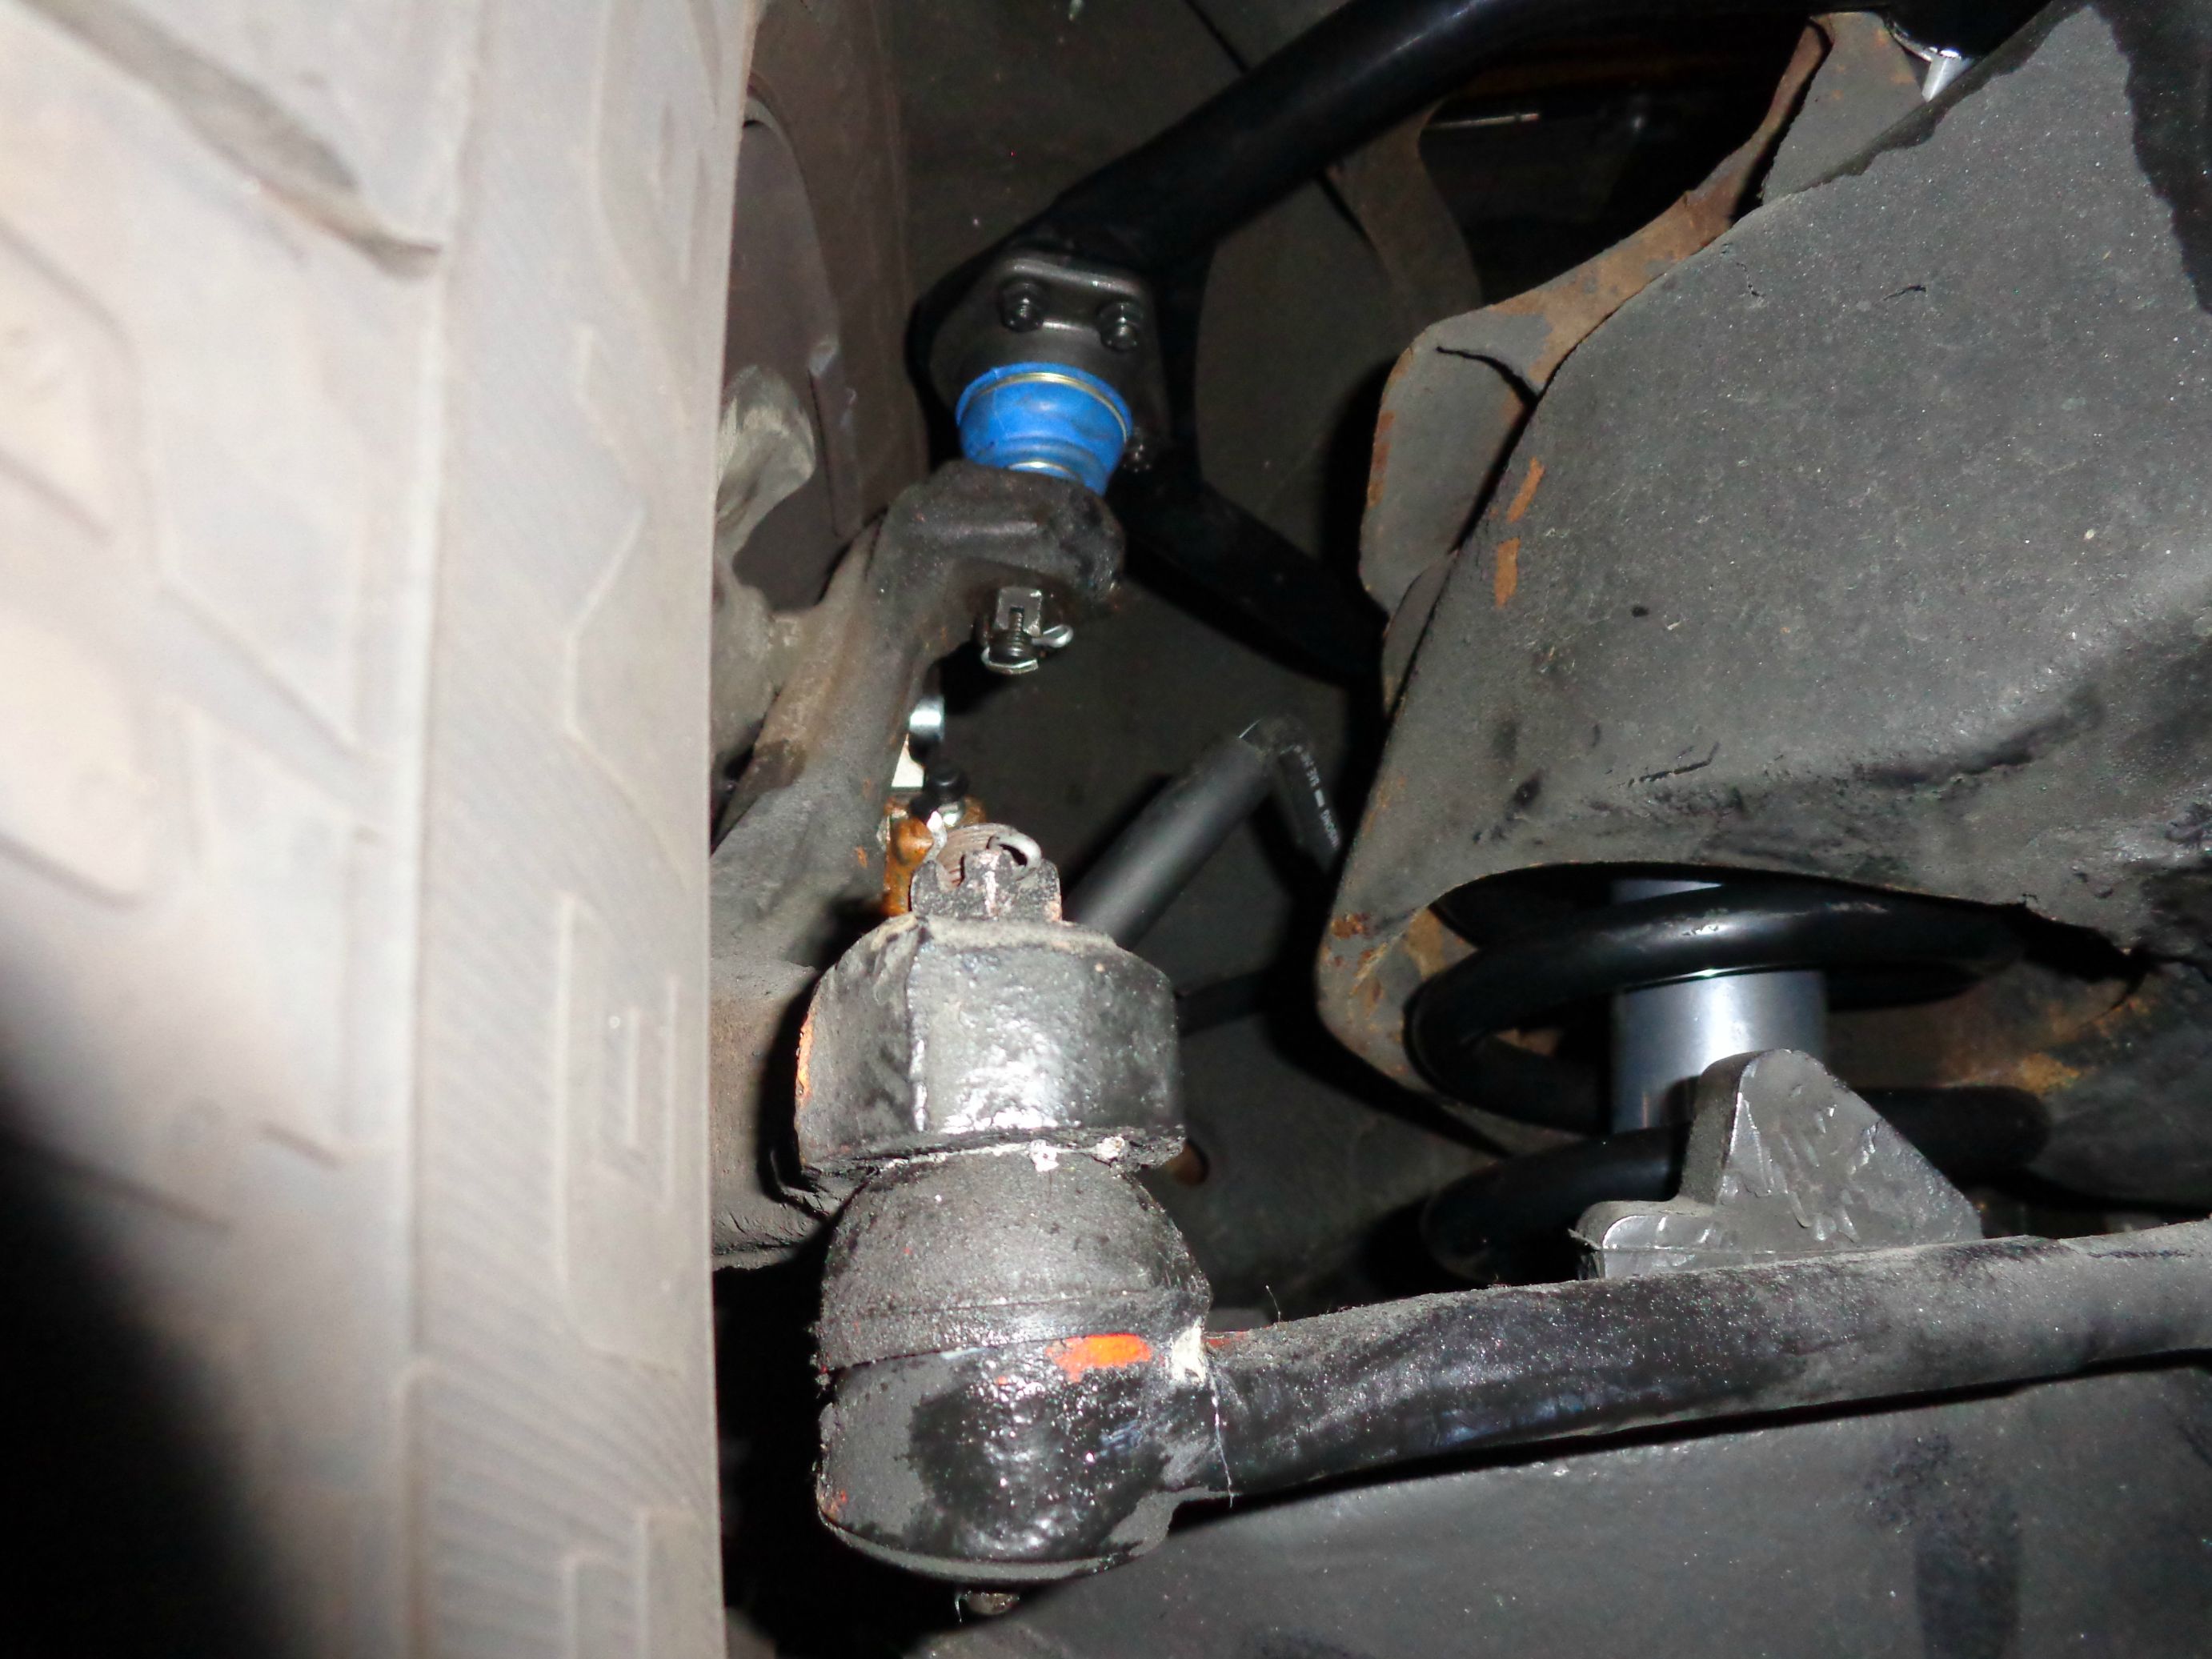
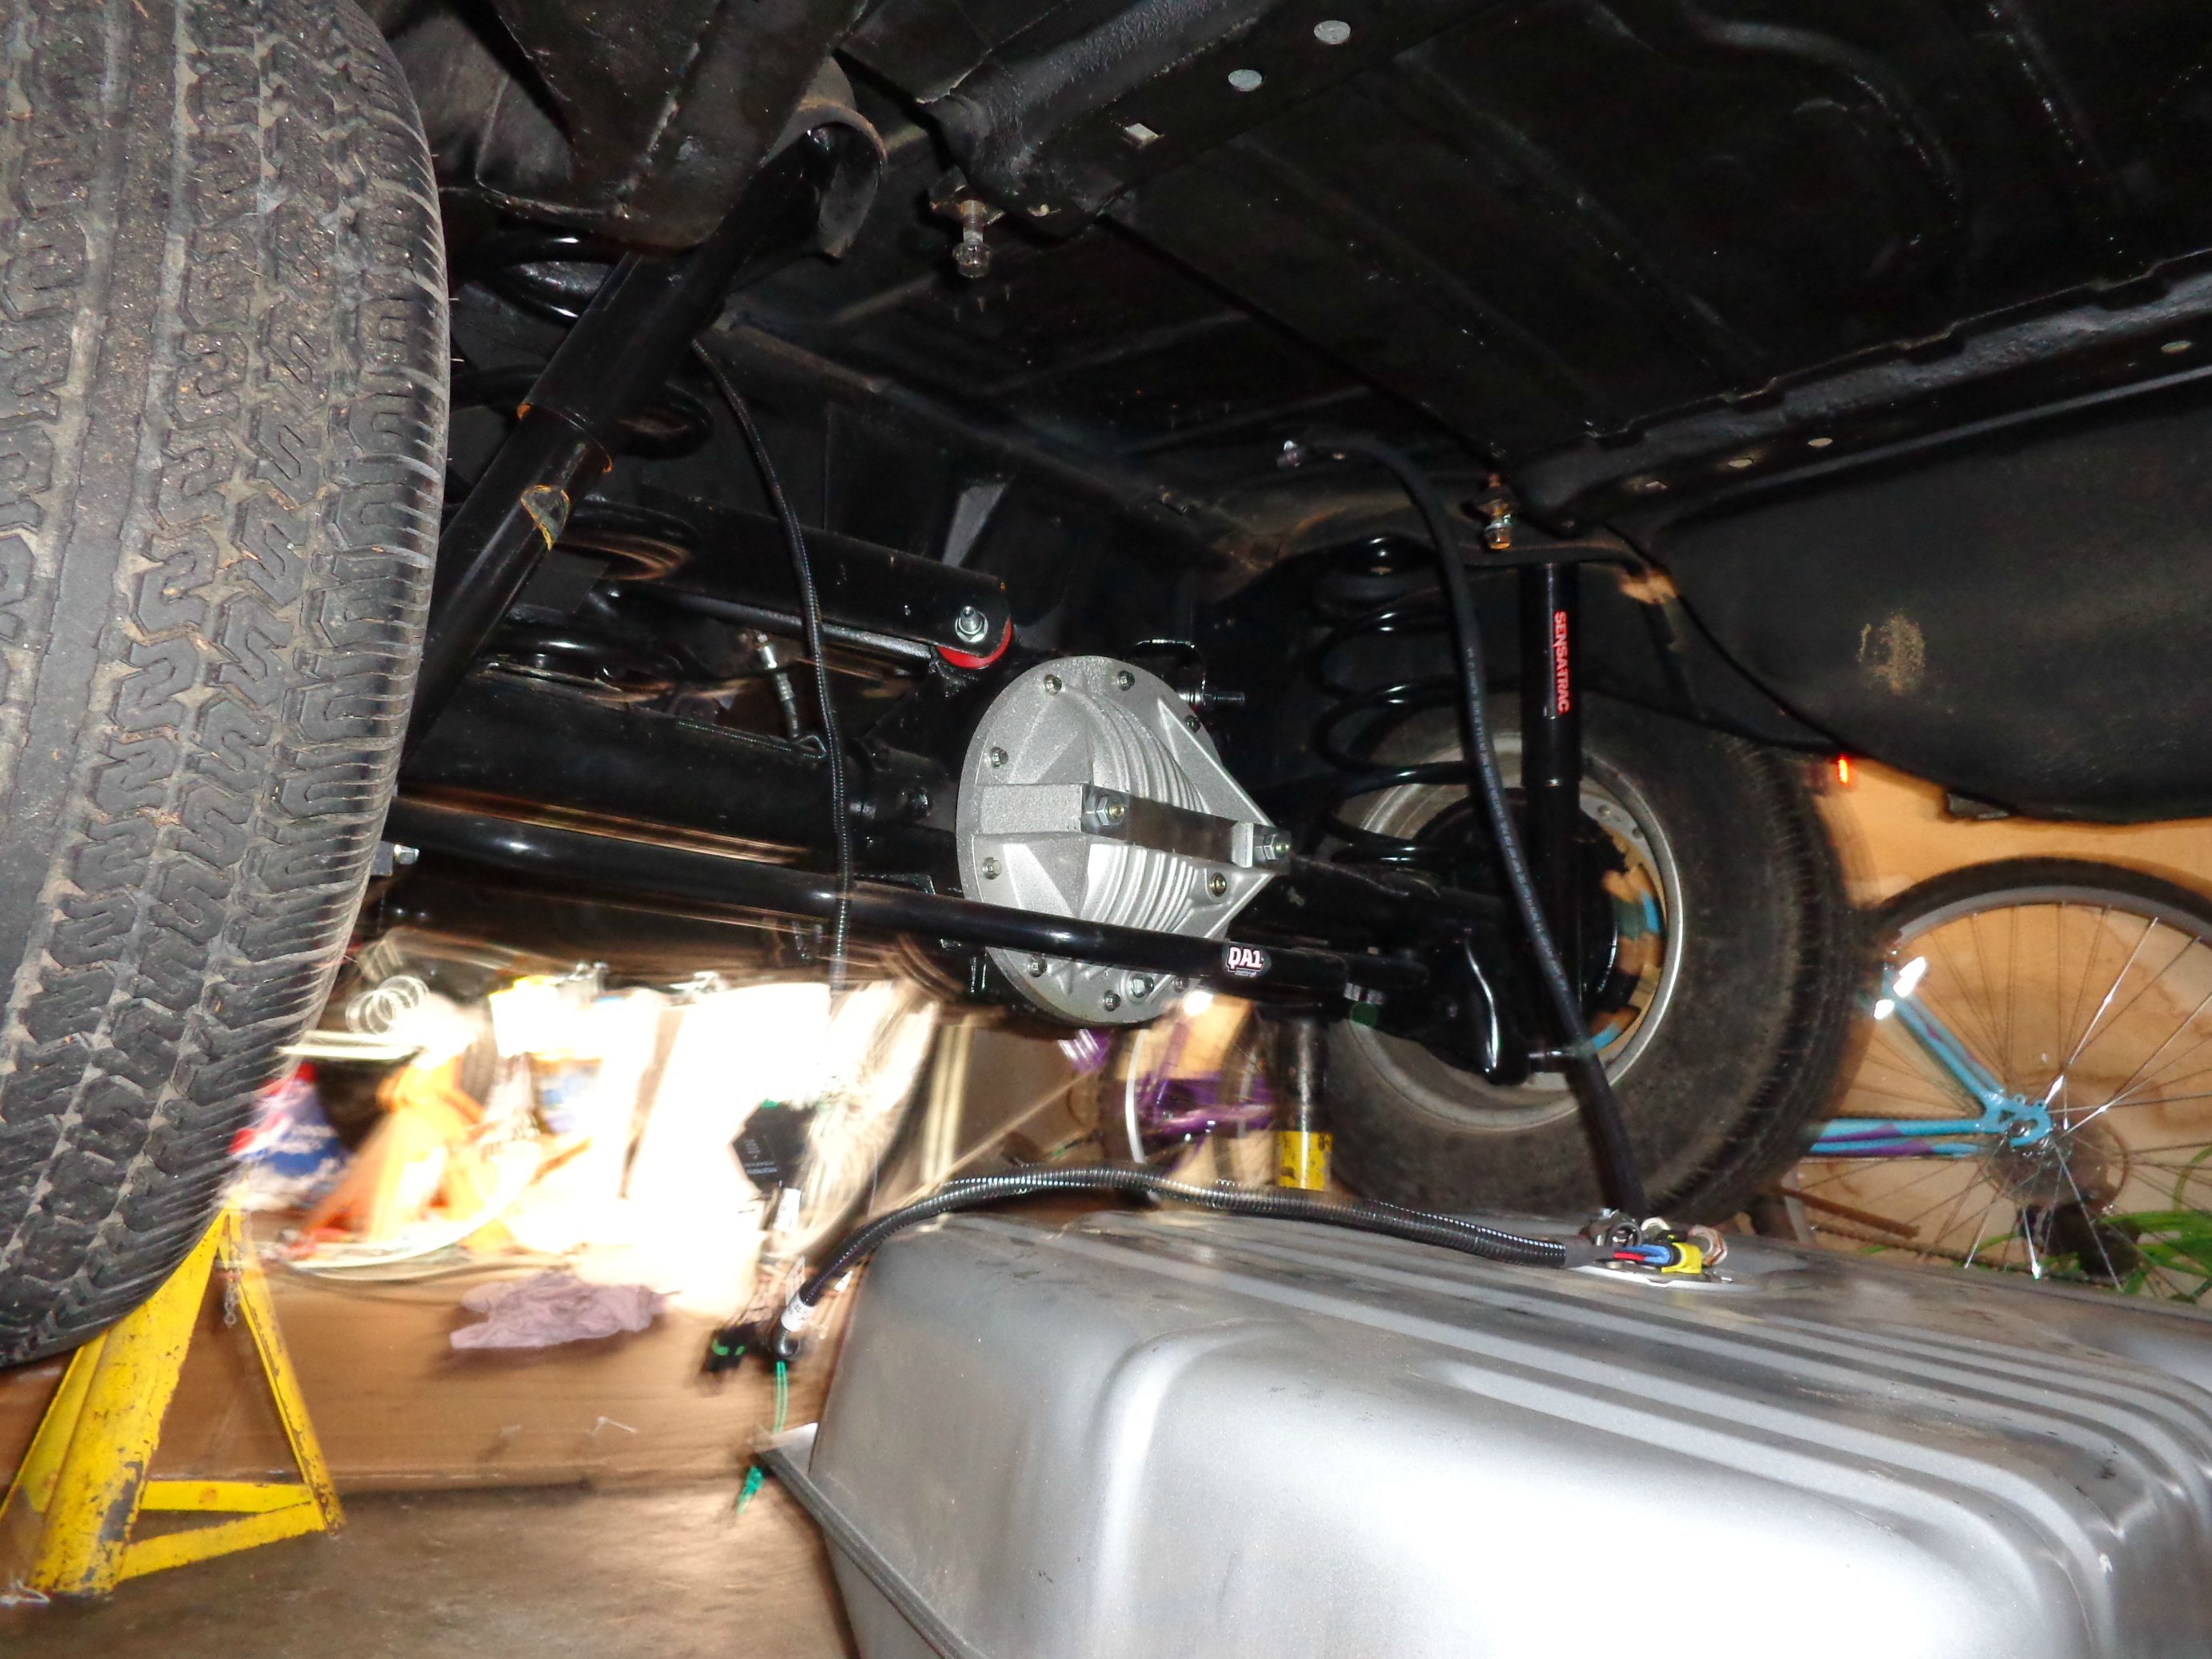
GN 8.5" posi rear with 3.42 gears. Summit diff-cover. QA1 sway-bar. New stock moog springs, Monroe Sensa-trac shocks, poly bushings on stock control arms. That's a new Dorman brand gas tank for a '86 GN with a sending unit from Racetronix with a Walbro 255 pump and AN -8 and -6 fittings.
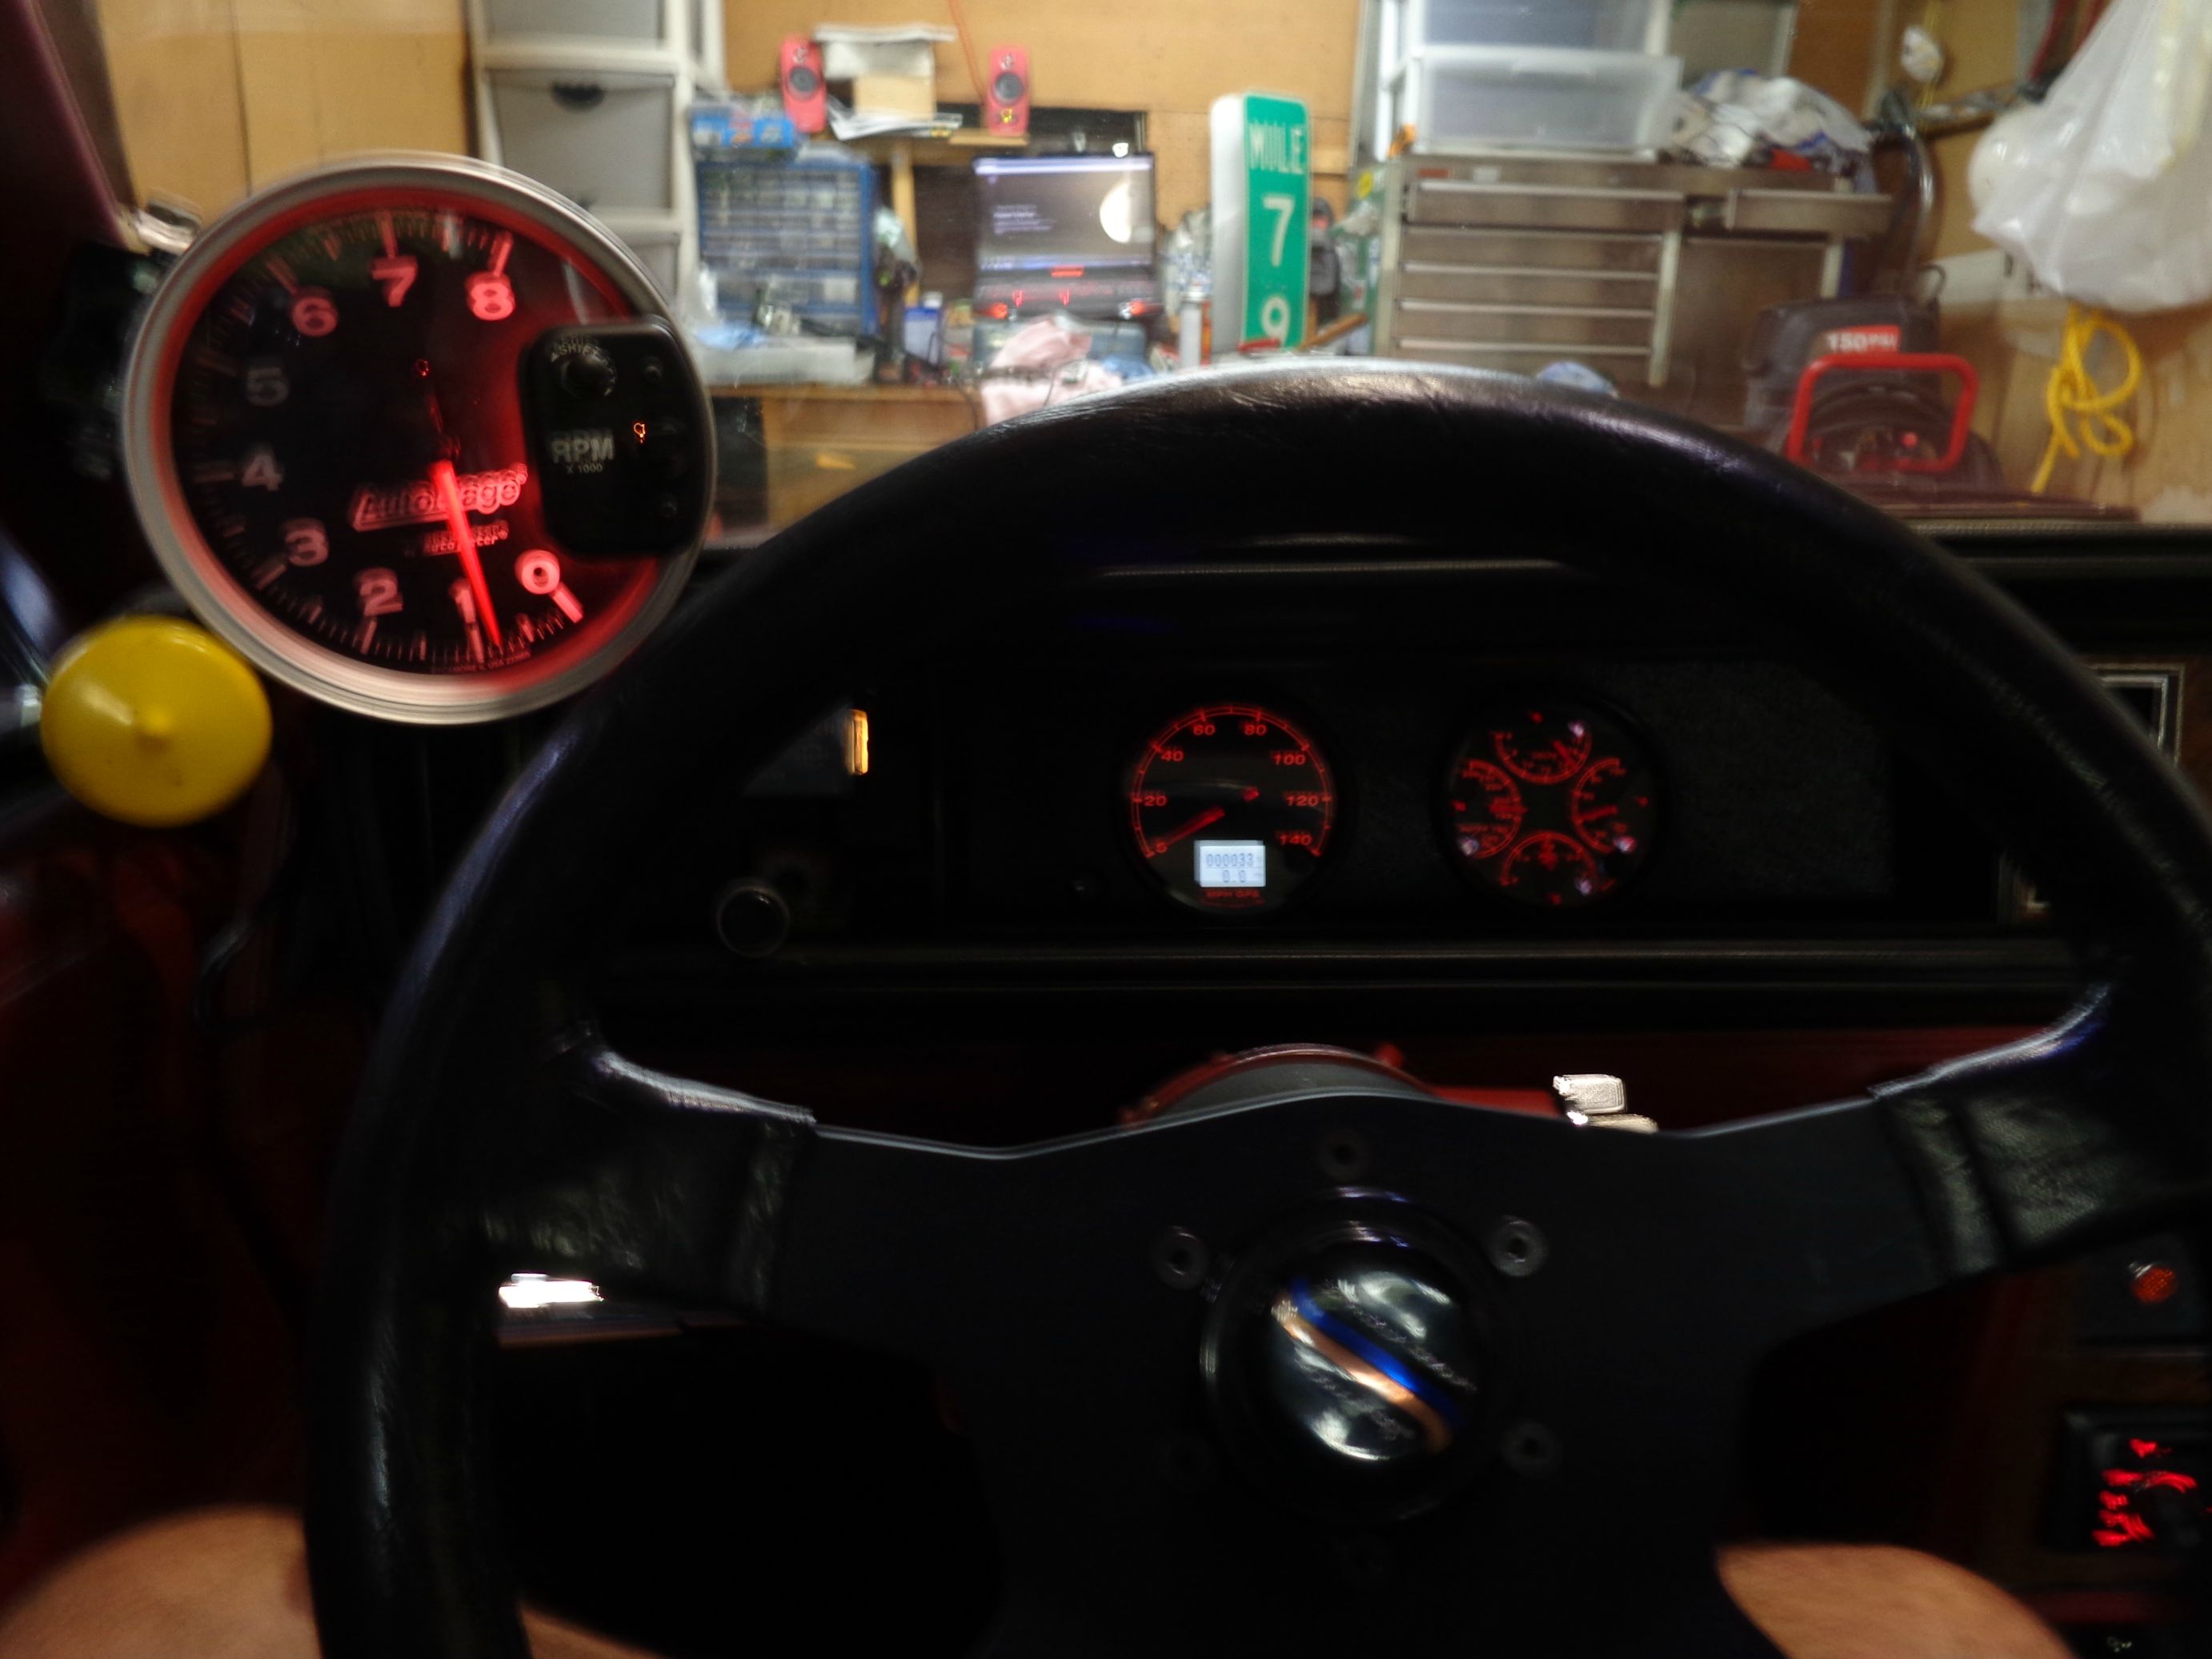
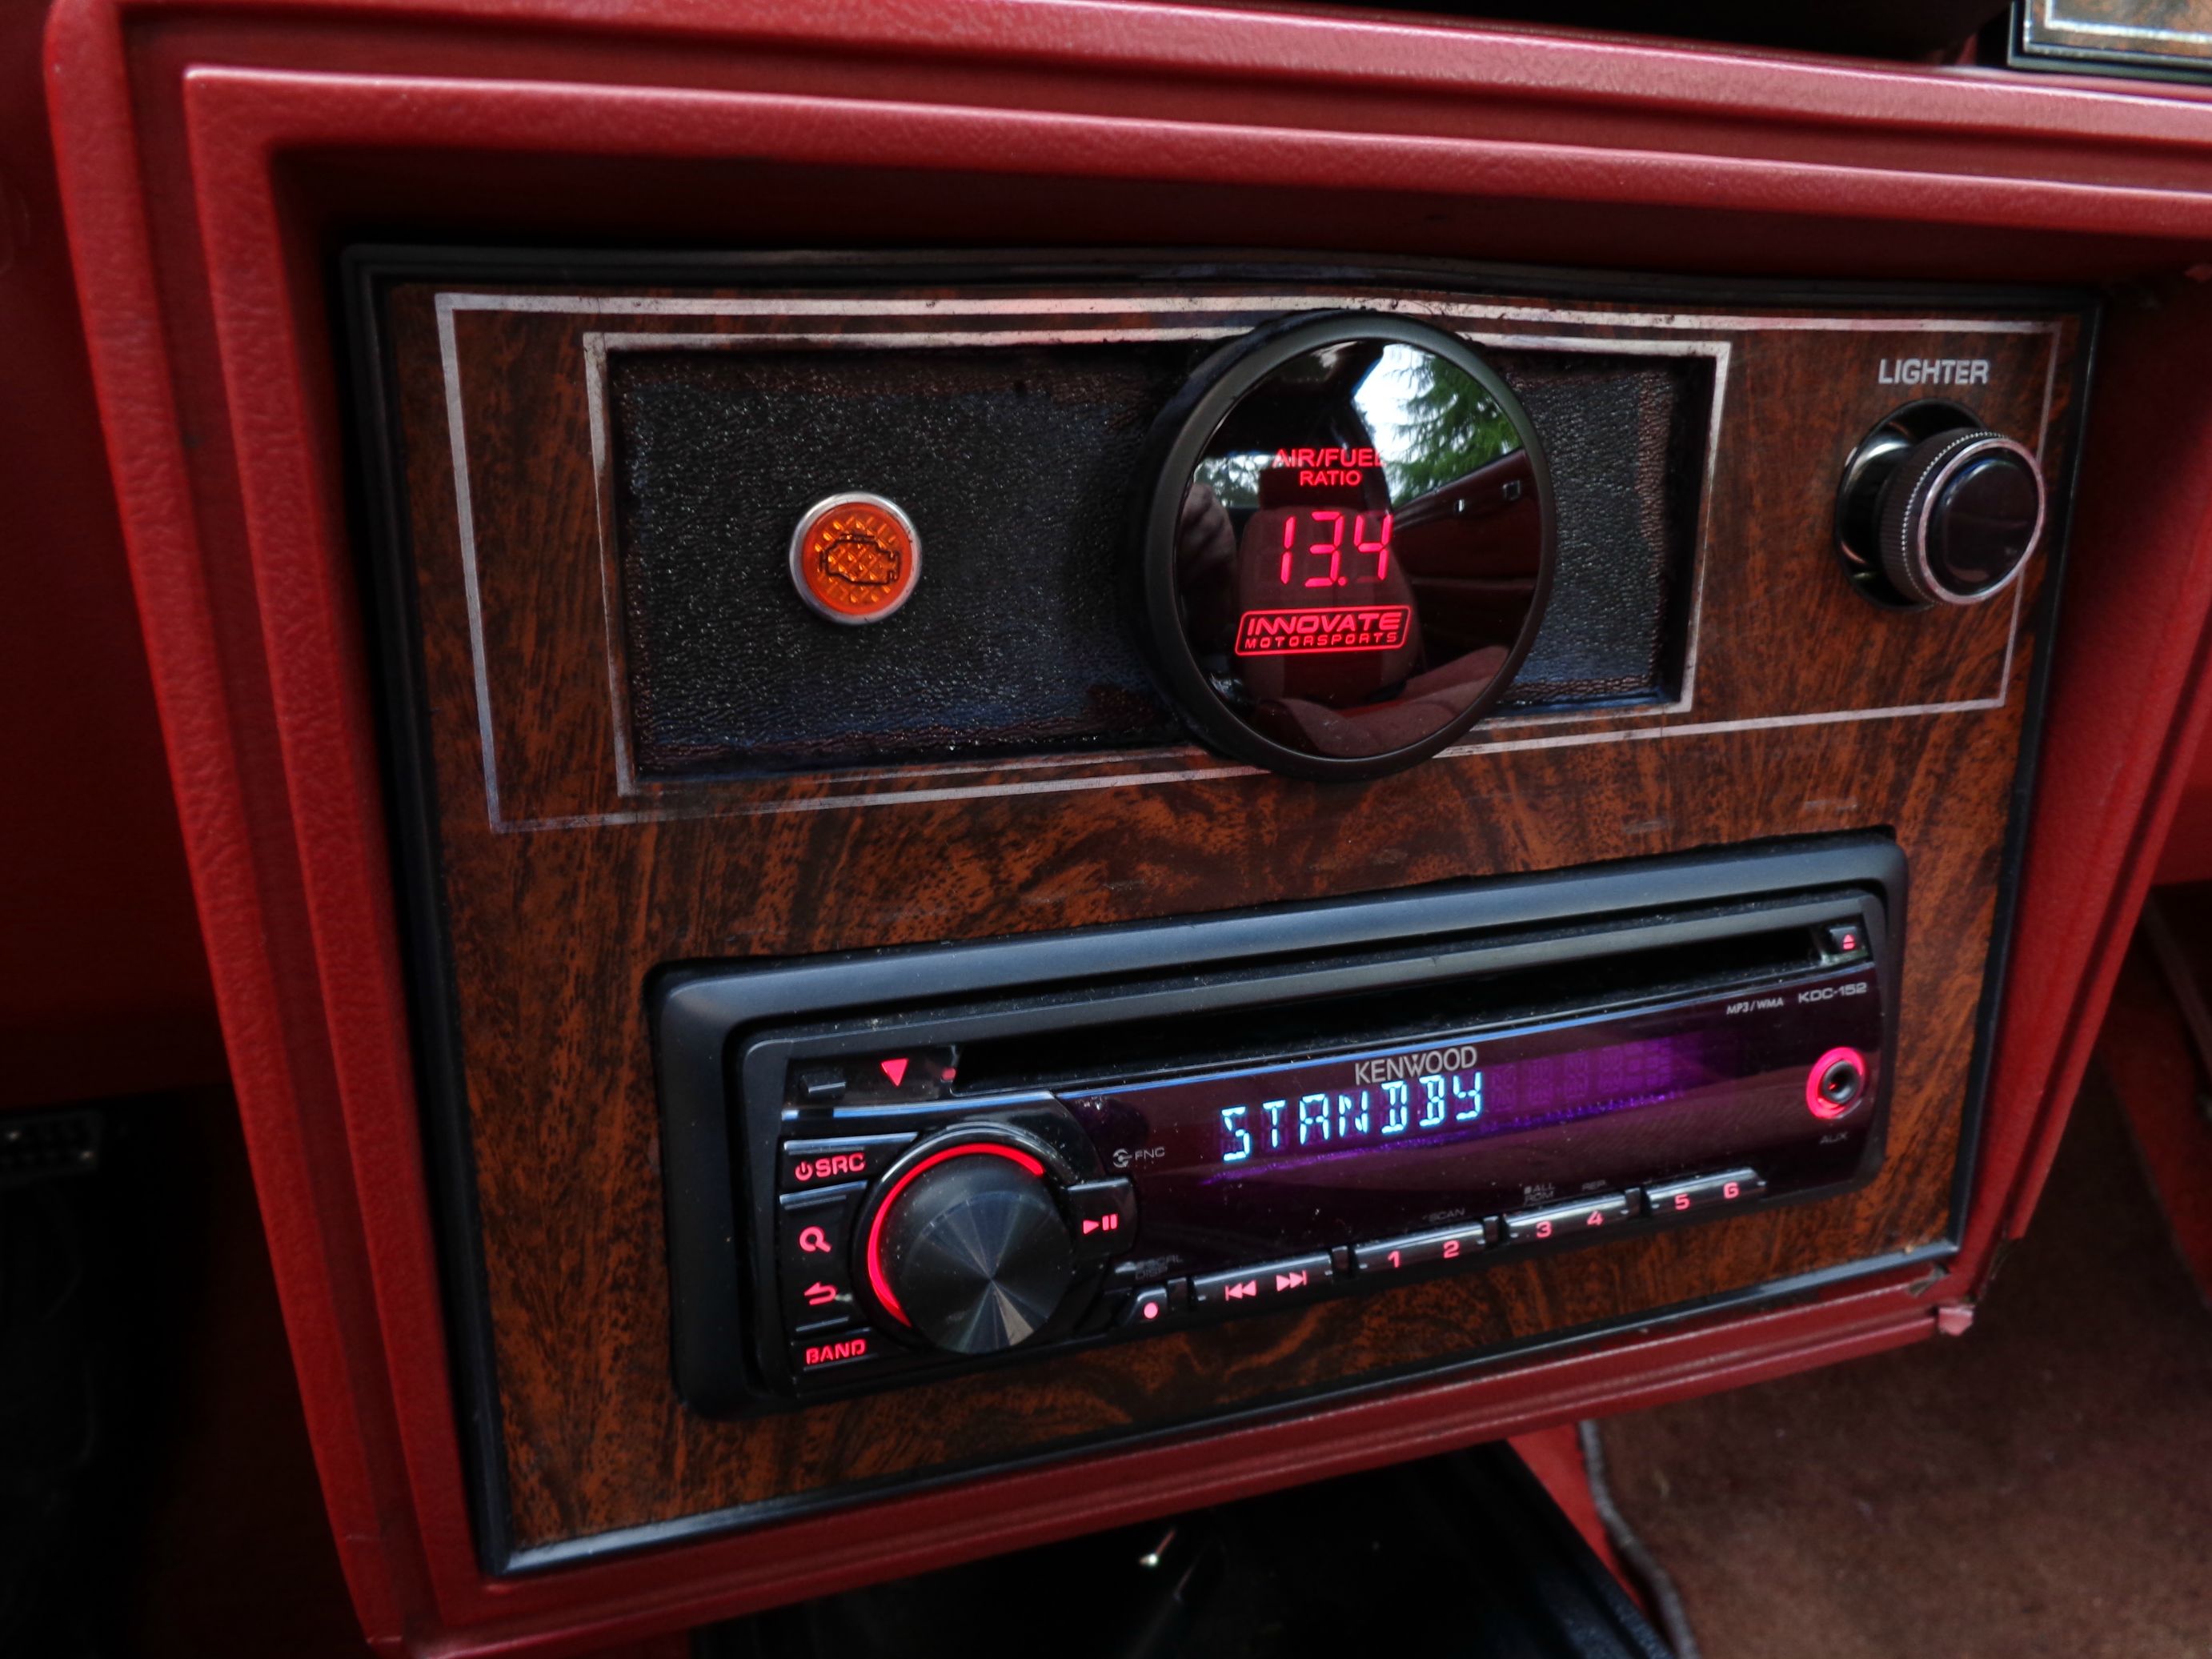
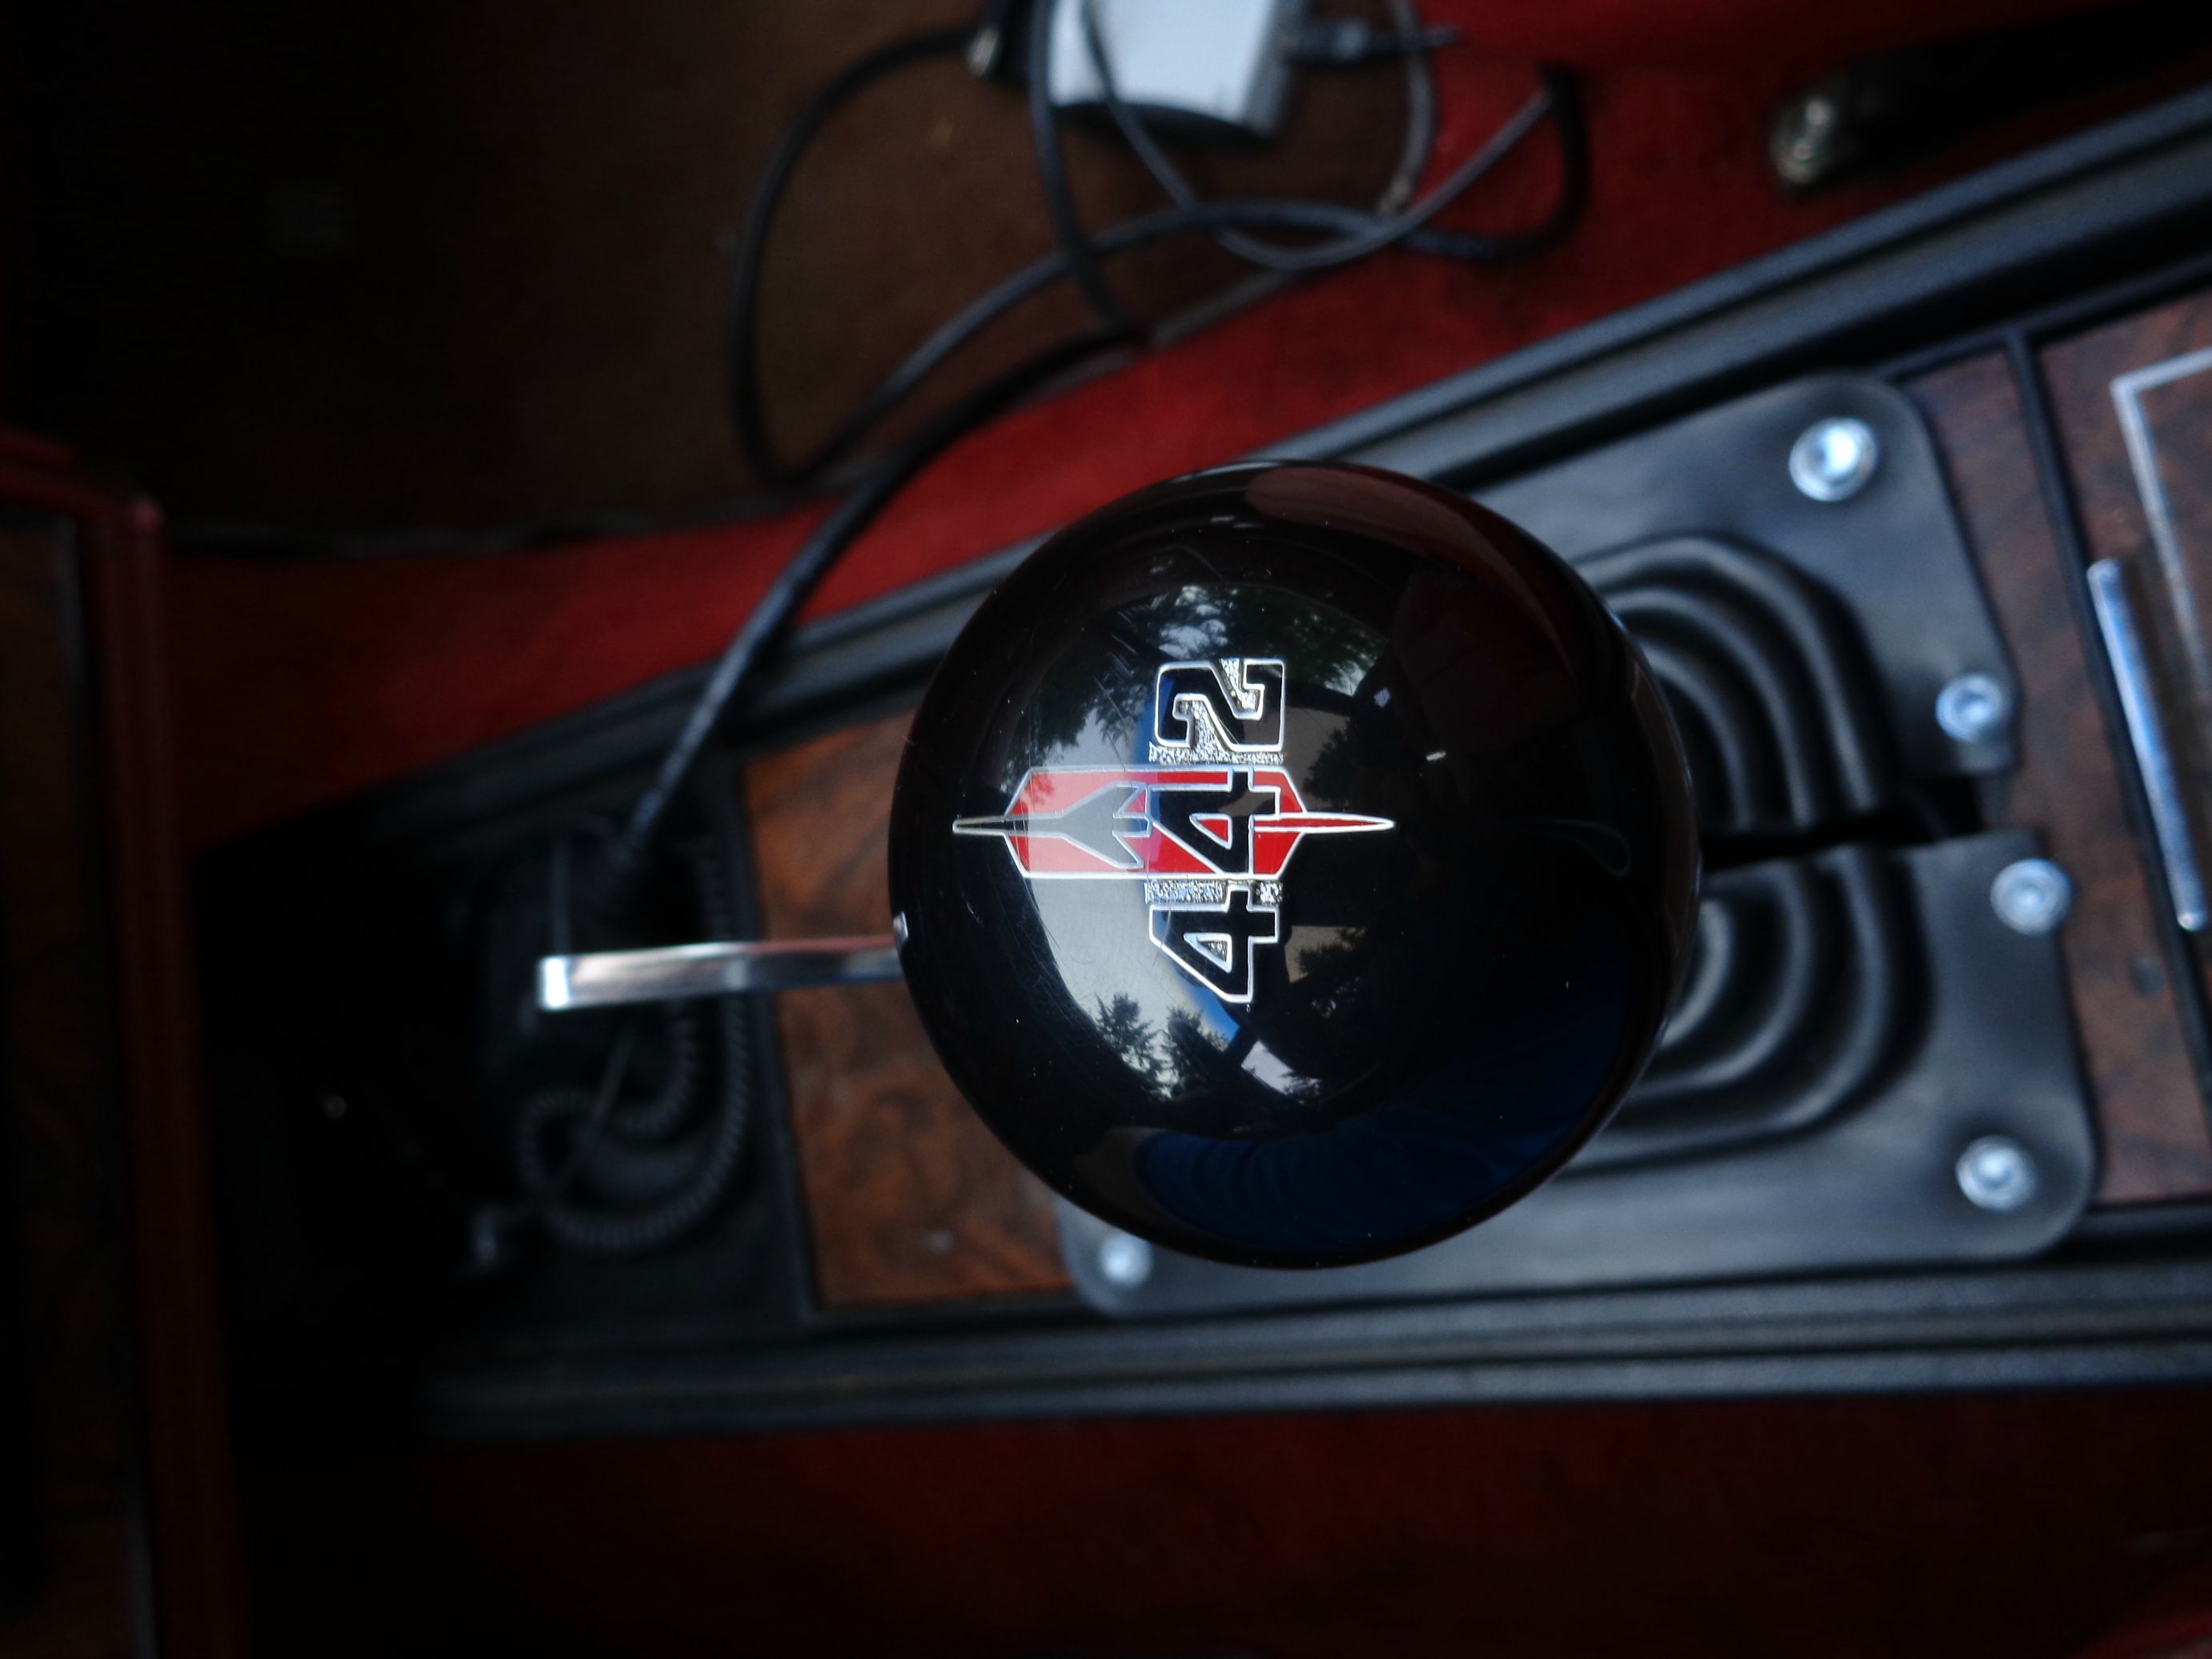
Used pro-stick shifter I'm integrating into the center console (not shown). The tach I had from my Camaro. Steering wheel came with the car. I picked up the 3rd Gen Camaro seats for $20, shampooed them and bolted them in. The guages are custom units from Speedhut and worth every penny I spent on them!


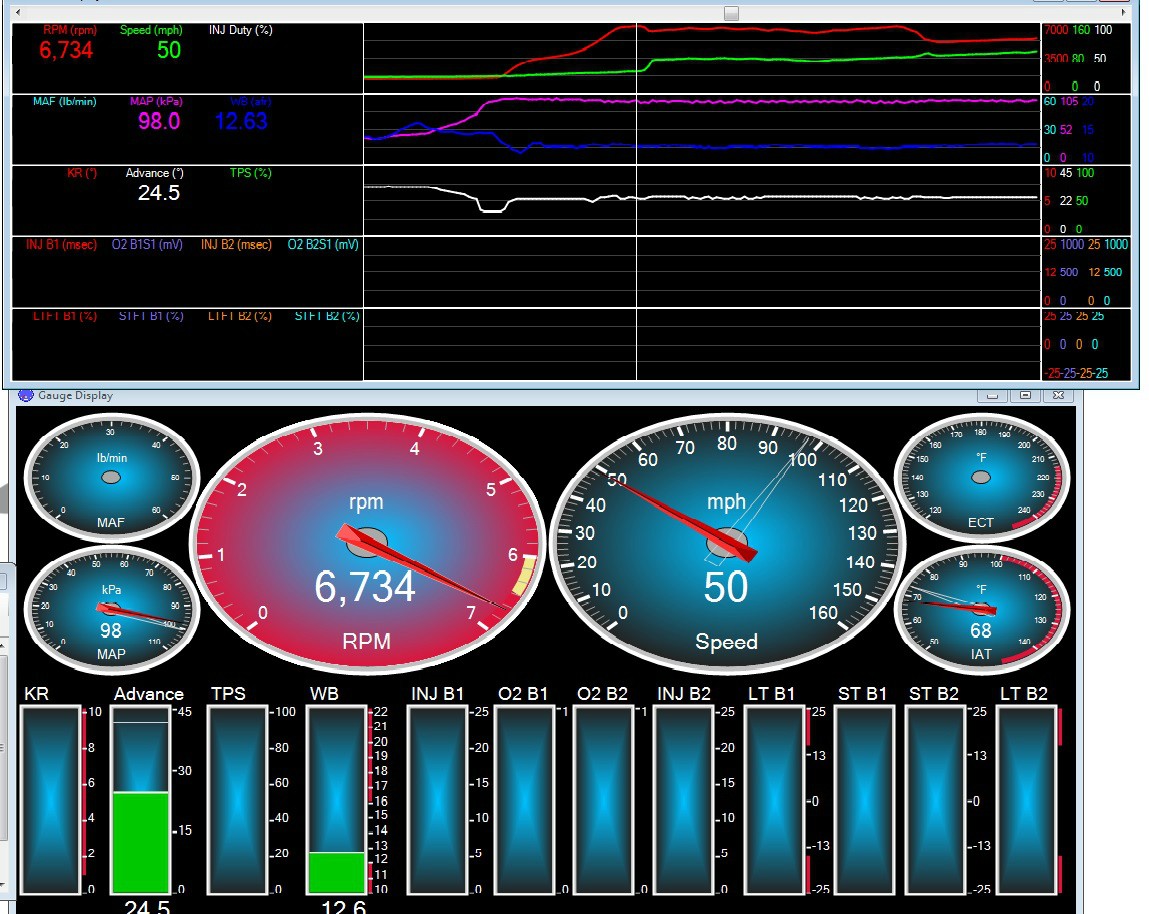
The engine is a 2002 LQ4 with a mild Howards Cam suitable for a turbo, arp headstuds, MLS gaskets, ARP rodbolts, SLP double roller and ported oil-bump, LH8 oilpan drilled and tapped for a turbo oil-drain, stock 317 heads, truck intake. Trans is a 2004 4L80e with a Circle D 3,000 stall. Car should be fun. But I have run out of money and it might be a while before I can get a driveshaft made for it.
Begin copy+paste.
I got laid off from my job in November and decided I would return to school to finish my degree. I suddenly found myself with a lot of free time while I waited for school to start, and not a lot of money. I had a 1966 Thunderbird sitting in the driveway in need of serious attention, a 1963 MGB roadster in the garage waiting for a back-half and V8 swap and said V8 sitting on an engine stand in the corner. I sold the cars and my professional camera equipment and went shopping for a car that I could quickly, easily and afford-ably get my LQ4 into. The catch was that it needed to be ready for long-distance road work and have room in the back to easily put my two kiddos, a 4 year old and a new-born. I found a '78 Cutlass that ran and drove but in need of some attention. It was very clean inside and under-hood, but is a few different shades of gray and silver and red and black. Owner was in need of money for dental work. I put $1200 in his hand and drove it 90 miles home. I drove it all summer without issue, then pulled the motor and trans out and sold it for $400. So I got the car for $800. I've been a busy boy since then.
I smoothed and painted the stock LQ4 truck intake. I cut everything down with a sawzall, attacked it with a dremel, used a plastic glue made for nylon 66 plastic to glue plugs in using a black spatula as donor material, used glaze and spot putty and sanded. More glaze and spot putty and sanded. Repeat. Repeat. Rinse, prime and paint. Used a Rustoleum metalic "satin nickel" paint.
I had this bulkhead connector from US autowire sitting around and I'm using it for the guage wires, fuel pump relay and fan relay wires. Really nice piece! The stand-alone harness is from PSI Conversions.
The radiator plate is an aluminum piece that allows me to ditch the stock mechanical fan shroud and use the stock Olds radiator. I'm using a one-speed mk-VIII fan that I've used on three different cars now. Best bang for your buck ever. I had to make a delete panel for the heater/ac. It fell apart on me and the firewall was riddled with rust. It's a simple sheet cut to shape, sealed and screwed. The headers are Pacesetters for an f-body I picked up for next to nothing and cleaned and painted. Intake tubing is from intakehoses.com. Upper radiator hose is for a 2002 Silverado and a Jags That Run splice fitting is used for the steam lines.
Radiator deflector is aluminum and a really nice piece. I will probably build a box around the air filter to help keep it dry, but maybe not. I will have to see once the fiberglass bumpers show up. Hayden trans cooler.
Tubular trans cross-member and drive-shaft safety loop.
GN 8.5" posi rear with 3.42 gears. Summit diff-cover. QA1 sway-bar. New stock moog springs, Monroe Sensa-trac shocks, poly bushings on stock control arms. That's a new Dorman brand gas tank for a '86 GN with a sending unit from Racetronix with a Walbro 255 pump and AN -8 and -6 fittings.
Used pro-stick shifter I'm integrating into the center console (not shown). The tach I had from my Camaro. Steering wheel came with the car. I picked up the 3rd Gen Camaro seats for $20, shampooed them and bolted them in. The guages are custom units from Speedhut and worth every penny I spent on them!
The engine is a 2002 LQ4 with a mild Howards Cam suitable for a turbo, arp headstuds, MLS gaskets, ARP rodbolts, SLP double roller and ported oil-bump, LH8 oilpan drilled and tapped for a turbo oil-drain, stock 317 heads, truck intake. Trans is a 2004 4L80e with a Circle D 3,000 stall. Car should be fun. But I have run out of money and it might be a while before I can get a driveshaft made for it.