Long time, no see!
Summer activities (not G body related) have cut into our garage time. But, we didn't have any plans over the long Independence Day weekend, so we got back to work on the El Camino.
ECU Programming/Tuning
This was actually done back in late May. I just haven't updated the thread since the work was done. When we bought the engine, wiring harness, and ECU, it came with a "startup tune". It ran pretty well, but there were a few issues that needed to be addressed:
- EGR Valve Fault Code - The ECU was looking for an EGR valve that stayed with the donor vehicle. I cleared the code and it came right back.
- Low/High Idle - The idle was set at 750rpm. That's too high for a "low idle" and too low for a "high idle". And, there was no "high idle" once the engine warmed up. It just sat at 750rpm, all the time.
- Transmission Shift Points - The 4l60E was set to shift into overdrive right at 55mph. Definitely not ideal for two-lane highway driving.
I looked for a local shop to reprogram/tune the ECU. Unfortunately, I couldn't find anyone in Central Illinois (near Springfield). My choices were shops in/around St Louis, Indianapolis, or Chicago. I found a shop, called Speed Inc, in Schaumburg, IL (outside of Chicago). It was a bit of a haul, but Speed Inc specializes in LS engine work and tuning, using HP Tuners and they have a good reputation. It was worth the trip. Speed Inc was great to work with. Good service, good people, and some very cool cars sitting around the shop to gawk at. Meanwhile, their tuner got to work on our ECU. He eliminated the EGR fault, set the low idle at 600rpm and the high idle at 900rpm, and lowered the shift points so that we're in over drive at 50mph. The highway manners are much improved. Eventually, we will probably swap the rear gear from the current 2.29:1 ratio to 3.55:1. That will wake up the cars performance. At that point, we'll take the care back to Speed Inc to have the shift points readjusted accordingly.
Speedometer Calibration
When Speed Inc retuned the ECU, there was an interested "side effect". When we first installed the CableX electric-to-mechanical adapter, I had some minor trouble getting it calibrated. In theory, the ECU should have been supplying a VSS signal of 4000 pulses per mile. In reality, it was supplying closer to 3000 pulses per mile. I calibrated the CableX accordingly. Then, after the tune, the mechanical speedometer was reading WAY high. Like 25% high. If you're quick with numbers, you'll notice that 25% is the difference between 3000 and 4000. Part of Speed Inc's base tune procedure is to verify that the VSS signal is set correctly. Obviously, it wasn't. They set it back to 4000 pulses per mile, where it should be. All I had to do was to recalibrate the CableX box to 4000 and the mechanical speedometer settled down to match the GPS speedometer.
Exhaust/Frame Clearance
When we first installed the drivetrain in the car, we had a very minor interference issue between the passenger side exhaust manifold "collector" (where the O2 sensor is installed) and the lower control arm mount. When the exhaust shop welded up the new pipes, the collector was no longer touching the control arm mount, but the pipe itself was. The end result was an annoying (and a little bit alarming) clunk when driving on rough roads. We live in a rural area, so we deal with rough roads A LOT! Some additional clearance was definitely needed between the exhaust pipe and the frame.
Luckily, I had the presence of mind (or maybe just the blind luck) to think to ask the exhaust shop to install a pair of joints/disconnects just in front of the X-pipe. My thought was that servicing the transmission would be virtual impossible without cutting apart the exhaust system. This forethought saved me a ton of pain and agony. I was able to unbolt the passenger side exhaust pipe at the manifold and at the X-pipe, basically, the front three feet of the passenger side exhaust. This let me work on just that section, while leaving the rest of the exhaust intact and in place.
With the section of the pipe out of the car and on the workbench, I smoothed out the edge of the collector with an angle grinder and massaged the pipe with a precision ballpeen hammer. This bought us about an 1/8" of clearance. That isn't much, but it appears to be enough to resolve of the clunk. The drive train is mounted on poly bushings, all around. There isn't much flex at all. We took the car for a test drive on the roughest roads in the area and the cluck appears to be gone. If the clunk ever returns, it would be a sign of something else in the drive train moving around.
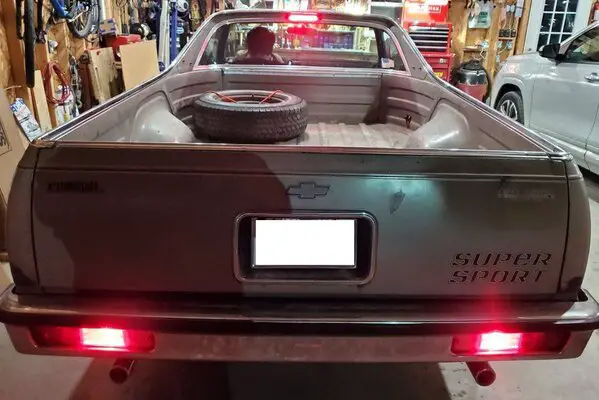
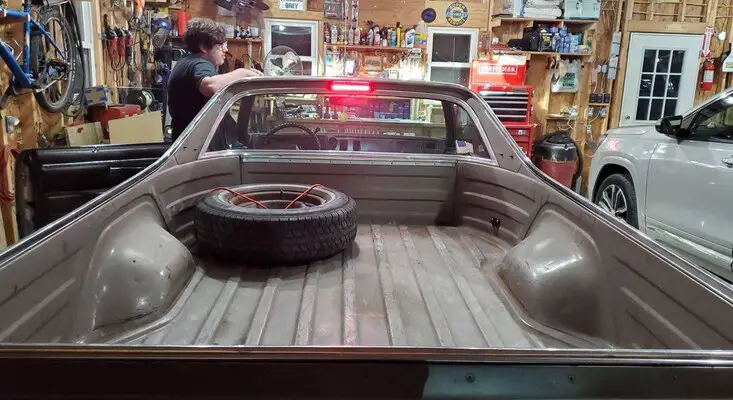
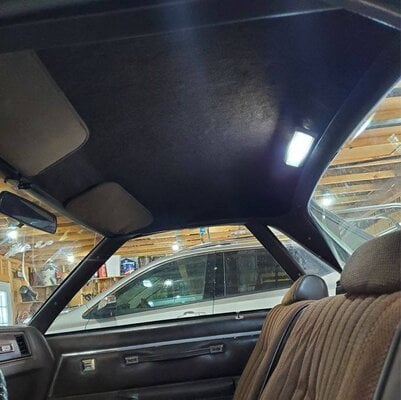
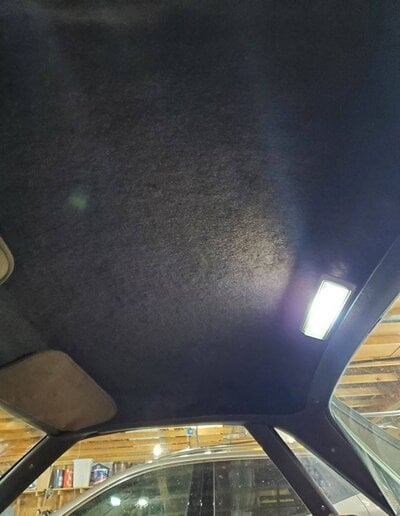
Headliner
We finally got around to installing a headliner. The challenge was the interior color. Apparently, Dark Briar Brown fabric succumbed to COVID-19. Before the pandemic, our plan was to order an entirely new headliner shell with Dark Briar Brown fabric pre-installed. That's an expensive way to go, but my son really wanted to keep the interior as original as possible. By the time we were ready to place the order last winter, Dark Briar Brown headliner material was entirely gone from the market. I started with the online retailers and worked my way up the supply chain all the way to the upholstery supply wholesalers. Nobody has Dark Briar Brown. It's completely gone. Weird, but true.
This turned out to be a good thing. As we've gotten further and further along with the project, my son has eased up on the originality. This isn't a restoration. If anything, it's more like a restomod. He's started to see the benefits of the customizations and modernizations we've made. The lack of an available headliner opened the door for an alternate solution that I used on my '81 El Camino way back in the mid-1990's. Instead of replacing the failed headliner with new headliner material, I used inexpensive automotive carpeting, glued directly to the steel ceiling without a headliner shell. It was inexpensive, durable, it looked good, and it provided some extra headroom, which is always welcome in a G Body. My son wasn't really convinced until we got the carpet installed on his ceiling. We found a shade of dark brown carpet that is a very close match to the factory floor carpeting on Amazon. Because the carpet is cheap, it has no backing, which is an advantage because it's almost as light as the original headliner material. We lined the car ceiling with Kilmat sound deadening material and glued the carpet over that with Permatex Heavy Duty Headliner Adhesive. To the casual observer, it looks like a factory headliner. The only downside is that the old faded sun visors don't match the new carpet color. Eventually, we'll take a sample of the carpet to an upholstery shop and ask them to wrap the visors in a fabric that comes comes closer to matching.
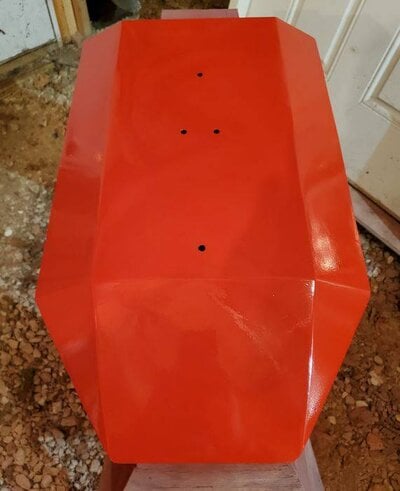
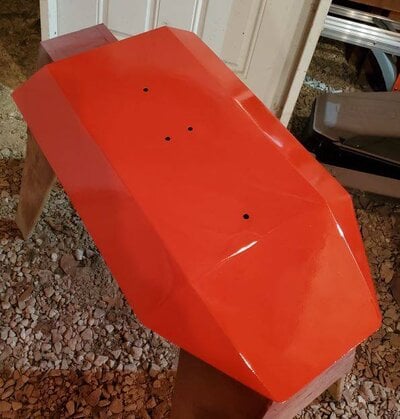
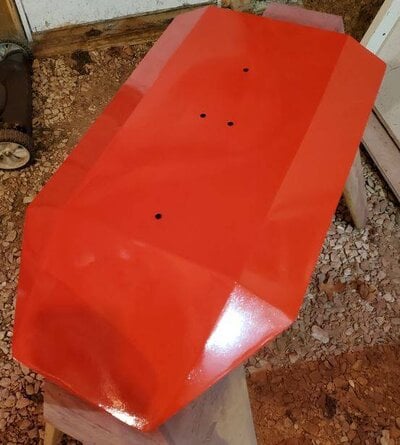
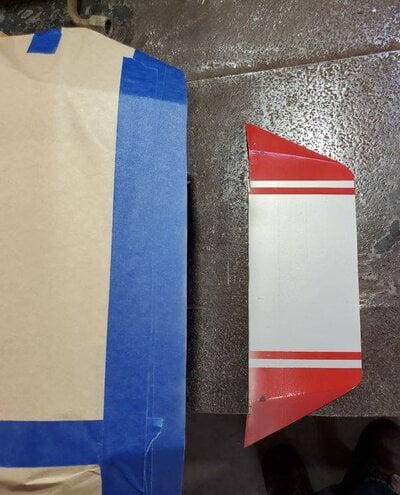
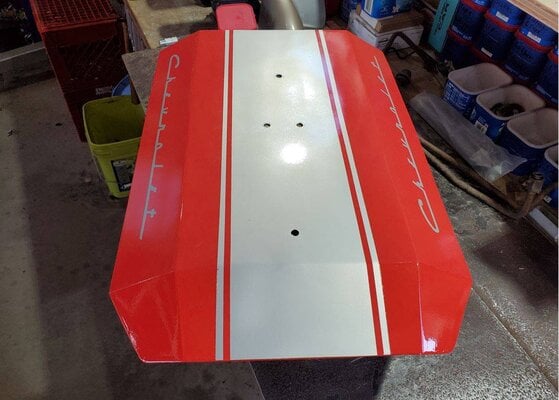
Engine Intake Cover
This one almost made me cry. If you saw my last few updates, you already know that I fabricated and painted a shiny red engine intake cover to disguise some of the LS utilitarianism. Over the weekend, we finally got around to installing the cover on the engine. Then, we went for a test drive to check the exhaust work for clunks and rattles. When we got back to the garage, we opened the hood to discover that the shiny new intake cover was making contact with one of the ribs on the underside of the hood. The paint had already started to wear through from the vibration. After I taught my son a few new garage words, got out the angle grinder and lopped off the front 3 1/2 inches of the cover to make clearance. Some paint touch up was required, but it's back on the engine. I'm pretty disappointed with this turn of events. The front of the cover looks too short now, but I'm hoping that's just because I know what it looked like before the surgery. My son points out that it's still at least 1000% percent better than looking at the raw plastic intake manifold. He's right, of course, but cutting into the fresh paint with an angle grinder was hard to take.
What's Next?
The "What's Next" section has become the hardest part of these posts because I'm honestly not sure what we'll chip away at next. We really need to get back to work on the body, like I said we would back in May. Time and motivation will tell...