Thank you for the kind words!!I was just watching that series of videos this morning again as I just received my order of wire based off all that great information and effort you put together. Can’t tell you enough how appreciative I am to have those videos to get the confidence to dive into those projects. Thanks… and I love your t shirt shop I’ve bought several!
BUILD THREAD 1987 Olds 442 Project Build
- Thread starter oldsofb
- Start date
You are using an out of date browser. It may not display this or other websites correctly.
You should upgrade or use an alternative browser.
You should upgrade or use an alternative browser.
More catch up pics
Taking the harness apart


Tools: Crimpers, Wire Strippers, Pin Tools


The Wirefy crimpers have removable jaws. The Delphi (Aptiv) metri-pack's take jaw set "C"

The pins press into the jaws allowing the wire and insulation to crimp at the same time.


continued.....
Taking the harness apart


Tools: Crimpers, Wire Strippers, Pin Tools


The Wirefy crimpers have removable jaws. The Delphi (Aptiv) metri-pack's take jaw set "C"

The pins press into the jaws allowing the wire and insulation to crimp at the same time.


continued.....
More harness
The pin tool pushed the holding pin down and the connector slides out the back.


Don't forget to take out the Lock Comb before starting to de-pin (like I did 😏)


The Lock Comb goes in under the pins and is a secondary way of keeping the pins locked in place.
I do 1 pin at a time to make sure they all go back where they came from.
Crimp

Solder

8 times later and half the C100 Connector is done.

Do it all over again and both are done.

Adding Dielectric Grease to the backside of the new pins.

Snap the 2 halves back together

Add some wire loom and it almost looks professional.

Hutch
The pin tool pushed the holding pin down and the connector slides out the back.


Don't forget to take out the Lock Comb before starting to de-pin (like I did 😏)


The Lock Comb goes in under the pins and is a secondary way of keeping the pins locked in place.
I do 1 pin at a time to make sure they all go back where they came from.
Crimp

Solder

8 times later and half the C100 Connector is done.

Do it all over again and both are done.

Adding Dielectric Grease to the backside of the new pins.

Snap the 2 halves back together

Add some wire loom and it almost looks professional.

Hutch
😉 Nothing wrong with that. We've all done it!On his video, if you listen carefully, I believe you can hear him squealing like a schoolgirl when that engine/transmission lands.
Can’t wait for my turn😉 Nothing wrong with that. We've all done it!
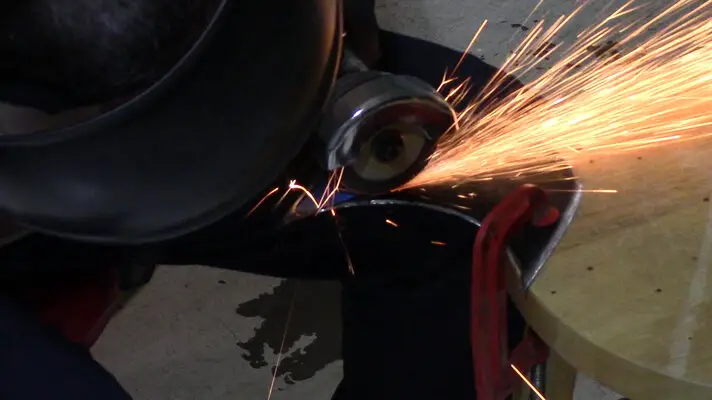
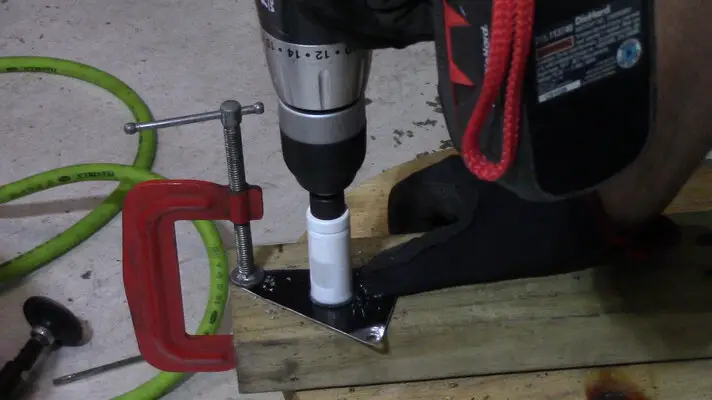
I made a bulkhead plate to hide the harness (it was a while ago, but I've been lazy with posting stuff).
I pick a spot just below the driver side hood hinge.

I next taped and marked how big I can make the plate and cut it out from some scrap left over from my air cleaner mod.


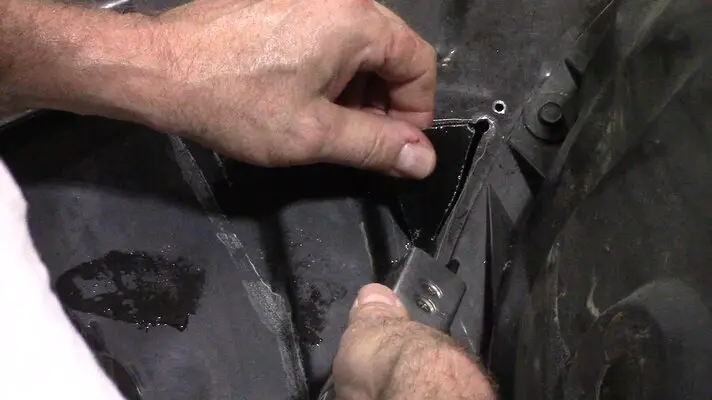
Back to the fender to see how much I can cut for my opening and keep it under the plate.


Make sure the biggest connector can fit through the opening.

I find the right size grommet in a brake booster check valve kit.

Fits nicely

Bolted in with the harness through it. Nice and hidden.


Hutch
I pick a spot just below the driver side hood hinge.

I next taped and marked how big I can make the plate and cut it out from some scrap left over from my air cleaner mod.


Back to the fender to see how much I can cut for my opening and keep it under the plate.


Make sure the biggest connector can fit through the opening.

I find the right size grommet in a brake booster check valve kit.

Fits nicely

Bolted in with the harness through it. Nice and hidden.


Hutch
Went down a rabbit hole with this one. I have a set of "Oldsmobile" lettered VC that I want to use on the 442. They only made one cover. Letters to the right of center. This is great for the passenger side, as it puts the lettering up front. On the drivers side the lettering is more hidden in the back. I didn't like it.


Are they perfect? No.
Are they ever going to be noticed? No.
But they're mine.
Hutch


Are they perfect? No.
Are they ever going to be noticed? No.
But they're mine.
Hutch
Similar threads
- Replies
- 0
- Views
- 4
- Replies
- 0
- Views
- 68
- Replies
- 0
- Views
- 127
GBodyForum is a participant in the Amazon Services LLC Associates Program, an affiliate advertising program designed to provide a means for sites to earn advertising fees by advertising and linking to amazon.com. Amazon, the Amazon logo, AmazonSupply, and the AmazonSupply logo are trademarks of Amazon.com, Inc. or its affiliates.


