1988 Monte Carlo LS ProCharger Build (10/12/21 - Back to Painting, Switching directions for power added)

Burning

Greasemonkey
Jul 9, 2020
182
647
93
Bardstown, KY
Cool to see there's still progress being made. Impressive efforts for someone that had not done paint work previously.

Tagged in now for more updates.

*Late EDIT"
You guys peeling back the vinyl tops on your rides has me very nervous about my '78. I spoke to my buddy (that has a collision/custom shop) about nixing the vinyl top on mine a while back & he encouraged me to keep it because of its 'period correctness'. My logic was nix the top & do a solid/one color re-paint. That assures everything is sealed. Then, I can do the current vinyl wrap material for the 'look' w/o the known downfall of the old-school application.

It has been pushed off many of times to other projects that are no longer here. I built a big turbo LS swapped 04 Cobra and recently just sold it. I dont like vinyl tops on these cars only because they are known to hold moisture. Luckily this car was not too bad to correct and now it will never see another vinyl top as long as i own it.
 
  • Like
Reactions: 2 users

Burning

Greasemonkey
Jul 9, 2020
182
647
93
Bardstown, KY
Ordered some black seatbelts from seatbeltplanet, we will see what the quality looks like. Also ordered the clutch master cylinder and a new booster so i can install the pedals. Made some more progress on some of the smaller interior pieces.
Got a bunch all cleaned and ready to spray.
sIQeDaYl.jpg


0OTuflul.jpg


YdIJRe3l.jpg


All painted!
ShYhvdel.jpg


te5Hbx8l.jpg


CqsBFEnl.jpg


Will tackle the steering column, rear brake light, kick panels, and lower door panels next. I was trying to figure out what to do for the upper door panels since mine are gray and i didnt want to paint the fabric. Luckily for me my buddy hoarded parts and pulled these down! now to find some straps that are black.
fQqQ6nal.jpg


Also i am looking for some black rear panel inserts for the quarter plastics. Anyone make their own? Or did most of you buy them pre-made?
 
  • Like
Reactions: 4 users

UC645

Royal Smart Person
Apr 20, 2020
1,083
3,072
113
Kittanning, Pa
I made my own sail panel inserts out of 1/4 acrylic sheet, but stuck some 6.5 inch speakers in there. 1/8 inch sheet fits loosely in the tabs, but if you upholster them, they should fit snugly.
 
  • Like
Reactions: 1 users

Burning

Greasemonkey
Jul 9, 2020
182
647
93
Bardstown, KY
Little bit of a update, got most of the plastics knocked out today.

Started out by, getting rid of the glue and carpet from the door panels.
jiQynBUh.jpg


Proceeded to clean and get prepped for painting.
vutS5NAh.jpg


Then laid her down while the kid and my wife watched.
5rNkMtch.jpg


EgLqKtUh.jpg


dnPhvNsh.jpg


Second batch prepped!
sNtDpvnh.jpg


And finished!
7vKVzJWh.jpg


bIi9aEZh.jpg


Also assembled the rear light, looks OEM!
oBhovZIh.jpg


FNc1OAih.jpg


Dash cluster surround with the dash.
KSlZWIih.jpg


B13UFqFh.jpg


Waiting on some dynamat to come in so I can get the carpet trimmed and final set as well as start installing all the plastics into the car. Its slowly coming.

Once the interior is done, ill move on to finally addressing the Fenders and then getting the whole front end blasted and coated in color.
 
  • Like
Reactions: 4 users

Burning

Greasemonkey
Jul 9, 2020
182
647
93
Bardstown, KY
Well slowly been chipping away at small things here and there. Finally got to a good progress point so i thought i would share to my good friends here.

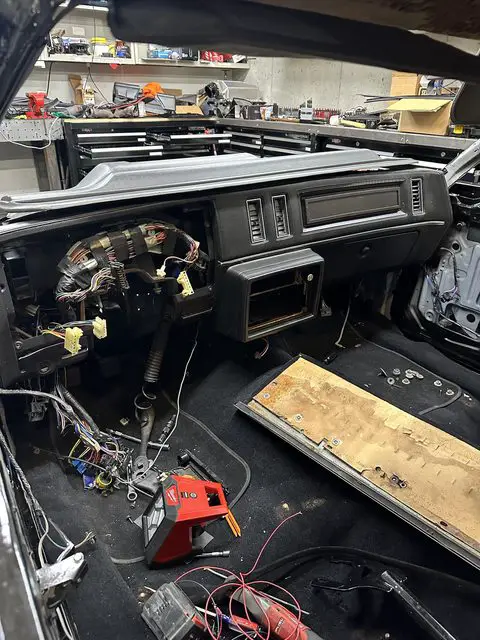
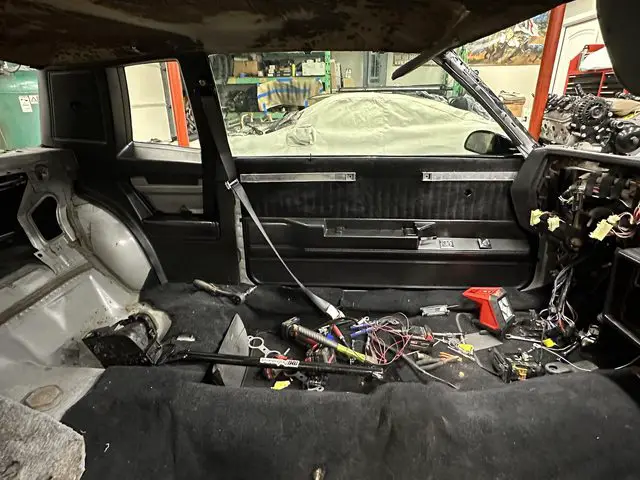
Got the dash swung in and mounted, i took off the dash bezel for now as im working on getting the holley pro dash mounted and wired to a caspers connector so i dont have to hack up the factory wiring to attach to the fuel level, turn signal wires, etc.
elTPN49l.jpg


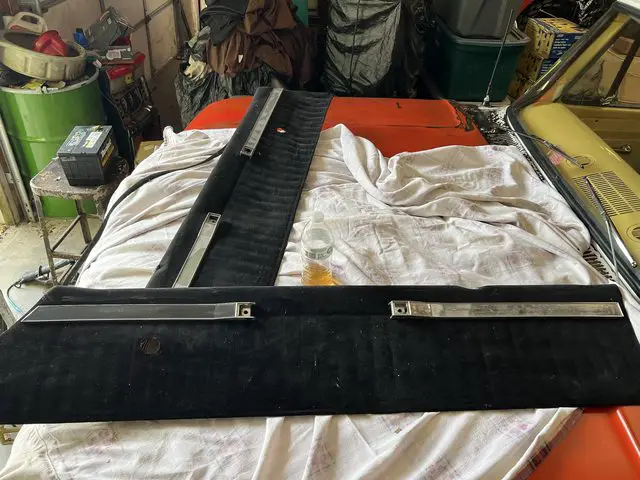
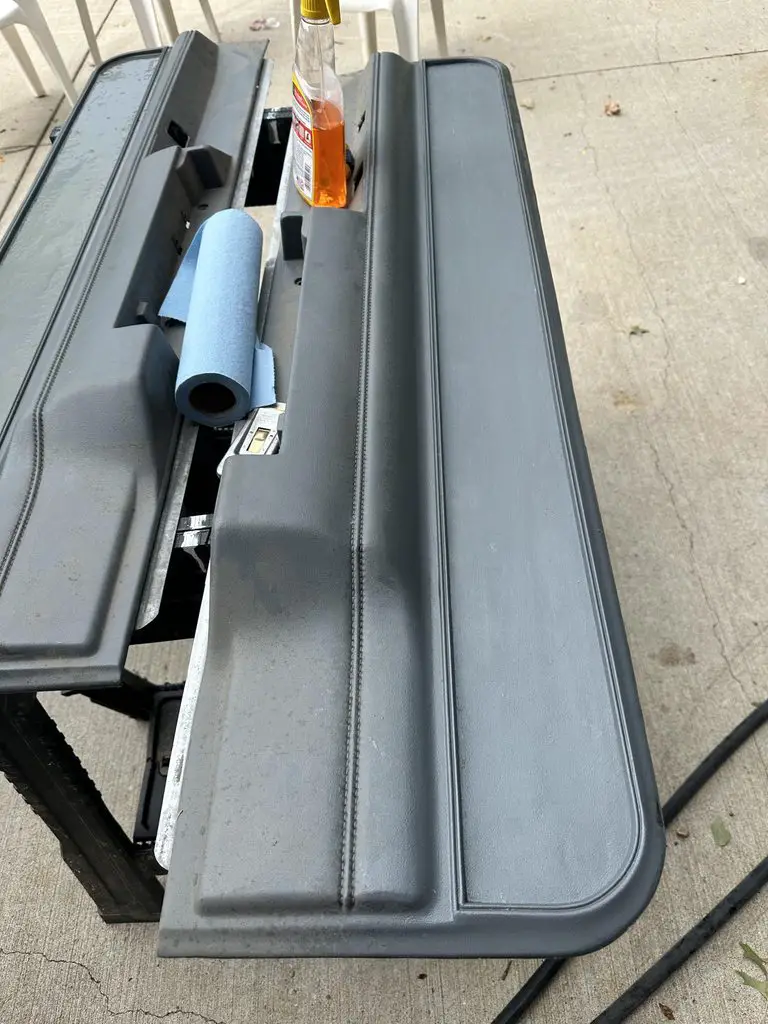
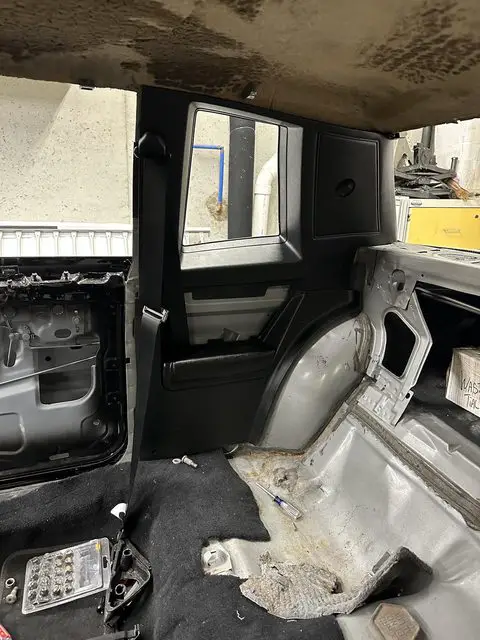
Got the rear quarter panels in, i elected to buy new black hardware so it will look nice and sleek. I am remaking the inserts so this will all have to come back out. Also peep the new seatbelts from Seatbeltplanet. I am happy with their quality and price for sure.
BGRVBOHl.jpg


Got the drivers and passenger door hardware all installed, new handle gaskets, mirror gaskets, and lock clips. Also had to install a new window regulator on the pass side as it was haywired.
XOd1aPFl.jpg


Once i got all of the internals in, i mocked up the door panels to see how it looks. I still need to get new inner and outer felts for the window before I install fully. Also looking for a pass side window switch if anyone has one laying around.
7bH5KpLl.jpg


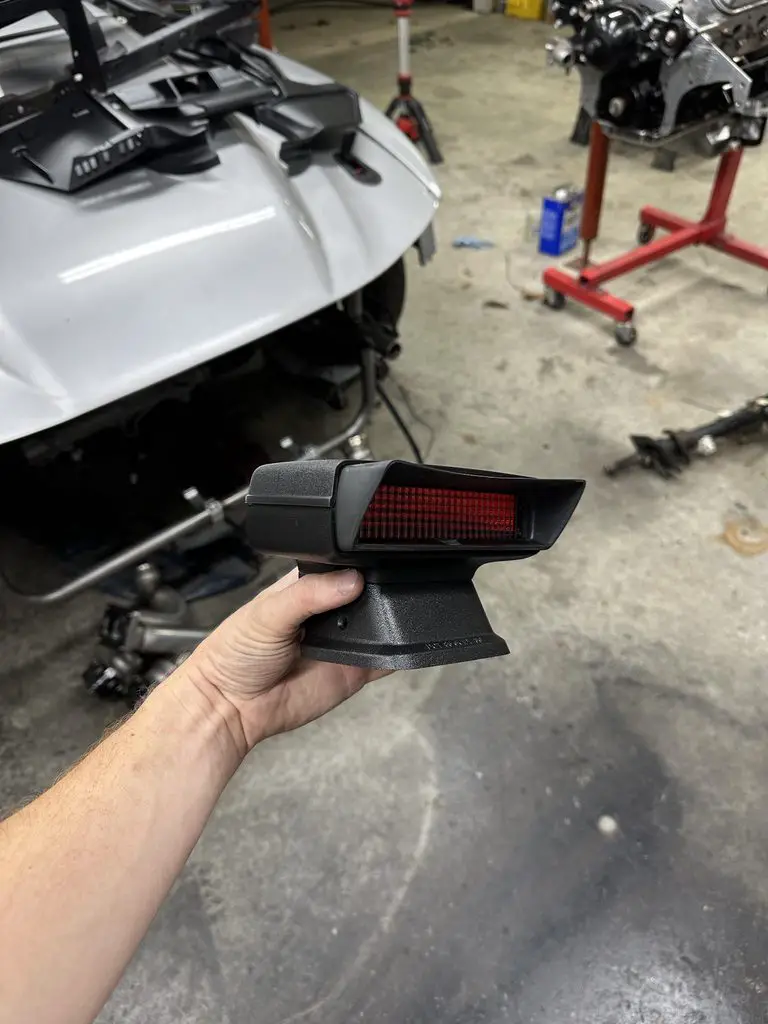
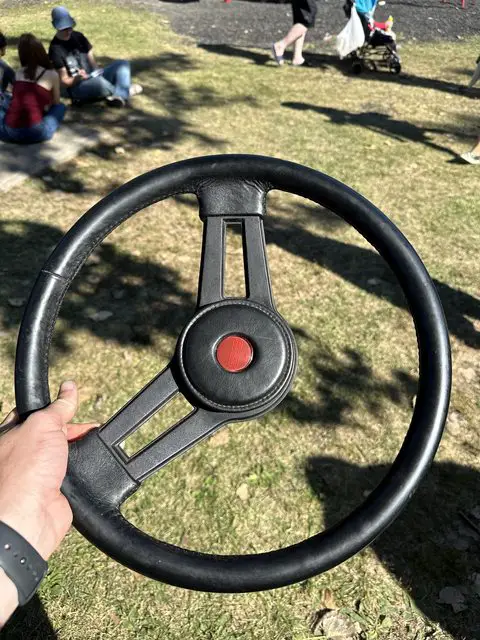
Went to a show up in Indiana and picked up this nice steering wheel, i will eventually make a new insert so it doesnt say SS. I paid $150 for it, but it had all the guts and was in nice shape so I chalked it up to a win.
jjNeDvjl.jpg


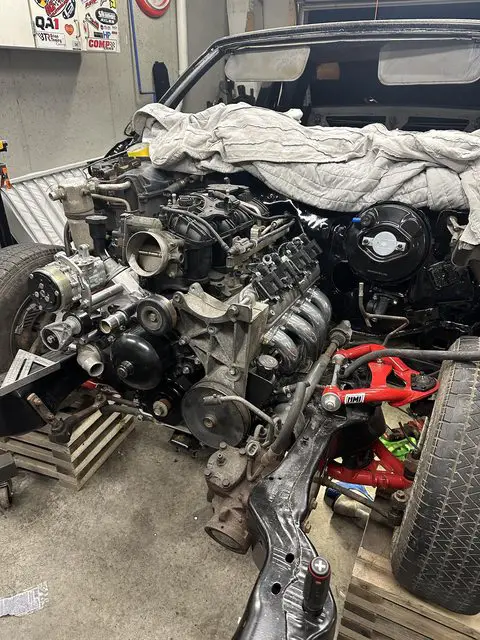
Got then engine finally set in the car, this is my buddies motor out of his mustang while its in storage. I have a 58x 5.3 that i need to tear down and rebuild in the mean time. I will probably grab some of my extra truck accessories brackets and send them out to be powder coated. I am just getting this car up and running N/A while i get the funds to finish out the forced induction. I used Holley Hooker long tubes and mounts and it fit PERFECT. No hammering, no rubbing, just perfect fit.
eFuMriQl.jpg


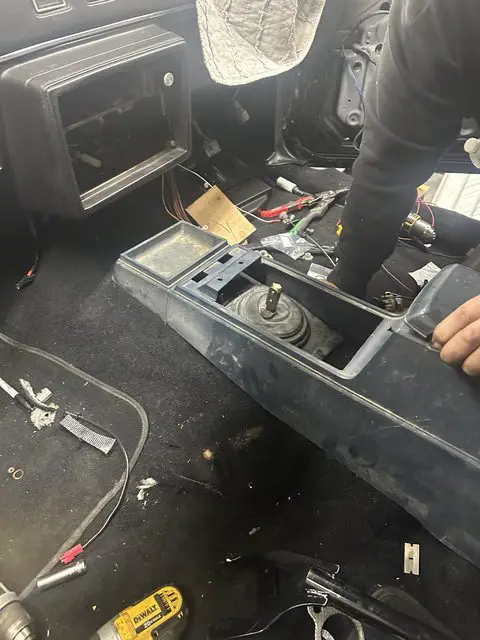
Finally made the cut for the transmission, have a stock shifter in it for mock-up will most likely end up with another MGW. I had one on my 6 speed mustang and it was really nice shifting, and could tell it didnt have any slop. I did have to massage the trans tunnel a little bit for the reverse lock out, but it will be not be visible.
prwsb9Zl.jpg


I am contemplating using the factory G-Body console, or try and find a 6 speed 5th gen camaro console to throw in it. A local guy around here has one in his car and it looks fantastic.

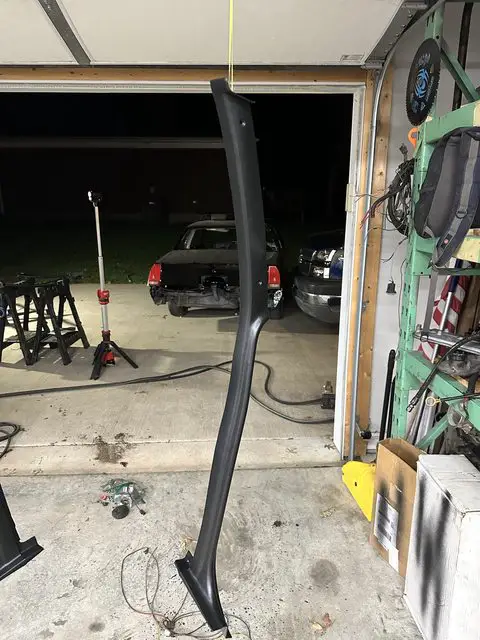
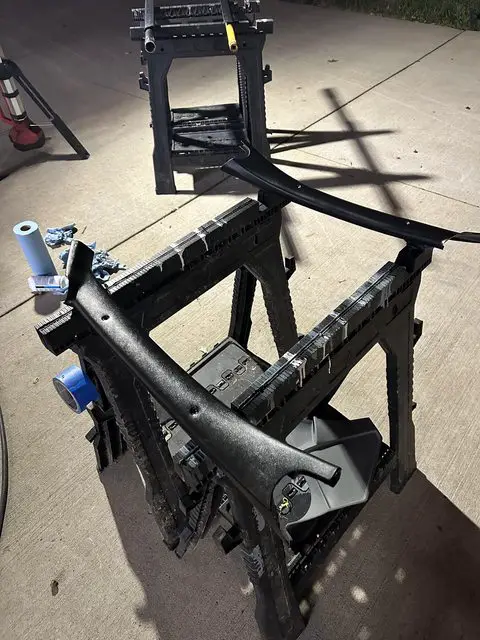
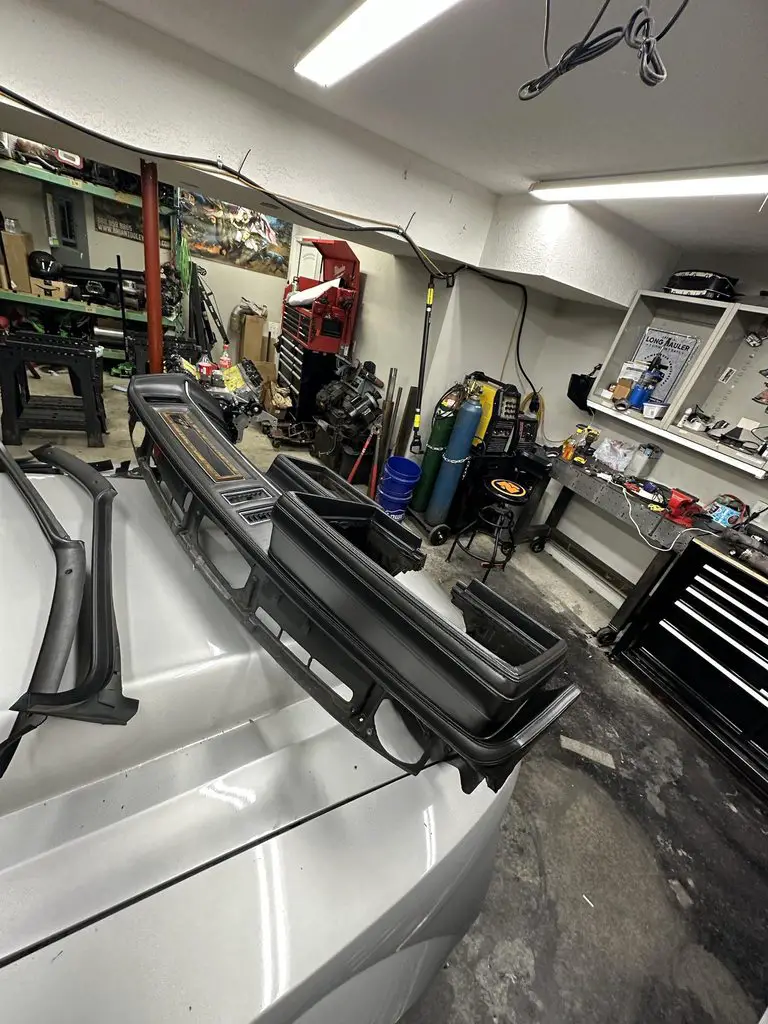
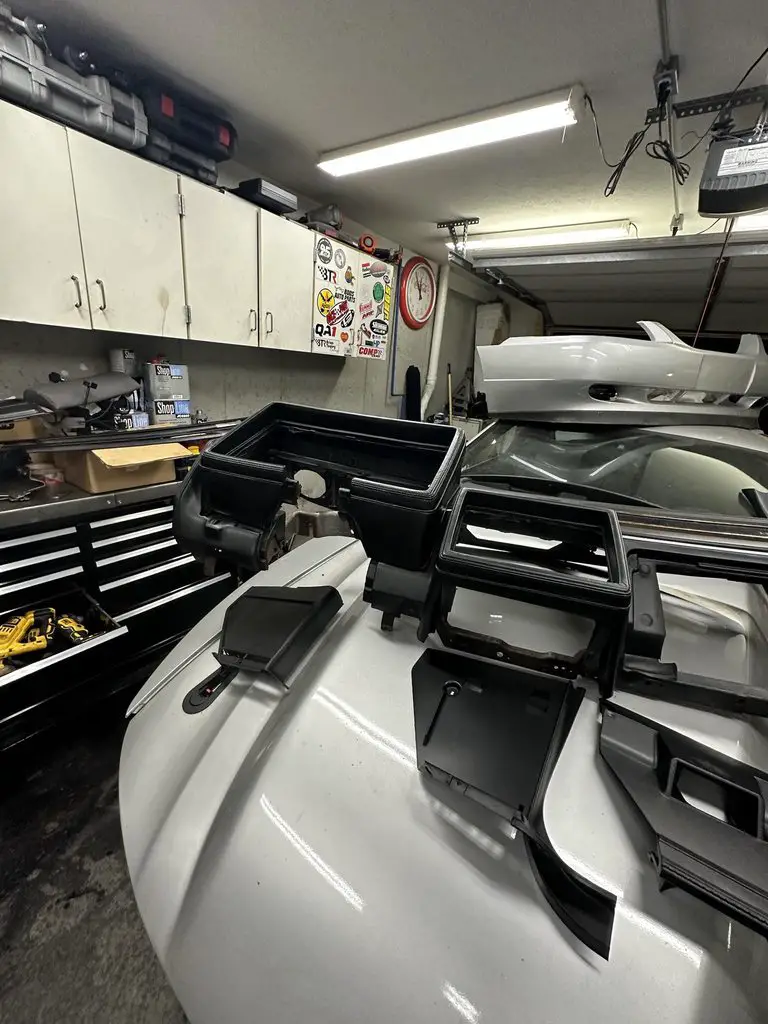
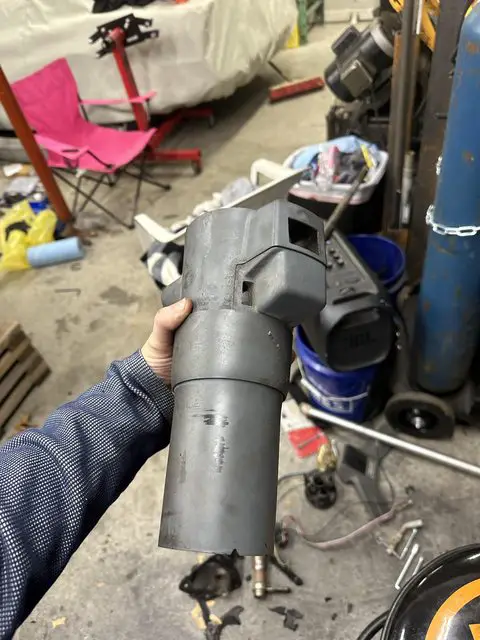
Also finished tearing apart the factory column so i can get the trim off to paint. Wasnt too hard, but a couple of areas you have to proceed with some caution. I will clean up the internals, replace the bearings and springs and regrease before i complete the final assembly. Need to order some more paint so i can get the trim done and put the column inside the car.
DrpEWqtl.jpg


LKZgeuvl.jpg


Need to place a pretty large order on some final things to button up the firewall back. Need the headliner and visors, door seals, felt weatherstipping for the windows, also need to get m hands on the cable that runs from the parking brake cable to the spice point under the driver side. SOOOO If anyone has one of those or the window switch i will gladly pay for them lol.

Stay tuned as i progress through the last bit of the interior and start breaking down the dog house to get rid of the LS fender seams.
 
  • Like
Reactions: 5 users

T-TOP TONY

Master Mechanic
Jun 13, 2008
461
259
63
san bernardino, ca
Just went through your whole build, man what an amazing job.
Star Trek Applause GIF
 
  • Like
  • Agree
Reactions: 1 users

Burning

Greasemonkey
Jul 9, 2020
182
647
93
Bardstown, KY
Just went through your whole build, man what an amazing job.
Star Trek Applause GIF
I appreciate it sir. It’s been about 3 years since I’ve taken possession of the car. Gotten distracted many times on other projects. Hopefully this car will make it to Street Rod Nationals this year. With or without everything completed.

Getting ready to order some more epoxy sealer and 2k high build so I can start working on fenders.

Anyone got a decent hood company for a baby 2” cowl? Prefer steel but not opposed to fiberglass.
 
  • Like
Reactions: 2 users

Burning

Greasemonkey
Jul 9, 2020
182
647
93
Bardstown, KY
Got some time to start working on the car again.

Got the steering column surrounds painted and steering column back together and installed.
IMG_1083.jpeg


Decided that I was going to try to repair the factory headliner since I have been reading mixed opinions on the abs style. Some epoxy, duct tape and some patience we got it looking somewhat normal.
IMG_1121.jpeg

IMG_1122.jpeg

IMG_1124.jpeg

Turned my attention to the rear deck panel and got it wrapped in the same fabric that was used for the door panels. Turned out pretty well.
IMG_1126.jpeg


Then I wrapped the headliner.
IMG_1127.jpeg


Next task was to use some of the “good” quarter inserts to work on making work instead of buying new. Turned out okay, still might stitch them in white.
IMG_1129.jpeg
IMG_1131.jpeg


Got everything installed! Looks great, this was just a fit up. Still need to rewire the courtesy lights in the upper panels and install the sound deadener.
IMG_1140.jpeg


Lastly I turned my attention to trying to connect most of the under dash wiring. Got stumped on these connectors as I didn’t have a clue where they go. Any help identifying? These are under the column area. To help this car is a Monte Carlo and I’m using a regal dash.
IMG_1152.jpeg
IMG_1153.jpeg
IMG_1154.jpeg
IMG_1155.jpeg
IMG_1156.jpeg


That’s all for now folks!
 
  • Like
Reactions: 1 users

mclellan83

Comic Book Super Hero
Jun 27, 2017
4,270
9,483
113
Pgh, PA
Got some time to start working on the car again.

Got the steering column surrounds painted and steering column back together and installed.
View attachment 232561

Decided that I was going to try to repair the factory headliner since I have been reading mixed opinions on the abs style. Some epoxy, duct tape and some patience we got it looking somewhat normal.
View attachment 232562
View attachment 232563
View attachment 232564
Turned my attention to the rear deck panel and got it wrapped in the same fabric that was used for the door panels. Turned out pretty well.
View attachment 232565

Then I wrapped the headliner.
View attachment 232566

Next task was to use some of the “good” quarter inserts to work on making work instead of buying new. Turned out okay, still might stitch them in white.
View attachment 232567 View attachment 232568

Got everything installed! Looks great, this was just a fit up. Still need to rewire the courtesy lights in the upper panels and install the sound deadener. View attachment 232569

Lastly I turned my attention to trying to connect most of the under dash wiring. Got stumped on these connectors as I didn’t have a clue where they go. Any help identifying? These are under the column area. To help this car is a Monte Carlo and I’m using a regal dash. View attachment 232570 View attachment 232571 View attachment 232572 View attachment 232573 View attachment 232574

That’s all for now folks!
I might be finding out tonight what the caramel colored wire is, I have it hanging down in my Monte as well
 

GBodyForum is a participant in the Amazon Services LLC Associates Program, an affiliate advertising program designed to provide a means for sites to earn advertising fees by advertising and linking to amazon.com. Amazon, the Amazon logo, AmazonSupply, and the AmazonSupply logo are trademarks of Amazon.com, Inc. or its affiliates.

Please support GBodyForum Sponsors

Classic Truck Consoles Dixie Restoration Depot UMI Performance

Contact [email protected] for info on becoming a sponsor