79 Cutlass Calais Build

Status
Not open for further replies.
mr evil said:
1979Calais said:
How do I find out what to torque the bolts on my front and rear suspension?


Copied this from another site....and best to tighten loaded,

upper control arm pivot shaft to frame nuts 48
upper control arm pivot shaft to bushing nuts 85
upper balljoint stud to steering knuckle nut 52
lower balljoint stud to steering knuckle nut 70
lower control arm bushing to frqame bolt and nut 65
front shock absorbwer upper satud nut 100in lbs]
front shock absorber to lower control arm bolts20
front stabilizer bar link nut 156 in lbs
front stabilizer bar bracket to frame bolts 24
REAR SUSPENSION
control arm bolts and nuts up[per and lower 80
rear shock absorber to lower mount 65
rear shock absorber to upper mount 144 inlbs
rear stabilizer bar to lower control arm nut 37
steering
steering wheel to steering shaft nut 30
outer tie rod end to steering knuckle nut 30
inner tie rod end to intermediate rod nut 40
tie rod adjuster sleeve clamp nut 15
steering gear to frame bolts 80
pitman arm to steering gear shaft nut 185
idler arm to intermediate rod nut 40
idler arm to frame nuts 60
intermediate shaft pinch bolts upper 46 lower30
wheel lug nuts 80 steel 100 aluminum-just thought I'd throw that in there.
Wheel Hub and Bearing Assembly to Steering Knuckle Bolts 77 ft.lb
Ball Joint to Steering Knuckle Castle Nut (Lower) 79 ft.lb
Ball Joint to Steering Knuckle Castle Nut (Upper) 61 ft.lb
Ball Joint Nuts (Upper/Lower) (Replacement Joint) 17 ft.lb

Thanks a lot!
 
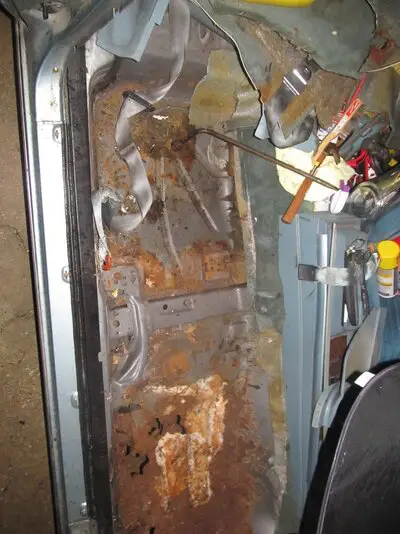
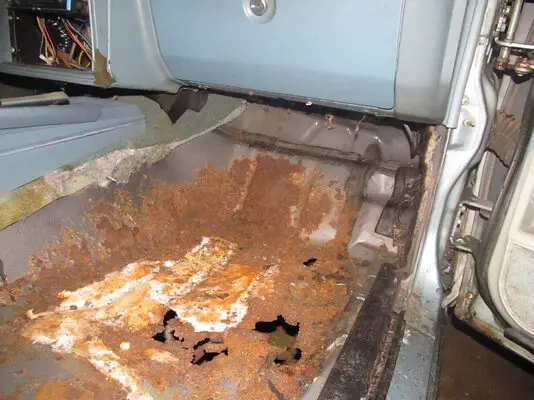
So I found out that I will be able o take my car back to the house where I am going to take it apart at, so I have been taking the inside apart. Crawled under my car yesterday and seen that it had a bad rust spot, so I took the passenger seat out. Got home today and cut the carpet out and found that is was not just one bad spot. Now I got to find a floor pan and someone to put it in.
 

Attachments

  • IMG_6367.JPG
    IMG_6367.JPG
    166.1 KB · Views: 1,356
  • IMG_6368.JPG
    IMG_6368.JPG
    296.6 KB · Views: 1,333
Just been sitting around turning to find someone to put my floor in. Had a few people try to charge me $700-$800. :blam:
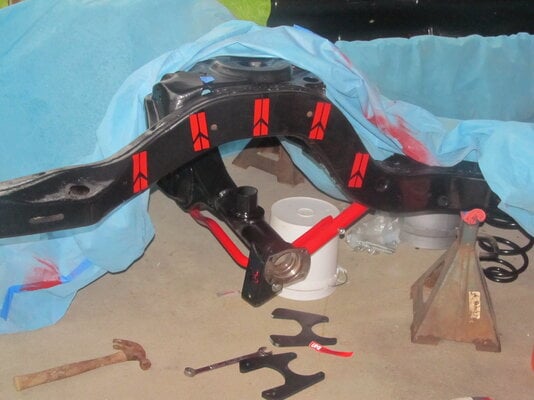
People do crazy things when they have nothing else to do (look at picture below). If there is someone on here in Maryland that can help me with my floor, then please help.
 

Attachments

  • IMG_6788.JPG
    IMG_6788.JPG
    459.3 KB · Views: 1,329
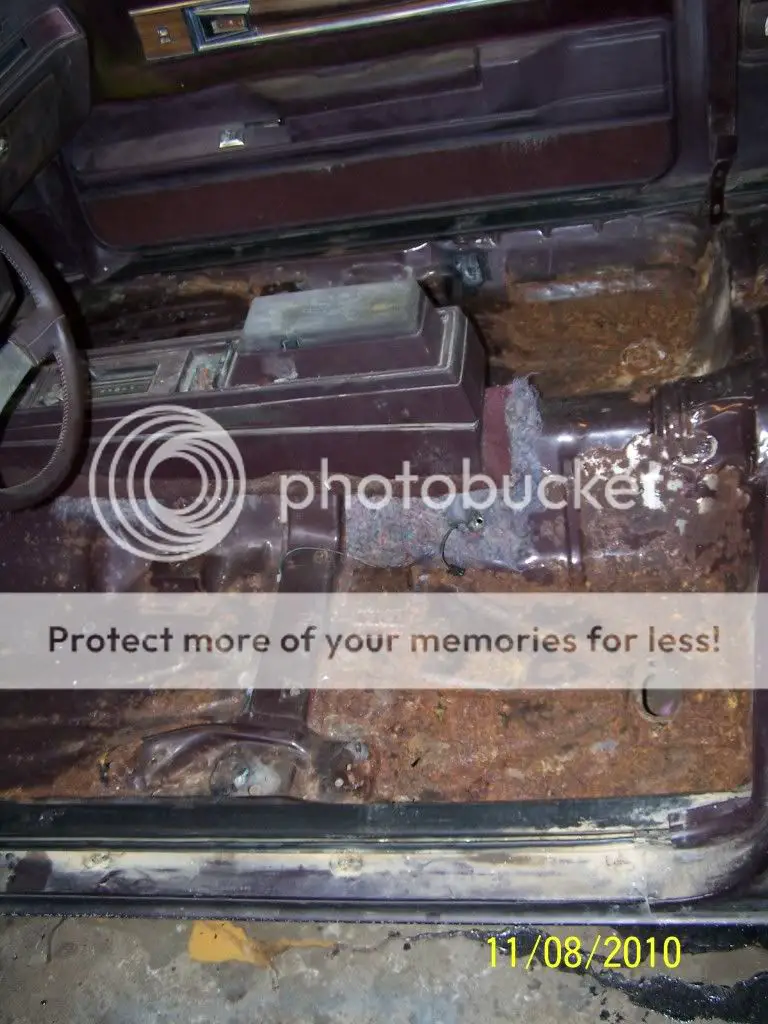
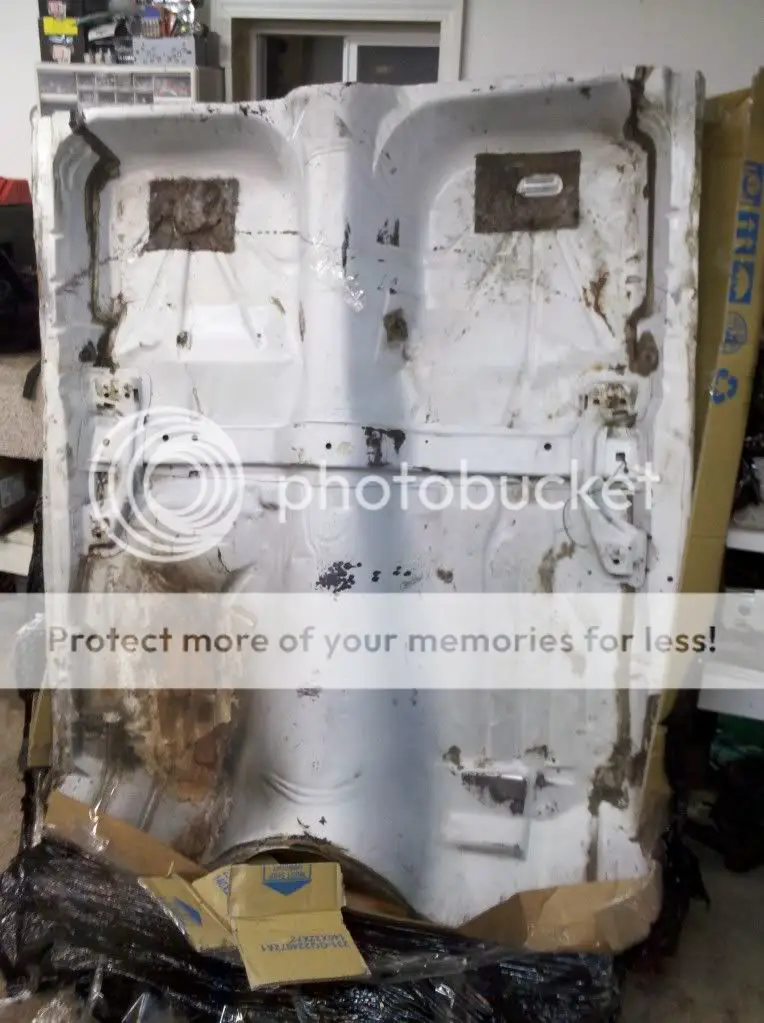
First all my floor pan has stopped me from finishing my build. I purchased a new floor pan, but trying to find someone to install it for under $1,000 has been hard. These people up here are crazy. The people that told me that they would do it for less told me the price and haven't heard from them anymore. I just found one on ebay, but need to know if it would work (looks like it). Can someone tell me if it would work? Link Below

http://www.ebay.com/itm/78-87-ELCAMINO- ... 12&vxp=mtr
 
Maybe you could pop rivet the floor pans in for a temp solution so you can carry on and then figure out the welding later.
 
That is the route I went. I actually bought my floor pan from that seller on ebay. I asked them not to cut in in half though, the whole reason I wanted a new pan was so that it would look as if I never had replaced it. The only downside I had was either the companry or the shipping company dropped it on something, and the whole thing had a crease through the whole rear foot section. All in all a good deal though. Also the one I recieved didn't have provisions for a console or buckets. The good thing is it was an older pan so there was no heat shield for a catalytic converter.

Picture099.jpg


Cutoutfloorpan2-2.jpg


IMG_20101222_191144.jpg


2012-02-19_19-39-43_903.jpg
 
fraido2002 said:
That is the route I went. I actually bought my floor pan from that seller on ebay. I asked them not to cut in in half though, the whole reason I wanted a new pan was so that it would look as if I never had replaced it. The only downside I had was either the companry or the shipping company dropped it on something, and the whole thing had a crease through the whole rear foot section. All in all a good deal though. Also the one I recieved didn't have provisions for a console or buckets. The good thing is it was an older pan so there was no heat shield for a catalytic converter.

Thanks, that really helps me out a lot. 😀 The way you did your looks easy, I am going to try and do it the way you did yours. Look like you use rivets the way Kingsobieski was talking about. Thanks for the ideals Fraido2002 and Kingsobieski. I feel a lot better now, it was driving me crazy.
 
Do NOT pop-rivet a full floor pan in place!
Doing it that way is asking for leaks and rattles, and could result in a catastrophic failure of the cars structural integrity in the event of a collision.
If you really can't find a welder, just cut the patch to size and glue it in place with panel-bonding adhesive.
 
Status
Not open for further replies.

GBodyForum is a participant in the Amazon Services LLC Associates Program, an affiliate advertising program designed to provide a means for sites to earn advertising fees by advertising and linking to amazon.com. Amazon, the Amazon logo, AmazonSupply, and the AmazonSupply logo are trademarks of Amazon.com, Inc. or its affiliates.

Please support GBodyForum Sponsors

Classic Truck Consoles Dixie Restoration Depot UMI Performance

Contact [email protected] for info on becoming a sponsor