BUILD THREAD 81 Buick/Olds Turbo Wagon 02/15/2024 More Parts!

I don't know what I was thinking...:doh:I originally thought it was the rear bumper...duh!
That is a killer concept. It's so clean and smooth looking compared to the original goofy looking lenses.
 
I don't know what I was thinking...:doh:I originally thought it was the rear bumper...duh!
That is a killer concept. It's so clean and smooth looking compared to the original goofy looking lenses.
Jack, it looks like it IS in his rear bumper...

Well, the lenses are epoxied in the rear bumper.
 
Last edited:
  • Like
Reactions: Longroof79
Yes sir, I sure cold. I have some pictures now, but didn't take any of me making the holes. I could make some holes in some scrap sheetmetal just for pictures sake, better yet, I think I will. I will start making the light boxes tonight.

Jack, it is the rear bumper. :friday::mrgreen:
 
Thank you guys for setting me straight. Sometimes I think I'm losing it. 😕
I looked at the pics again, and in fact it is the rear bumper. The older I get, the more confused.
Jim, I know you already completed the front bumper.
 
Thank you guys for setting me straight. Sometimes I think I'm losing it. 😕
I looked at the pics again, and in fact it is the rear bumper. The older I get, the more confused.
Jim, I know you already completed the front bumper.
I hear you there on the getting older part, lol.
 
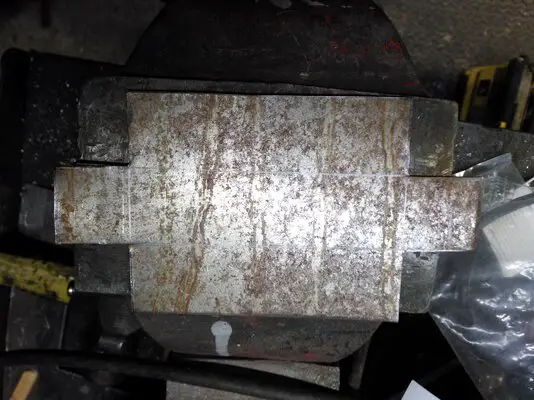
Ok, I started making one of the LED board boxes last night. My box and pan brake is all apart so I just used some steel, the vise, and a body hammer to form the box. Not precision, nothing fancy, but works for this.

I cut up a piece or 18ga steel to form the box.

IMG_20151022_223026.jpg

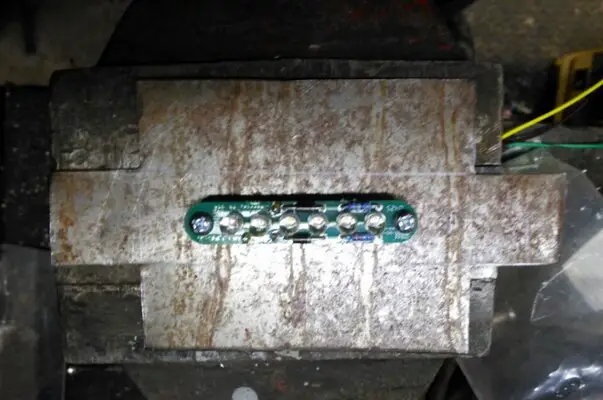
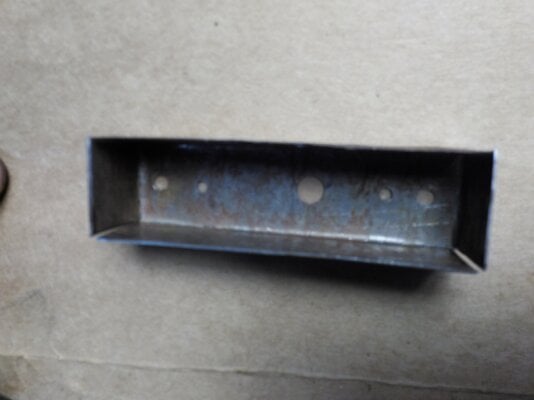
I made my marks and drilled the holes needed to mount the LED board, the wire hole, and mounting holes to secure it to the bumper. Then formed it into a box.

IMG_20151023_015407.jpg

IMG_20151022_225518.jpg

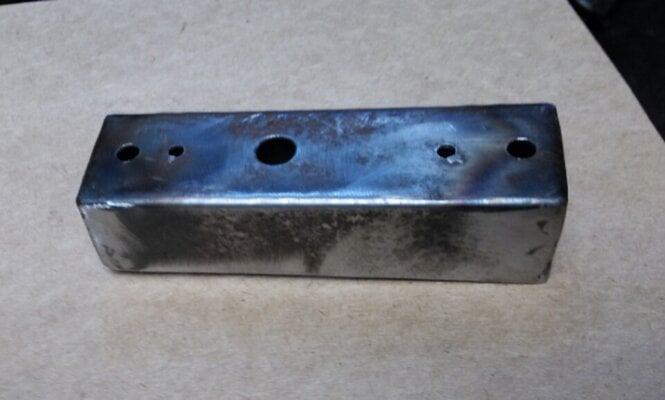
After that, I took the TIG and welded up the corners.

IMG_20151023_015533.jpg

I'll put this in the blast cabinet, finish smoothing the welds, and paint it. I have 3 more to do. More pics to come.
 
Last edited:
Wow. Imagine it - and make it happen - by yourself. I am so looking forward to the final reveal!
 
  • Like
Reactions: Longroof79
It looks great, Jim. I'm totally impressed. This is no slapped together job...
 
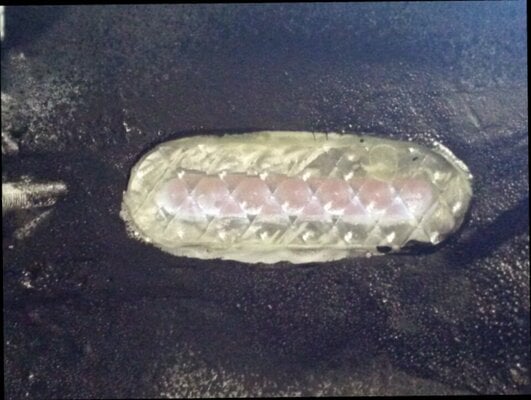
Ok, so the rear flush mount LED lights are installed. The lenses have a few thousandths to get sanded down to be flush, but I will do that during the final blocking of the car. So for now, they are just a bit high.


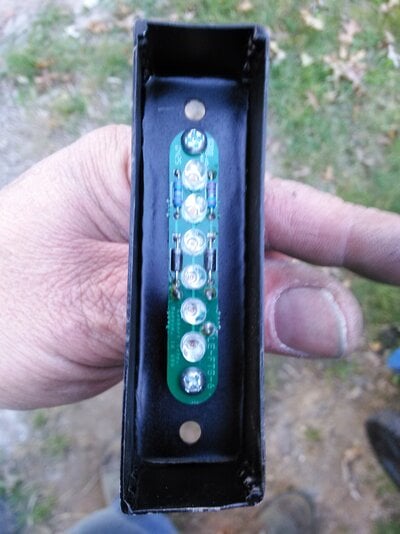
Last we left off I was fabricating the metal housings for the LED boards. After I made the 2 of them (for the rear), I tossed them in the blast cabinet to clean them up, and I dusted some etch primer and then some Eastwood Underhood black (that is what I had laying around). Then I mounted the LED boards with the supplied hardware, I think it was 6-32 screws and nuts with lock washers. There is a 1/4" plastic spacer between the housing and the rear of the LED board to keep the electronics off the metal.

IMG_20151023_171320.jpg

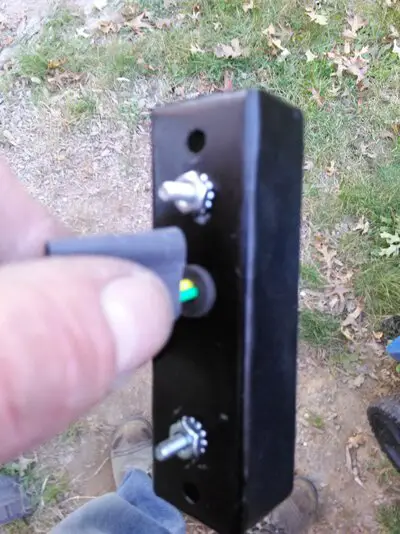
Where the wires come through I just used a regular old rubber grommet to protect from chaffing.

IMG_20151023_171329.jpg

I also masked the backside of the bumper where the lenses are epoxied in, and blended some epoxy, paint then some undercoating. The backs of these bumpers all seem to rust so I wanted it protected.

IMG_20151025_232525.jpg

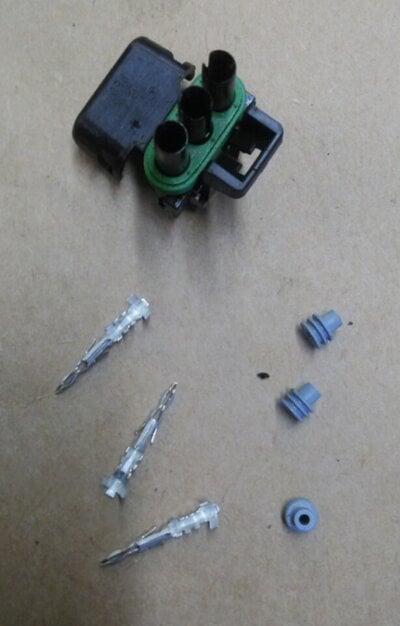
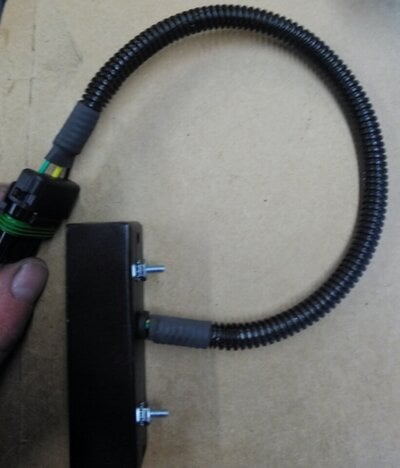
After the boards were mounted and the wires fished though, I added some 3 pin weatherpak connecters so I can attach these to the taillight harness after I modify it. I wrapped some split loom over the harness and a few pieces of heat shrink over the ends to keep it all in place.

IMG_20151025_232104.jpg

IMG_20151025_232120.jpg

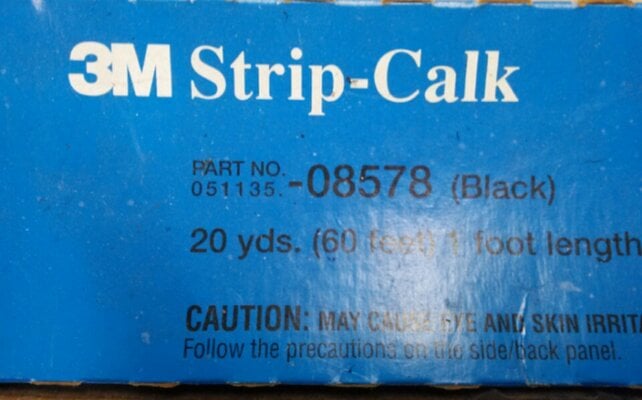
With that all done, I used some 3M strip caulk to seal up the lights to the rear of the bumper. I had thought about using RTV, but I want to be able to service these in the future if I ever need to, and the strip caulk can get removed in the future, may be a pain in the *ss, but easier than a bunch of RTV.

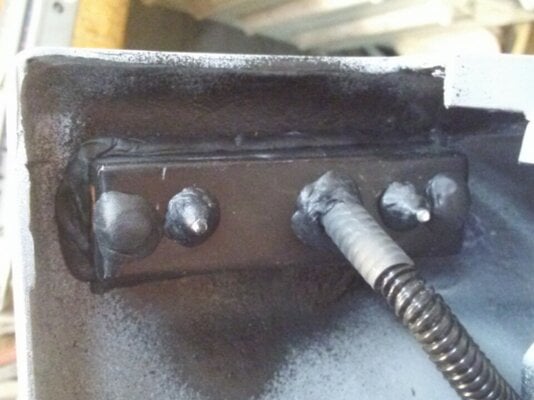
I took the strip caulk and put one strip around the perimeter of the housing opening, like a gasket, then tightened the housing down. After that, I used some more to seal up the hardware, wire hole, and around the housing where it meets the bumper where the (gasket) squeezed out. Also, all the hardware is stainless, no rusting here.

IMG_20151025_232205.jpg

IMG_20151025_232306.jpg

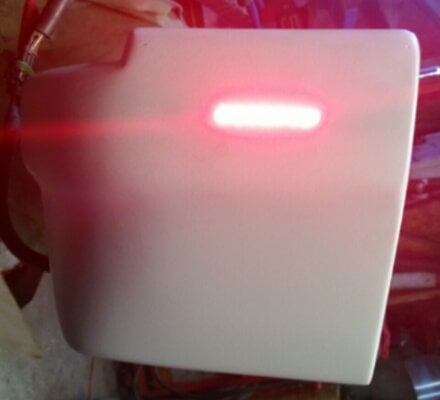
A quick ops check and all is good.

IMG_20151025_232355.jpg
 
Last edited:
I have to modify the taillight harness to add the Digi-tail taillights, and add the plugs for the marker/parking lights. I'll tackle that this week along with the front LED parking/turn lights.
 

GBodyForum is a participant in the Amazon Services LLC Associates Program, an affiliate advertising program designed to provide a means for sites to earn advertising fees by advertising and linking to amazon.com. Amazon, the Amazon logo, AmazonSupply, and the AmazonSupply logo are trademarks of Amazon.com, Inc. or its affiliates.

Please support GBodyForum Sponsors

Classic Truck Consoles Dixie Restoration Depot UMI Performance

Contact [email protected] for info on becoming a sponsor