Well thank you, I appreciate it. As for being "done" I know I have a lot of hurdles ahead. Wiring will be the one of the biggest hurdles for myself. I think you are a few steps ahead of me though, but thanks for the bookmark. I hope one of us burns rubber soon.Congrats and all the accomplishments. Just awesome work brother. Everything looks great, you should be proud of what you've done. Another one saved, that "shoulda been crushed". I'm 3 yrs into mine, and have gone thru mental ruts,indecision, wrong decisions and just plain not had time. It's so much more then I expected it to be. It looks like your gonna beat me done. I am jealous 😆 🤣
This might help you out. I've had it bookmarked for years.
Thread 'Differences between Bucket seat tracks and 60/40 tracks. w/pics.' https://gbodyforum.com/threads/differences-between-bucket-seat-tracks-and-60-40-tracks-w-pics.73467/
BUILD THREAD 87 Regal Build
- Thread starter RegalRegal
- Start date
You are using an out of date browser. It may not display this or other websites correctly.
You should upgrade or use an alternative browser.
You should upgrade or use an alternative browser.
- Status
- Not open for further replies.
RegalRegal, this is probably stupid but where did you get your floor pans because I've been looking for ones that will specifically replace the door sill part and I've had no luck.
No such thing as a stupid question!
I purchased my floor pan from Original Parts Group, I belive it was a Goodmark part. The fit and quality was A+, shipping was more due to the size (129.99) but expected.
Awesome, thank you so much. That helps me kind of steer my project back into the right direction.No such thing as a stupid question!
I purchased my floor pan from Original Parts Group, I belive it was a Goodmark part. The fit and quality was A+, shipping was more due to the size (129.99) but expected.
Yes that's awesome, I was following your thread and was bummed when I seen you sold it, but that's life sometimes. Hopefully you find a good roller, I have been told more than once to sell and find something cleaner but I'm on a mission to complete what I started. Lol
Yeah it sucked to end it without getting it on the road but life has changed and priorities have too. I'm glad you've got the interest and enthusiasm I couldn't seem to muster. I have a Dodge diesel that has a build thread of sorts on here and I wouldn't be totally opposed to selling it and putting the proceeds towards a good swap candidate.
Well it's about time I post an update.
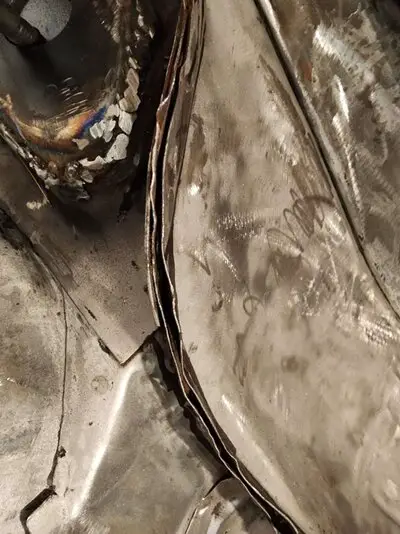
I started with the P.s. rear seat pan. After further inspection I decided to cut out seat belt mounting plate and replace the metal it mounts to. I was able to bend and make a decent size piece.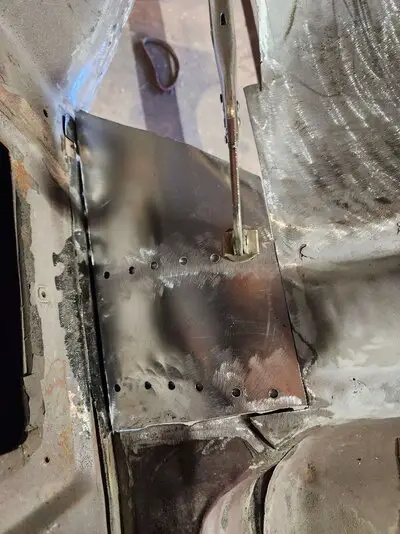
The next piece was broken up into a few pieces, starting with the 90° piece.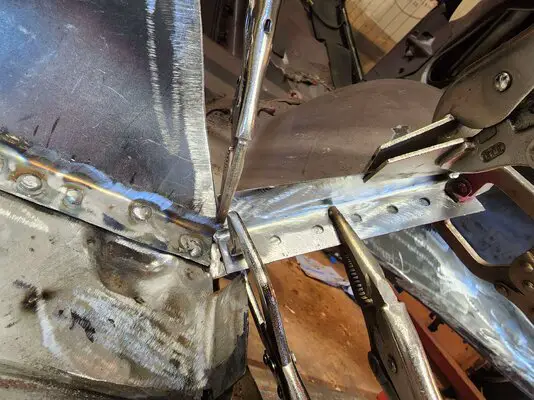
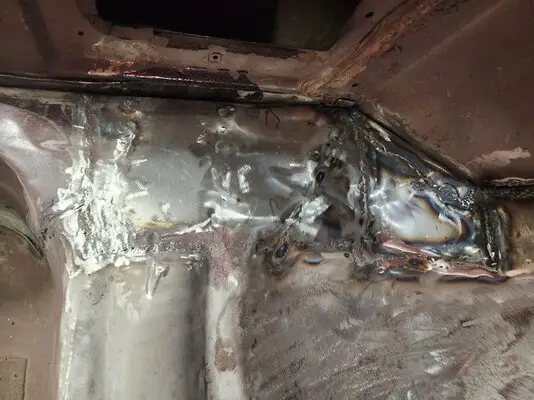 I need to finish touching up a few spots and mount seat belt plate.
Measure twice, cut once. Not in this garage.
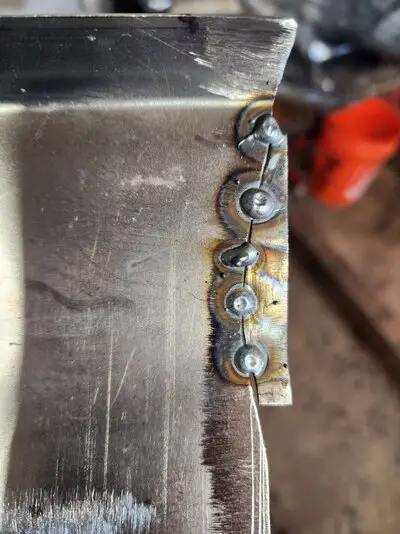
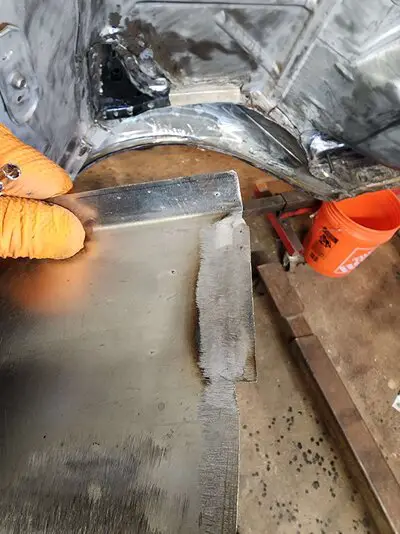
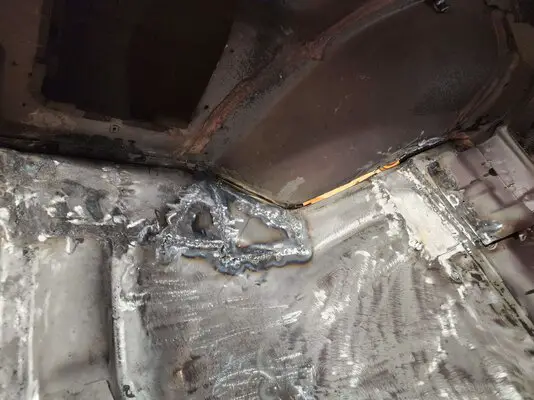
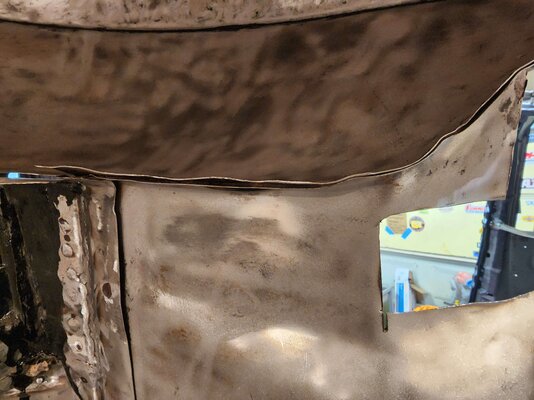
Next I went after the upper trunk pan and inner wheel well area.
Some of the bad.
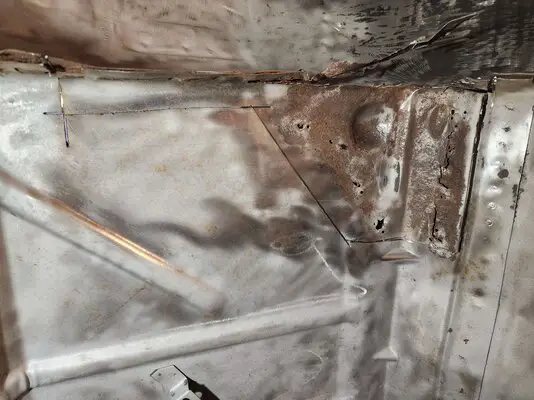
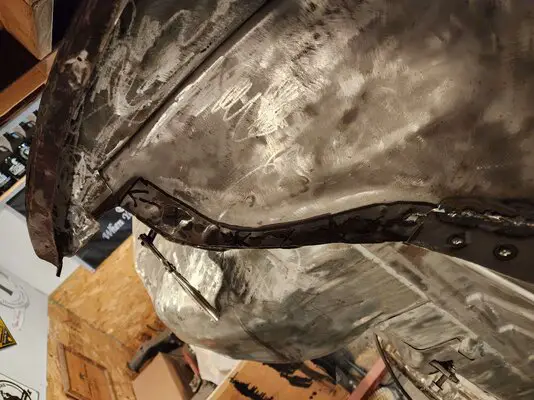
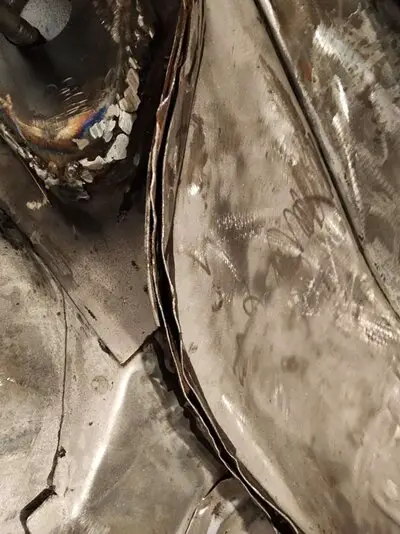
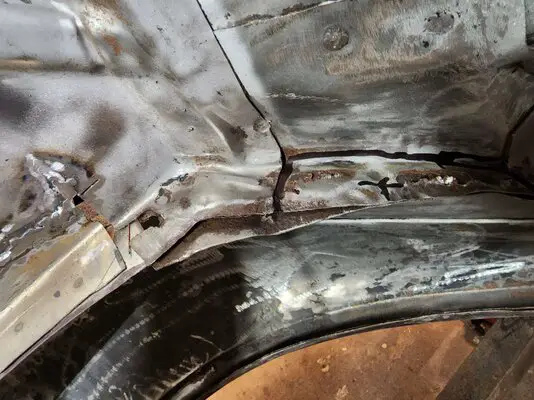
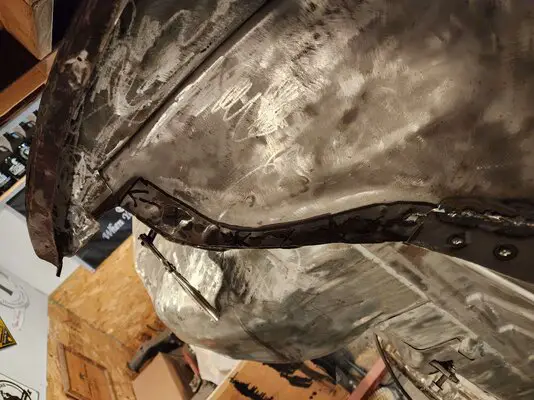
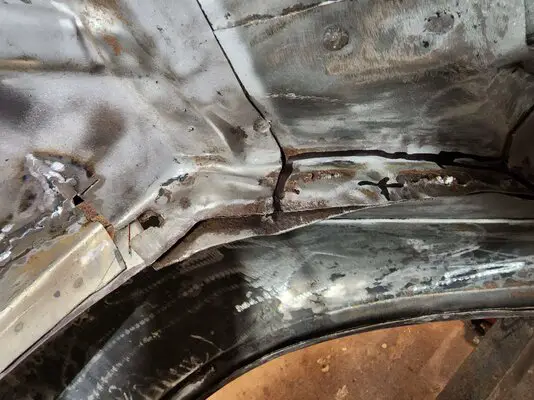
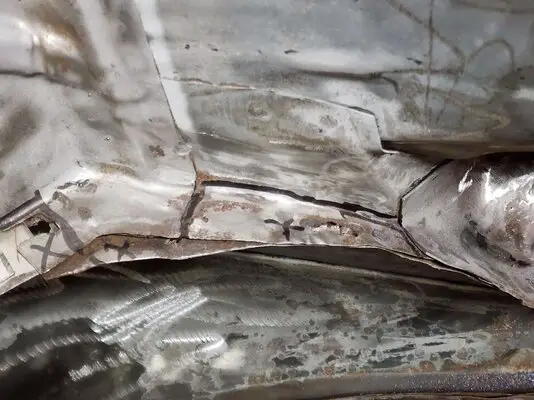
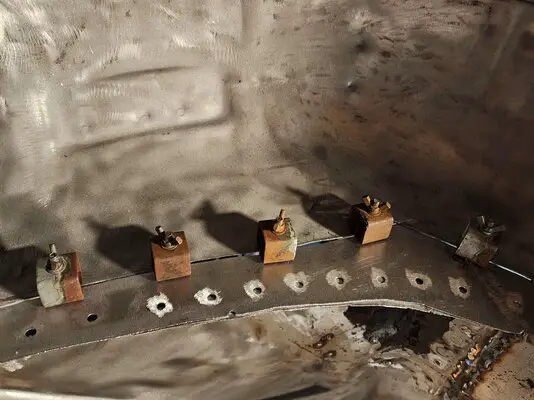
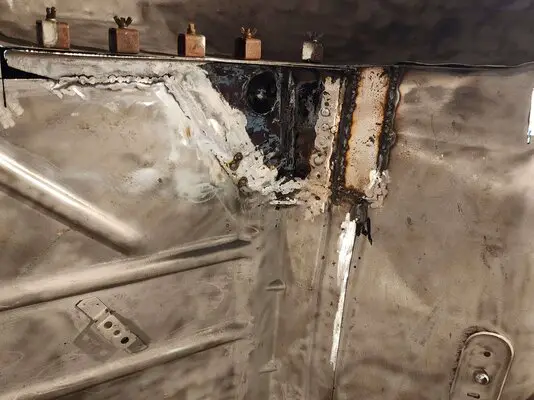
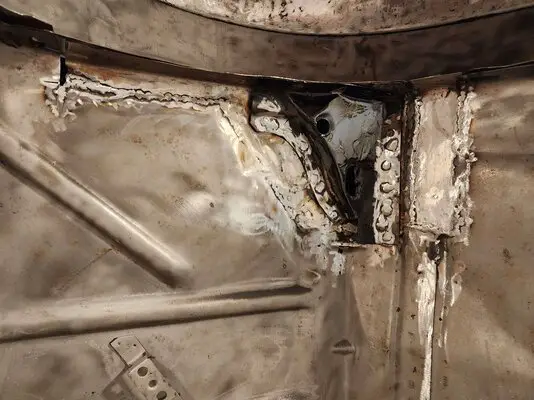
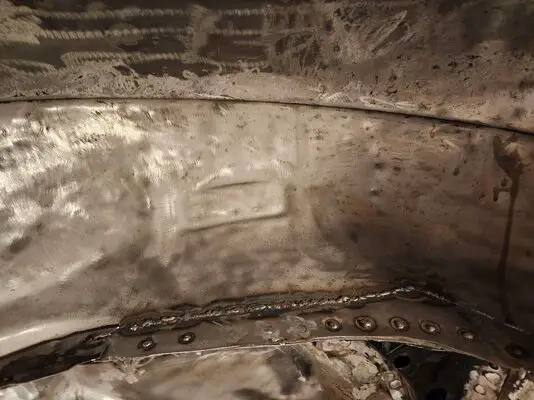
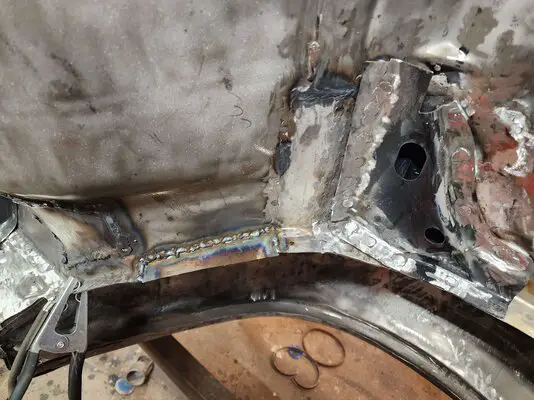
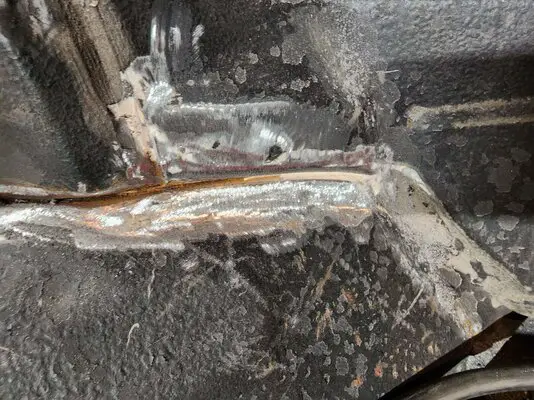
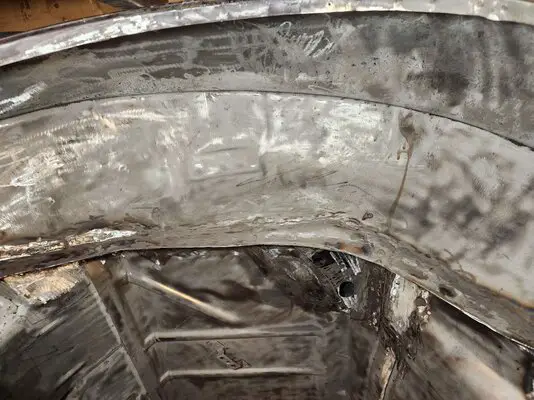
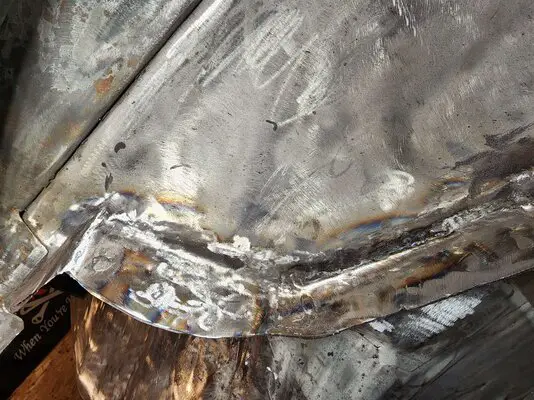
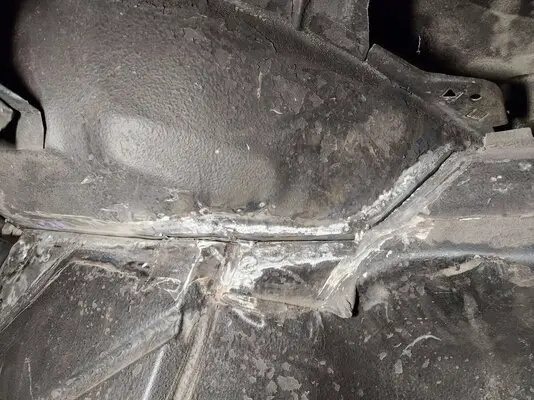
And with that I am officially done with the sheet metal replacement. I also replaced body mount #6 on the P.S. leaving the #7 mount that does need replacing because the cage is missing but unexcessable now with rotisserie mounted there.
I started with the P.s. rear seat pan. After further inspection I decided to cut out seat belt mounting plate and replace the metal it mounts to. I was able to bend and make a decent size piece.

The next piece was broken up into a few pieces, starting with the 90° piece.

 I need to finish touching up a few spots and mount seat belt plate.
Measure twice, cut once. Not in this garage.


Next I went after the upper trunk pan and inner wheel well area.
Some of the bad.


And with that I am officially done with the sheet metal replacement. I also replaced body mount #6 on the P.S. leaving the #7 mount that does need replacing because the cage is missing but unexcessable now with rotisserie mounted there.
Attachments
I'm also a measure once, fix later type lol. Very nice work.
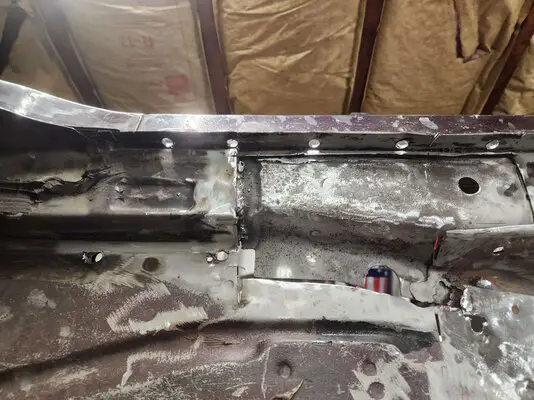
Ok I was in denial about the P.S. floor pan sill. I thought there was a chance of leaving it, not really more like didn't want to open another can of worms but I have an can opener. The decision was made now the how. I don't want to create more work than absolutely necessary. The outer rocker is good and only a portion of the inner is affected. So let's start cutting!
This was bottom side.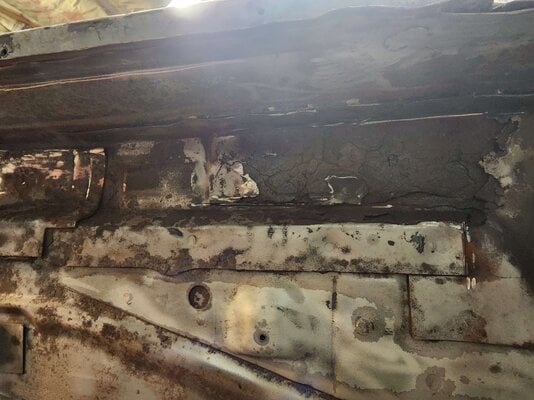
I forgot to take a picture or the topside of sill. This was after first removal and a little clean up.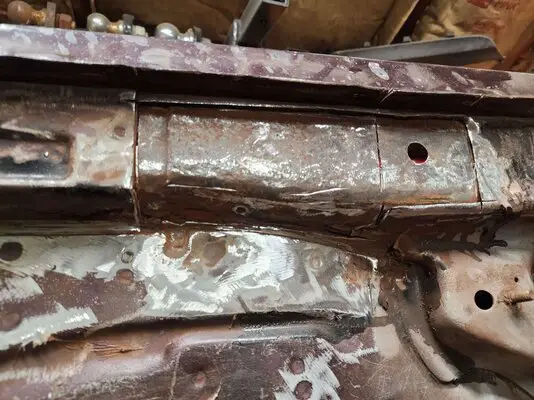
A little more removed and cleaned.
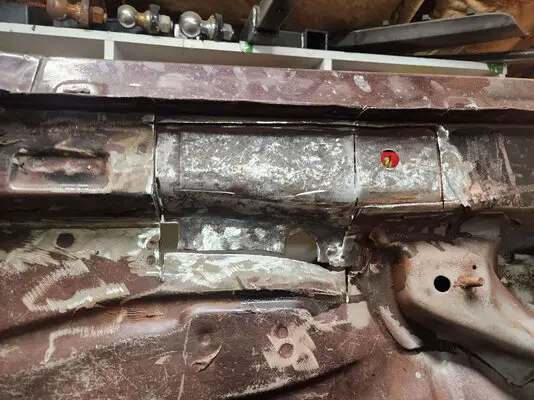
This was after a light blast.
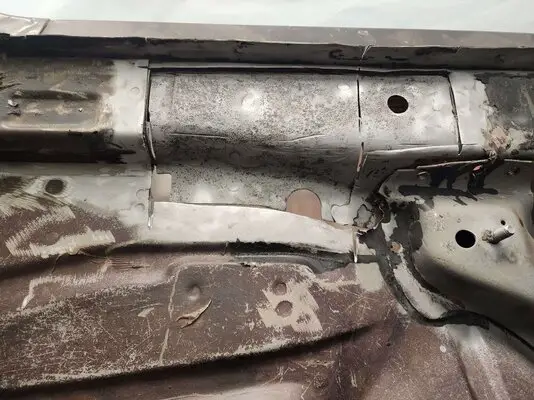
The rusted seam goes under seat bracket so away it goes.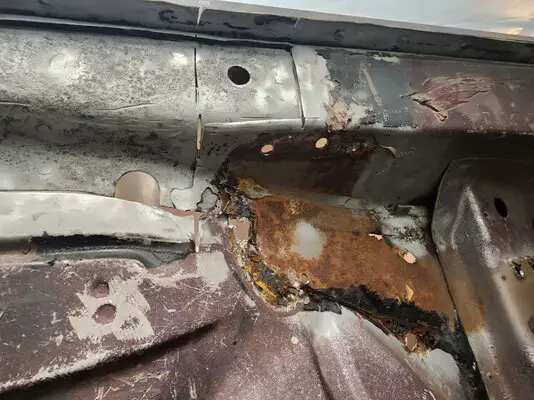
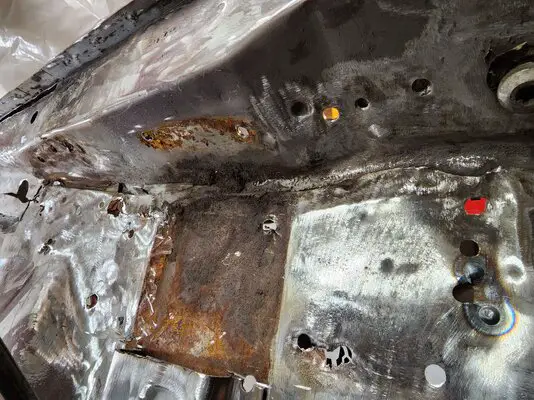 The metal under the bracket has only surface rust, its the lap area that needs to be replaced.
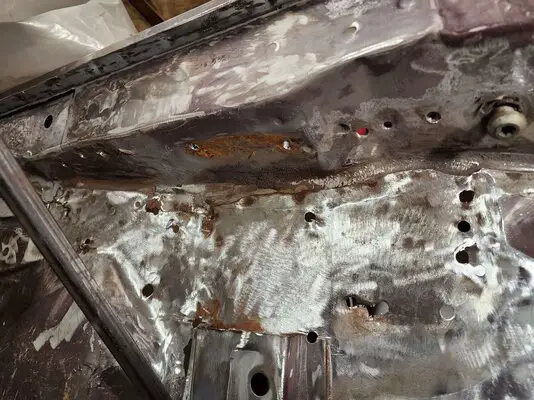
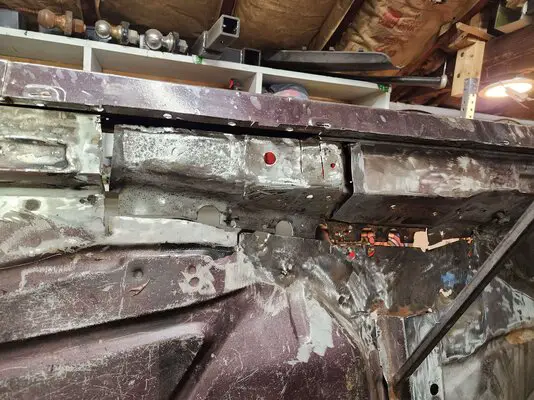
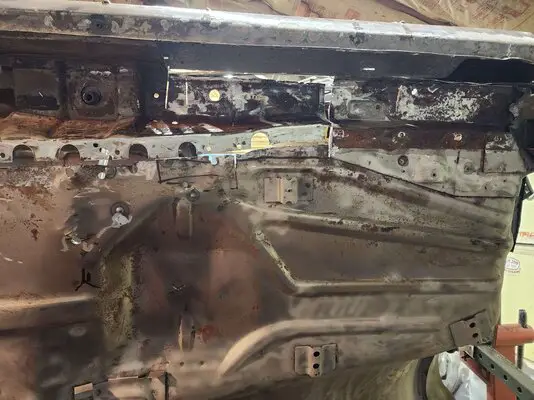
This is where I'm at for today. Sheet metal is supposed to be delivered tomorrow, until then I am going to blast and remove a little more bad metal and prep for new metal.
This was bottom side.

I forgot to take a picture or the topside of sill. This was after first removal and a little clean up.

A little more removed and cleaned.

This was after a light blast.

The rusted seam goes under seat bracket so away it goes.

 The metal under the bracket has only surface rust, its the lap area that needs to be replaced.


This is where I'm at for today. Sheet metal is supposed to be delivered tomorrow, until then I am going to blast and remove a little more bad metal and prep for new metal.
Attachments
Another fun filled day of welding and grinding. My garage is lacking in the air department, so I got a cordless belt sander a few months back. Probably one of the best tool purchases I've made. With that and 3M file belts it has made grindings out the welds a breeze. Tried some off brand belts and there is no comparison with the 3M brand for the amount of material it grinds and the length of time they stay grinding. As for the tool it gas been working great. Only my second Ryobi tool (I'm a Milwaukee Man) but I'm happy with it. 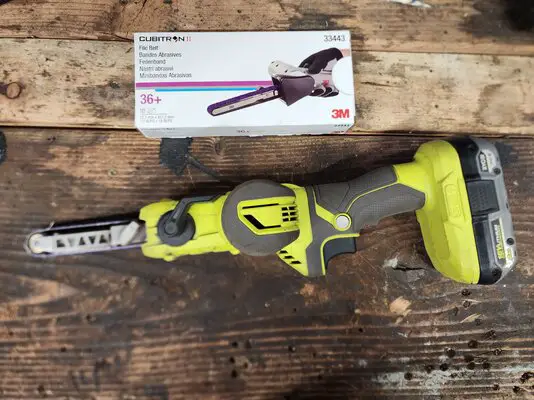
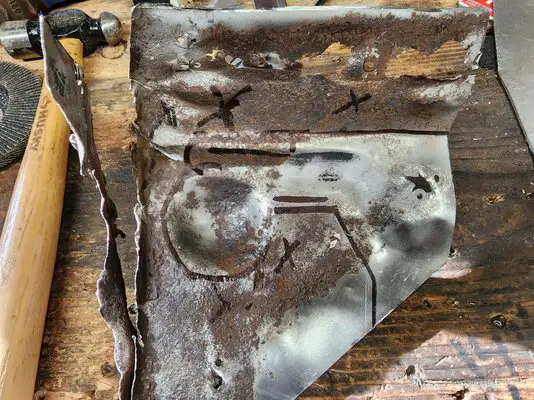
Anyways started making templates as I await the arrival of more sheet metal.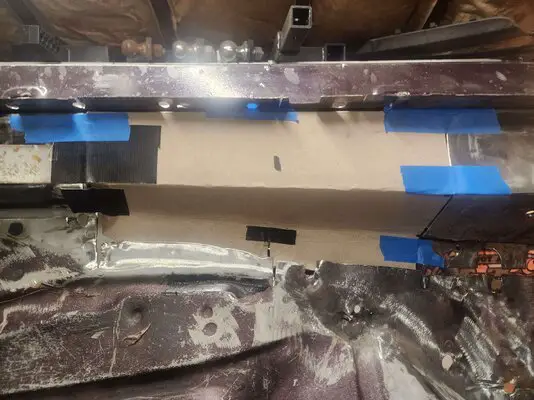
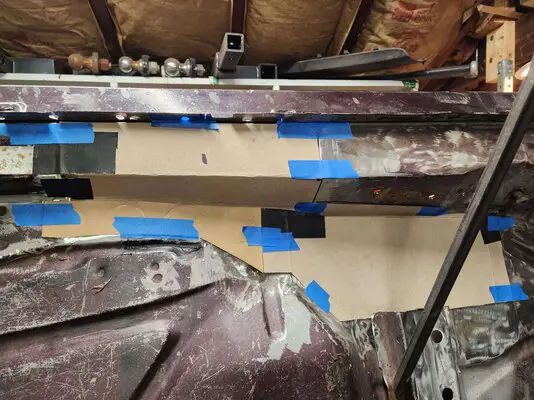
I did get a delivery, center console and shifter mounts.
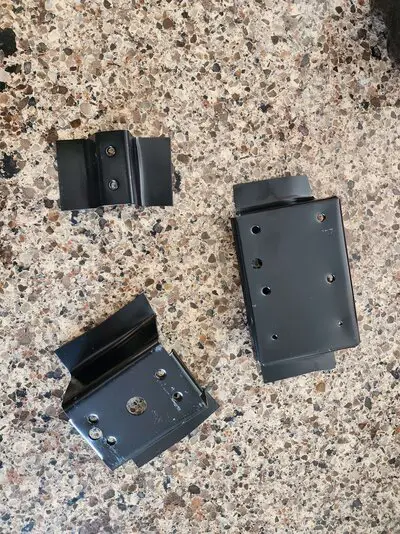
I just about finished the templates for the interior sheet metal replacement.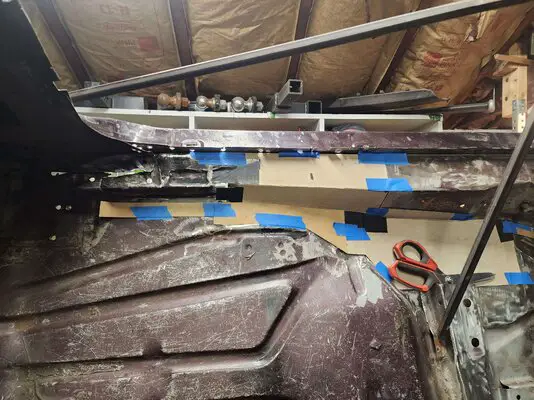
The exterior side is rough, although I believe I got to some decent metal. I still need to finish a little more removals.
The sheet metal showed up, maybe tomorrow I can start burning in some new metal.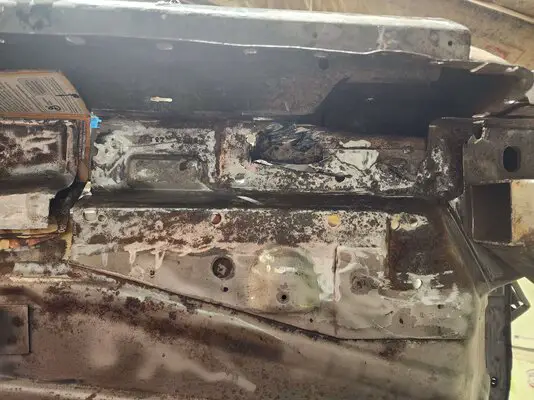

Anyways started making templates as I await the arrival of more sheet metal.


I did get a delivery, center console and shifter mounts.

I just about finished the templates for the interior sheet metal replacement.

The exterior side is rough, although I believe I got to some decent metal. I still need to finish a little more removals.
The sheet metal showed up, maybe tomorrow I can start burning in some new metal.

The band file tool is definitely the way to go for removing spot welds. I used to use to the the spot weld cutters and rotabroaches, but they suck unless you need to save the top panel.
Battery tools have come a long way since lithium ion batteries were introduced. I like Milwaukee stuff too but it's hard to beat the value of Ryobi stuff.
Very nice work.
Battery tools have come a long way since lithium ion batteries were introduced. I like Milwaukee stuff too but it's hard to beat the value of Ryobi stuff.
Very nice work.
Thanks, I primarily use it to grind after I weld. I usually drill out spot welds when the material is bad and I do use a spot weld removal tool if I can actually see where they are.The band file tool is definitely the way to go for removing spot welds. I used to use to the the spot weld cutters and rotabroaches, but they suck unless you need to save the top panel.
Battery tools have come a long way since lithium ion batteries were introduced. I like Milwaukee stuff too but it's hard to beat the value of Ryobi stuff.
Very nice work.
- Status
- Not open for further replies.
Similar threads
- Replies
- 0
- Views
- 95
- Replies
- 26
- Views
- 706
- Replies
- 2
- Views
- 203
GBodyForum is a participant in the Amazon Services LLC Associates Program, an affiliate advertising program designed to provide a means for sites to earn advertising fees by advertising and linking to amazon.com. Amazon, the Amazon logo, AmazonSupply, and the AmazonSupply logo are trademarks of Amazon.com, Inc. or its affiliates.


