If Clone TIE pilot is the preacher, then I am the choir on this. Lay out and fab up your patch, use those screws as locating pins, scribe the edges of the patch on to the existing surface, lift the patch and start cutting out the rot.
Based on your picture and what I have found in similar situations, I personally believe that you need to strip back that seam sealer for another foot or two. What can look solid with the sealer in place can turn out to be anything but once you strip it down to expose the seam. What you have uncovered is the obvious ruin.
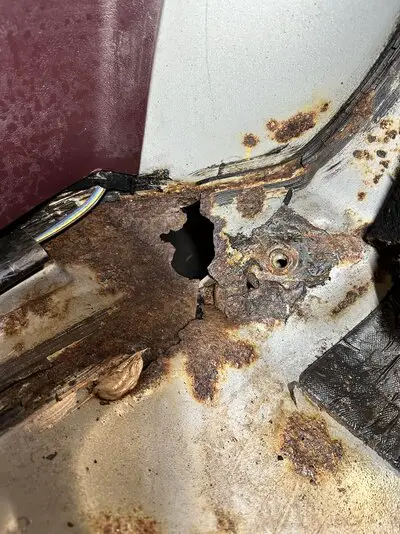
From the picture I get that your hole is immediately adjacent to the inner fender well; that makes me suspicious that the seam made from the attachment of the floor to the inner fender well might have issues as well. To that end, with more investigation, you might find more extensive decay than what is immediately obvious, So make your patches, because you might find yourself building a large repair panel out of smaller ones just to get the completed shape correct, somewhat larger than you think you might need. Once you know for certain how much metal you have to replace, then you can get to doing the trimming and tweaking needed to get to the final fit. Then burn it in. TIG if you can swing it, MIG as an alternative.
Not trying to be a total downer here, just remembering that this board has any number of horror stories posted by the various members about that tiny pinhole they discovered one day that, when they stripped off the finish to repair it, turned out to be a total crater once it was exposed.
Nick