Elco 300 Utility Wagon
- Thread starter Doug Chahoy
- Start date
You are using an out of date browser. It may not display this or other websites correctly.
You should upgrade or use an alternative browser.
You should upgrade or use an alternative browser.
- Status
- Not open for further replies.
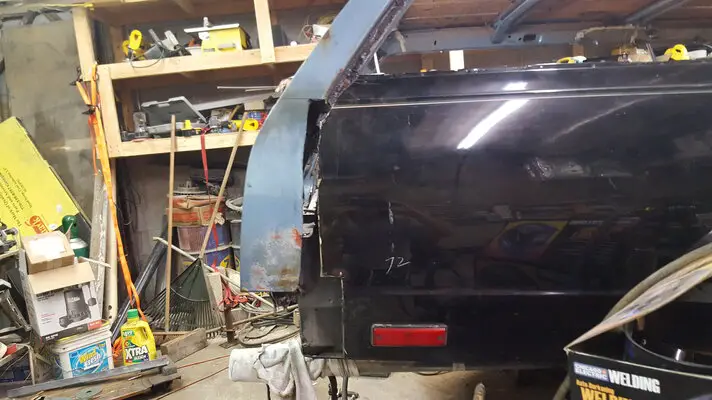
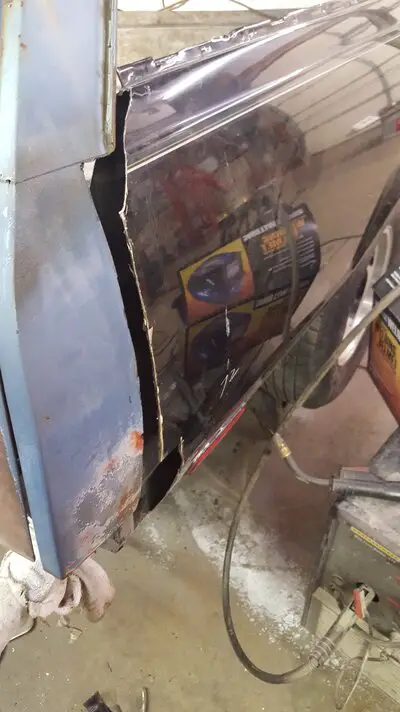
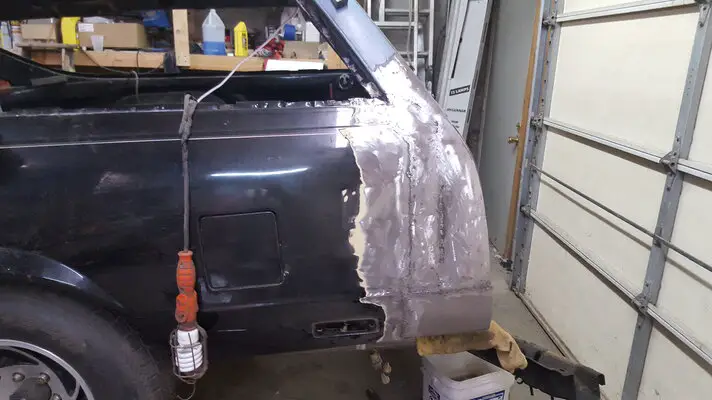
Many times on and off with the roof trial fitting then trimming here and there. Using new metal to make up the gaps. This was built with the bumper reinforcement in place because I built around it. I continued the upper Elco body line in the metal making a corner going upward. Then I


 relocated the marker lights, which I felt were stupidly to low and totally out of place with the way I extended the 1/4s


Attachments
Lookin' good, Doug.
I'm glad to see your progress after talking about it for a few years. Thanks for posting the pics. I'm anxious to see how it turns out. 👍
I'm glad to see your progress after talking about it for a few years. Thanks for posting the pics. I'm anxious to see how it turns out. 👍
I've seen this car in person, and pics don't do it justice. Great work!
As I said I left the bumper reenforcement in place to build around and build the steel role pan on


The one part I realized I didn’t get pics of was relocating the 1/4 and roof window channel. The wagon section on the roof was way off from the 1/4. Plus I couldn’t locate a glass shop that would EVEN TRY to make the windows out of curved glass. I pretty much had to create almost all new window channel for flat glass. A shop about 5 miles from me said he’d do it for about $500.00. In another thread yesterday I posted that I ordered my 9 inch rear from Quick Performance. He said I’d have it within 2 weeks due to Christmas and New Years. I was able to order the LS1 housing ends, so NO Ford brakes. And the 2000 Fbody wheel studs 12mmX2.5 so all 4 wheels can use the same lug nuts. After the new engine, trans, SS Choo Choo nose, brake system/conversion , March serpentine system, UMI/Moog/KYB suspension it’s the last BIG ticket item till paint and supplies in the spring.
Moving on to the tailgate. First thing, that UGLY (to me) plate bucket HAD to disappear, thats why I put one in the roll pan. No way did I want the taillights at factory (way to low) level. I searched any car ever made to come up with something different and tastefull to my build. At one point I considered 59 Impala cats eye to the extent of aquiring a junk pair to see what they’d look like. NO WAY, to clownish. When I saw Overhauling when they used the 67-68 Camaro taillights, I didn’t like the Camaro ones but it made me think Pontiac. I always really liked Pontiacs slotted Frenched style lights from 67-68 so I checked sizing and went with 67~68 Firebird lights. I wrote to Overhauling to ask how they did the Camaro ones, no reply. Turns out theres one hell of alot more involed than they show. There’s a large inner frame that is welded to the Firebird tail panel that the lights bolt into plus the lights themselves when installed, are out beyond the inner tailgate. I solved both of those hic-ups by purchasing a Goodmark Firebird tailpanel, over $200.00. After they were installed I created boxes on the inside of the tailgete to house the lights. I’d really like to see what Foose did on the inside. I separated the inner frame from the panel then cut out the taillight framing.(anybody need a Firebird valance panel? LOL)


- Status
- Not open for further replies.
Similar threads
- Replies
- 2
- Views
- 211
- Replies
- 0
- Views
- 132
GBodyForum is a participant in the Amazon Services LLC Associates Program, an affiliate advertising program designed to provide a means for sites to earn advertising fees by advertising and linking to amazon.com. Amazon, the Amazon logo, AmazonSupply, and the AmazonSupply logo are trademarks of Amazon.com, Inc. or its affiliates.


