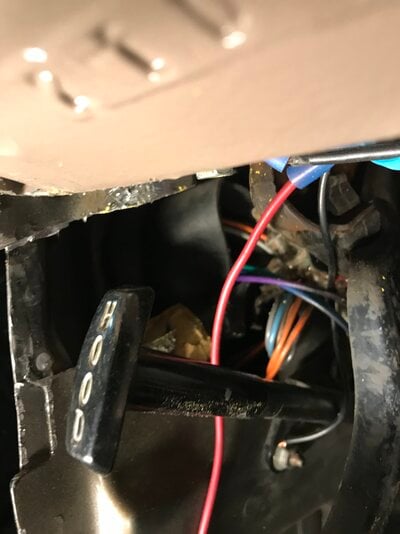
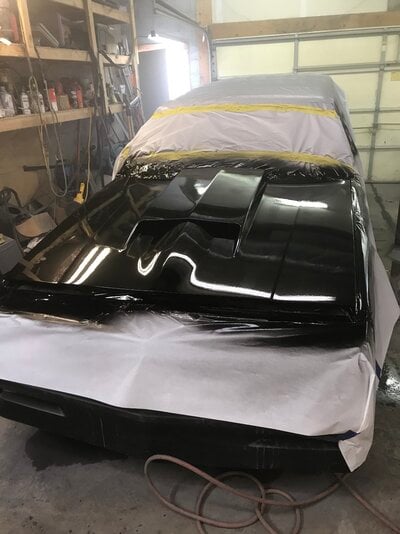
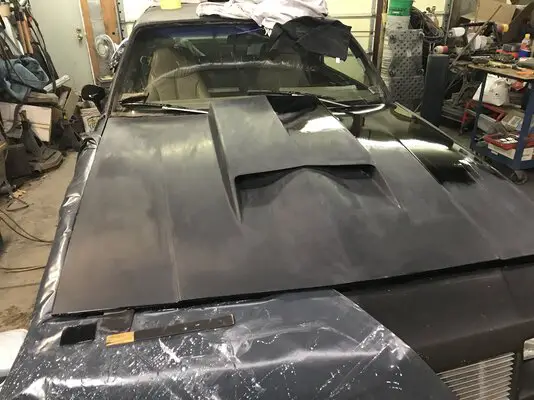
The dashboard misery continues. I bought it new headlight switch, don’t remember what brand. After having to put the shaft/knob in and out a few times to check the different lighting functions during the dash install. Now that I have 95% of the dash done, the shaft/knob doesn’t lock into the switch anymore. Got another one AC Delco coming this time. Also to other members with 79 Chevys with the headlight switch and windshield wiper switch mounted in the lower left corner of the dash. That plastic bracket that holds them in place, usually broken off bottom mounting tab. Mine was so I bought the metal replacement. First thing I found out was my new AC Delco windshield wiper switch wasn’t an exact fit until I filled all around the opening for it. Then after it was painted and installed, the cluster bezel wouldn’t go in far enough. Turned out the bottom mount of the bracket wasn’t right. It held everything out to far. Took all that apart AGAIN and cut that mount off, filed it some then welded and repainted it. Now atleast all of it fits right. Then because my dome lights weren’t working when you open a door, I bought new AC Delco dome light jamb switches. The dome lights would come on only when I’d turn the headlight switch all the way to that position. So atleast I know the dome lights DO WORK. Now the misery of this part. I removed the jamb switch, the inner clip that held it in place crumbled in pieces. I considered using metal to metal bonding adhesive to install the new one but thought maybe the metal to metal contact of switch served as a ground. I found a nut that fit the switch and then proceeded to hacksaw a 2X2 piece out of the kick panel pinch weld area to get clearance. IT WORKED, I got the new switch installed. Now again for me, Murphy’s Law shows up and the dome light still doesn’t come on with the doors open. Gave up on that for the day and after 8 days dry time started the tedious process of block sanding my newly painted hood. Going in 500 grit increments from 1000 to 3000 grit wet sanding. That’s 5 sandings, I’m going to be soggy wet.
Elco 300 Utility Wagon
- Thread starter Doug Chahoy
- Start date
You are using an out of date browser. It may not display this or other websites correctly.
You should upgrade or use an alternative browser.
You should upgrade or use an alternative browser.
- Status
- Not open for further replies.
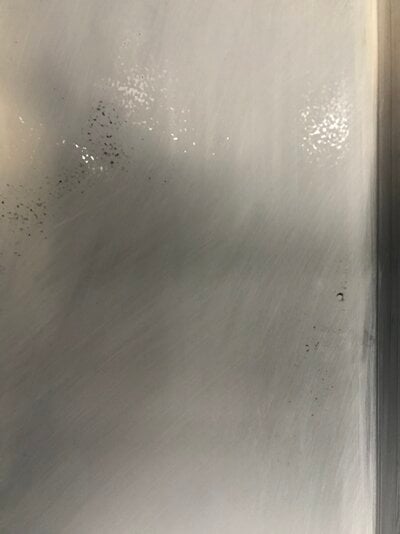
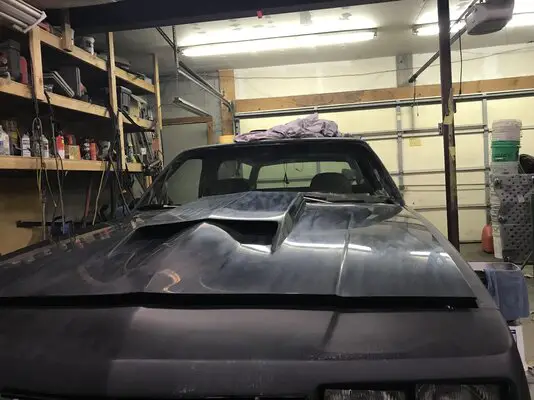
In the process of the 1000 grit sanding. Only 4 more sandings to go. I kinda miss the old laquer days when you’d sand it with 600 and compound the h-ll out of it. LOL I get almost all of the orange peel out with the first sanding. Then just make the scratches finer with the following sandings. It makes buffing about as simple as taking wax off. After the 3000 grit the paint has a shine to it before you even hit it with a buffer.
Attachments
Looks great I might have to come see it in person again 👍👍The dashboard misery continues. I bought it new headlight switch, don’t remember what brand. After having to put the shaft/knob in and out a few times to check the different lighting functions during the dash install. Now that I have 95% of the dash done, the shaft/knob doesn’t lock into the switch anymore. Got another one AC Delco coming this time. Also to other members with 79 Chevys with the headlight switch and windshield wiper switch mounted in the lower left corner of the dash. That plastic bracket that holds them in place, usually broken off bottom mounting tab. Mine was so I bought the metal replacement. First thing I found out was my new AC Delco windshield wiper switch wasn’t an exact fit until I filled all around the opening for it. Then after it was painted and installed, the cluster bezel wouldn’t go in far enough. Turned out the bottom mount of the bracket wasn’t right. It held everything out to far. Took all that apart AGAIN and cut that mount off, filed it some then welded and repainted it. Now atleast all of it fits right. Then because my dome lights weren’t working when you open a door, I bought new AC Delco dome light jamb switches. The dome lights would come on only when I’d turn the headlight switch all the way to that position. So atleast I know the dome lights DO WORK. Now the misery of this part. I removed the jamb switch, the inner clip that held it in place crumbled in pieces. I considered using metal to metal bonding adhesive to install the new one but thought maybe the metal to metal contact of switch served as a ground. I found a nut that fit the switch and then proceeded to hacksaw a 2X2 piece out of the kick panel pinch weld area to get clearance. IT WORKED, I got the new switch installed. Now again for me, Murphy’s Law shows up and the dome light still doesn’t come on with the doors open. Gave up on that for the day and after 8 days dry time started the tedious process of block sanding my newly painted hood. Going in 500 grit increments from 1000 to 3000 grit wet sanding. That’s 5 sandings, I’m going to be soggy wet.
If your serious, I’m off work till I get my second vaccine shot. PM me and I’ll give you my phone number.Looks great I might have to come see it in person again 👍👍
I got to go look at another regal tomorrow but soon I'd like toIf your serious, I’m off work till I get my second vaccine shot. PM me and I’ll give you my phone number.
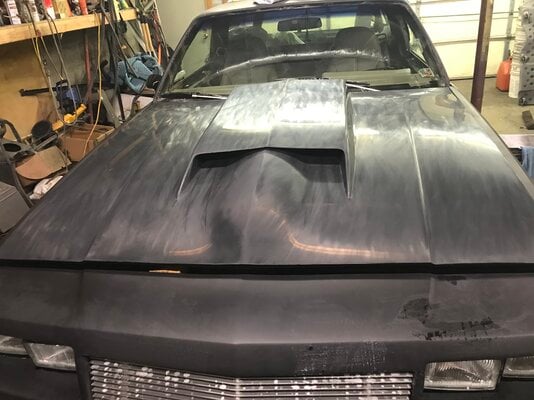
I woke up before 3 AM and couldn’t get back to sleep, so I came down to the garage to do the next 4 sandings . Atleast it’s quiet work, wifey won’t be disturbed getting her beauty sleep. Anyway got all 4 done by 5:30. Gotta wait till wifey gets up at 6:30 to start buffing. It’s kinda cool how the paint has a semi-gloss to it after finishing with 3000 grit wet.
Attachments
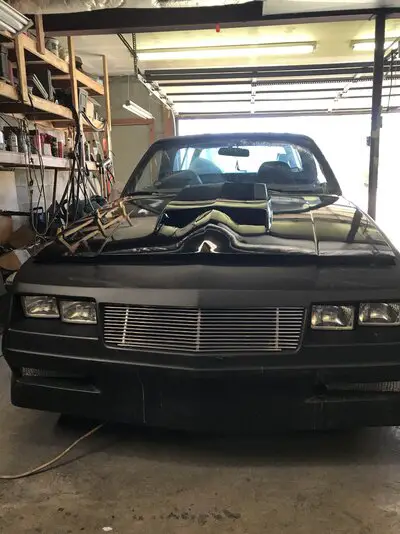
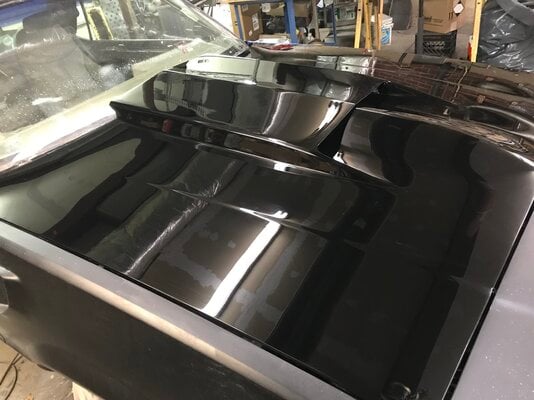
I switched from 3Ms Perfect It 3 part buffing system to a company I’ve read ALOT of good reviews about. Menzurma, it’s also a 3 stage buffing system. It’s great. The pic is after stage 2, the first polishing. No swirls. I’m using wool pads instead of the foam. The fine haired polish pads always did the nicest finish. Now I can’t decide if I want to paint a gold Stinger stripe like the 67 427 Corvettes had. I’d use Hurst gold to match my gold Dazzler wheels. I like it all black, that’s why I can’t decide. The Restoration Shop paint/clear that I used is very forgiving when buffing. I did 4 coats of clear, but sanded the h—l out of it. Not one burnt edge that I’ve seen. LOL Buffing has never been my best/favorite part of a project.
Attachments
Couldn’t believe what a PITA swapping in a new window motor was . It’s one thing that it’s tight as h—l, and the hardware is so friggin small. But to also have arthritis in my hands makes it twice the PITA. I changed just the motor inside the door. Didn’t want to have to remove everything. The guy in the video said it took him 45 minutes. I think I’ll get him to do my other side LOL. Anyway I also cleaned all the window tracks. The combo of the Window Racer, cleaning, and new motor worked alot better. Although unless others were exaggerating they’re results, it’s still slower than my wifes 2016 Equinox. The other install I’m working on ( put on hold when window motors arrived) is my Lokar LED shift indicator. I got all the mechanical install done. Now gotta figure out all the wiring/programming.
- Status
- Not open for further replies.
Similar threads
- Replies
- 2
- Views
- 227
- Replies
- 2
- Views
- 182
GBodyForum is a participant in the Amazon Services LLC Associates Program, an affiliate advertising program designed to provide a means for sites to earn advertising fees by advertising and linking to amazon.com. Amazon, the Amazon logo, AmazonSupply, and the AmazonSupply logo are trademarks of Amazon.com, Inc. or its affiliates.


