Elco 300 Utility Wagon

Status
Not open for further replies.
Lookin good Doug. Those bird fender vents look pretty natural molded in.
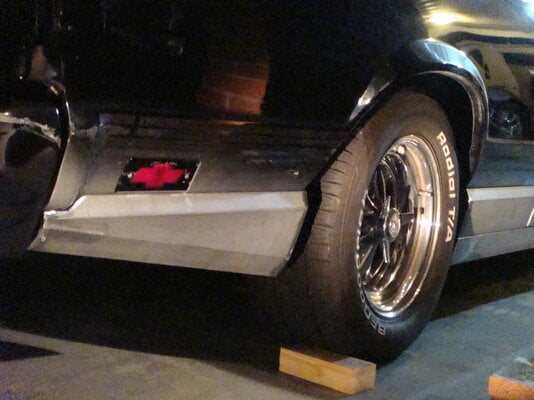
Forget if I mentioned, but before my mig/ tig welder days, I used to have Bowtie signal covers. Out back I put screw inserts in marker lights & fit them behind the sheet metal .In the recess where light sat, I made an aluminum cover with bow tie emblem. Pretty easy to make & look better than protruding factory marker. Would tie in nicely with front.

I could use a few of those sprayers, can't ever have too many sprayers that correctly work.
 

Attachments

  • DSC00680.JPG
    DSC00680.JPG
    3.5 MB · Views: 155
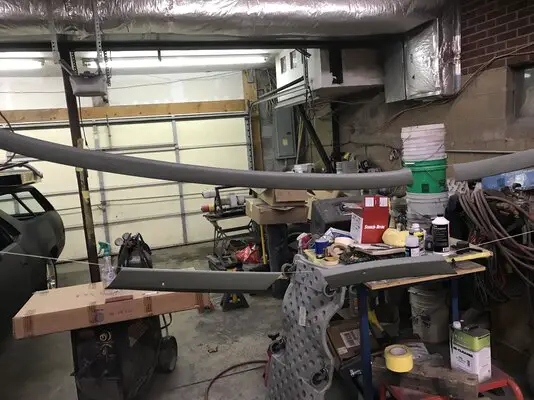
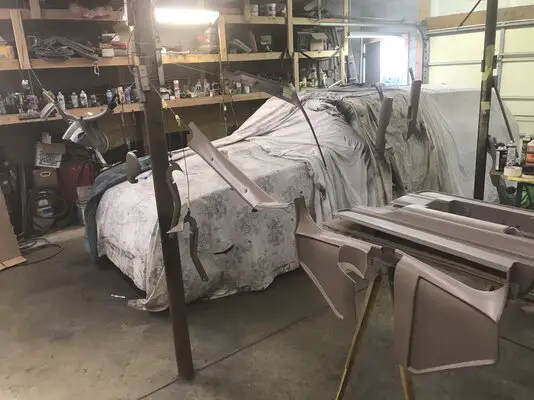
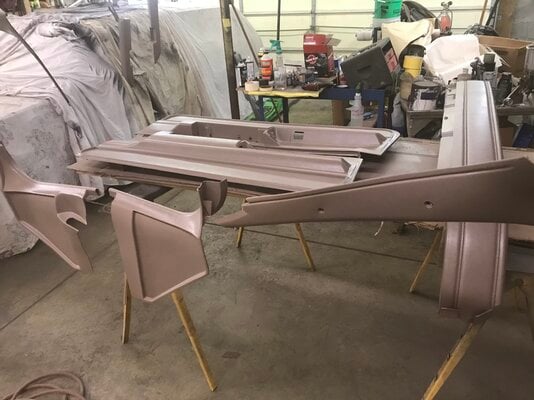
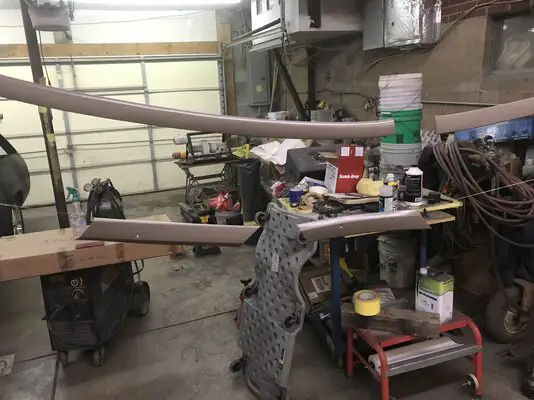
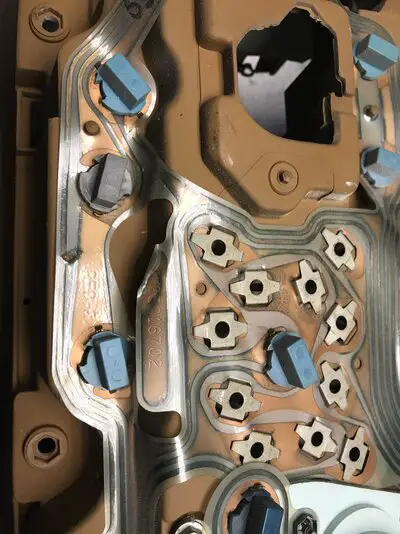
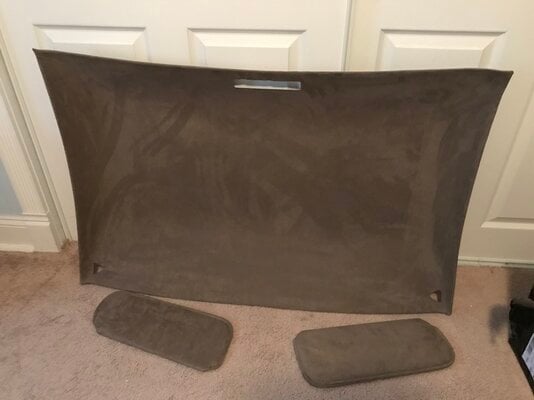
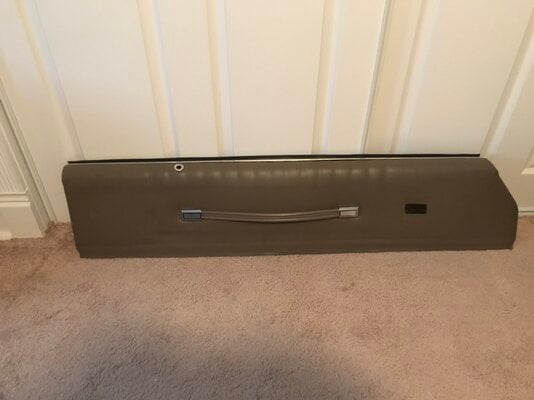
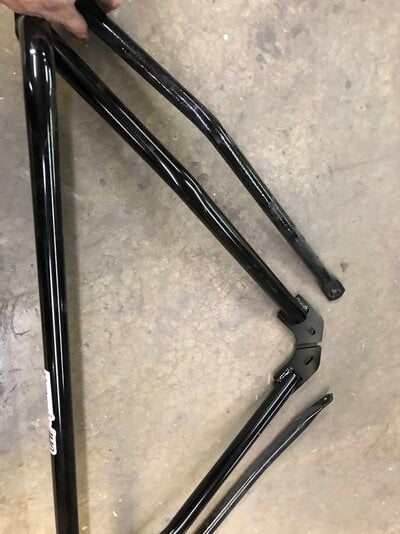
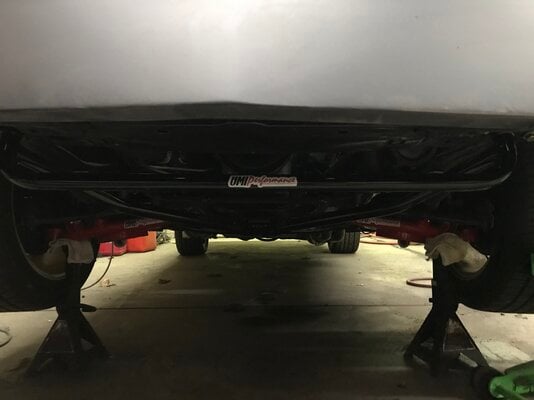
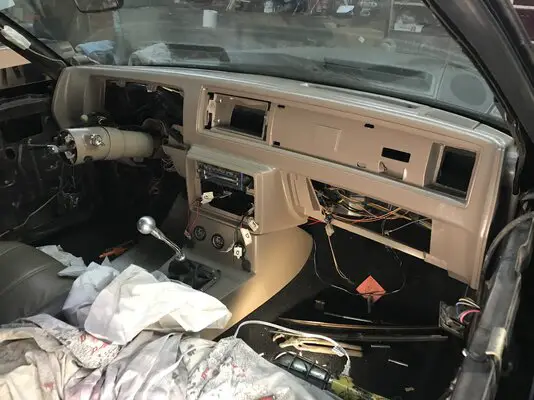
Been working mostly inside the car lately. Been replacing everything that’s not top quality in appearance at least . A couple years ago I found a perfect dash replacement except for a few broken mounting tabs that 2 part epoxies took care of. I’m going with the 96 Camaro medium neutral color with all carpeting seat belts and dash trim in black. I swapped out my gauge cluster board, and turn signal switch yesterday when I got rid of the knob from the column shifter. Beveled the hole and used epoxy with a small piece of metal to patch it. I couldn’t believe how many interior pieces were in an Elco interior. Hung most on wire to be able to paint all visible surfaces. Took my new headliner card, sun visors and upper door panels to the trim shop. Had the ceiling parts done in suede and the door panels done in vinyl. On the outside I bought and installed the front triangular frame brace from UMI. That is one stout piece
 

Attachments

  • E5E1E6CE-3309-40D0-857F-F534655893FF.jpeg
    E5E1E6CE-3309-40D0-857F-F534655893FF.jpeg
    2.9 MB · Views: 165
  • 5BE8A548-CB51-430F-B826-AB3E853EC561.jpeg
    5BE8A548-CB51-430F-B826-AB3E853EC561.jpeg
    2.5 MB · Views: 160
  • A2F597BA-0B20-4B37-9A54-0C958A7117AF.jpeg
    A2F597BA-0B20-4B37-9A54-0C958A7117AF.jpeg
    2.4 MB · Views: 157
  • 2F33F3A6-4F57-430A-9BF3-CD21865F7617.jpeg
    2F33F3A6-4F57-430A-9BF3-CD21865F7617.jpeg
    2.5 MB · Views: 148
  • 9C1E91BE-C416-4A61-9761-C90C73CC756A.jpeg
    9C1E91BE-C416-4A61-9761-C90C73CC756A.jpeg
    1.5 MB · Views: 153
  • 91E222DA-2171-41B9-920D-58A8DEDC06AF.jpeg
    91E222DA-2171-41B9-920D-58A8DEDC06AF.jpeg
    2.6 MB · Views: 159
  • 0C749CCD-D826-4E2F-B80B-2E3C1DAE2E4F.jpeg
    0C749CCD-D826-4E2F-B80B-2E3C1DAE2E4F.jpeg
    1.9 MB · Views: 158
  • EDA780BD-ECA1-47CE-8DA2-ADD4E754173D.jpeg
    EDA780BD-ECA1-47CE-8DA2-ADD4E754173D.jpeg
    1.8 MB · Views: 155
  • 11B33DA4-3846-465E-B30E-5CA3DB7C12DC.jpeg
    11B33DA4-3846-465E-B30E-5CA3DB7C12DC.jpeg
    1.2 MB · Views: 155
  • 03A606DC-65FB-4DE6-A644-789A59B86F86.jpeg
    03A606DC-65FB-4DE6-A644-789A59B86F86.jpeg
    2 MB · Views: 174
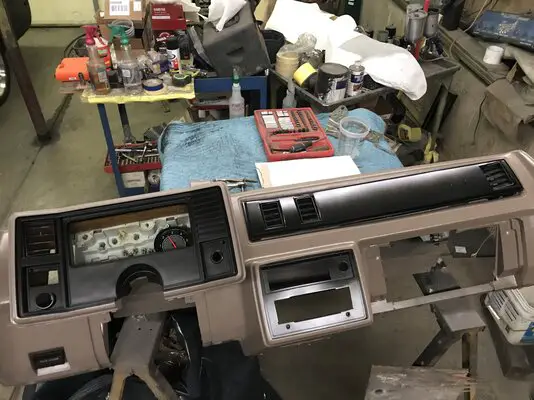
Got my newly painted replacement dash about 90% installed Saturday. Actually going together FAIRLY easy. Being from a car that didn’t have all the courtesy lights under the dash, I had to swap out the lower right bolt attachment bracket. Installed new headlight switch and speakers, still waiting on my overpriced Delco original 14004945 windshield wiper washer delay mist switch . Can you tell I’m a BIT AGRIVATED . I still have some factory plugs in the wiring that go to nothing. Was there a plastic factory plug for the radio? Mine has an aftermarket that’s all individual wires. Who knows what some P/O did in the 38 years before I bought it.
 

Attachments

  • F90E164A-6B70-4F72-8E7D-46B00D3D4FC2.jpeg
    F90E164A-6B70-4F72-8E7D-46B00D3D4FC2.jpeg
    2.5 MB · Views: 157
Got my newly painted replacement dash about 90% installed Saturday. Actually going together FAIRLY easy. Being from a car that didn’t have all the courtesy lights under the dash, I had to swap out the lower right bolt attachment bracket. Installed new headlight switch and speakers, still waiting on my overpriced Delco original 14004945 windshield wiper washer delay mist switch . Can you tell I’m a BIT AGRIVATED . I still have some factory plugs in the wiring that go to nothing. Was there a plastic factory plug for the radio? Mine has an aftermarket that’s all individual wires. Who knows what some P/O did in the 38 years before I bought it.
Who did your dash & does it have a cap on it?
 
Who did your dash & does it have a cap on it?
NO CAP, I painted it with all SEM products and procedures. I bought the dash about 3-4 years ago from a guy listed on C/L as in Johnstown for $300.00 and perfect front inner fenders for another $100.00. The dash is from the 80s, but other than the courtesy lights, no fitment problems. The guy I bought the parts from had a nice Elco for sale at the time. He also had a Stinger style hood on it. Oh yah I paint gun painted all my interior parts. West Penn Laco and 66 Auto Color ( shipping) were great sources for a great color match.
 
Now I see where your heading with this. I had a '74 elco somebody had grafted a fiberglass topper onto. They cut the entire back out of the cab and made it pass through. Extremely crappy work but it did look pretty cool.
Good luck with your project.
 
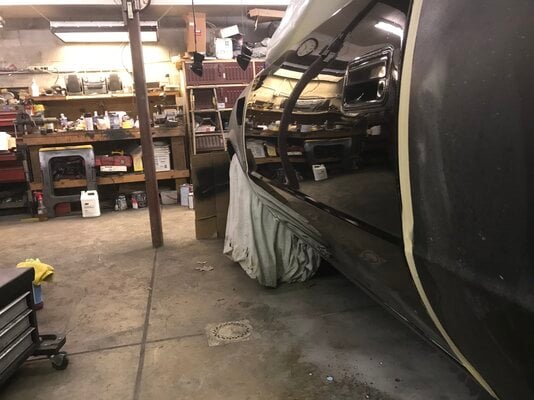
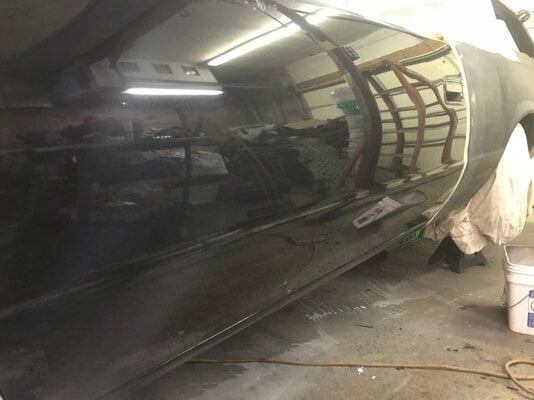
The great part of painting a project in a basic color is, you can paint one or more panels at a time without worrying about matching. I painted my doors last Sunday (when the wife was gone for the weekend) . Now I primed and block sanded 3 times since I was going with black. I used the Restoration Shop’s Jet Black and clear. 2 coats of color over black epoxy sealer. 4 coats of clear. Then the monotony of block sanding the clear going from 1000 grit wet then 1500 then 2000 and 2500 grit wet. After 8 days I used 3M Perfect It 3 part compound/polishing system. I’ve spent well over a thousand $$ in primer and paint SO FAR. Shows why shops have to charge so much.
 

Attachments

  • 7F280E06-9262-4F36-B566-5C8DA0F503A2.jpeg
    7F280E06-9262-4F36-B566-5C8DA0F503A2.jpeg
    2.5 MB · Views: 142
  • 0EC7343E-B61D-4BC2-B73D-59991071D6EF.jpeg
    0EC7343E-B61D-4BC2-B73D-59991071D6EF.jpeg
    2.1 MB · Views: 140
It looks great, Doug.
Keep up the good work. 👍😎👍
 
  • Like
Reactions: Rktpwrd
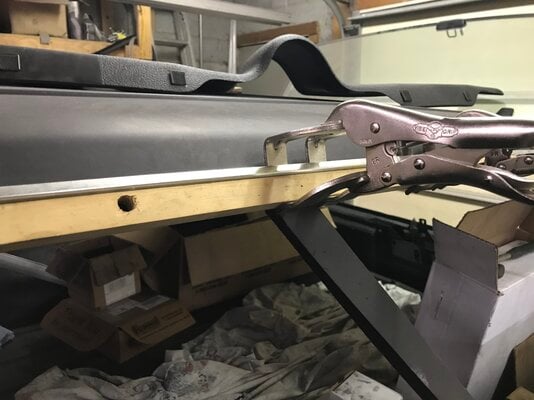
About a week ago a member posted complaining that his drip rails were epoxied on. Well I’m about to do that exact same thing to my 1/4 window drip rails. Since I had to reconfigure the window track, the rails aren’t going on any other way. Thankfully I figured out that ViseGrip welding pliers and a long strip of wood will hold them until the body panel adhesive locks them in place forever. I’ll just paint them with the roof since I’ve already painted the rest of the trim mouldings black. I just had to buy 8 more pair of the Vice Grips
 

Attachments

  • 8A98E8A1-F548-4058-9638-AB4B7BDFC0CC.jpeg
    8A98E8A1-F548-4058-9638-AB4B7BDFC0CC.jpeg
    2.3 MB · Views: 137
Status
Not open for further replies.

GBodyForum is a participant in the Amazon Services LLC Associates Program, an affiliate advertising program designed to provide a means for sites to earn advertising fees by advertising and linking to amazon.com. Amazon, the Amazon logo, AmazonSupply, and the AmazonSupply logo are trademarks of Amazon.com, Inc. or its affiliates.

Please support GBodyForum Sponsors

Classic Truck Consoles Dixie Restoration Depot UMI Performance

Contact [email protected] for info on becoming a sponsor