How To: Camaro Rear Disc Brake Swap to G-body Axle

The 2025 Calendars are HERE. Two different editions, two different sizes, and a digital package!! Starting at $12.97US

ssn696

Living in the Past
Supporting Member
Jul 19, 2009
5,596
6,826
113
Permanent Temporary
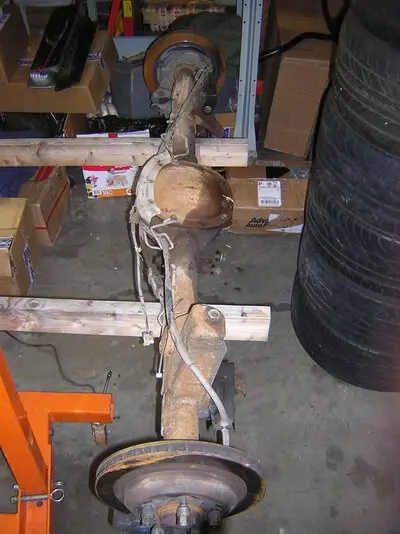
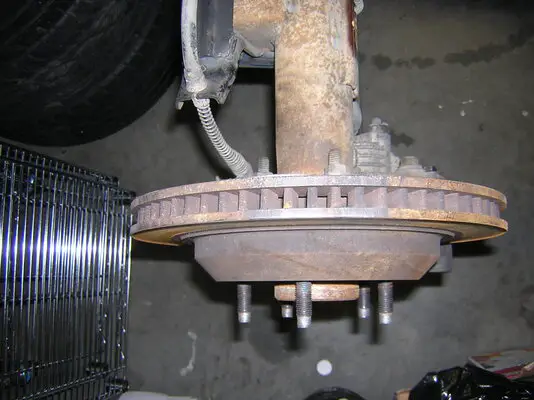
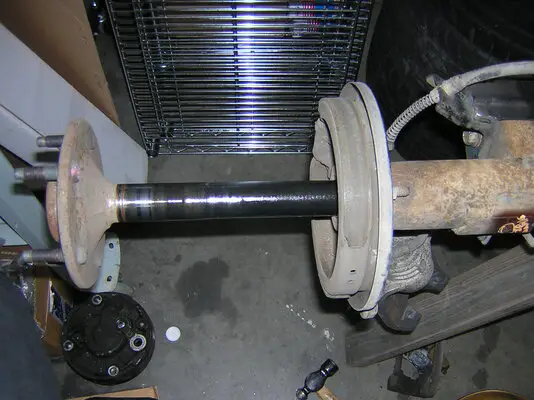
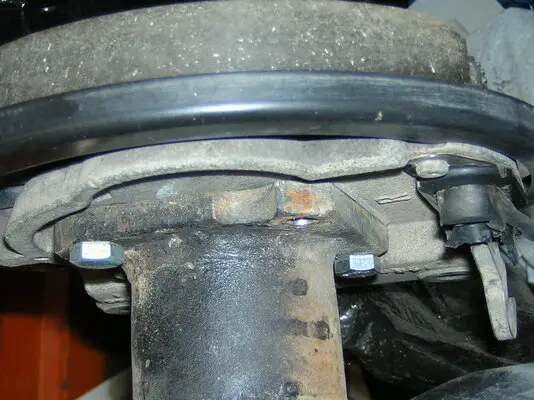
I picked up a complete 2000 Camaro rear axle at the boneyard. There have been some excellent descriptions and videos posted, but I keep finding questions about how to do this job, so I plan to take some photos and describe details to fill in some blanks. This is my first attempt at this kind of swap.

Nice step-by-step here: viewtopic.php?f=7&t=30606 and viewtopic.php?f=19&t=41067

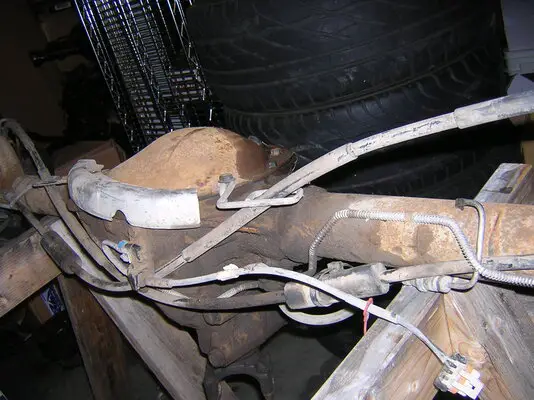
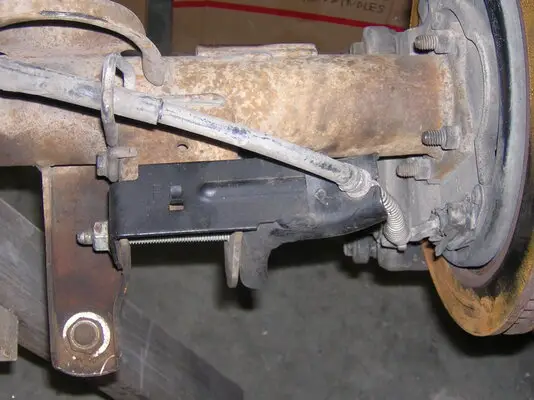
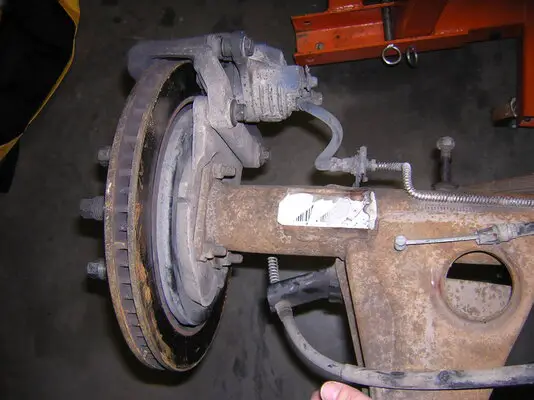
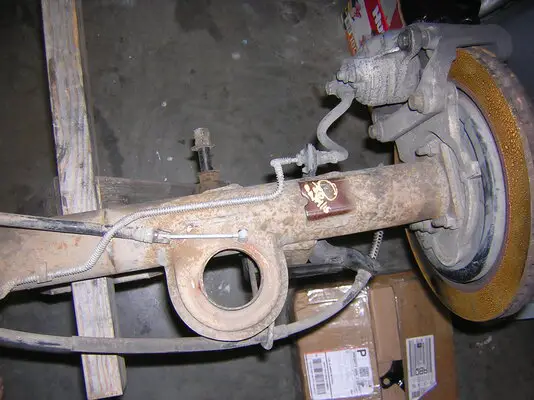
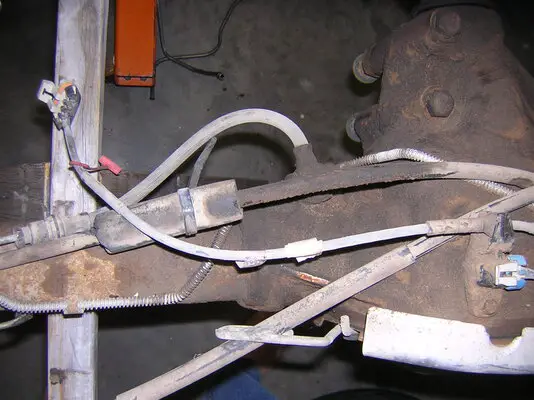
Here is the as-found axle with brakes, lines, and brackets intact. This will take a few weeks to execute, so check back later.
 

Attachments

  • DSCN5673.JPG
    DSCN5673.JPG
    398.7 KB · Views: 2,637
  • DSCN5674.JPG
    DSCN5674.JPG
    382.7 KB · Views: 1,942
  • DSCN5676.JPG
    DSCN5676.JPG
    384.8 KB · Views: 2,317
  • DSCN5677.JPG
    DSCN5677.JPG
    409.4 KB · Views: 3,538
  • DSCN5678.JPG
    DSCN5678.JPG
    383.2 KB · Views: 2,920
  • DSCN5679.JPG
    DSCN5679.JPG
    373.9 KB · Views: 1,747
  • DSCN5680.JPG
    DSCN5680.JPG
    387.6 KB · Views: 1,737
  • DSCN5681.JPG
    DSCN5681.JPG
    391.8 KB · Views: 1,674
Last edited:
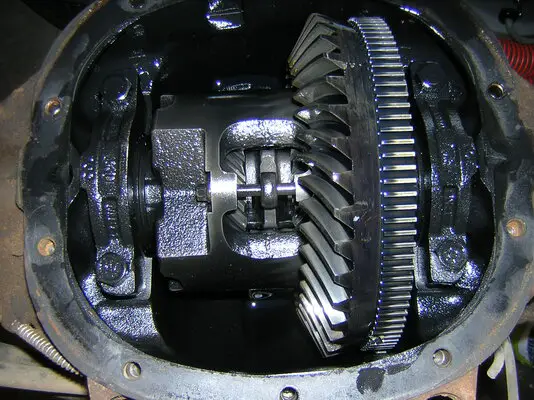
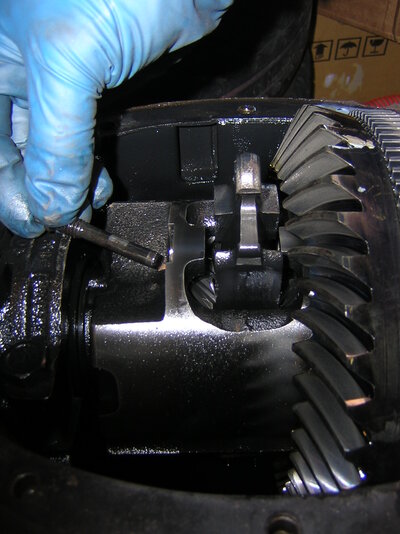
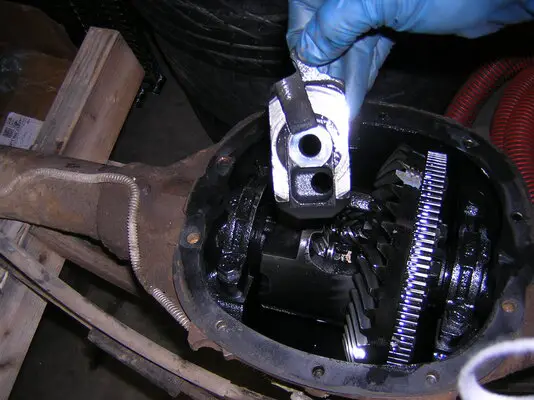
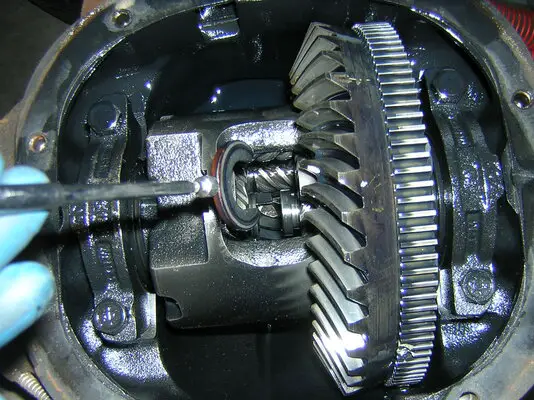
This axle turns out to have 3.73s and a Torsen limited slip differential. Instead of the standard cross shaft, you have to take out a 5/16 bolt and slide a 'paddle' out of the middle to access the C-clips. Otherwise, it comes apart just like a G axle.

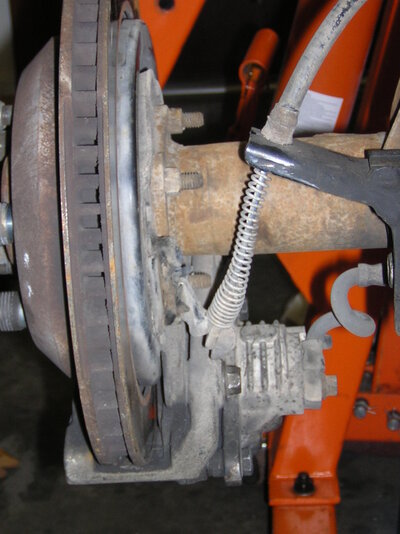
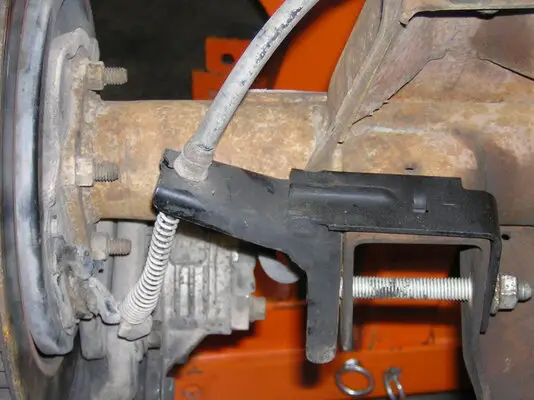
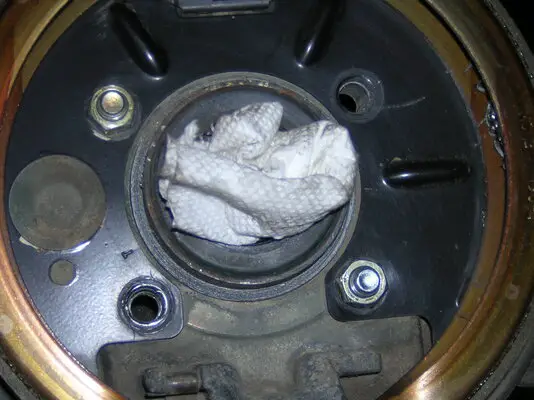
The brake abutments that attach the calipers to the axle ends use a pair of M12x1.50x35 flange-head bolts. The backing plates use a four M10x1.50x45 washer-head bolts and nuts. You don't get these when you 'piece-part' the LS1 brakes from RockAuto.

The parking brake cables can be removed by pulling back the spring and rotating the cable end around. The parking brake shoe assemblies are probably usable as-is, but the rotors and pads were toast.

The thin rubber boots were both torn - have to see if GM sells these separately, as the backing plate assemblies are now discontinued. Here is a resource: http://www.rmsautoparts.com/proddetail.php?prod=0FH-Brake-Boot.

Here are the GM part numbers:

98-02 with NW9 traction control:
LH: 10434794
RH: 10434795

98-02 without traction control:
LH: 10434796
RH: 10434797

Or the service kit (98-02 without positraction) (one needed for each side, LH and RH): 12454994
 

Attachments

  • DSCN5684.JPG
    DSCN5684.JPG
    413.9 KB · Views: 991
  • DSCN5685.JPG
    DSCN5685.JPG
    347.8 KB · Views: 1,006
  • DSCN5686.JPG
    DSCN5686.JPG
    384 KB · Views: 1,069
  • DSCN5688.JPG
    DSCN5688.JPG
    426.2 KB · Views: 1,037
  • DSCN5690.JPG
    DSCN5690.JPG
    370.2 KB · Views: 935
  • DSCN5691.JPG
    DSCN5691.JPG
    385.5 KB · Views: 1,046
Last edited:
I took a whole setup off an 83 Buick Riviera. I debated about using them, but I decided I like the separate parking brake, especially since I will have a manual transmission. I have plates from Scarebird to use them without cutting the axle ends.
 
Is this pretty much a bolt in set up? No cutting the axles ... All that stuff. Just a few modifications and it you drop it right in? Sorry this is the first I've seen or herd of this.
 
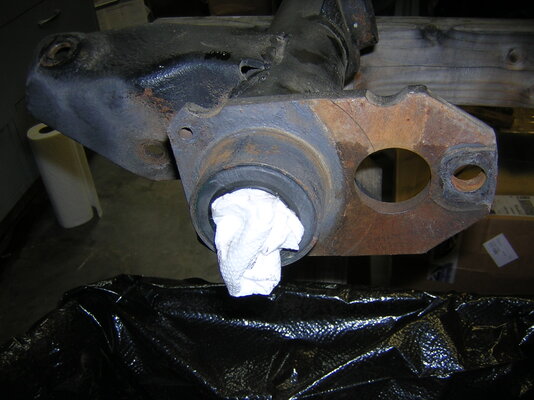
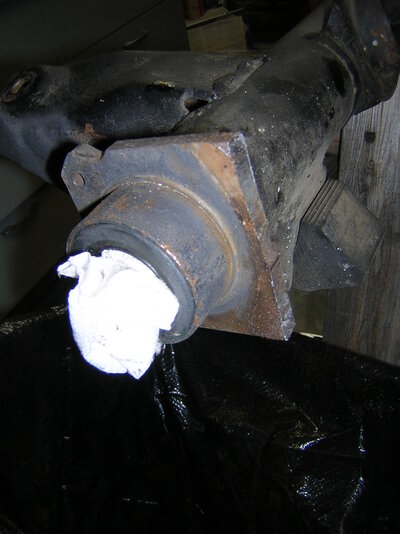
Like the Camaro or Blazer swaps, you will still need to either cut the G-body brake tabs to a square shape or use the Scarebird adapter plates. I need to 'unsquirrell' these parts and make another post.

I just spoke to Inline Tube and they are developing a kit based on these calipers. The important piece is a set of custom parking brake cables that will mate up to the standard G-body cable system. I told them to make a splash here on the Forum when all is ready.
 
Last edited:
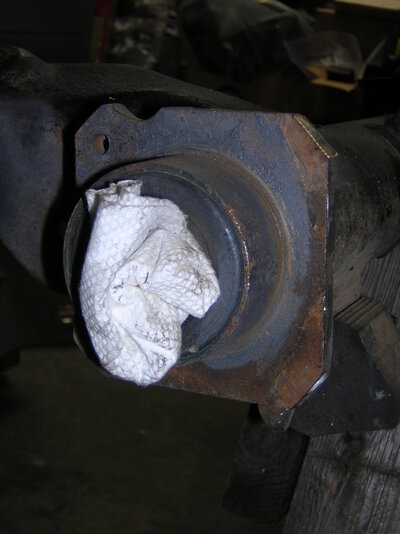
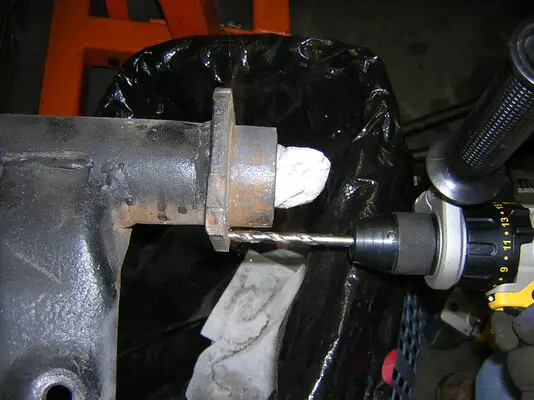
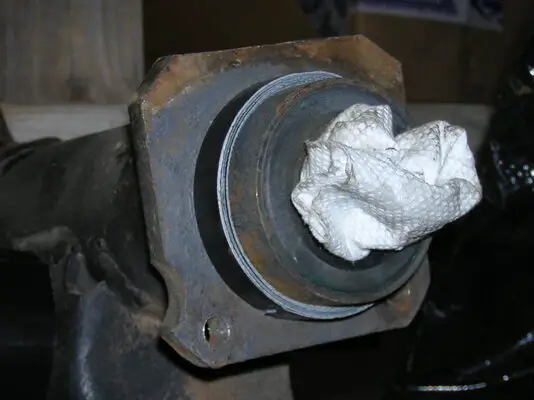
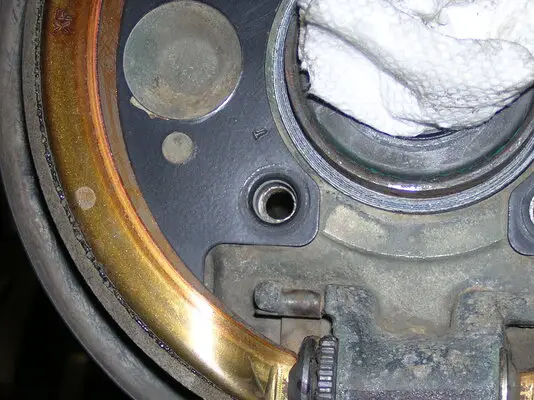
I'm committed now. I cut off one G-body brake tab with a Sawzall, then cleaned up the edge and cut the corners with a thin cutting wheel in the grinder. Next, I drilled out one of the small through holes to 3/16", then 5/16". At this point, I decided it was more important for the backing plate to be centered (than clocked) before I drilled out any other holes. I wrapped narrow strips of duct tape around the axle end until the backing plate was a snug fit. Then I drilled out the first hole to 3/8". The backing plate hole is more like 25/32", but now a 3/8" shoulder bolt fits in there. I snugged that down and repeated the process with the other existing through hole. Finally, I used the 3/8 bit to drill divots as my starting points for the 3/16" holes in the upper half of the axle end. I removed the backing plate and patiently worked these through, then repeated the sequence with 5/16" and 3/8".
One down and one to go.
 

Attachments

  • DSCN5695.JPG
    DSCN5695.JPG
    361.4 KB · Views: 1,180
  • DSCN5697.JPG
    DSCN5697.JPG
    325.3 KB · Views: 1,159
  • DSCN5698.JPG
    DSCN5698.JPG
    320 KB · Views: 1,124
  • DSCN5699.JPG
    DSCN5699.JPG
    372.6 KB · Views: 1,166
  • DSCN5700.JPG
    DSCN5700.JPG
    336.7 KB · Views: 1,173
  • DSCN5702.JPG
    DSCN5702.JPG
    407.9 KB · Views: 1,206
  • DSCN5704.JPG
    DSCN5704.JPG
    398.6 KB · Views: 1,227
  • DSCN5705.JPG
    DSCN5705.JPG
    382.5 KB · Views: 1,163
Last edited:
The 2025 Calendars are HERE. Two different editions, two different sizes, and a digital package!! Starting at $12.97US

GBodyForum is a participant in the Amazon Services LLC Associates Program, an affiliate advertising program designed to provide a means for sites to earn advertising fees by advertising and linking to amazon.com. Amazon, the Amazon logo, AmazonSupply, and the AmazonSupply logo are trademarks of Amazon.com, Inc. or its affiliates.

Please support GBodyForum Sponsors

Classic Truck Consoles Dixie Restoration Depot UMI Performance

Contact [email protected] for info on becoming a sponsor