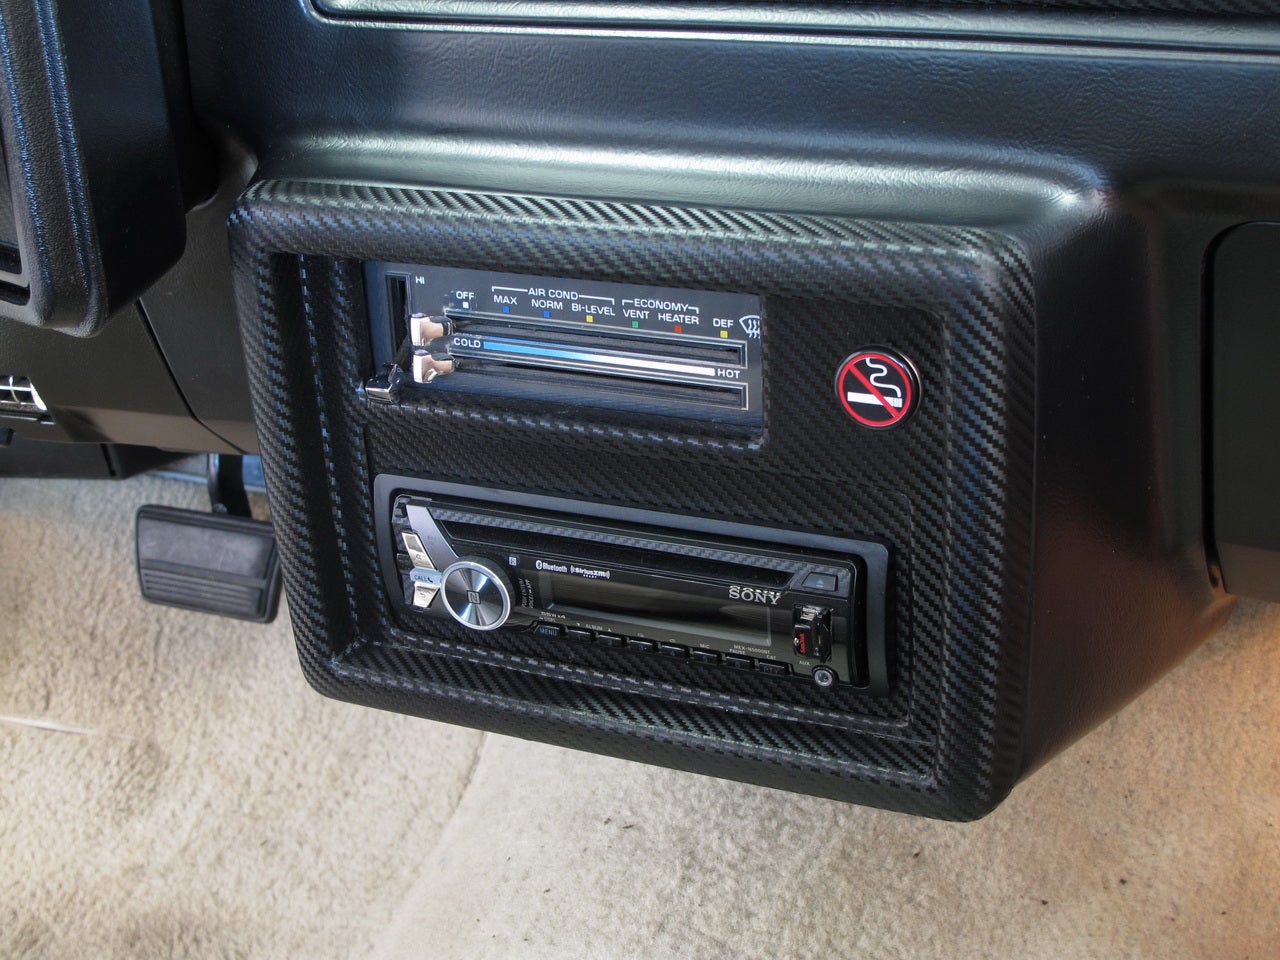
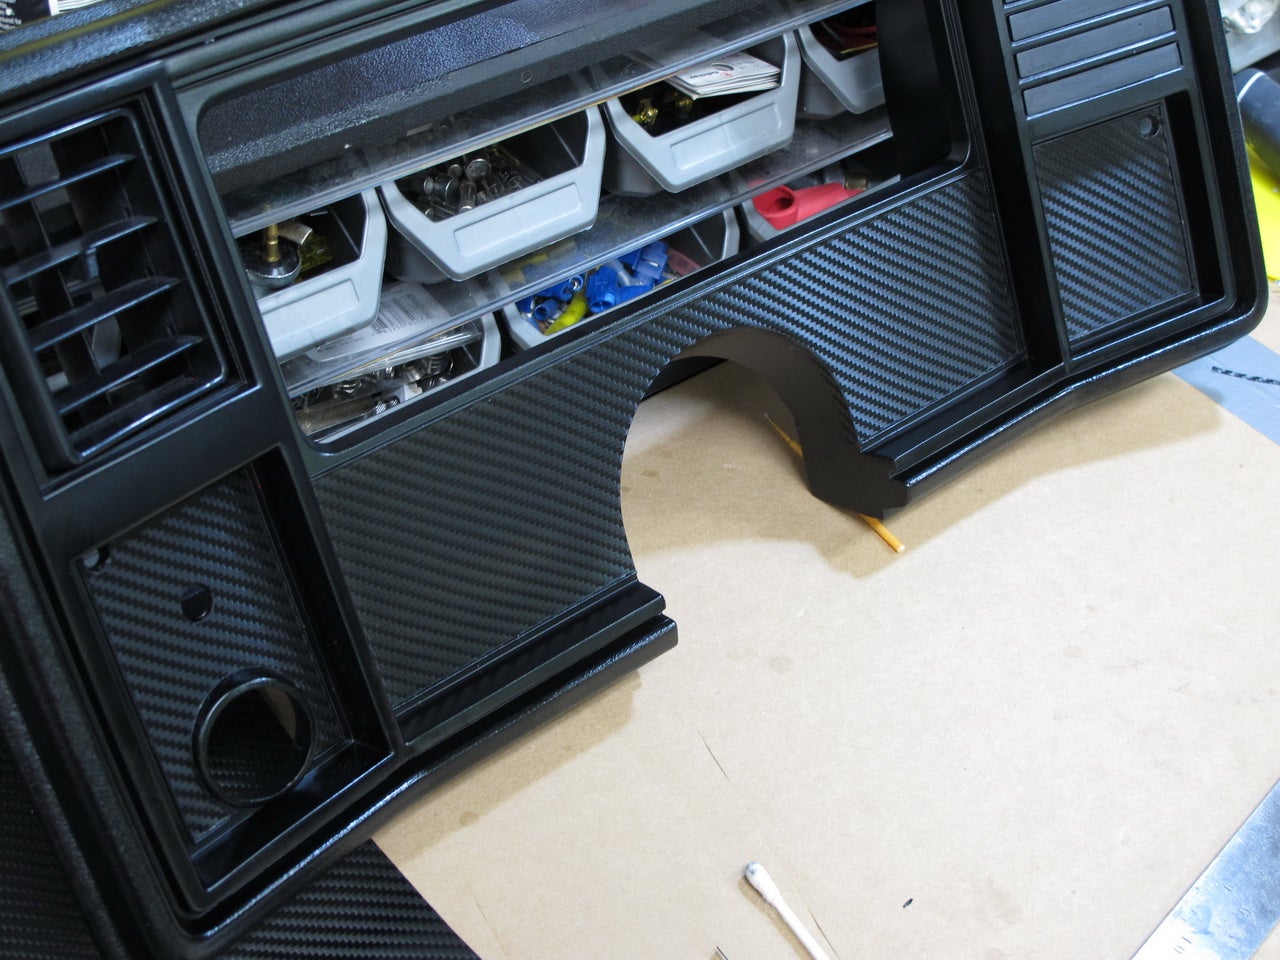
I'm doing a refresh on my '83 Choo Choo SS El Camino (owned for 24 years).
I've started off with the dash.
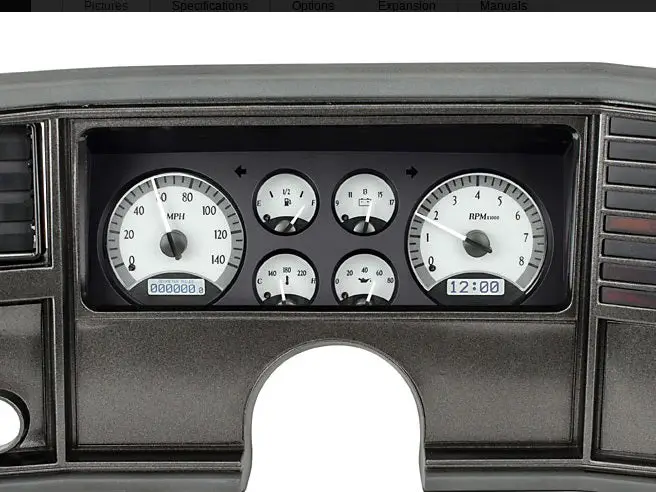
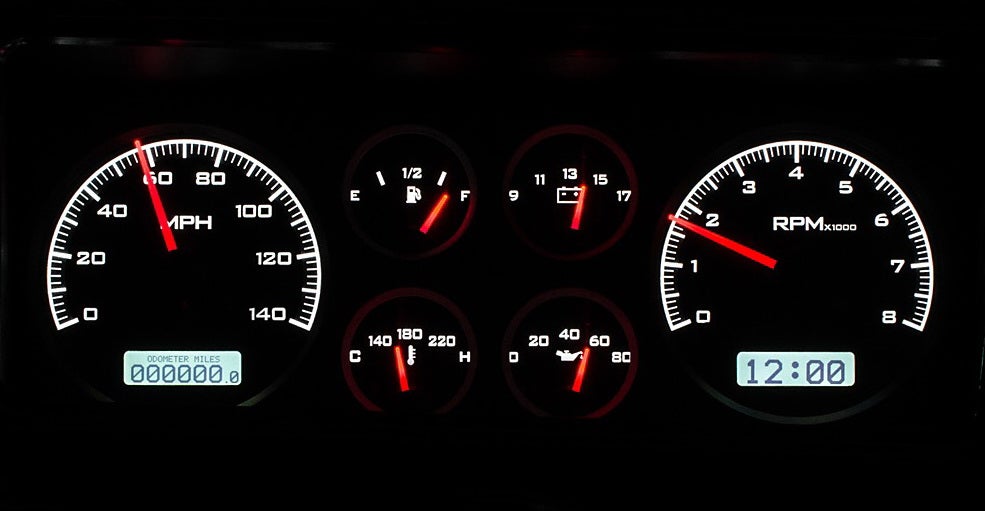
I opted for the Silver Alloy color with white lighting. The white lighting option is only one that gives you orange needles with the lights turned on. I really liked that idea. Here are Dakota's stock photos:
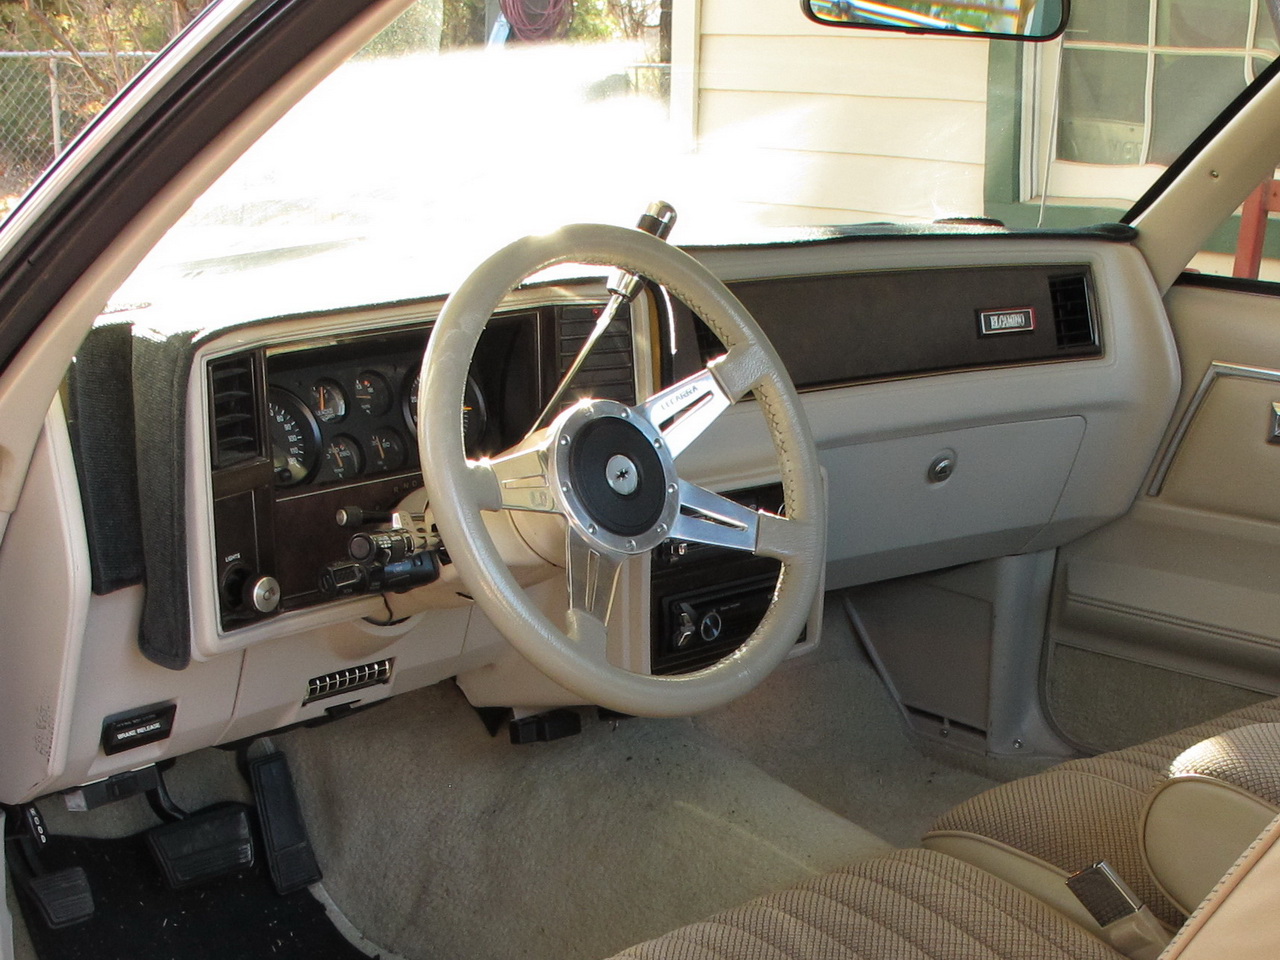
I painted the dash and installed VDO gauges back in 1998. Now I want to change the car to white on the outside (instead of the original black) and change the interior to black. The VDO speedometer was acting up so I thought I would start out this refresh I'm doing on the dash and a new Dakota setup.
Here's my before photo:
All torn apart:
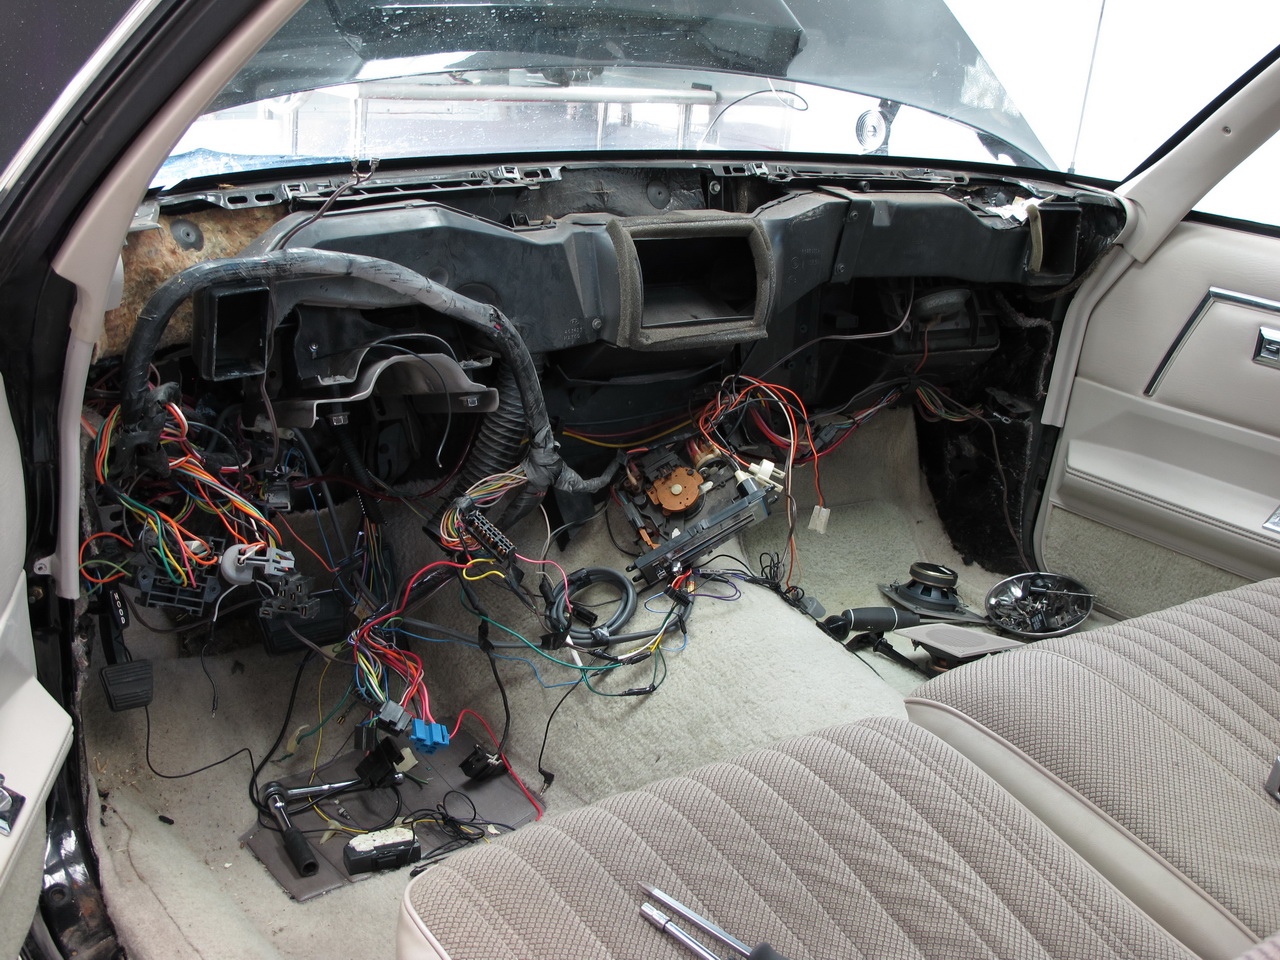
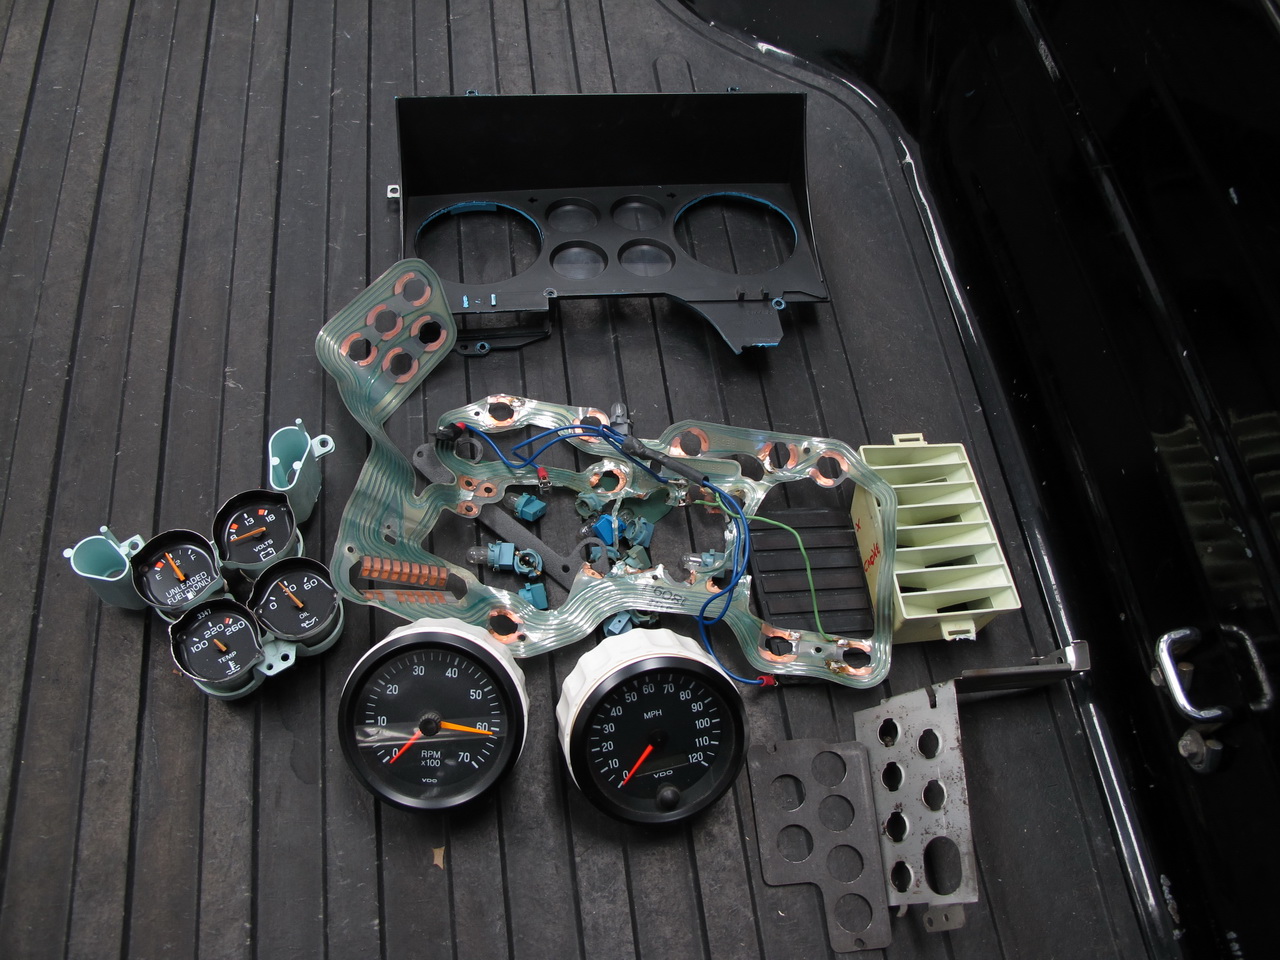
I sure am glad to get rid of all this stuff here. The factory wiring on these cars left a lot to be desired.
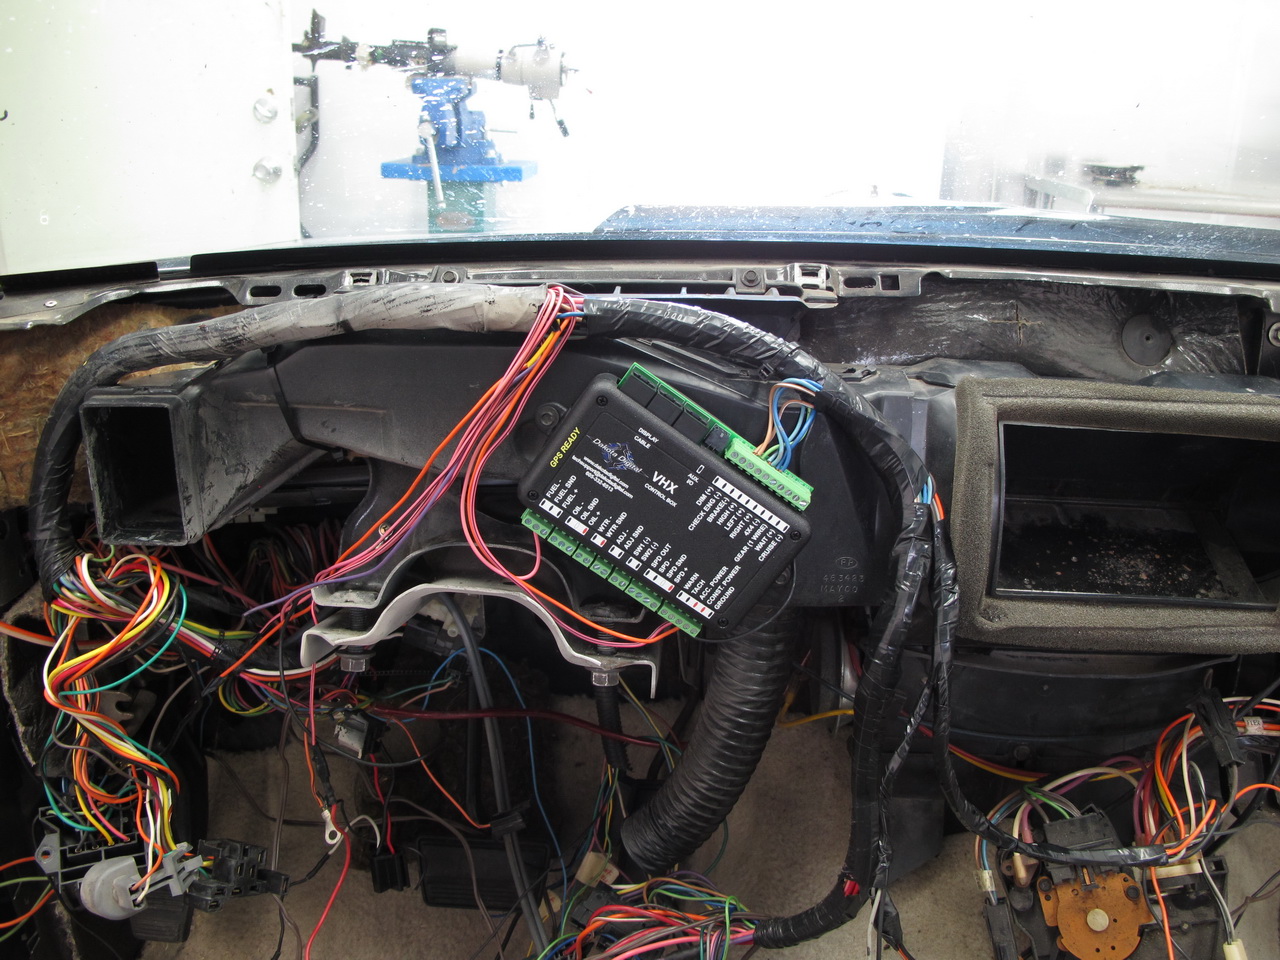
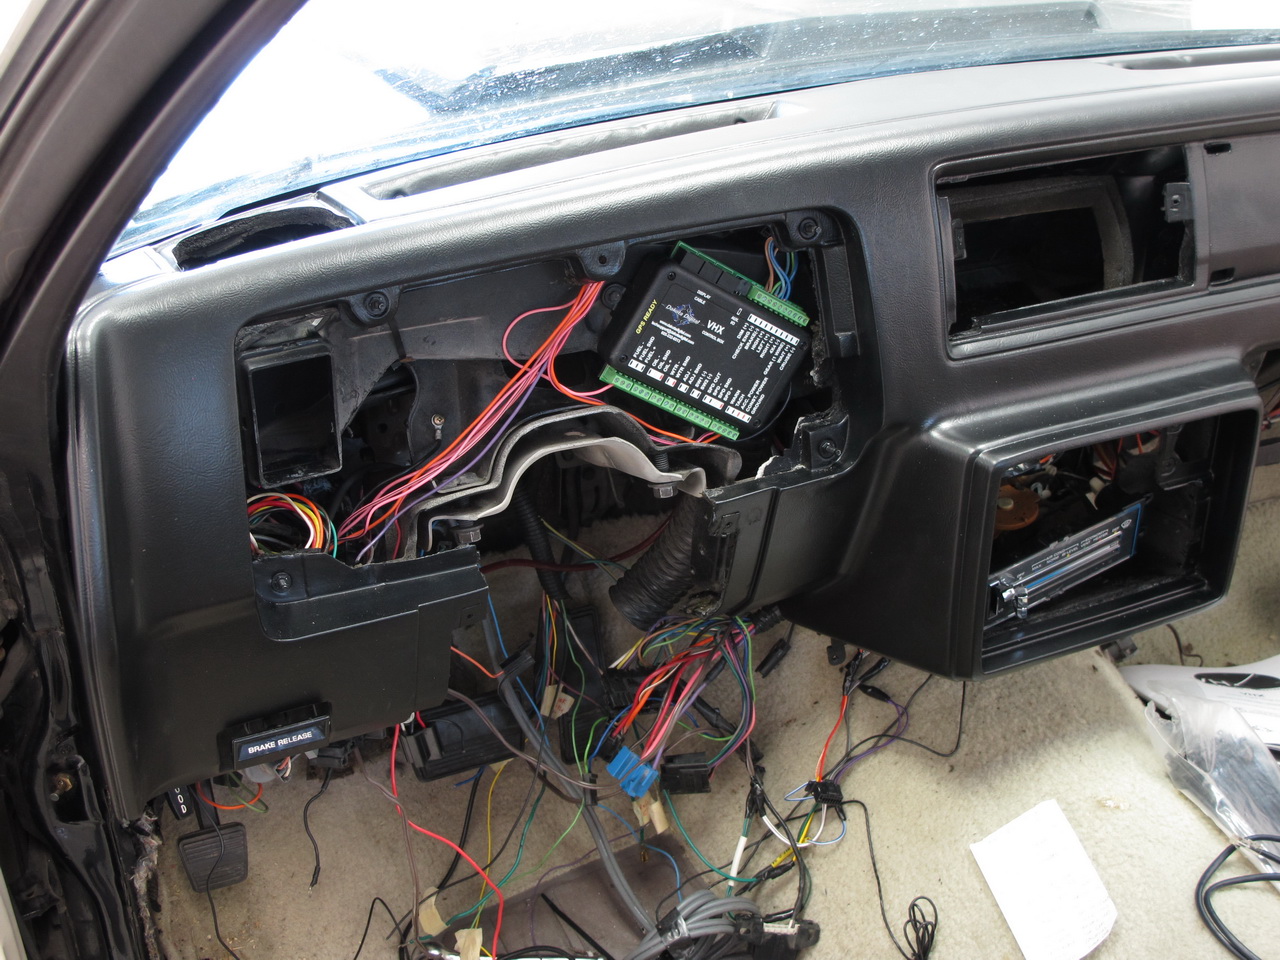
Here's where I mounted the Dakota control box. Directly to the A/C ducting:
I stripped the old paint off the dash and re-painted it black with Duplicolor flat black vinyl paint:
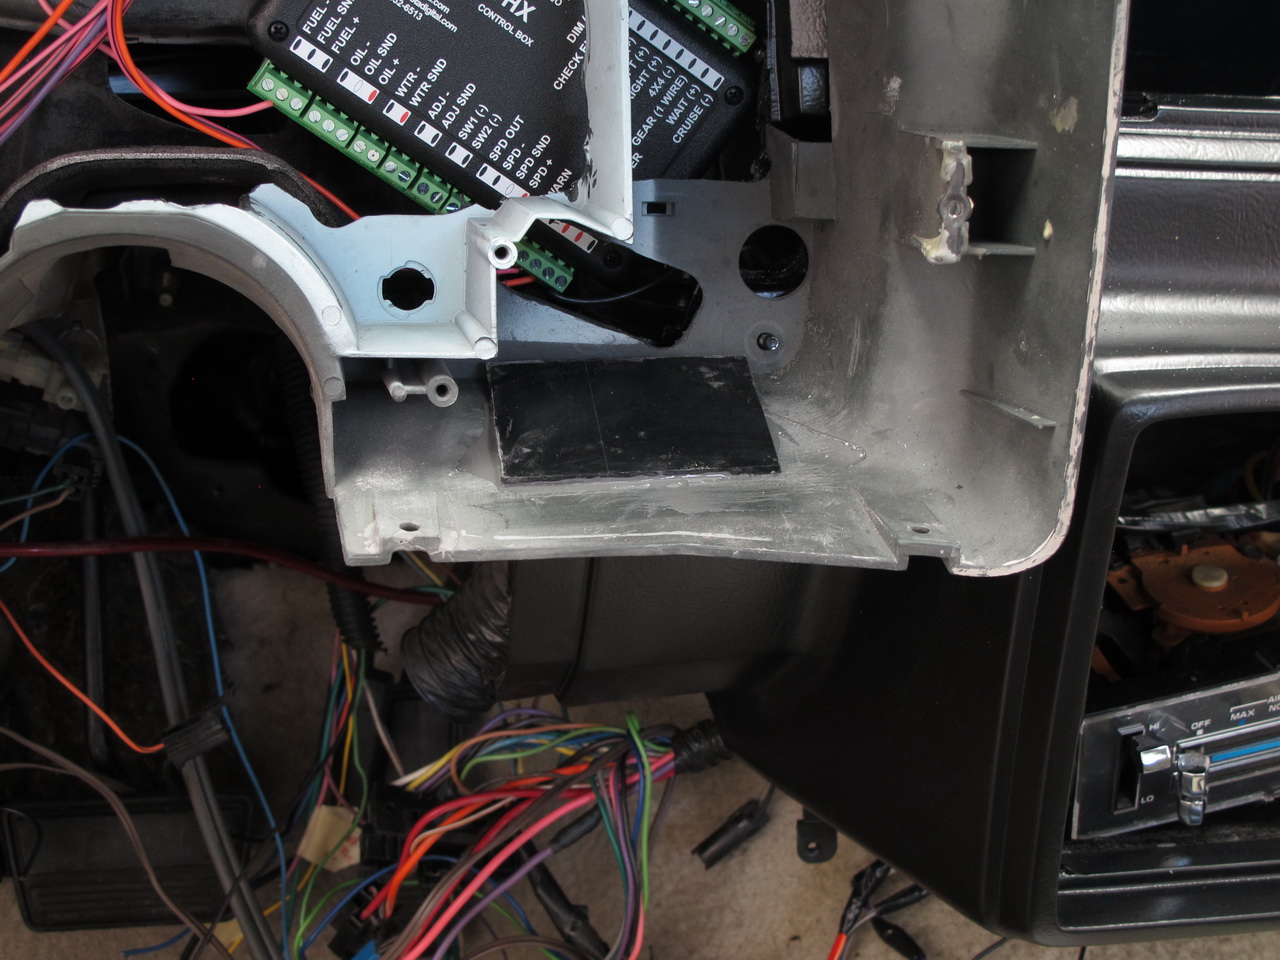
I used a piece of plastic and epoxied to the bottom inside of the gauge housing for a flat place to mount the GSS-2000 gear indicator control:
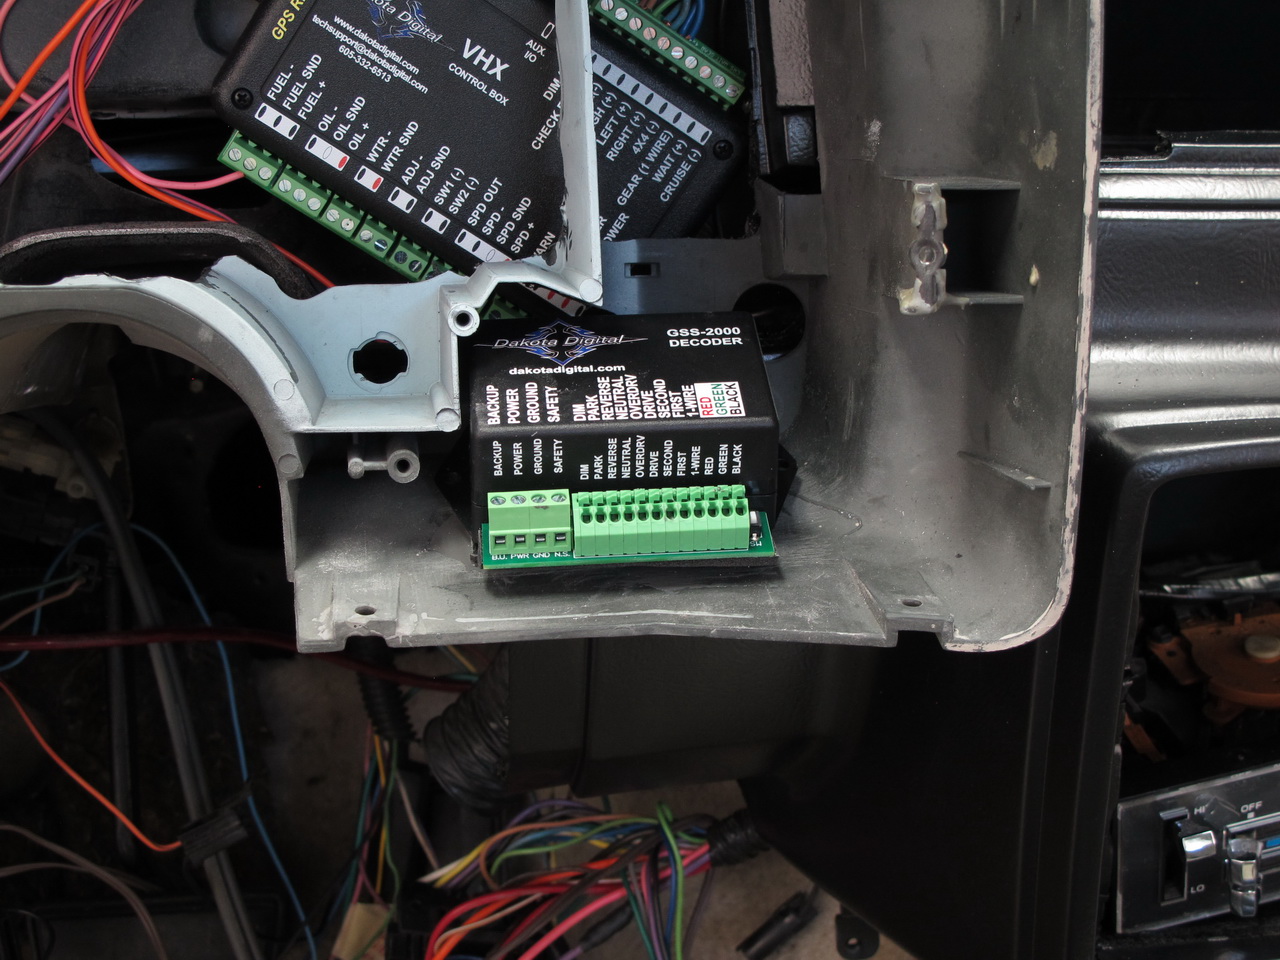
Mounted it with 3M butyl tape:
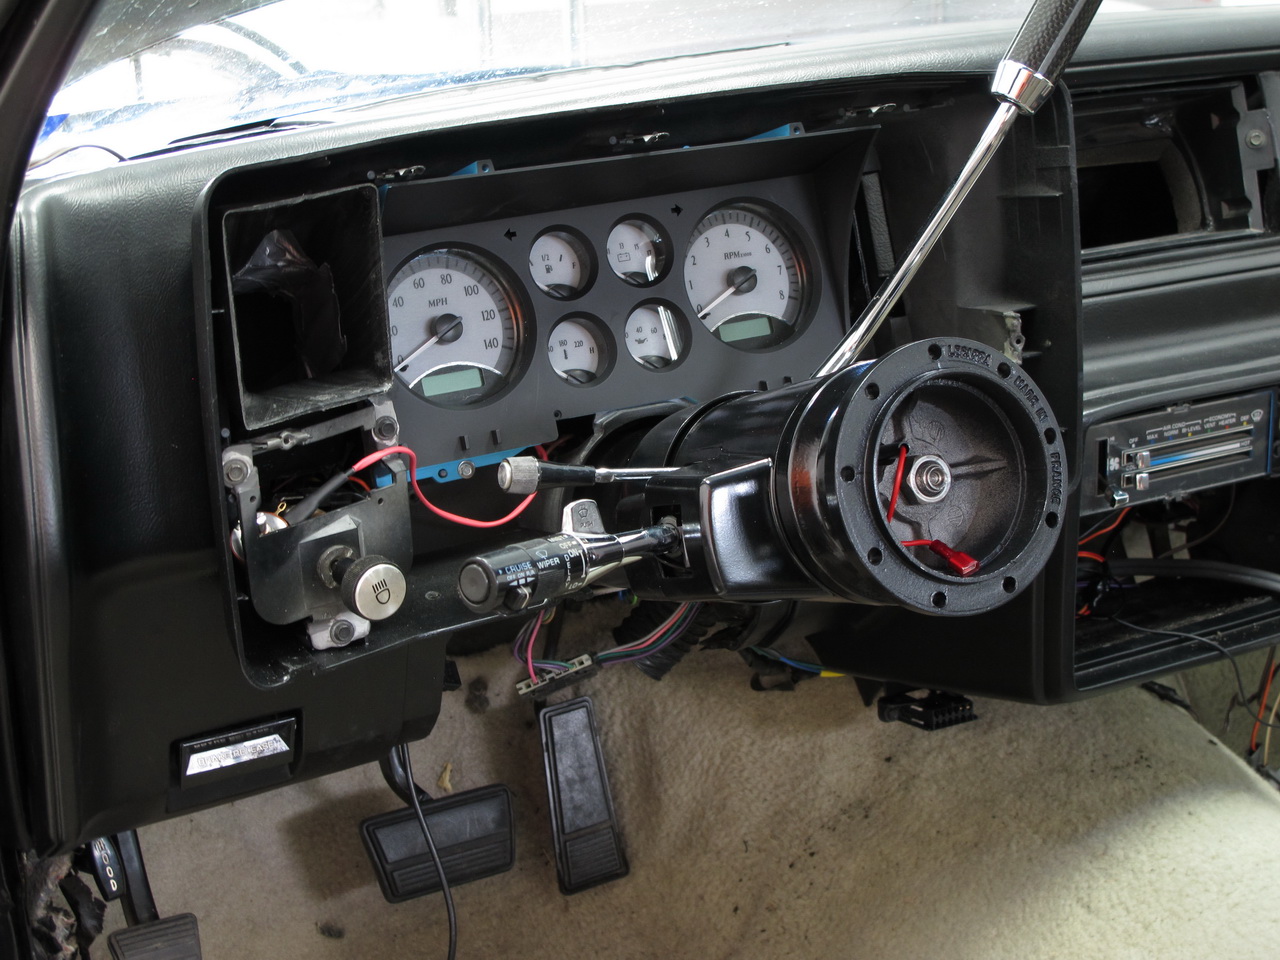
Housing painted and installed and the column painted and installed. Almost all wired up in this photo:
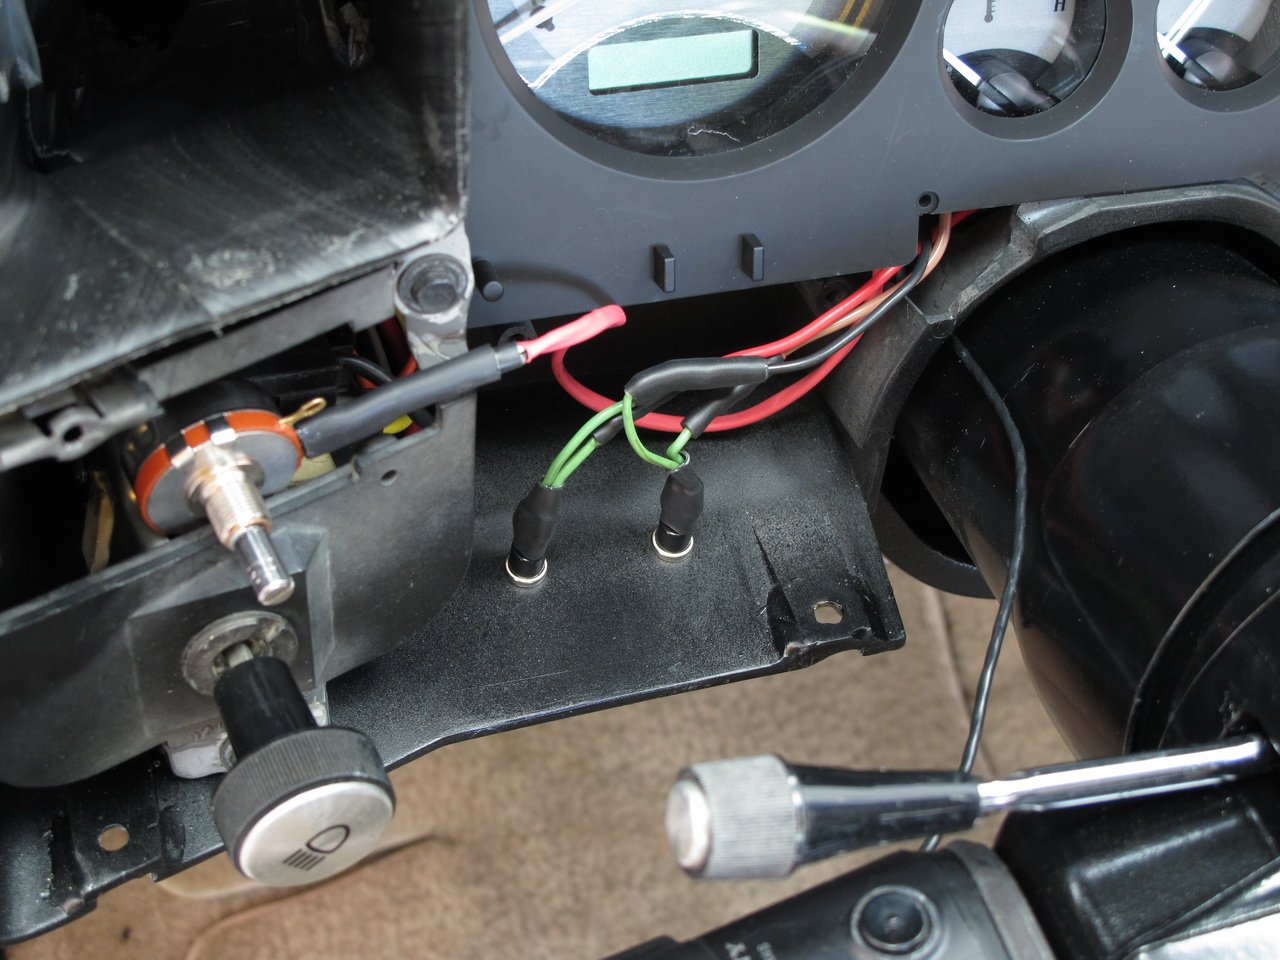
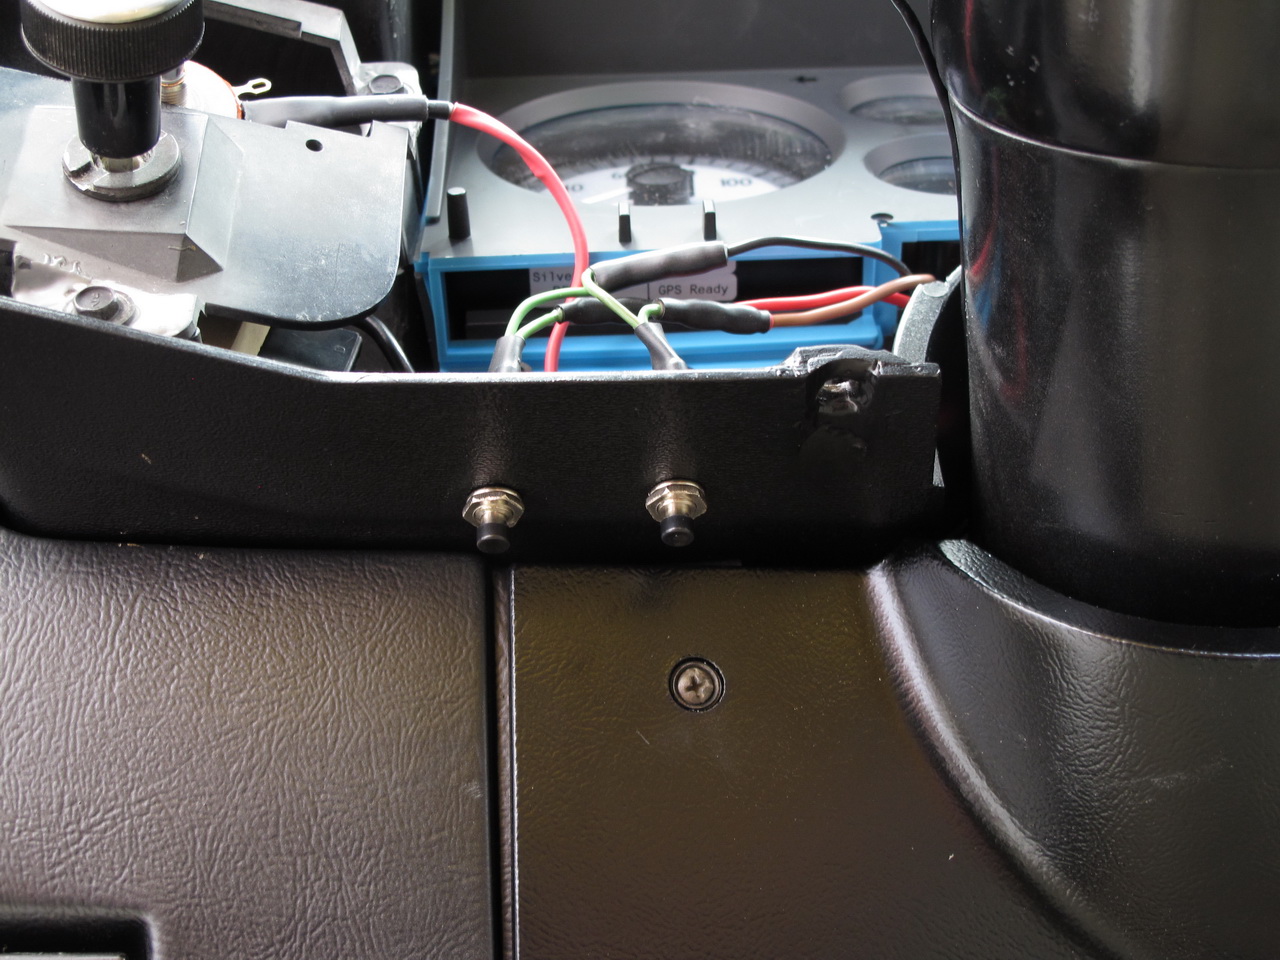
I didn't really care for the plastic switches that Dakota supplies with the gauges. I used some metal mini switches instead. Mounted them on the bottom left of the shell. You can see that I bought the optional dimmer control. I'm mounting it directly above the original light switch:
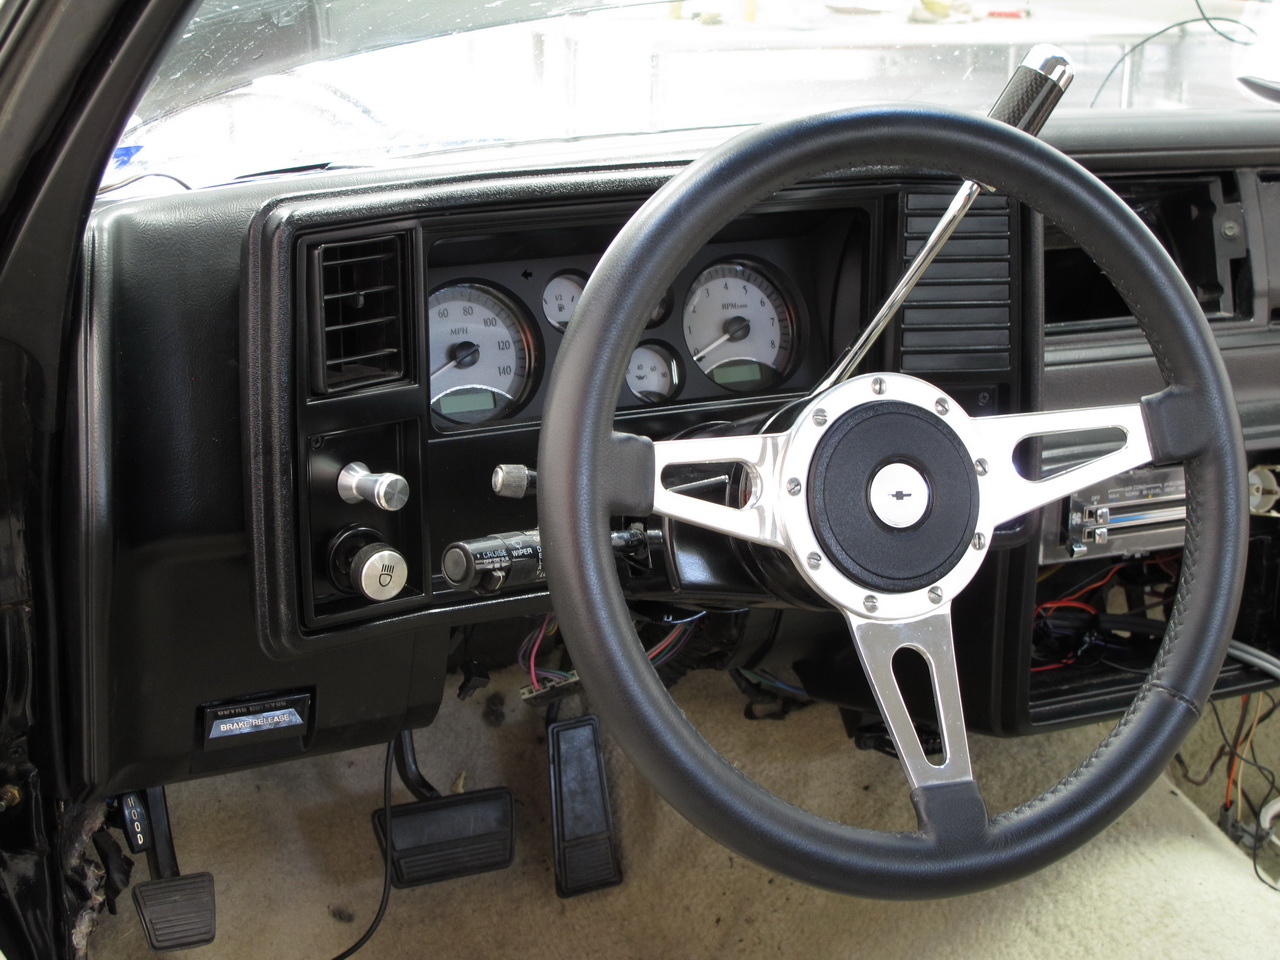
Getting close to done. I found a great deal on a barely used black Lecarra wheel to replace the gray one that I had.
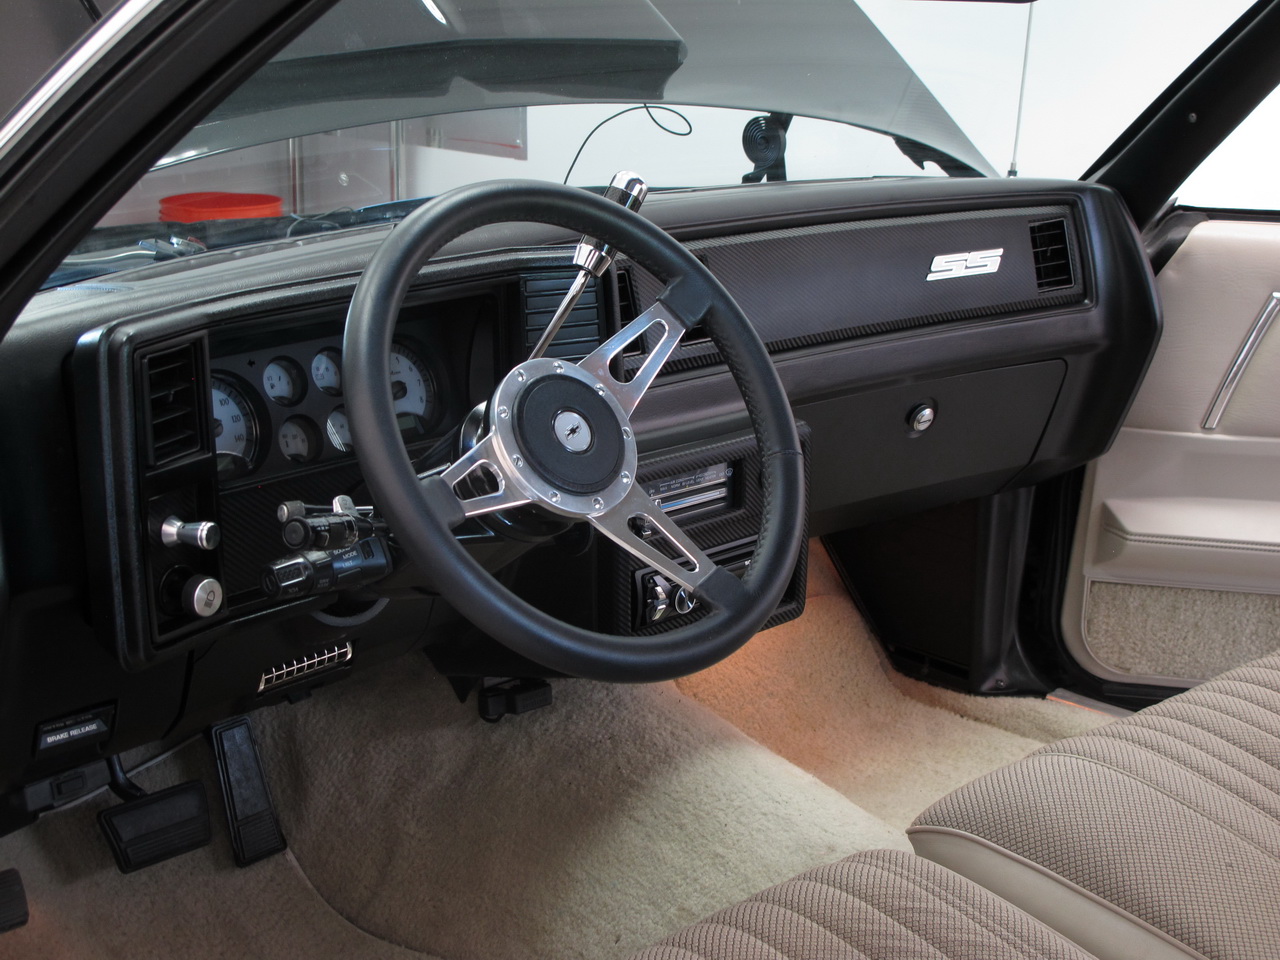
All done. Everything went without a hitch. The programming was pretty easy.
I've started off with the dash.
I opted for the Silver Alloy color with white lighting. The white lighting option is only one that gives you orange needles with the lights turned on. I really liked that idea. Here are Dakota's stock photos:


I painted the dash and installed VDO gauges back in 1998. Now I want to change the car to white on the outside (instead of the original black) and change the interior to black. The VDO speedometer was acting up so I thought I would start out this refresh I'm doing on the dash and a new Dakota setup.
Here's my before photo:

All torn apart:

I sure am glad to get rid of all this stuff here. The factory wiring on these cars left a lot to be desired.

Here's where I mounted the Dakota control box. Directly to the A/C ducting:

I stripped the old paint off the dash and re-painted it black with Duplicolor flat black vinyl paint:

I used a piece of plastic and epoxied to the bottom inside of the gauge housing for a flat place to mount the GSS-2000 gear indicator control:

Mounted it with 3M butyl tape:

Housing painted and installed and the column painted and installed. Almost all wired up in this photo:

I didn't really care for the plastic switches that Dakota supplies with the gauges. I used some metal mini switches instead. Mounted them on the bottom left of the shell. You can see that I bought the optional dimmer control. I'm mounting it directly above the original light switch:


Getting close to done. I found a great deal on a barely used black Lecarra wheel to replace the gray one that I had.

All done. Everything went without a hitch. The programming was pretty easy.

Last edited:


