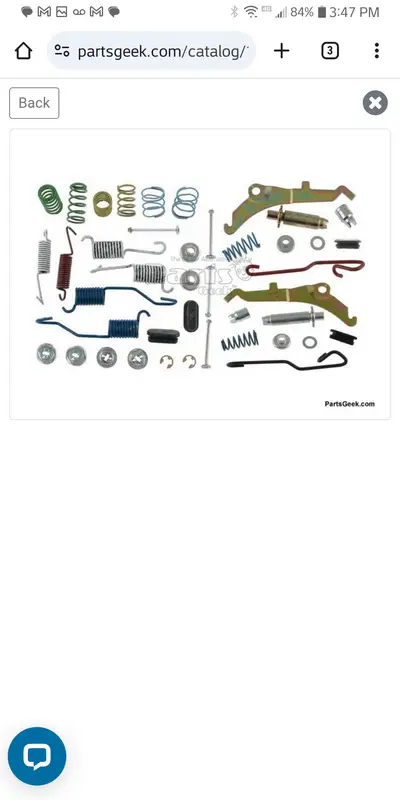
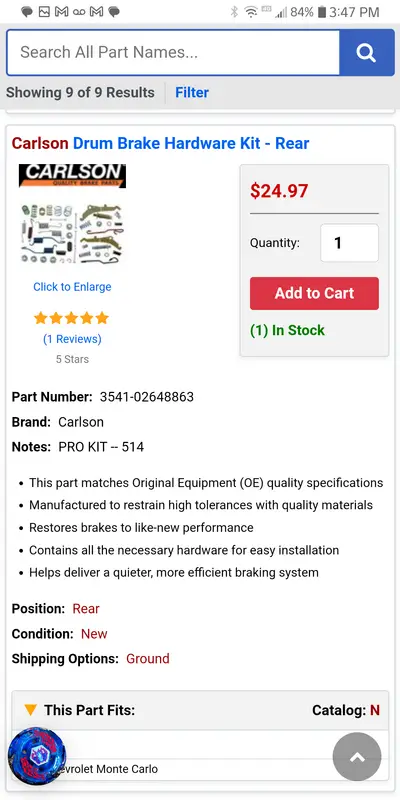
I never put any anti seize on those threads I’ll mess with thatThat's normal under the tension when installed because of the spring pressure on the shoes. It should easily thread in/out prior to assembly.
I've come across a bunch of them in my experience/efforts that had crusty old grease which prevented them from being easy to turn. When I rebuild rear drum set-ups, I clean the adjuster threads w/brake cleaner, dry them off well, & put Anti-Seize on the threads to make sure they adjust easily.
I prefer pushing fluid out vs just the gravity method.
NO DRUM IN THE REAR
- Thread starter Irishspring46
- Start date
You are using an out of date browser. It may not display this or other websites correctly.
You should upgrade or use an alternative browser.
You should upgrade or use an alternative browser.
- Status
- Not open for further replies.
Yeah it gravity bled in like 10 minutes on both sidesIf he's getting fluid @ the rears via gravity, I'd think that pin is not stuck.
Attachments
Last edited:
have a look at this.I replaced my rear brake lines, and my rear drums on my 85ss. My master cylinder was really low on fluid after that so I filled it. I gravity bled my rear brakes and it took about 10 to 15 minutes on each side for fluid to start coming out. I went to go drive it and I’ve got a spongy brake pedal and my rear drum brakes don’t work. And another question. Should the self adjuster be hard to turn?
I did a whole write up on brakes on the hot rod forum about 10 years ago, so some of it still there.
So on the valve ... Get the tool to lock in place. Do brake job as normal.
When ever you have new rotors or drums have them turned. They get dropped and "man handled" from manufacture to sales, so by the time you get them it is not surprising to see that they are warped or out of round.
Always use new hold down hardware if at all possible, (budget). On adjuster light anti seize or grease... LIGHT COATING, because the grease collects the crud.
Be careful with rebuilt master cylinders, many are poorly rebuilt. Gravity bleed might be fine but no pressure to front or back is an indicator that the Master Cylinder has failed, even though it's "New" or "Rebuilt". I have experienced this too many times.
Last edited:
I've done the same, fluid there doesn't mean the air is out. Need some pressure to push the air out.If he's getting fluid @ the rears via gravity, I'd think that pin is not stuck.
On the rear adjustment just get close. There is actually a caliper measuring tool to do this but you really don't need it as a DIY on your own car.
On a G Body you do the passenger rear first, as this is the farthest from the MC (Master Cylinder).
Assuming that shoes are on correctly and everything is good..., adjust the shoes out until they just make contact with the drum surface. Also assuming drums are "True"..., not out-of-round or bell mouth. You need to have fronts wheels chocked up and raise the rear and on stands, with trans in neutral. Rotate the drum and you should hear light contact. Take the drum off and back off adjuster until no contact or just "kisses".
Do this for both sides, button up and lower the rear, go up to fronts and bleed the fronts. When ready for drive go drive it carefully as the rear are still not adjusted fully. Find a stretch of road/street, empty lot, etc.
Drive in reverse about 5 to 10 mph and apply brakes, drive in reverse and apply brakes, do this about 10 times. When finished you should have firm peddle and the rears will be properly adjusted. Works every time if brake job was done correctly.
Last edited:
I've watched several Uncle Tony's over the years, seems to be good competent mechanic.
When listening to his description of the issue, also mentions work on wheel cylinder at same time. Highly possible that the spray brake cleaner got into the system somewhere and softened the inner liner of the hose. The inner liner can soften and swell depending on its composition and like he showed, no out side appearance of this.
I have seen this happen more on fronts but from different cause. When you do the front caliper and use a clamp or pinch-off pliers on the caliper's brake hose, you have to be careful to not clamp too tight. Doing so can damage the hose and now you can have a full or partial obstruction.
Just an opinion, but in his case some cleaner contaminated the brake fluid and allowed to settle over time and the inner liner swelled causing the blockage.
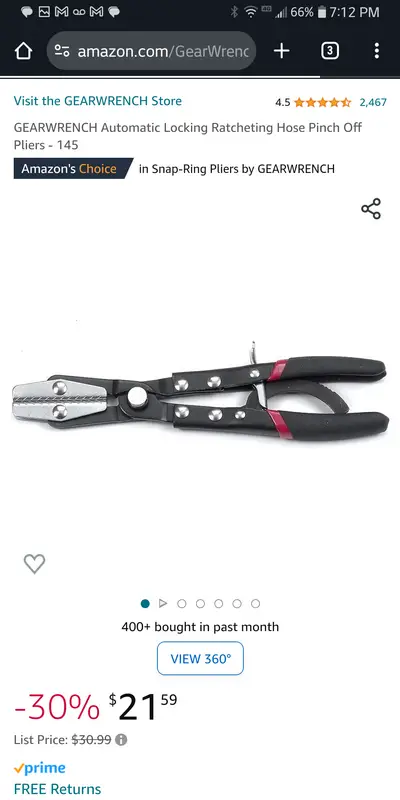
Pinch off pliers when doing brakes.
These are the ones I like, used to get them from NAPA. They are hand pressure, they have a ratchet style lock. When you see flow stop, then stop. They will stay locked until you release them.
NAPA also sells these. I have never used these before, but look like they would be ok.
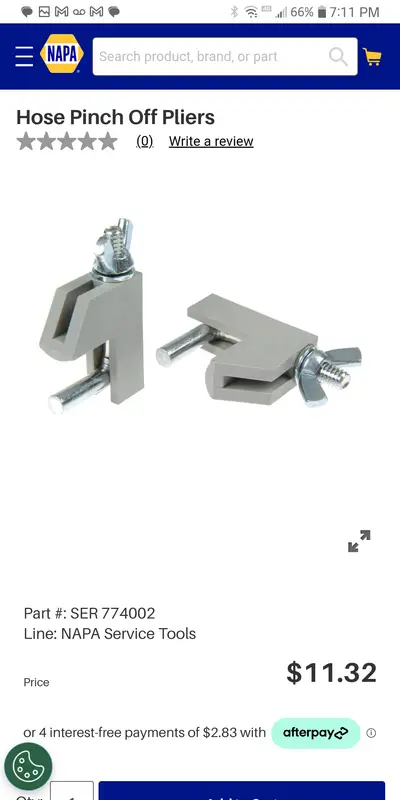
DO NOT USE THESE. V V V V
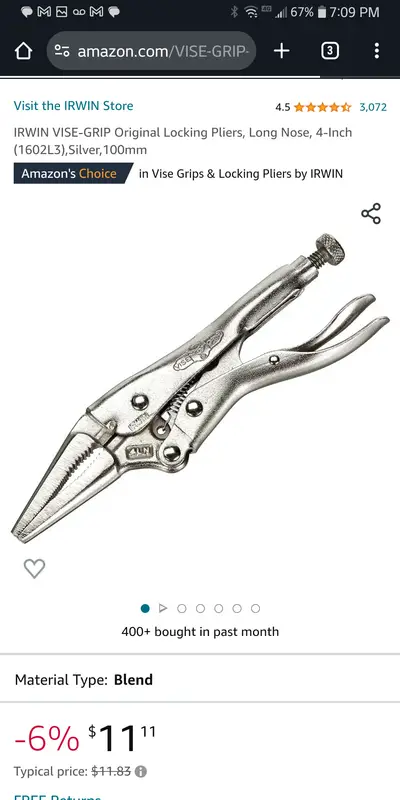
I admit I have, but they are not ideal. You can put small cutting of 3/8 hose over the jaws to protect the line, but still not the best. I have done this as well, because it was all I had available at the time, but they are not ideal.
The pliers shown up top are the best for pinch off use.
These are the ones I like, used to get them from NAPA. They are hand pressure, they have a ratchet style lock. When you see flow stop, then stop. They will stay locked until you release them.

NAPA also sells these. I have never used these before, but look like they would be ok.

DO NOT USE THESE. V V V V

I admit I have, but they are not ideal. You can put small cutting of 3/8 hose over the jaws to protect the line, but still not the best. I have done this as well, because it was all I had available at the time, but they are not ideal.
The pliers shown up top are the best for pinch off use.
+1 on the Never Seize for the adjuster threads. Be Aware that those adjusters are side specific. They are a mated set with one having left hand threads and the other having right hand threads. Also make sure that the little thrust washer that is supposed to be between the floating forked tip and the star wheel is there. If not that can cause the star wheel to be reluctant to move.
AS for the bleeding, maybe try to reverse bleed it and pump the oil in to the system at the bleeder screws. Oh yeah, a little, VERY Little wipe of Never Seize on the bleeder screw threads gives them some protection from their environment. Don't get it in the port in the screw tip, just on the threads.
Nick
- Status
- Not open for further replies.
Similar threads
- Replies
- 25
- Views
- 728
- Replies
- 13
- Views
- 1K
GBodyForum is a participant in the Amazon Services LLC Associates Program, an affiliate advertising program designed to provide a means for sites to earn advertising fees by advertising and linking to amazon.com. Amazon, the Amazon logo, AmazonSupply, and the AmazonSupply logo are trademarks of Amazon.com, Inc. or its affiliates.


