Okay okay, I know I said yesterday that I was gonna take tonight off, and while not entirely untrue, I did still get some work done - just not in the paint department on the body itself.
With the “B” pillars now in paint and the rest of the openings soon to follow, tonight I grabbed the vertical sections of the weatherstrip channels and started cleaning them up. These will be next to go on very shortly, so it was time to get on them.
Other than fighting with getting all the old adhesive and remnants of old ‘strip removed from inside them, they normally wouldn’t need much. They’re stainless steel and would’ve been fine once the crud was cleaned out of them, but this is me and I don’t seem to ever take the easy way out.
I plan on painting these, so they received a thorough scuff and prep with red Scotchbrite and 400 grit on the edges that are gonna be visible. When I did this same procedure on The Juggernaut I had the pieces powder coated satin black, but this is more of a budget oriented build. I already have some satin black left over from doing the grilles on The ‘Naut, so I’ll use that to shoot these.
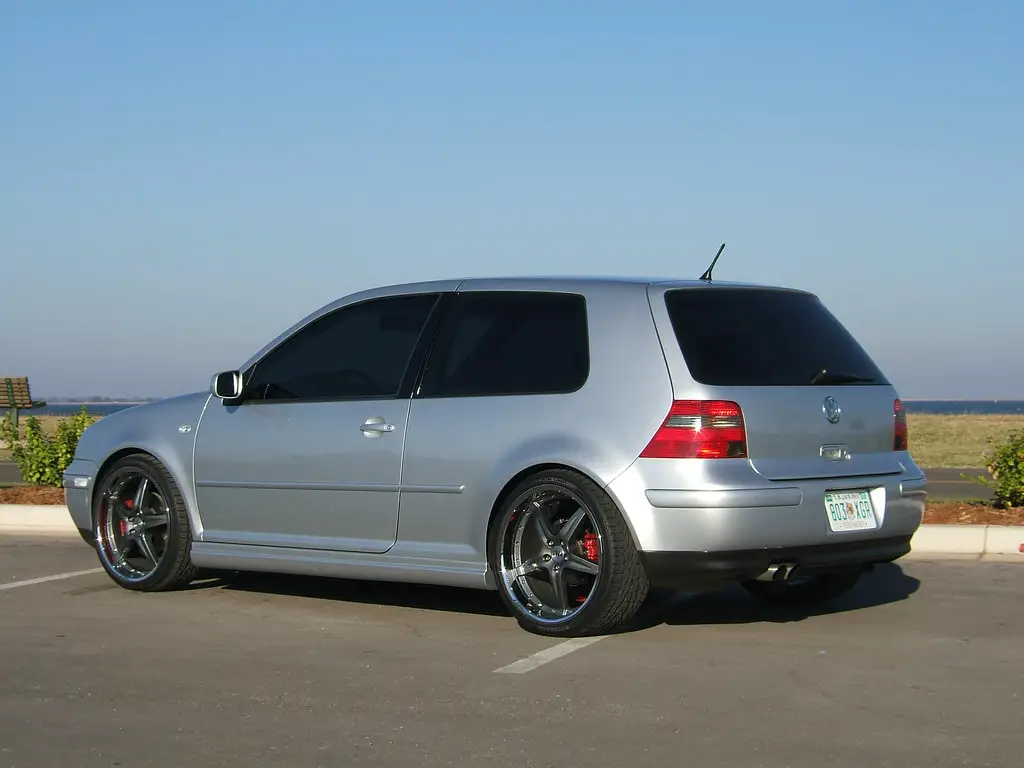
Why paint them if they’re already stainless you ask? It’s because the whole point in painting the “B” pillars gloss black is to fool the eye into not noticing the pillars at all. The gloss black will match the black tint of the side and quarter glass windows, and painting these weatherstrip channels satin black will have them closely matching the sheen of the window weatherstrip. If I left them shiny stainless steel, they’d stick out like a sore thumb and defeat the purpose.
So there you have it, the cat is outta the bag as to why I painted the pillars black. It’s been part of the master plan all along, but there was no real point in trying to explain it long before I got to this stage.
Here’s the pieces all prepped up, wiped down and ready to go:


Tomorrow night I will get to shooting the rest of the window openings, fingers crossed that everything goes well and I don’t run into any issues. Either way I’ll post up pics of them when they’re done. Hopefully I can get these channel pieces painted soon after.
As always, thanks for following along. Things are happening at a pretty good clip now!
D.
With the “B” pillars now in paint and the rest of the openings soon to follow, tonight I grabbed the vertical sections of the weatherstrip channels and started cleaning them up. These will be next to go on very shortly, so it was time to get on them.
Other than fighting with getting all the old adhesive and remnants of old ‘strip removed from inside them, they normally wouldn’t need much. They’re stainless steel and would’ve been fine once the crud was cleaned out of them, but this is me and I don’t seem to ever take the easy way out.
I plan on painting these, so they received a thorough scuff and prep with red Scotchbrite and 400 grit on the edges that are gonna be visible. When I did this same procedure on The Juggernaut I had the pieces powder coated satin black, but this is more of a budget oriented build. I already have some satin black left over from doing the grilles on The ‘Naut, so I’ll use that to shoot these.
Why paint them if they’re already stainless you ask? It’s because the whole point in painting the “B” pillars gloss black is to fool the eye into not noticing the pillars at all. The gloss black will match the black tint of the side and quarter glass windows, and painting these weatherstrip channels satin black will have them closely matching the sheen of the window weatherstrip. If I left them shiny stainless steel, they’d stick out like a sore thumb and defeat the purpose.
So there you have it, the cat is outta the bag as to why I painted the pillars black. It’s been part of the master plan all along, but there was no real point in trying to explain it long before I got to this stage.
Here’s the pieces all prepped up, wiped down and ready to go:


Tomorrow night I will get to shooting the rest of the window openings, fingers crossed that everything goes well and I don’t run into any issues. Either way I’ll post up pics of them when they’re done. Hopefully I can get these channel pieces painted soon after.
As always, thanks for following along. Things are happening at a pretty good clip now!
D.


