Project regress

Status
Not open for further replies.

69hurstolds

Geezer
Supporting Member
Jan 2, 2006
8,185
17,560
113
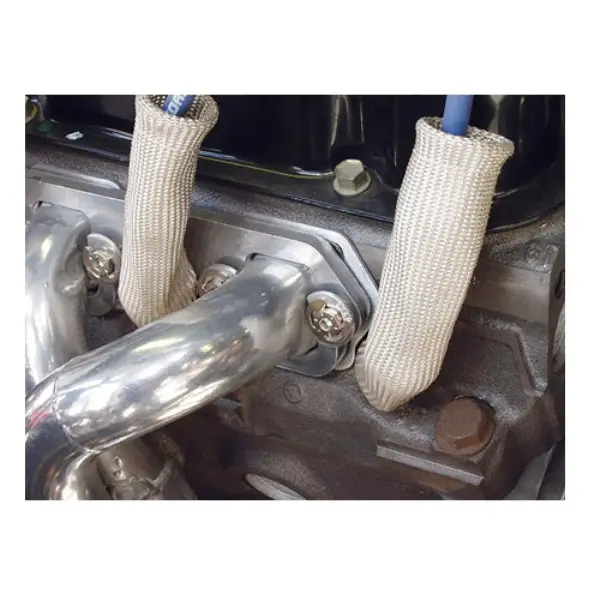
If you have room to use them...STAGE 8 locks for those header bolts. Wire works after you get the bolts tightened where you want them, but if you have to make an adjustment...it sucks. But if you can use Stage 8s, you can un clip the lock and tighten and reinstall a whole lot easier. Sometimes, you just don't have the room though. JMO.

5001_485_popup.jpg
 
  • Like
  • Agree
Reactions: 1 users

565bbchevy

Geezer
Aug 8, 2011
9,609
12,663
113
Michigan
I use SCE embossed copper header gaskets that keep tension on the header bolts and even with my BBC and solid mounts I have never had a header bolt work itself loose using these. BBC pictured.
1567537808217.png
 
  • Like
Reactions: 1 users

pagrunt

Geezer
Sep 14, 2014
9,154
15,314
113
Elderton, Pa
I use SCE embossed copper header gaskets that keep tension on the header bolts and even with my BBC and solid mounts I have never had a header bolt work itself loose using these. BBC pictured.
View attachment 122592
I had their SBC set on my 305 with Hedmans & same thing. Bolt them on, did a basic check after some run time, never touched them again until everything was taken apart.
 
  • Like
Reactions: 3 users

CopperNick

Comic Book Super Hero
Supporting Member
Feb 20, 2018
3,352
3,014
113
Canada
DSCN2368.JPG
DSCN2392.JPG
DSCN2393.JPG
DSCN2394.JPG


(Now why didn't this work over on the other thread???)

Anyway, thought I would end this thread by posting a few pictures of from where I started and with what I ended up.
The top or first pic is about what you would encounter when you look down at the engine mounts for a G-Body. This is the upper or engine half of what can be termed a clamshell motor mount. It is this upper face against which most late model headers will crash or hit when you attempt to install them in your G-Body.

The subsequent pics, 2-3-4, are what I ended up with when I elected to modify a stock "clam" rather than go the UMI route. Not knocking their product. I had the time and incentive to take a run at the problem and see what I could create as a solution. 3-4 are detail shots that show the amount of curve or radius that I put into the side walls as part of reducing their height to get the clearance I believed that I'd need. For those who might be wondering why I chose to do all the side walls instead of just the two that had to be done, essentially having them all radiused down to the same amount and shape means that either clam can get mounted on either side of the motor and provide clearance for the pipe to fit into place. Apart form that it gives them a clean and "professional" appearance. For the philosophers, form follows function?? They still do what they do, only they look a little different than they did before.
 
Status
Not open for further replies.

GBodyForum is a participant in the Amazon Services LLC Associates Program, an affiliate advertising program designed to provide a means for sites to earn advertising fees by advertising and linking to amazon.com. Amazon, the Amazon logo, AmazonSupply, and the AmazonSupply logo are trademarks of Amazon.com, Inc. or its affiliates.

Please support GBodyForum Sponsors

Classic Truck Consoles Dixie Restoration Depot UMI Performance

Contact [email protected] for info on becoming a sponsor