Q8y's 1985 Cutlass Turbo LS Build

Q8y_drifter

Not-quite-so-new-guy
Mar 4, 2016
9
18
3
Kuwait
Hello peeps!

Old(ish) member here working a new build and I figured I'd document what I'm doing as I do it. This is gonna be a fairly long term build so I will be working on and off on it as time/money/energy allows.

About the car:
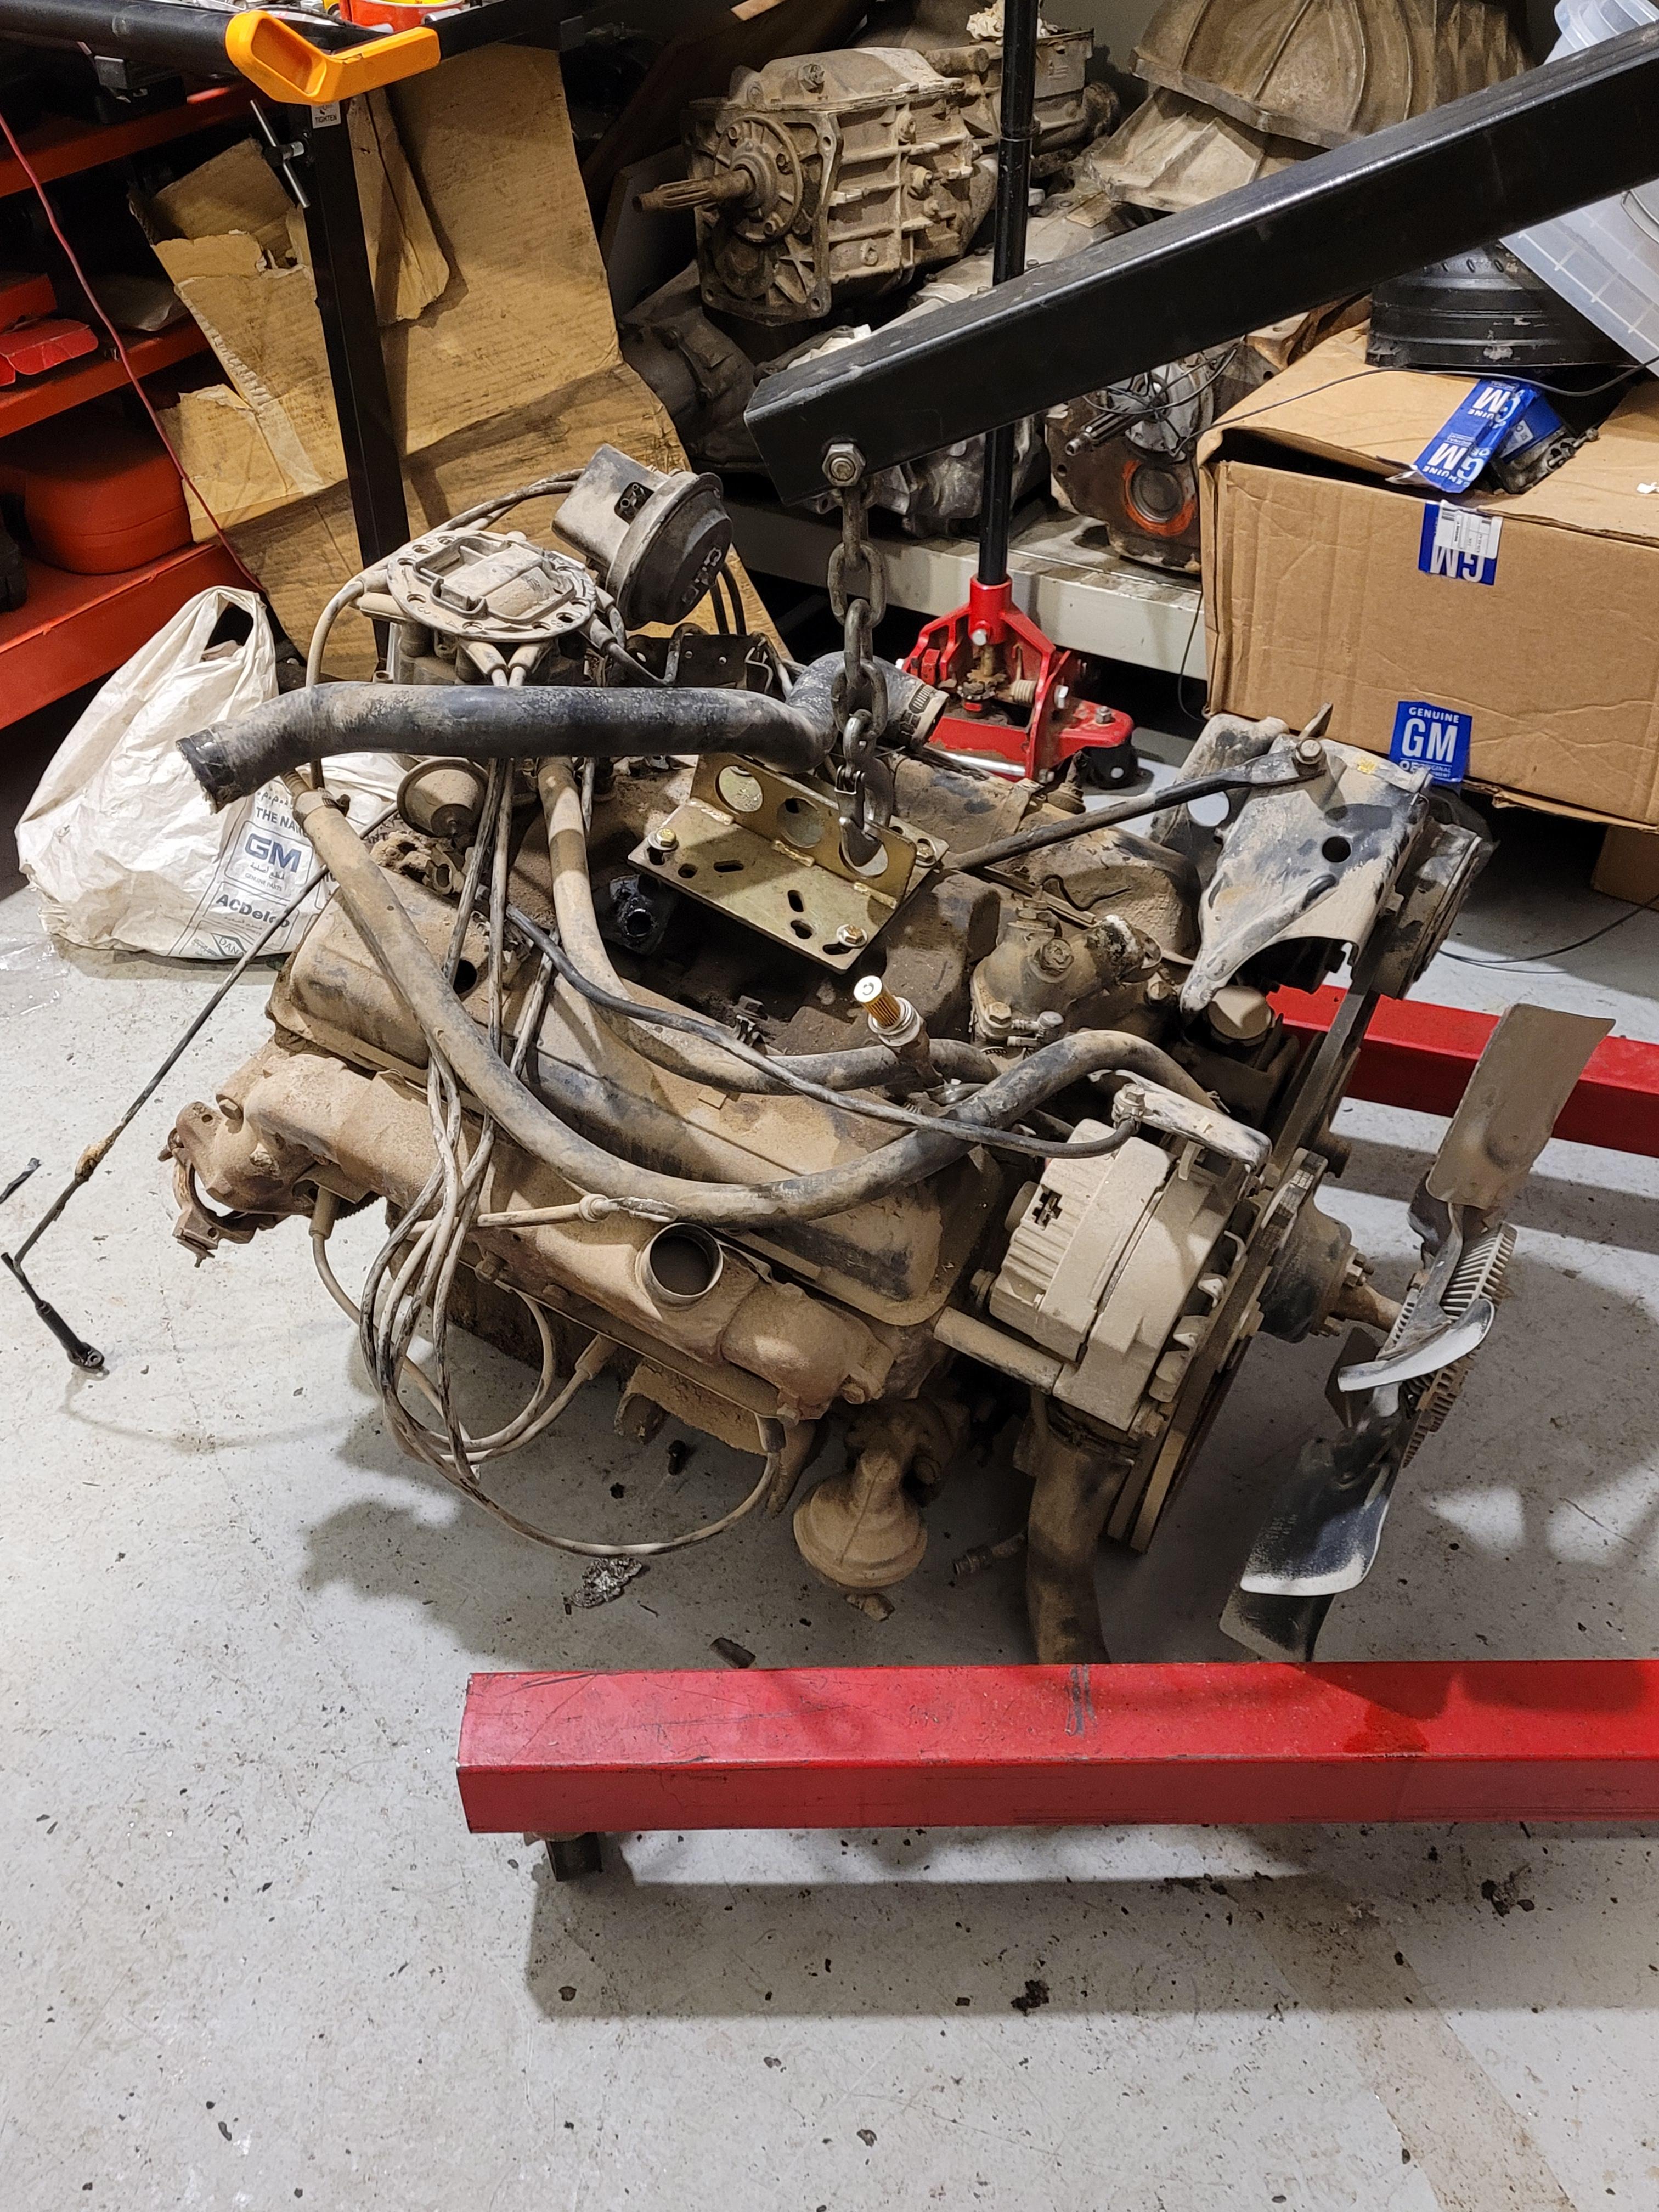
So this is originally a Kuwait export model 1985 Olds Cutlass Supreme Brougham. VIN says it was built in Quebec, Canada as a lot of Gulf-spec export GM sedans/coupes were at the time. Factory drivetrain was a Chevy 305 SBC, 200-4R trans and a 7.5" rear open diff. Originally a soft top car that has been converted to a hardtop. Has factory A/C, 60/40 front split bench, column shifter, cruise, power everything and a metric Rally gauge cluster.

Plans:
As the title suggests, the plan is to restomod this G body and hopefully end up with a fun comfy high hp cruiser that I can daily.

Drivetrain:
2013 4.8L L20 pulled out of my 2013 GMC Sierra (built and swapped a 6.0L L76 into that truck).
2004ish 4L80e from the junkyard
Ford 8.8 rear diff pulled out of a junkyard 1990 fox body

I don't actually have much pics of the car itself, mostly just the parts and engine bay/underside which I took while working.

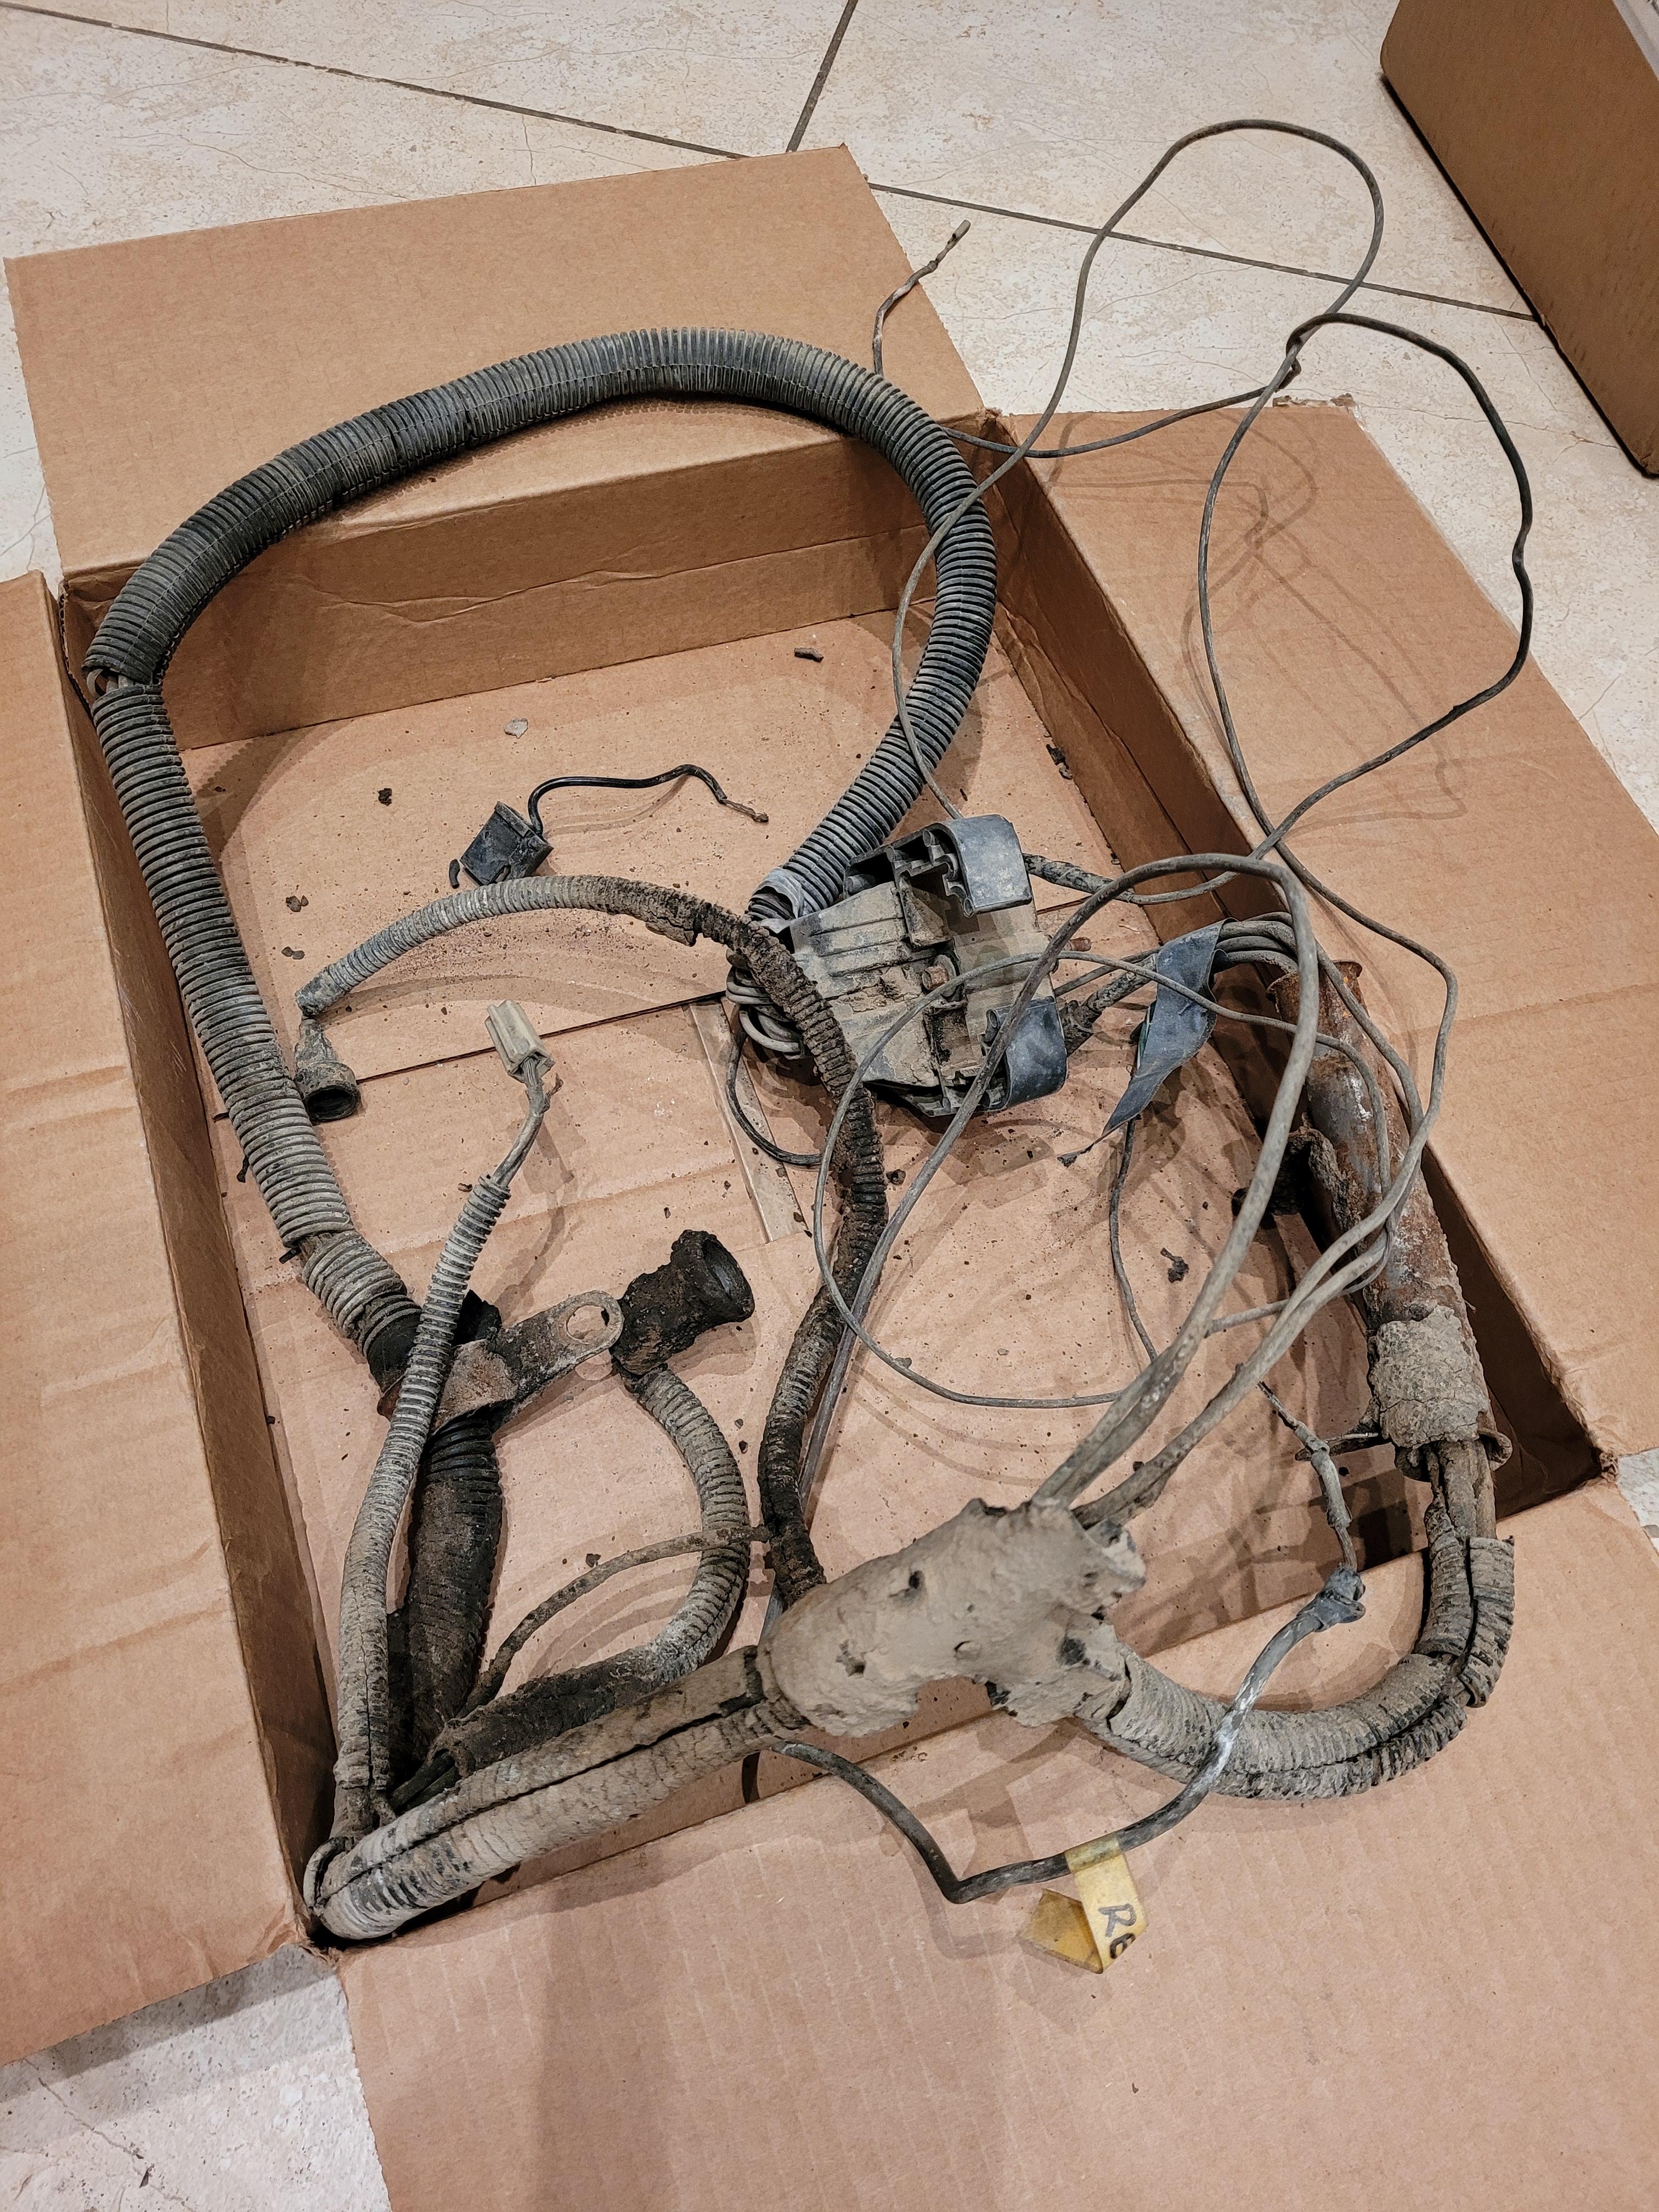
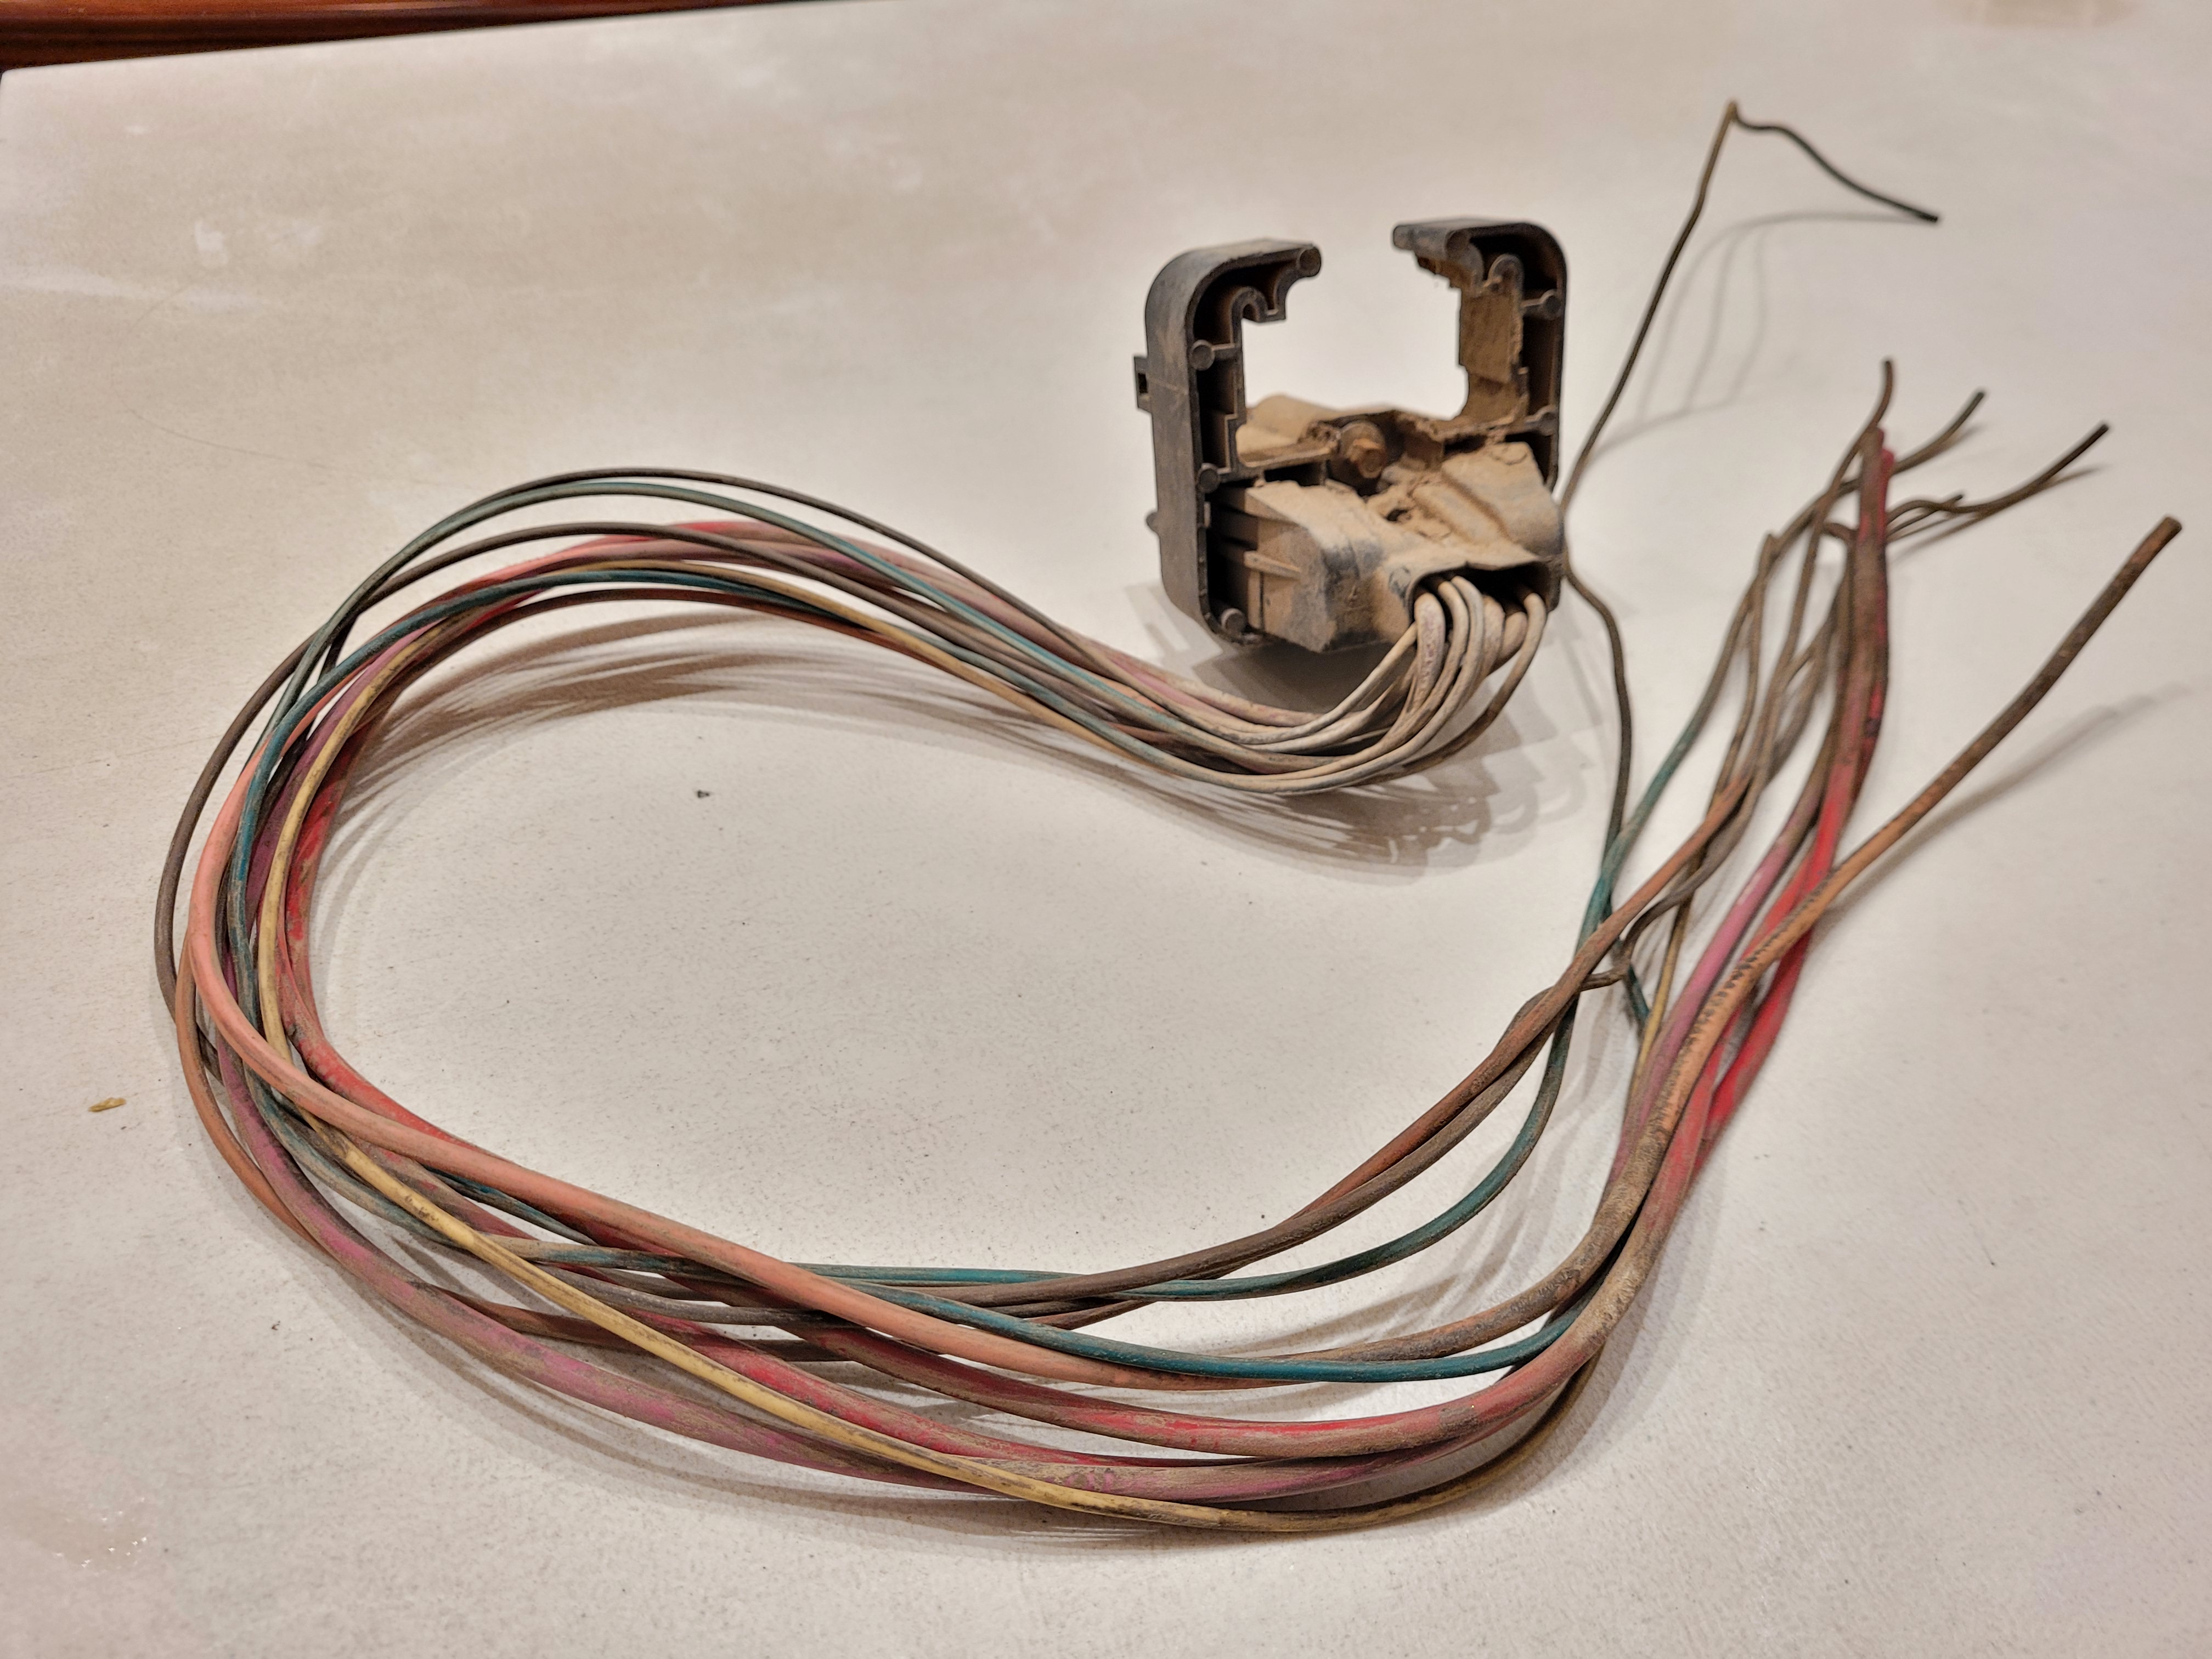
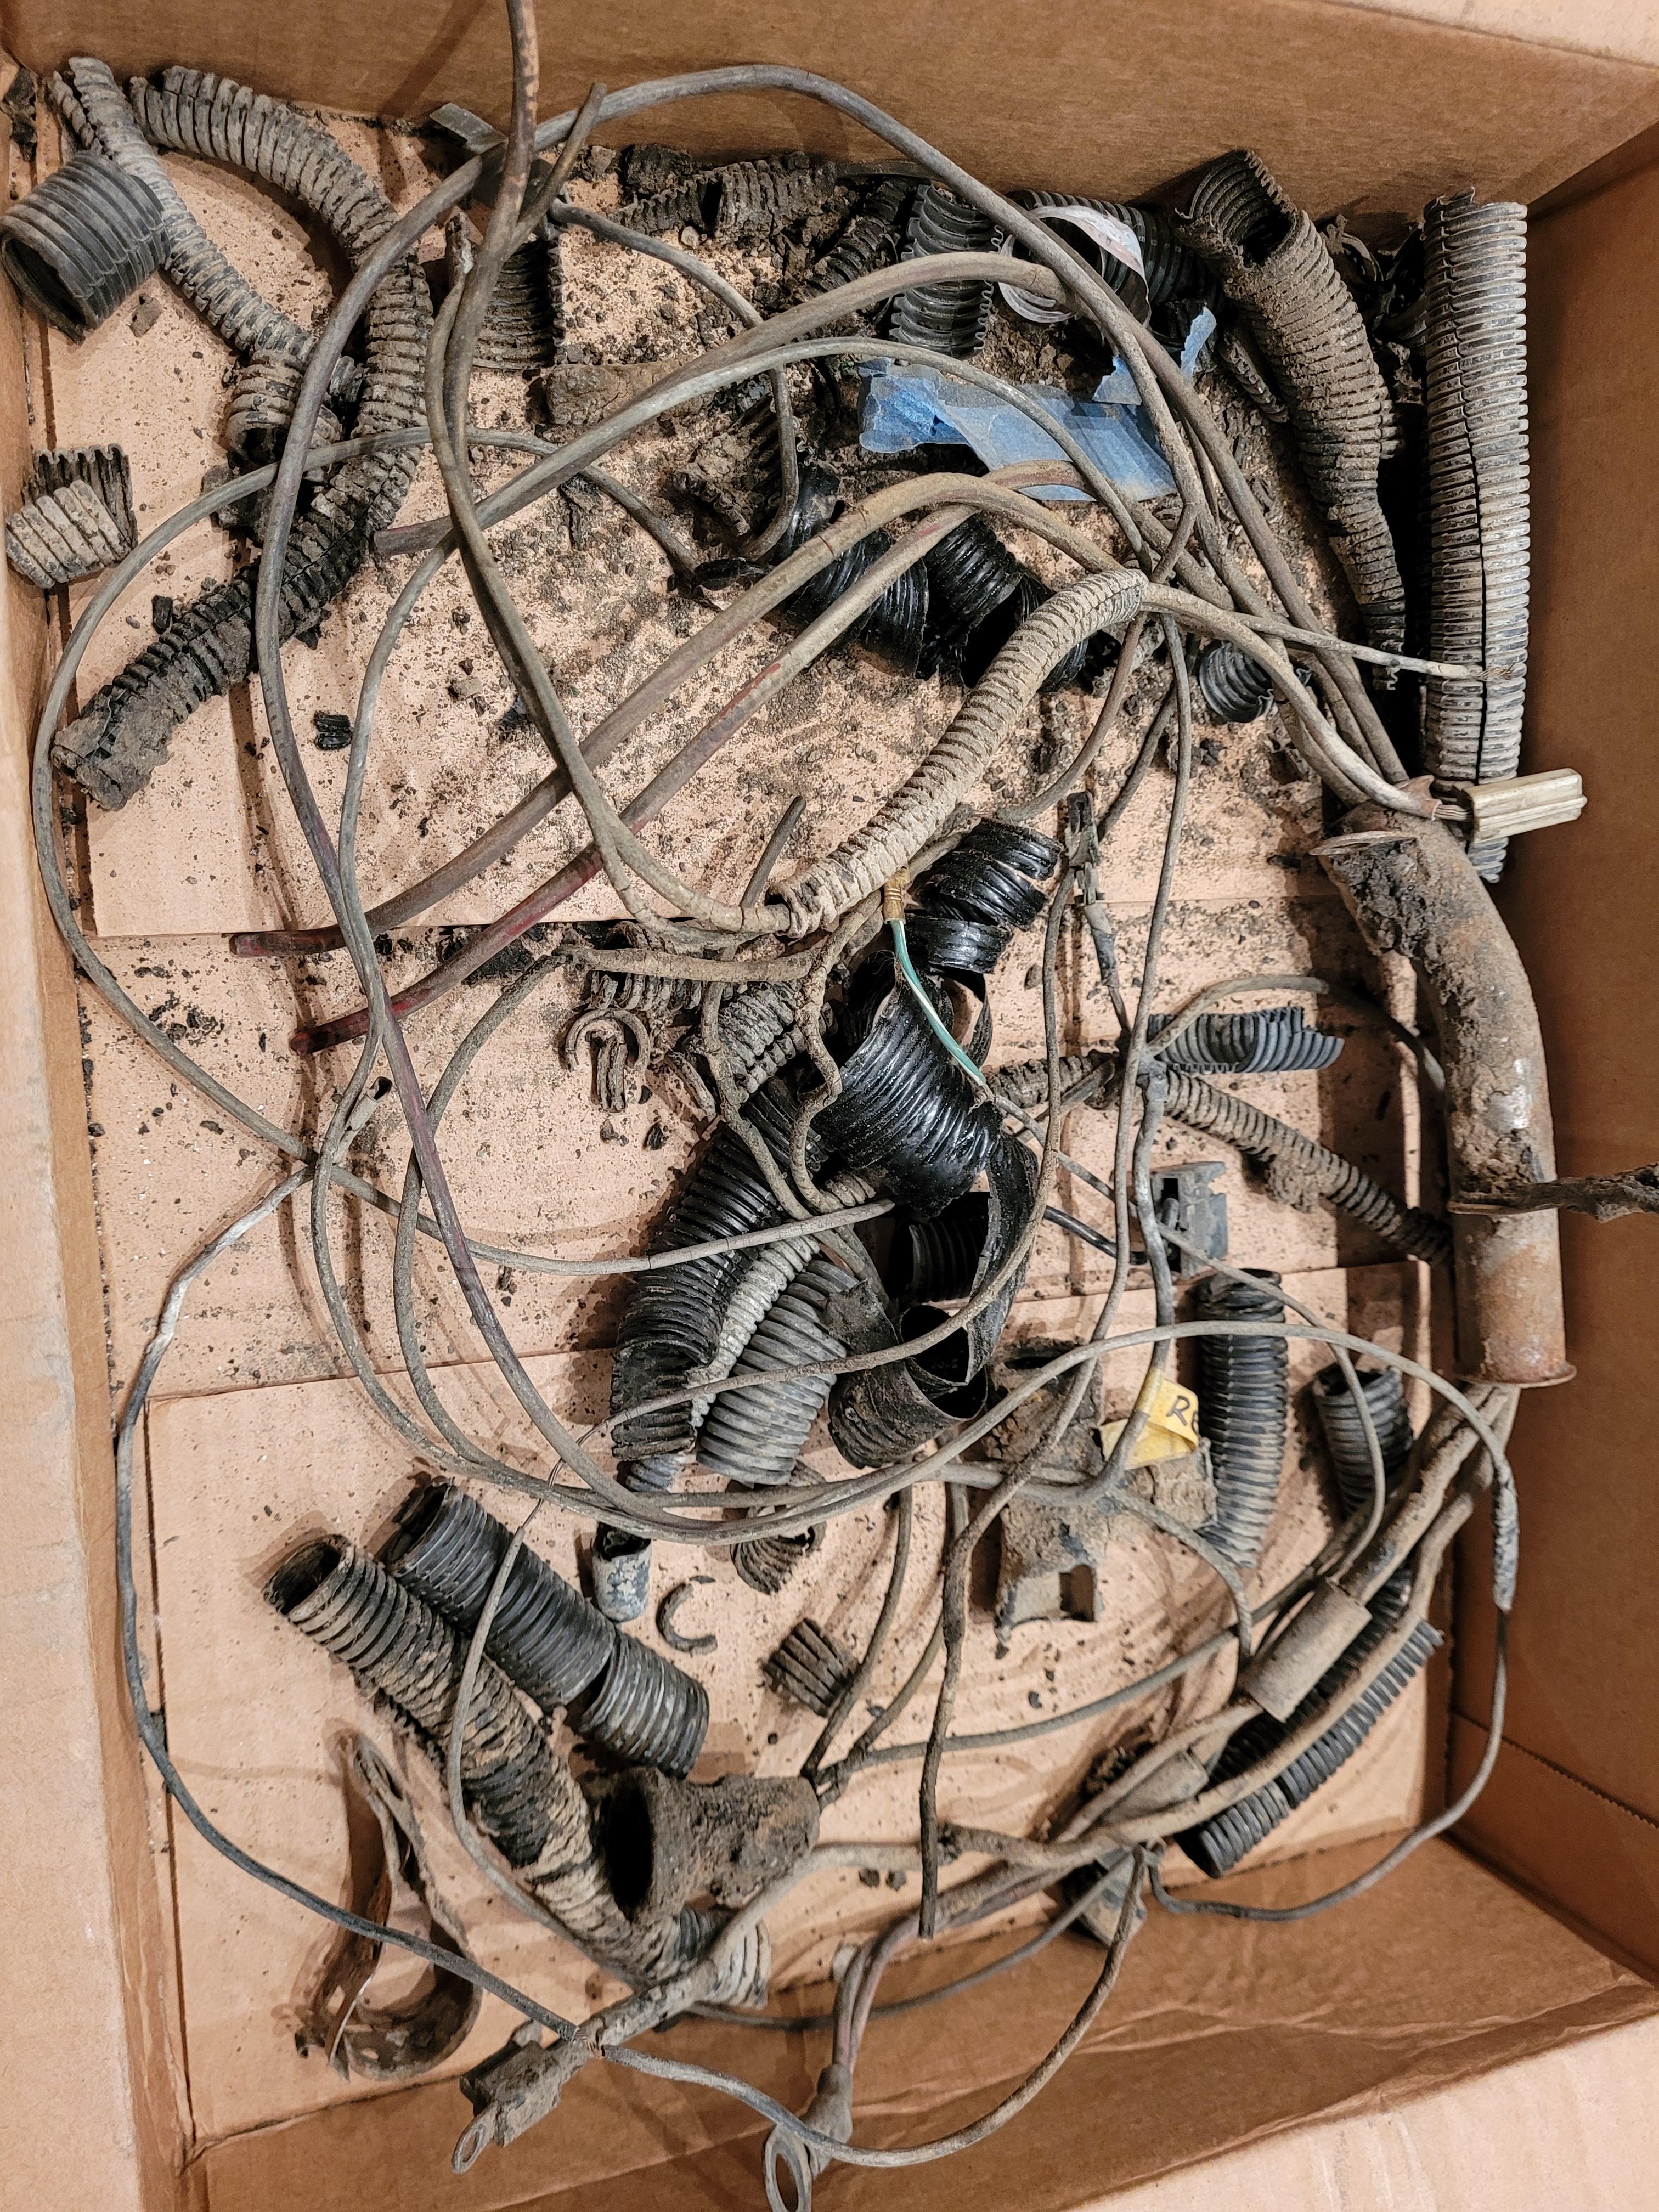
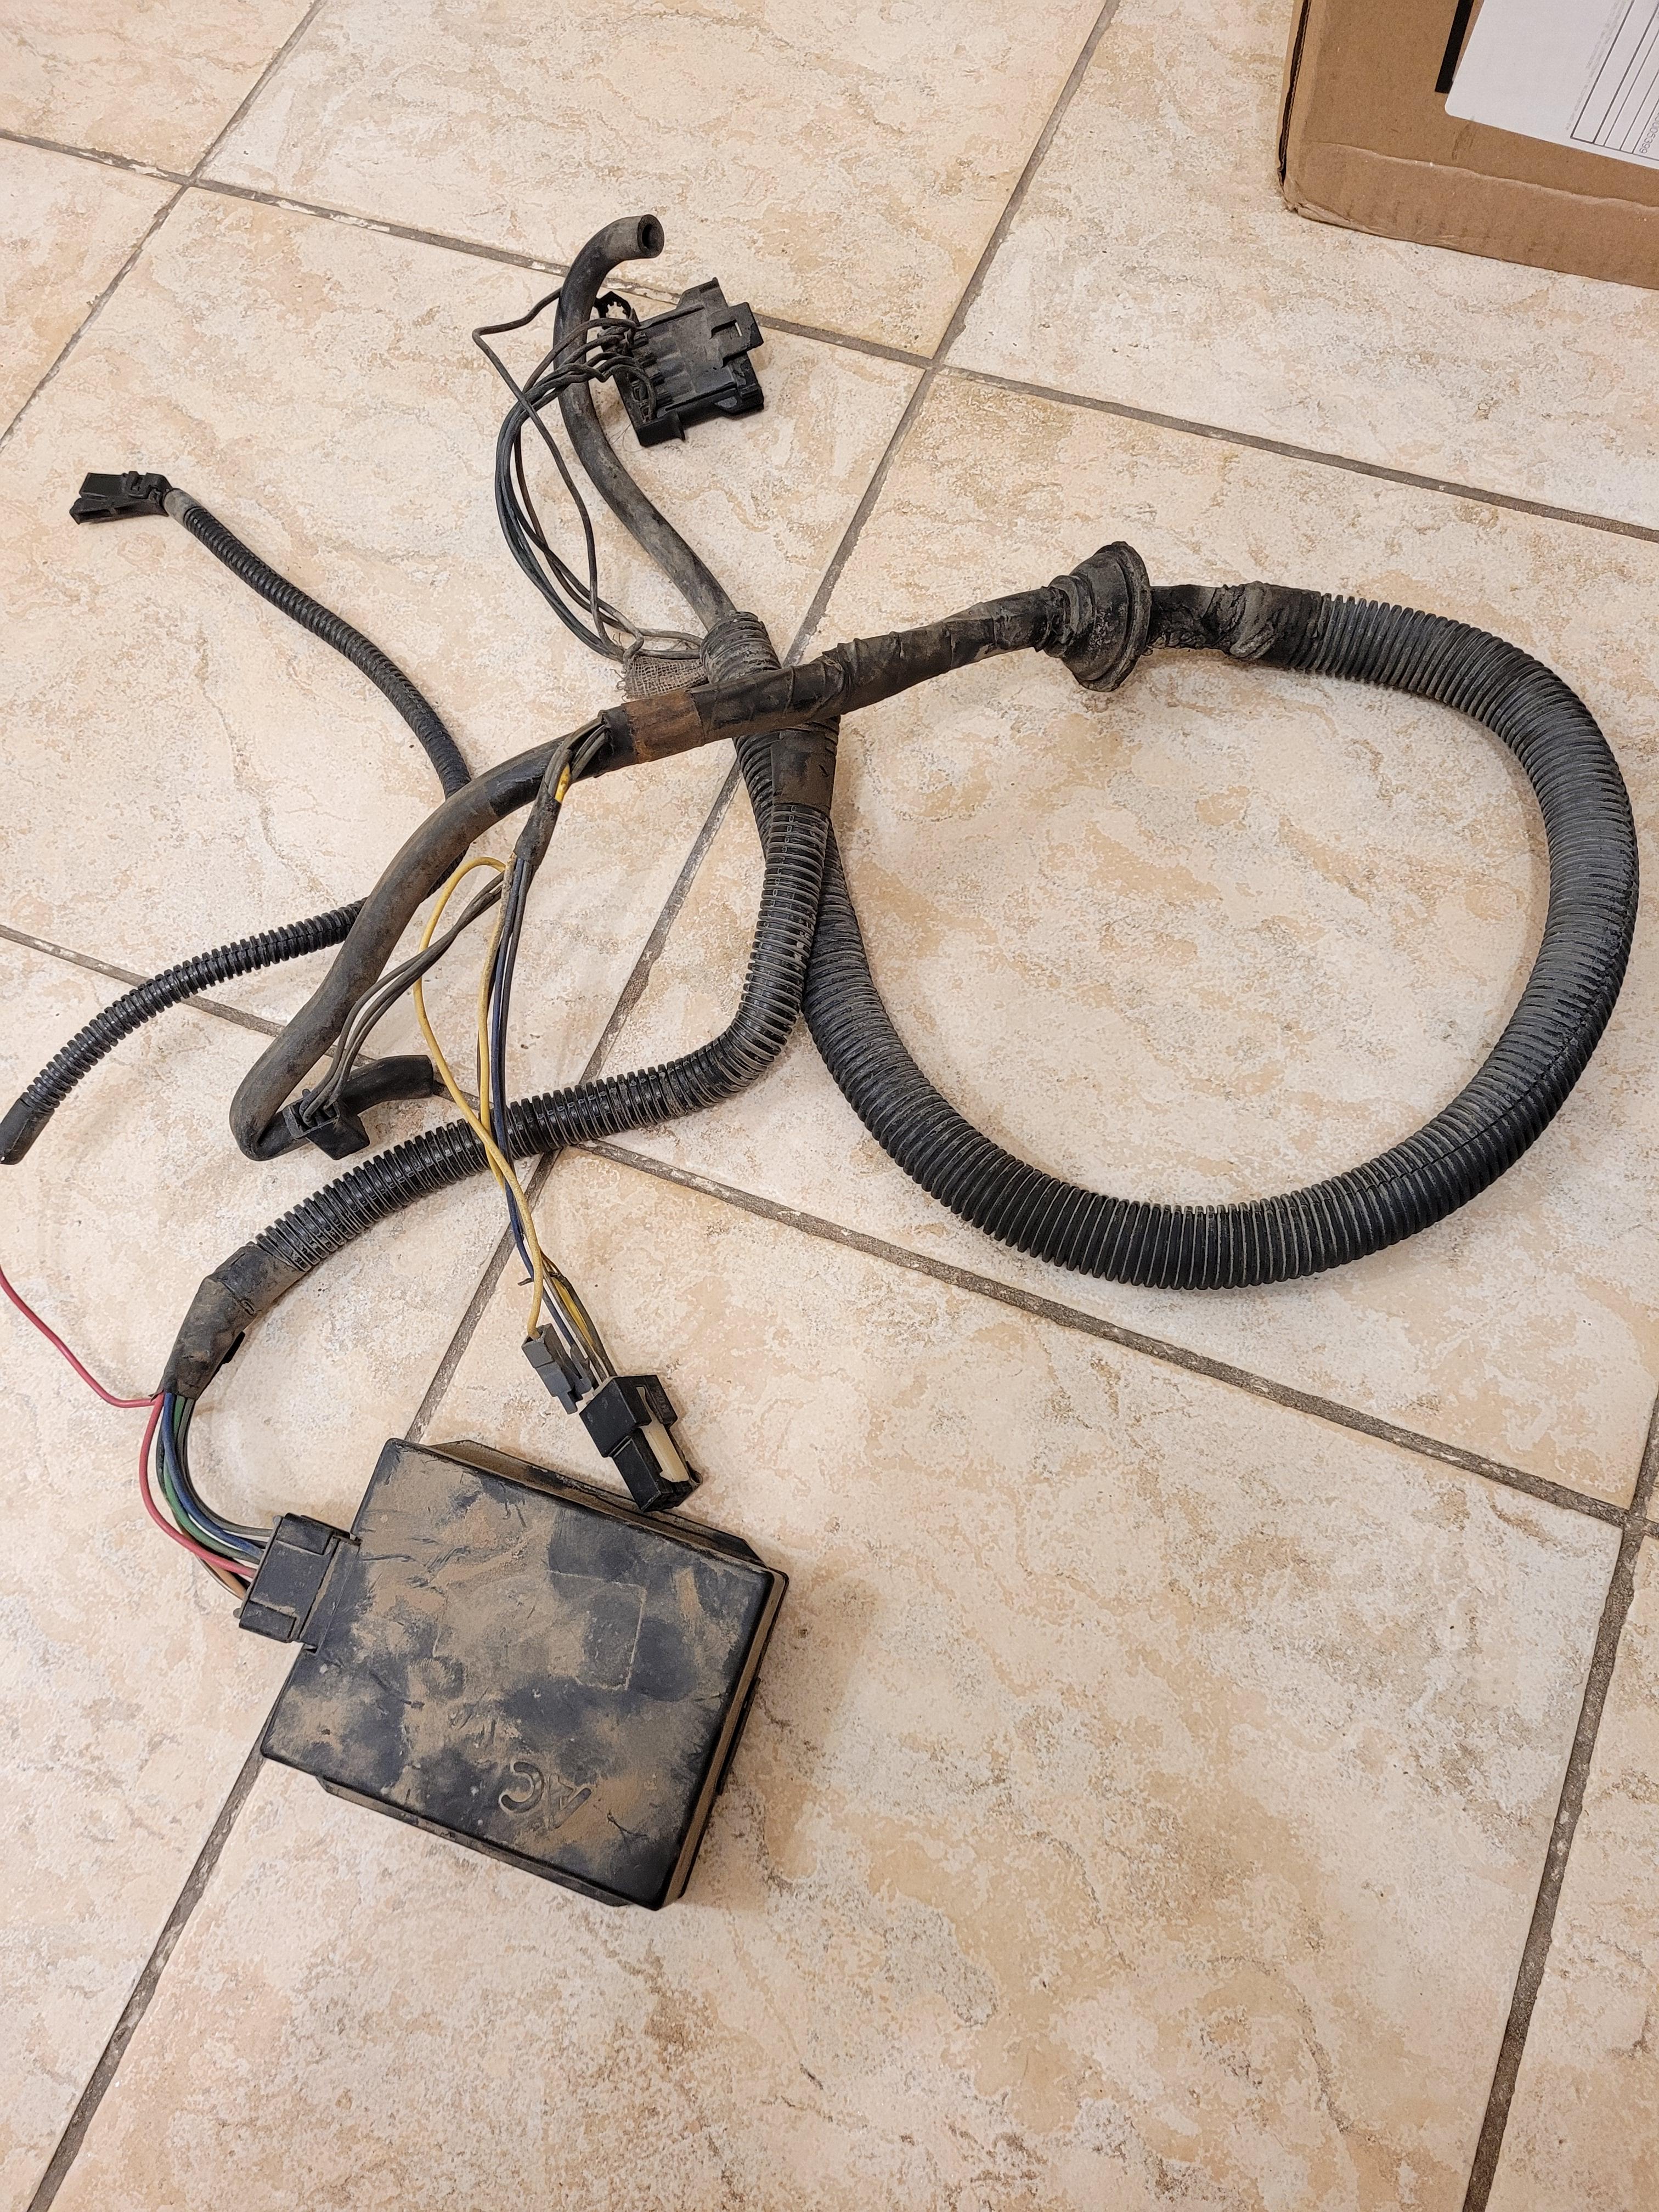
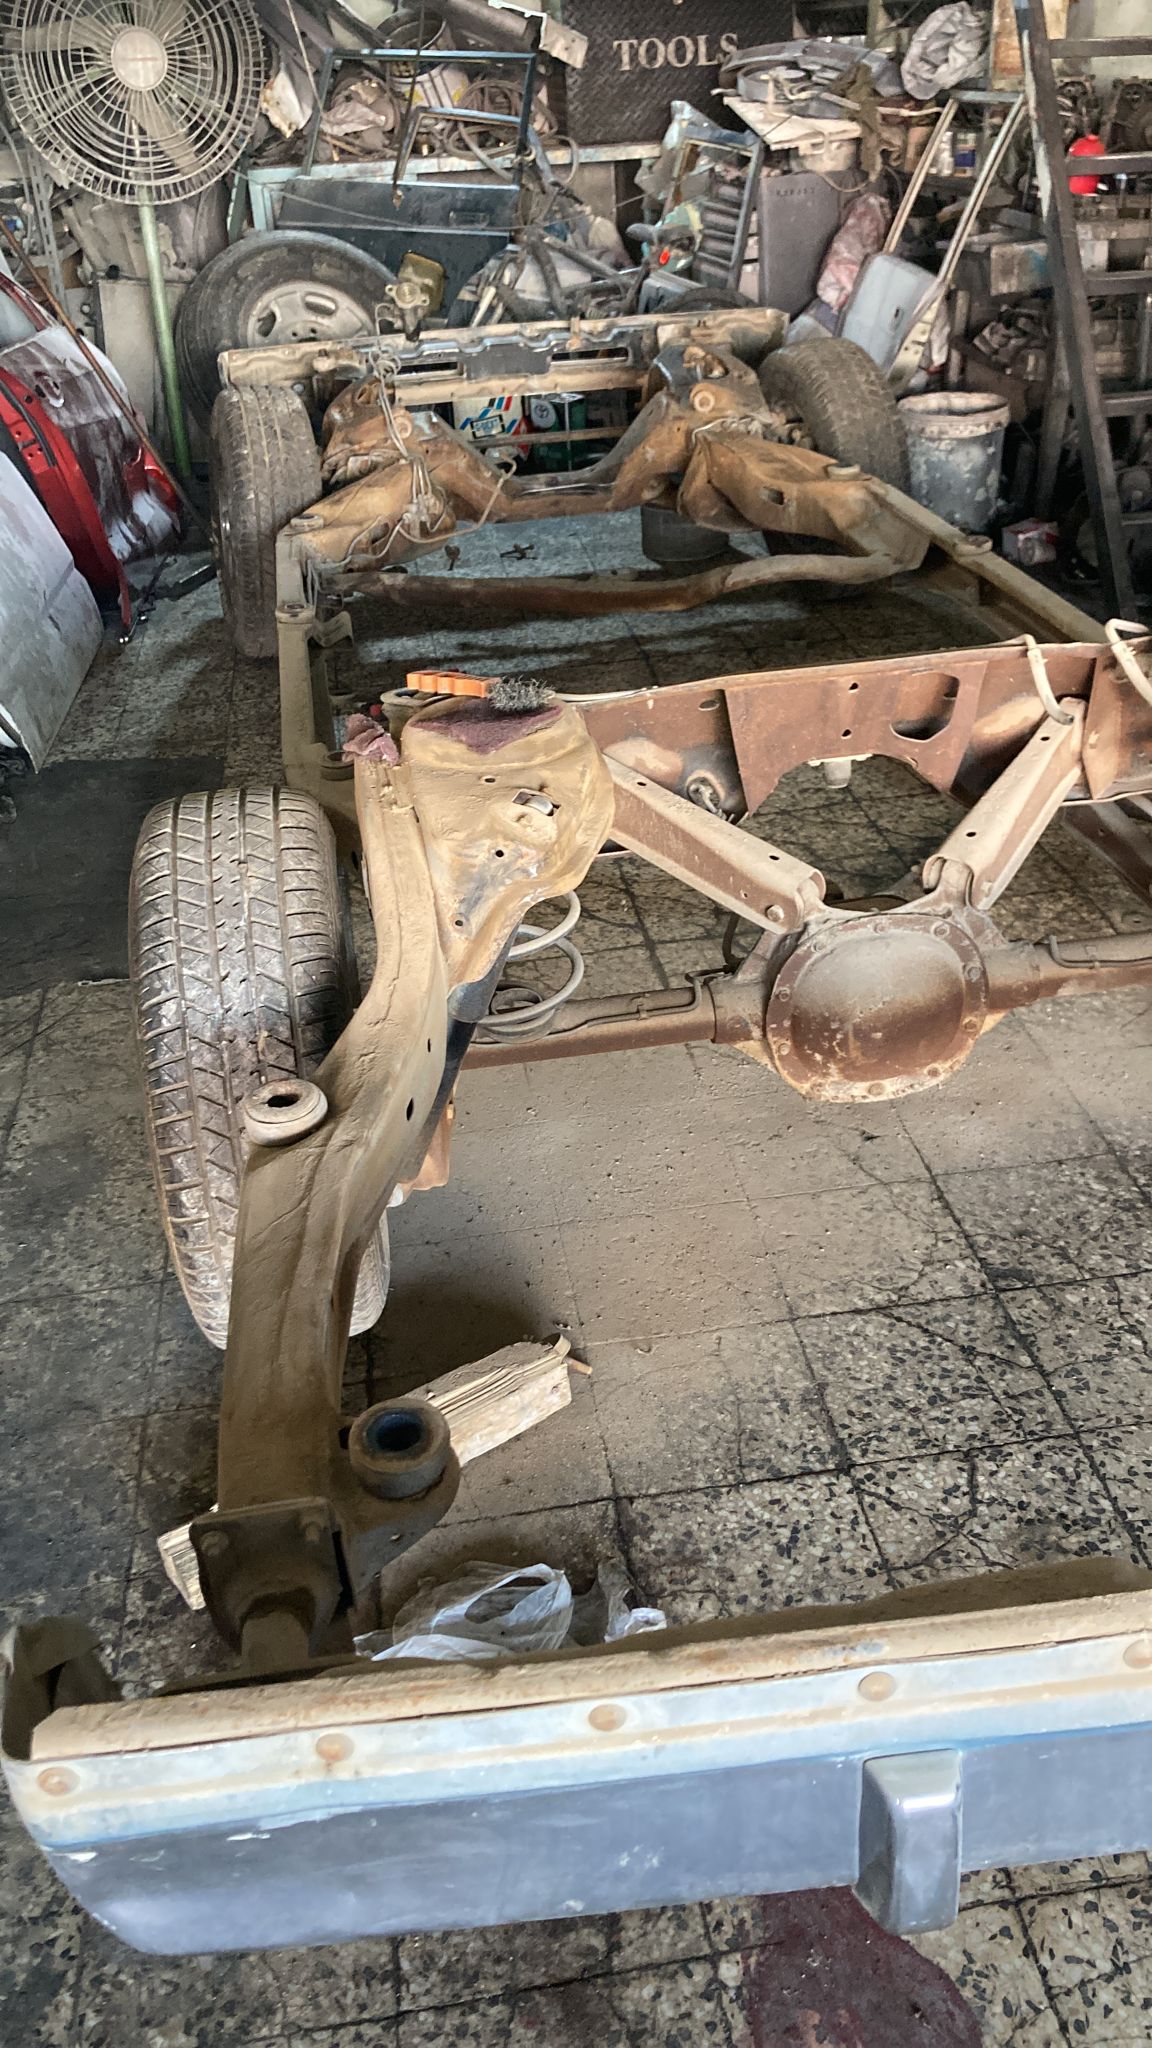
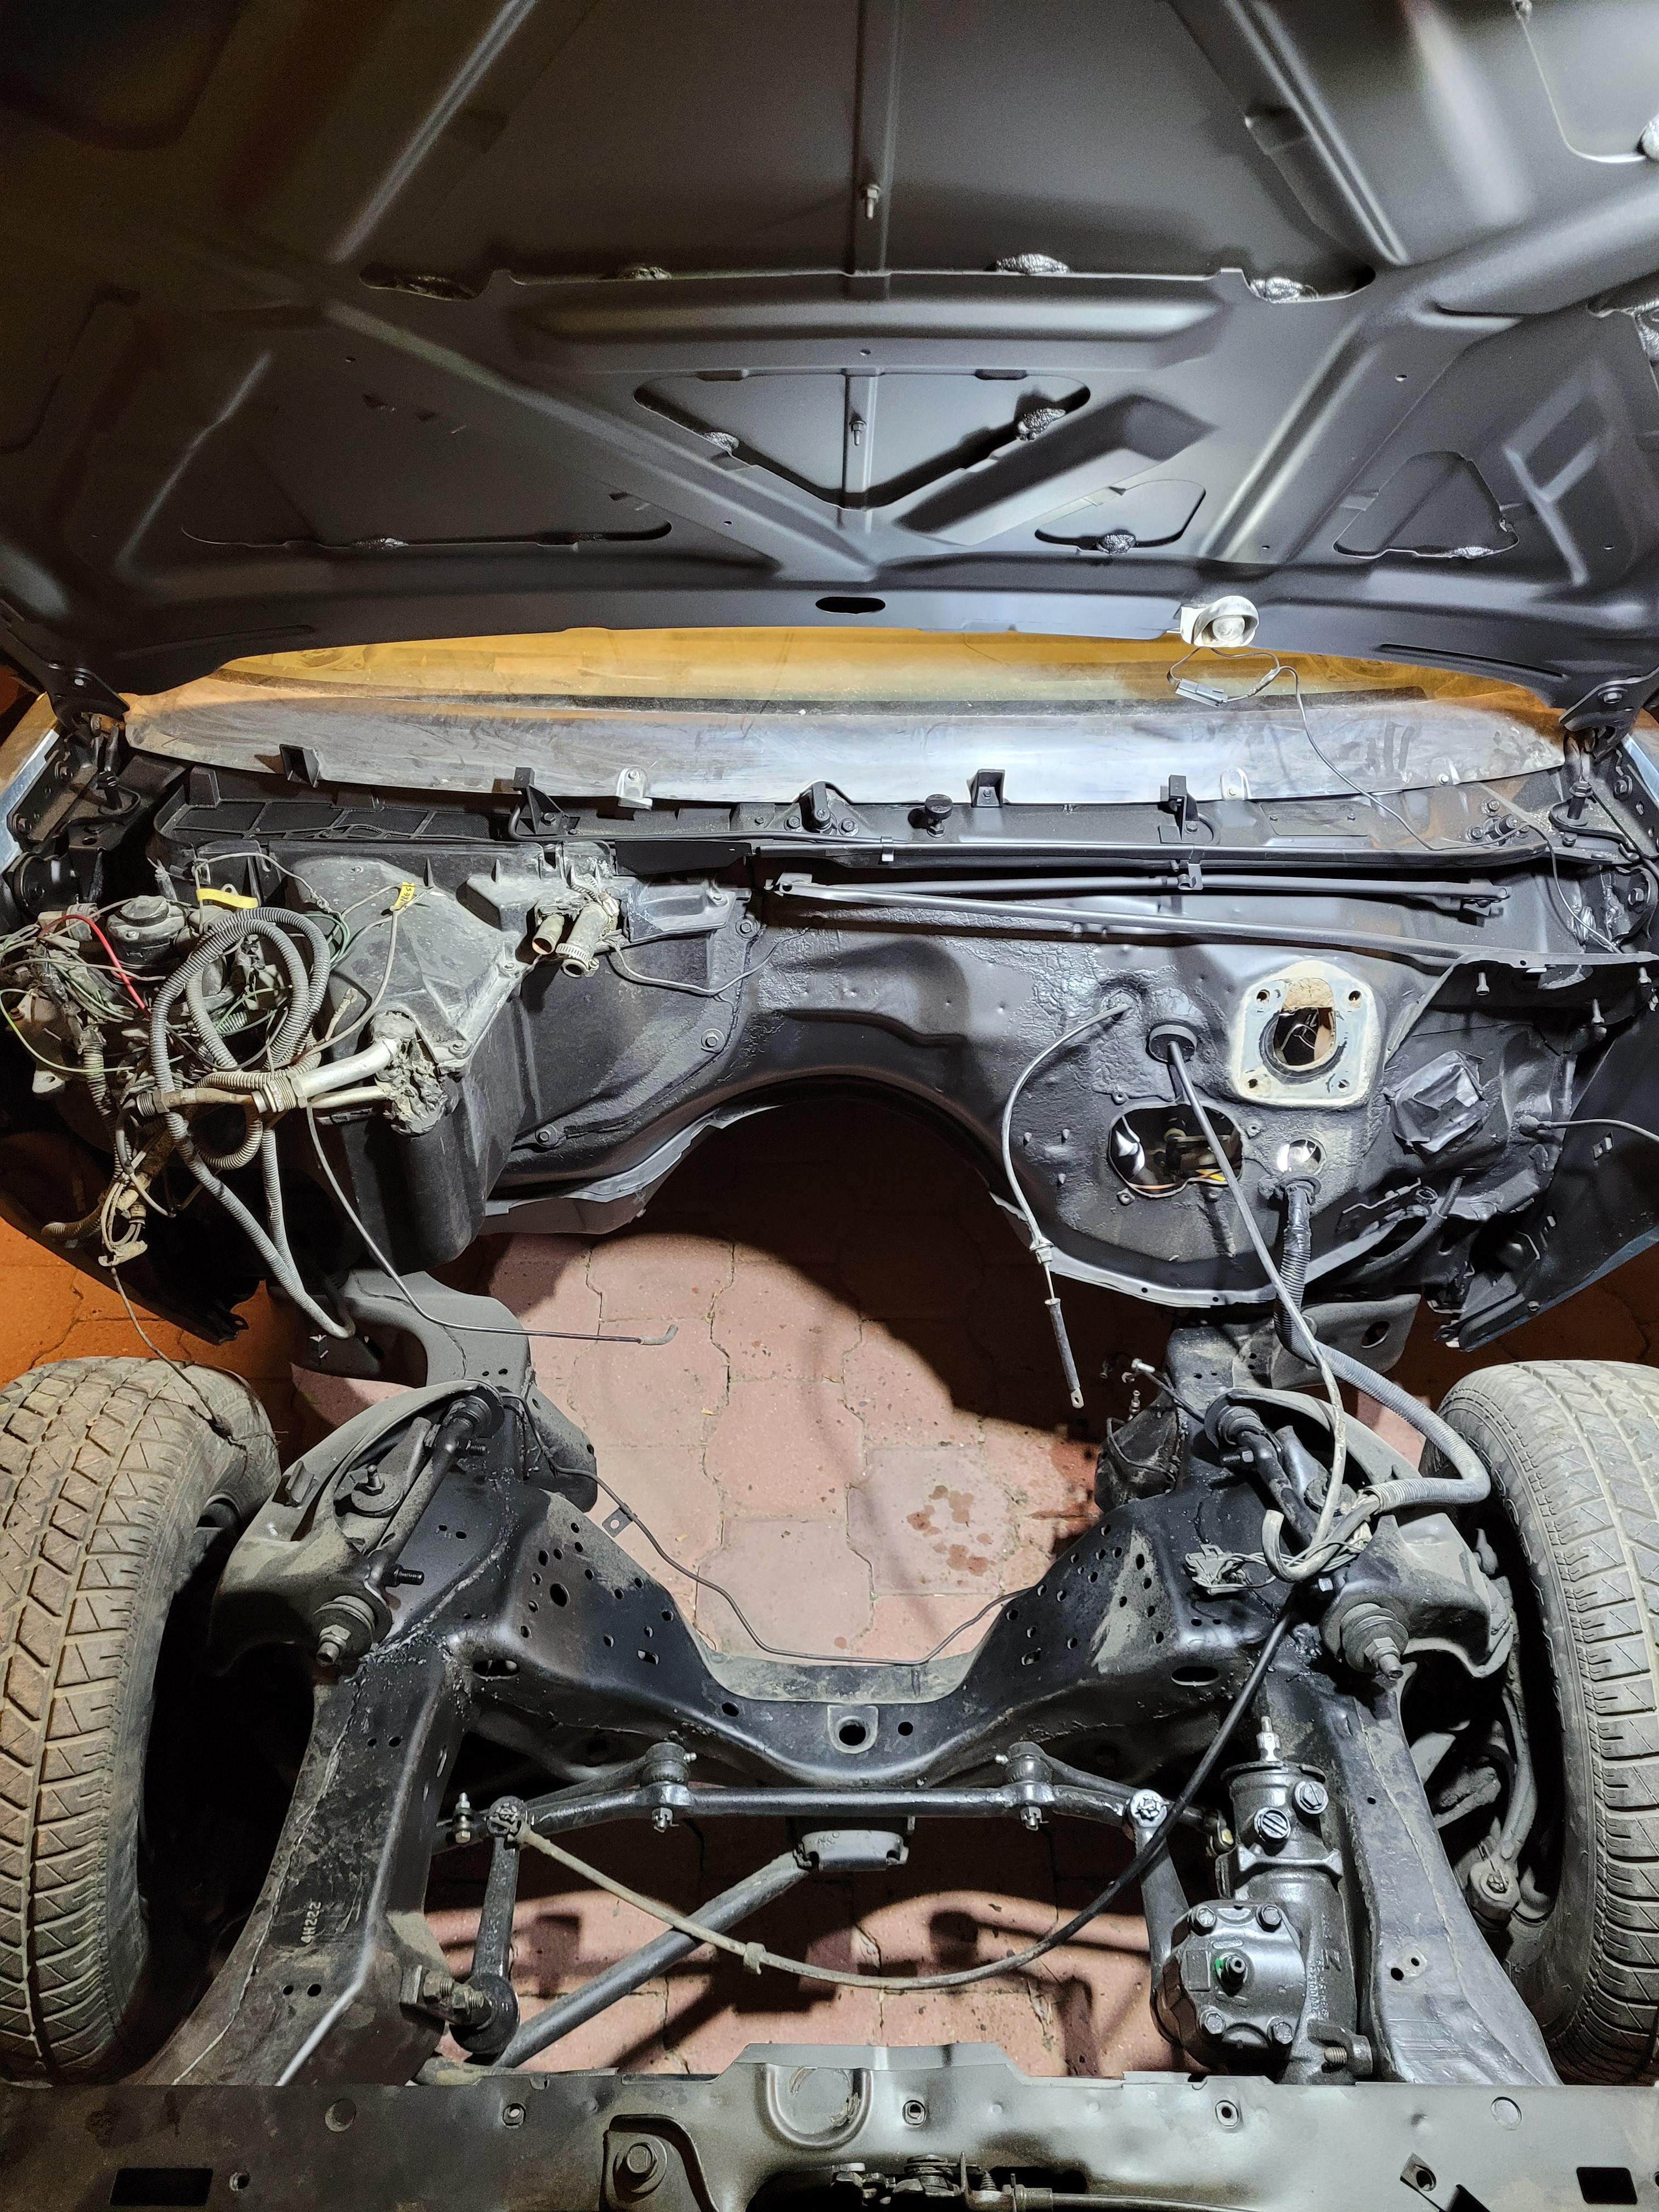
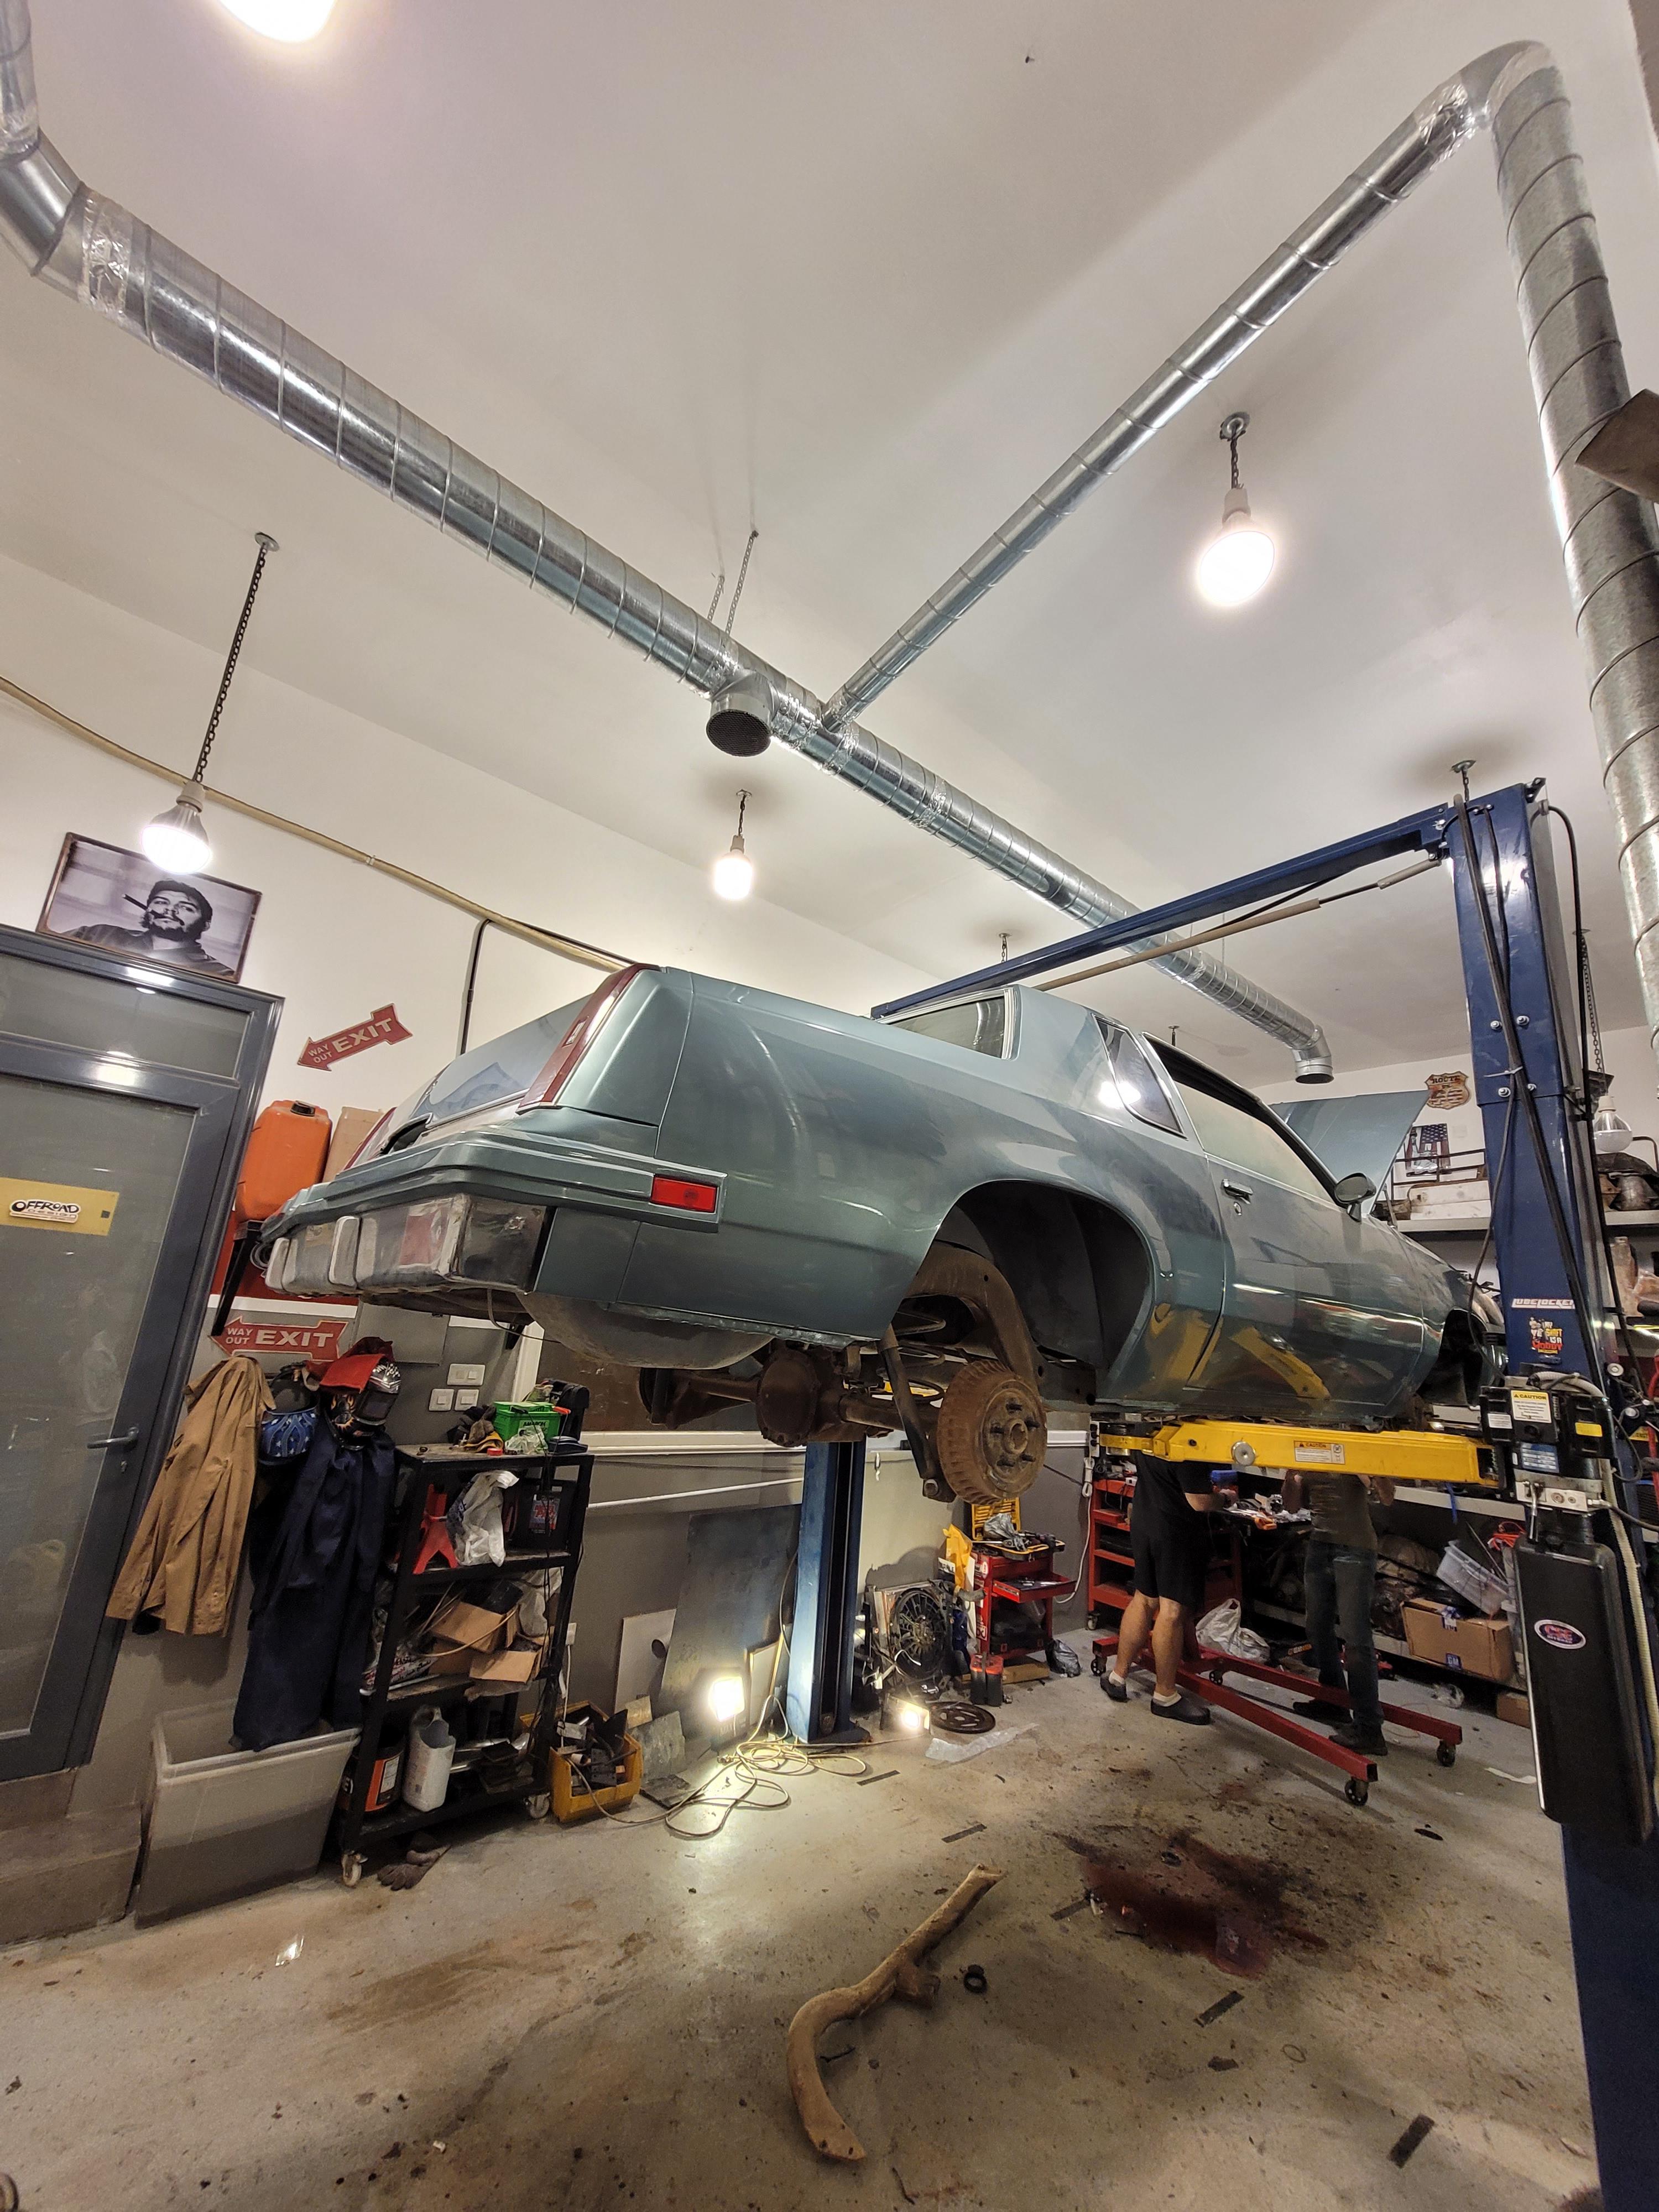
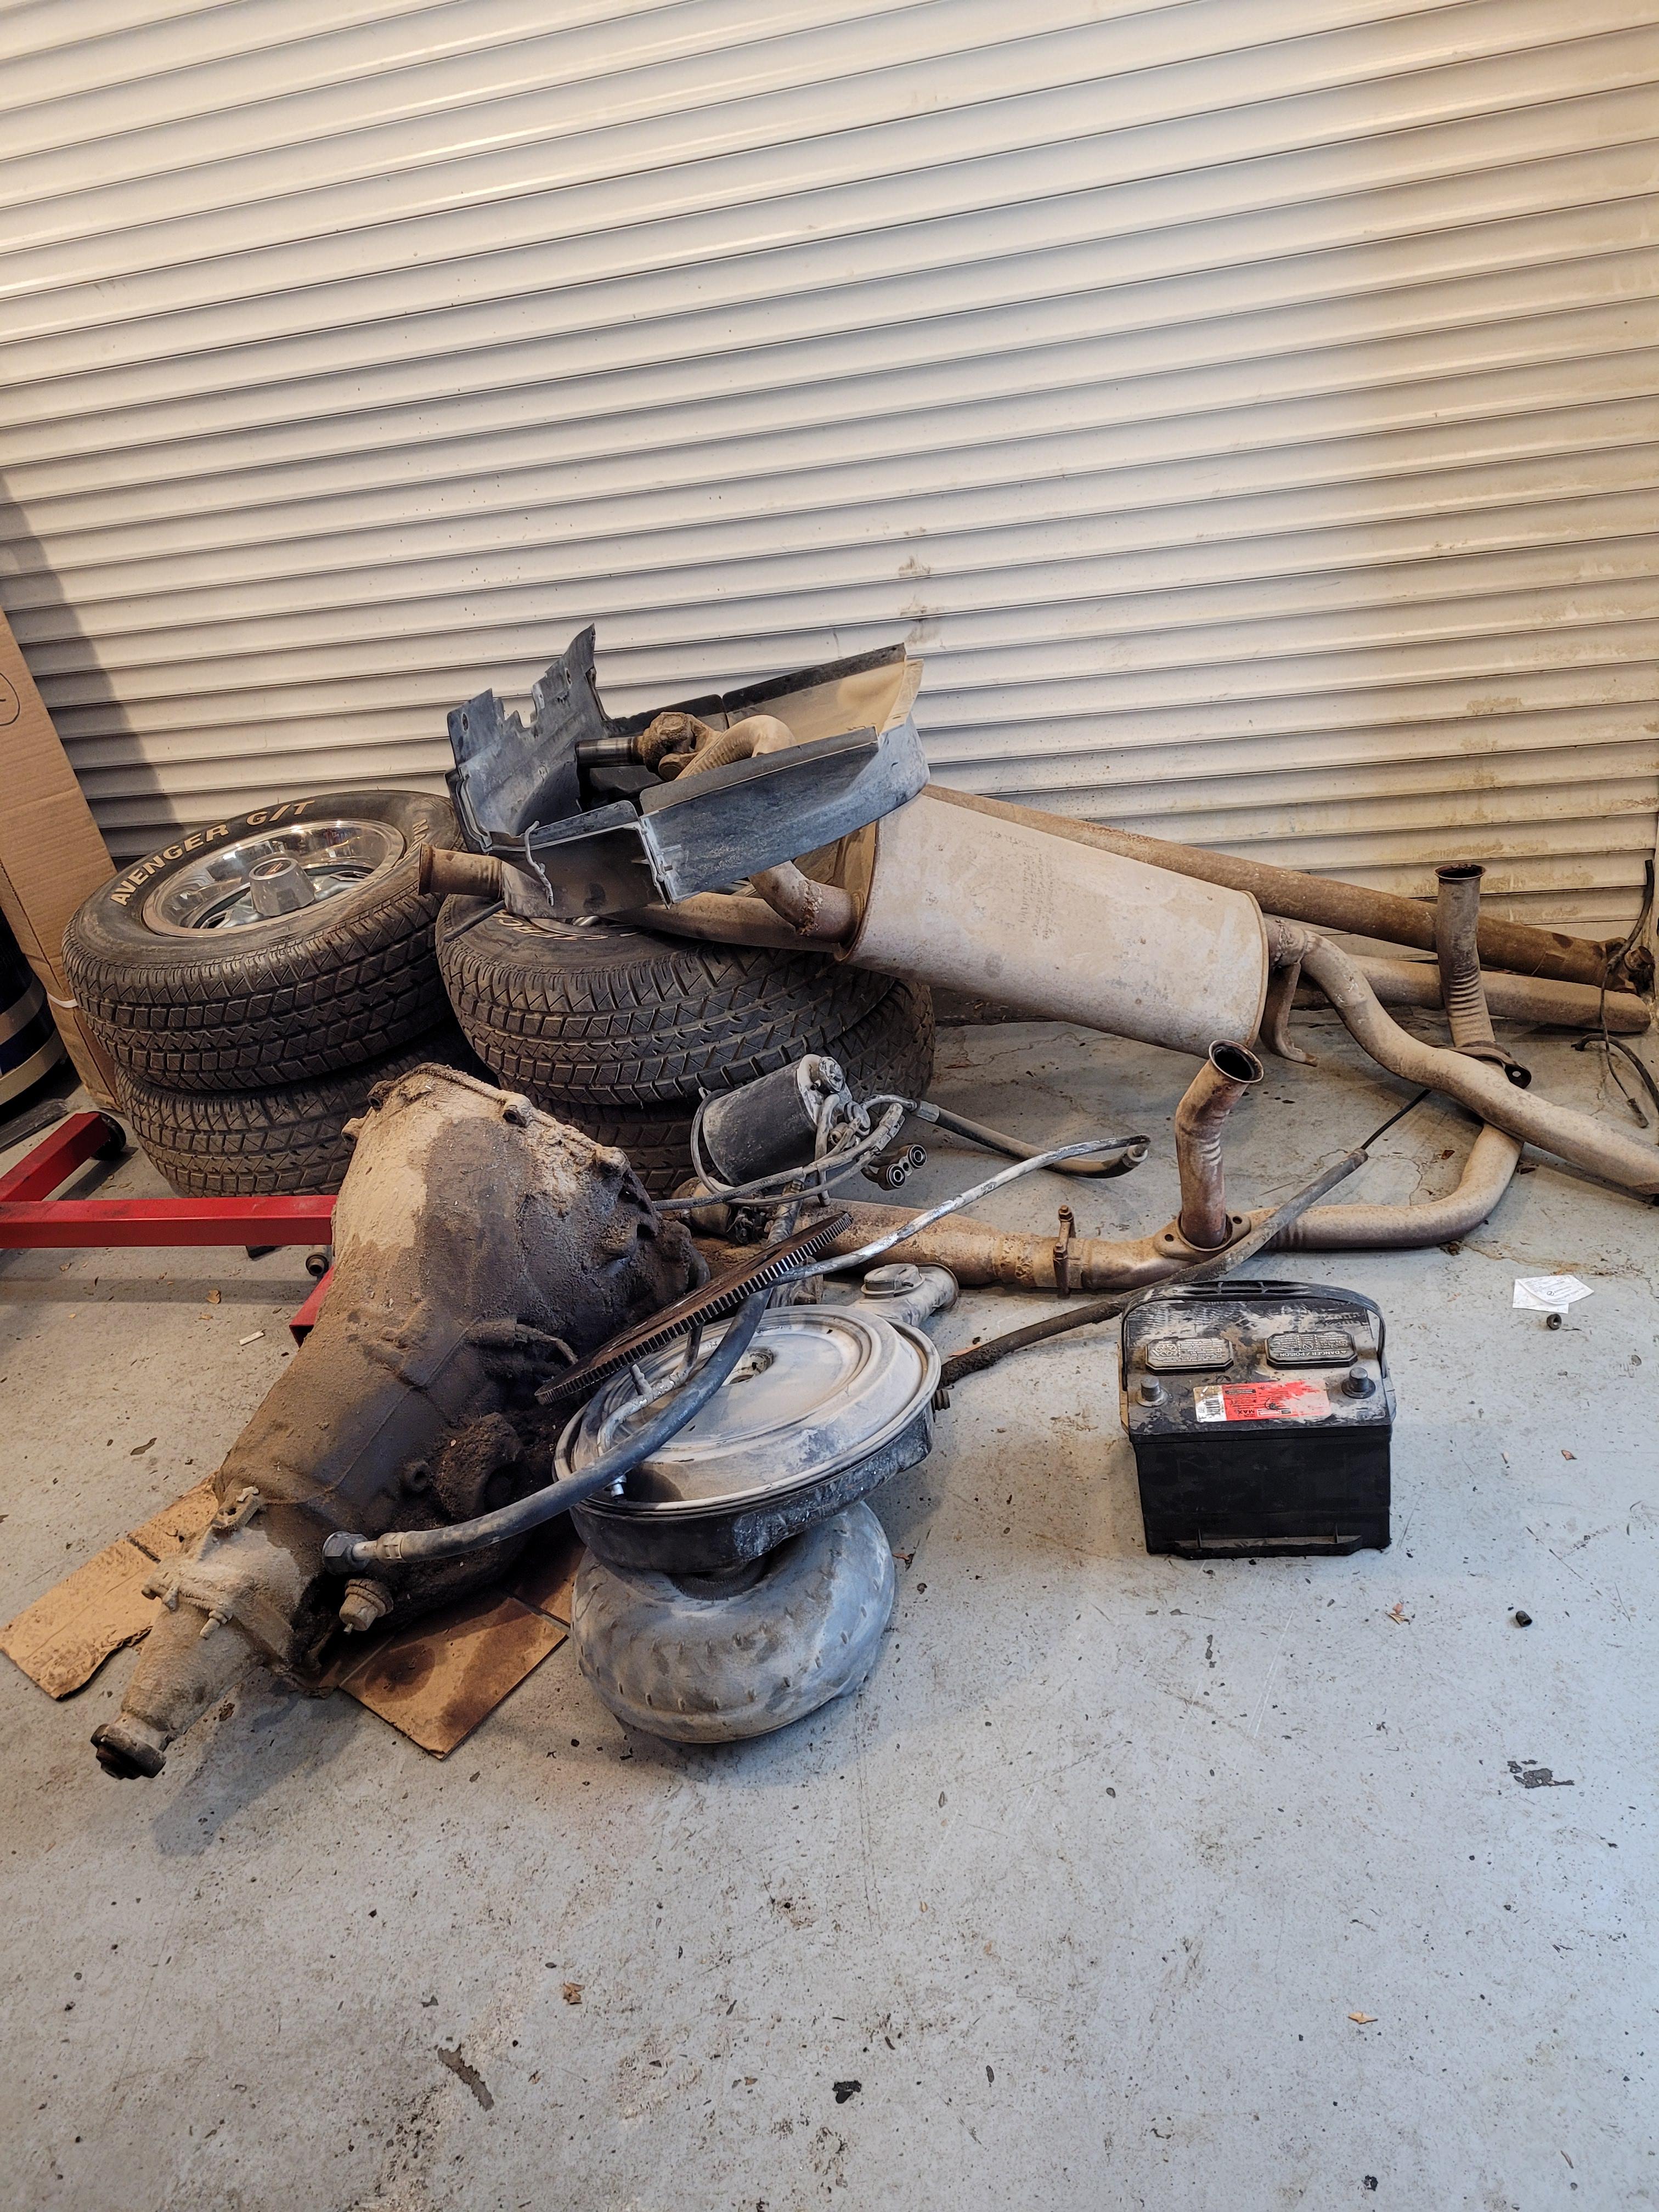
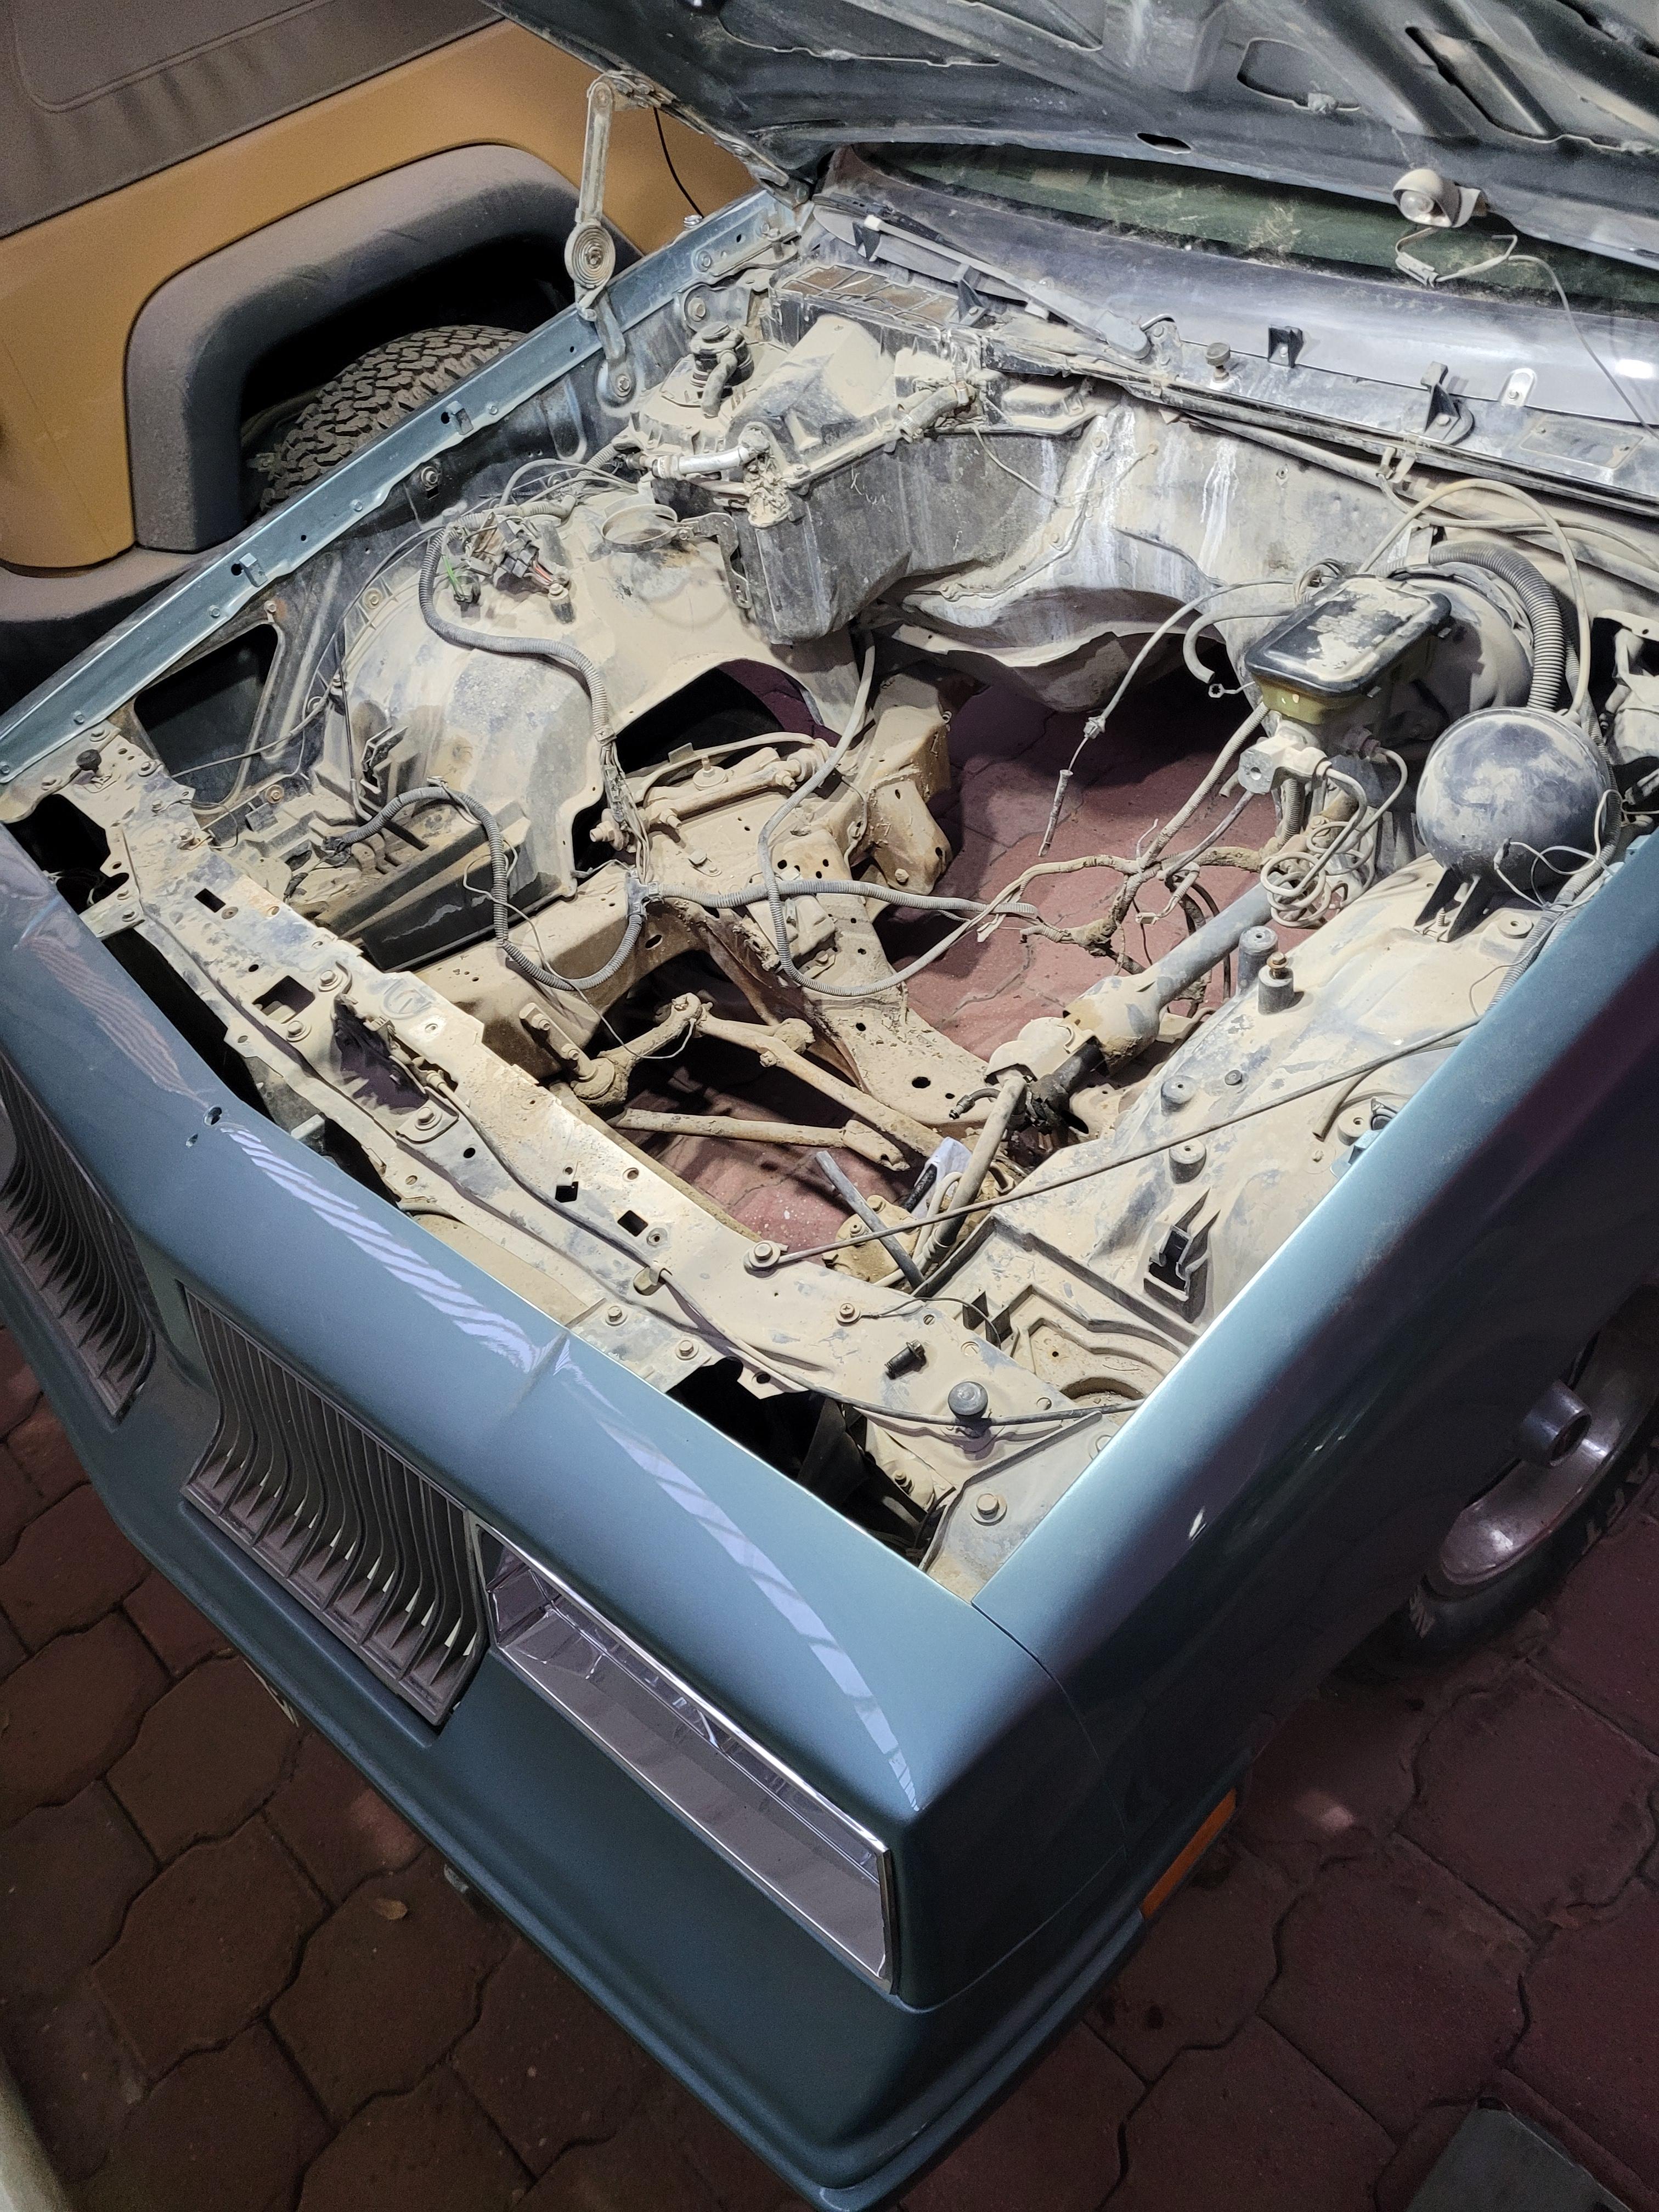
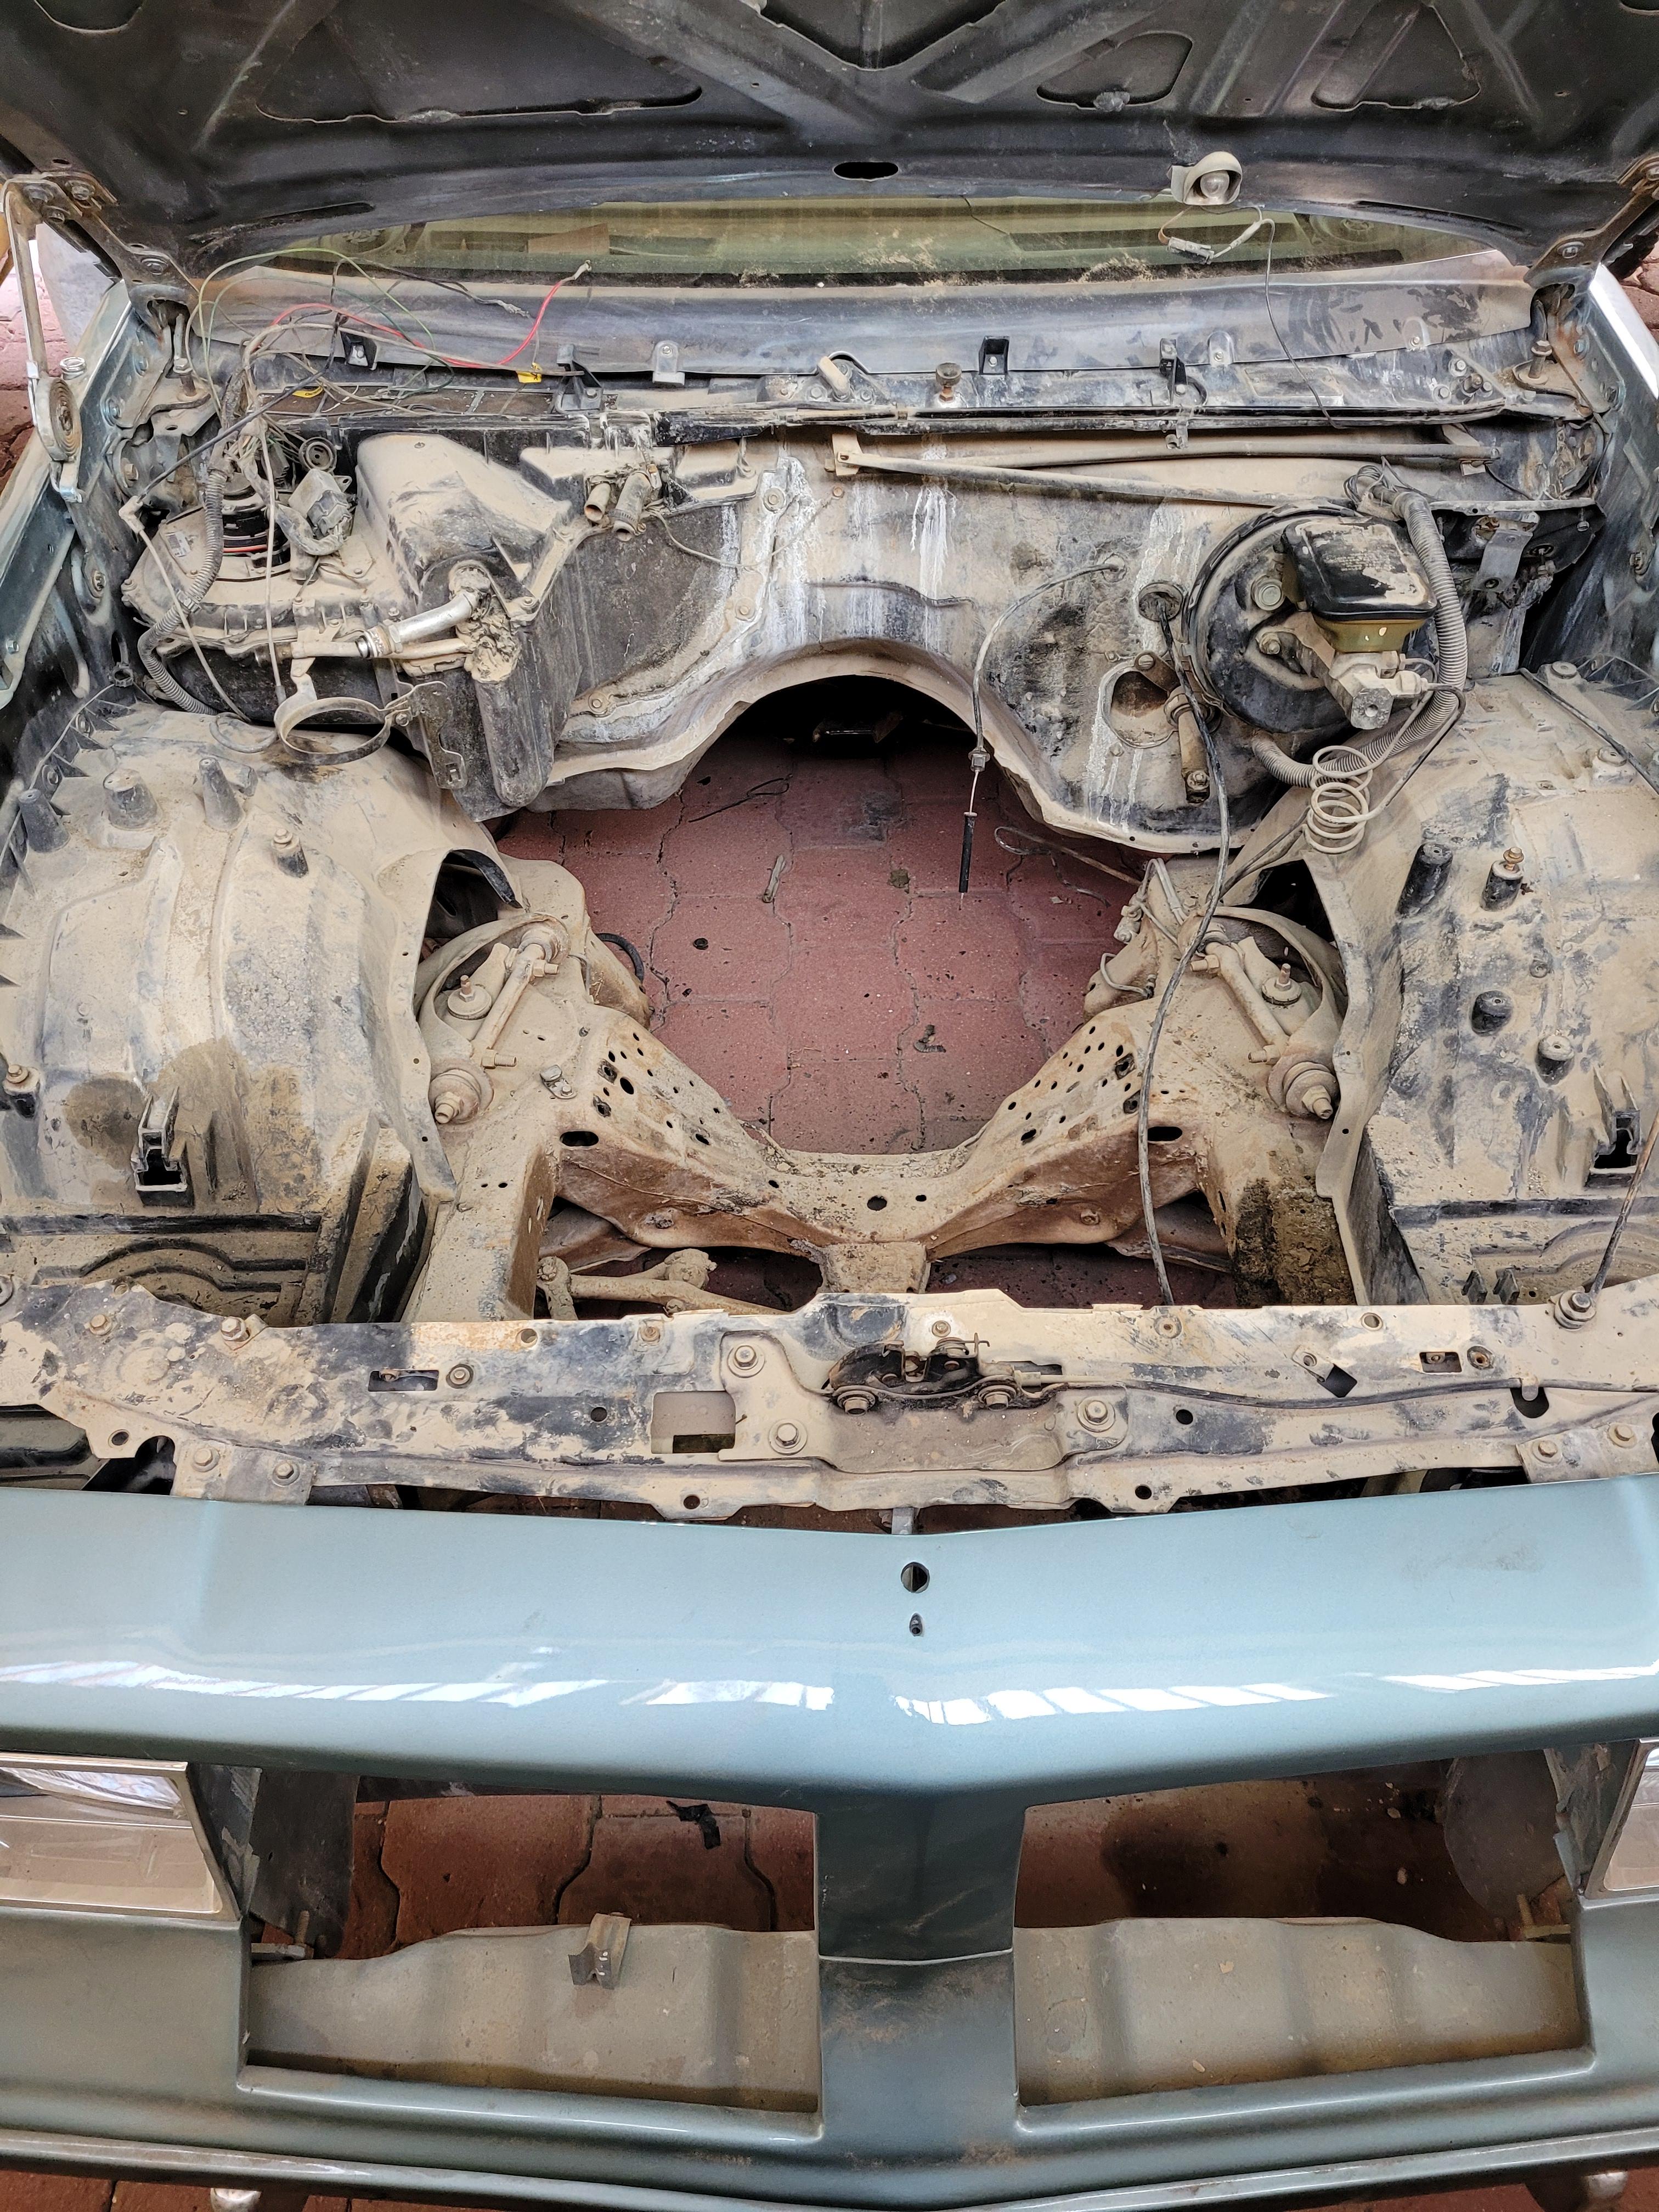
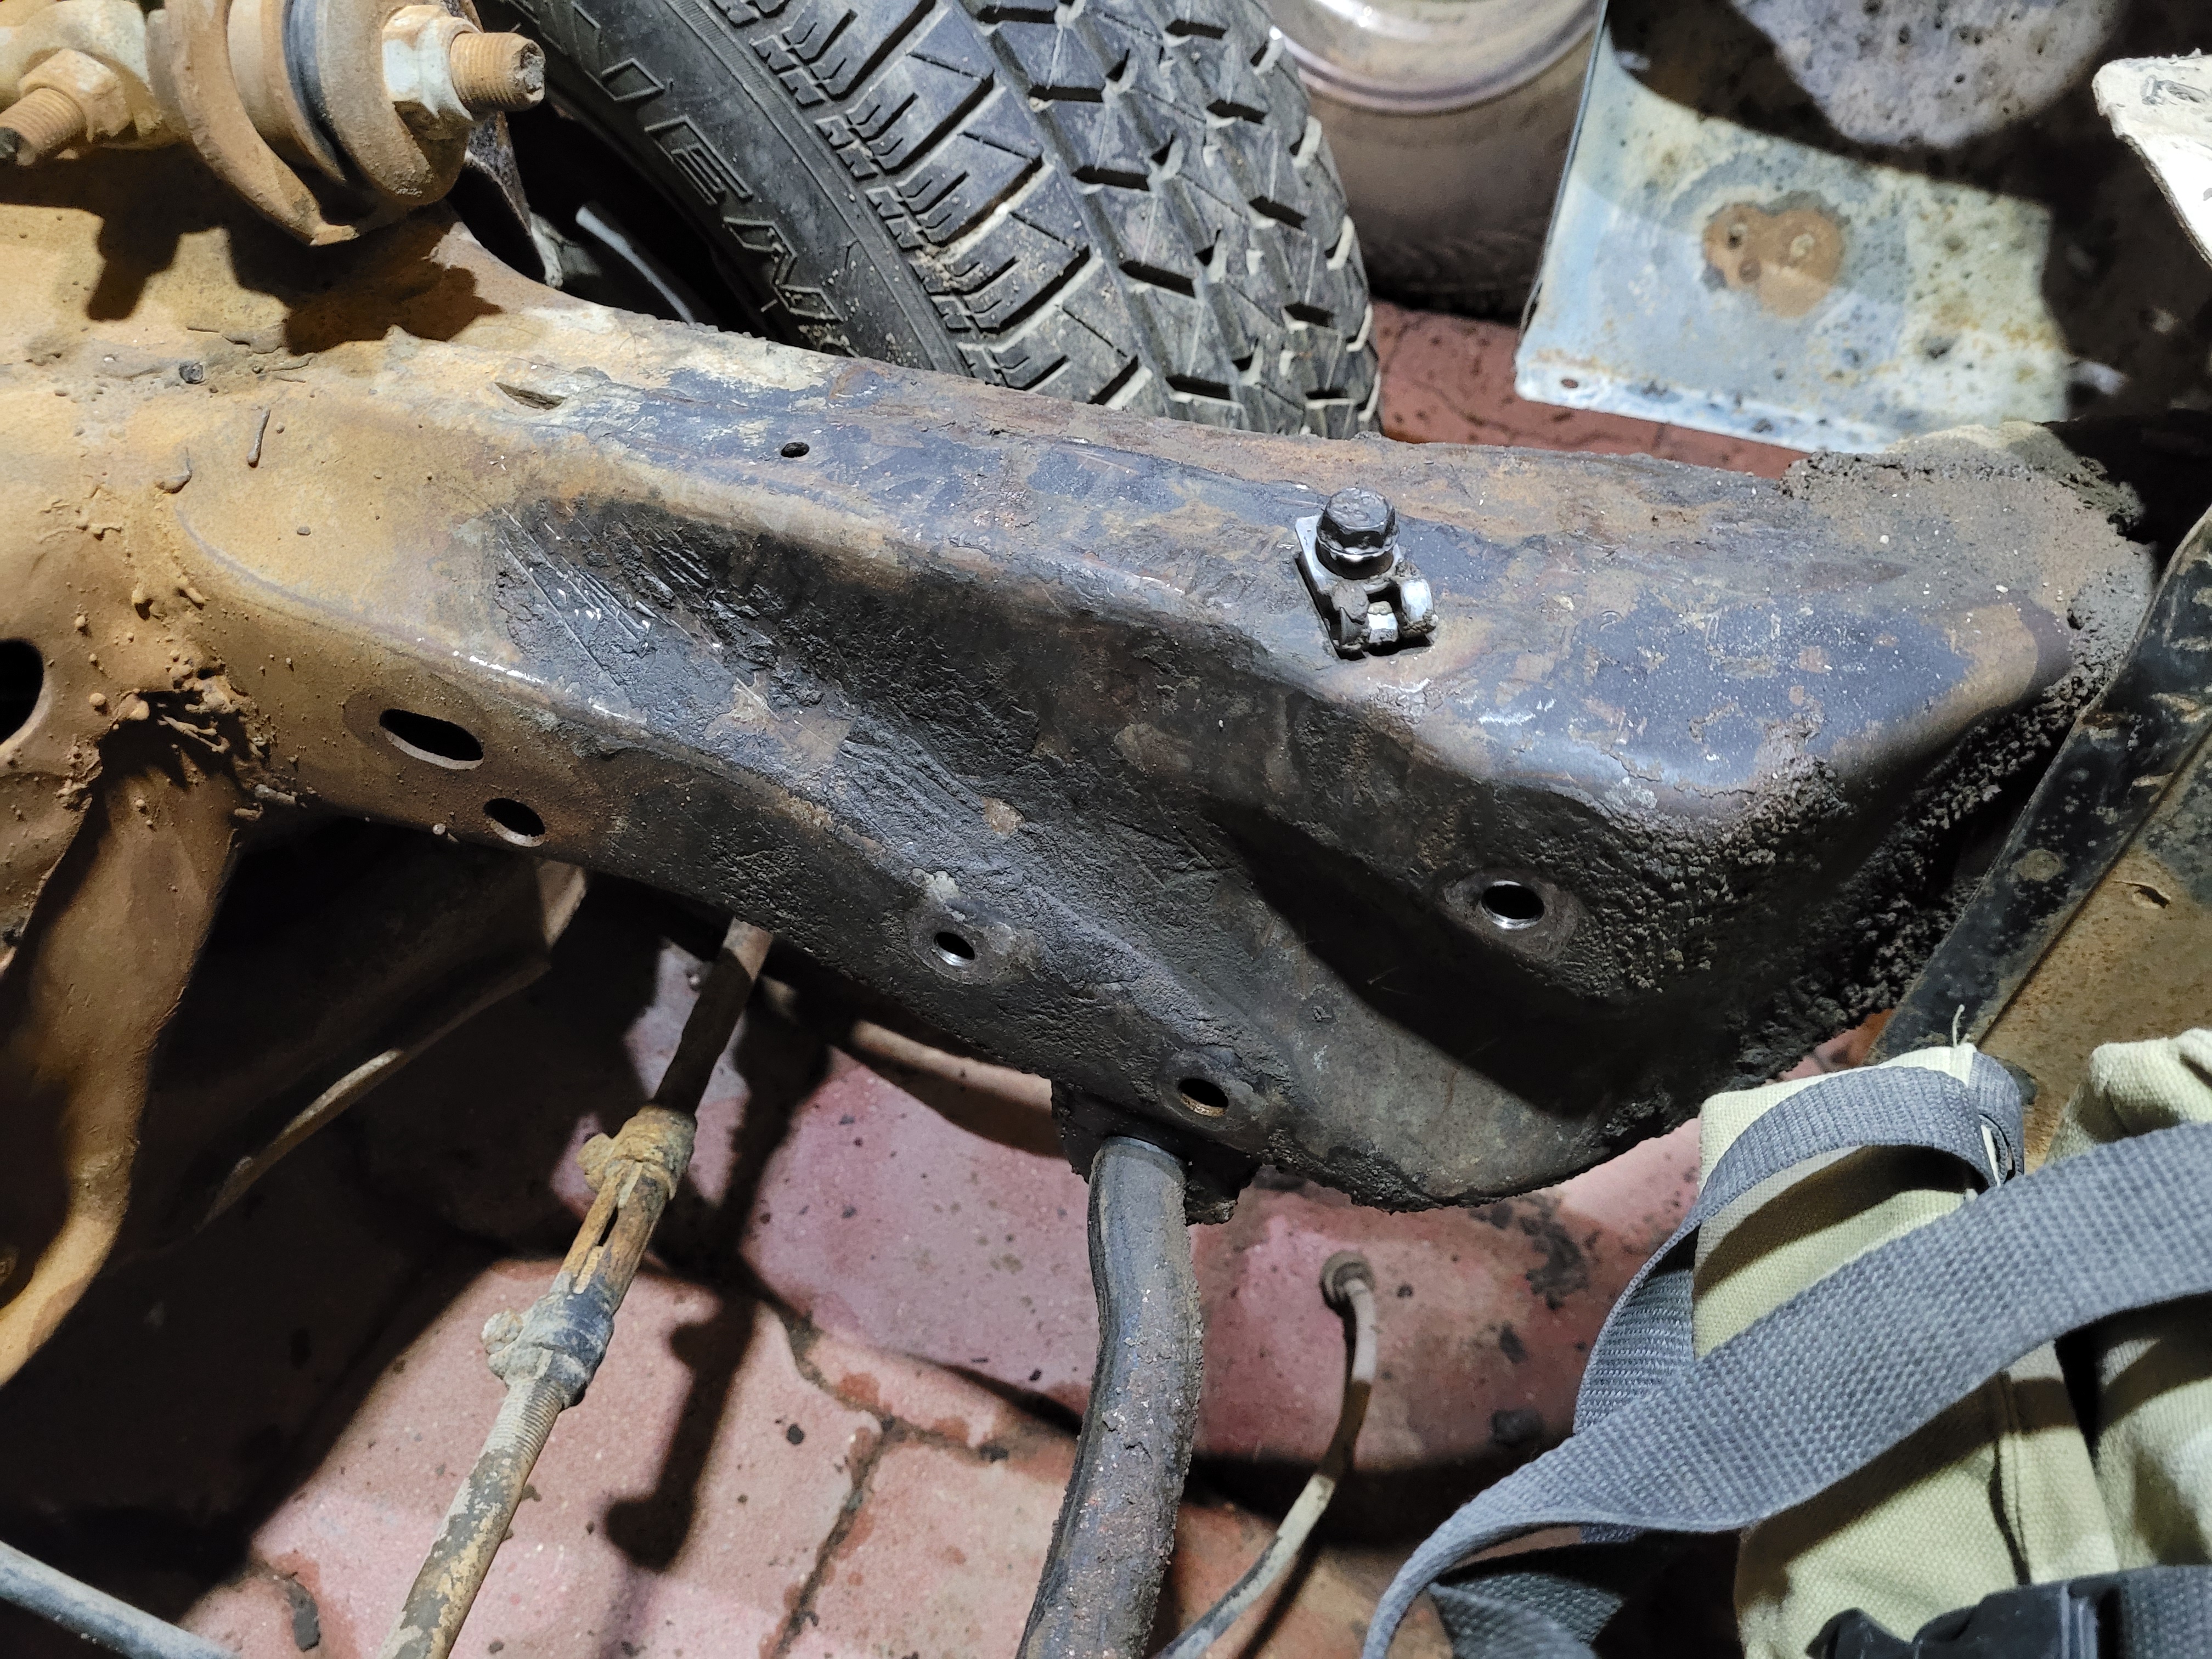
Started this build by yanking out the old drivetrain and anything else not needed. The frame and floors are all solid except for a section of the trunk area which has been fixed.

XH1YCj5.jpg


WOCiHOA.jpg


ohwVPxh.jpg


QlplXAB.jpg


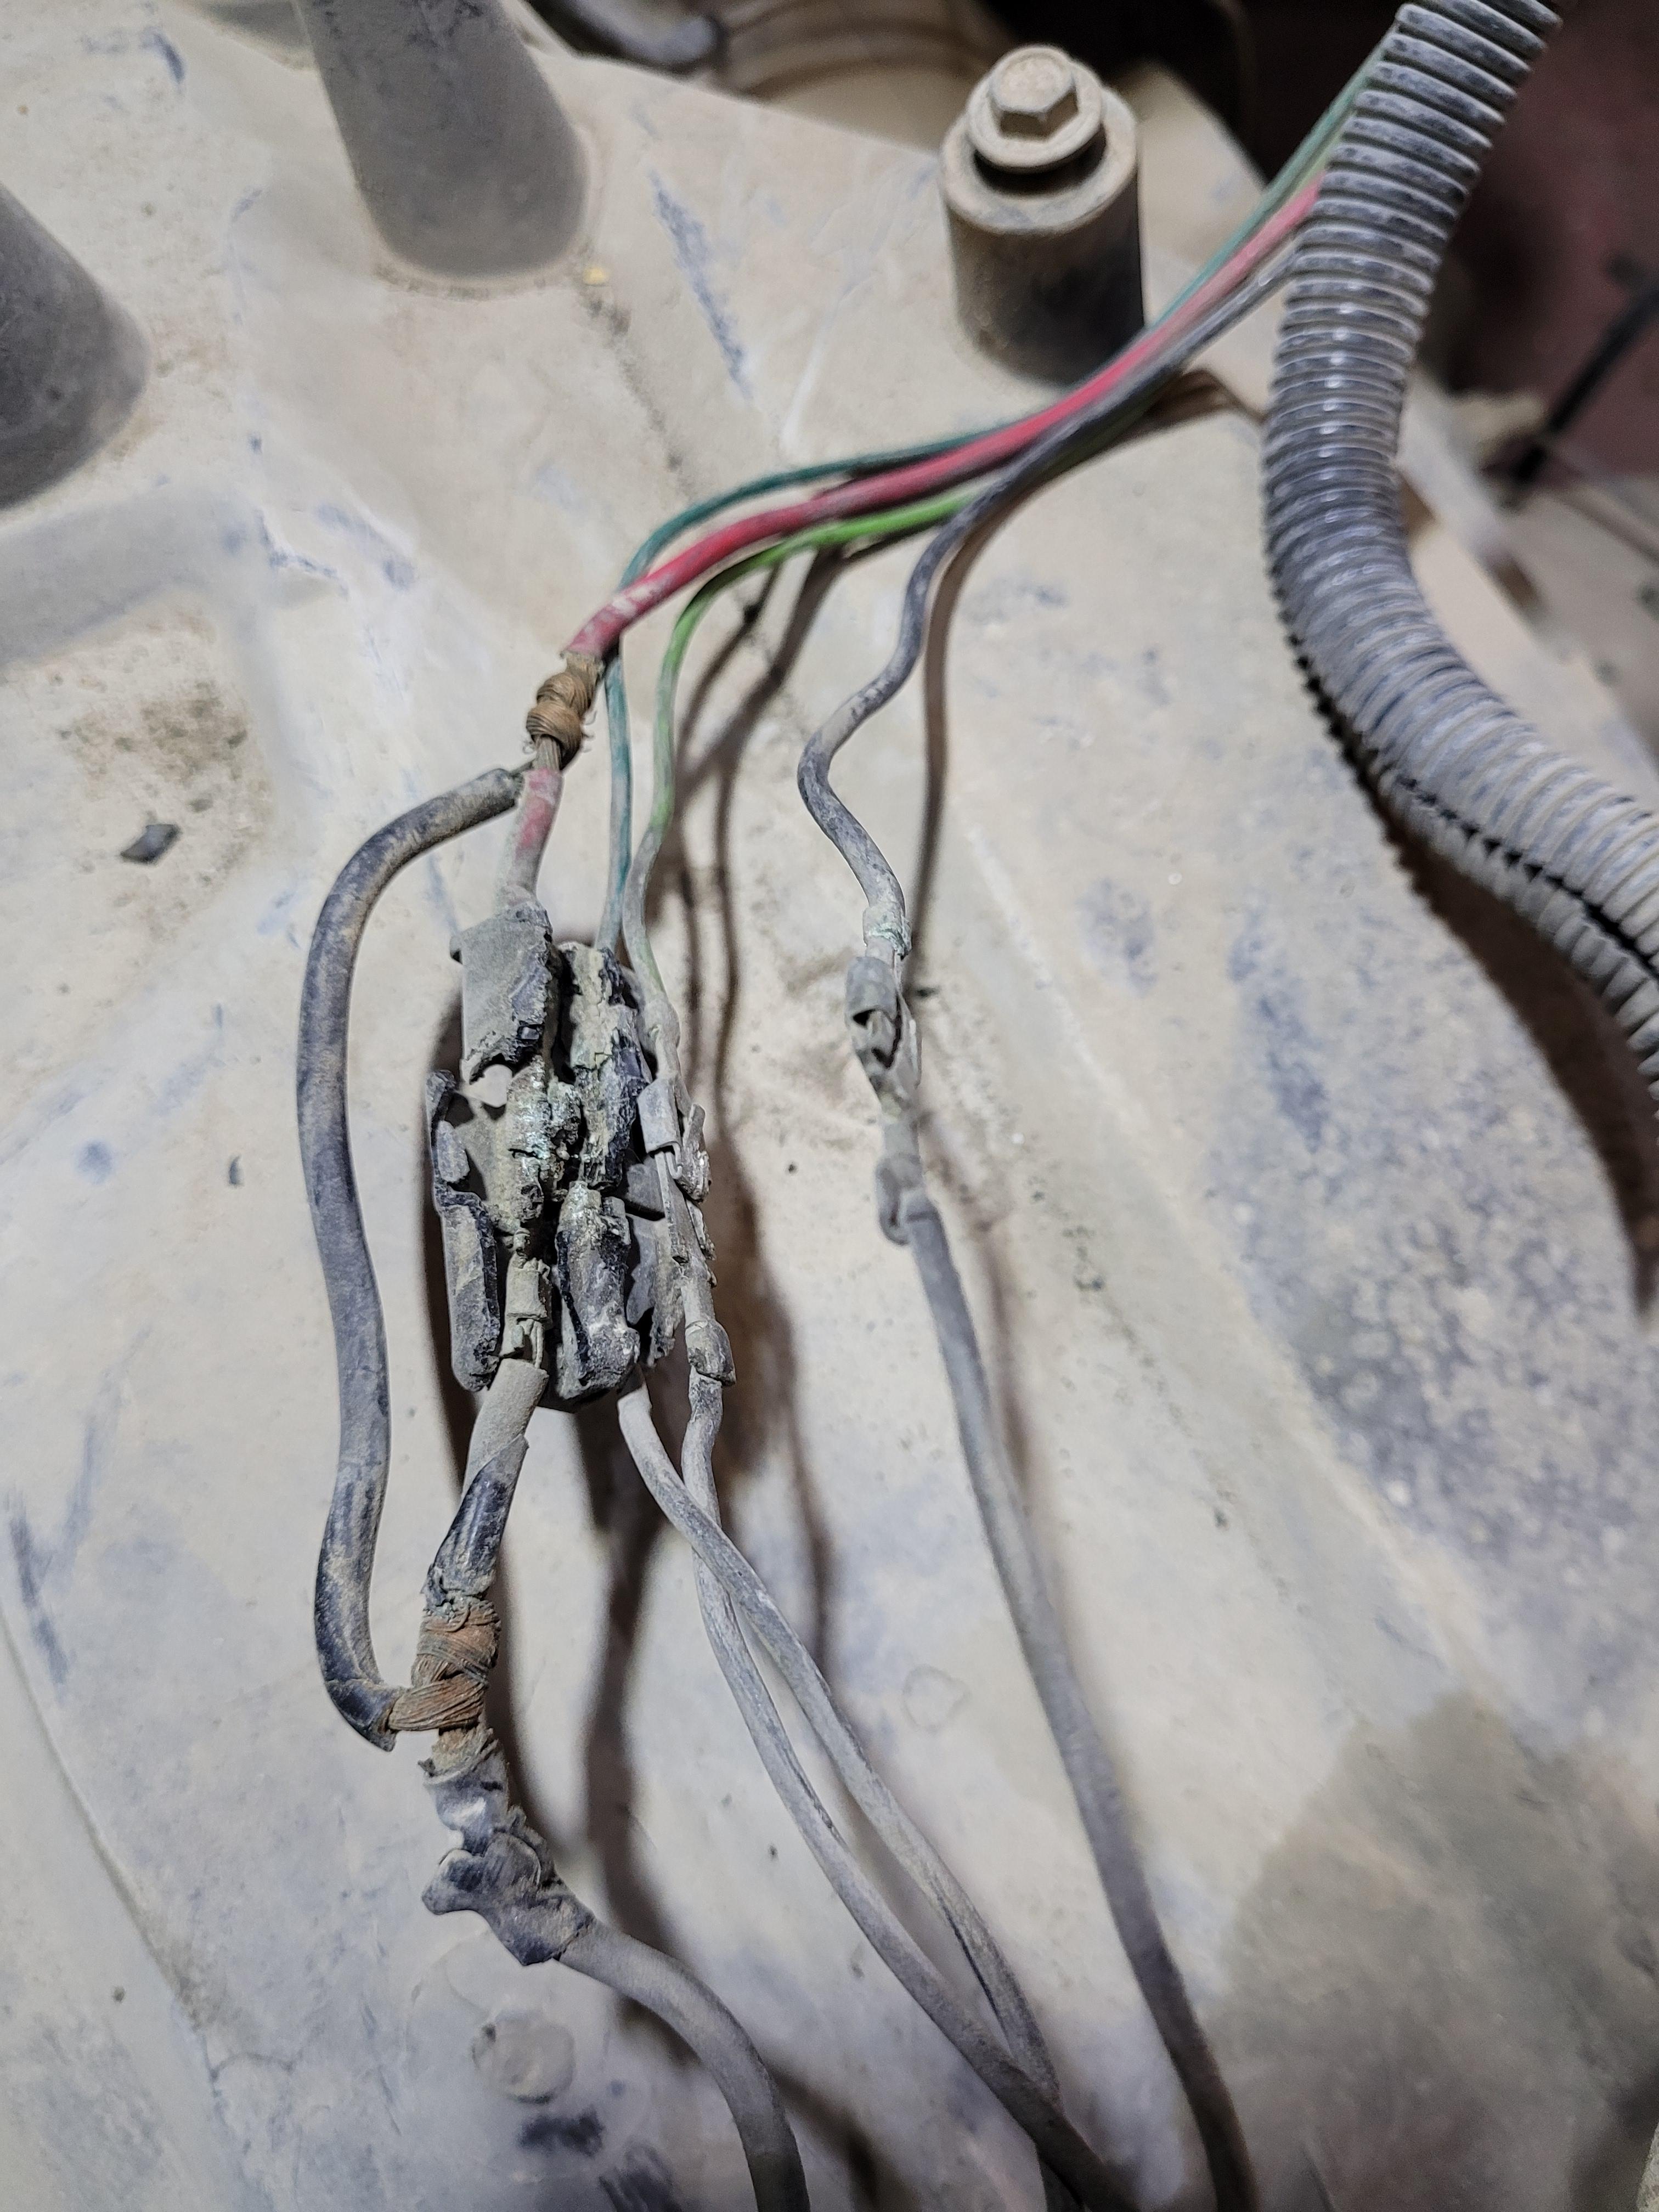
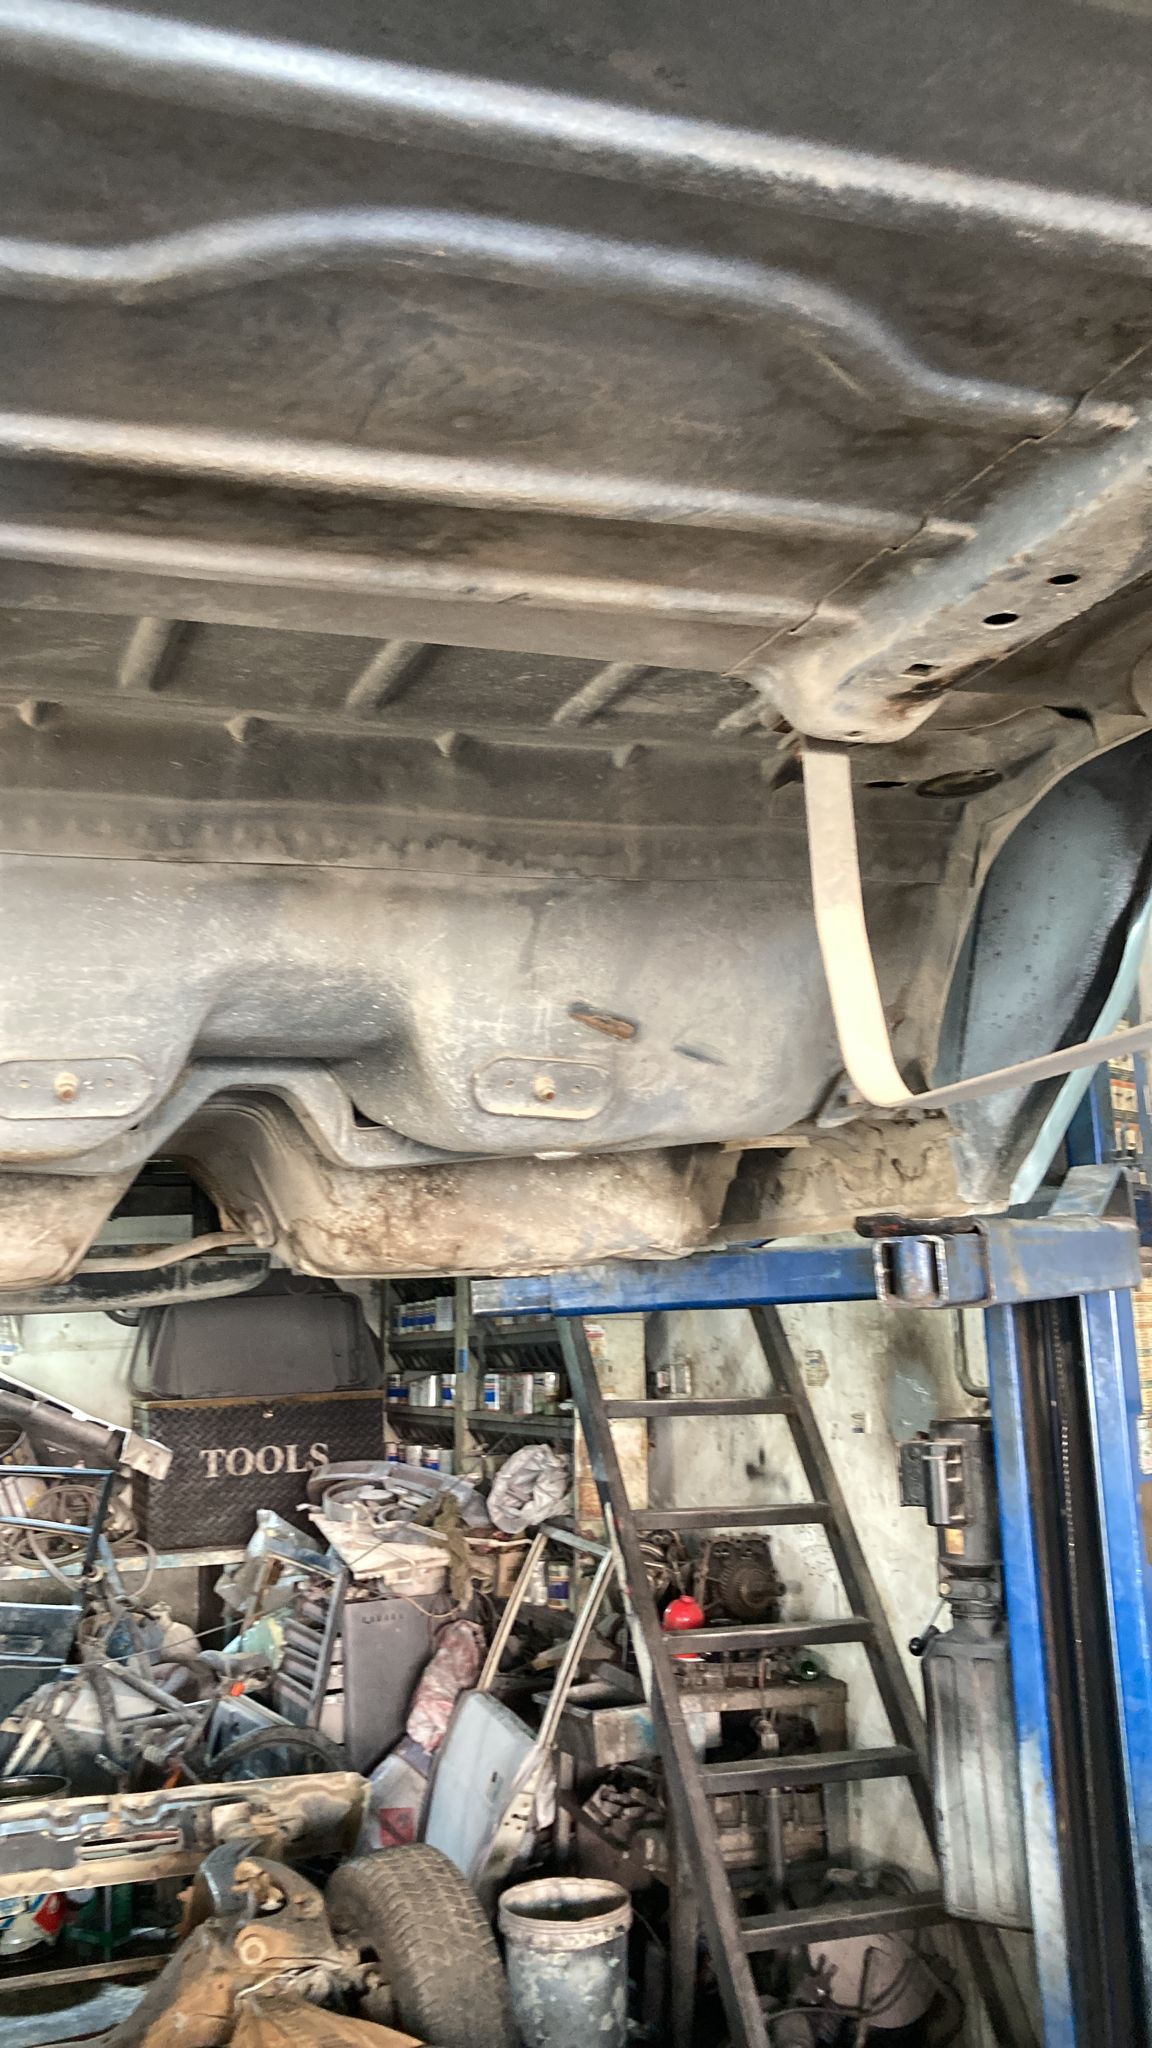
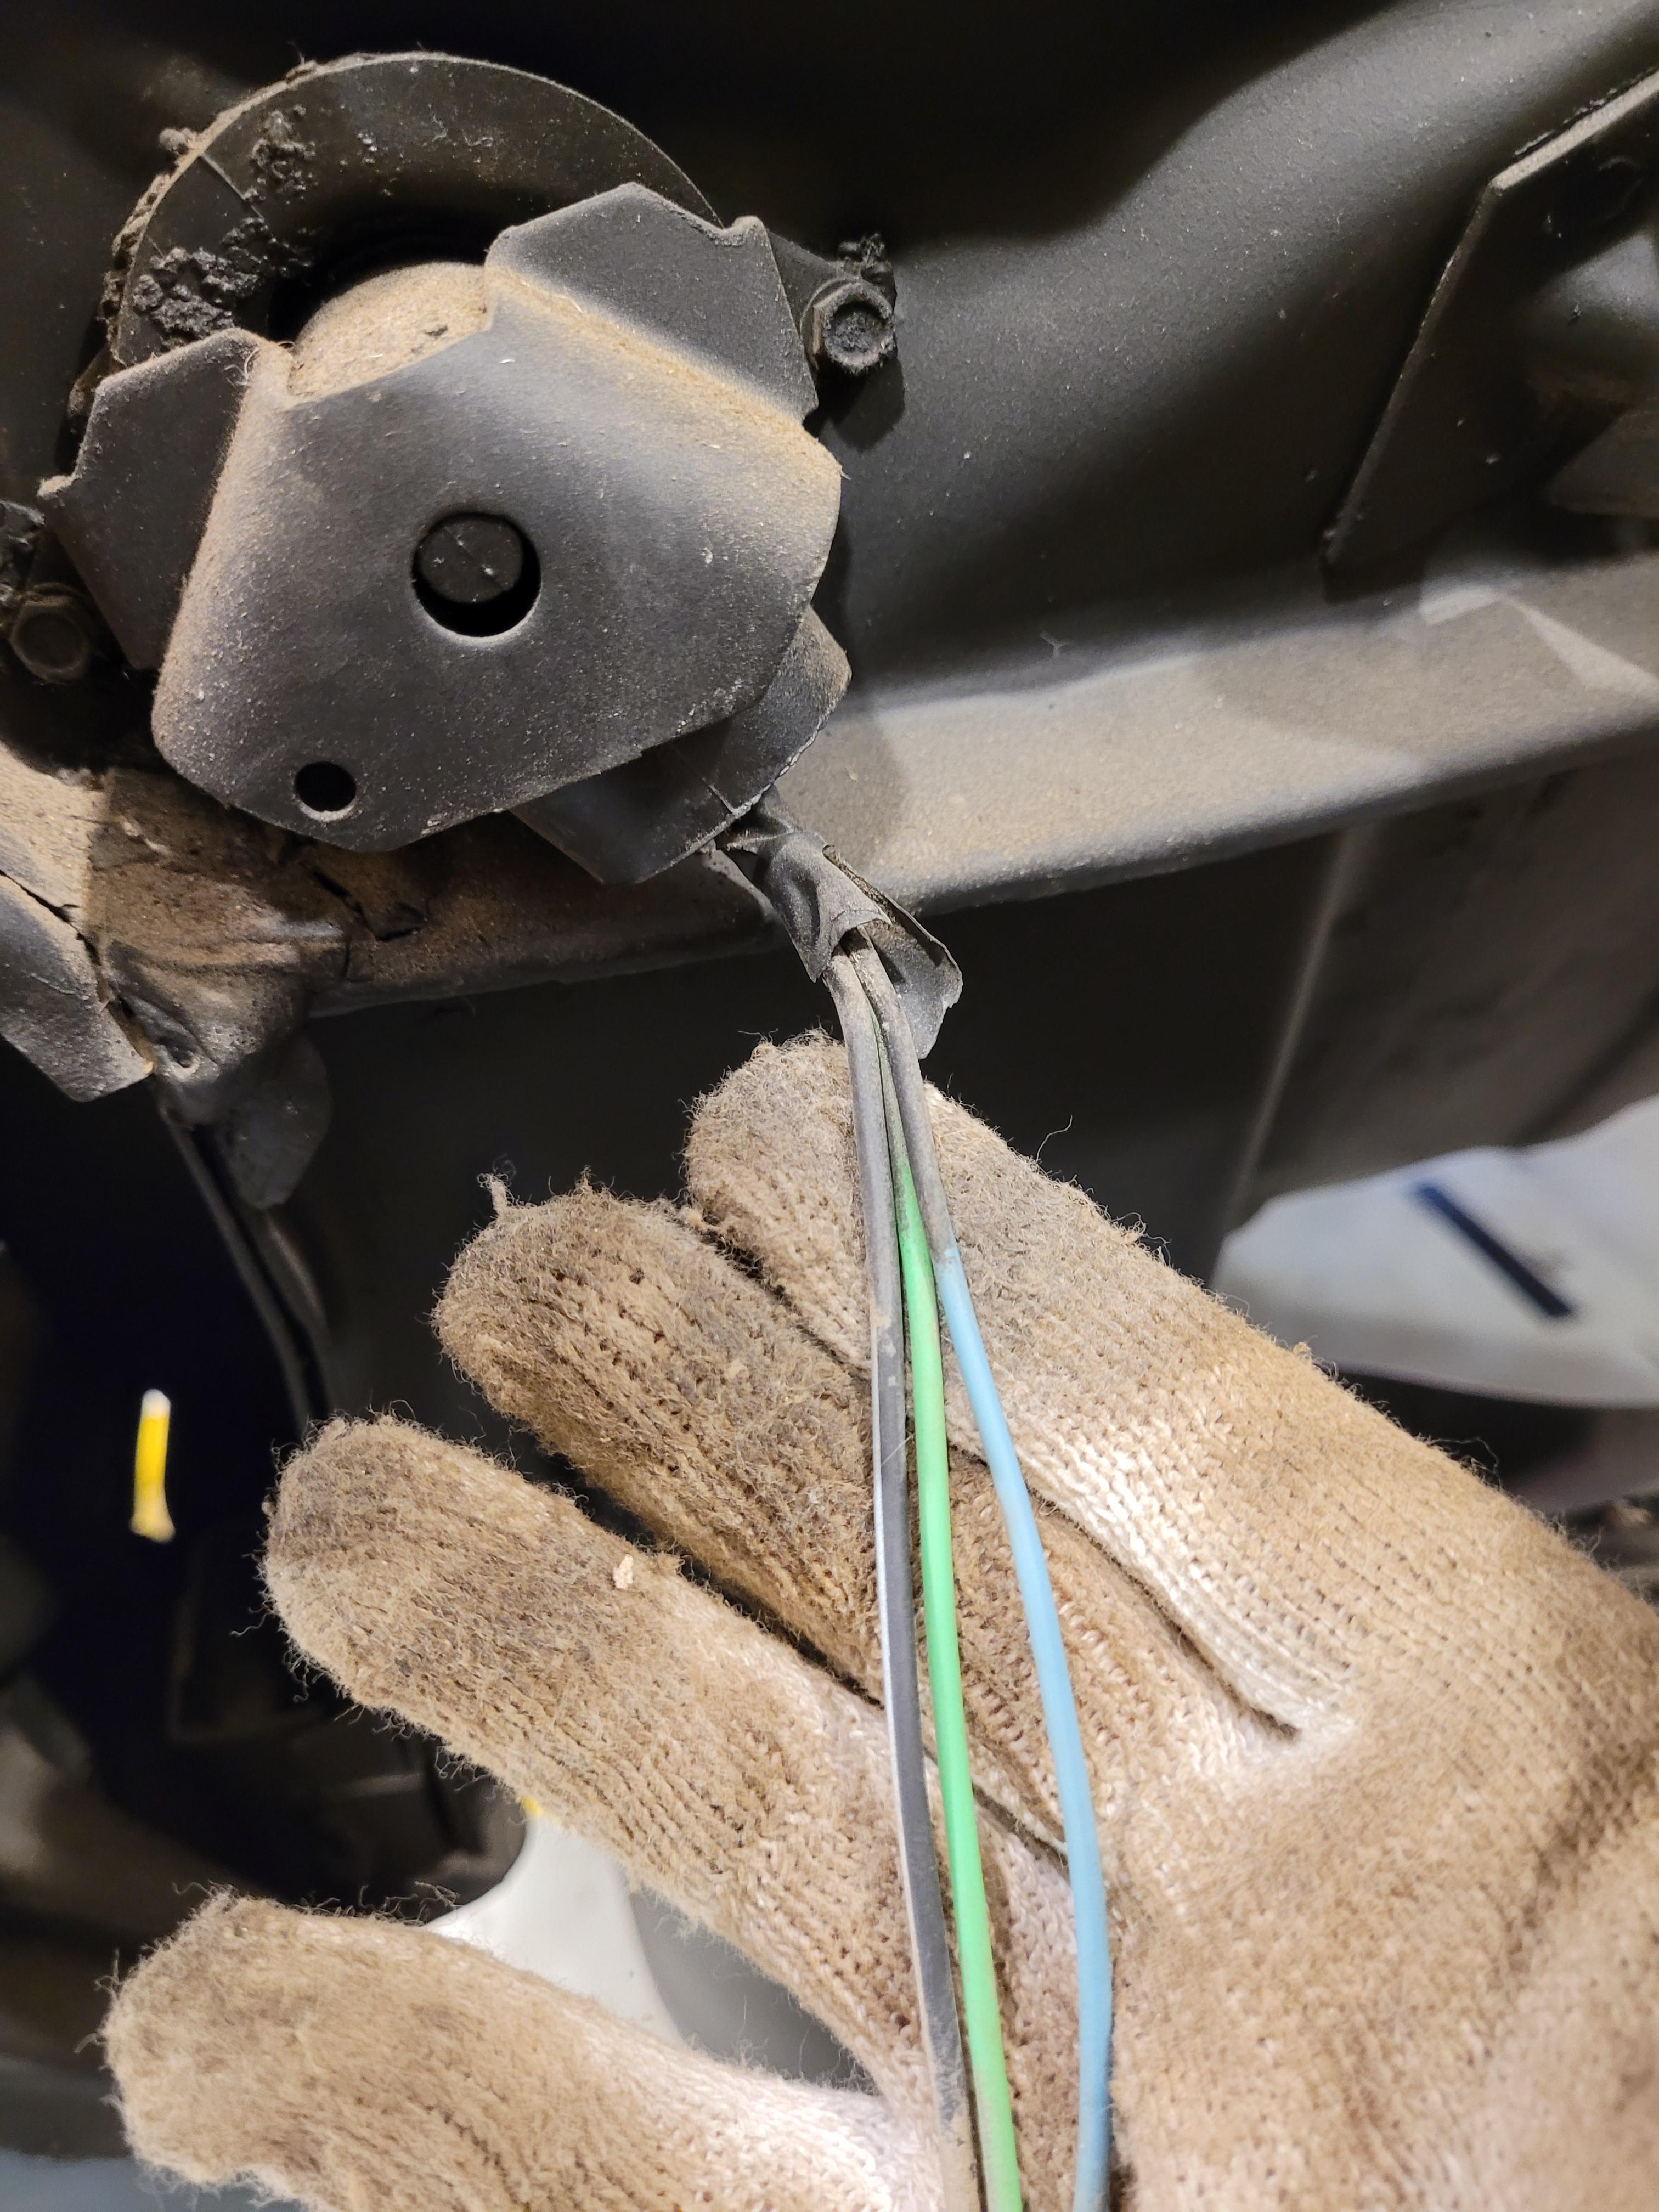
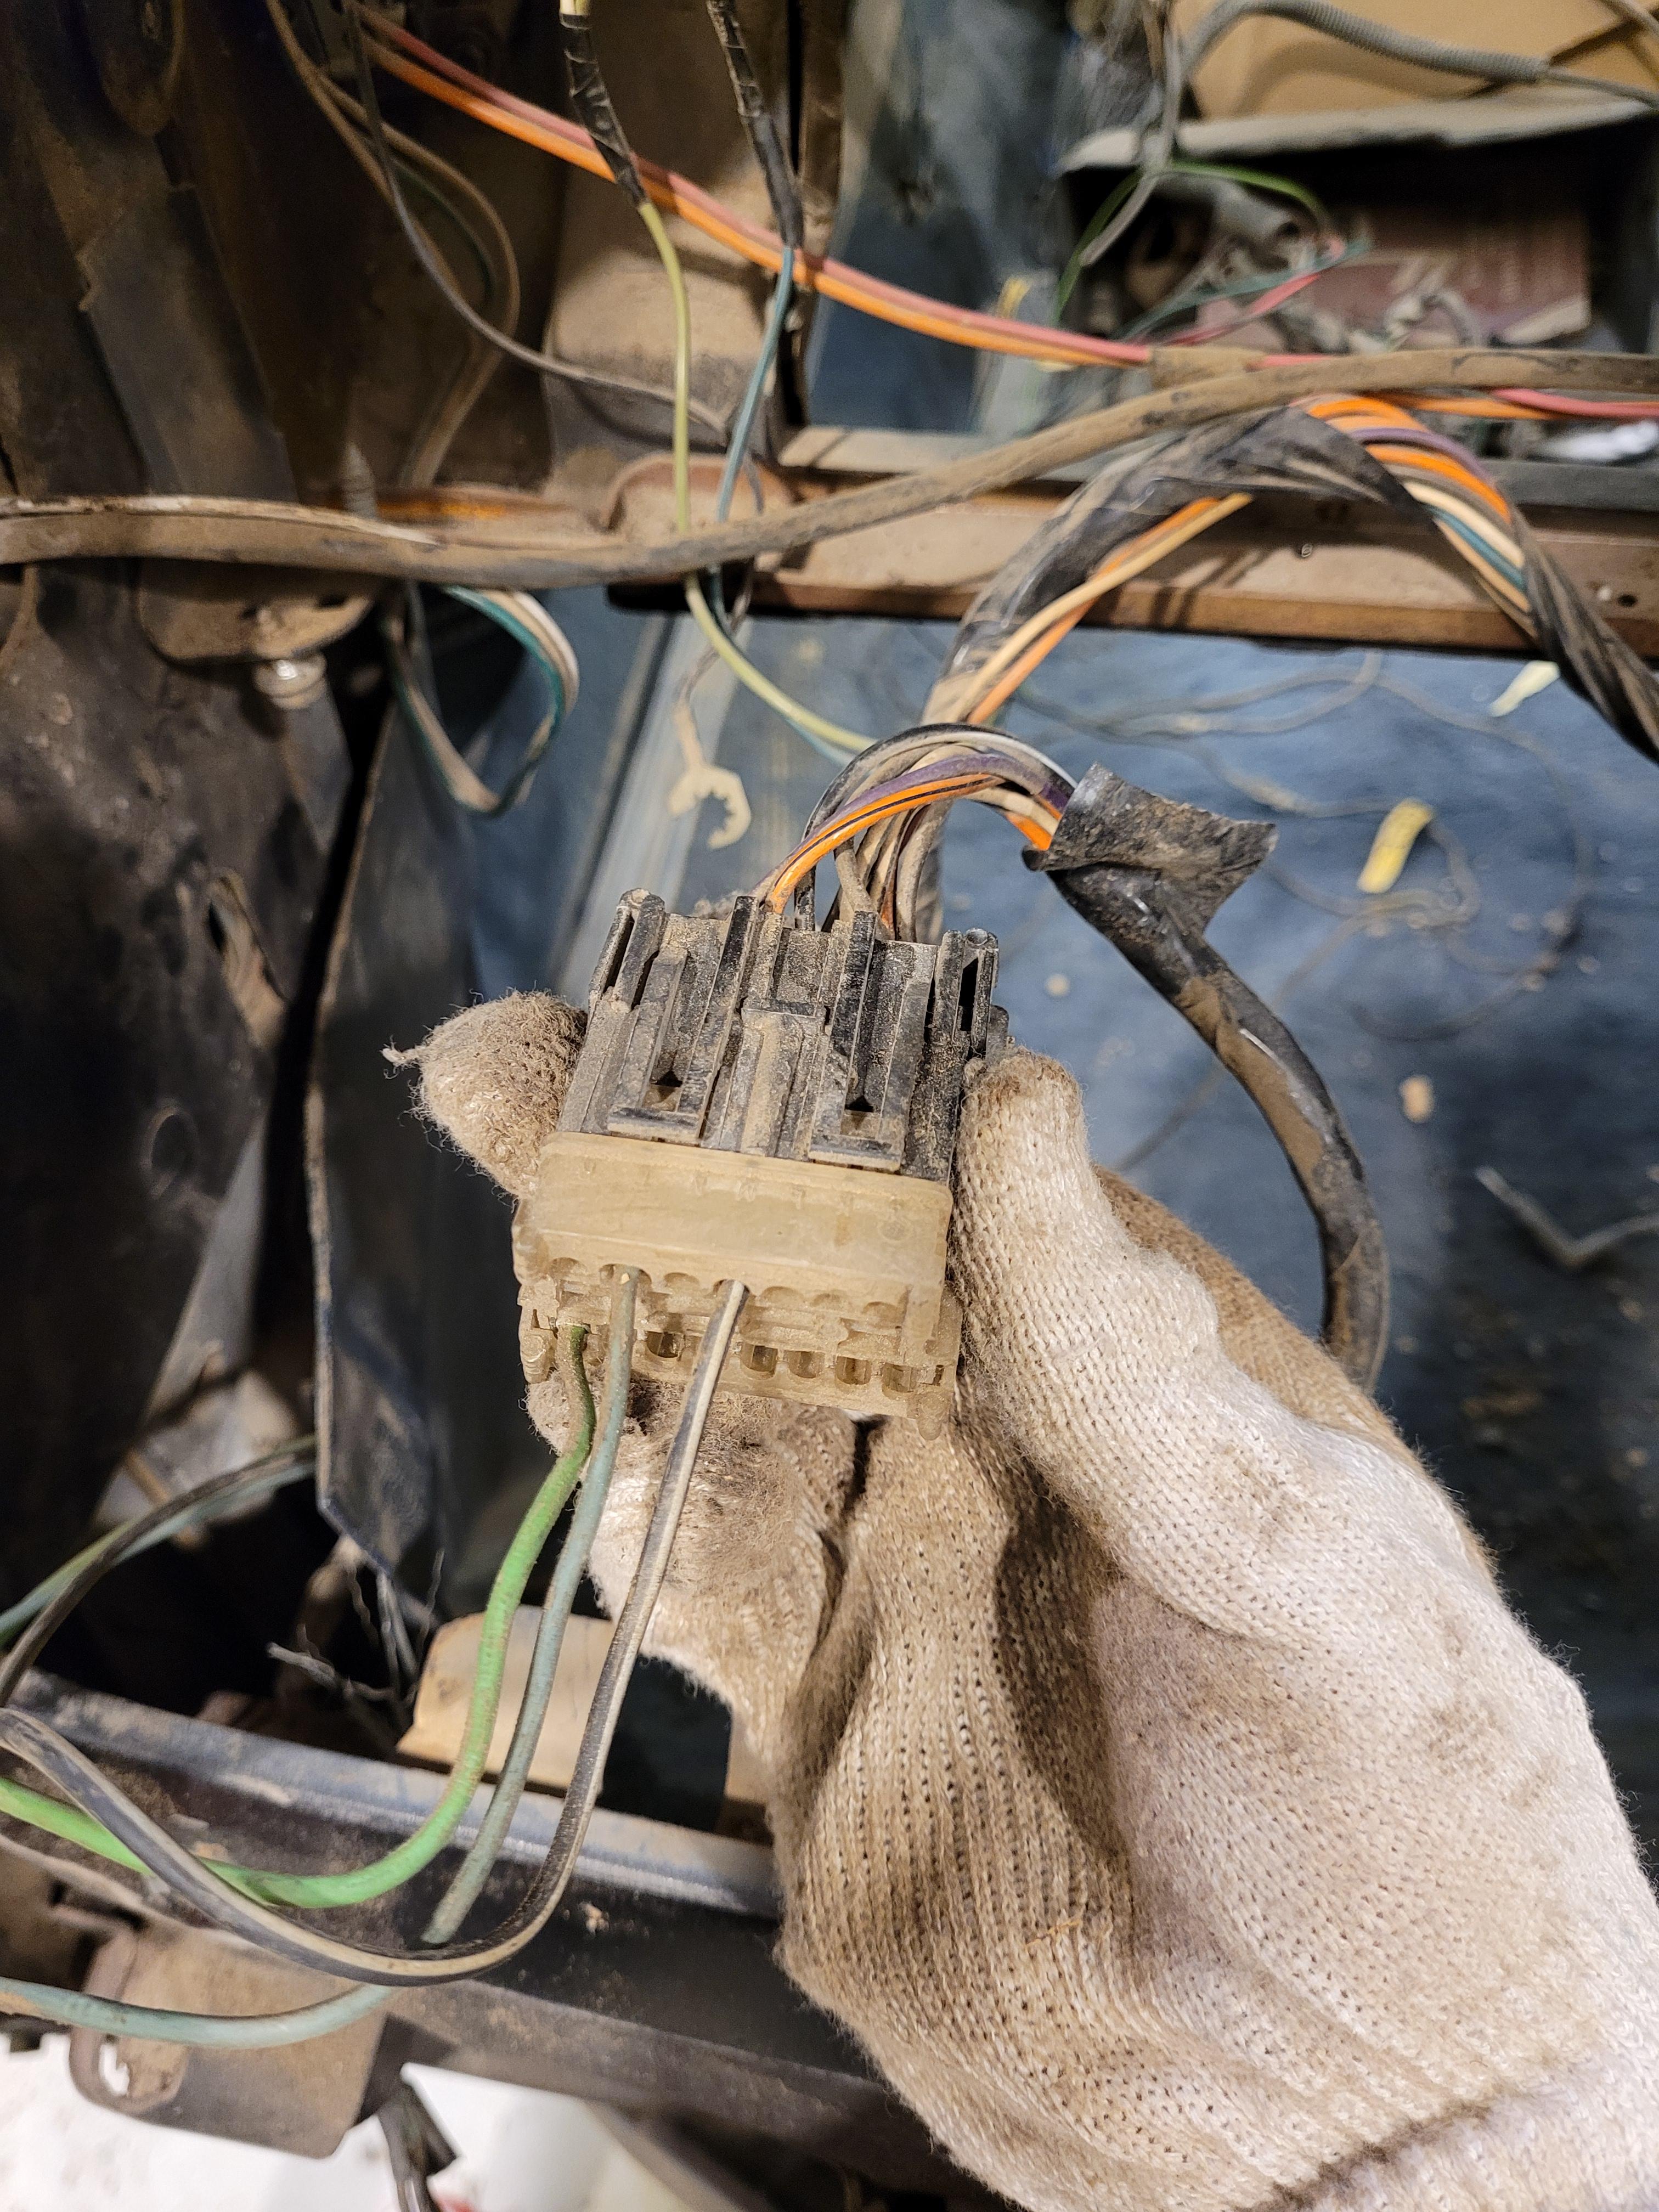
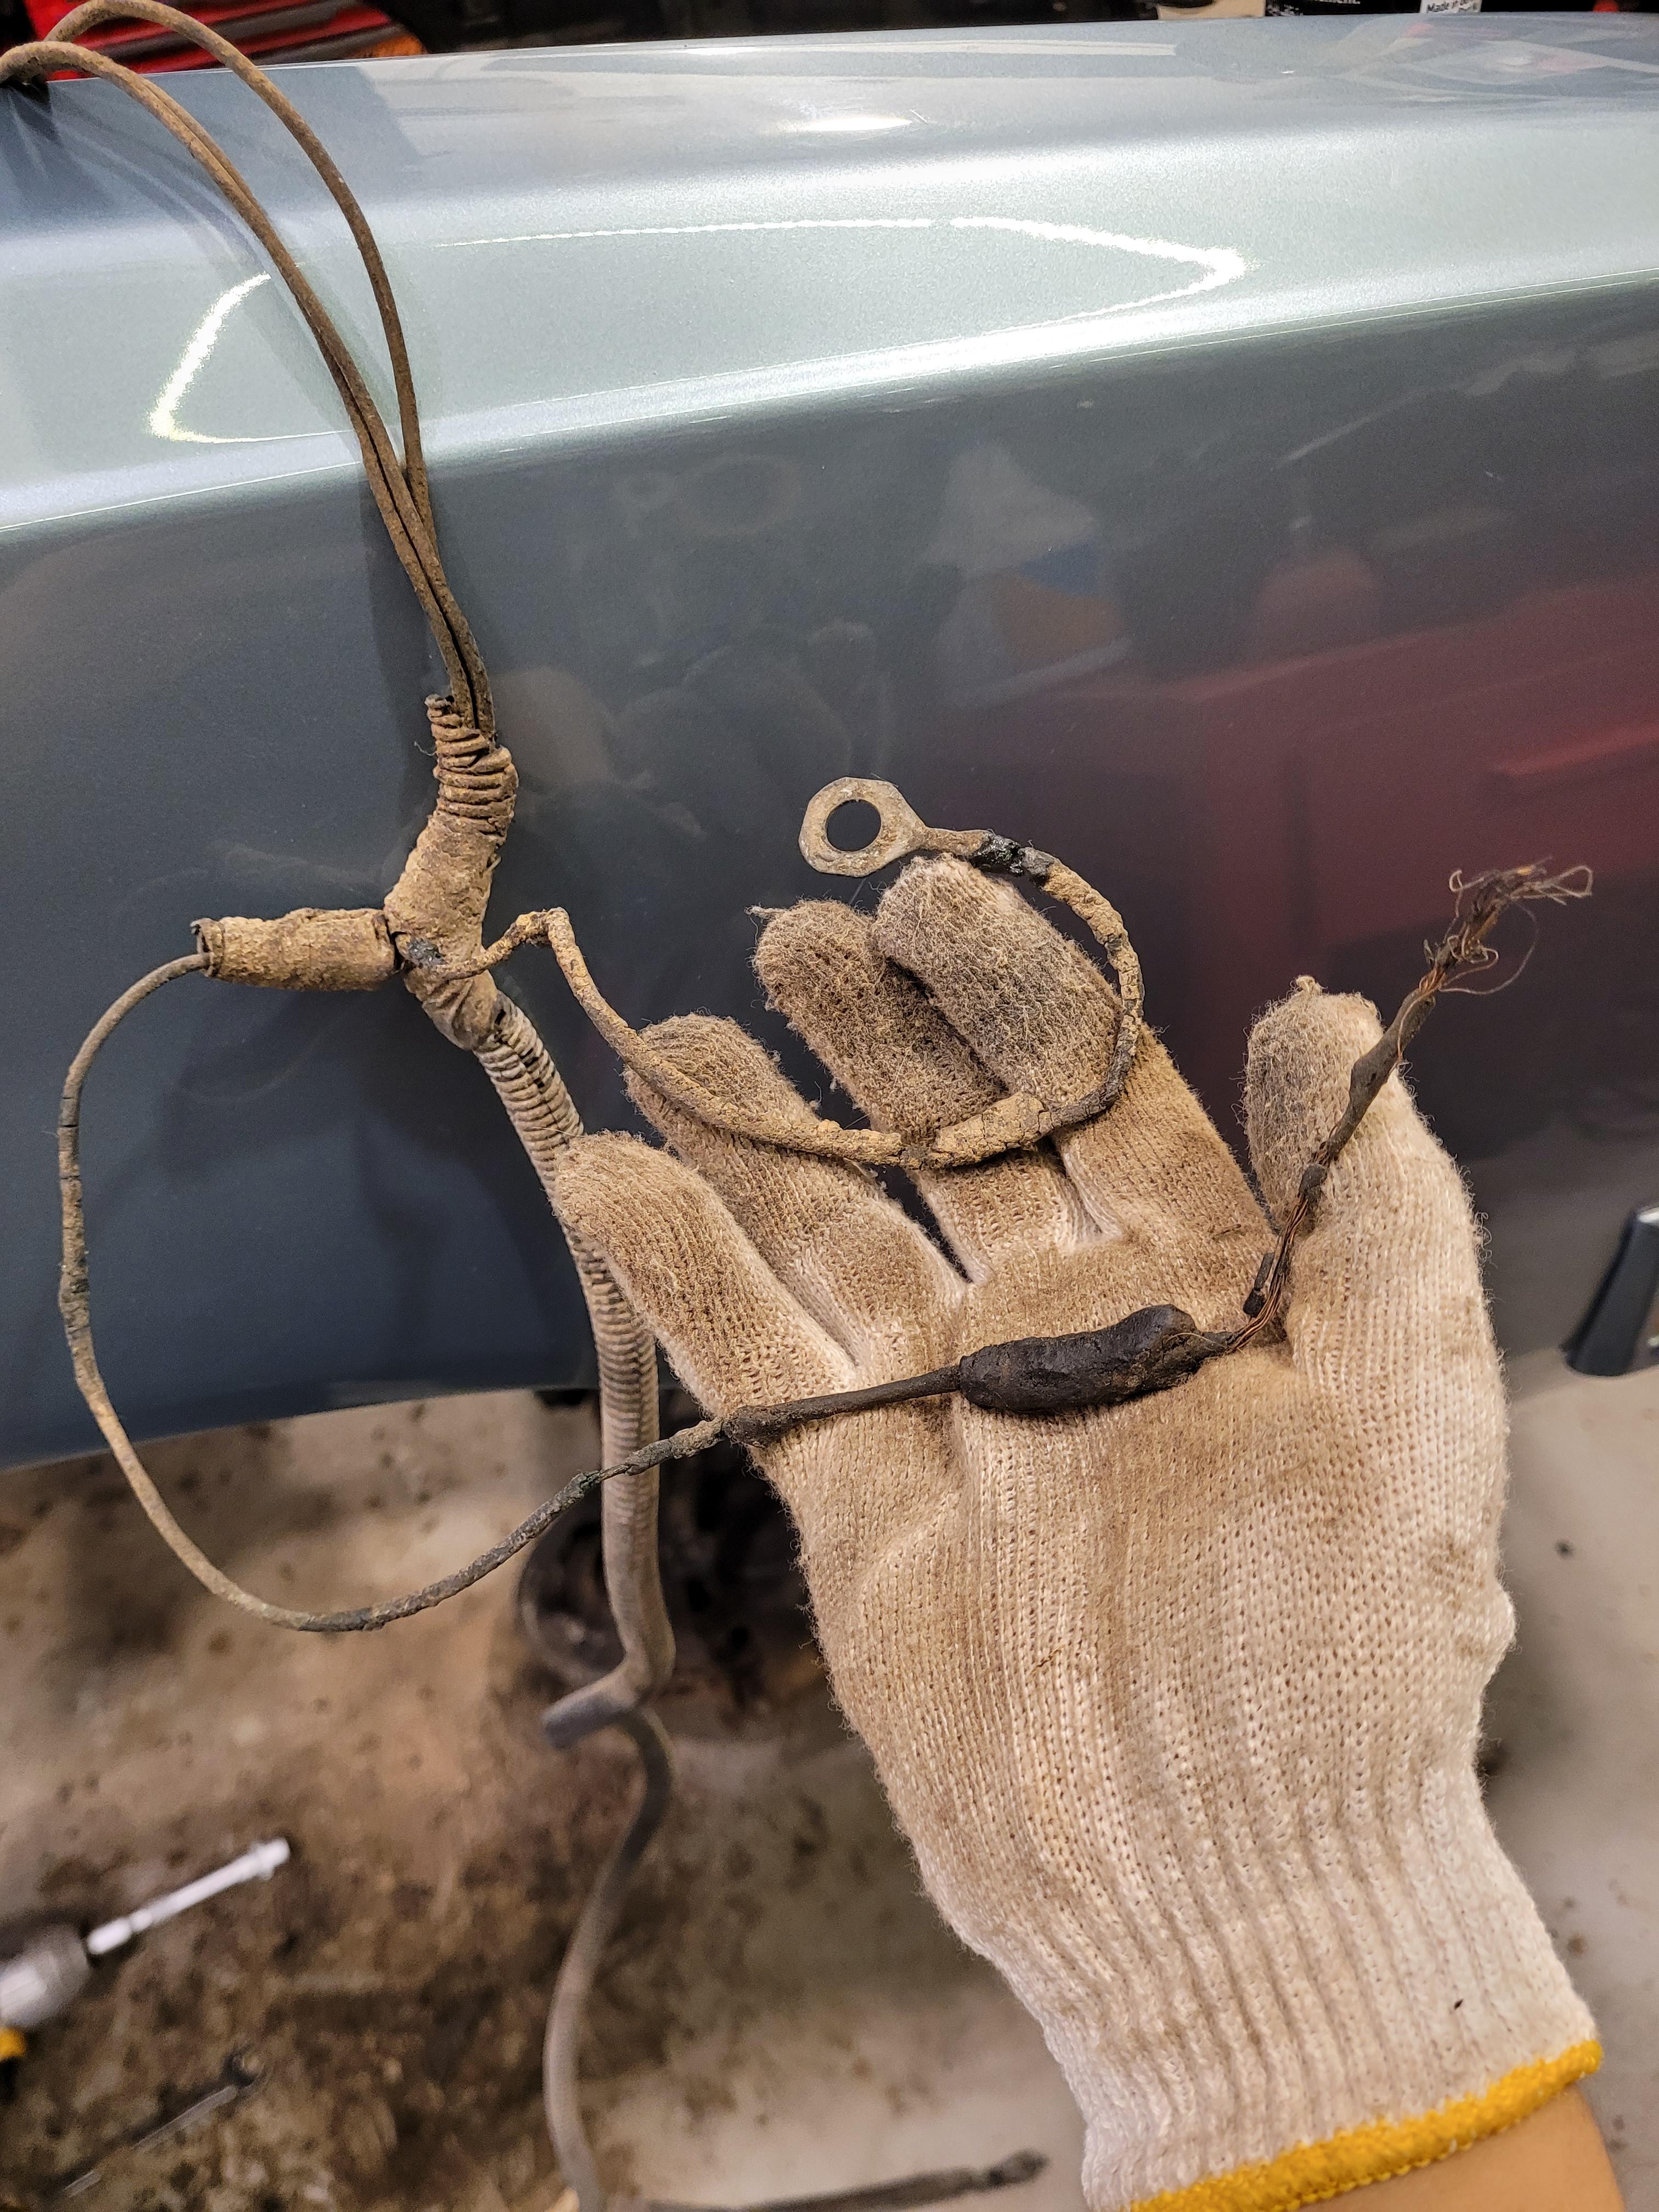
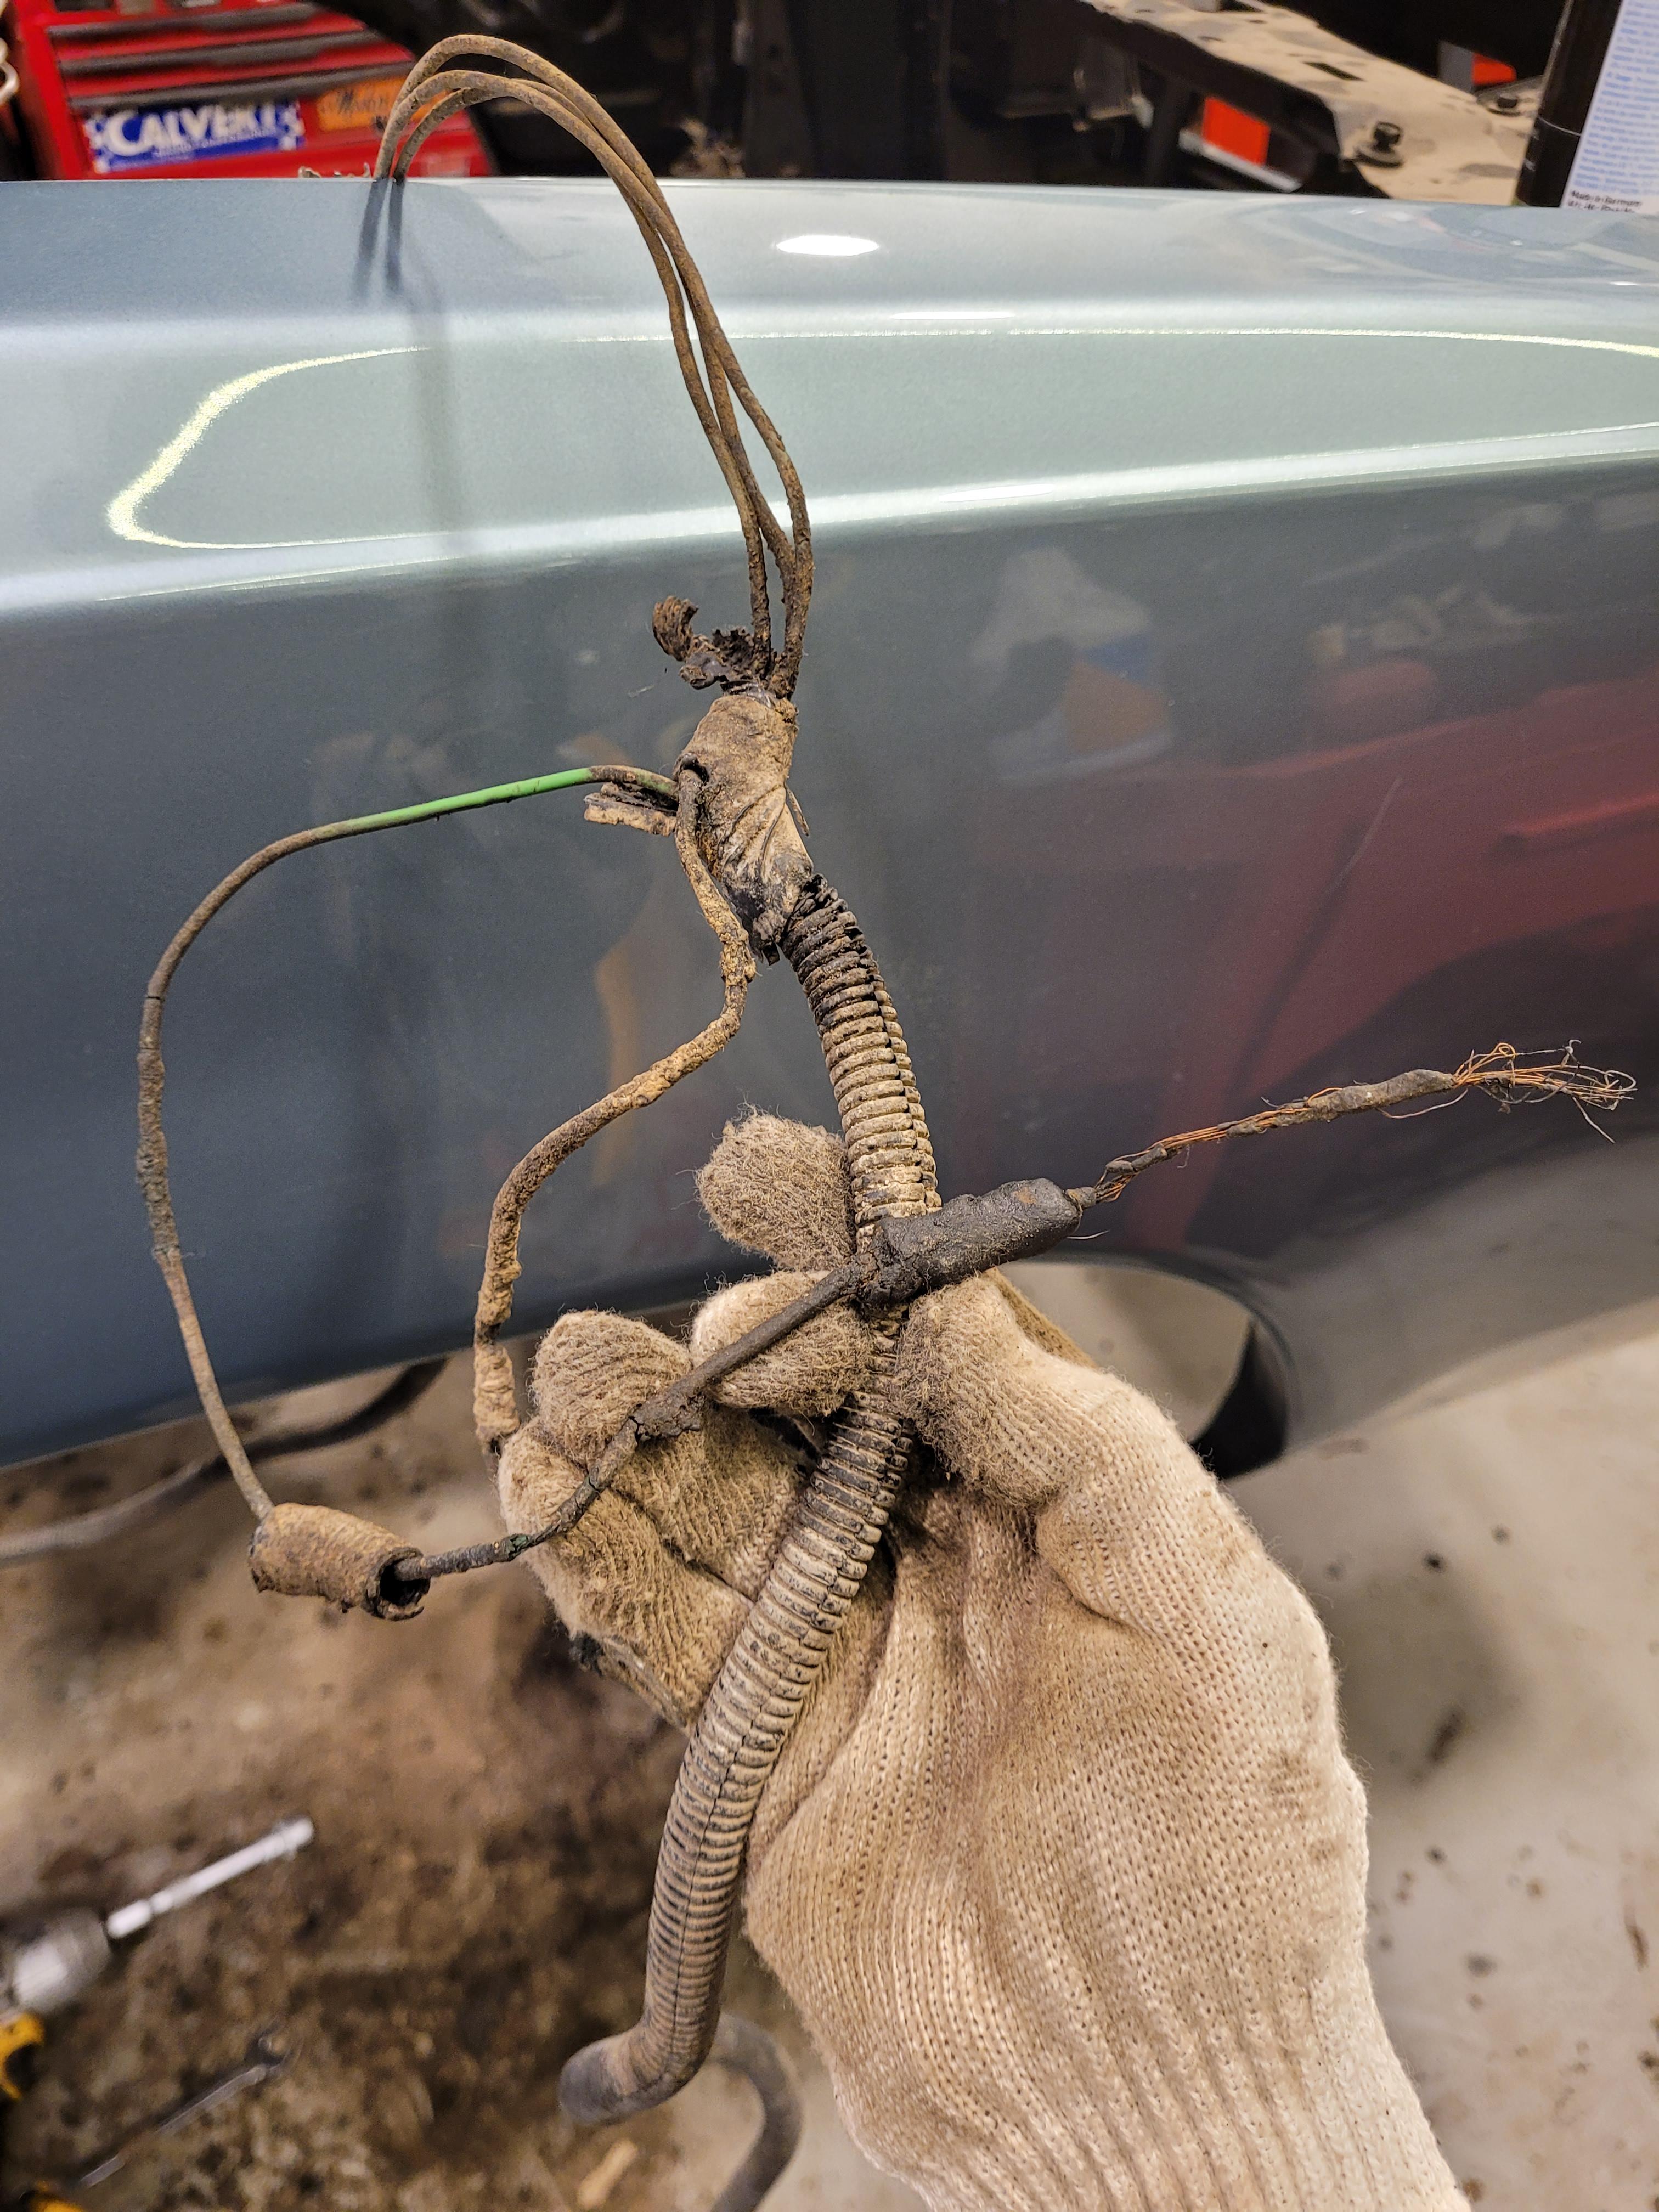
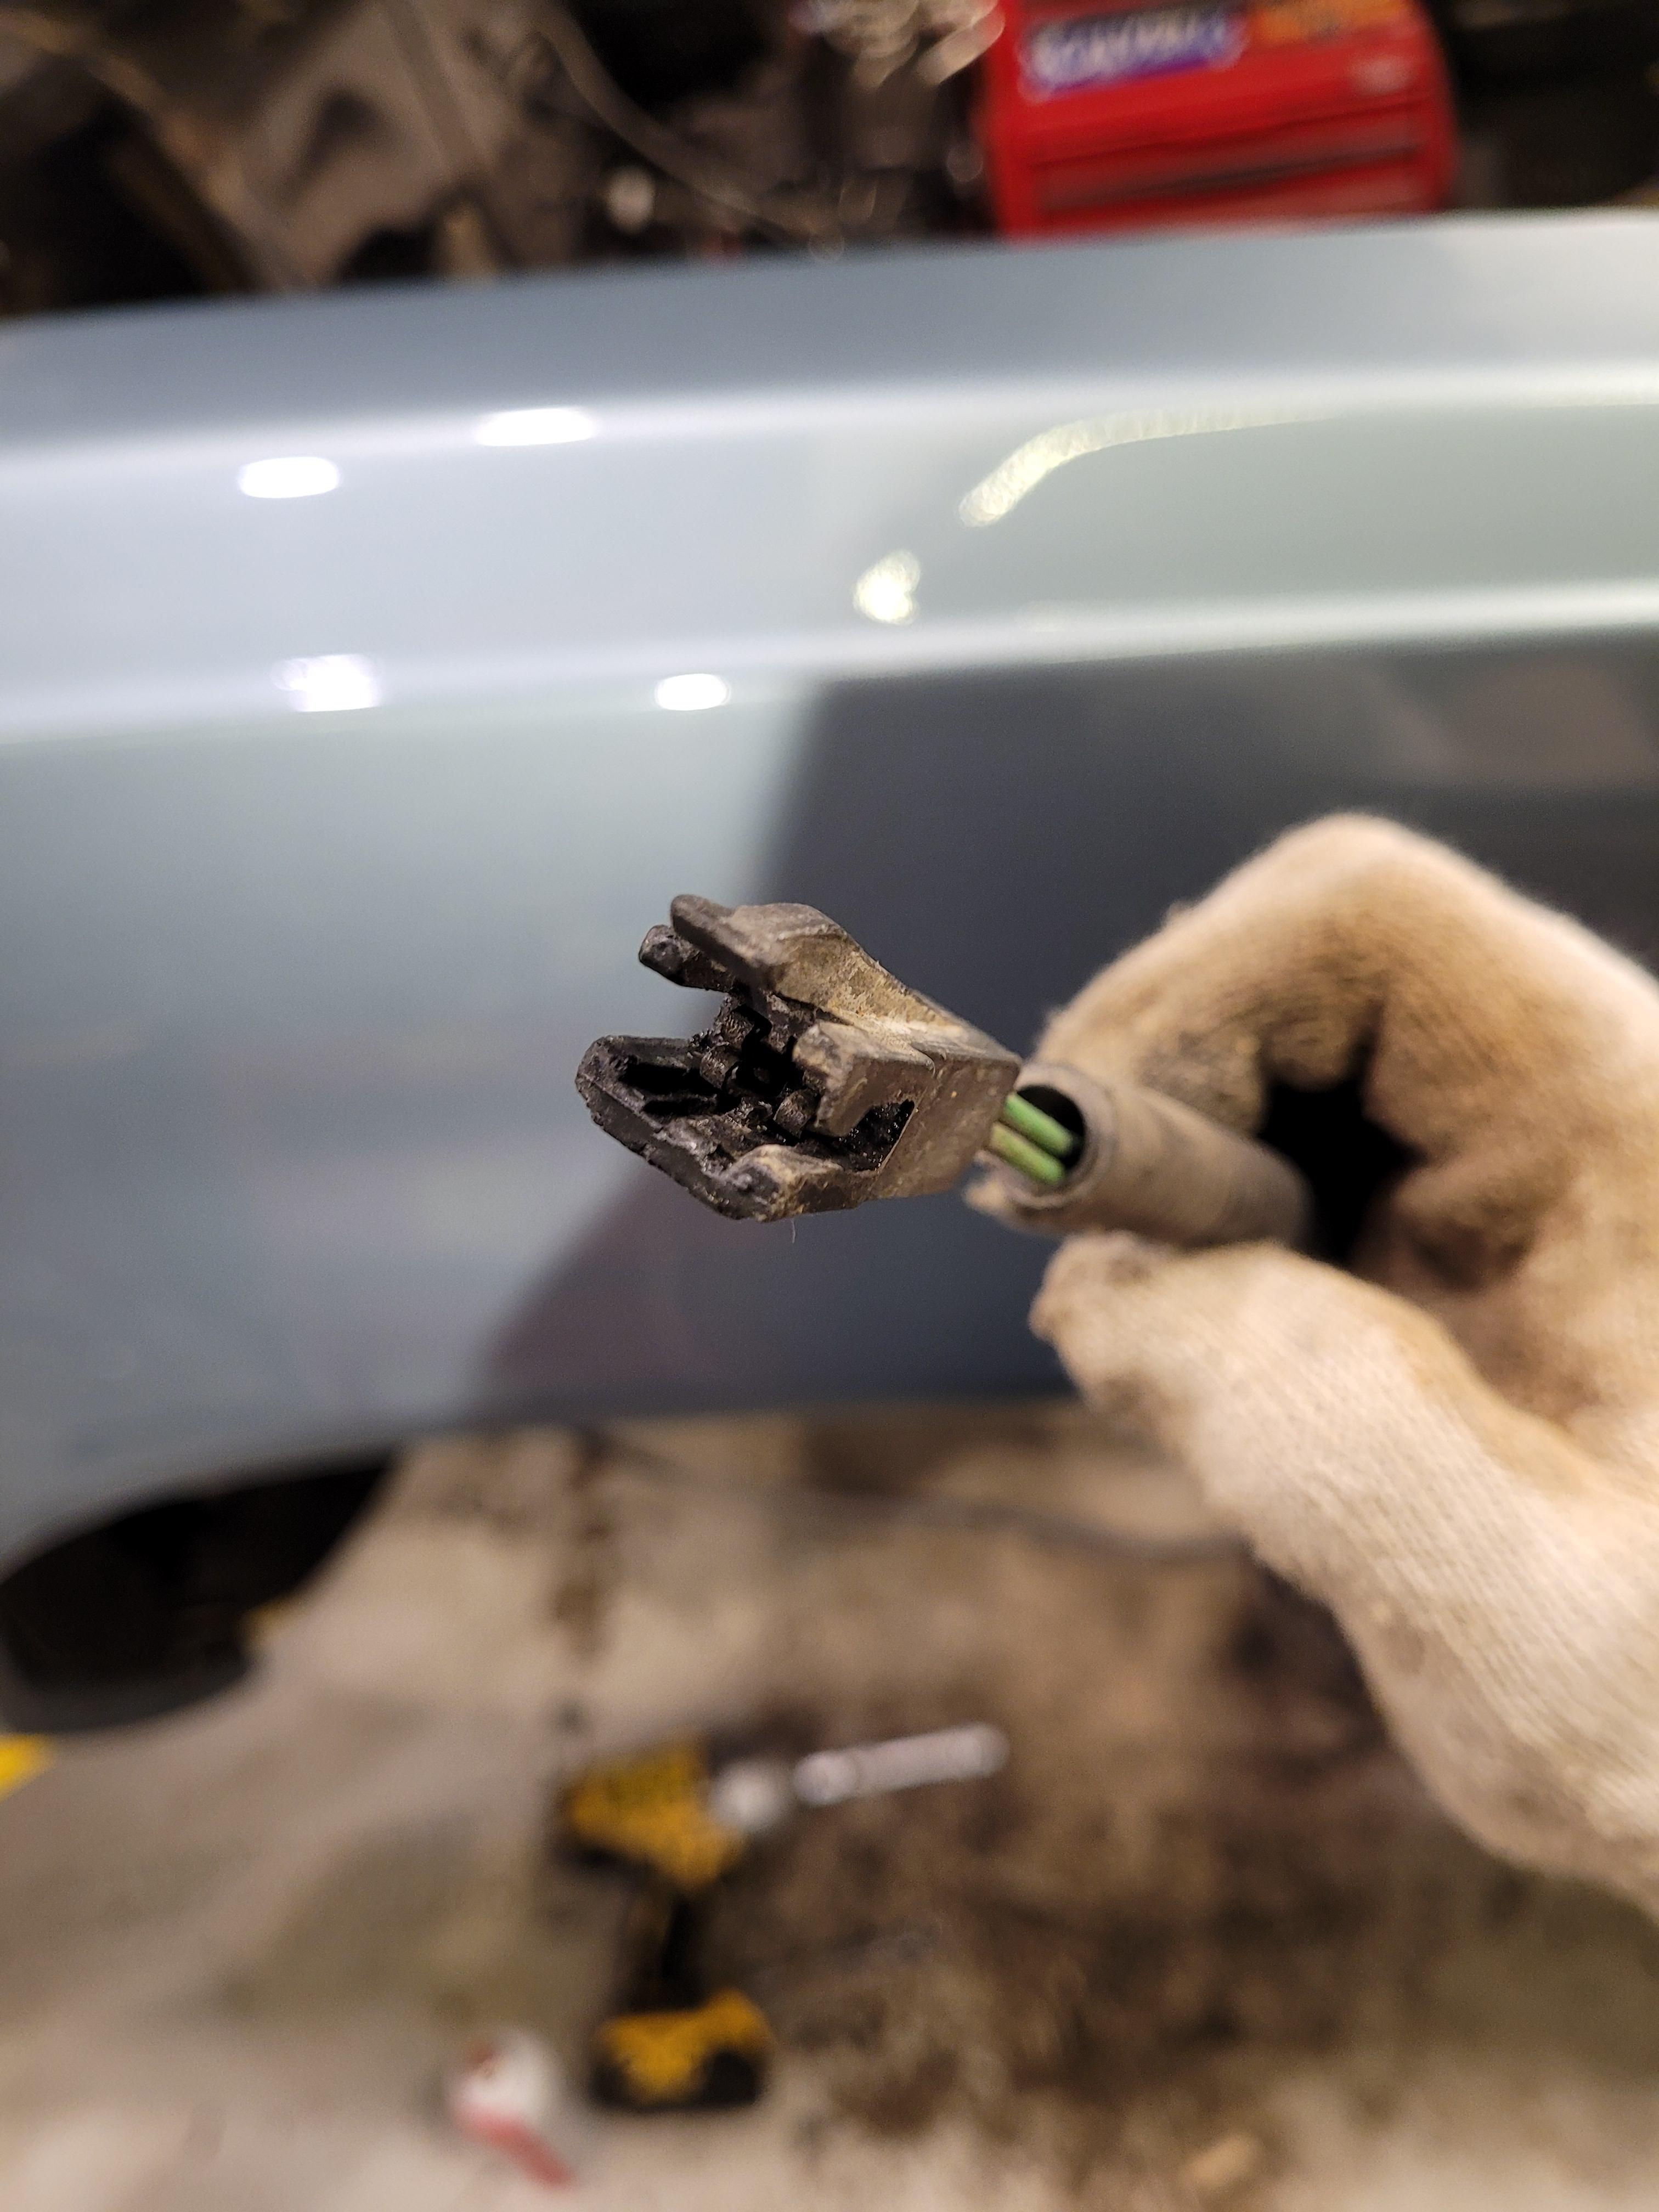
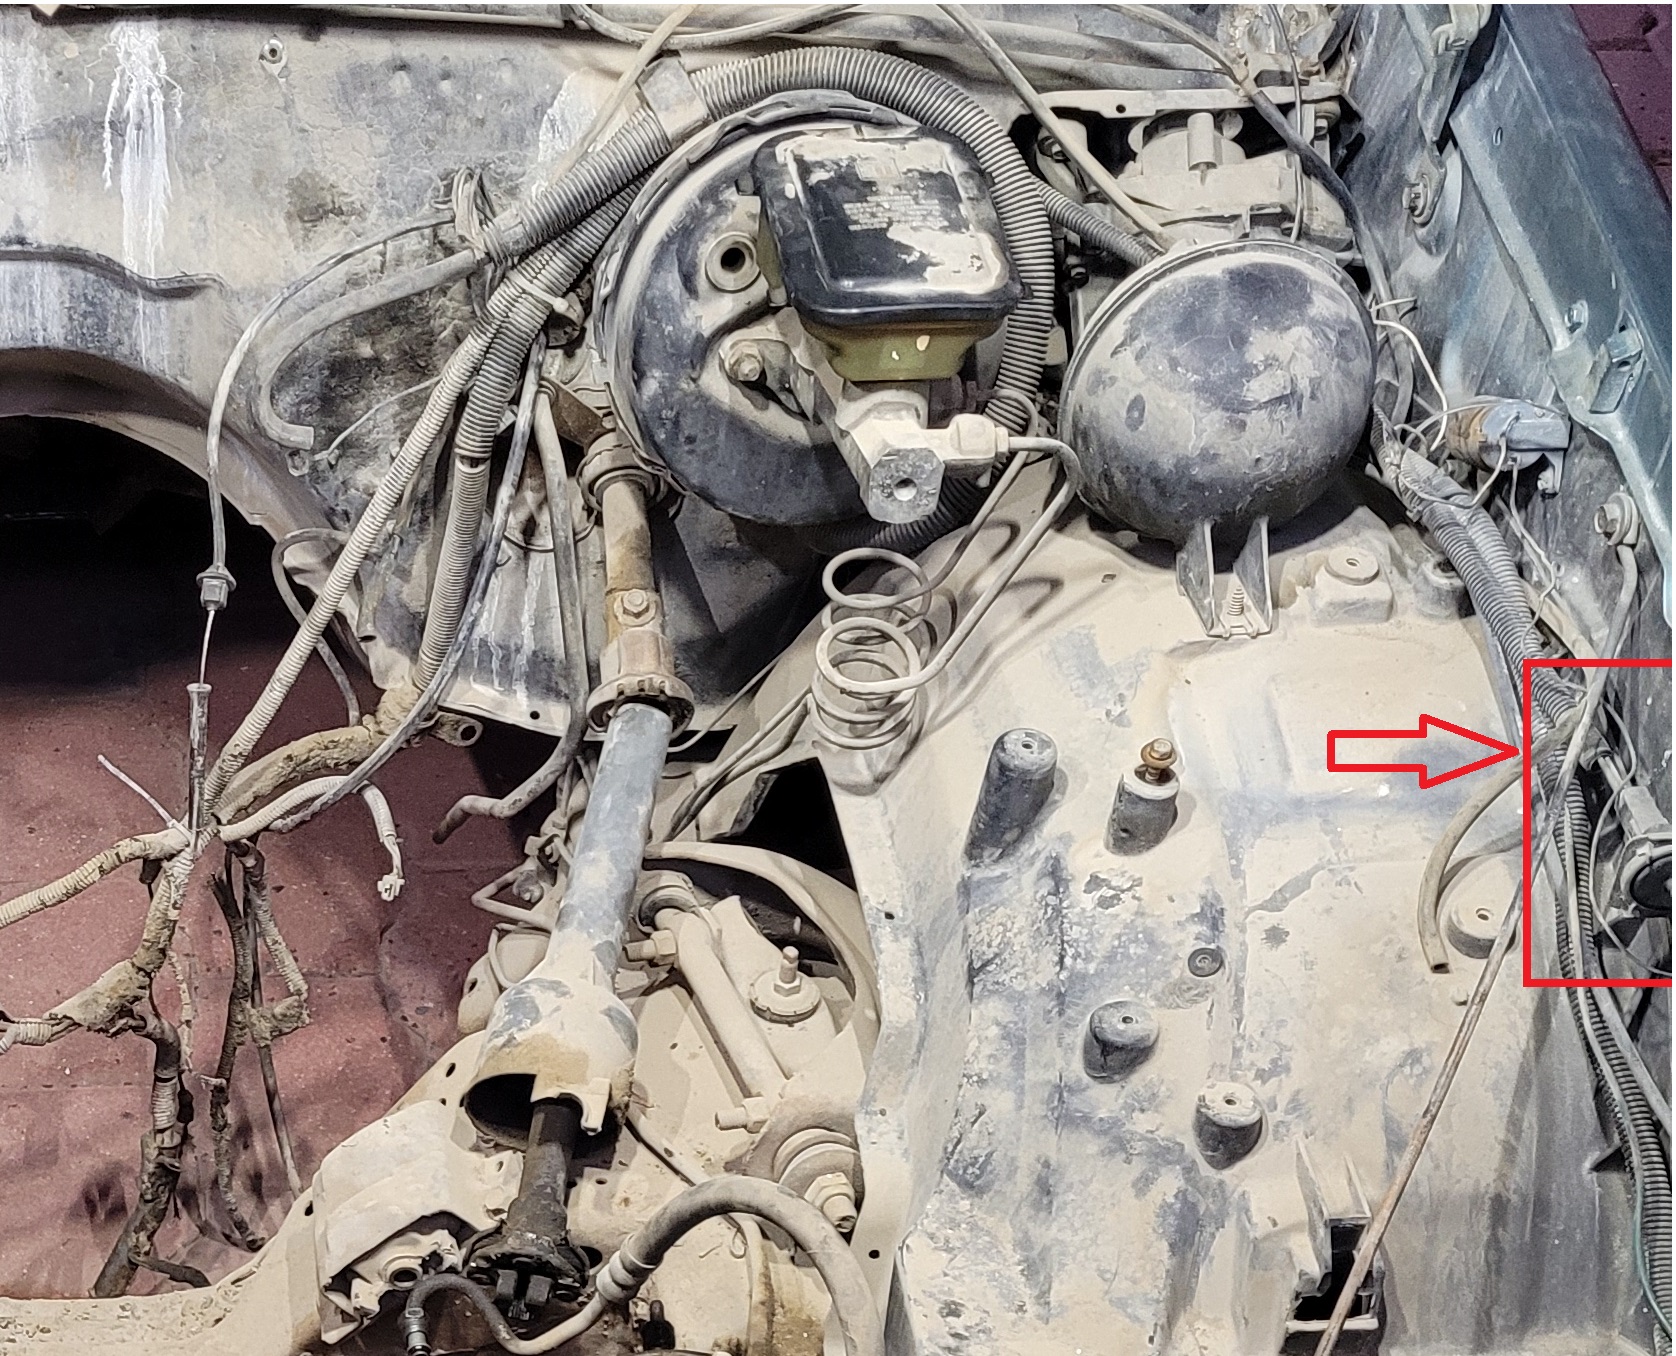
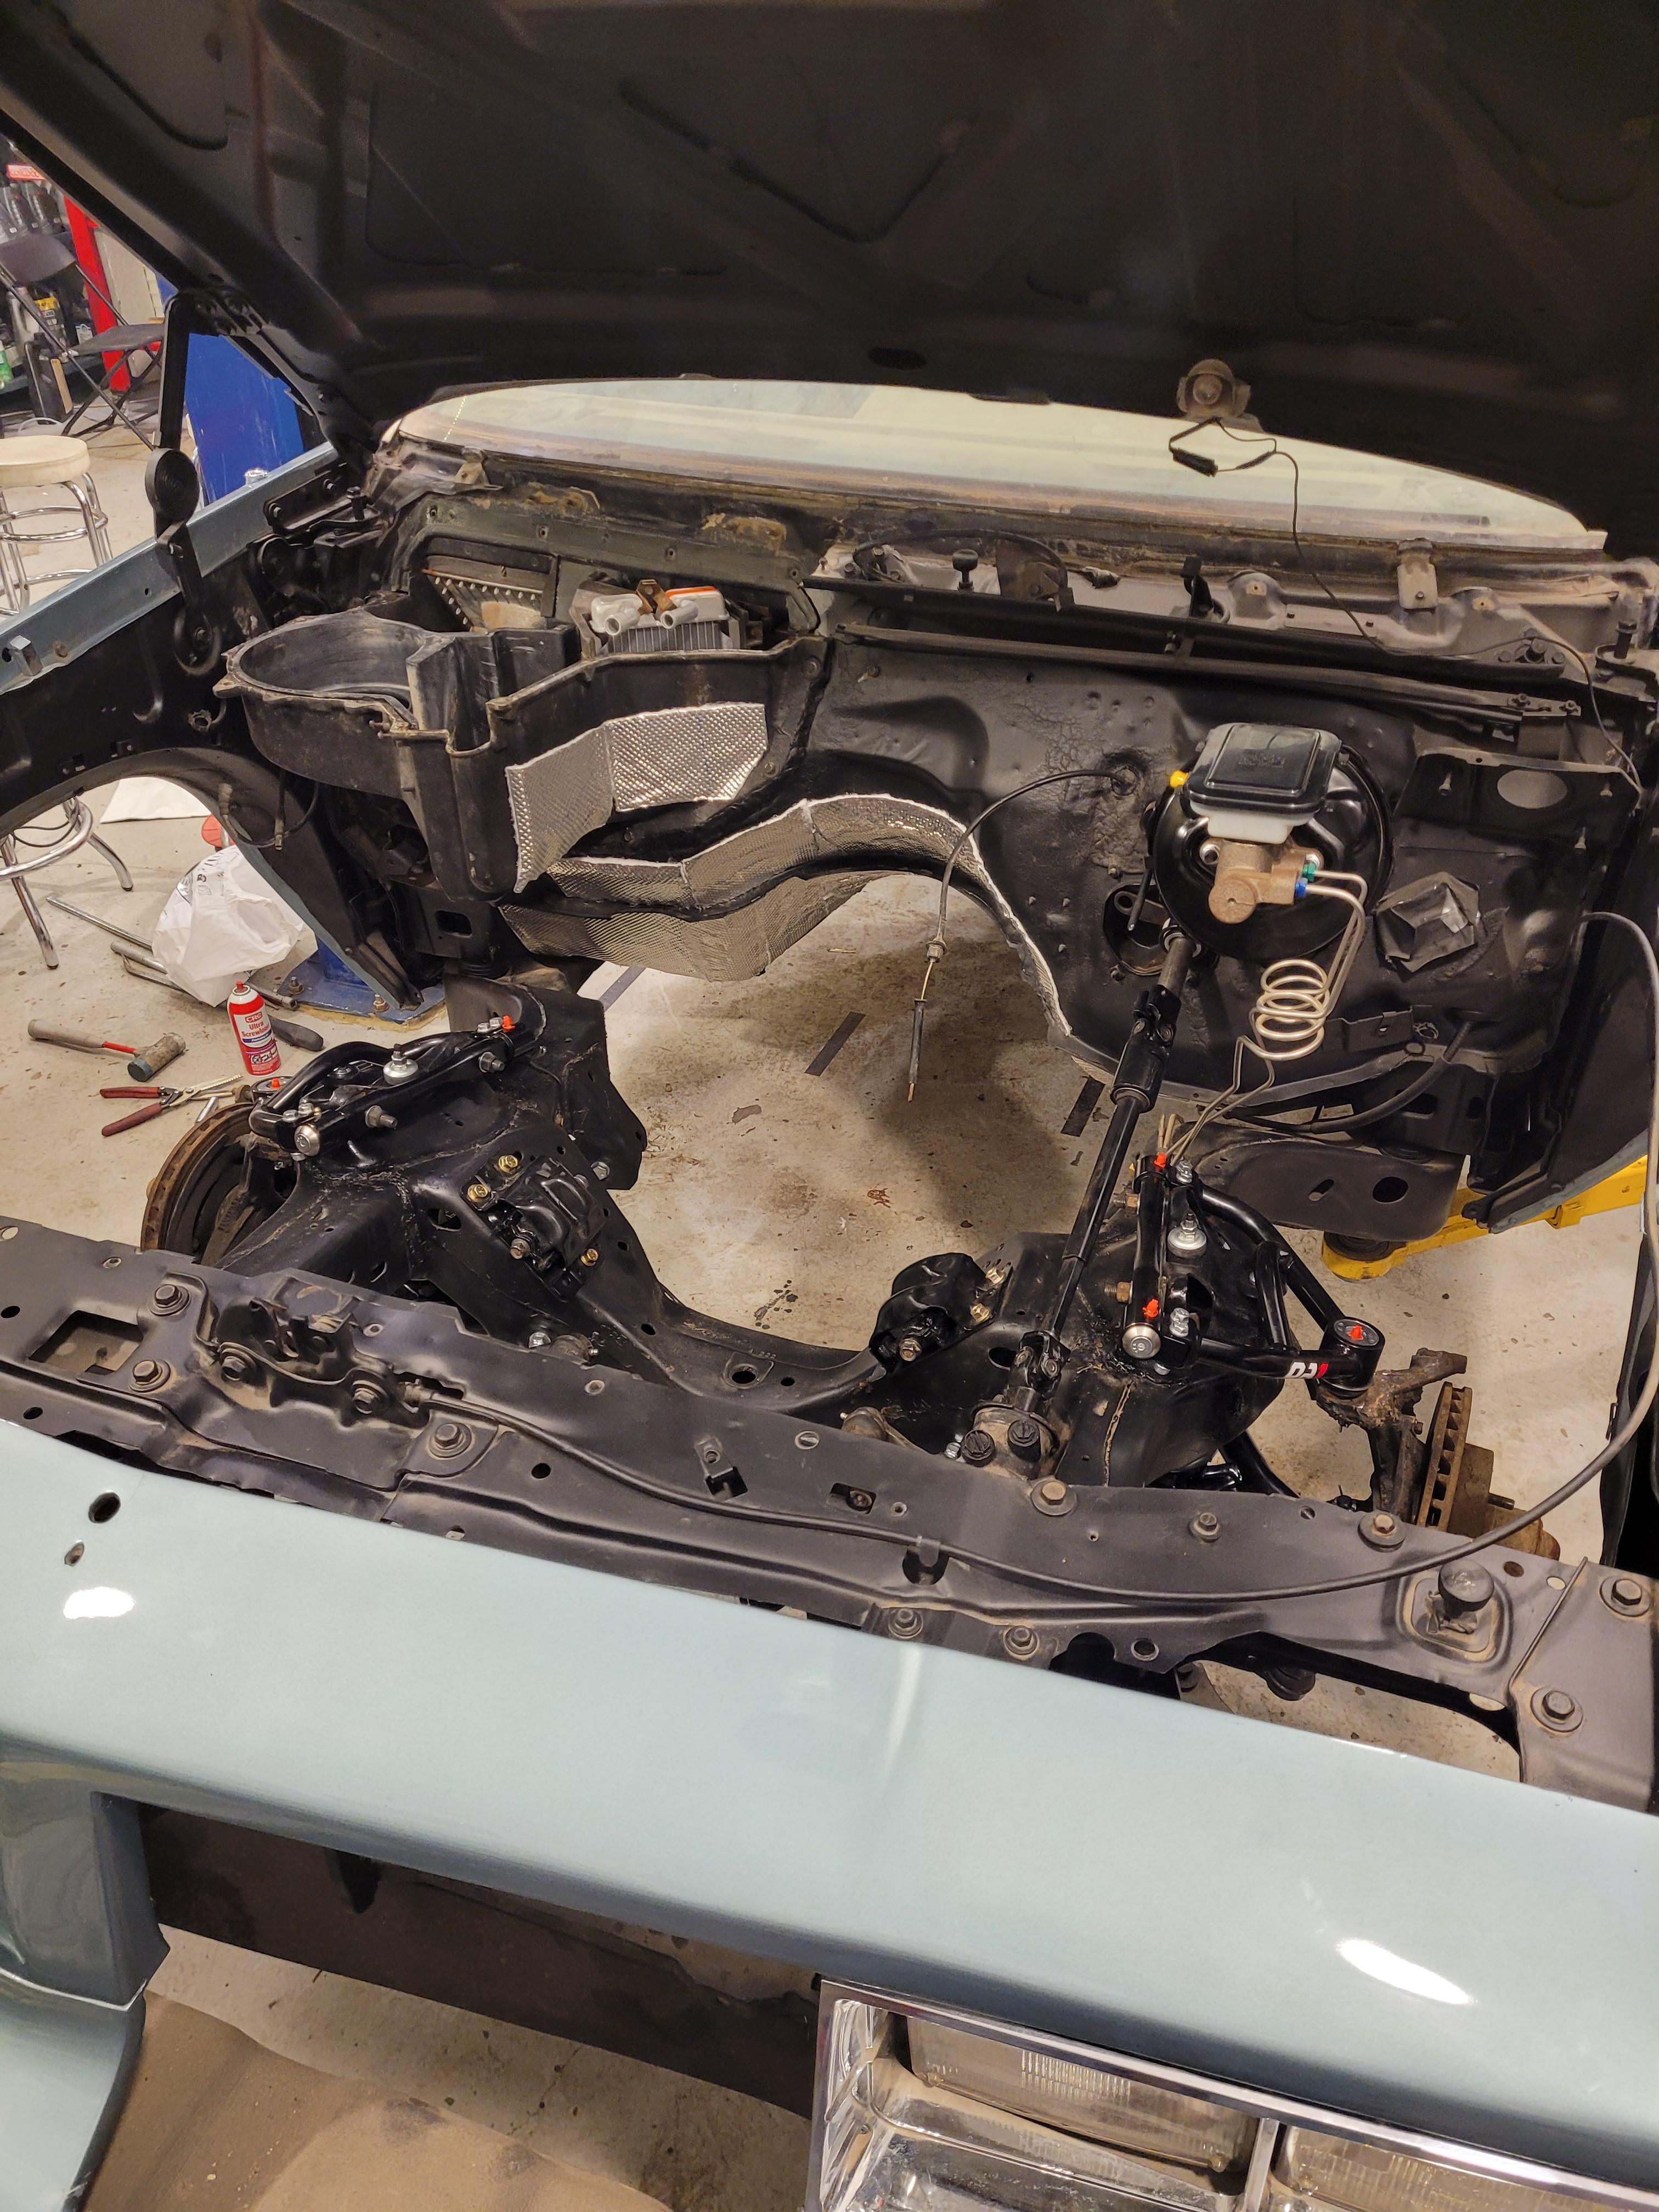
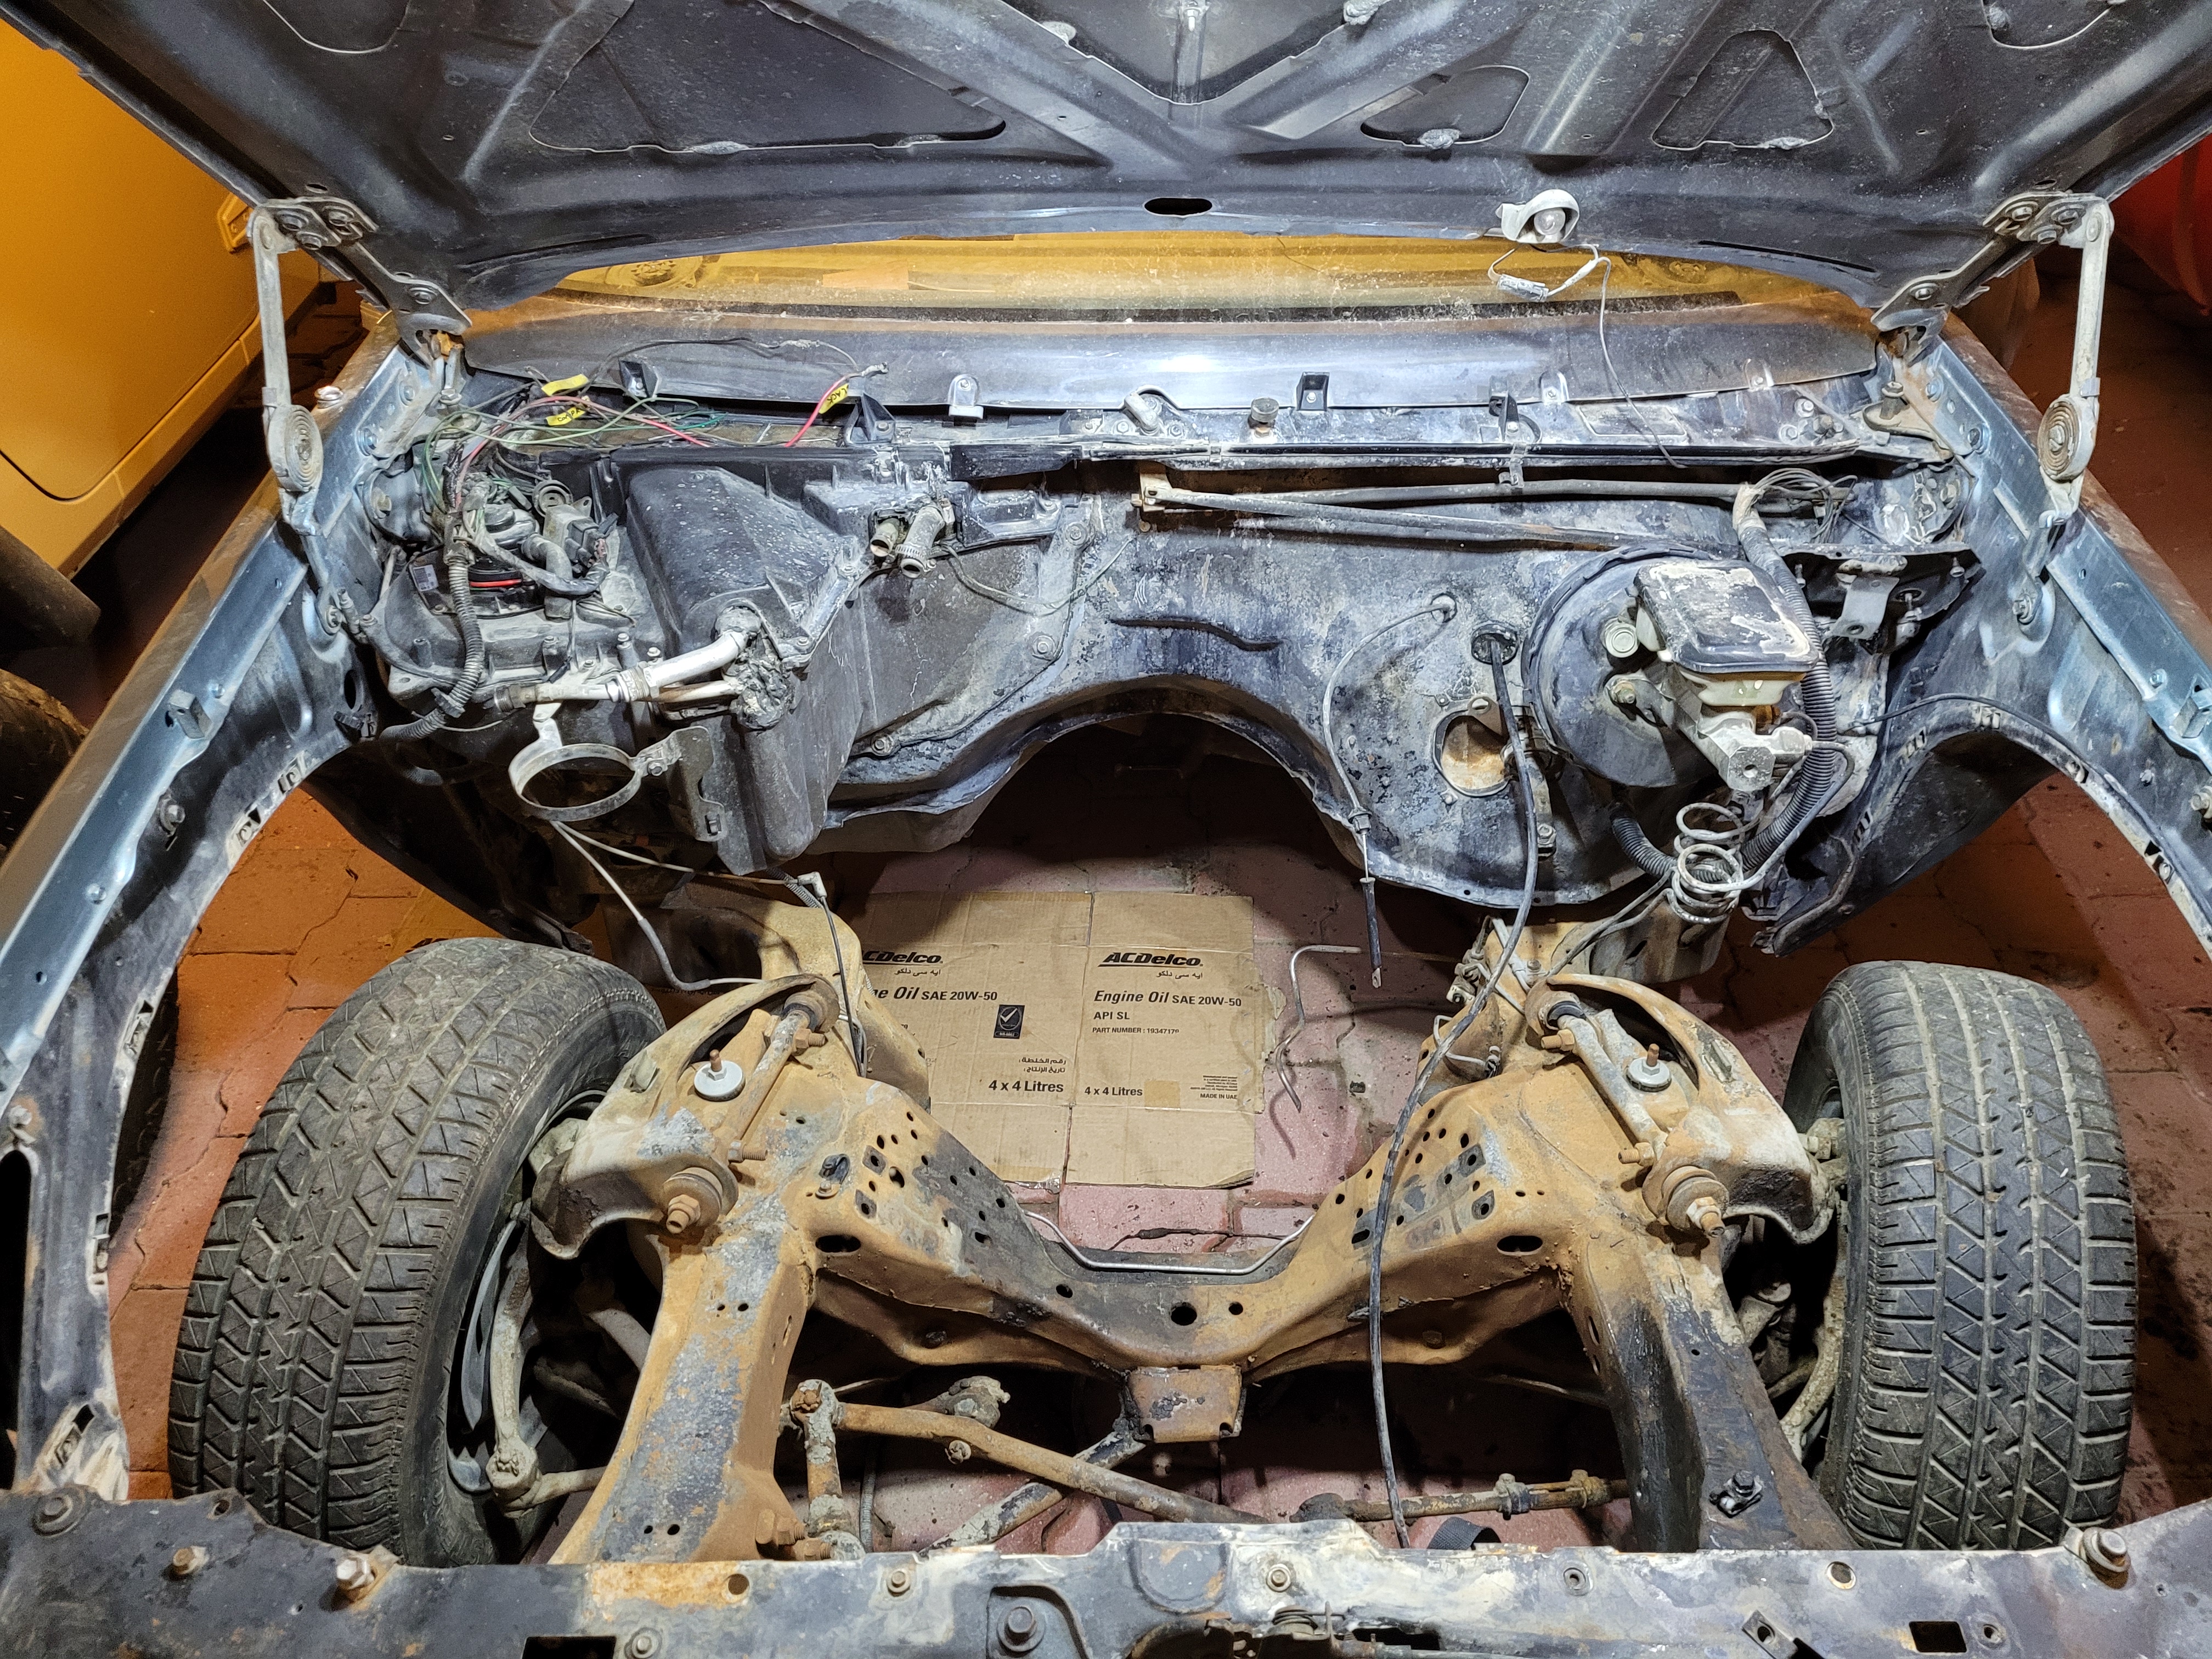
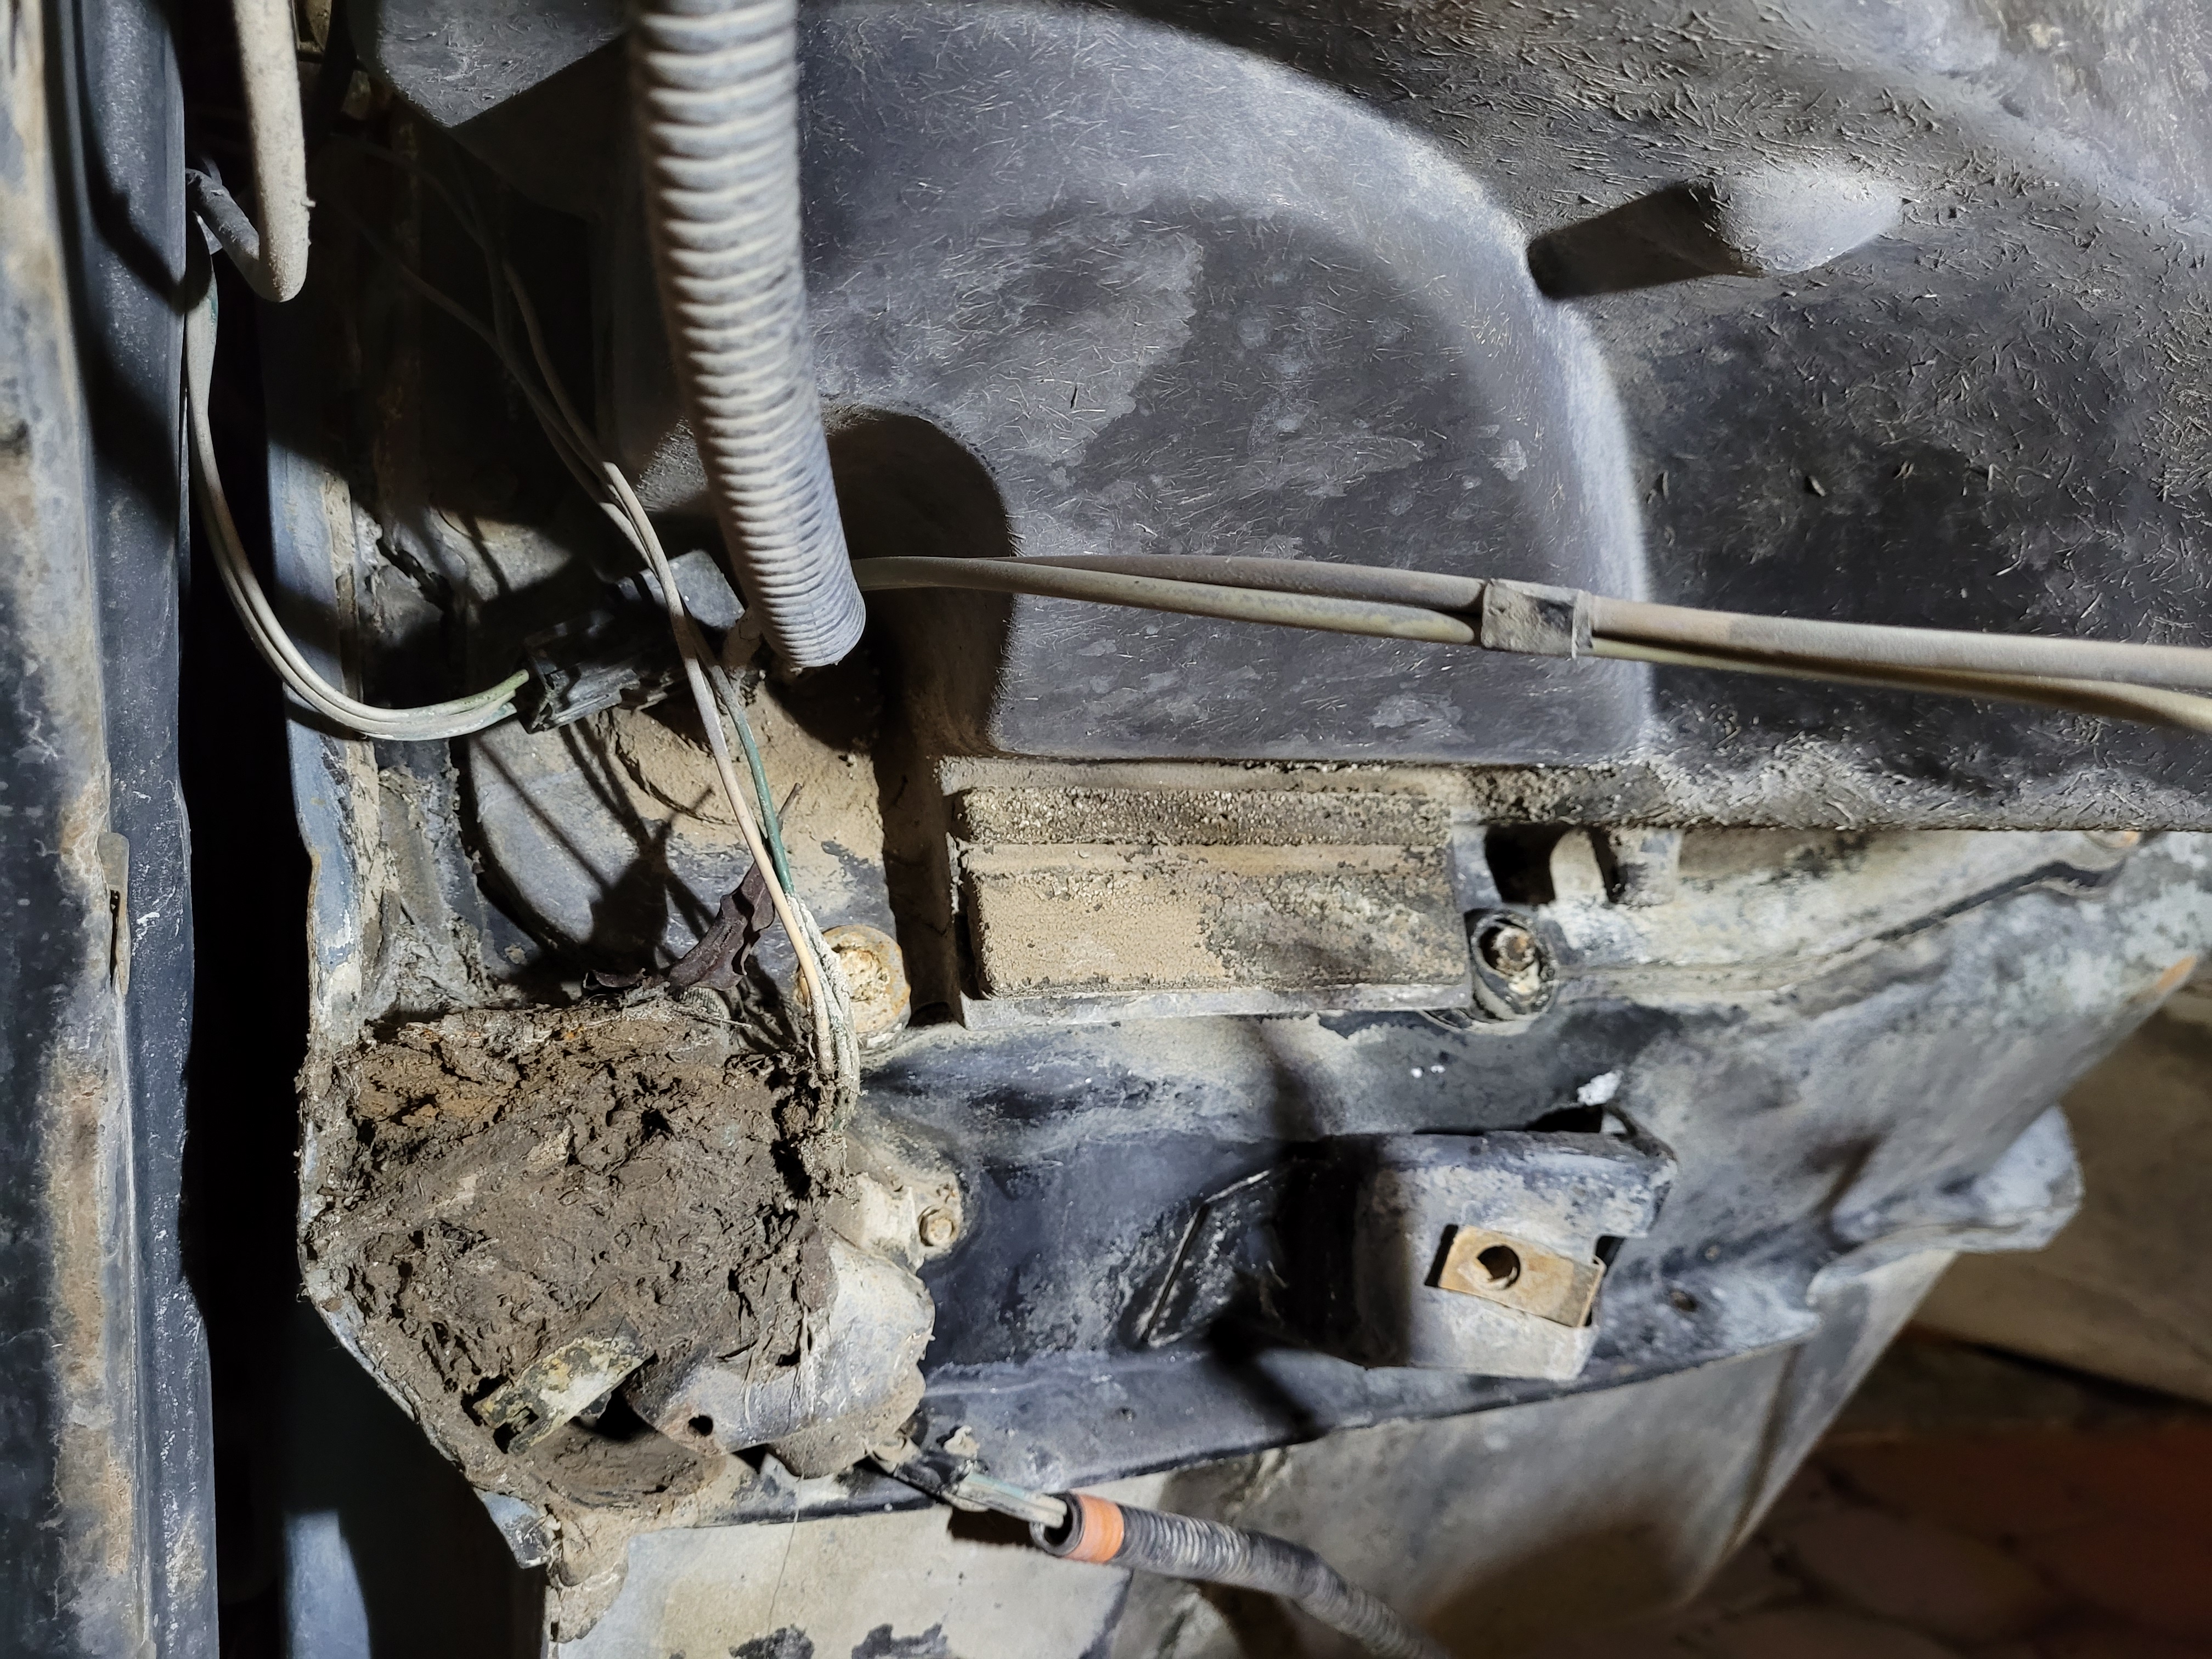
As you can imagine the engine bay was nasty. Almost four decades of harsh desert climate has taken its toll on the rubber and plastic. A leaky steering box spraying fluid everywhere didn't help either. The plus side is the firewall and floorboards appeared to be completely rust free once cleaned up.

ulj9J0t.jpg


C8eux7C.jpg


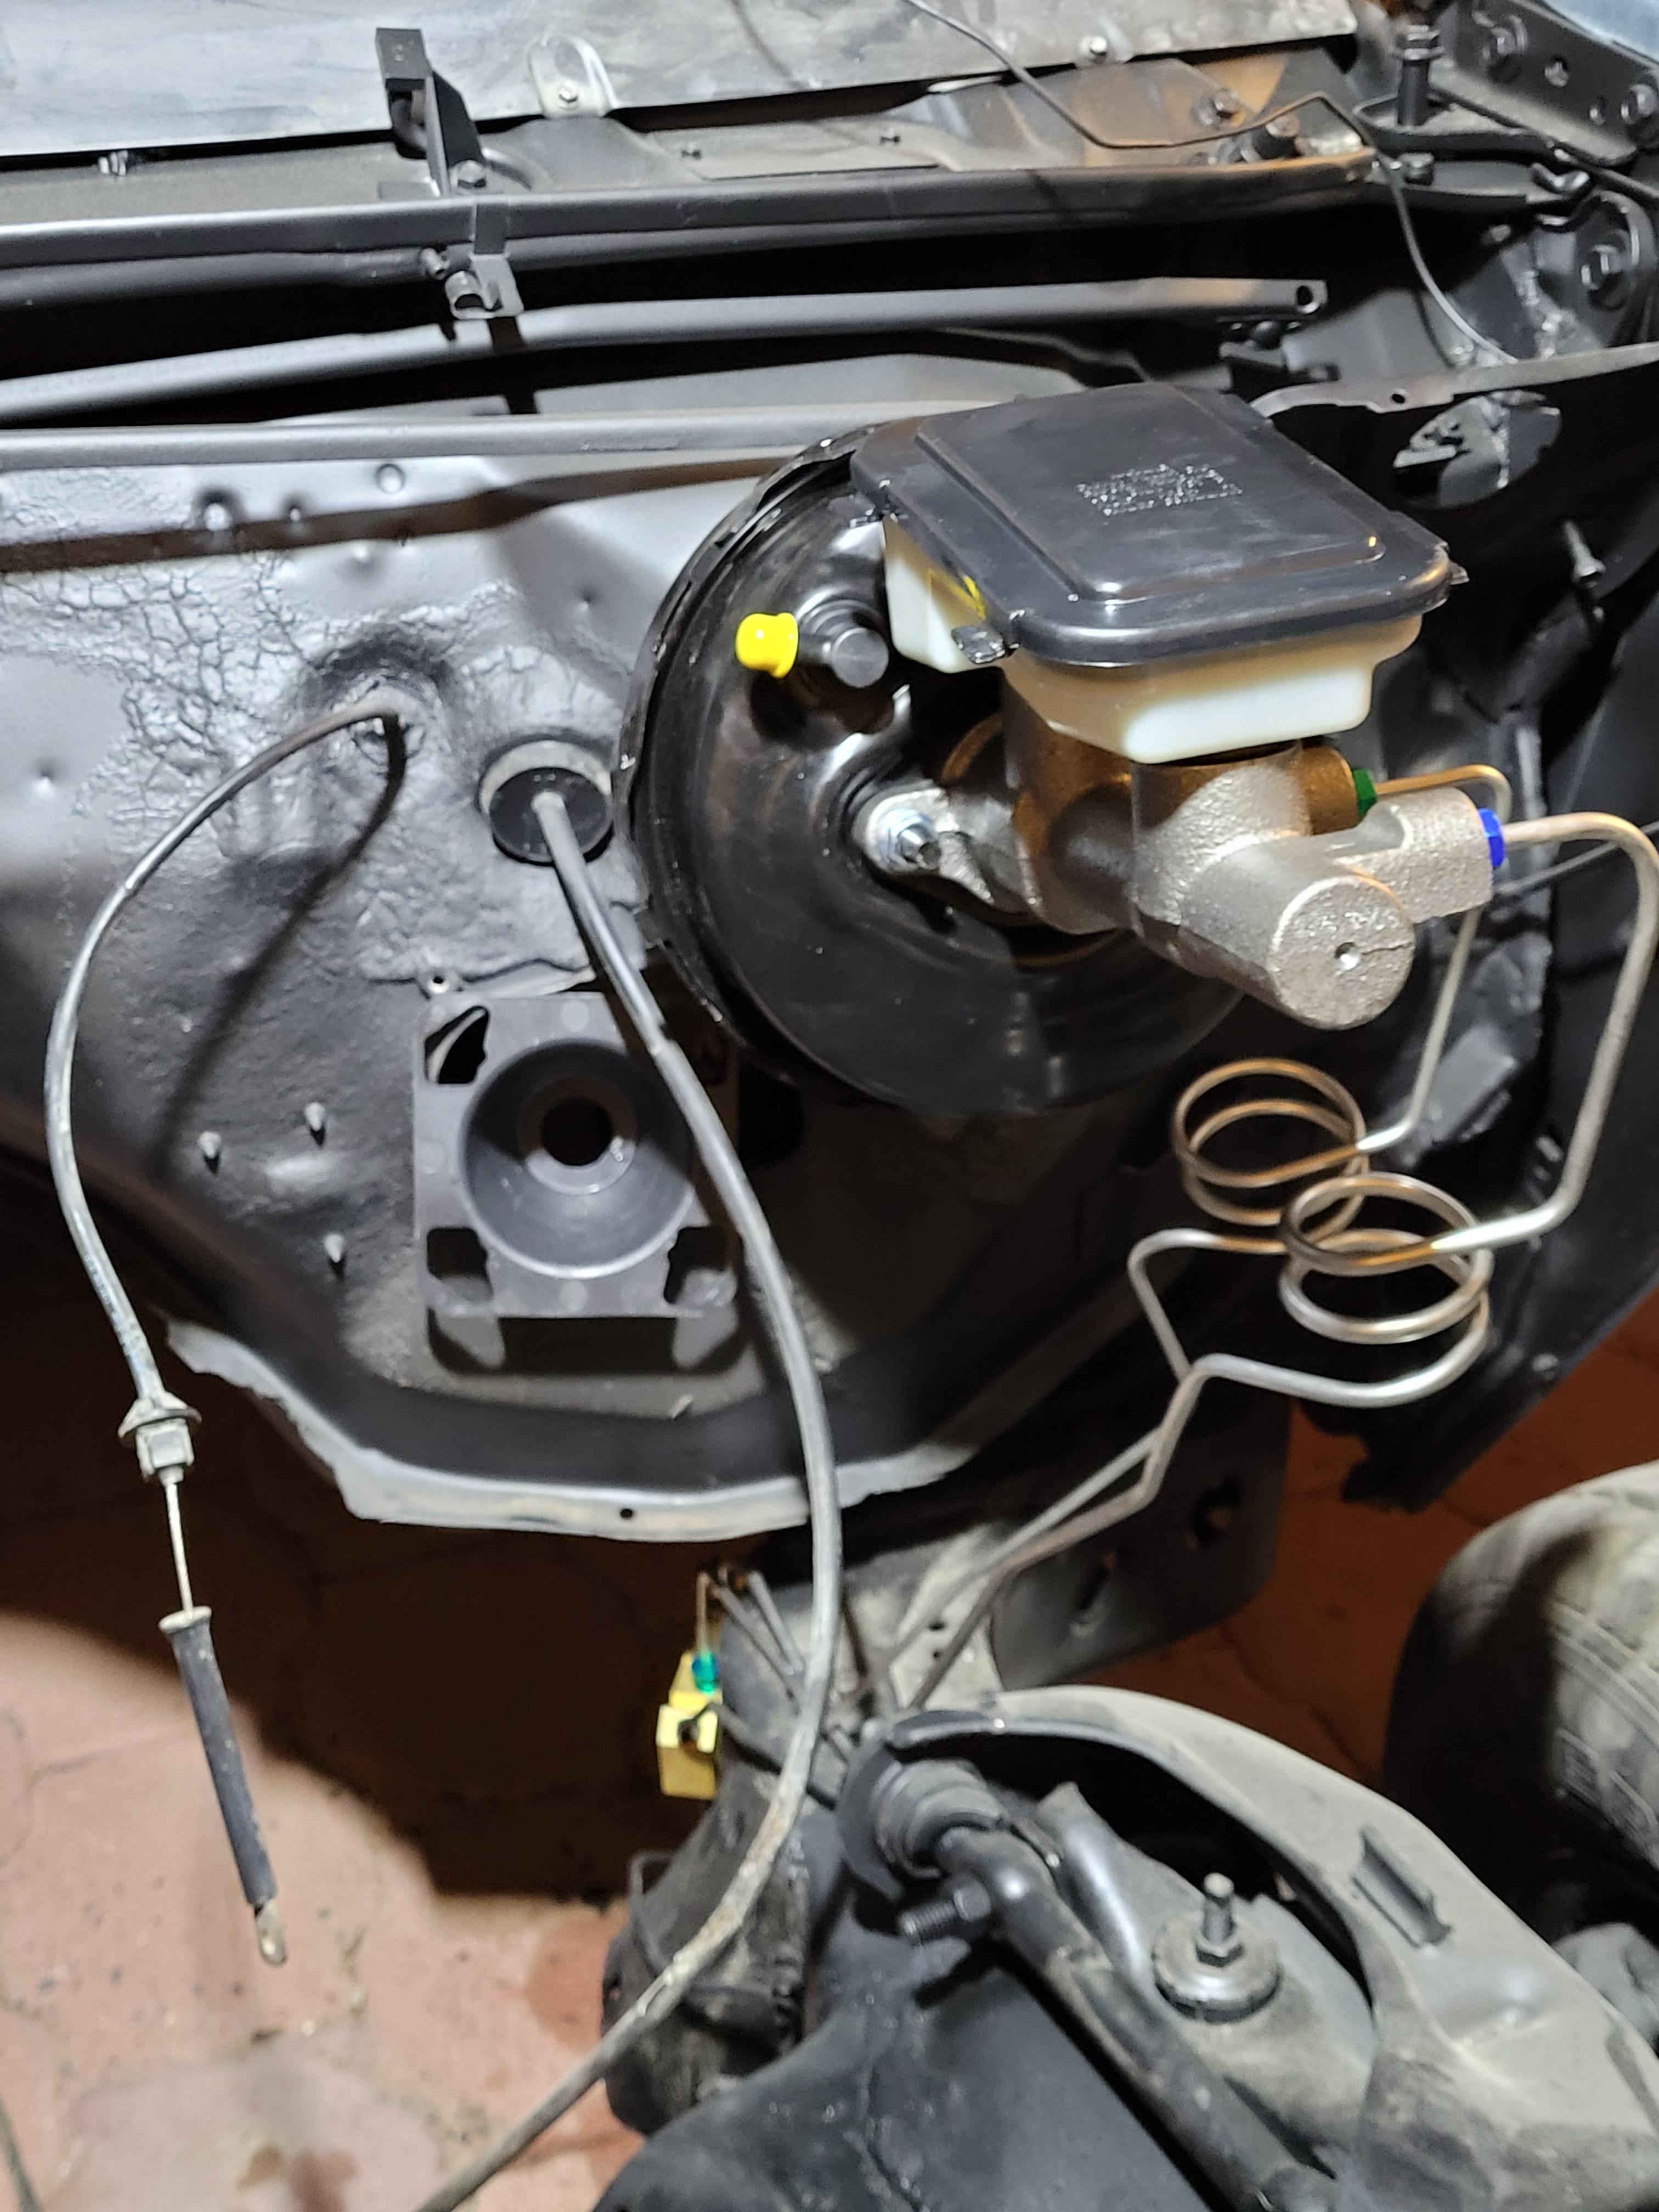
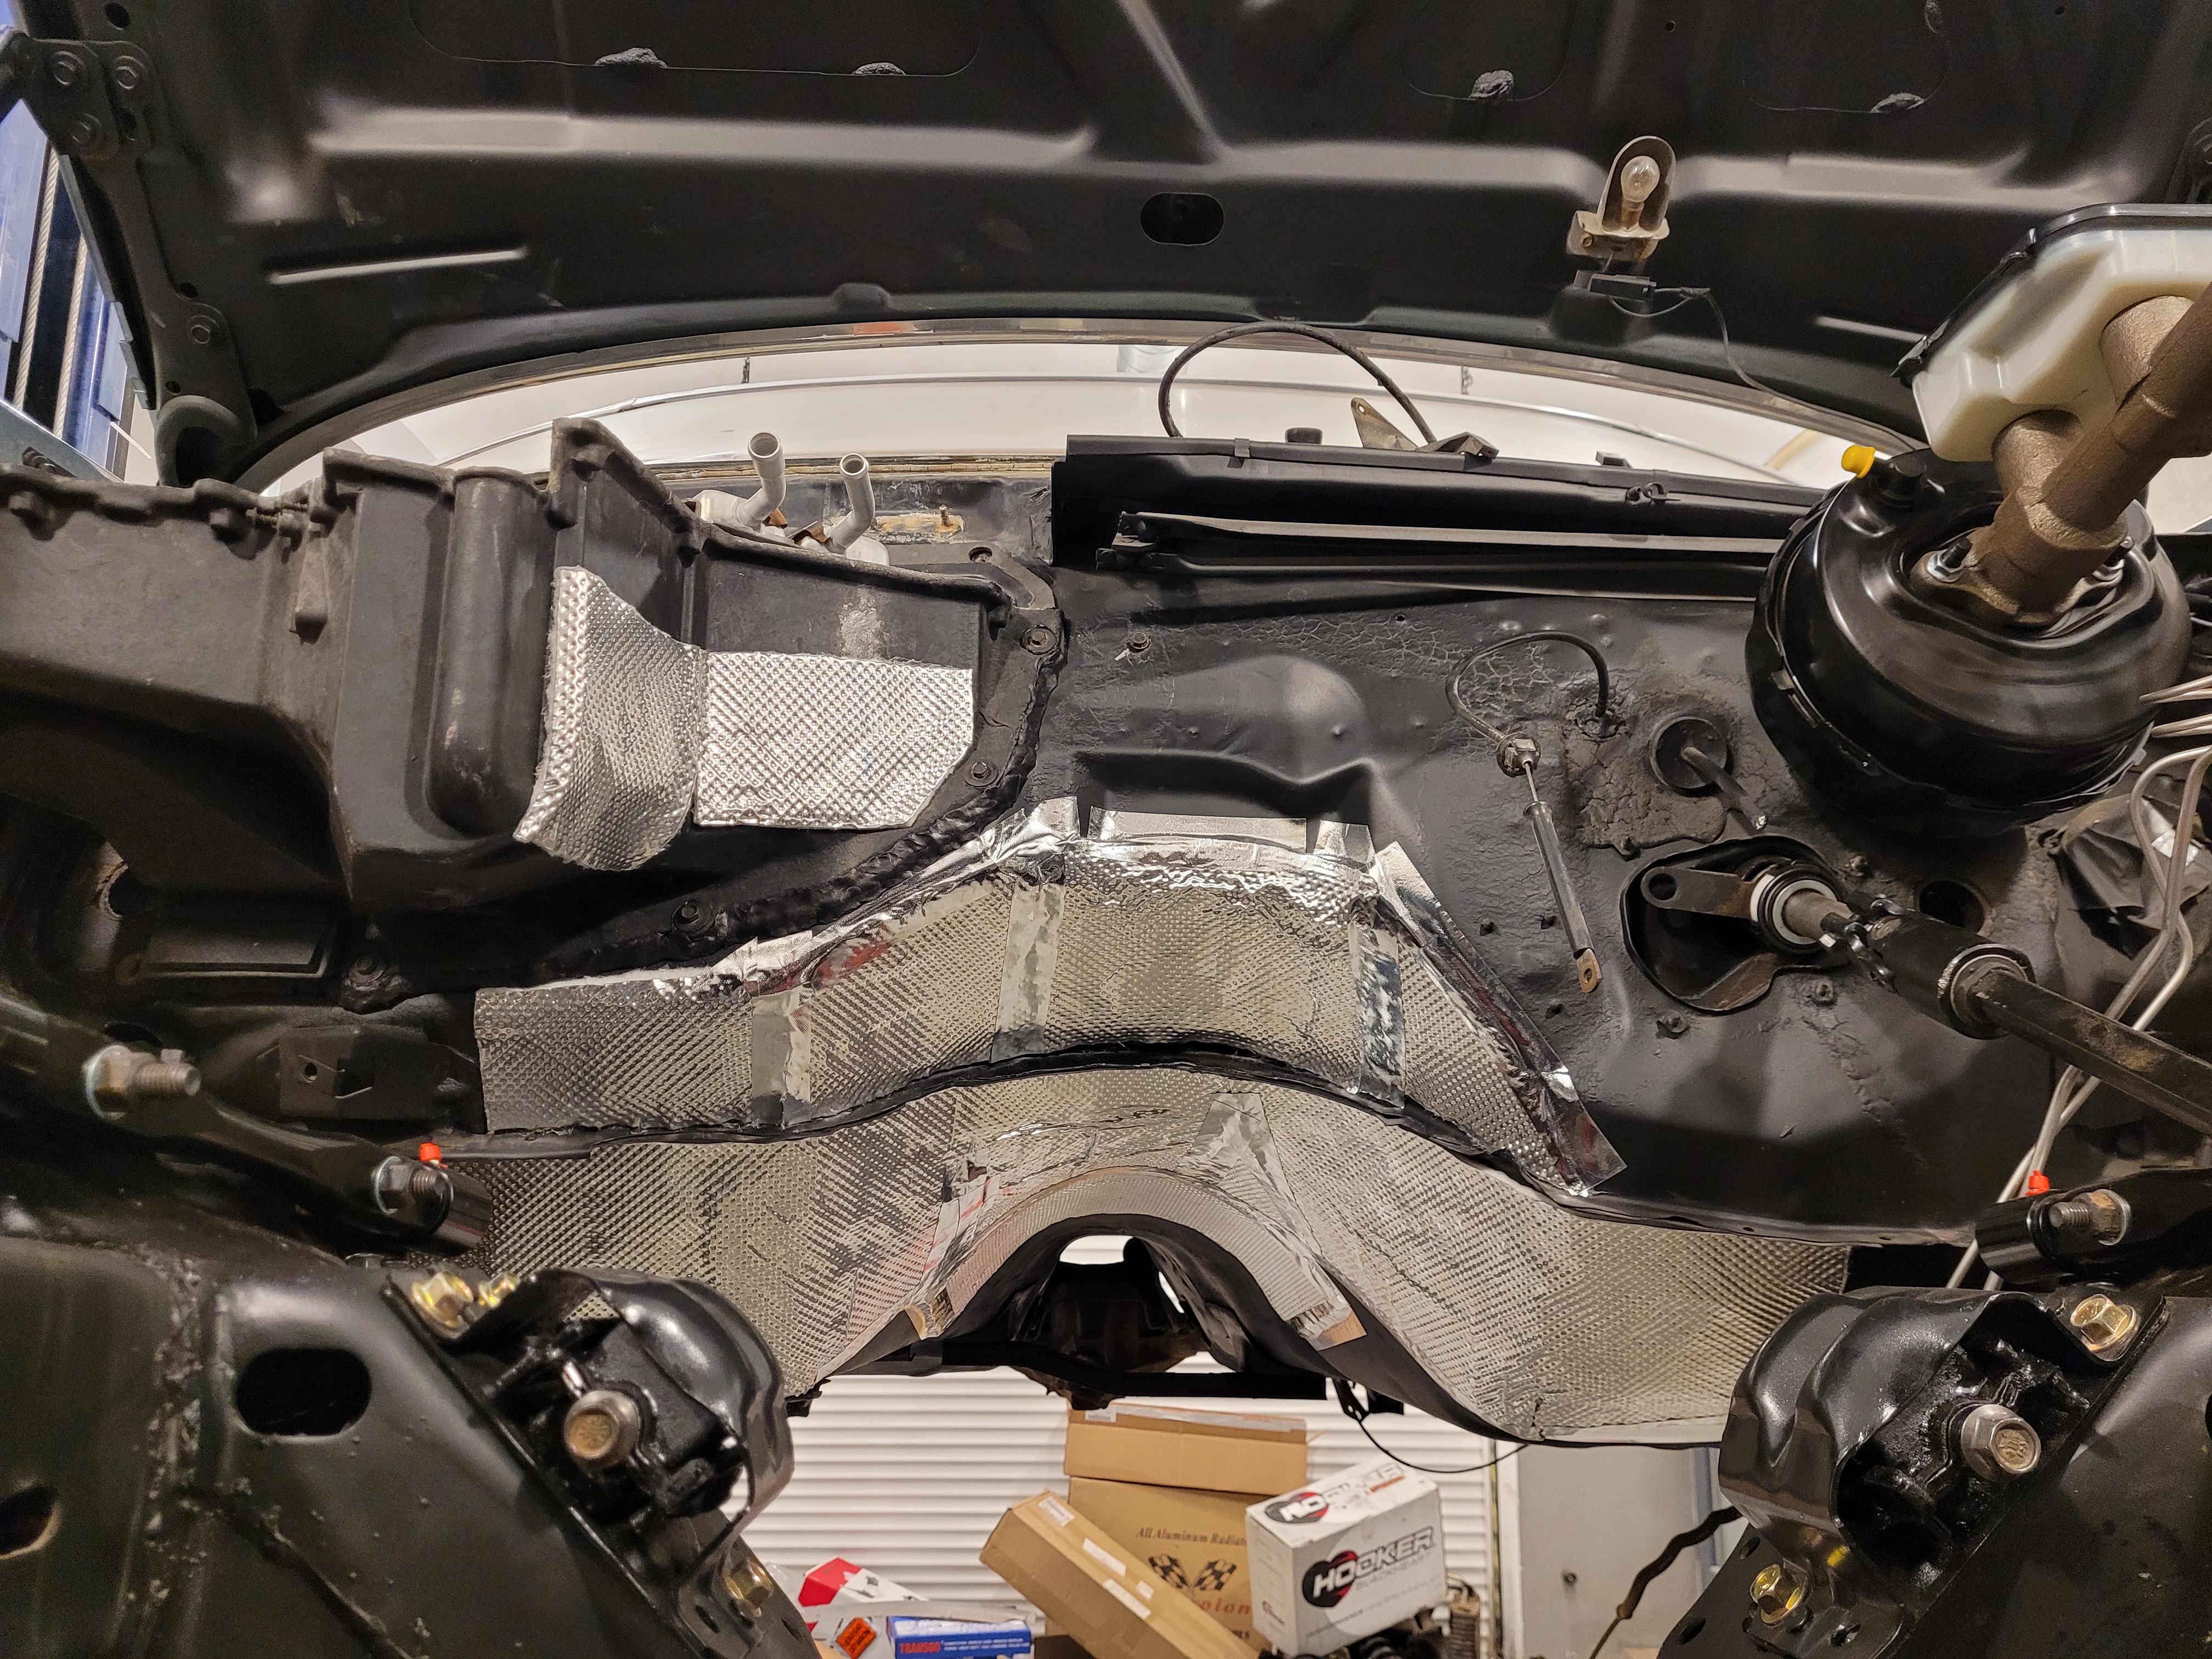
After several sessions with a pressure washer, degreaser and good ol elbow grease.

6SR5Vsz.jpg


PQCspFa.jpg


PQCspFa.jpg


R1J8vrq.jpg


To be continued...
 
Last edited:
  • Like
Reactions: 2 users

Q8y_drifter

Not-quite-so-new-guy
Mar 4, 2016
9
18
3
Kuwait
The wiring was completely trashed. Every wire out of the C100 bulkhead connector, HVAC and ECM harnesses was done for. The headlight/body section might be salveagable with some new connectors and terminals but we'll see when we get there.

30s7N75.jpg


This is as best as I can save from the original engine wiring

zvm7zE2.jpg


The rest had to be discarded

NZalUej.jpg


This is C127 connector on the HVAC harness. Or what remains of it.

FCNtDp7.jpg


While I was there I pulled out the cruise harness. That too will be discarded.

S3XfoWu.jpg


With the engine bay cleaned up and wiring out, I had a mechanic lift the body to replace the body bushings and freshen up the frame and floorboards with a coat of paint. Didn't snap any pics of the end result though.

Z1VcWHQ.jpg


cMoOtpk.jpg


Once that was done the car went back home for more work.


To be continued...
 
Last edited:
  • Like
Reactions: 5 users

pagrunt

Geezer
Sep 14, 2014
9,167
15,346
113
Elderton, Pa
That's a lot of factory defects I see, has solid rear frame rails. body mounts & floor not rotten. Nice score & try to get some more "before" pics of the underside cause there's not many of us that have seen their cars with that much original metal on the underside.
 
  • Like
Reactions: 2 users

Rodknok

Greasemonkey
Jun 14, 2022
210
577
93
Looks like a solid car to start with. Looks about as dirty as my desert car. Check out my build thread just did a 6.0 turbo GN lots of good info and lessons learned
 
  • Like
Reactions: 1 user

Q8y_drifter

Not-quite-so-new-guy
Mar 4, 2016
9
18
3
Kuwait
With the car back home I decided to start by tackling the "ECM" harness. First thing I did was remove the A/C box and get that out of the way.

Now I put ECM in quotes because much to my surprise my car has no ECM in the passenger kick panel.

This is the ECM harness grommet on my car with only 3 wires coming out of it. Light blue, light green and black/white. Can anyone help me with wiring diagrams for this portion of the harness? None of the diagrams I have match my harness. I also have a diagnostics connector under the column.

ZuUp0CH.jpg


This is where the harness hooks up inside the car. Notice how many wires on the interior side do not even correspond to anything on the ECM harness that goes out the firewall.

89MllXw.jpg


And what remains of the terminals. Anyone has any idea where all these wires were supposed to hook up? I think I recall my 305 carb having a idle kick up solenoid and either an idle or tps sensor. Not sure if anything hooked up to control the dizzy. There's no O2 sensor or anything.

The T on these wires reach right about the center of the firewall.

hUHzOtf.jpg


dALSCfx.jpg


This longer 2-pin connector reaches all the way to the passenger side. One pin has two green wires crimped into the terminal while the other is a single blue wire.

3RzbFsE.jpg


Any help appreciated.


To be continued...
 
Last edited:
  • Like
Reactions: 1 user

Q8y_drifter

Not-quite-so-new-guy
Mar 4, 2016
9
18
3
Kuwait
That's a lot of factory defects I see, has solid rear frame rails. body mounts & floor not rotten. Nice score & try to get some more "before" pics of the underside cause there's not many of us that have seen their cars with that much original metal on the underside.

Thanks. Will do!

The underside has since been painted black but its all original aside from the trunk section I mentioned. The floorboards on the inside are all factory GM as well.
 

mclellan83

Comic Book Super Hero
Jun 27, 2017
4,270
9,473
113
Pgh, PA
Looking forward to seeing this come together
 
  • Like
Reactions: 1 user

pagrunt

Geezer
Sep 14, 2014
9,167
15,346
113
Elderton, Pa
That "ECM" harness might be the TH200 4R's TCC harness for the non-computer set up to get the transmission to allow the lock up fearture to work. Another thing to document.
 
  • Like
Reactions: 1 users

Q8y_drifter

Not-quite-so-new-guy
Mar 4, 2016
9
18
3
Kuwait
That "ECM" harness might be the TH200 4R's TCC harness for the non-computer set up to get the transmission to allow the lock up fearture to work. Another thing to document.

Dude thank you!

I spent way too much time trying to figure out what the hell these wires did. I did some more googling and found this thread on export model F-bodies with the same ECM-less TCC setup.


Also went back to my photo albums and found this one pic just barely showing the TCC vacuum switch mounted on the passenger fender and the 2-pin connector hooked up to it.

Saiidhp.jpg
 
Last edited:
  • Like
Reactions: 1 user

Q8y_drifter

Not-quite-so-new-guy
Mar 4, 2016
9
18
3
Kuwait
I went ahead and installed a new steering gear and all new Moog steering links, idler, and tie rods.

dkwLm6F.jpg


While I was there I replaced the brake booster, brake MC and since I'm going with rear discs I installed a new disc/disc brake prop valve. New stainless lines between the MC and prop valve. Will replace the others later on. I took this opportunity to pull out and rebuild the steering column. Also swapped out the steering shaft for a Jeep unit.

BjCeQ2t.jpg


Then I towed the car back to my buddies garage for more serious work.

The firewall, floor boards and AC housing were heat shielded with DEI heat and sound insulation. This is my first time using this insulation but it somewhat similar to the stuff used on modern vehicles

iXWpZQz.jpg


Factory front suspension was replaced with QA1 arms and coilovers. Still on stock spindles and waiting for replacement calipers, rotors, pads and wheel bearings to arrive.

You can see the AC housing was halfway assembled here. At that stage I had already removed the entire housing and got it cleaned out, rebuilt and vacuum tested following John's excellent guide on YT (https://www.youtube.com/@hutchhiperf).

Don't have much pics of the process on that unfortunately but I did discover an inoperative vacuum actuator which I have on order. Also none of the blend doors had any seals on em. They had completely disintegrated. Oh and there was sand. Tons and tons of dirt and sand I had to shopvac outta the housing.

HNMje9L.jpg


To be continued...
 
Last edited:
  • Like
Reactions: 4 users

GBodyForum is a participant in the Amazon Services LLC Associates Program, an affiliate advertising program designed to provide a means for sites to earn advertising fees by advertising and linking to amazon.com. Amazon, the Amazon logo, AmazonSupply, and the AmazonSupply logo are trademarks of Amazon.com, Inc. or its affiliates.

Please support GBodyForum Sponsors

Classic Truck Consoles Dixie Restoration Depot UMI Performance

Contact [email protected] for info on becoming a sponsor