What did you do to your non g-body project today [2025 edition]

Dipped the headers in oxalic followed by citric and a thorough rinse. They still need polished but now look completely different than before:

IMG_20250403_194056742.jpg

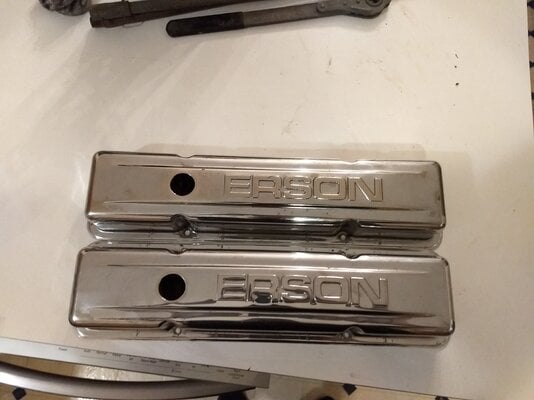
My Mother's polish dried up on me so I used the last of my Simichrome polish on the valve covers- no more yellow:

IMG_20250403_202114154.jpg

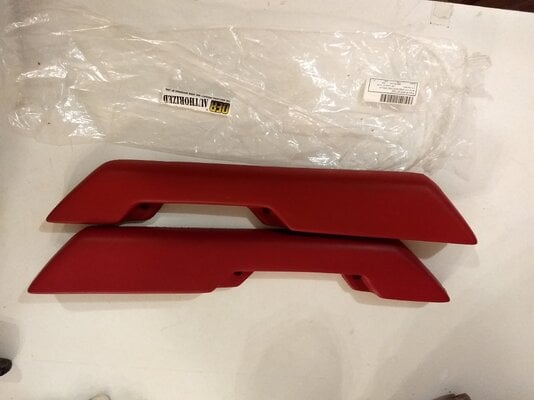
Picked up some brand new OER armrests for $20, though they're the wrong color I couldn't say no:

IMG_20250403_194242482.jpg

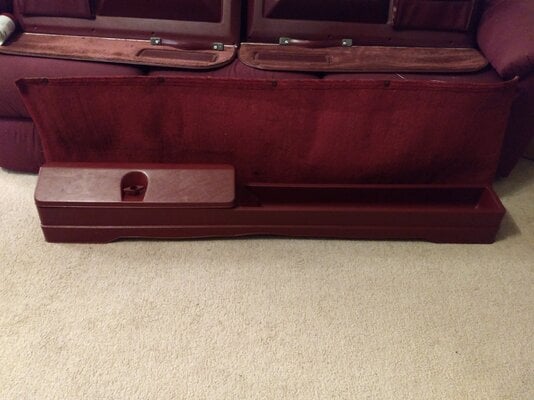
The rear carpet panel and jack storage piece arrived today, trim panel ships tomorrow:

IMG_20250403_194308079.jpg

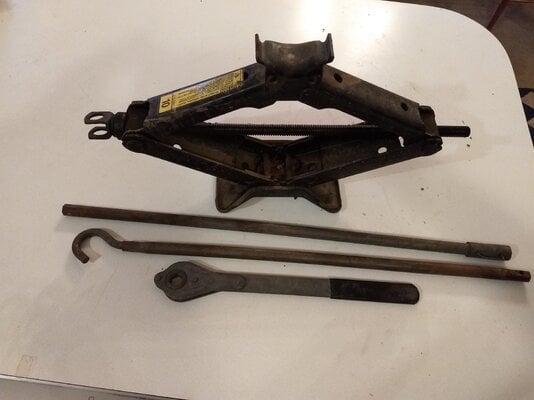
And I still had something in storage from my '93 to put inside:

IMG_20250403_194415963.jpg

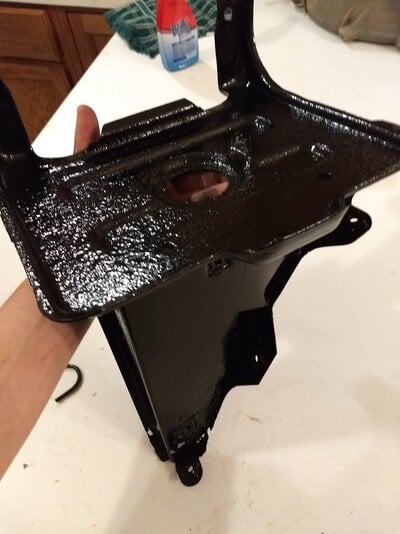
Scuffed and hit the cleaned battery tray with some Rusty Metal Primer, Filler Primer, Black Sandable, and finally some gloss black Engine Enamel. I slipped up & forgot to use Sealer Primer...

IMG_20250403_202634473.jpg

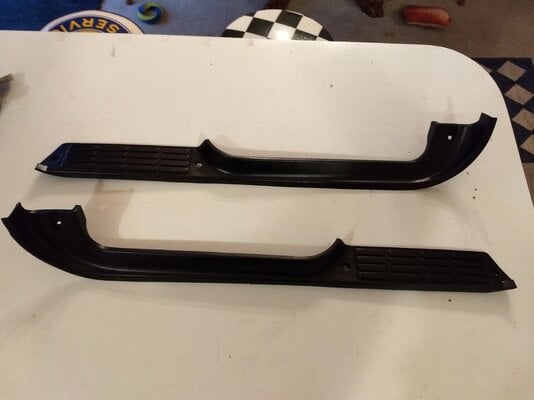
And the sill plates simply got 2 light coats of Trim & Bumper Black:

IMG_20250403_194555175.jpg

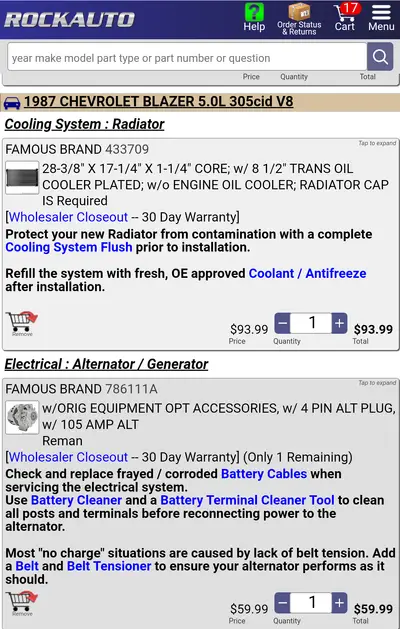
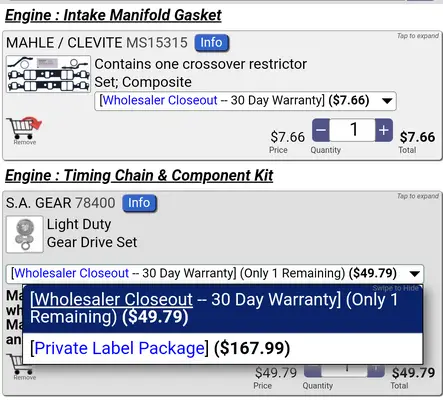
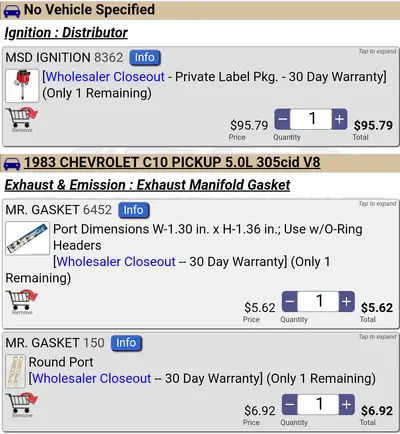
I also bought these among other things, and love wholesaler closeouts:

Screenshot_20250403-155526~2.pngScreenshot_20250403-155537~2.pngScreenshot_20250403-155550~2.png
 
Last edited:
Welp both of my cars are out here getting worked on (but somehow not being worked on)....so I thought I'd start getting my garage together. Bought and assembled an amazon shed for my lawn crap, building a storage tote rack to get better organized...

20250404_191818.jpg

D03F278AAD65_1743363547986.jpg
 
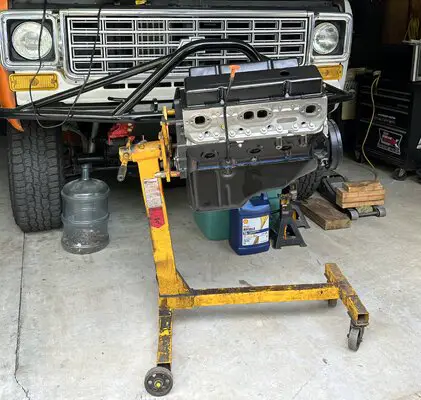
R&L carriers dropped off the new engine for the K10 today! Went with a Blueprint 383, should be enough for the truck.. hopefully it will be a solid engine for years to come.
 

Attachments

  • IMG_3078.jpeg
    IMG_3078.jpeg
    2.2 MB · Views: 3
Blew money on boring house stuff, grabbed a new Icon LED work light, 32" pry bar, and 4# dead blow hammer from HF. Came home, cleaned up my toolbox, and made a better home for my dismal prybar selection.

PXL_20250405_012826387.jpg


Frees up the top of my box for the new Milwaukee impact and ratchet plus charger. I cut this from a scrap of 2" aluminum angle. I have room to add more/better bars now. The black handled one I picked up today for $16, I didn't realize HF had good cheap bars. Thought they had flimsy cheap and $100 Icon only, pleasant surprise there.
 
Finished the wiring job on the AFR gauge for the G-10 just in time to be called in for pre-rotation orientation and upgrading/training in electrical stores. Storekeeper in the department wanted to take a spring vacation and when they went looking for a relief clerk the only apple left at the bottom of the barrel was me!!!🤣.

I barely get in the door and it's Hey, the yearly WHMIS review and test is due; and it is now online, so get that taken care and then, wait for it.............................Get advised that they want me to recertify on forklifts as well (and the hits just keep on coming:blam:.

So the initialization of the O-2 sensor for the AFR is on hold; really not much to the actual procedure, it just needs time that I don't have right now.

Also elected at the last minute to tear down the clutch in my HD E-glide to see what was going on with it. Turned out to be a major case of the gooey-gummies from lack of use. The cure for that was to retrieve a large aluminum cooking pot that I scored from goodwill for such exercises, dump out the penetrating rust solution that was in it into another container, clean it, and then drop in the clutch pack and add around three cans of CFC free brake cleaner. Put the lid back on the pot to keep the cleaner from evaporating and allow them to marinate for several days. Remove lid, extract the friction and steel plates one at a time, rinse with brake clean, brush the friction surfaces on the discs with a non-metallic brush to clean off the faces and then rinse them again and finally dry them with air from the compressor. The steel intermediates got the same treatment only their contact surfaces got a light scuffing using a 3M red scotchbrite pad to add a little "tooth" back to the contact surfaces. Then the whole assembly got restacked and now is sitting on the work bench. For a comparison here, think of a Crower multi-disc clutch assembly like what gets used on a drag strip, only motorcycles had them first and this is in my personal ride which is only slightly younger than I am.

Although after all this the plates could go back in for another few years, I can still get genuine Barnett plates for a halfway decent price so they are on order. The "while I'm there" project would be the replacement of the inner clutch hub, which would include some additional fiddly bits like lock plates and retainer plates and circlips and ............................you get the picture and no there are no pictures of all this because I still cannot get Nikon and Microsoft to play nice so that I can upload from my camera to my computer. Meh.

On the other hand, I may now be very close to being able to finally afford that complete quarter panel for the Monte. Yeah, I know, Plan A was just to go with partial patch panels but the original resident has already been the recipient of one metal graft and the technology now exists to do a better and more proper job of it. Beyond that, doing it this way gives me all new body metal from the rear tail lights to the fire wall, as there is already a new outer door skin waiting to be applied to the passenger's door. I just need to find a kid's metal frame swing, remove the kids, and possibly section the frame to, well, anyway, yet another pre-project project.

Not even going to think of discussing the roof skin here


Nick
 
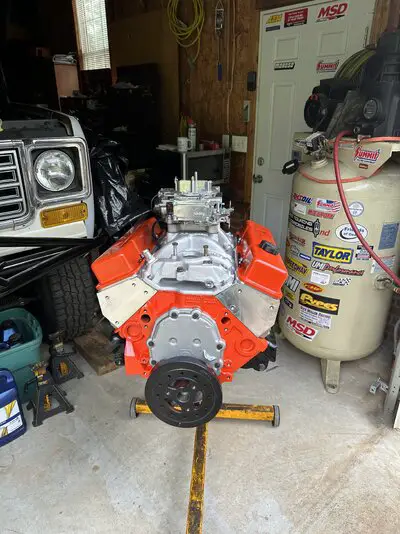
Got the 383 all dressed up ready to install it in the truck next weekend hopefully. Nothing beats a freshly detailed engine 👌🏻
 

Attachments

  • IMG_3099.jpeg
    IMG_3099.jpeg
    1.9 MB · Views: 4
  • IMG_3101.jpeg
    IMG_3101.jpeg
    1.7 MB · Views: 3
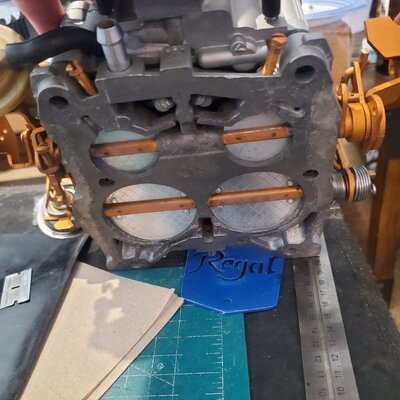
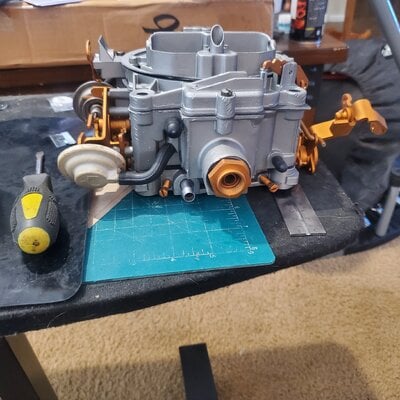
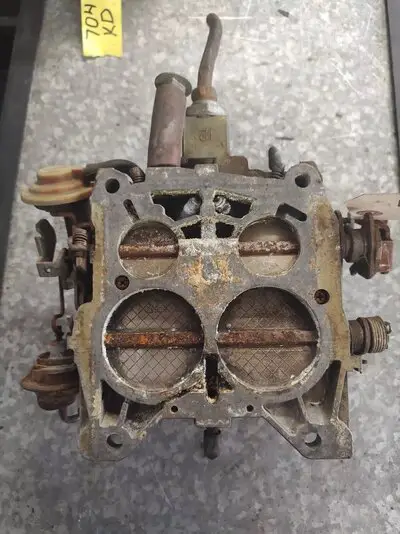
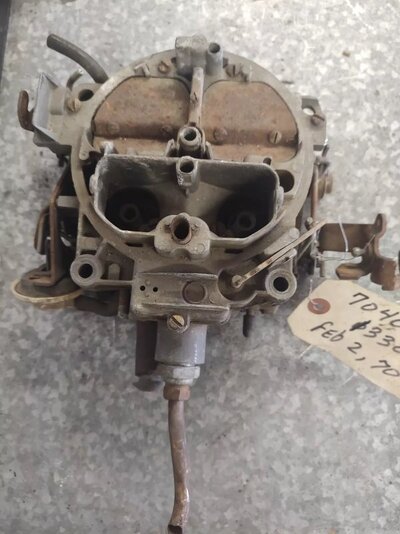
Rebuilt a 70 buick 455 carb to have ready for my fresh build waiting to get put together.. before and after pics..
 

Attachments

  • 20250406_163743.jpg
    20250406_163743.jpg
    1.3 MB · Views: 3
  • 20250406_163657.jpg
    20250406_163657.jpg
    1.4 MB · Views: 3
  • 19.jpeg
    19.jpeg
    103.4 KB · Views: 3
  • 123.jpeg
    123.jpeg
    78.7 KB · Views: 3
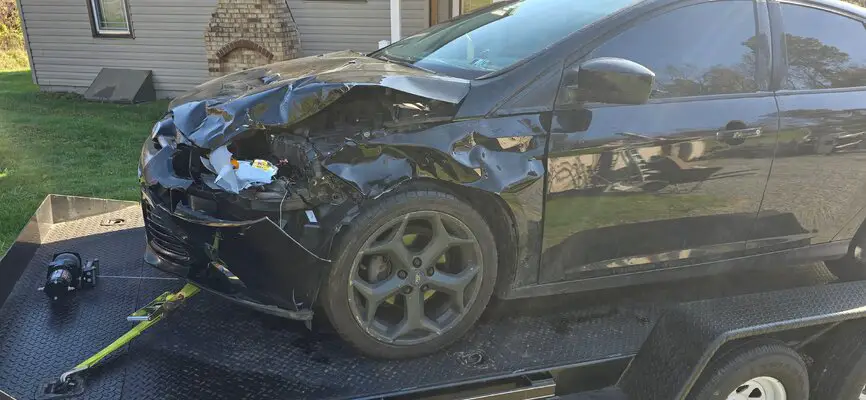
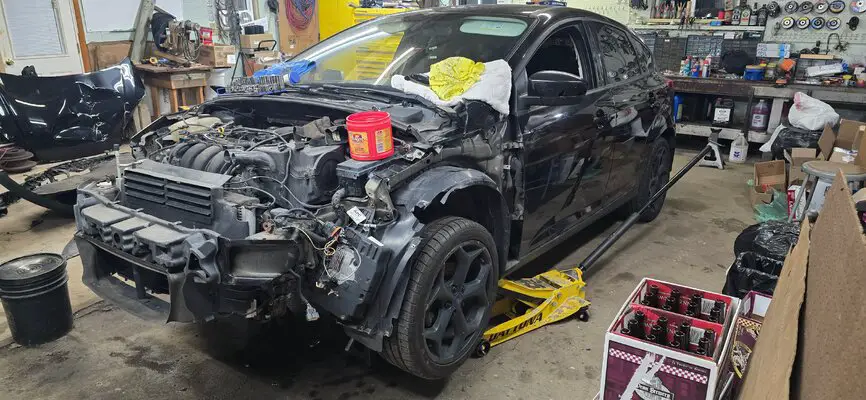
What i started with....

20241018_100224.jpg

Pic is from last fall when i smacked a buck with it.

Tore all the damaged parts off of it.

20250311_194121.jpg

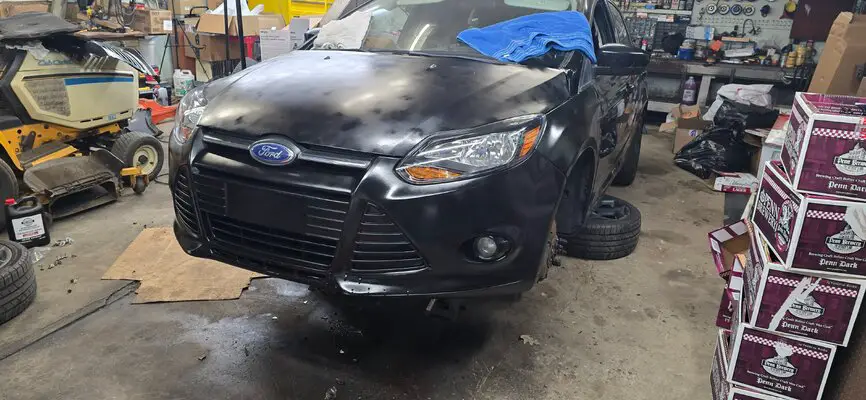
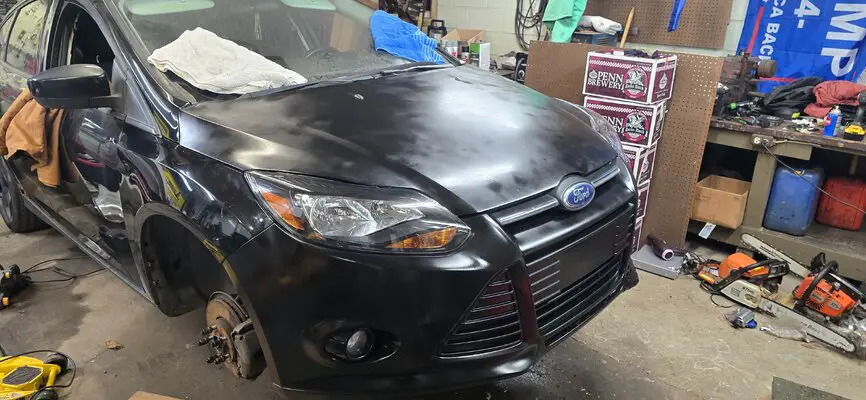
Found a donor to gets parts from and put it back together.

20250406_221945.jpg

20250406_222011.jpg

Its a rattle can paint job. I messed the hood and fender up painting them. But i dont care. I like the car and didnt want to scrap it.

Still have to put some underbody plastic back on it. Also the wheels. Register and insure it again and then drive the snot out of it.
 
drop in the clutch pack and add around three cans of CFC free brake cleaner. Put the lid back on the pot to keep the cleaner from evaporating and allow them to marinate for several days
I've tried the same process on a much smaller scale on completely different parts. I'm curious what effect it has on the clutch material, if any? Seems like a good solution provided it's not $9 a can where you live. Do you suppose that denatured alcohol would do the trick? Most have a fair amount of methanol, benzene, and acetone- I've never looked into what they'd do to clutch frictions though...
 

GBodyForum is a participant in the Amazon Services LLC Associates Program, an affiliate advertising program designed to provide a means for sites to earn advertising fees by advertising and linking to amazon.com. Amazon, the Amazon logo, AmazonSupply, and the AmazonSupply logo are trademarks of Amazon.com, Inc. or its affiliates.

Please support GBodyForum Sponsors

Classic Truck Consoles Dixie Restoration Depot UMI Performance

Contact [email protected] for info on becoming a sponsor