

Hey guys,
I had a slow day here at the office so I thought I would get together all my posts from my caballero build thread and make a how-to, or rather a how I did, on my dash cap install on my 78 caballero.
Ok, lemme be upfront.
Ive never installed a dash cap before this one so I researched the heck out of it and gave it my best shot and I am very pleased with the results. Please feel free to correct me where ever you see an error, I mostly wanted to give every one that is afraid of tackling a project like this a solid jumping point and add to the forum knowledge base.
First off
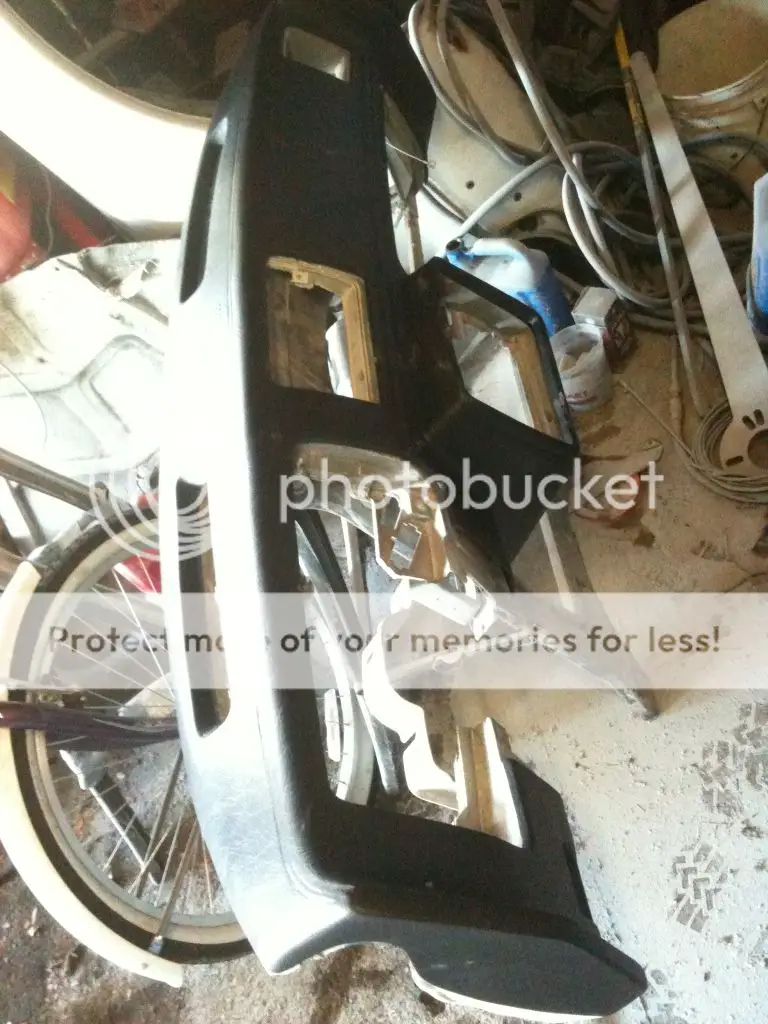
Dash caps are typically made of very thin plastic. I've seen concern that since it is so thin if there's massive dips and divets in the dash the cap will begin settle into them causing an un-even surface.
That was a big issue with my dash! It had deep cracks and the center speaker location and sides of the top were sagging.
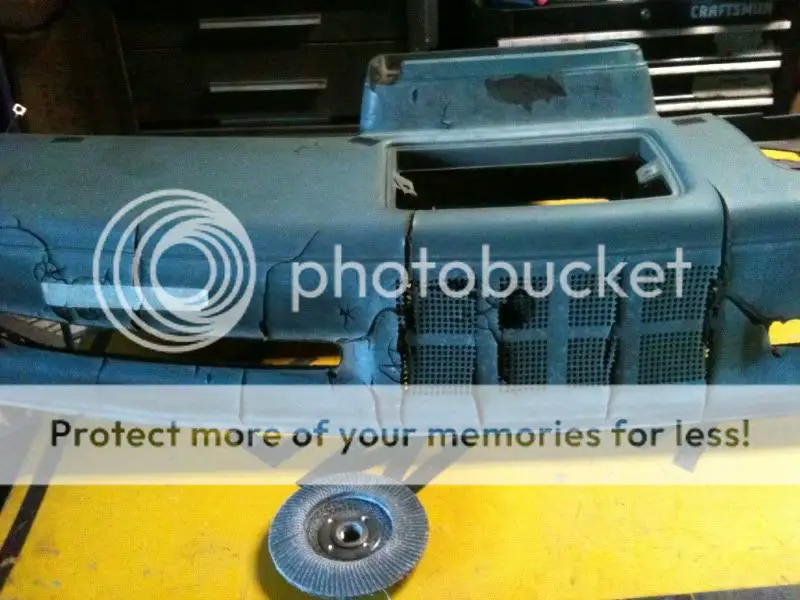
There are dash repair kits on the market that will smooth out the cracking but how about the deep divets and sagging locations?
I decided the best product to fix this would have to be something that will fill these areas, without cracking if applied too thick, and will itself add structure and reinforcement. I decided building them up with long hair fiberglass re-enforced filler (bondo brand) would be the best solution.
It won't flex and move with the dash material, but at this point the dash was so sun baked it was rock hard. What made the fiberglass filler ideal in my mind is it won't shrink noticeably and will add some support.
I prepped the dash using an old flap disc (pictured above). I focused on the curled edges, tapered and opened the smaller cracks and ground away some of the stock details that would prevent the cap from sitting on the surface (fau stitching and some of the sharp corners). I also gave all the surrounding good dash a once over to give the filler something to grab to.
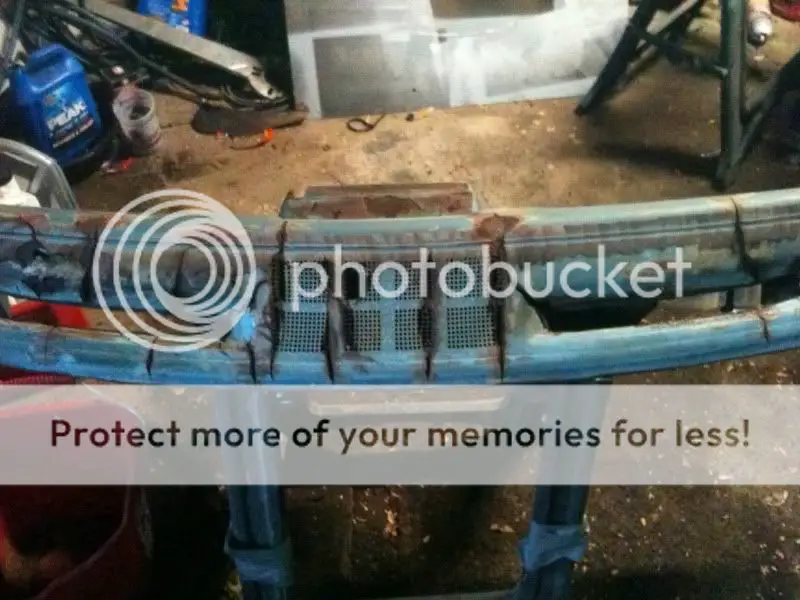
I then generously applied the filler.
Since this stuff sands down easy with the same grinder and flap disc I wasn't too worried about building it too high (keep in mind though, you are grinding fiberglass be sure to wear a good respirator, not just a drywall dust mask!) I also used the fiberglass filler to reconstruct an edge that was broken off of the original dash.
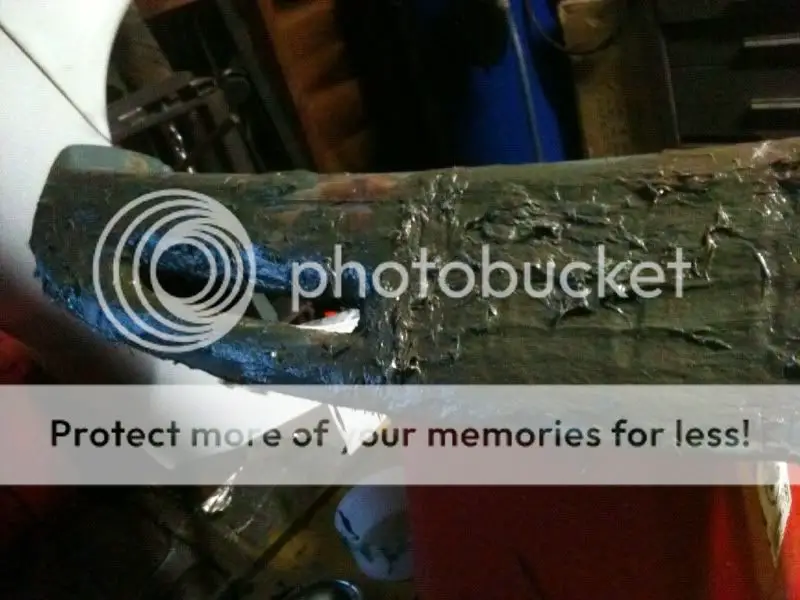
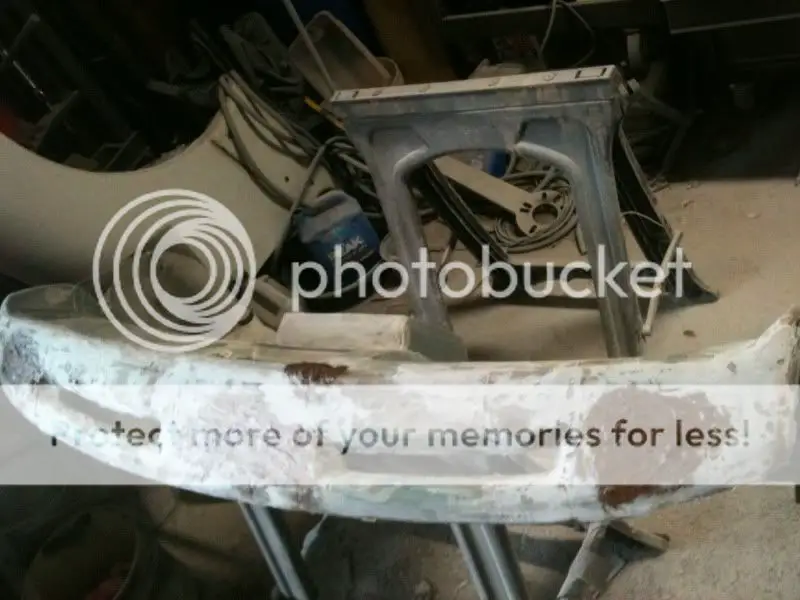
After a full night of cure time I ground down the filler and apply a second round.
It leveled out nicely and didn't break from the surface like I was affraid it would...
I ordered the dash cap from Eckler’s but upon receiving it I noticed a “Dash Tops” sticker on the under side. The exact same manufacturer that made my buddys cap he ordered from original parts group.
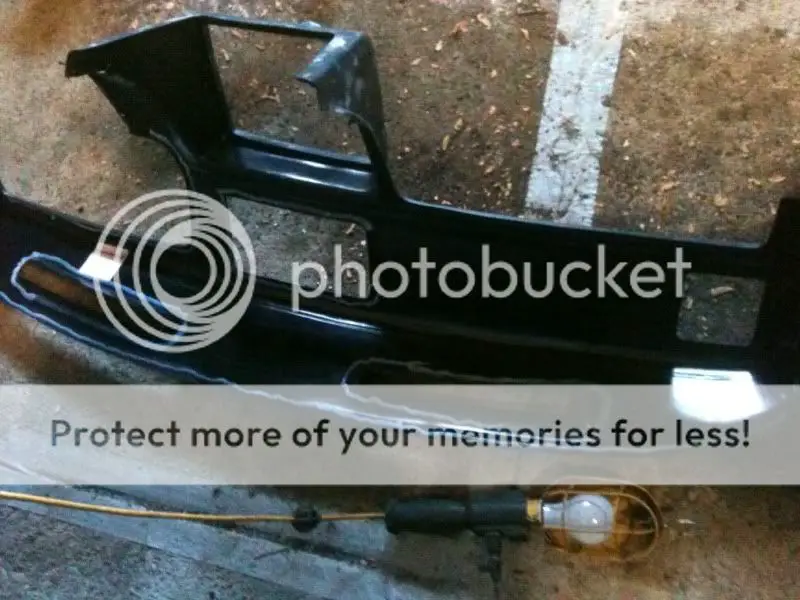
Initial fit of the eckler's dash cap seemed promising fitting seemed like it would be minimal..
I only have two complaints about the cap itself. First the undercut area (under the hvac and radio panel) is cut out to accommodate the ashtray would have rather had it a solid panel, but its low angle and wouldn’t really affect things that badly…
Second the cap isn't black as advertised, it's a very dark grey...
Which threw a wrench in plans because as mentioned before I was painting all the interior parts gloss black
(picture below shows one of the kick panels I painted in the fore ground sitting in top of the cap you can see clearly they are not a match)

After trimming down the dash cap, and shaving away a little bit more of the dash itself so that the cluster, radio bezel, air vents, and glove boxy all fit without interference issues. I then used an air hose to blow all the dust out of the nooks and crannies then wiped it all down with acetone ( including the back side of the dash cap).
I then sprayed the areas of the dash that the cap didn't cover with black Duplacolor fabric and vinyl paint (same color I chose for the final dash color).
After that dried I started applying the silicone supplied with the cap. Just about every one who's done this says use it sparingly as it will seep out the edges... I say F that! If it seeps you can always wait for it to dry and trim it off.
So to be on the safe side I picked up a tube of good quality household silicone (I know it's not the same, but the tube said it says flexible forever so that's good enough for me).

I then applied the silicone around all the features on the back side of the cap and around all the edges of it.
You'll notice below that instead of putting it on the defogger cutouts themselves I put it around the dash top section.
I figured the cap was going to do what ever it wanted to do and I'd drive my self nuts trying to bend those back to meet the walls of the dashboard (witch admittedly was rather rough after my attempting to smooth it out)...
I then spread silicone generously on the dashboard where I knew the cap would make contact.
I stayed away from crossing long flat areas (dash top, passingers dash face ect) this was to prevent it from adhering contracting and forming a very noticibly wrinkle in the cap.
I instead focused on any trim features and along corners/high details.
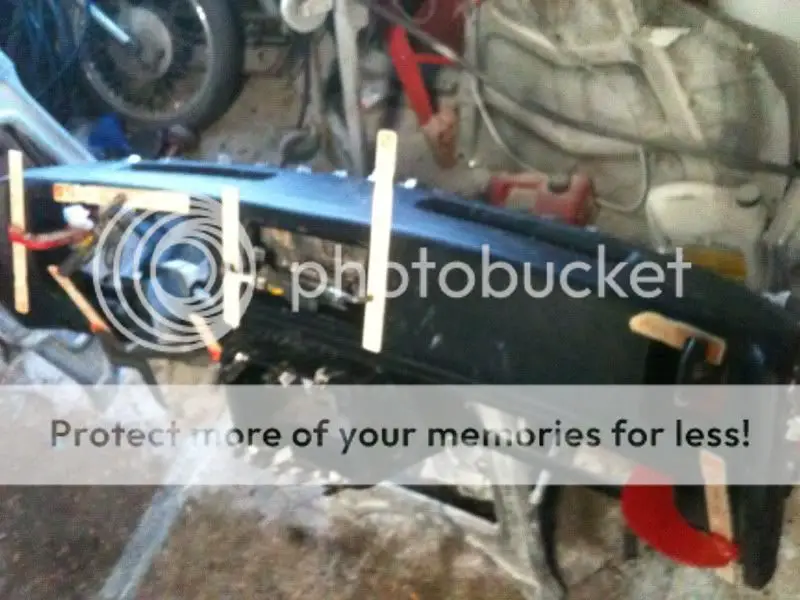
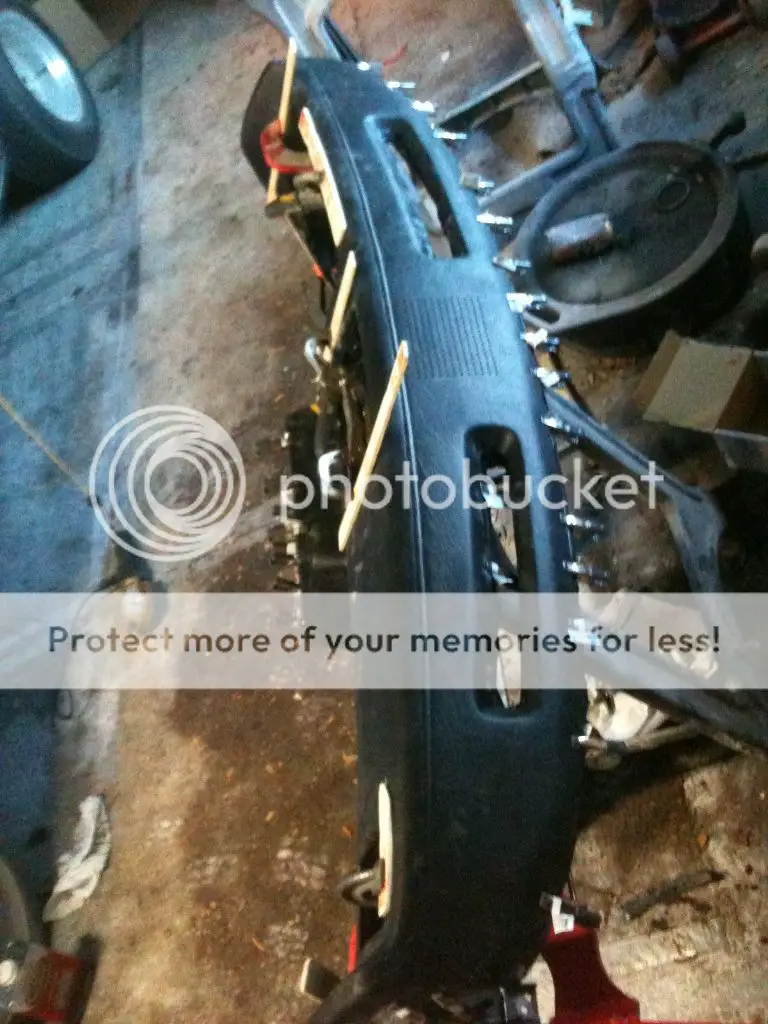
I placed the cap loosely on the dash sliding the radio/hvac surround into place first.
Using what ever c clamp/ spring clamp/ vice grips I could find along with 30 small spring clips I found at home depot for $.39 each I started working the cap into position and tacking it down.
For long noticeable features I used wood stur sticks to keep the pressure spread out so there wouldn't be any noticible warps.
I worked from the hvac surround first to the passengers vent, glove box, cluster then dropped the defroster vents into place and the snugged down all around the edges (the logical order to me)
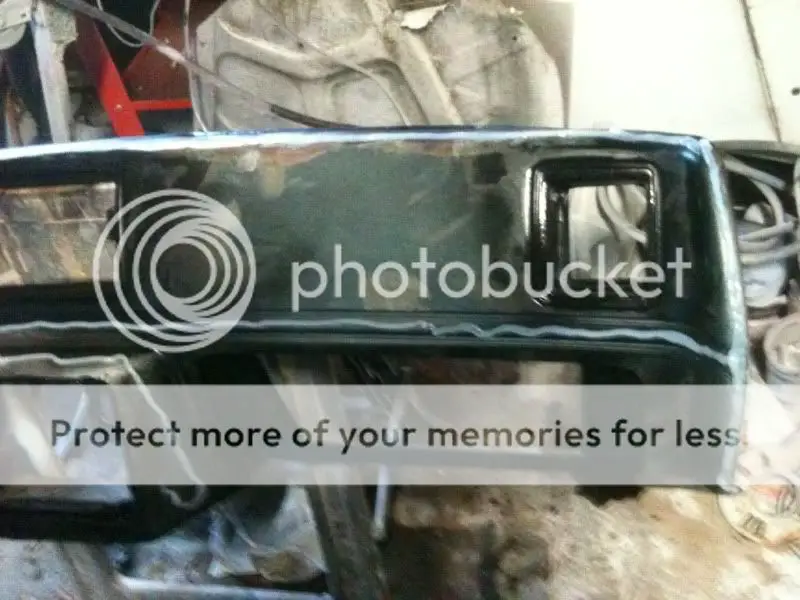
After the cap cured for two days (it was cold when I installed it so I gave it some extra cure time)
I used a razor knife and trimmed all the silicone that ran out of the seams
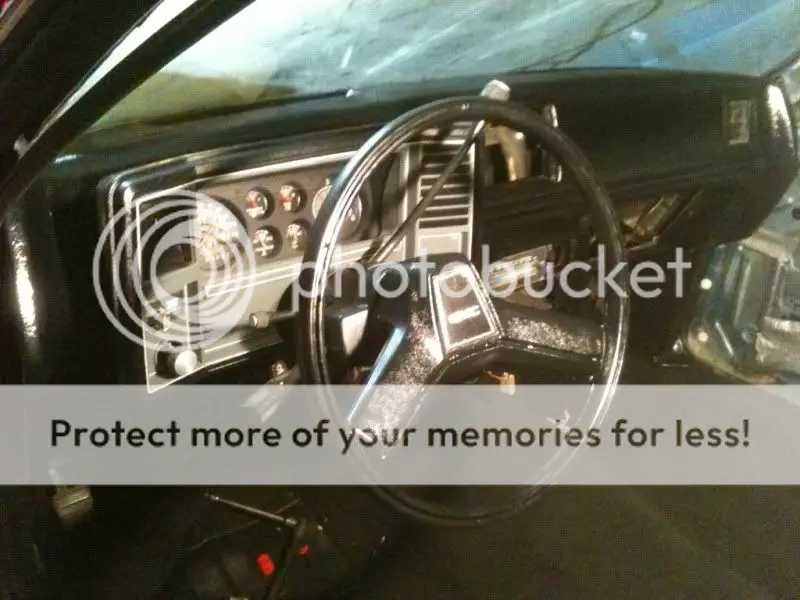
I then wiped everything down with some acetone, shot it with Adhesion promoter, than with fabric and vinyl paint
All and all I was and am still very pleased with the results
I had a slow day here at the office so I thought I would get together all my posts from my caballero build thread and make a how-to, or rather a how I did, on my dash cap install on my 78 caballero.
Ok, lemme be upfront.
Ive never installed a dash cap before this one so I researched the heck out of it and gave it my best shot and I am very pleased with the results. Please feel free to correct me where ever you see an error, I mostly wanted to give every one that is afraid of tackling a project like this a solid jumping point and add to the forum knowledge base.
First off
Dash caps are typically made of very thin plastic. I've seen concern that since it is so thin if there's massive dips and divets in the dash the cap will begin settle into them causing an un-even surface.
That was a big issue with my dash! It had deep cracks and the center speaker location and sides of the top were sagging.
There are dash repair kits on the market that will smooth out the cracking but how about the deep divets and sagging locations?
I decided the best product to fix this would have to be something that will fill these areas, without cracking if applied too thick, and will itself add structure and reinforcement. I decided building them up with long hair fiberglass re-enforced filler (bondo brand) would be the best solution.
It won't flex and move with the dash material, but at this point the dash was so sun baked it was rock hard. What made the fiberglass filler ideal in my mind is it won't shrink noticeably and will add some support.
I prepped the dash using an old flap disc (pictured above). I focused on the curled edges, tapered and opened the smaller cracks and ground away some of the stock details that would prevent the cap from sitting on the surface (fau stitching and some of the sharp corners). I also gave all the surrounding good dash a once over to give the filler something to grab to.
I then generously applied the filler.
Since this stuff sands down easy with the same grinder and flap disc I wasn't too worried about building it too high (keep in mind though, you are grinding fiberglass be sure to wear a good respirator, not just a drywall dust mask!) I also used the fiberglass filler to reconstruct an edge that was broken off of the original dash.
After a full night of cure time I ground down the filler and apply a second round.
It leveled out nicely and didn't break from the surface like I was affraid it would...
I ordered the dash cap from Eckler’s but upon receiving it I noticed a “Dash Tops” sticker on the under side. The exact same manufacturer that made my buddys cap he ordered from original parts group.
Initial fit of the eckler's dash cap seemed promising fitting seemed like it would be minimal..
I only have two complaints about the cap itself. First the undercut area (under the hvac and radio panel) is cut out to accommodate the ashtray would have rather had it a solid panel, but its low angle and wouldn’t really affect things that badly…
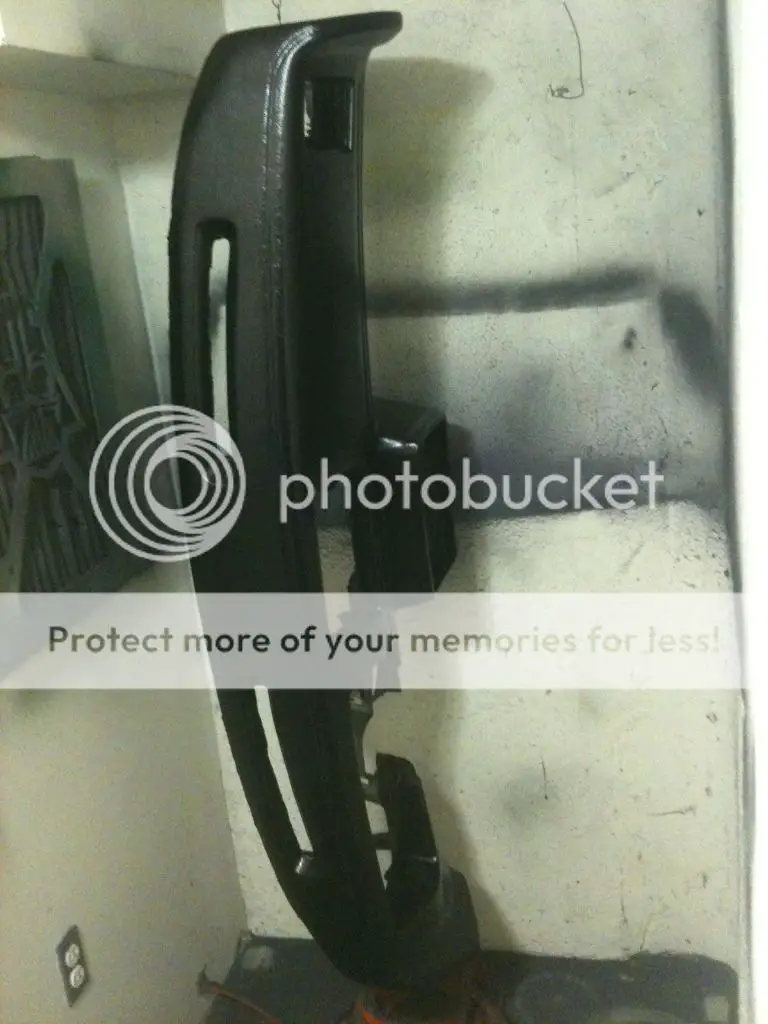
Second the cap isn't black as advertised, it's a very dark grey...
Which threw a wrench in plans because as mentioned before I was painting all the interior parts gloss black
(picture below shows one of the kick panels I painted in the fore ground sitting in top of the cap you can see clearly they are not a match)
After trimming down the dash cap, and shaving away a little bit more of the dash itself so that the cluster, radio bezel, air vents, and glove boxy all fit without interference issues. I then used an air hose to blow all the dust out of the nooks and crannies then wiped it all down with acetone ( including the back side of the dash cap).
I then sprayed the areas of the dash that the cap didn't cover with black Duplacolor fabric and vinyl paint (same color I chose for the final dash color).
After that dried I started applying the silicone supplied with the cap. Just about every one who's done this says use it sparingly as it will seep out the edges... I say F that! If it seeps you can always wait for it to dry and trim it off.
So to be on the safe side I picked up a tube of good quality household silicone (I know it's not the same, but the tube said it says flexible forever so that's good enough for me).
I then applied the silicone around all the features on the back side of the cap and around all the edges of it.
You'll notice below that instead of putting it on the defogger cutouts themselves I put it around the dash top section.
I figured the cap was going to do what ever it wanted to do and I'd drive my self nuts trying to bend those back to meet the walls of the dashboard (witch admittedly was rather rough after my attempting to smooth it out)...
I then spread silicone generously on the dashboard where I knew the cap would make contact.
I stayed away from crossing long flat areas (dash top, passingers dash face ect) this was to prevent it from adhering contracting and forming a very noticibly wrinkle in the cap.
I instead focused on any trim features and along corners/high details.
I placed the cap loosely on the dash sliding the radio/hvac surround into place first.
Using what ever c clamp/ spring clamp/ vice grips I could find along with 30 small spring clips I found at home depot for $.39 each I started working the cap into position and tacking it down.
For long noticeable features I used wood stur sticks to keep the pressure spread out so there wouldn't be any noticible warps.
I worked from the hvac surround first to the passengers vent, glove box, cluster then dropped the defroster vents into place and the snugged down all around the edges (the logical order to me)
After the cap cured for two days (it was cold when I installed it so I gave it some extra cure time)
I used a razor knife and trimmed all the silicone that ran out of the seams
I then wiped everything down with some acetone, shot it with Adhesion promoter, than with fabric and vinyl paint
All and all I was and am still very pleased with the results