1978 Malibu Barn Find
- Thread starter gearheaddrew
- Start date
You are using an out of date browser. It may not display this or other websites correctly.
You should upgrade or use an alternative browser.
You should upgrade or use an alternative browser.
- Status
- Not open for further replies.
Had a cousin that smashed his 2wd truck and only had PLPD.Nice. Where did you get your engine from?
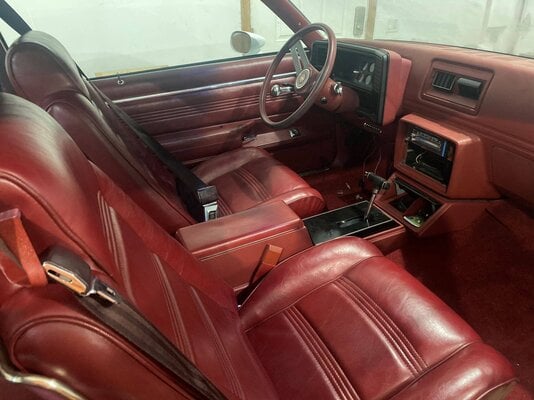
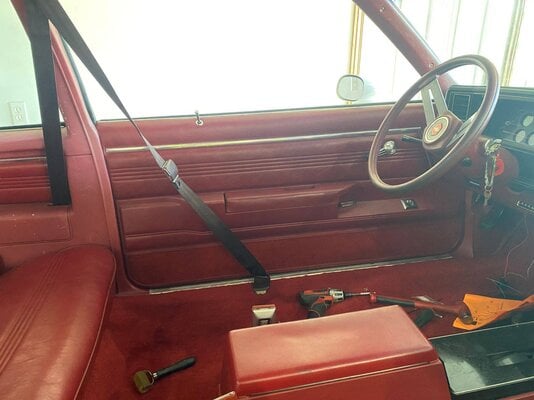
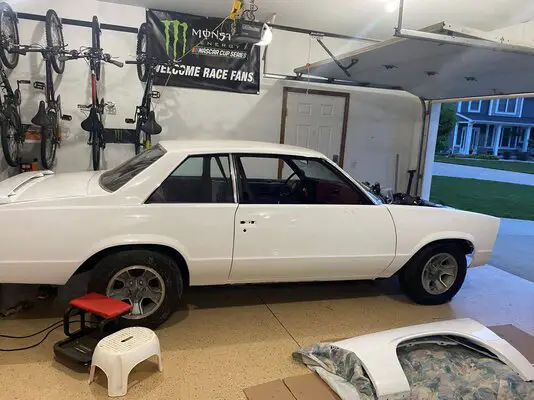
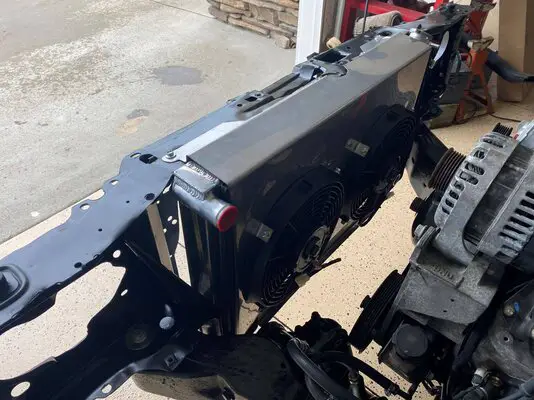
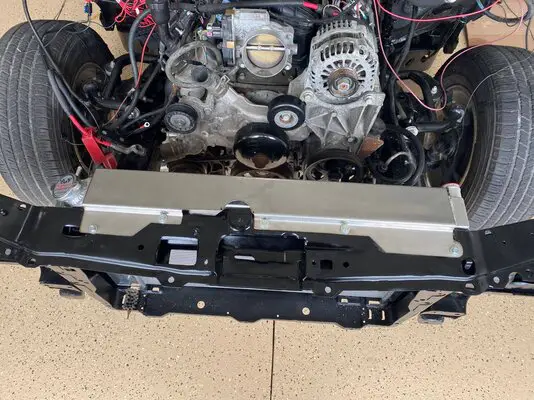
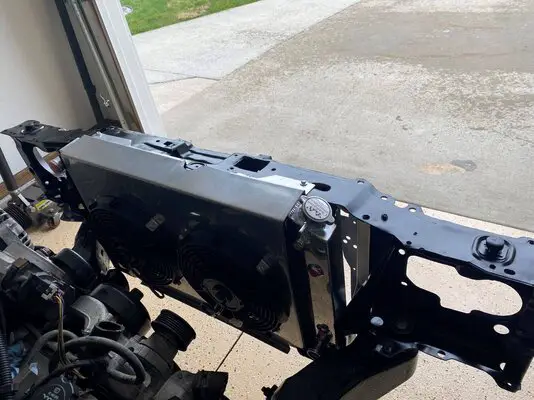
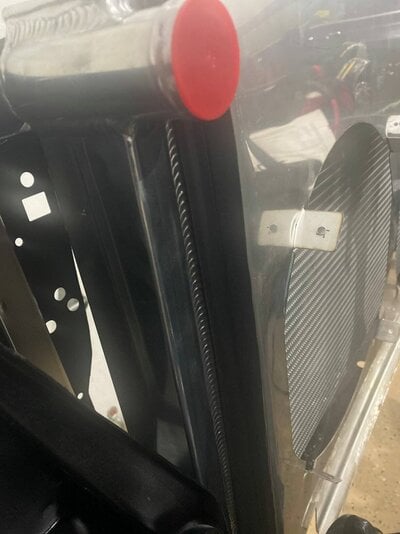
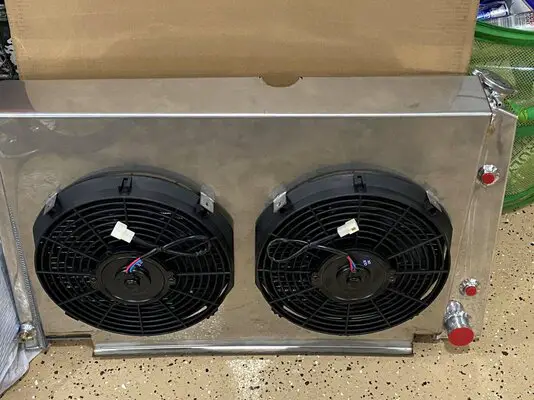
Small updates. Interior back together, some body panels hung, made a e-fan/rad mount combo, some plumbing done.
I have 3 different hoses and 1 universal kit to try and make one that tucks tight to the radiator to allow the intake to come on the passenger side.
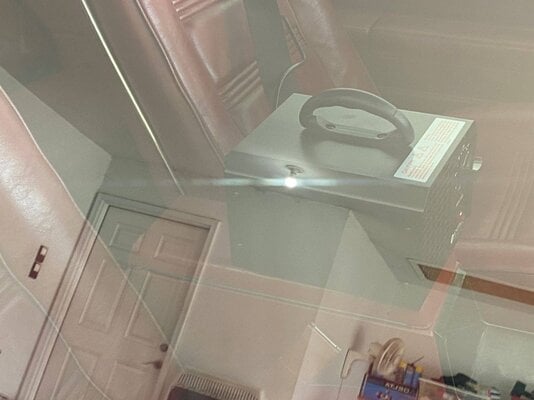
Ran the ozone generator I got from Amazon to help eliminate any remaining mouse smell. I will be running this quite a few times to try and get it completely smell free.
Attachments
-
 IMG_3386.JPG154.6 KB · Views: 139
 -
 ESDN9875.JPG212.1 KB · Views: 145
 -
 IMG_3382.JPG189.1 KB · Views: 136
 -
 IMG_3372.JPG262.2 KB · Views: 137
 -
 IMG_E3331.JPG284.3 KB · Views: 144
 -
 IMG_E3330.JPG362.9 KB · Views: 140
 -
 IMG_E3329.JPG271.7 KB · Views: 137
 -
 VIPK6781.JPG139.3 KB · Views: 139
 -
 IMG_E3321.JPG282.9 KB · Views: 140
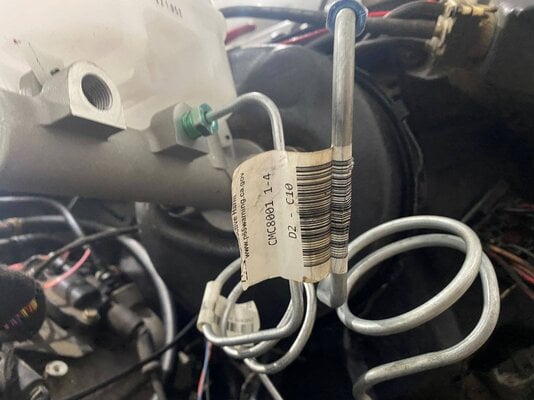
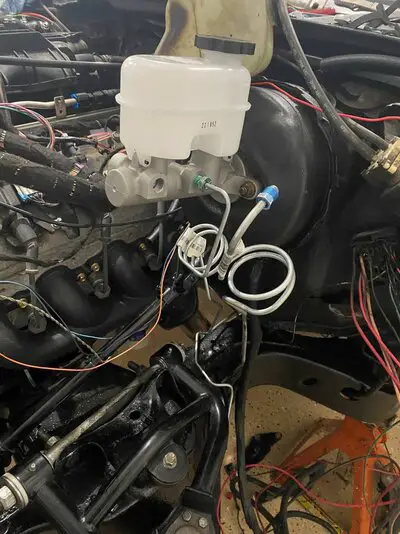
Got around to installing the new Right Stuff brake lines and all went well except for the front most line on the master.
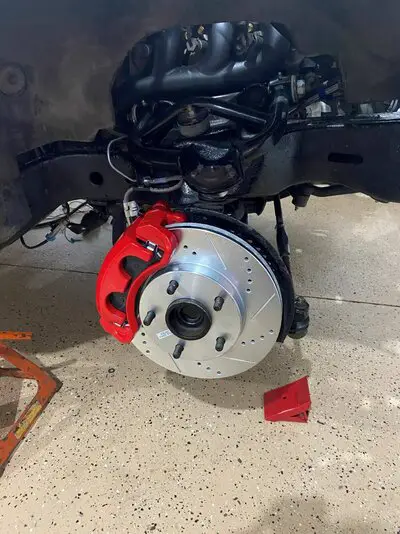
I used a 2000 blazer right hand drive master for this as well since I am doing blazer fronts and keeping the drums for now until I get enough extra $ tucked away for the 9".
I used a 2000 blazer right hand drive master for this as well since I am doing blazer fronts and keeping the drums for now until I get enough extra $ tucked away for the 9".
Attachments
I'm curious..... Why the specific use of a "2000 blazer right hand drive master" cylinder?Got around to installing the new Right Stuff brake lines and all went well except for the front most line on the master.
I used a 2000 blazer right hand drive master for this as well since I am doing blazer fronts and keeping the drums for now until I get enough extra $ tucked away for the 9".
This master is threaded on the same side as the original unit to allow the stock pipes to thread in. Plus I wanted the screw on cap vs the clip in for easier brake bleeding since I have a tool I made back when I was in the shop for putting compressed air into the master reservoir to bleed the brakes.I'm curious..... Why the specific use of a "2000 blazer right hand drive master" cylinder?
Should be a direct replacement if your hoses are correct. looking at the one I have and their online pictures, which may or may not be actual representative product, mine is missing a twist to make the attachment in the right spot.
Last edited:
Is that fan shroud/radiator mount all one piece? It looks really cool!Small updates. Interior back together, some body panels hung, made a e-fan/rad mount combo, some plumbing done.
I have 3 different hoses and 1 universal kit to try and make one that tucks tight to the radiator to allow the intake to come on the passenger side.
Ran the ozone generator I got from Amazon to help eliminate any remaining mouse smell. I will be running this quite a few times to try and get it completely smell free.
Yes it is, we used the plasma table to cut it out of thin stainless and bent it. The bends really firmed it up, then I used left over trunk seal on the sides where it touches the radiator.Is that fan shroud/radiator mount all one piece? It looks really cool!
Very nice!!Yes it is, we used the plasma table to cut it out of thin stainless and bent it. The bends really firmed it up, then I used left over trunk seal on the sides where it touches the radiator.
- Status
- Not open for further replies.
Similar threads
- Replies
- 0
- Views
- 73
- Replies
- 2
- Views
- 116
GBodyForum is a participant in the Amazon Services LLC Associates Program, an affiliate advertising program designed to provide a means for sites to earn advertising fees by advertising and linking to amazon.com. Amazon, the Amazon logo, AmazonSupply, and the AmazonSupply logo are trademarks of Amazon.com, Inc. or its affiliates.


