So then it sat until this year. I decided I didn't want to mess with fabricating my own motor/trans mounts so I ordered them from Hooker and dropped it all back in


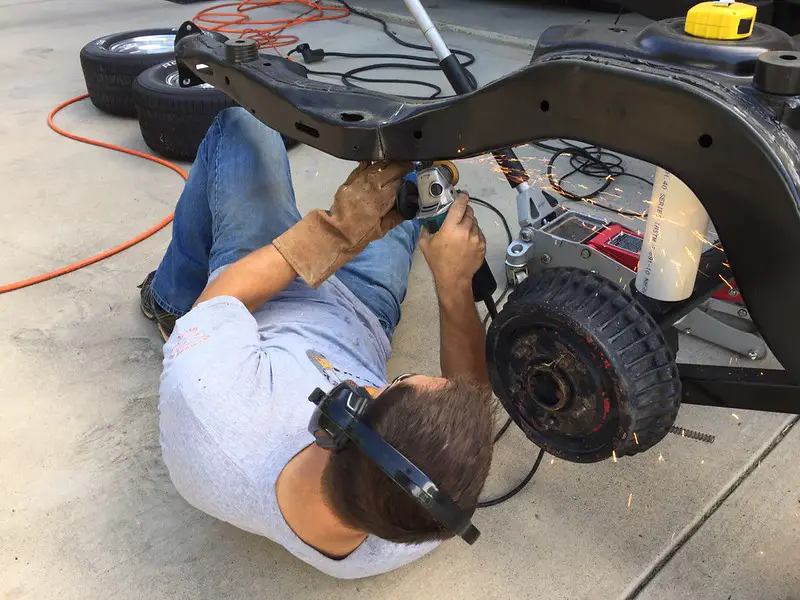
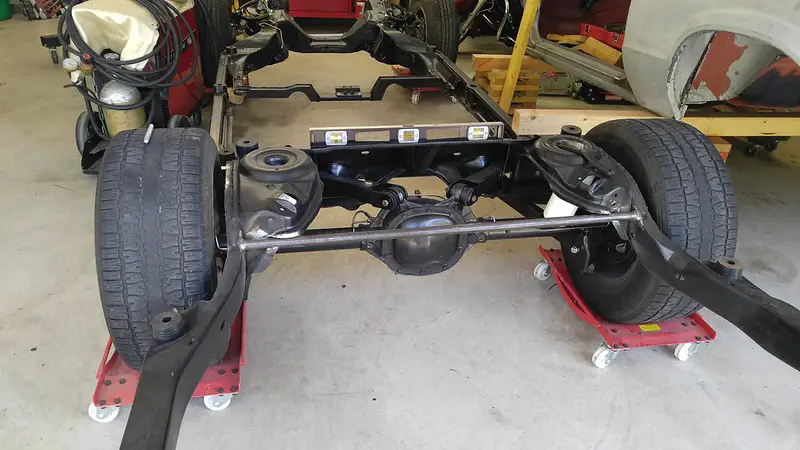
Then two weekends ago I decided to really get moving, a buddy and I cut the frame rails to narrow them and added a tube brace by the spring pockets
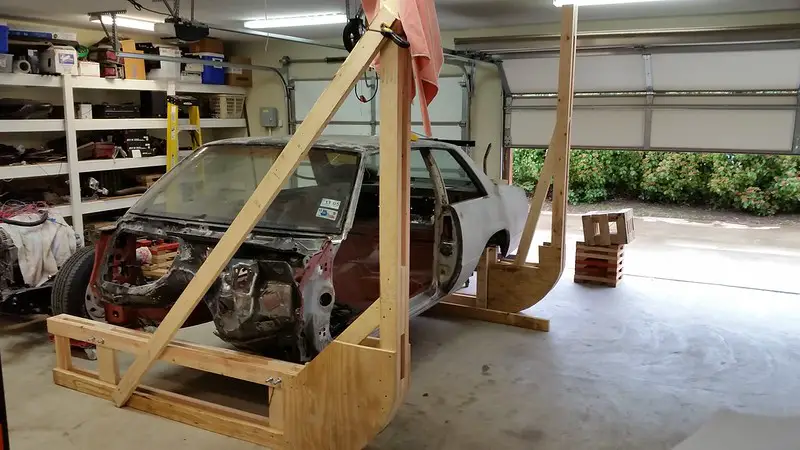
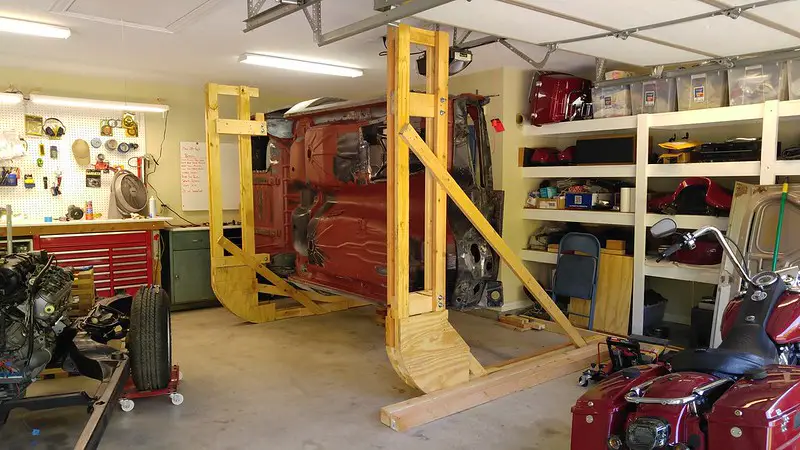
Last Saturday we bolted it back up to the Tip-tissorie which had never been tested, it was too heavy with the rear and side glass in it but......
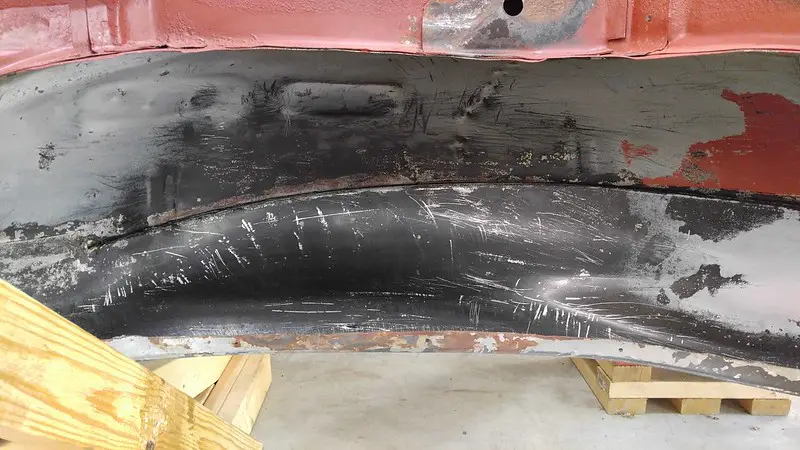
It worked perfectly and all for under $100 in material. Sunday was spent cleaning out the wheel wells and touching up the floor welds

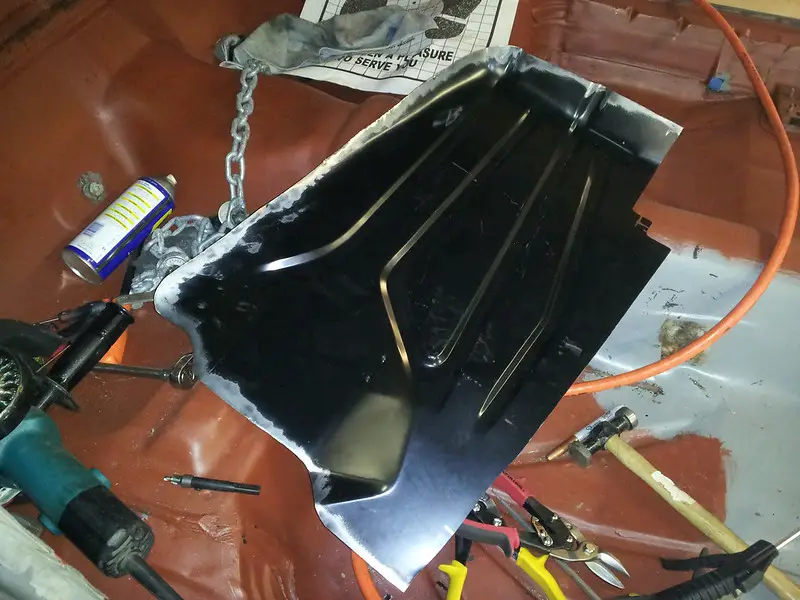
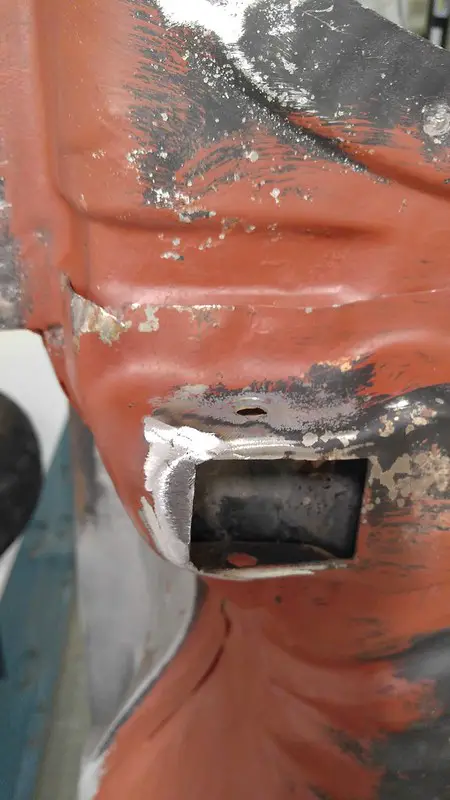
I also had to fix some splits at the tank mounts, I'm not sure why but all the corners were torn like that

All of this needs to get done in preparation for this
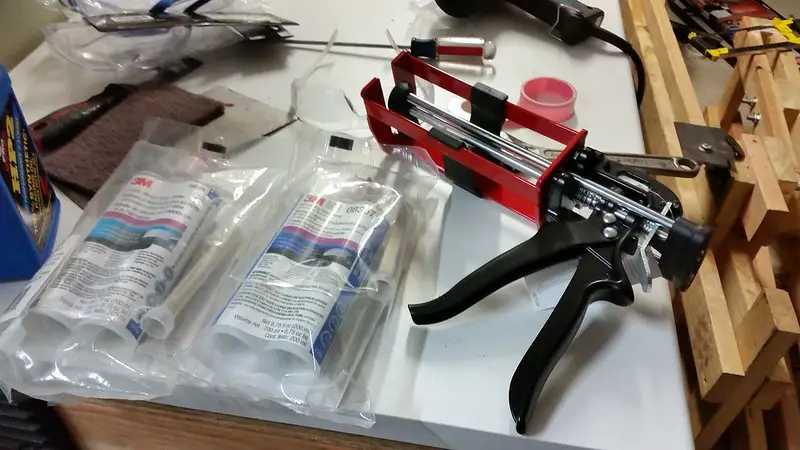
I popped for the good stuff when the 3m brushable and tube style was an extreme disappointment.
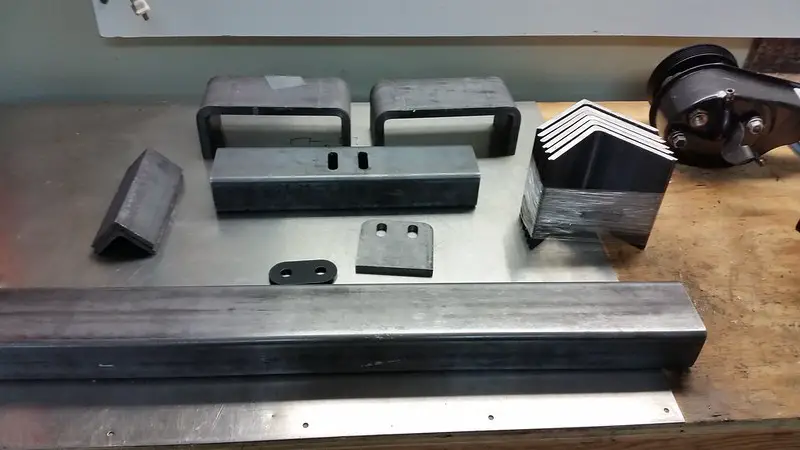
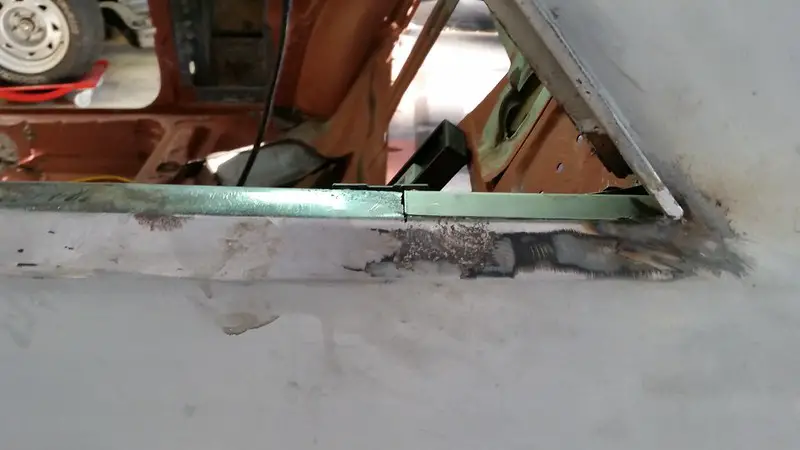
So I need to knock out the two body mounts above the rearend, both are rusted too thin to consider them a support, luckily it's just flat sheet metal and no curves.
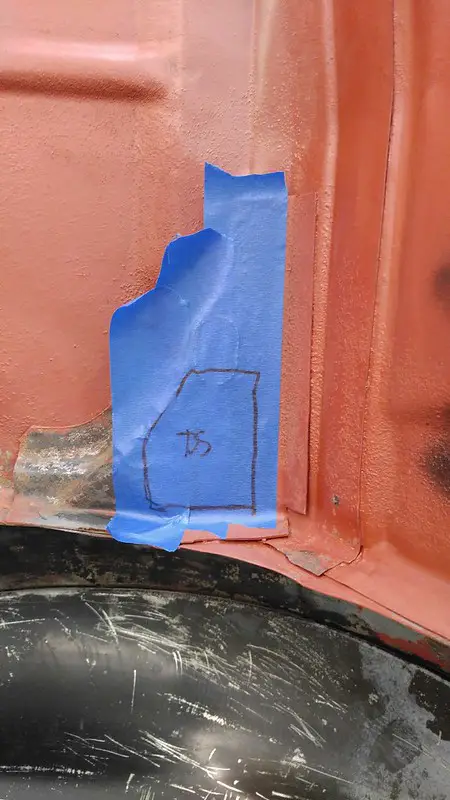
With those done I can seam seal and then Raptor Line the floor to get it back on the frame and mounted for good.
Incoming parts for this week are new body mount bolts, 3" studs for the rearend, Buick Lucerne PS pulley, rebuilt tilt/floor shift column, and gasket plus a Speedway 22 circuit wiring harness.
Now this build is current and WILL keep moving.