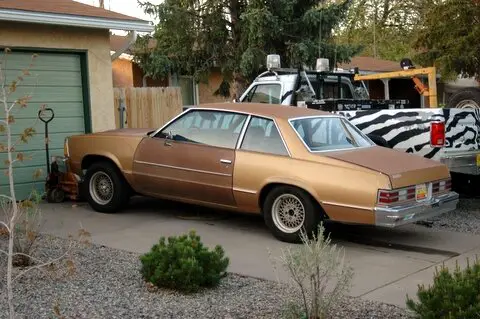
BUILD THREAD 1980 Malibu Coupe - 3.3 Liters to 6.6 Liters

Status
Not open for further replies.
In my earlier post, I neglected to mention that I started down the road of using the TBI system that came with the 305. I had the car in the air at KAFB, and dropped the fuel tank with some help from my friend Dave.
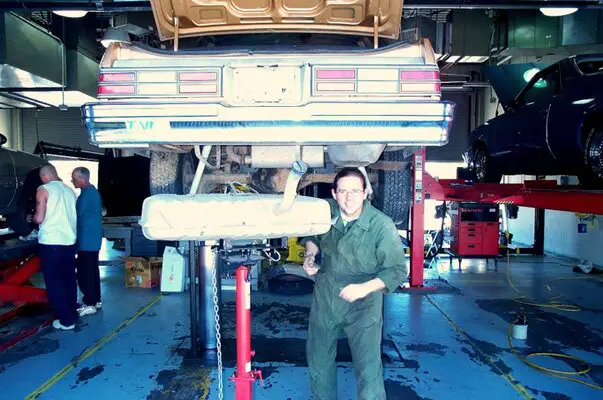
DCP_1125.JPG

I also tried fishing the plastic Caprice fuel lines down the frame rail.
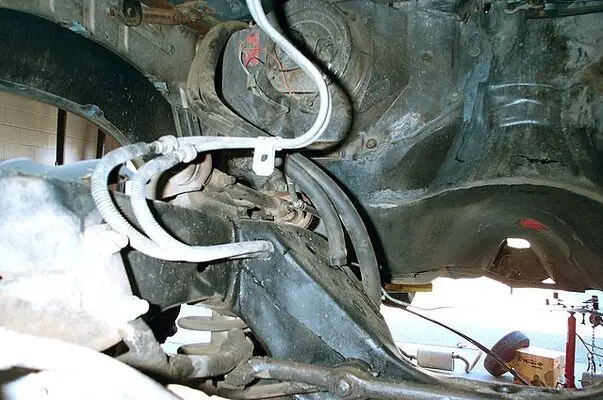
Coupe EFI 1.JPG

Coupe EFI 2.JPG

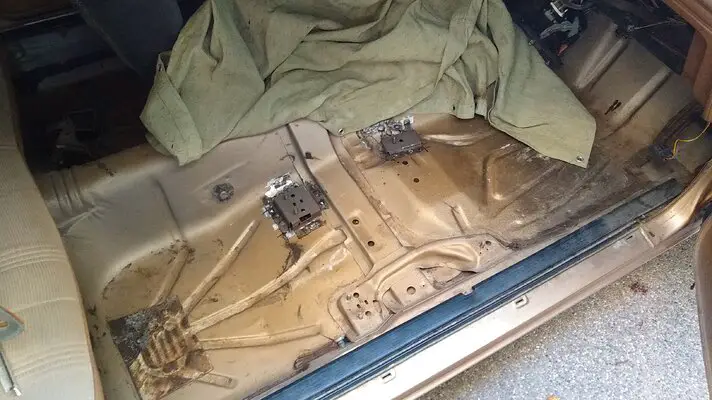
And horror of horrors! I used and electrical box punch to put a strategic hole in the toeboard for a computer harness.
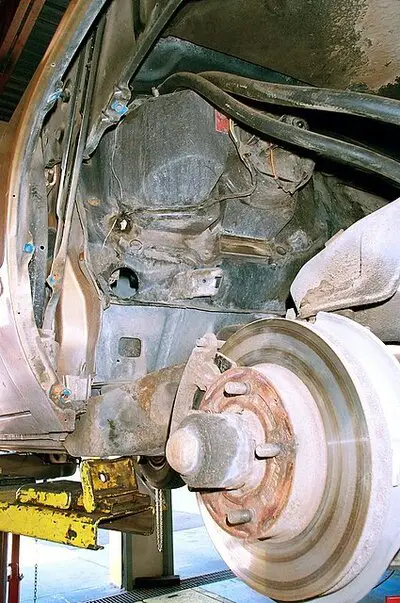
Coupe EFI 3.JPG

I decided the plastic lines were more hassle than benefit, as GM set them up for a diferent chassis. The TBI remains boxed. More on the 305 later. I did plan ahead, though, and made sure that I had one of those plastic filler plugs, RTV'd in place after the experiment.
 
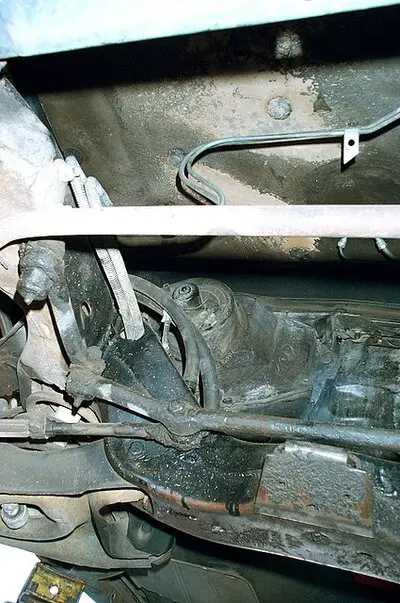
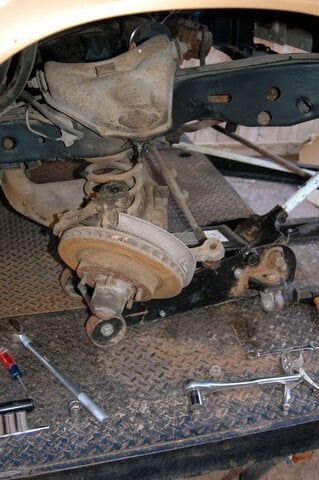
I discovered a great secondary use for my car hauler. It served as a great platform to swap suspension and steering components without being on my knees or back.

First step was to pull apart the legacy GM front end.

DSC_3228.JPG

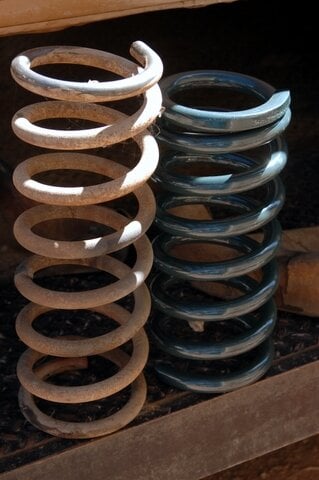
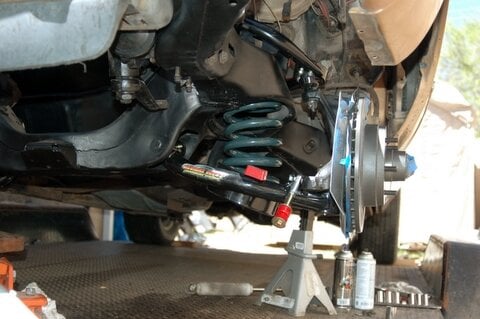
The Hotchkis lowering springs are a lot shorter than the factory V6 springs when unloaded. Sizable difference in the wire diameter too.

DSC_3248.JPG

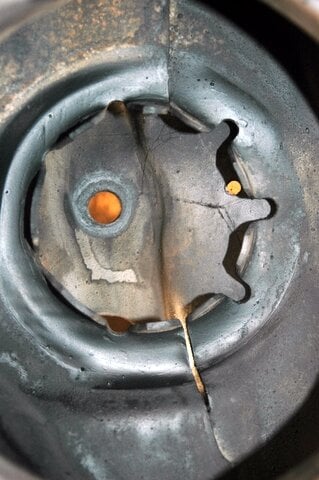
Here's a view you may not have seen before. Looking up into the spring pocket. That's the upper front shock mount. You know, the one that lets the shock just spin and spin and spin until you buy the oval socket or apply enough Vice-grip. Don't forget, there is a rubber isolator ring that goes on top.

DSC_3243.JPG

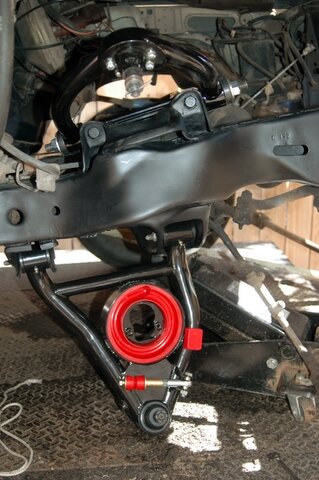
After cleaning and painting the remaining parts of the previously-hidden frame rails, I bolted in the Hotchkis and Global West control arms.

DSC_3253.JPG

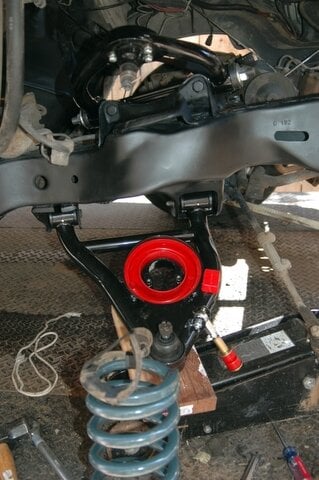
So, what does one do when one lacks a spring compressor? Do it bass-ackwards by loading the spring into the pocket and lifting the control arm until the ball joint inserts.

DSC_3258.JPG

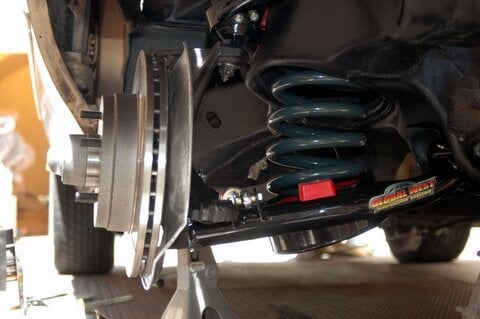
Requires a lot of profanity and a strategically-placed ratchet strap through the coil to get that last little bit of pull before the car lifts off the jackstand.

DSC_3266.JPG

Done.

DSC_3263.JPG

Rinse, lather, repeat on the other side.

DSC_3273.JPG

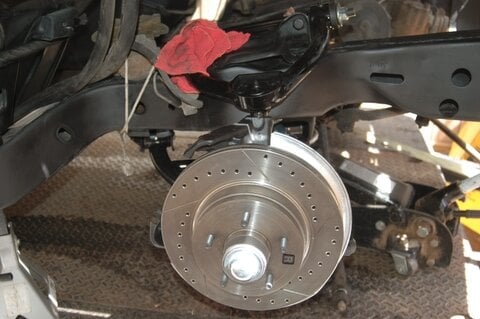
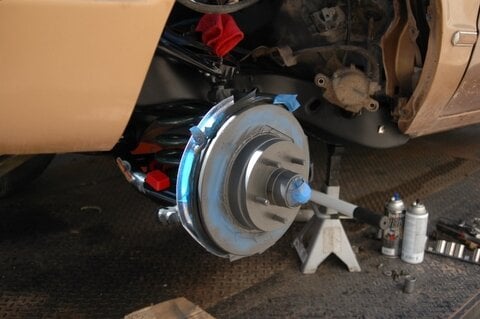
Mask and paint the non-braking surfaces...

DSC_3276.JPG

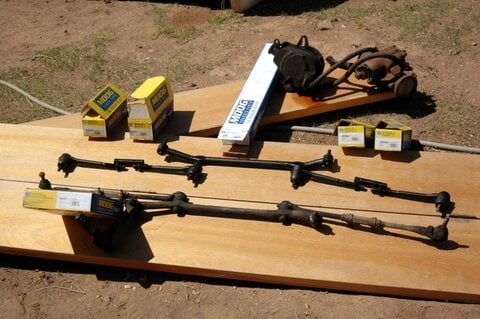
While this paint was drying, I painted and assembled the new Moog suspension parts and threaded things together to approximate the previous alignment.

DSC_3277.JPG

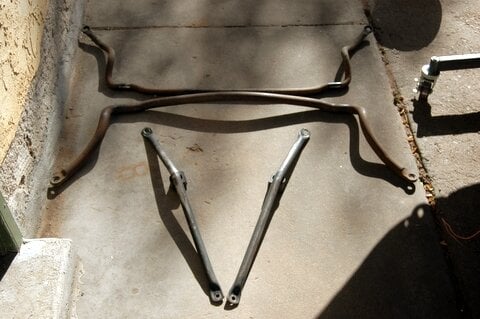
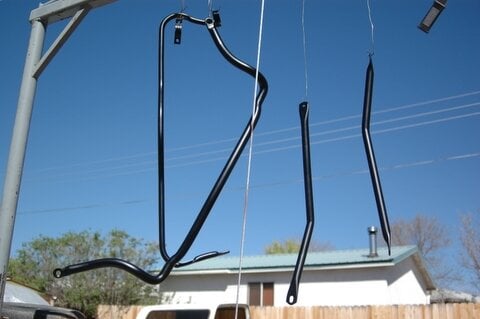
I also painted the IROC Camaro 32 mm sway bar. GM reused a lot of design work across their cars. The end link holes and the bushing pivot points are the same as on a G-body.

DSC_3282.JPG

Painted to match. Wind chimes.

DSC_3287.JPG

But all was not right with the world...
 
When I put the carefully-matched steering linkage back on...surprise. The Hotchkis instructions did not point out that the B-body swap is clever, but not perfectly clever. The steering geometry of the spindles is different beyond being one inch taller. The track is several inches wider. Serious toe-in. The only way to make this work was to unthread the tie rod ends to the ends of the adjusting sleeves. That was so not going to work long-term.

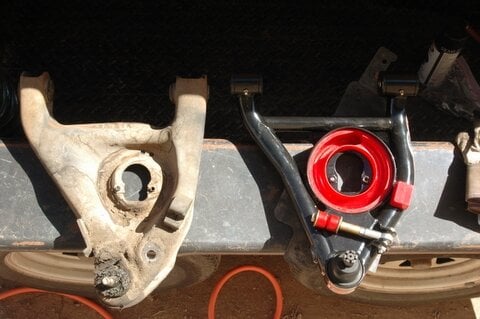
In addition, after putting the wheels back on and dropping the car to the ground, I noticed that the tops of the tires stick way out. I checked, and I had the upper control arm links oriented the right way. What the hell is going on? That's when I went back to the photos and looked at the Global West lower control arms compared to the GM ones. See the difference?

DSC_3251.JPG

There was over an inch difference in bushing-to-ball joint length. So, I got on the phone to Global West. Their tech support guy went on and on about how their components are designed as a system and that Hotchkis parts are sh*t and what kind of idiot mixes and matches Hotchkis and Global West. My conclusion: you get what you pay for. Later, I'll relate how I voted with my wallet when resolving this.

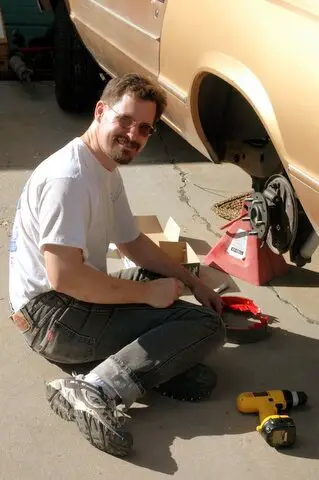
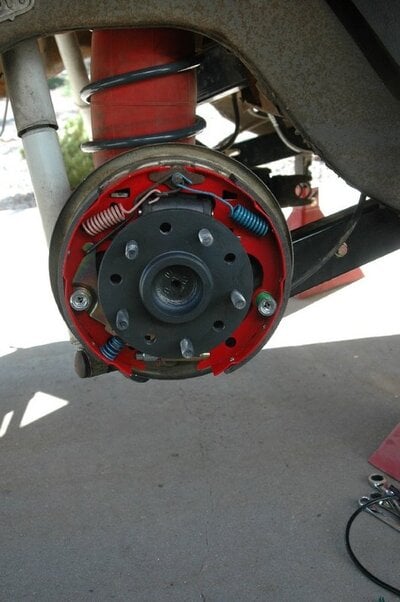
I decided to finish up by reworking the rear brakes.

DSC_3389.JPG

I put in the Hotchkis rear springs and airbags I had since my drag racing days in the blue wagon.

DSC_3381.JPG

Note to self. You have to tighten the fitting into the rear brake hose, or your car will pee on the driveway...

DSC_3403.JPG

Here's where I stopped for a while. More to follow.
 
Last edited:
1590076803103.png

"What color is that - a gray or green - hard to tell under the shop lighting?"
Factory color called Dark Jadestone and thanks.
I think I found my color. I've already collected interior pieces to replace the sun-damaged plastic and dash, will dye them black to match the dash.
 
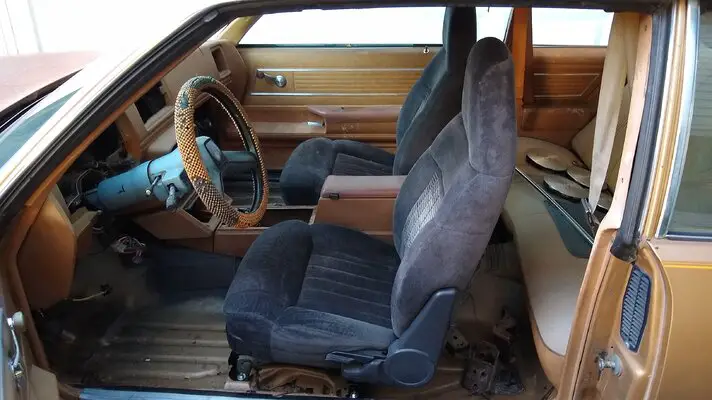
Updated the interior a couple months ago. Completed the Blazer seat upgrade before the Blazer brakes. 🙄
IMG_20191027_173735027.jpg
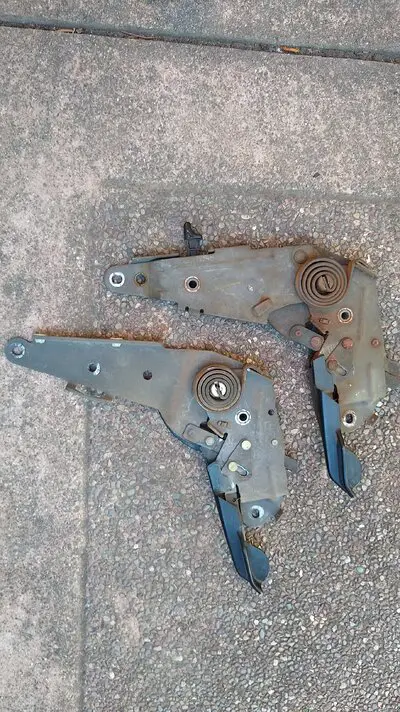
I salvaged the inner tracks' mount pads from the 1979 donor car, but they are available aftermarket (OPGI, etc.).
IMG_20191026_173901209.jpg
The S10 seats use the identical four-bolt pattern, but the tracks themselves are unique to the S10 floorpan.
IMG_20191020_163249519.jpg
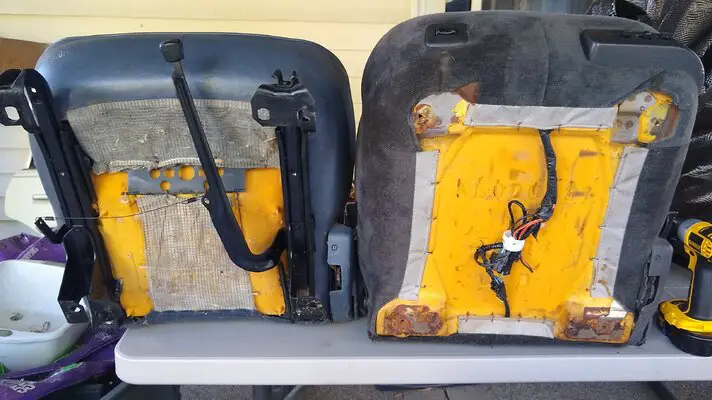
My Blazer seats were non-flip, as there were dedicated doors for the rear seat.
IMG_20191020_171856190.jpg
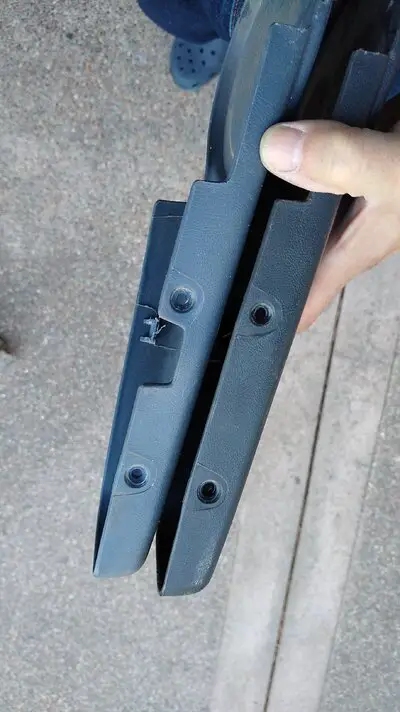
The tilt mechanisms have an extra feature...look for a 2-door Blazer.
IMG_20191020_173854097.jpg
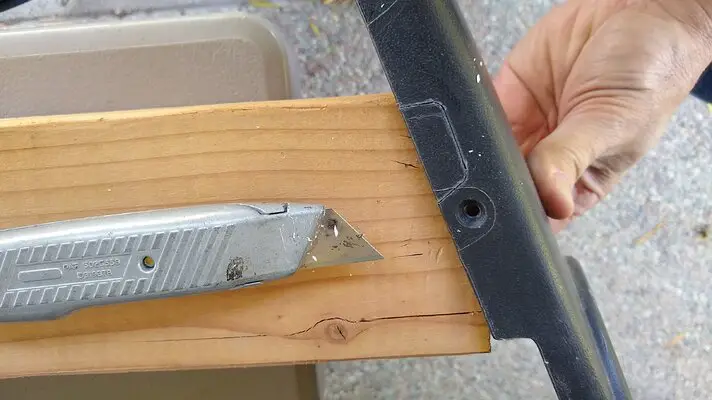
I just cut out the beauty covers for the flip levers.
IMG_20191027_131826081.jpg
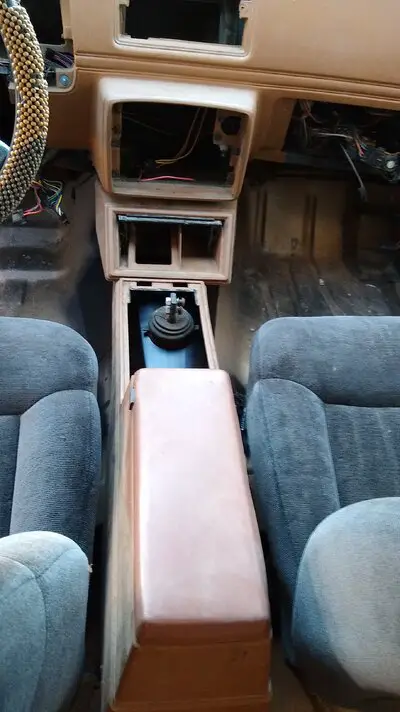
Painted the tunnel cover and mocked the console in place. Used double-sided foam tape on the brackets salvaged from the 1979 console/bucket seat donor car. Drilled riveted them in place afterwards.
IMG_20191027_173759534.jpg
Here's where a Tremec TKO 600 shifter comes up.

Once the floor is closed up permanently, I will weld them as well.

Except for the droopy headliner, it's starting to come together.
 
Last edited by a moderator:
View attachment 146676
"What color is that - a gray or green - hard to tell under the shop lighting?"

I think I found my color. I've already collected interior pieces to replace the sun-damaged plastic and dash, will dye them black to match the dash.

Would you like a few more photos so you can really see the color ?
BTW, it has the original color interior which is a dark jadestone dash and console with medium jadestone seats and plastic. If I knew ahead of time that I would be redoing the whole interior over I would have done it all in a very dark gray.
 
Looking good, pretty much where I am with putting mine back together too in doing the seats and center console
 
  • Like
Reactions: Rktpwrd
Oh no, not coming together. Still coming apart. But, the easiest place to store parts...is attached to the car. Looking into options...
 
Last edited:
Status
Not open for further replies.

GBodyForum is a participant in the Amazon Services LLC Associates Program, an affiliate advertising program designed to provide a means for sites to earn advertising fees by advertising and linking to amazon.com. Amazon, the Amazon logo, AmazonSupply, and the AmazonSupply logo are trademarks of Amazon.com, Inc. or its affiliates.

Please support GBodyForum Sponsors

Classic Truck Consoles Dixie Restoration Depot UMI Performance

Contact [email protected] for info on becoming a sponsor