Update - More Suspension Work & Brakes
I spent the day yesterday under the rear of the El Camino.
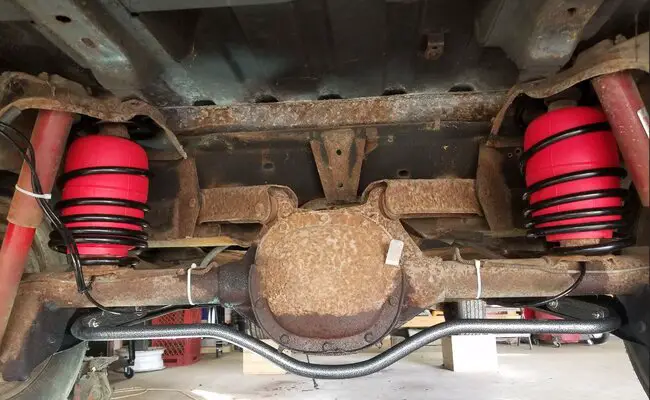
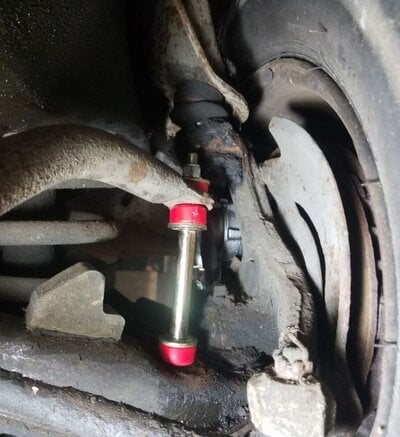
First, I installed a Hellwig 5815 Anti-Sway Bar. This was possibly the easiest suspension component installation I've ever done. It simply bolts through existing holes between the lower control arms. 10 minutes tops. It took longer to clean the surface rust off and repaint the control arms than it did to install the sway bar. I'm really interested to see how this simple upgrade effects body roll.
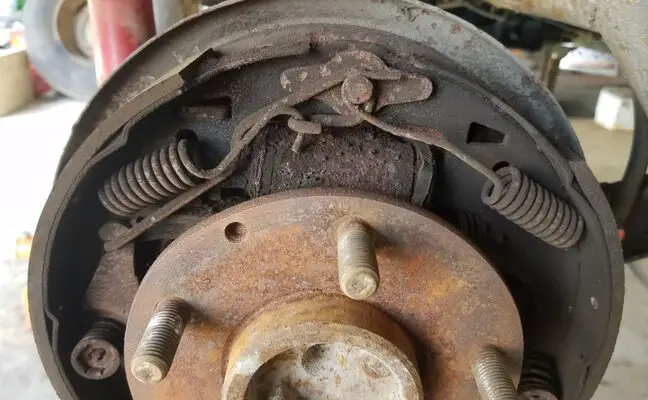
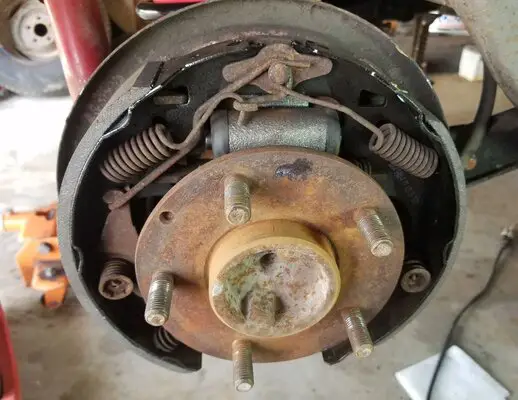
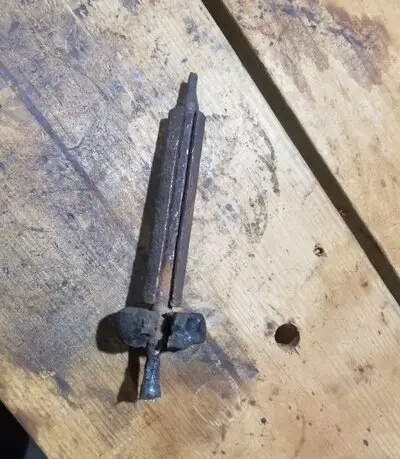
Second (and for the rest of the day!), I reworked the back brakes. You can see from the "before" picture below what shape the brakes were in. This is the reason my Dad parked this car 17 years ago. The rear brakes were shot and he was tired of fiddling around with the car. My goal was to replace the brake cylinders and shoes. I've never been a fan of working on drum brakes, but I had my self psyched up for the job until I realized that the brake cylinders were clipped in place instead of bolted. I haven't messed with cylinder retaining clips since I reworked the rear brakes on my own El Camino 25 years ago. I had forgotten how much of a pain in the <insert foul language here> those retaining clips are. As with most brake jobs, the first side took hours and the second side took minutes. I had to relearn how to release the old retaining clips and fabricate a tool to reinstall the new retaining clips. I can see now why the back brakes weren't working. Both of the cylinders had seeping seals and both of the auto-adjusters where rusted. One was rusted solid enough that it required a bench vice and a pair of channel locks to disassemble. A little attention from a wire wheel and some lithium grease got both of the adjusters working smoothly again. On the plus side, I finally learned how to use a pair of drum brake spring pliers correctly. All these years, my Dad and I have been misusing them. It's a wonder that neither one of us has ever been hooked like a fish by a flying spring!
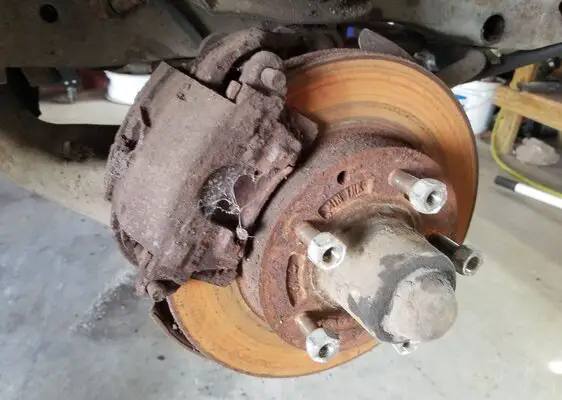
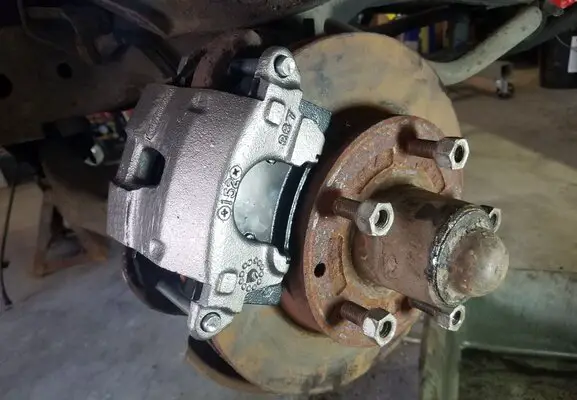
Today, I plan to turn my attention to the front of the car. I have new brake calipers and pads to install. Once that's knocked out, I'll replace the front sway bar end links. The old bushings are shot and one of the links is actually rusted in half!
Progress continues...