1985 Monte Carlo SS from the ground up.....
- Thread starter 69bigblock
- Start date
You are using an out of date browser. It may not display this or other websites correctly.
You should upgrade or use an alternative browser.
You should upgrade or use an alternative browser.
- Status
- Not open for further replies.
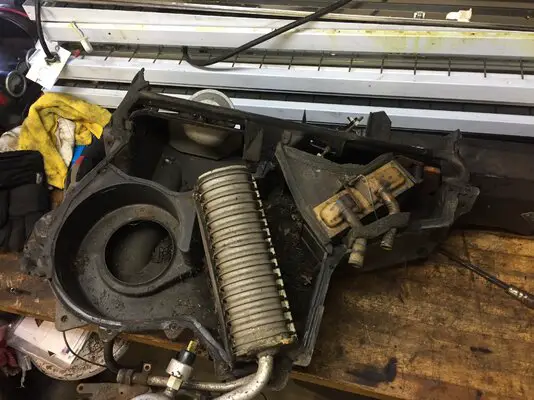
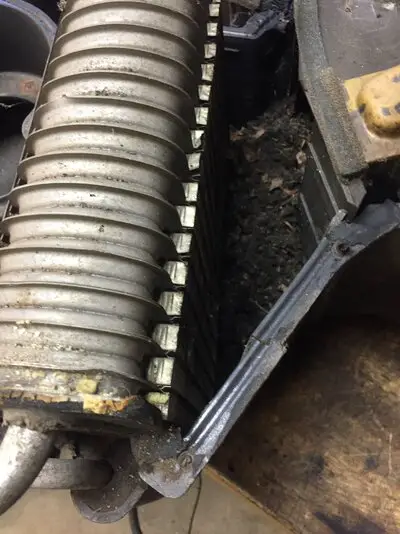
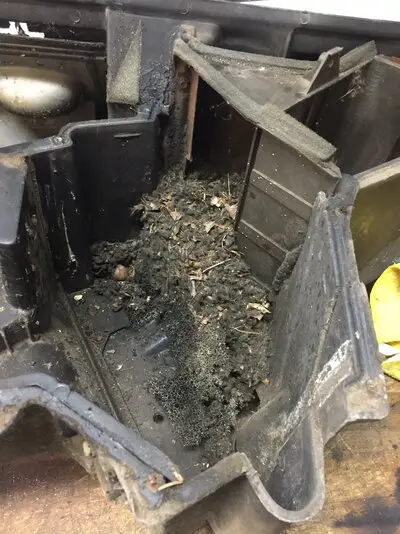
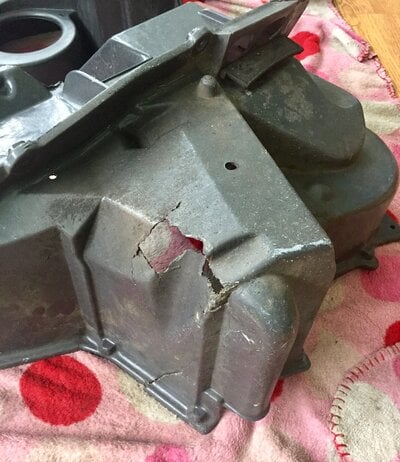
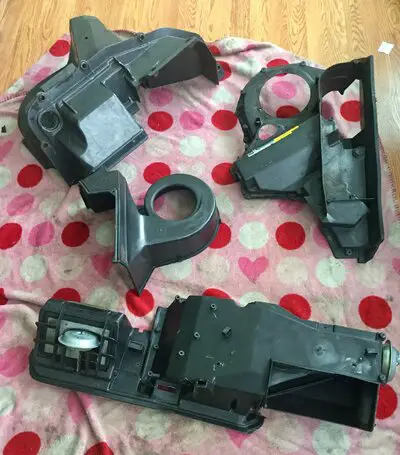
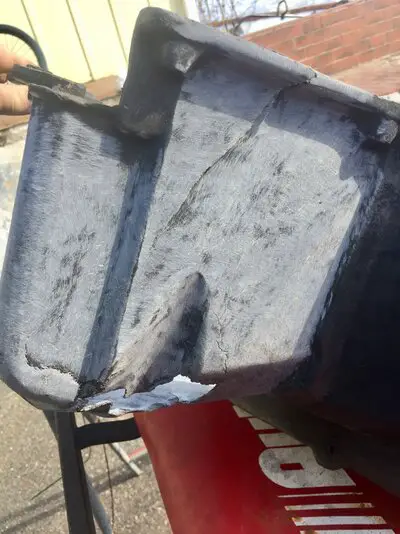
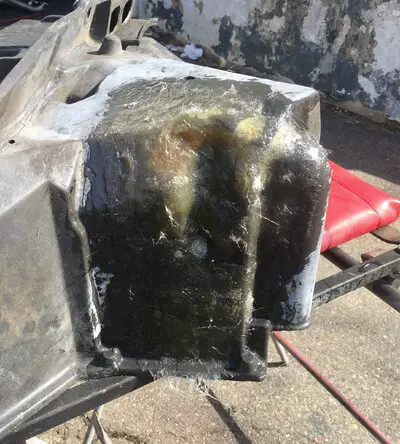
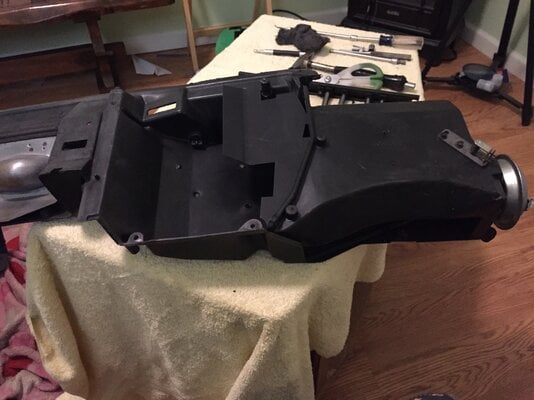
Took apart the A/C box cleaned up a bit.. box has a whole, guess that’s how the mice got in.. going to see if I can fiberglass it and see how it works out. Ordered the reseal kit from Dixie restoration.. come to find out the plastic retainer that holds the rod door was in the kit.. go figure
Attachments
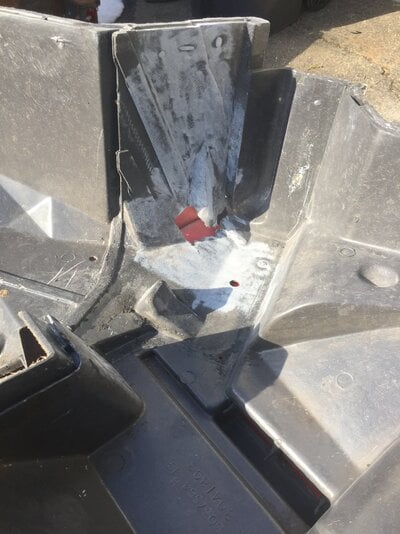
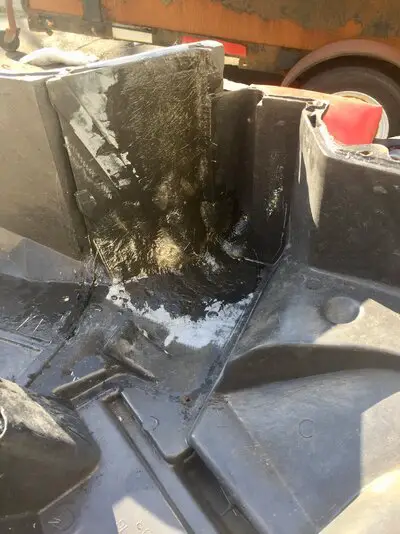
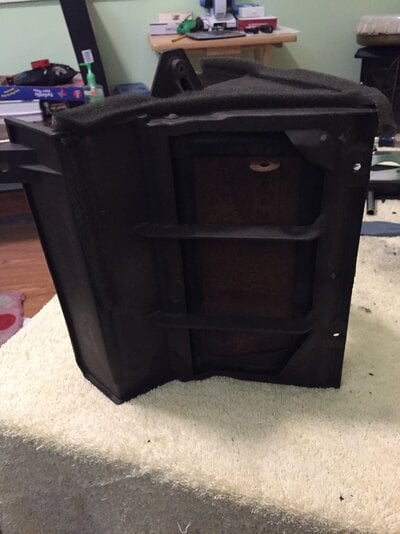
Had some time to start the fiberglass.. sanded down some of the area..
Attachments
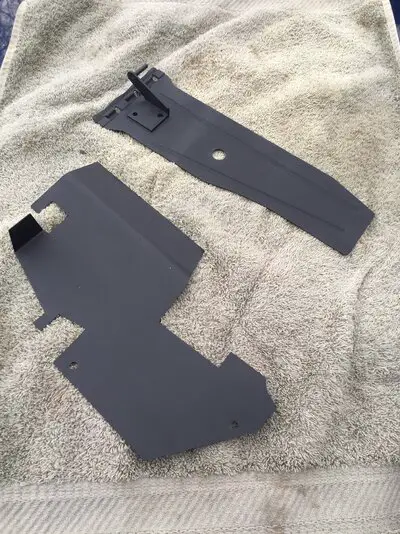
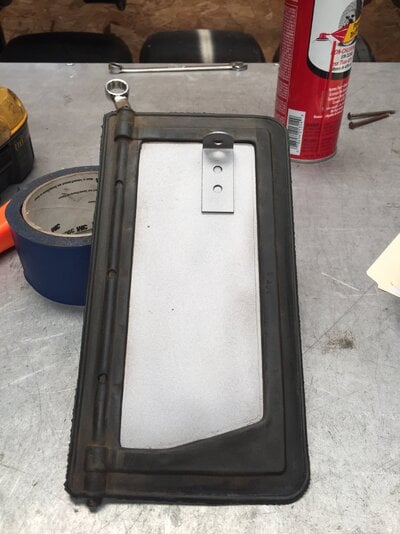
Took the defrost duct heat door apart/shield sandblasted/painted.. put the new seal on and installed that part back together..
Attachments
I have to agree with Happy Camper you have done a really nice job thank's for all the information you have posted and looking forward too learning and seeing more. Thanks again.
Thank you, this site has a lot of info that helps... I say to myself, don’t know until you try and figure it out
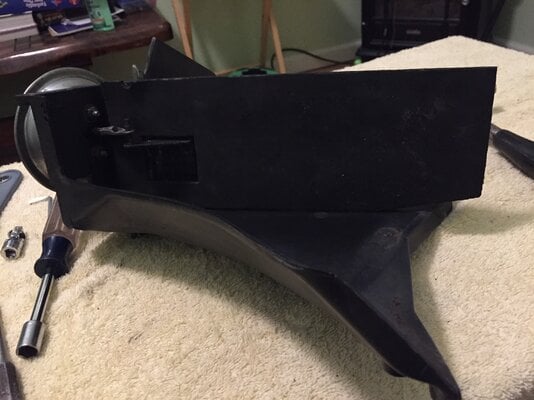
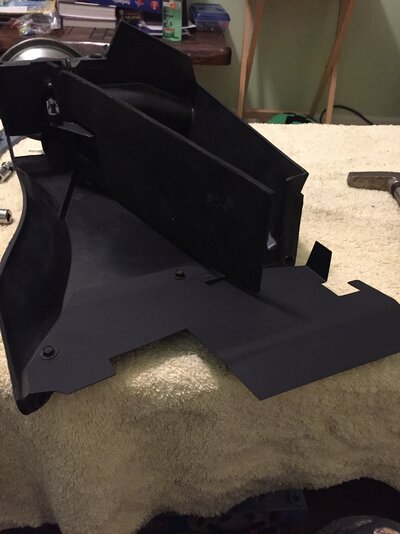
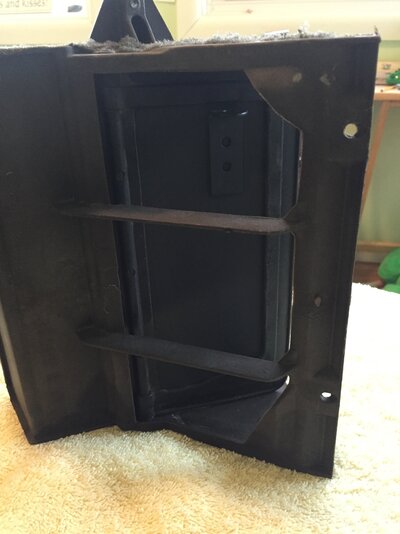
Yesterday I took the blend door off, had some rust on it but the rubber seal is in good shape.. sandblasted/painted and reinstalled
Attachments
Since the box is out now would be a good time to modify it for some extra clearance.
Modify box for engine clearance? I have LS1/4L60 going in.. only thing I’ve read is possibly coil hitting..
- Status
- Not open for further replies.
Similar threads
- Replies
- 20
- Views
- 427
- Replies
- 0
- Views
- 224
GBodyForum is a participant in the Amazon Services LLC Associates Program, an affiliate advertising program designed to provide a means for sites to earn advertising fees by advertising and linking to amazon.com. Amazon, the Amazon logo, AmazonSupply, and the AmazonSupply logo are trademarks of Amazon.com, Inc. or its affiliates.


