Funny I said that about my pistons todayYou'll do a great job. Quality work is part of your signature. It's unfortunate to see the "quality" that these cars endured during assembly. Granted, if I put on 500 of these gaskets every day, I'd probably slap one on upside down by mistake every now and again. That's where USPS got their slogan "If it fits, it ships.". 🙂
I didn't mean to imply you wouldn't do a great job putting it back together. It'll look way better than new when you're done. I have so many first-world problems that I felt needed resolution, and this was one of them. 😋
BUILD THREAD 1987 Olds 442 Project Build
- Thread starter oldsofb
- Start date
You are using an out of date browser. It may not display this or other websites correctly.
You should upgrade or use an alternative browser.
You should upgrade or use an alternative browser.
I didn't mean to imply you wouldn't do a great job putting it back together. It'll look way better than new when you're done. I have so many first-world problems that I felt needed resolution, and this was one of them.
I didn't think you did. That was me being sarcastic and ironic I guess. By now I think I've showed I'm too OCD to do it upside down. The very thought gives me nightmares. 😨
Oh, and about the spatula for scraping butyl glue. Yours is metal, but do you think that a plastic scraper would work just as well or would it be too flimsy for scraping tar babies off the HVAC housing?
Not sure. Some of the stuff was gooey for sure, but there was some of it that was a bit harder. It came down to what I had at hand really.
Hutch
Cleaned up my AC/Heat Control Unit. I cleaned both switches (Thank you HAFROD for the idea) and polished the lens to freshen it up. Didn't take any pics really, but did shoot some video. When I get aound to editing it, I'll post it here.


She cleaned up well and was actually not that dirty for the age. The switches and levers were very clean. I just added a little more grease to the areas where the factory put it.
Hutch


She cleaned up well and was actually not that dirty for the age. The switches and levers were very clean. I just added a little more grease to the areas where the factory put it.
Hutch
Just posted the video to my A/C Control Unit Refurbish. I tend to talk too much, but here it is.
Hutch
Hutch
Aw...I was hoping you would get into the vacuum selectors with the rubber discs.
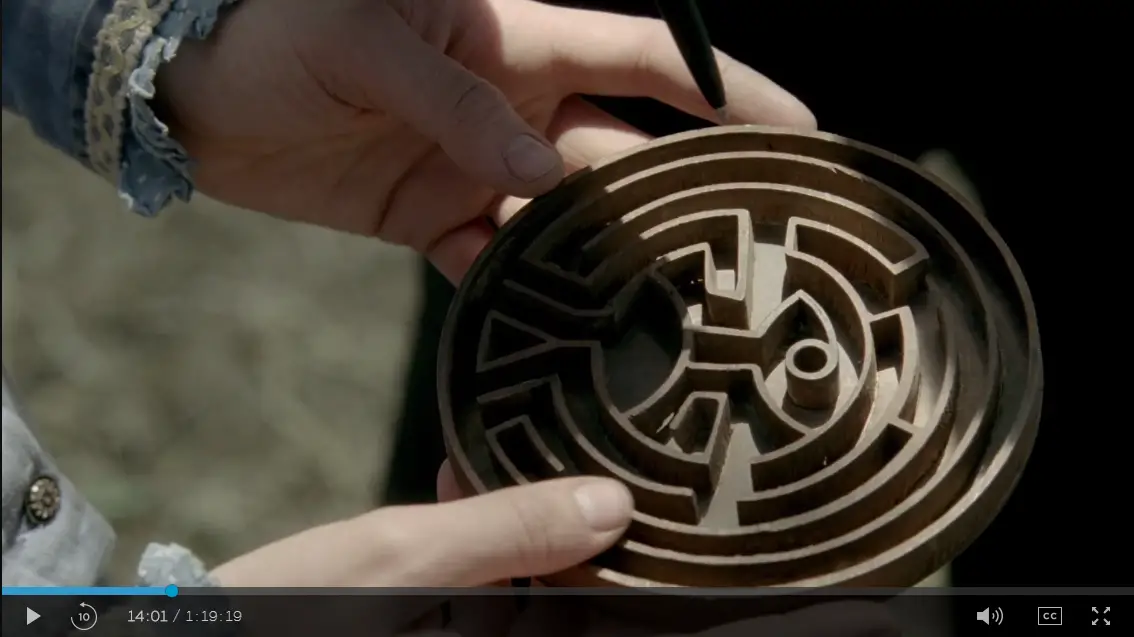
I think the guy who invented them worked at Westworld and designed the Maze...Dr. Lowe.


I think the guy who invented them worked at Westworld and designed the Maze...Dr. Lowe.


I just saw your latest two vids (38 and 39) on the HVAC gaskets and part 1 of the HVAC reassembly. Looking good so far. That flapper door is one area that sometimes sticks in one position and then you finally hear it POP to the other position because the foam seal dries up and the glue is about the only thing left and the flapper sticks. But you have that figured out now.
But yeah, those were good.
But yeah, those were good.
just saw your latest two vids (38 and 39) on the HVAC gaskets and part 1 of the HVAC reassembly. Looking good so far. That flapper door is one area that sometimes sticks in one position and then you finally hear it POP to the other position because the foam seal dries up and the glue is about the only thing left and the flapper sticks. But you have that figured out now.
But yeah, those were good.
Thanks man. I'm glad someone is watching those things

Here's 38 for those that want a gander.
Hutch
I was so busy filming, I didn't get many pics of me putting it together.
So here is the Air Divert door with what's left of the seal and the new one from the seal kit.

Here's all the pieces laid out on the bench. I traced an outline of where the spray glue needed to go on the seal.


After a quick clean up. I painted the rusty Air Baffle with Rustoleum Rusty Metal Primer and then Gloss Black.

I glued the seal down with some 3M Super Trim Adhesive. I trimmed the seal to eliminate some clearance areas I found when I taped the seal to the door and ran it both ways before disassembling it.

Finally, all put back together.

Hutch
So here is the Air Divert door with what's left of the seal and the new one from the seal kit.

Here's all the pieces laid out on the bench. I traced an outline of where the spray glue needed to go on the seal.


After a quick clean up. I painted the rusty Air Baffle with Rustoleum Rusty Metal Primer and then Gloss Black.

I glued the seal down with some 3M Super Trim Adhesive. I trimmed the seal to eliminate some clearance areas I found when I taped the seal to the door and ran it both ways before disassembling it.

Finally, all put back together.

Hutch
Last edited:
Video 39 (if you like that kinda thing)
Hutch
Hutch
Similar threads
- Replies
- 0
- Views
- 118
- Replies
- 0
- Views
- 120
GBodyForum is a participant in the Amazon Services LLC Associates Program, an affiliate advertising program designed to provide a means for sites to earn advertising fees by advertising and linking to amazon.com. Amazon, the Amazon logo, AmazonSupply, and the AmazonSupply logo are trademarks of Amazon.com, Inc. or its affiliates.

