1987 Olds Pro-touring project build - Now with paint

Status
Not open for further replies.
Re: 1987 Olds Pro-touring project build *LONG*

Thanks a bunch guys.

I will say that this has been a pretty big learning experience. I definitely wouldn't trade that for anything, however there's quite a few things I would do differently. For one, I wouldn't underestimate the amount of money or time it might take to complete something like this.

foxtrot_lima_bravo said:
I know that it a labor of love but how may hours do you have into it?

Well, I'm going on 7 years this March. That's actually when I drove it down to a friends house for a "repaint". Obviously I haven't worked on it every waking hour during that time but I probably have at least 2000+ man hours working on the car or some related part of it. If you figure I work on the car just on the weekends for 12 hours for two days, there's 24 hours. If I did that every weekend for a year, that roughly 1248hrs per year. Multiply that by 7 and I come up with 8736hrs but its probably less than that.

Which brings me to my point above. It wouldn't have taken me this long in the first place if 1) I had started out from the beginning KNOWING I was going to go this far, and 2) had planned on the amount of money it was going to take. The fact that I kept adding things to the list, which in turn added cost is really whats made it drag on for so long.

BUT! It looks like this year I will be close to having it finished. Not sure if it will get painted but the majority of the body work should be taken care of.
 
Re: 1987 Olds Pro-touring project build *LONG*

3XBrownCutty said:
Very nice, as usual :lol: I wanted to get the "cowl" fe3x scoop, but it was out of the price range at the time i got mine painted.

Well, I have a friend that bought one for his '88 Olds Aero project. Since I have next to no money at the moment but plenty of fiberglass materials, I'm going to use his as a mold to make my own I think. This way I can modify it a little if needed for my car.

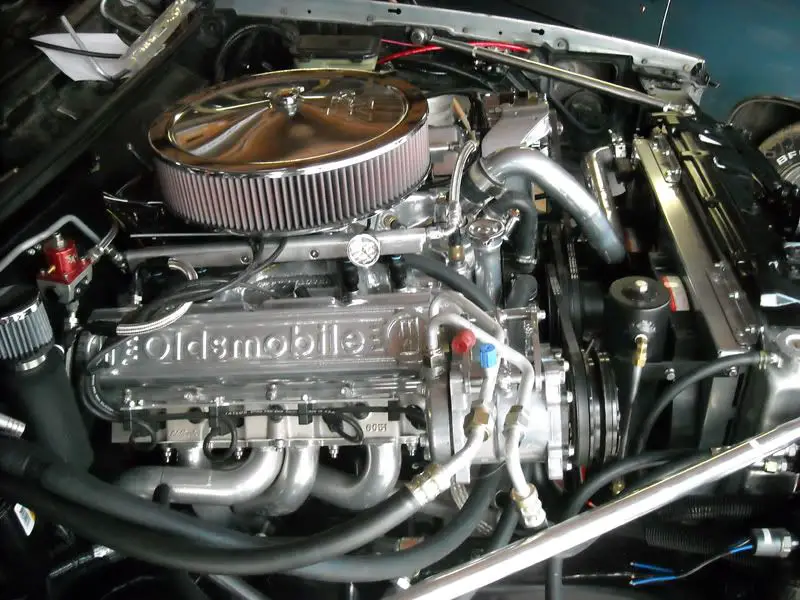
One question on a minor detail, what clips/mounting did you use to run the plug wires? I love how they don't stick out at all 8)

R&M Specialties

I have the vertical version: http://www.rmspecialties.com/1113-90.html but they also make a horizontal: http://www.rmspecialties.com/1113.html

I bought mine from Summit Racing. Other than that I just have a pair of spark plug retainers from the local parts store to keep them together behind the heads.

Oh, and another question. I was wondering the what length of the square tube rear frame rail brace is. I'm gonna make one this spring, just wanted a roundabout length.

I'll have double check and measure again as its been years since I made mine. For some reason 47.25" comes to mind but I'll double check. If you bought a 60" piece of tubing you'd have plenty. Drill your holes, mount it and then you can cut it to the width of the frame.

Can't wait to see it all together with the fiberglass skirts and all 8)

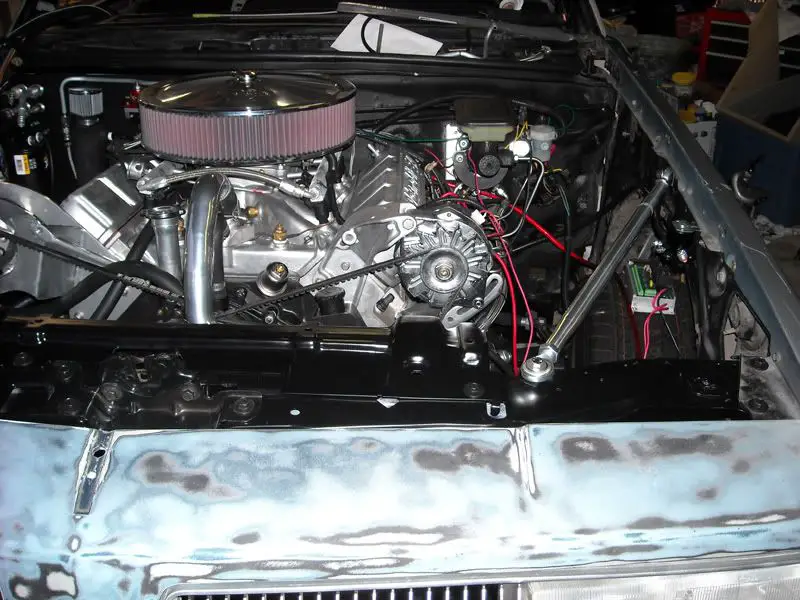
Well, I spent today bolting on the header panel, front bumper fascia and the FE3X front air dam. I was just axious to see how it would look.

I've actually been finishing up my core support and all of its hardware. I wanted to buy all new bolts and 'u-clips' for it but those things can be expensive. All of my bolts and clips for the most part are in perfect condition, they just needed freshened up so I threw them in my blasting cabinet, cleaned them up and then powder coated them satin black. Save me probably $30-$40 in hardware. But man does it take a while to blast and powder coat all of those small pieces!
 
Re: 1987 Olds Pro-touring project build *LONG*

quick question, was the monte carlo spoiler an easy bolt on exact fit type deal, btw awesome job on the car
 
Re: 1987 Olds Pro-touring project build *LONG*

MrHernandez said:
quick question, was the monte carlo spoiler an easy bolt on exact fit type deal, btw awesome job on the car

For the most part, yes. Although it could stand to have the bottom side of the spoiler tips that extend over top of the taillights trimmed. They're hitting the tops of the taillights at the moment.

It also doesn't quite fit the rounded contour of the trunk lid where it goes from the horizontal to verticle surface. You'll also have to make access holes on the bottom side of the trunk in a few places to get to the nuts on the backside.
 
Re: 1987 Olds Pro-touring project build *LONG*

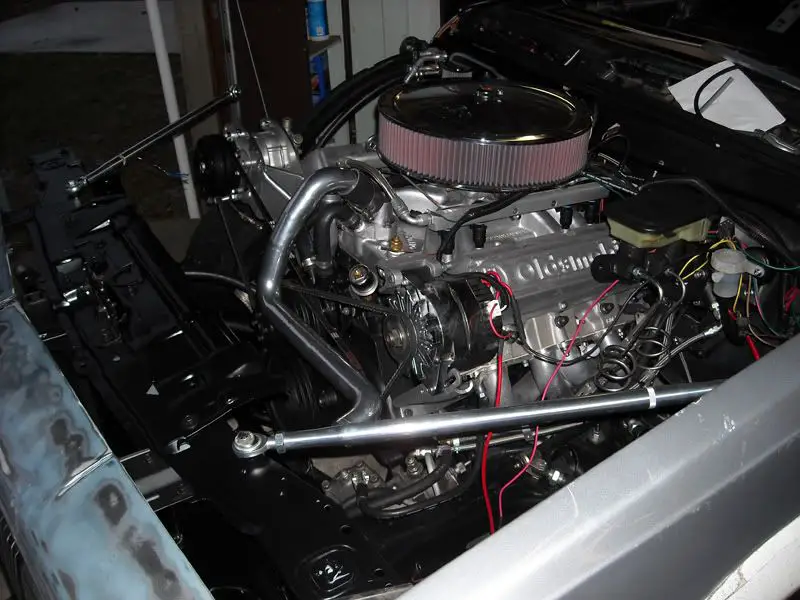
Snapped a few pictures of the fender to core support braces I made up:

DSCN0183.jpg


DSCN0187.jpg


And a picture of my lower radiator I welded together out of 1.75" exhaust tubing and then powder coated satin black:

DSCN0188.jpg
 
Re: 1987 Olds Pro-touring project build *LONG*

Very nice! love the rad. "hoses" and braces 8)
 
  • Friendly
Reactions: fuccillo111
Re: 1987 Olds Pro-touring project build *LONG*

Is the notching of the frame all you did to fit the rear tires?
 
Re: 1987 Olds Pro-touring project build *LONG*

85GPLef41 said:
Is the notching of the frame all you did to fit the rear tires?

Pretty much. We did move the wheel tubs in slightly and the outer fender lip will need to be trimmed but nothing major.
 
Re: 1987 Olds Pro-touring project build *LONG*

Awesome build. Both me and my father are watching on the various forums you have this on and it's definately one of the nicest G-bodies I've seen.
 
Re: 1987 Olds Pro-touring project build *LONG*

79loserbluebu said:
Awesome build. Both me and my father are watching on the various forums you have this on and it's definately one of the nicest G-bodies I've seen.

Thanks man!

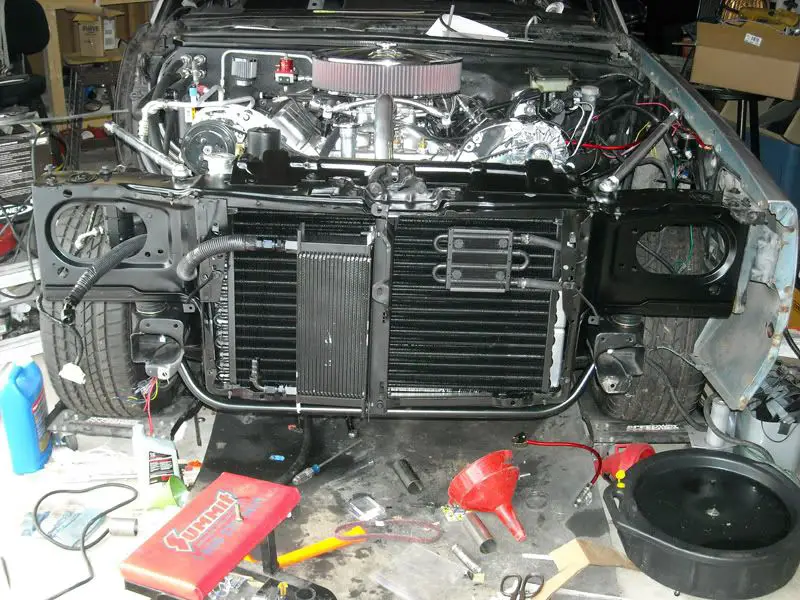
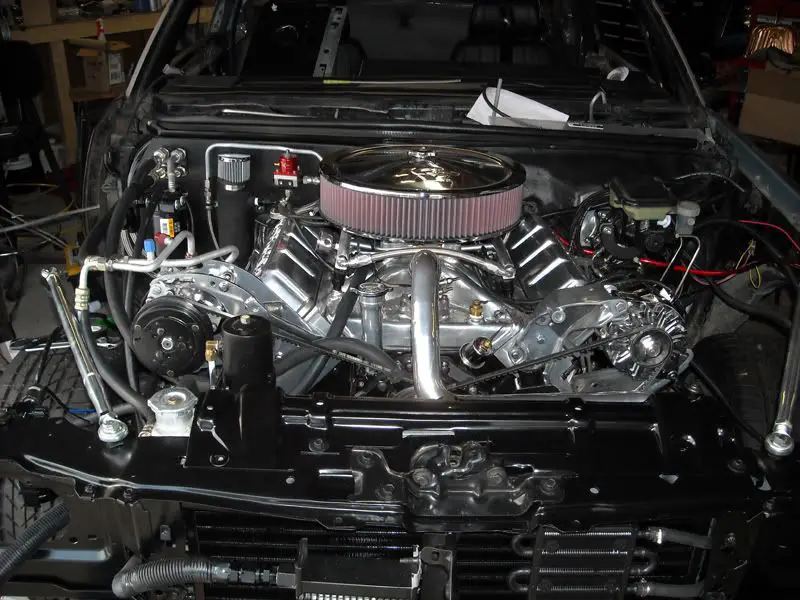
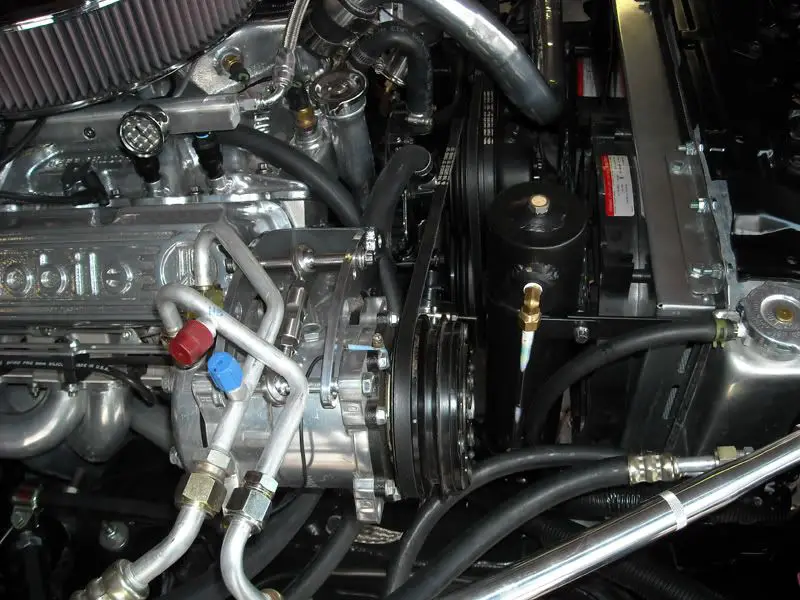
I managed to finally get the new AC condenser installed as well as routing the lines for my AC. Although I still need to trim more of my core support for clearance of my oil lines. I thought I had enough but when I went to put the radiator in, I should couldn't squeeze everything together.
I think instead of buying more hose and trying to lengthen what I have, I'll just trim the support a little more for clearance and I should be good then.

DSCN0196.jpg


DSCN0191.jpg


DSCN0192.jpg


DSCN0193.jpg


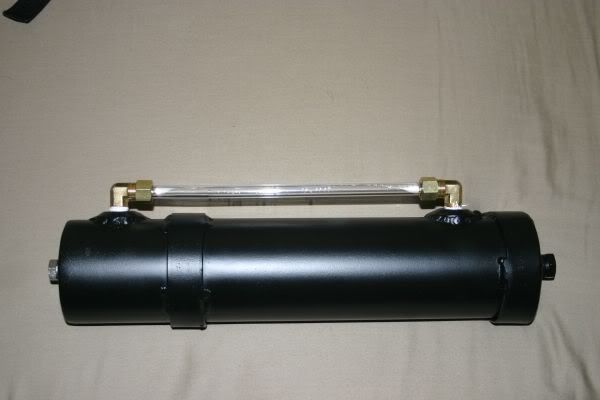
You can also see my homemade radiator overflow in these pics as well. I didn't have the money for one of those fancy polished jobs you see in Jeg's or Summit. So I took a pice of 3" exhaust tubing I had laying around and welded the ends shut. Then welded a few NPT bungs and installed a vent in the top, an outlet in the bottom and then made up a site glass out of acrylic tubing and brass compression fittings.
This is a picture of just the tank itself:

phpXrDEFbPM.jpg
 
Status
Not open for further replies.

GBodyForum is a participant in the Amazon Services LLC Associates Program, an affiliate advertising program designed to provide a means for sites to earn advertising fees by advertising and linking to amazon.com. Amazon, the Amazon logo, AmazonSupply, and the AmazonSupply logo are trademarks of Amazon.com, Inc. or its affiliates.

Please support GBodyForum Sponsors

Classic Truck Consoles Dixie Restoration Depot UMI Performance

Contact [email protected] for info on becoming a sponsor