1988 Monte Carlo LS ProCharger Build (10/12/21 - Back to Painting, Switching directions for power added)

Status
Not open for further replies.
Those are pretty snazzy! I have saved the links when i get to that point. I did find out one of my friends has a stud gun, although it is not a uni spotter are all of the tips interchangeable?
I’m not sure to be honest. I have yet to use one and am trying to avoid one to fix my roof.
Isn't there a screw in option also?
I swear I saw that somewhere posted here?
There are, but you’re going to be chipping paint if you install them after primer and if you install them prior to any paint, you’ve got exposed metal under sheet metal threads.
 
Those are pretty snazzy! I have saved the links when i get to that point. I did find out one of my friends has a stud gun, although it is not a uni spotter are all of the tips interchangeable?

The tips on most are interchangeable. I know mine does.
 
  • Agree
  • Like
Reactions: Rktpwrd and Burning
Isn't there a screw in option also?
I swear I saw that somewhere posted here?

These are them, i just didnt like that i would have a area for water to get in again.. Water will always find a way into a penetration.

1602683288281.png
 
These are them, i just didnt like that i would have a area for water to get in again.. Water will always find a way into a penetration.

View attachment 159425
I would install the screws after epoxy primer then after final painting a little rtv or something similar around the screws to avoid water penetration. Not going to be a daily driver so hopefully that isn't an issue except for washing car
 
Been a busy last couple days trying to work here and there as i can.

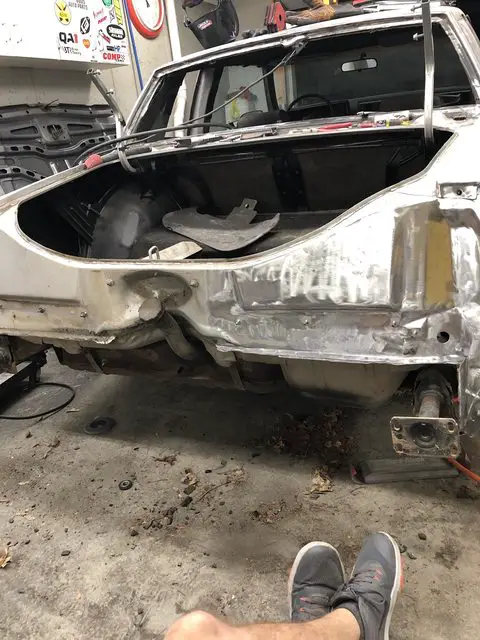
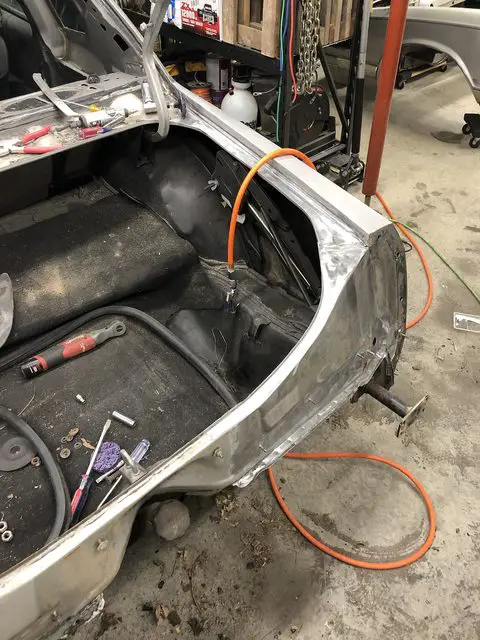
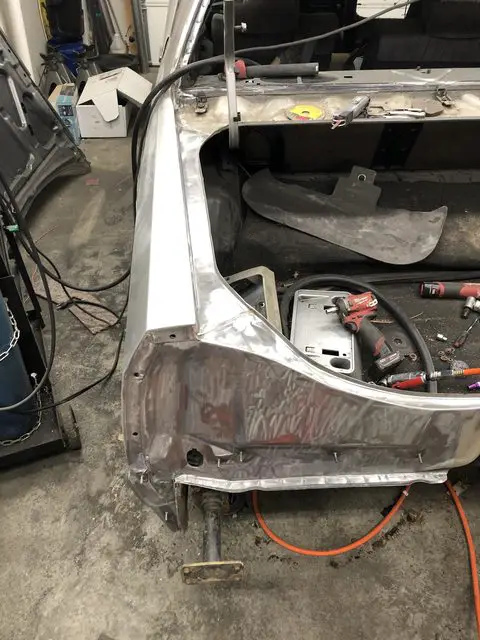
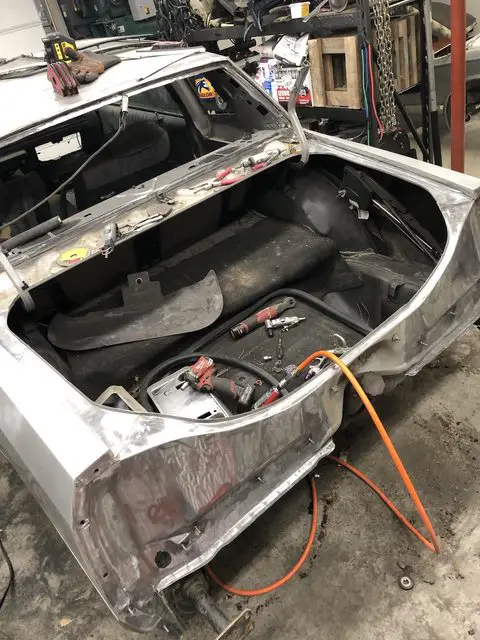
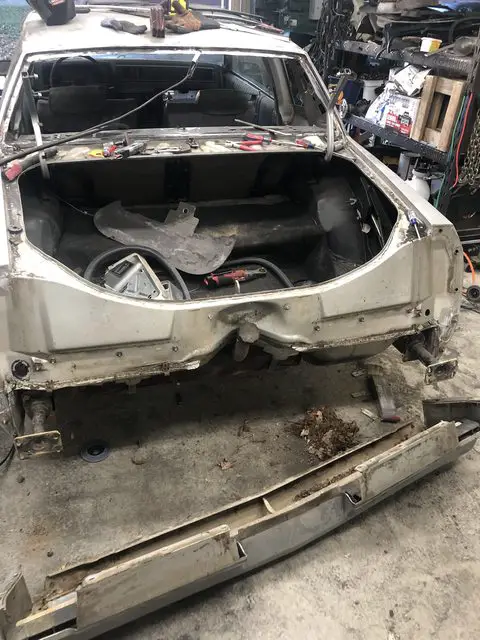
I got the rear stripped down so that i can take the body down to metal. Besides the seam sealer being shot, this car has been incredible that there hasn't been any rust besides at the vinyl top..
n1YEEsfl.jpg


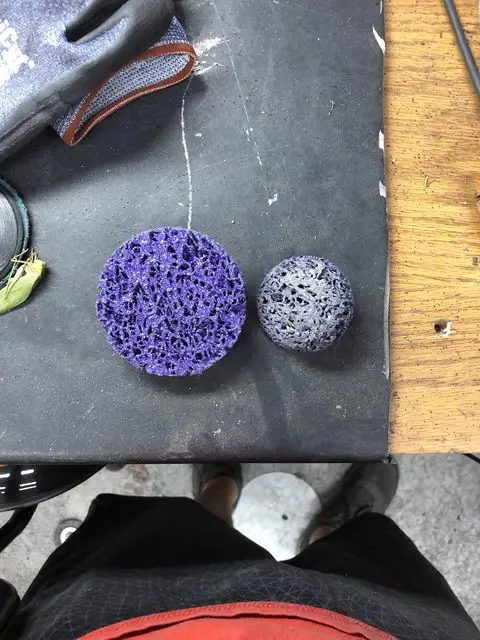
Combination of a wire wheel and paint stripper tool i got the most of the rear up to the rear cowl stripped.
gyyAWkXl.jpg

ePRKLbBl.jpg

TKVwcuwl.jpg

18UUD6xl.jpg


Ill drop the gas tank tonight and do that last little bit and the rear cowl. Plan is to scuff with 80 grit, wax and grease remover, tack and then spray epoxy on the trunk area to seal it up. Got a little bit more work to do on the roof and then ill do the same to the whole roof area.

These little wheels have been awesome, did the whole back with this one wheel.
QKkpgcYl.jpg


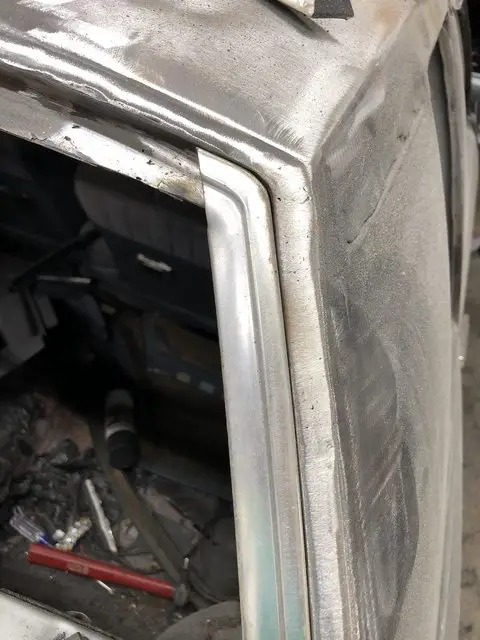
Need to go get some decent carbide cutters for this trim areas before i can continue. Gap looks decent right now, some more fine tuning needed.
iYXrlIVl.jpg


My buddy is coming over sunday and nights next week to start taking off the doors, stripping the back sides and start stripping the shell. Ill pull the motor start stripping the engine bay and filling in unwanted holes while he does that. Plan is to have the back of the trunk lid, jambs, firewall, backside of doors, and back side of hood all stripped to metal and shot in epoxy by the end of next weekend. Hopefully getting the whole car in epoxy by the end of the month.
 
Keep the faith brother! Looks great, but a lot of work in front of you.

I like it!!👍👍
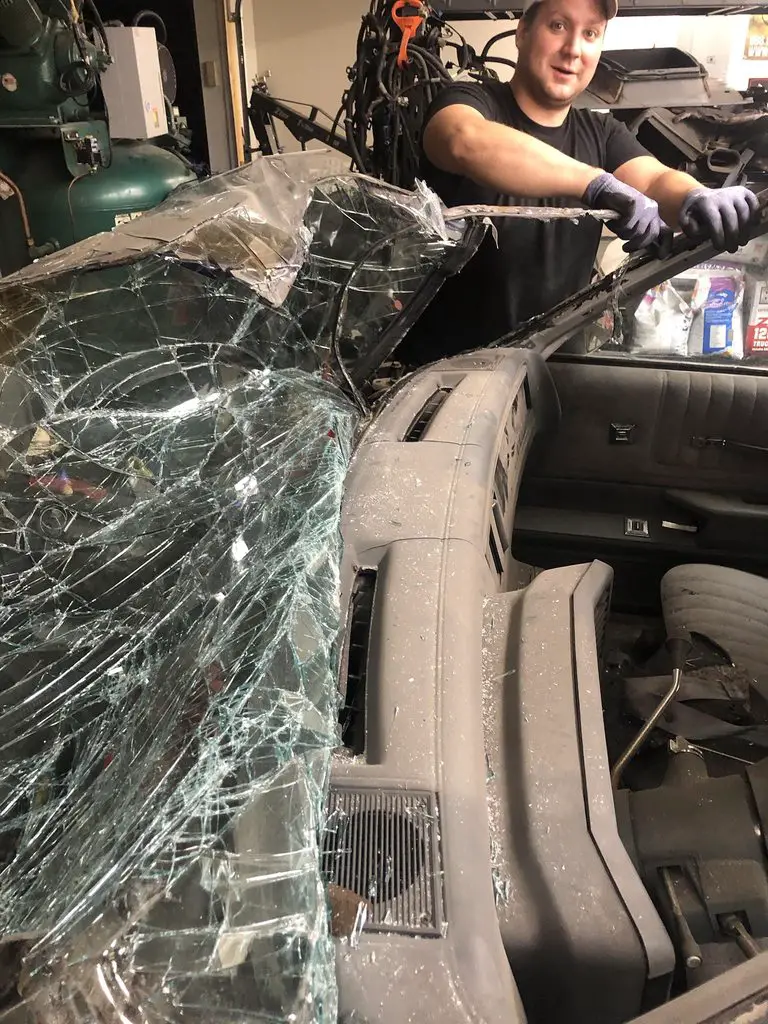
 
Didnt get nearly as much as i wanted to get done this weekend.

I did finish stripping the rear trunk area, so thats ready to be sprayed. Went to remove the front windshield no dice with any of my tools... sooo next best thing, my 13 sized boot through the inside lol.

gpURTxHh.jpg


The window has been reglued at some point and they used a MASSIVE amount of sealant that i couldnt get through with wire or with my window blade on the sawsall. The windshield has already started delaminating in some places so it was going to be replaced anyways.

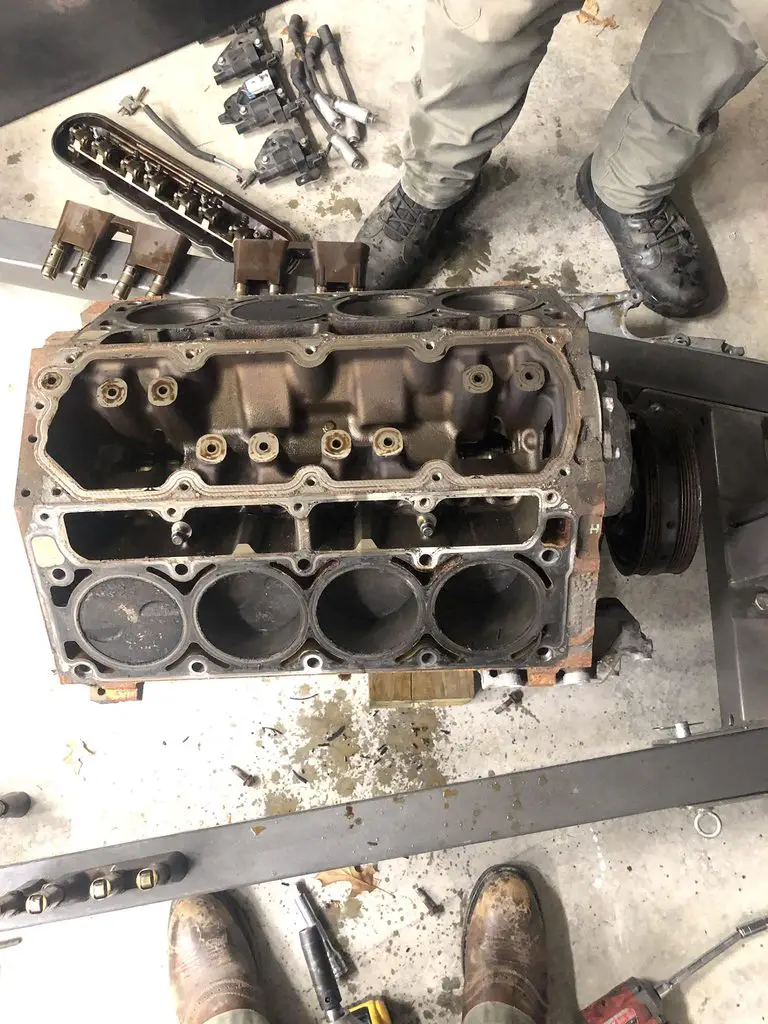
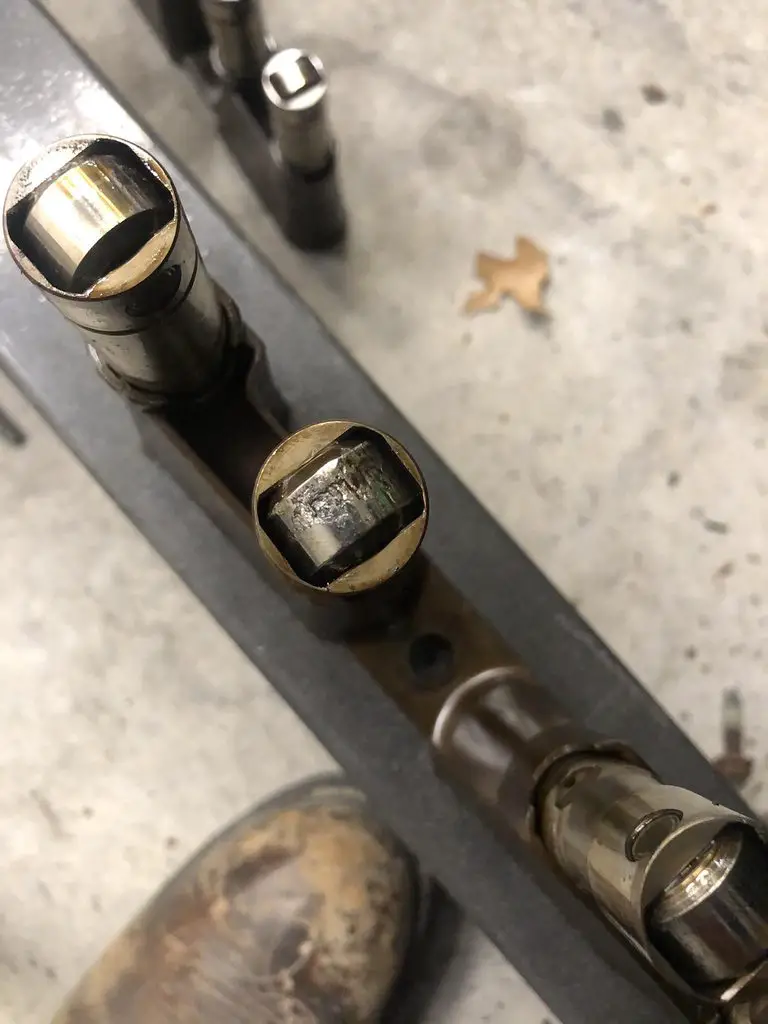
Sunday we got a late start and my buddy on the way sent me a link to a motor for sale they had just been posted. 2011 5.3 with lifter noise for $200 bucks. So as soon as he got to my house we left and were on our way 4 hours round trip (old lady was pissed about skipping on the pot roast she was currently making). Got there and to my suprise it was a old man who just wanted to get rid of it as was taking up room in his garage. Came intake to oil pan minus the power steering pump and alt. I was hoping it was the LC9 aluminum block for the weight savings, but it was actually a Iron block and is considered a LMG. Its a Gen4 DOD/AFM 5.3 with 243 Heads and the NNBS intake. SOOO i took a gamble on it just being a failed lifter thats common on these DOD motors knowing that if the bearings were locked up that i could sell the 243 heads and make double my money back.

we didnt waste any time when we got back stripping it down, lone behold it was what we thought. So im gonna run this block now and keep my other one as a back up!

QnlPCrdh.jpg


i6b8g03h.jpg


On a side note i have a new 3 stage air filter/water mitigation system coming for my compressor on tuesday so hopefully ill be shooting some primer!
 
Status
Not open for further replies.

GBodyForum is a participant in the Amazon Services LLC Associates Program, an affiliate advertising program designed to provide a means for sites to earn advertising fees by advertising and linking to amazon.com. Amazon, the Amazon logo, AmazonSupply, and the AmazonSupply logo are trademarks of Amazon.com, Inc. or its affiliates.

Please support GBodyForum Sponsors

Classic Truck Consoles Dixie Restoration Depot UMI Performance

Contact [email protected] for info on becoming a sponsor