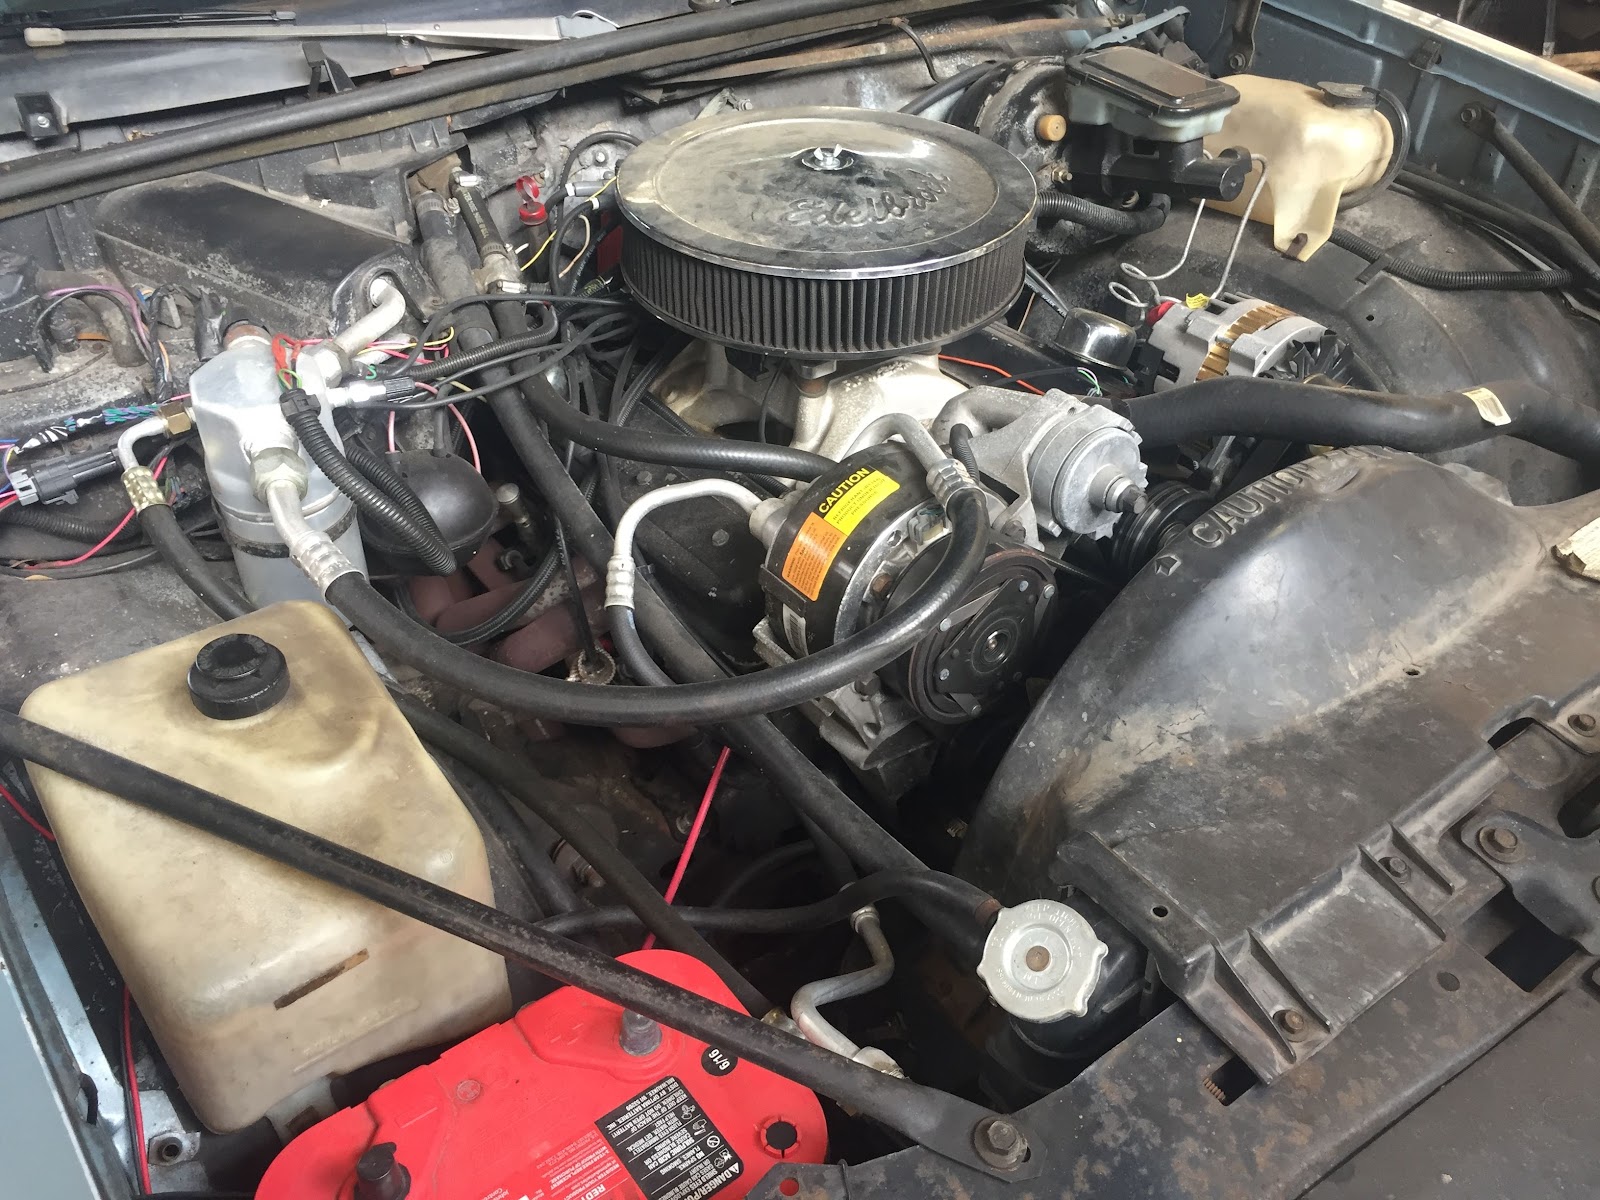
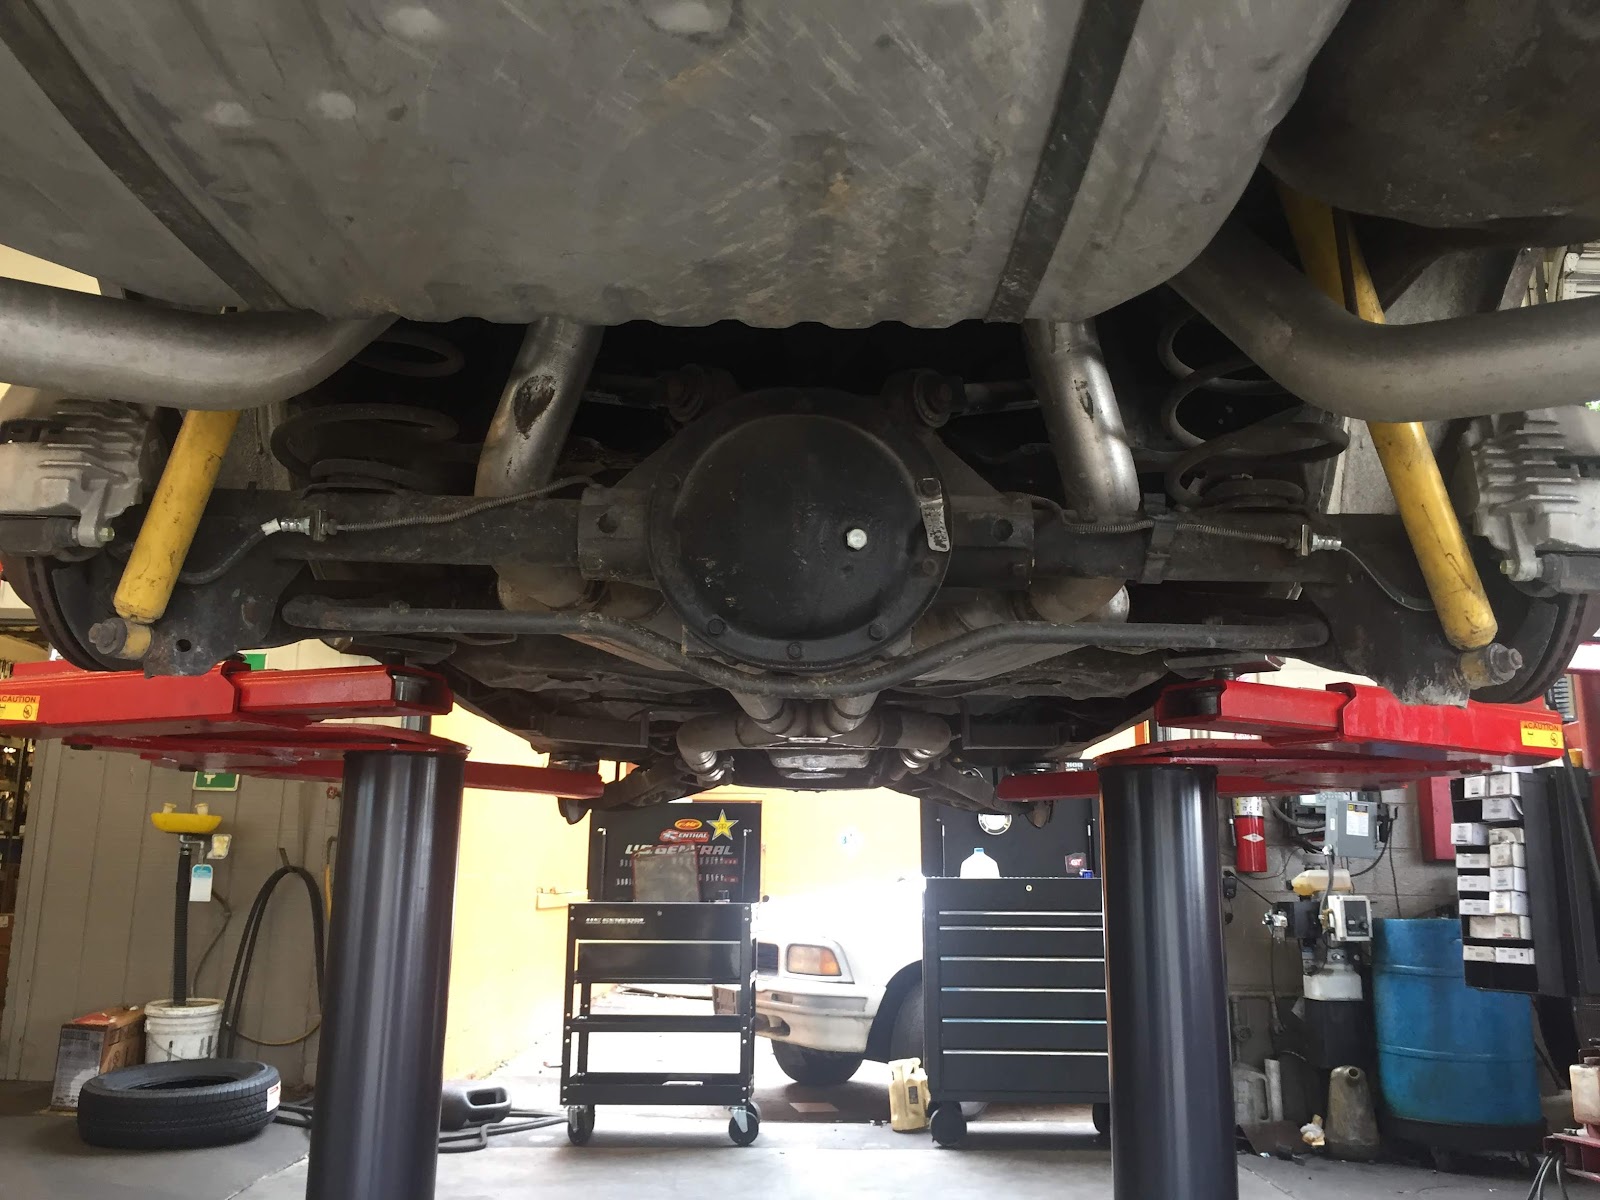
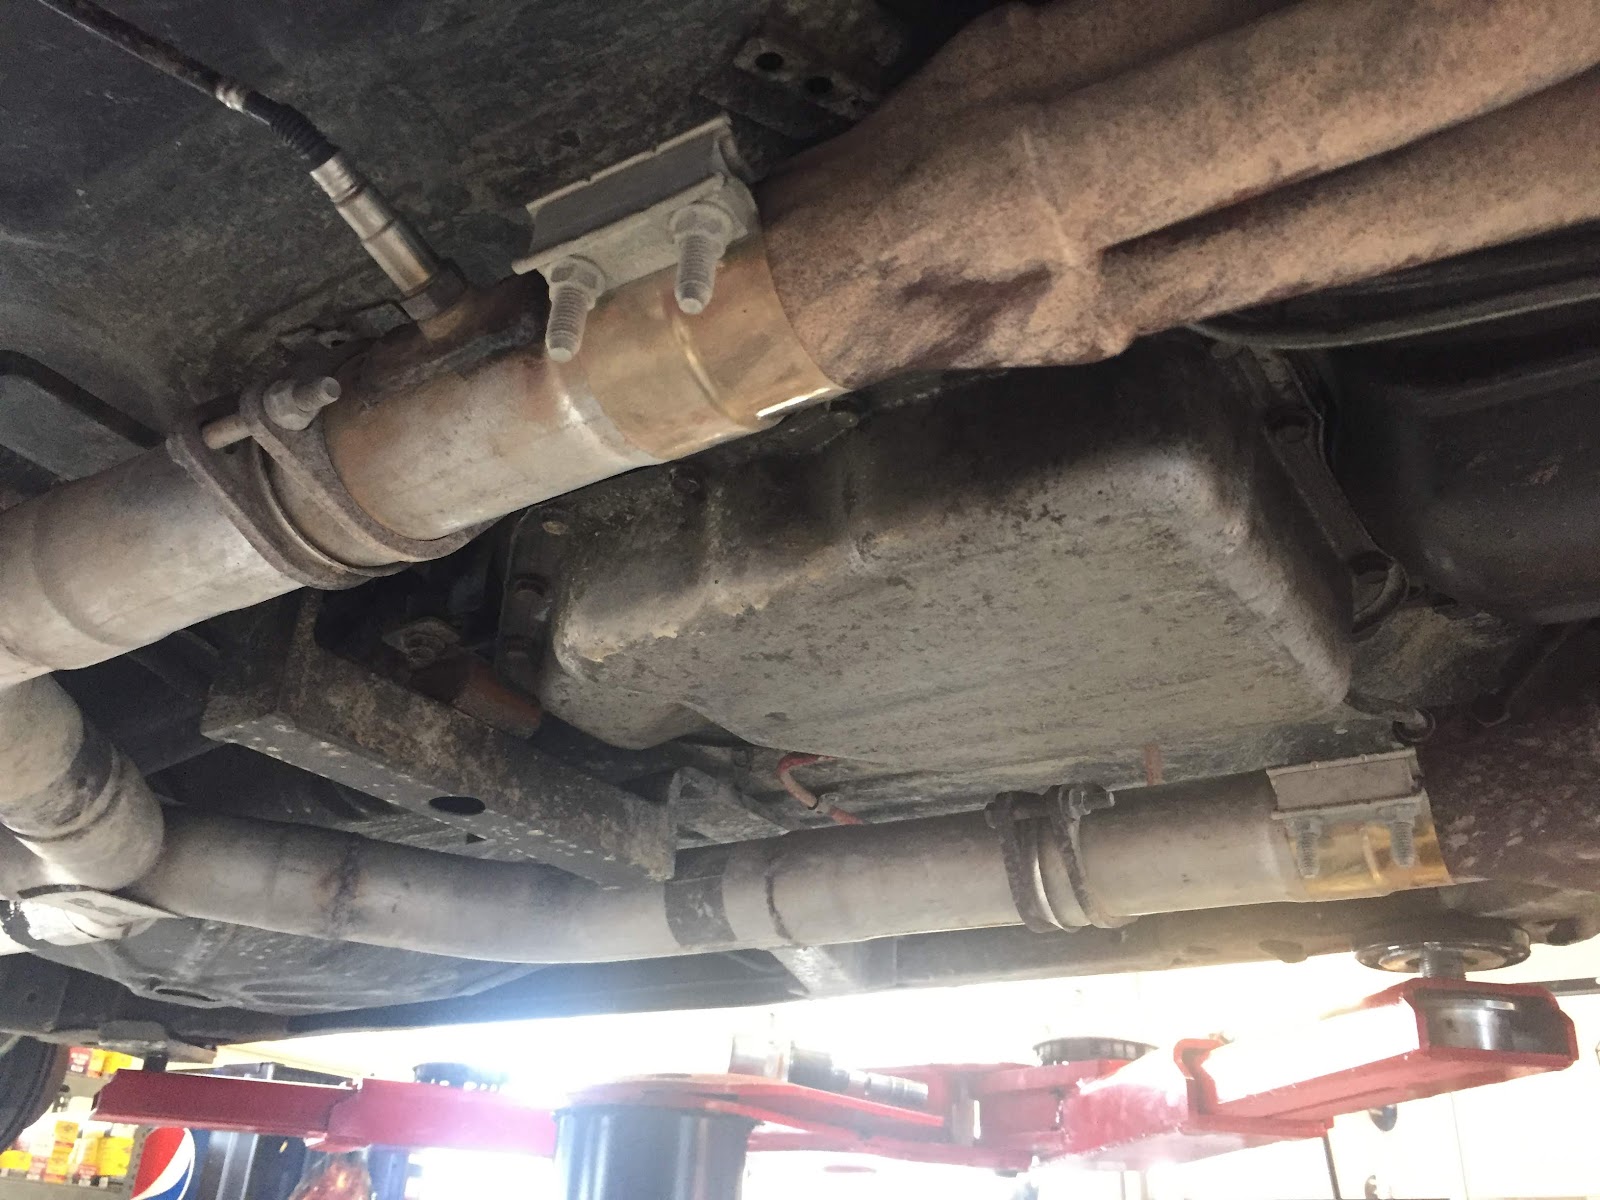
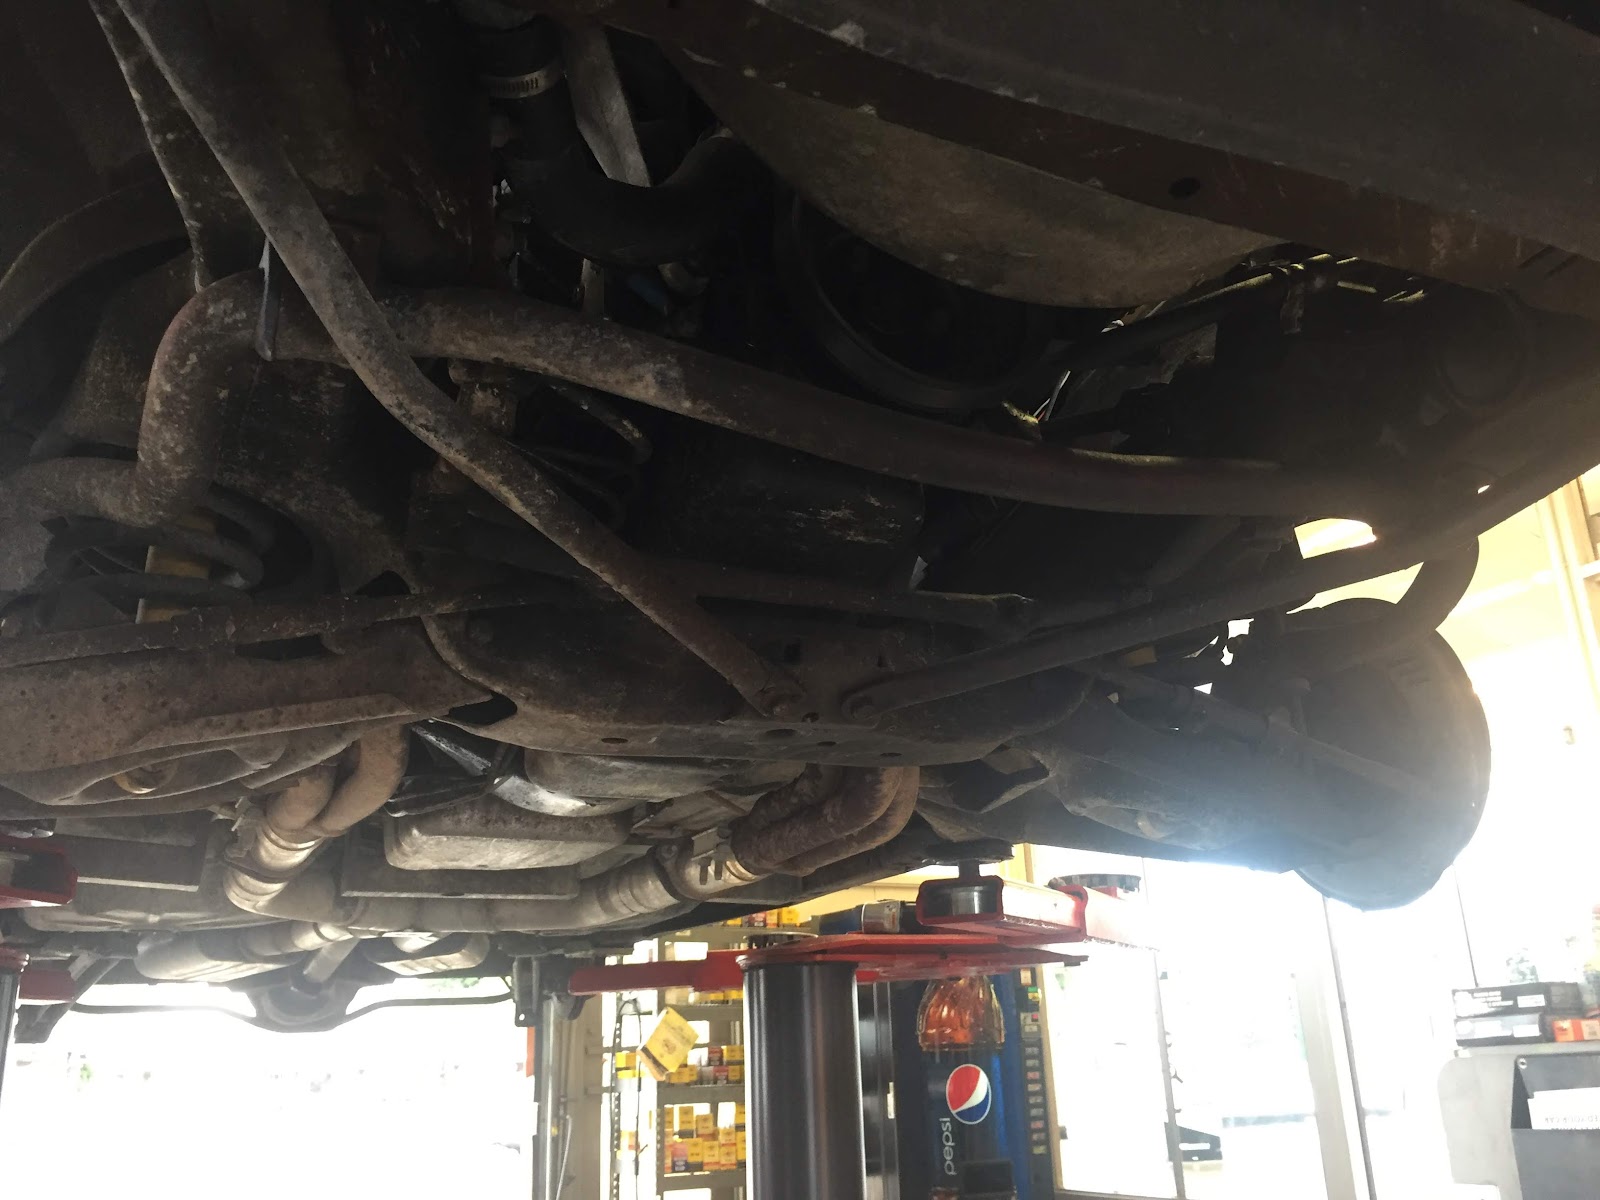
I have done a few things to the car since last updated. I had a fuel issue where when I would return to town it would feel like the car was starting to vapor lock. Turns out the fuel pump may very well have been the one installed on the production line back in 1988! I put a AC Delco 381 pump in with a new filter and it runs great now. I had some concern about the return line not being adequate but it turned out fine from what I can tell. My concern about not being able to meter the fuel pressure down enough due to it backing up through the return. I ordered a AC Delco EP381 pump which is a replacement for about a zillion GM applications. I will see if works for me in the long run, if not I will resort to running a -8 line for feed and keeping the stock feed for a return.
I was able to meter it down through the Holley regulator and the stock feed and return lines. I spent more time cleaning the tank of exterior debris and interior deteriorated pump and sock then the actual pulling and installation of the tank. Start to finish, right at 2 hours.
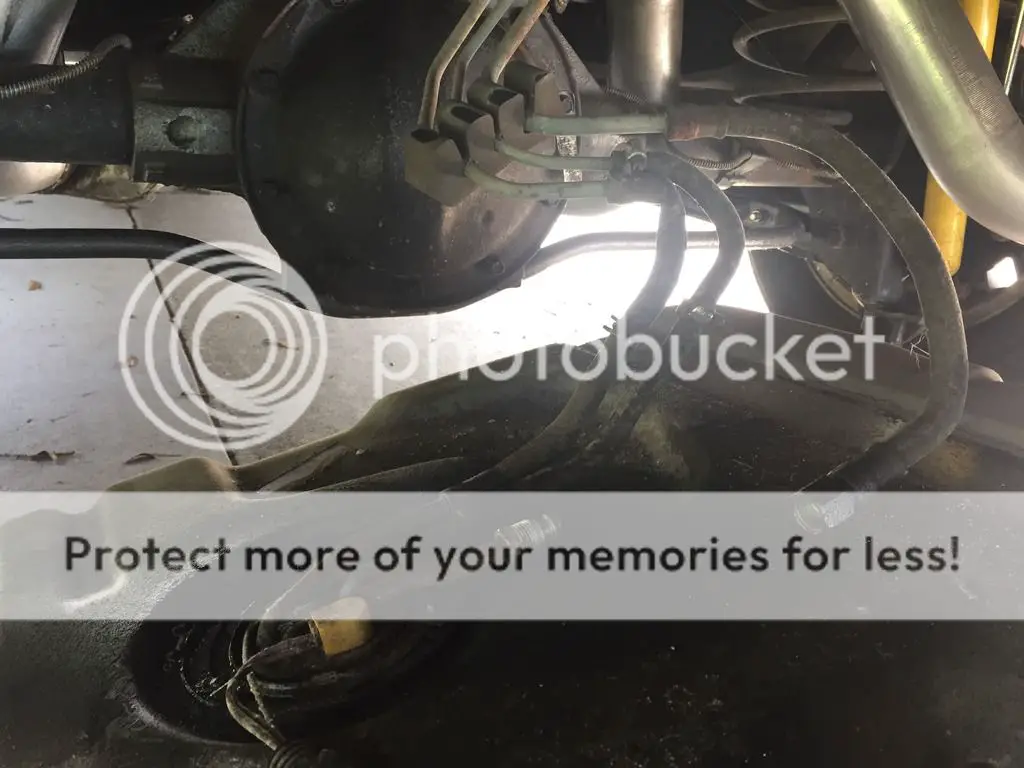
I also installed a vacuum canister and a new master cylinder. It managed to take a dive while doing the motor swap. It looked like there was a bit of moisture in the system so I replaced it.
Further, I bought a Jegs XHD bar and plate transmission cooler. This thing is deal of the century. Its made by Hayden in Australia and came with genuine gates hose. It was priced 20 dollars or more cheaper then the other choices. Killer deal in my book.
Tomorrow I will fix a small vacuum leak in my manifold and maybe even check my rockers since Ive put some time on the new build.
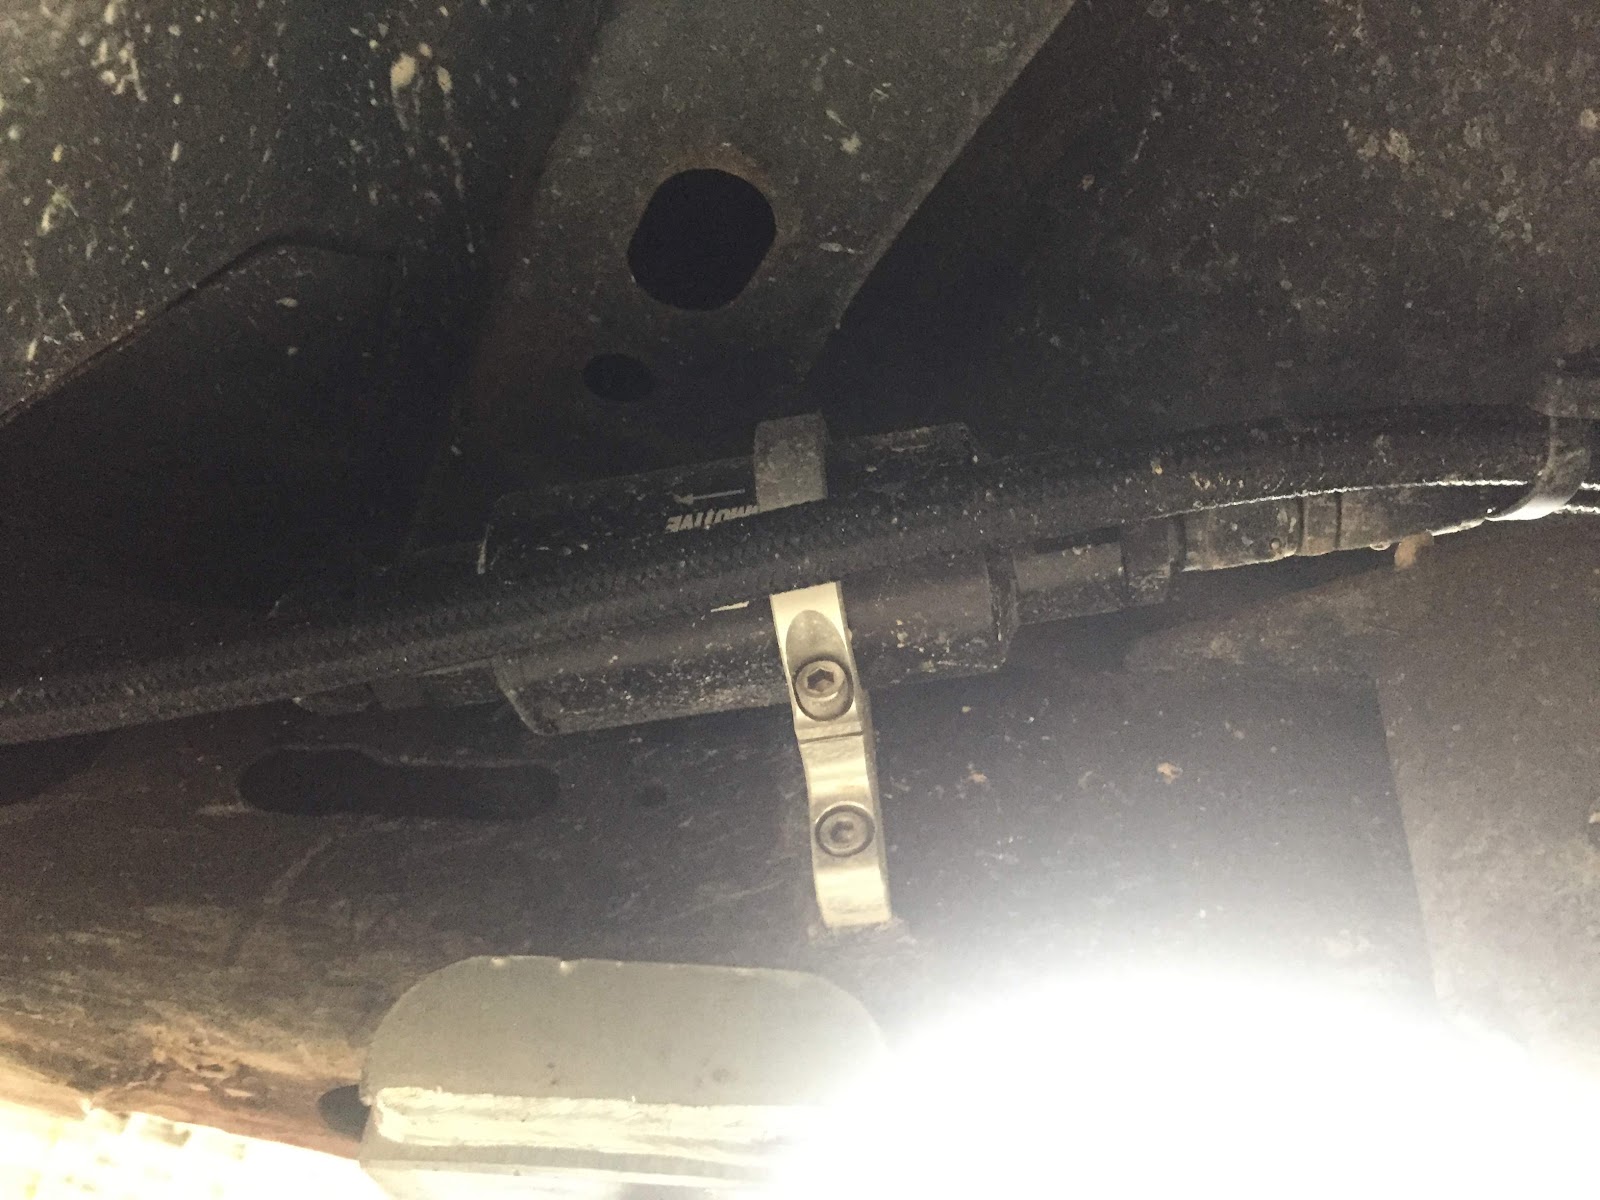
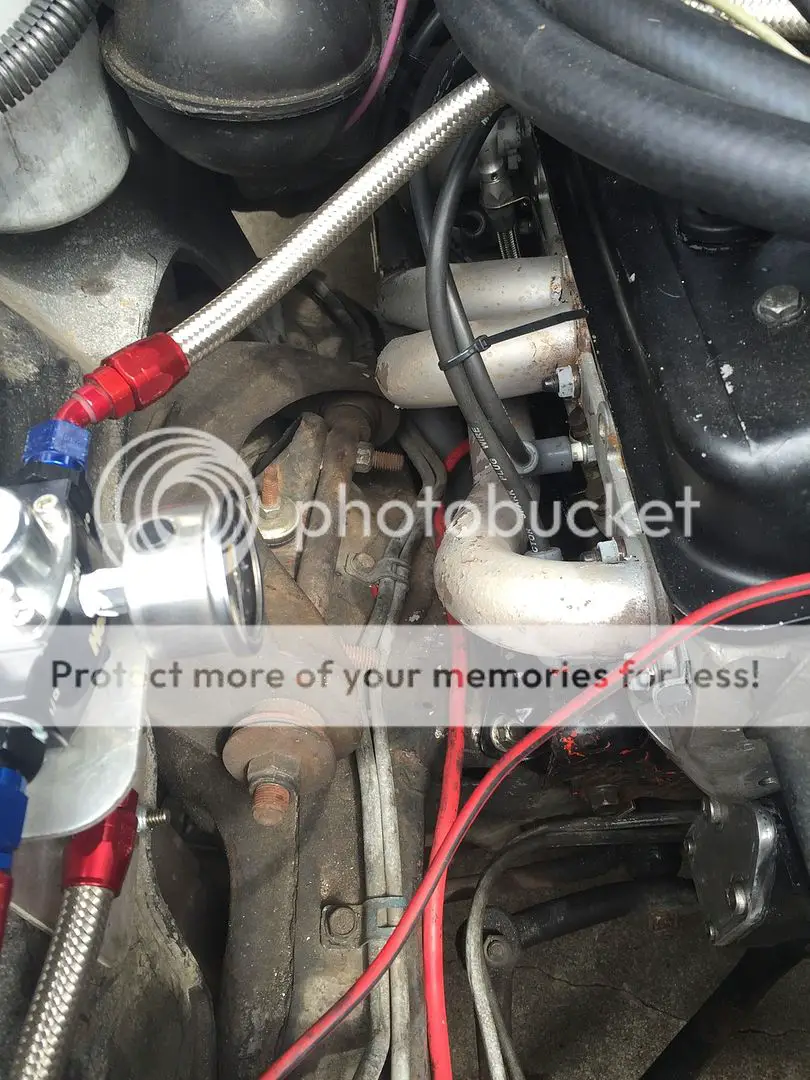
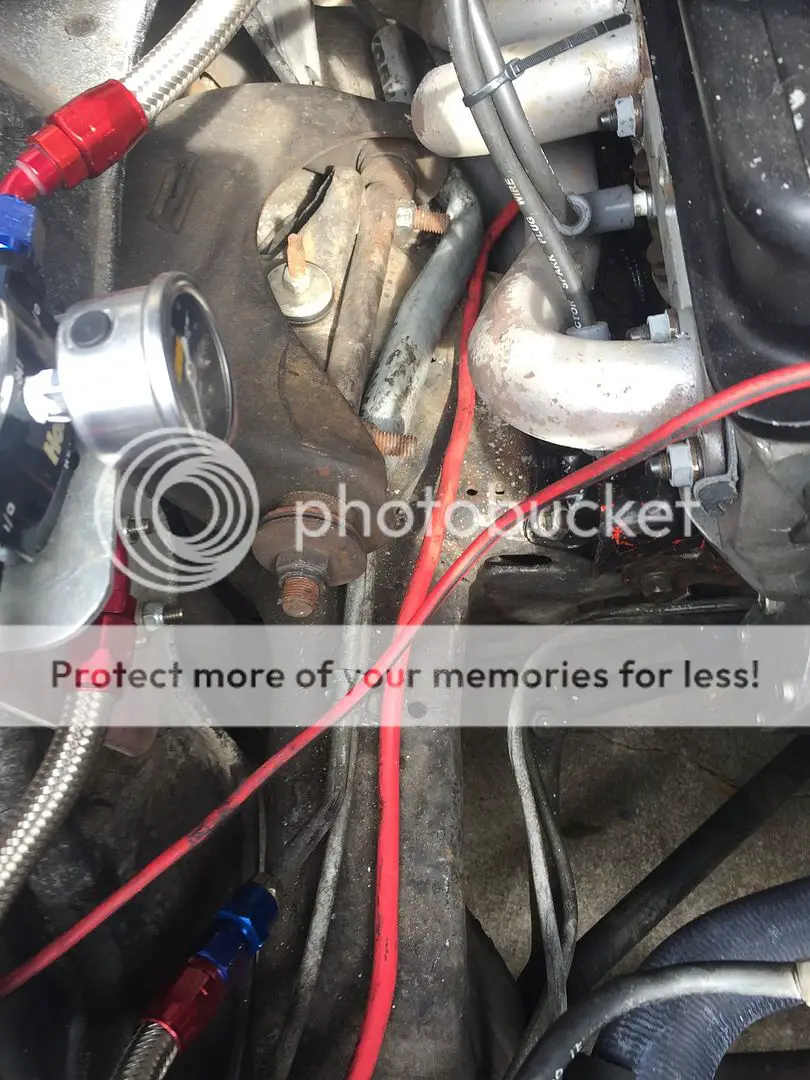
My new fuel pump has made a major difference but I still felt I needed to reroute the fuel line which run on the top of the frame rail away from the header heat. I could only move it maybe a 1/2 inch which was marginal in my opinion. I did this plus the best second effort I could come up with which was some XRP heat proof -8 sleeve. I switched the clamps on the frame to move the lines away and put both the feed and return in the sleeve to try to improve the heat control in the area. I have considered running the lines inside the frame but am not to that point quite yet.
finally figured out what was wrong with my Quadrajet............................ it was bolted to my motor! It will be on its way back to jegs tomorrow.
In its place is a Holley HP 750 from Pro Systems on top of a RPM air gap and a 1/2 inch phenolic spacer. I need to configure a throttle spring, throttle cable mounting and a air cleaner stud.
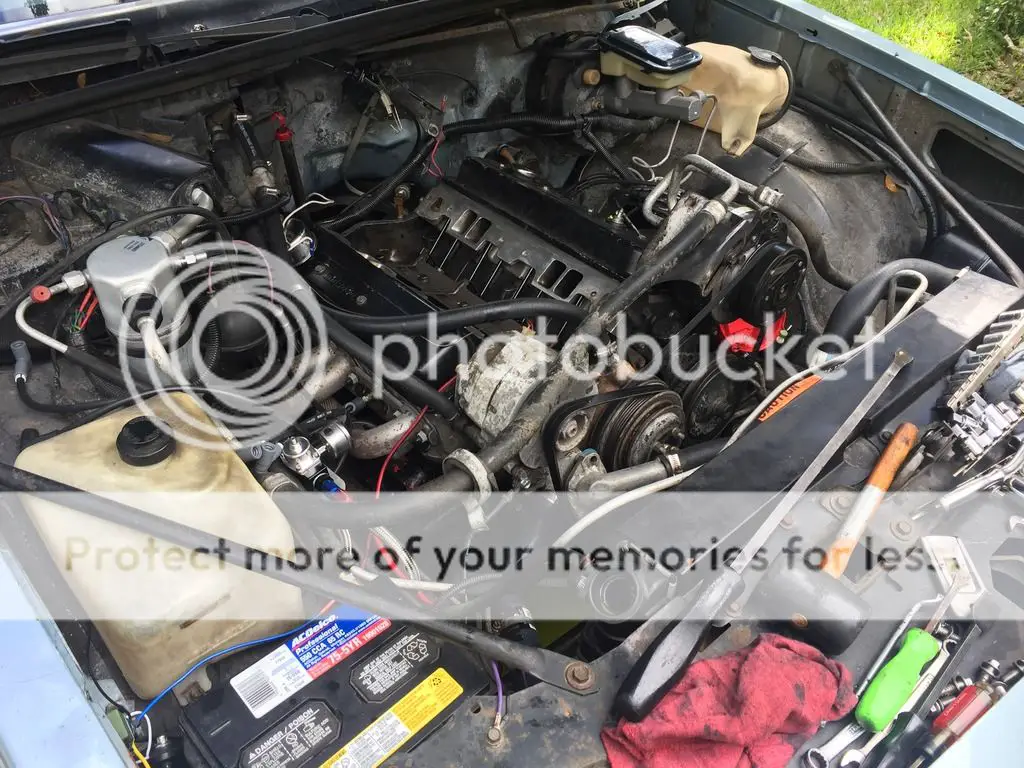
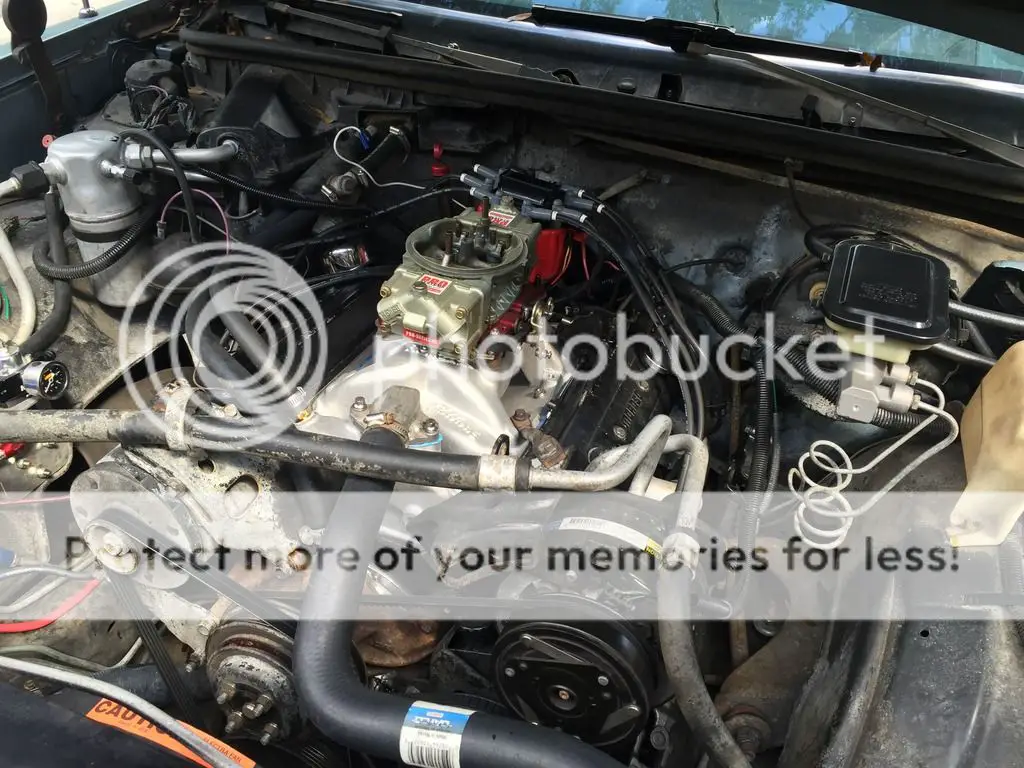
I cant wait to drive it some tomorrow. The Jegs carb was beyond screwed up and I firmly feel was the source of all my driveability issues.
Yesterday and today have been quite busy for the me and the Monte Carlo. Yesterday I converted from dummy lights to gauges and 115 mph speedo. Today I converted the bench seat and column shifter to bucket, console, floor shift and tilt column. The gauges took about 2 hours yesterday and the interior took about 8.
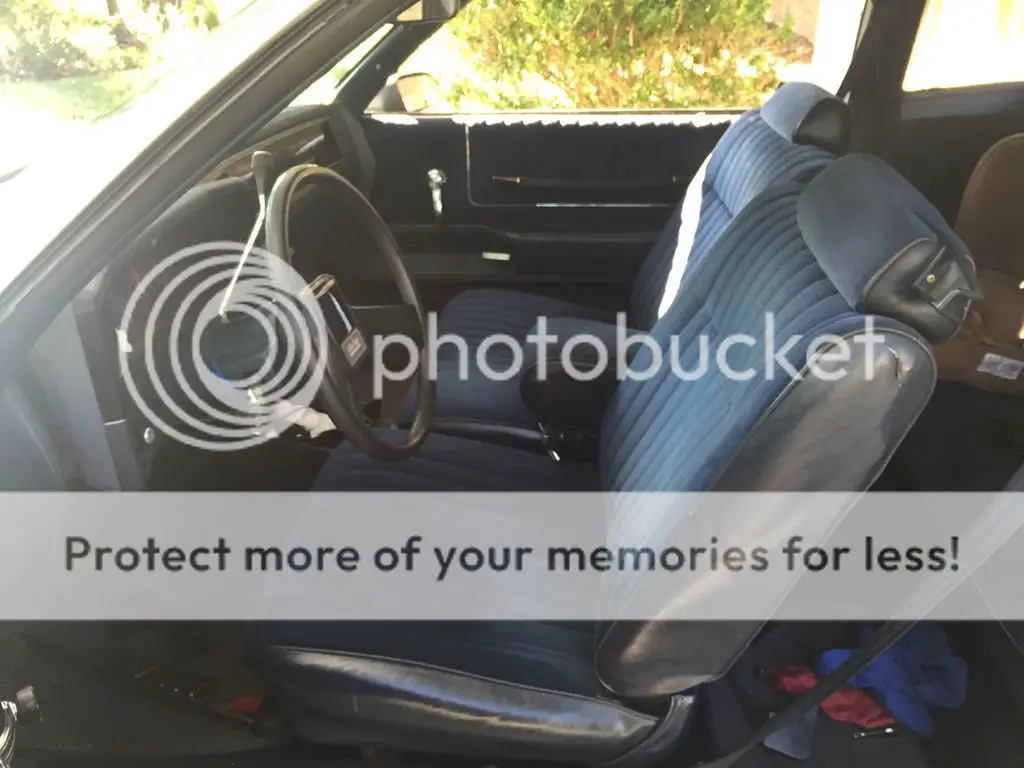
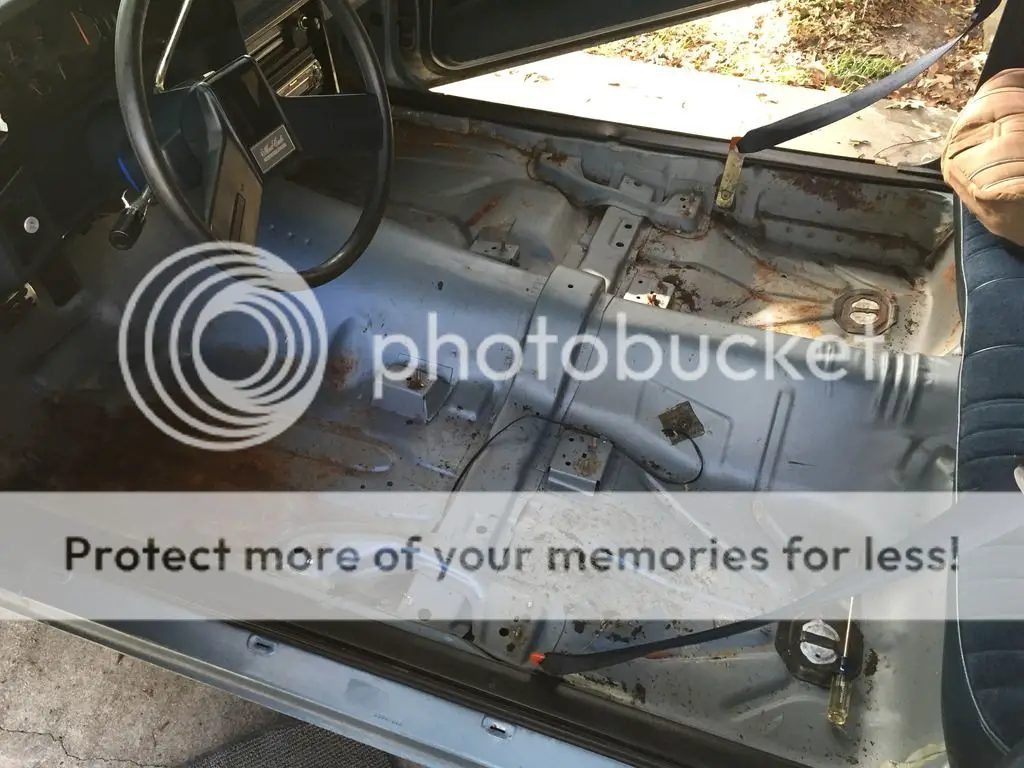
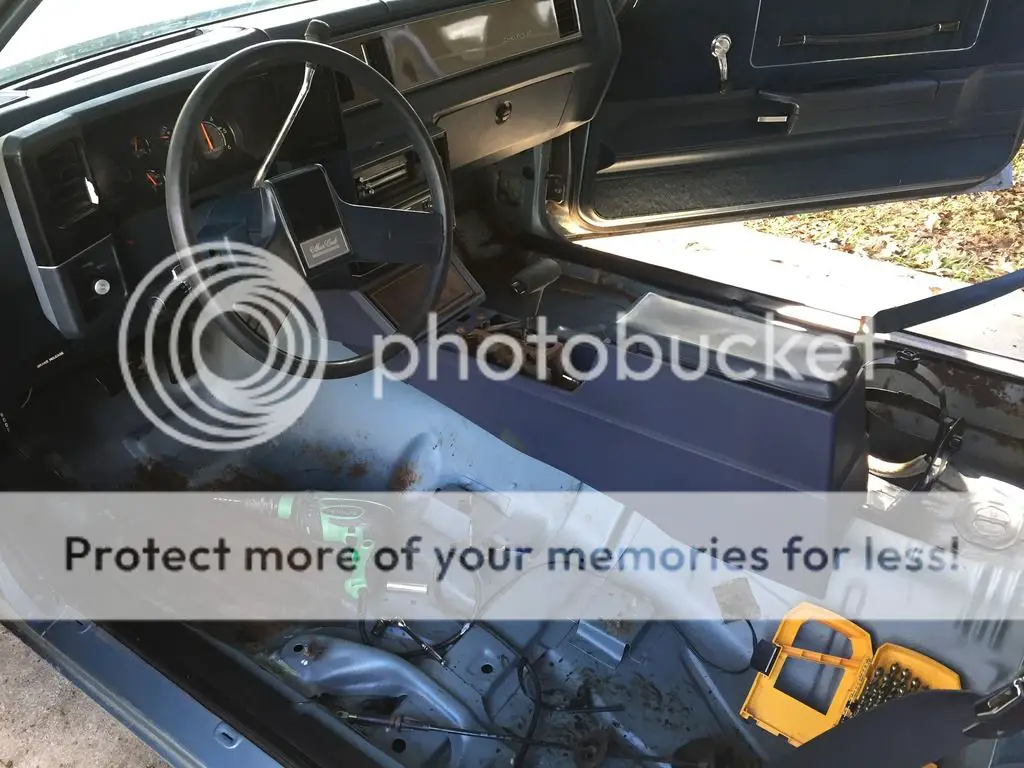
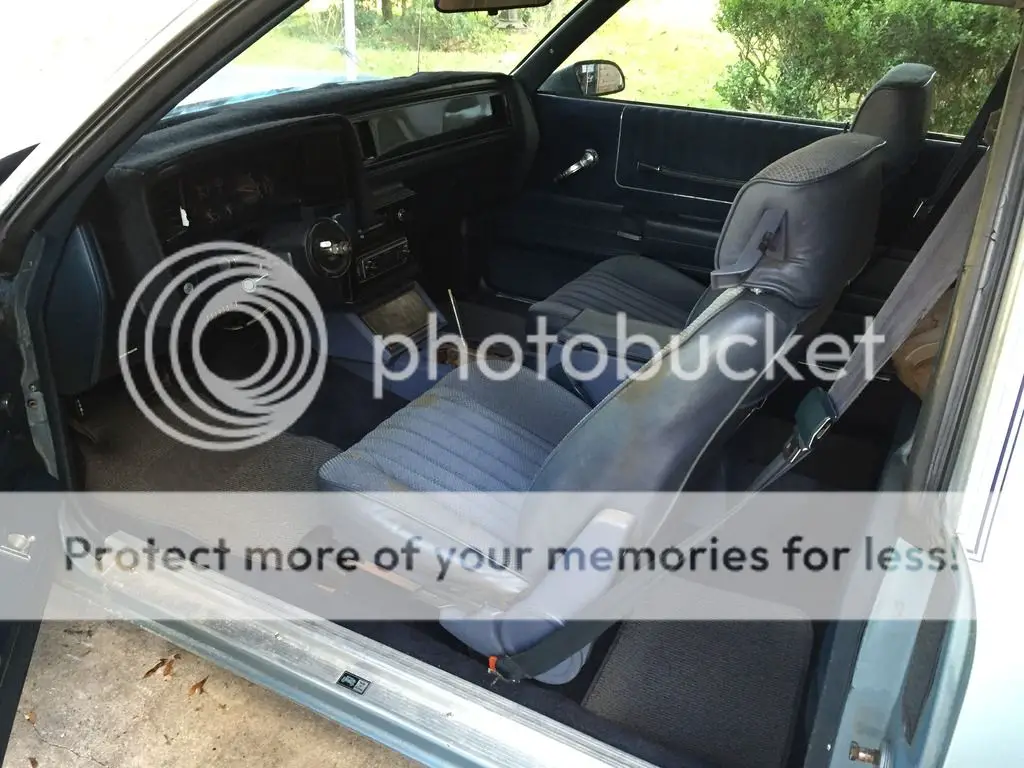
One of these days I am going to splurge and treat myself to new seat covers, carpet, dash cover and dye all the remaining interior plastics to match. For not, I need to get a proper blue bread box door and shifter plate. I have a very nice wood grain 4 piece set including the dash and radio bezel in wood from the 84 that donated all these parts. In the meanwhile, I will enjoy my new interior pieces.
I was able to meter it down through the Holley regulator and the stock feed and return lines. I spent more time cleaning the tank of exterior debris and interior deteriorated pump and sock then the actual pulling and installation of the tank. Start to finish, right at 2 hours.

I also installed a vacuum canister and a new master cylinder. It managed to take a dive while doing the motor swap. It looked like there was a bit of moisture in the system so I replaced it.
Further, I bought a Jegs XHD bar and plate transmission cooler. This thing is deal of the century. Its made by Hayden in Australia and came with genuine gates hose. It was priced 20 dollars or more cheaper then the other choices. Killer deal in my book.
Tomorrow I will fix a small vacuum leak in my manifold and maybe even check my rockers since Ive put some time on the new build.
My new fuel pump has made a major difference but I still felt I needed to reroute the fuel line which run on the top of the frame rail away from the header heat. I could only move it maybe a 1/2 inch which was marginal in my opinion. I did this plus the best second effort I could come up with which was some XRP heat proof -8 sleeve. I switched the clamps on the frame to move the lines away and put both the feed and return in the sleeve to try to improve the heat control in the area. I have considered running the lines inside the frame but am not to that point quite yet.


finally figured out what was wrong with my Quadrajet............................ it was bolted to my motor! It will be on its way back to jegs tomorrow.
In its place is a Holley HP 750 from Pro Systems on top of a RPM air gap and a 1/2 inch phenolic spacer. I need to configure a throttle spring, throttle cable mounting and a air cleaner stud.


I cant wait to drive it some tomorrow. The Jegs carb was beyond screwed up and I firmly feel was the source of all my driveability issues.
Yesterday and today have been quite busy for the me and the Monte Carlo. Yesterday I converted from dummy lights to gauges and 115 mph speedo. Today I converted the bench seat and column shifter to bucket, console, floor shift and tilt column. The gauges took about 2 hours yesterday and the interior took about 8.


One of these days I am going to splurge and treat myself to new seat covers, carpet, dash cover and dye all the remaining interior plastics to match. For not, I need to get a proper blue bread box door and shifter plate. I have a very nice wood grain 4 piece set including the dash and radio bezel in wood from the 84 that donated all these parts. In the meanwhile, I will enjoy my new interior pieces.


